MP&C
Member
I've been remiss in posting an update. We've been doing a bit of block sanding interior parts, and its just hard to make those pictures look like any semblance of progress.
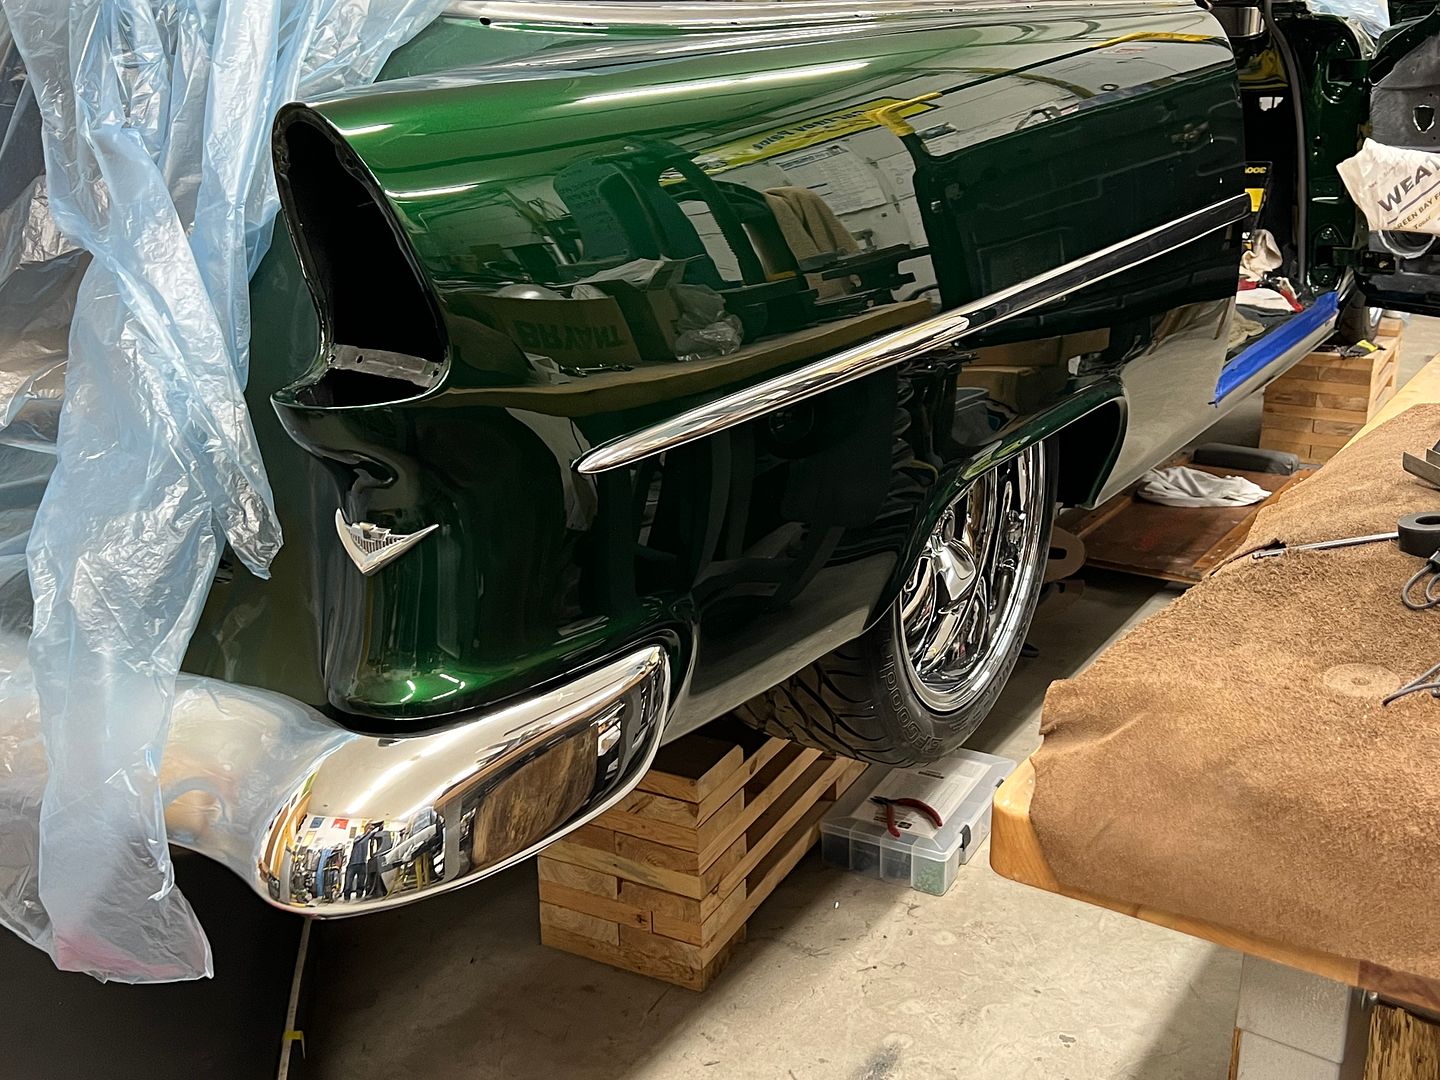
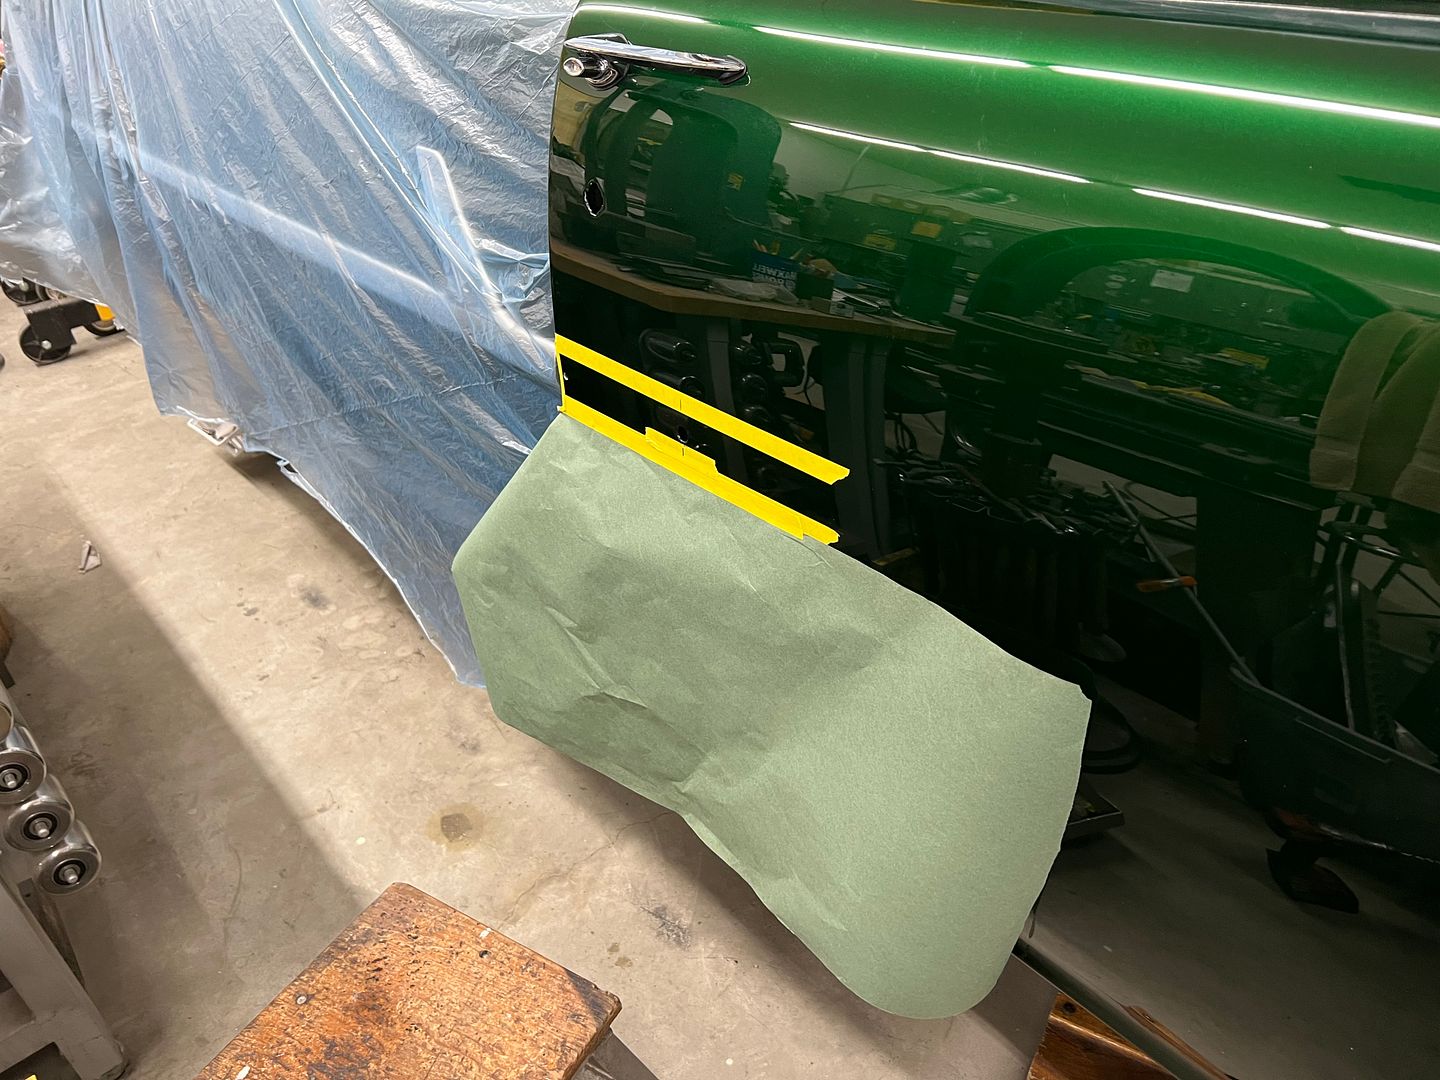
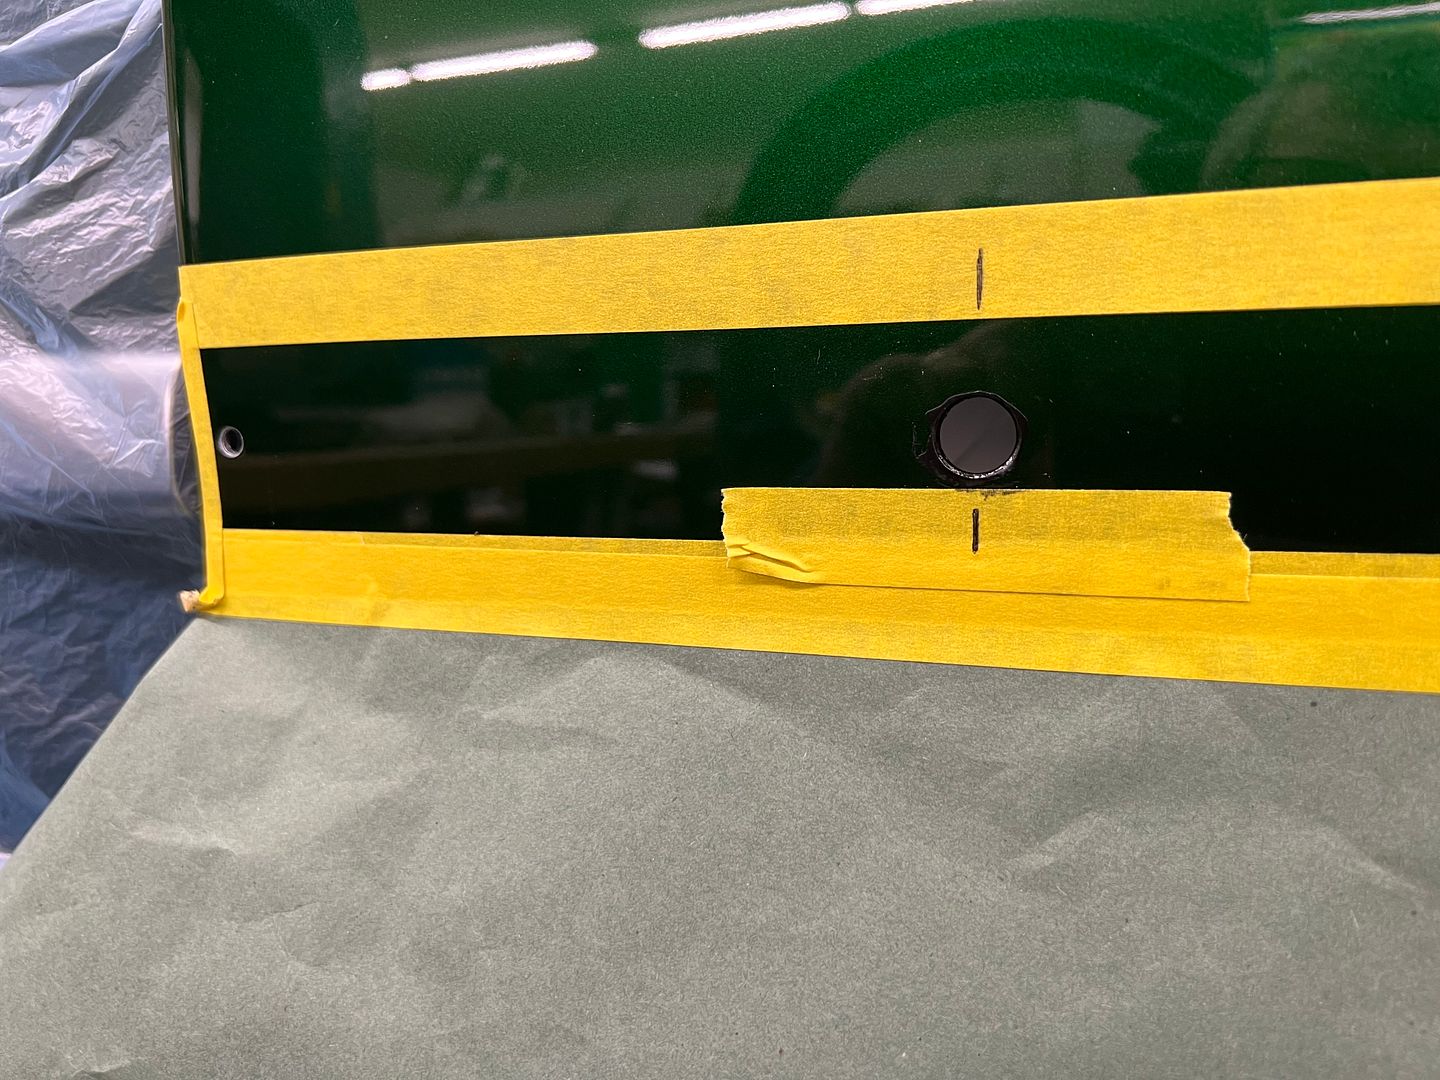
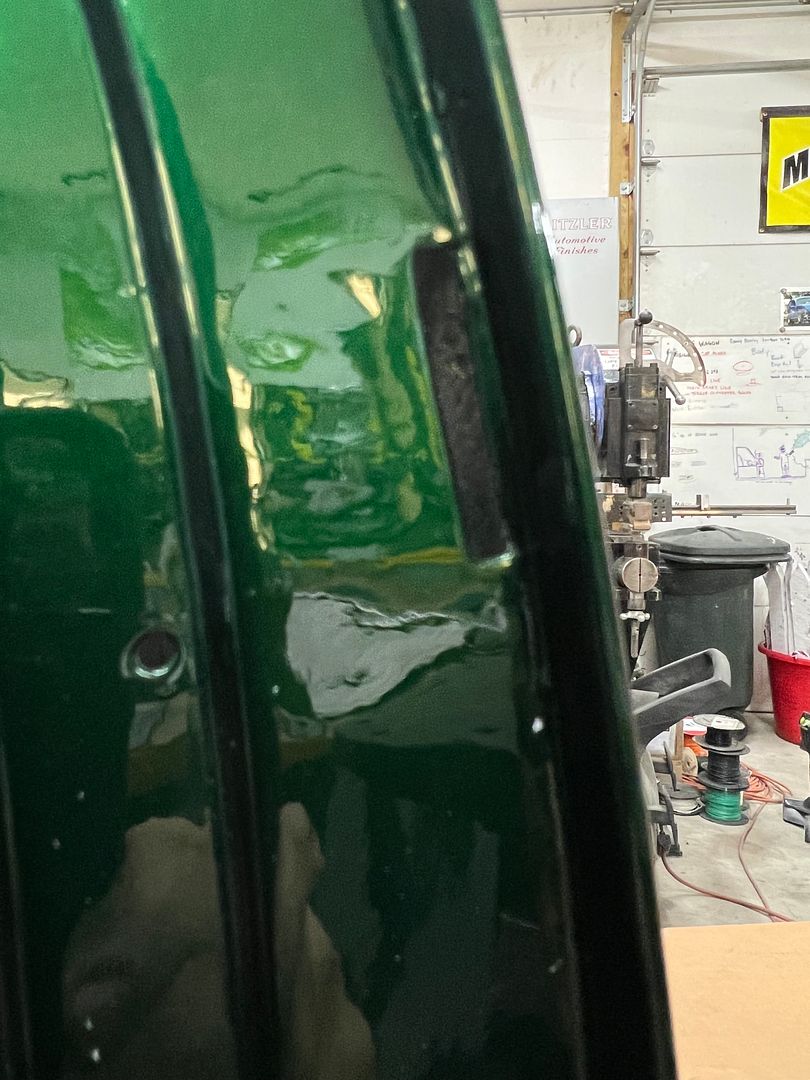
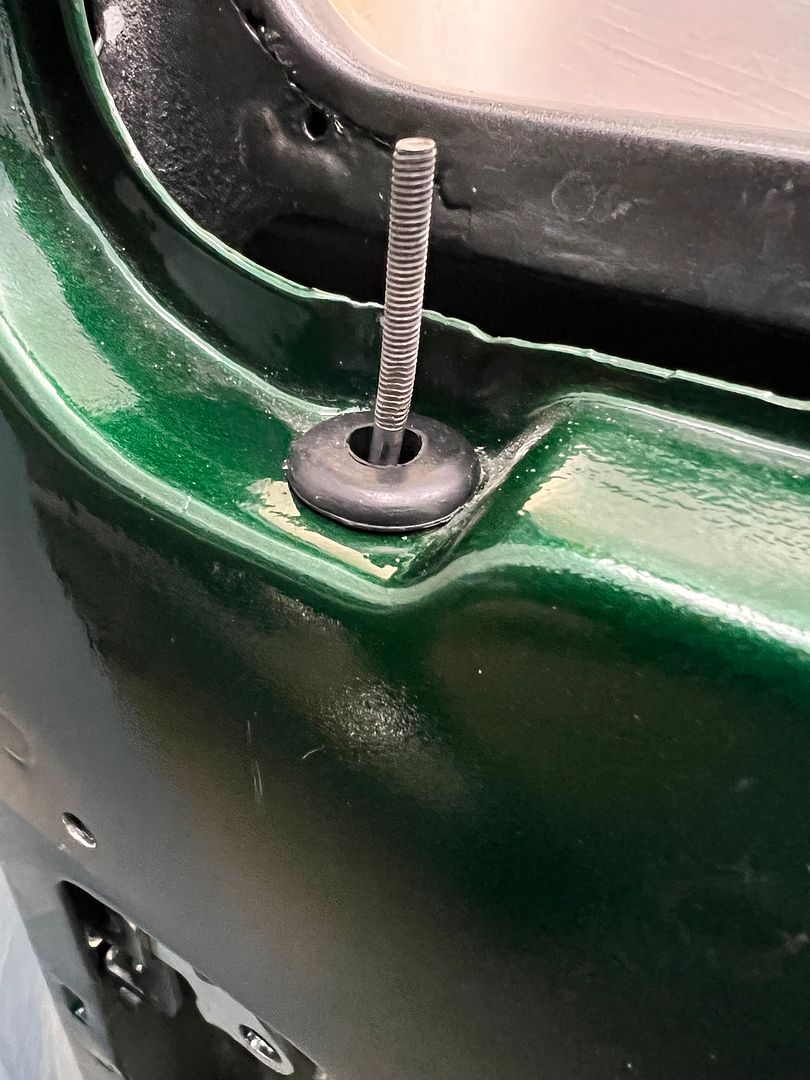
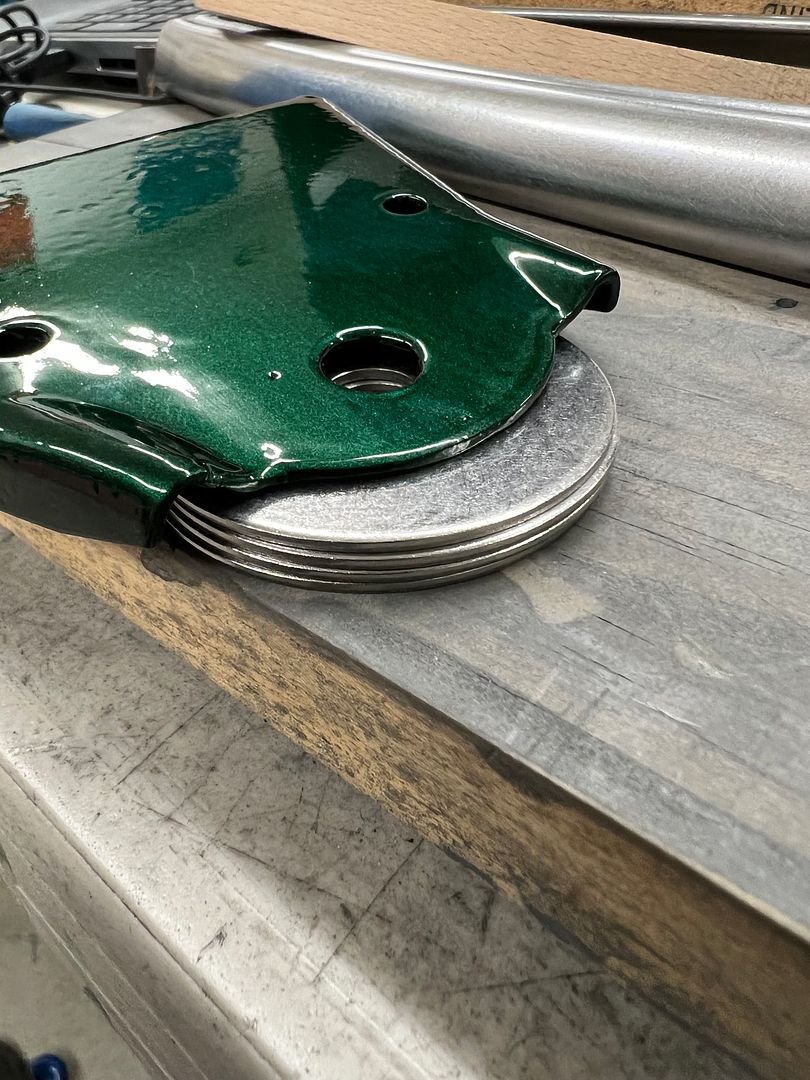
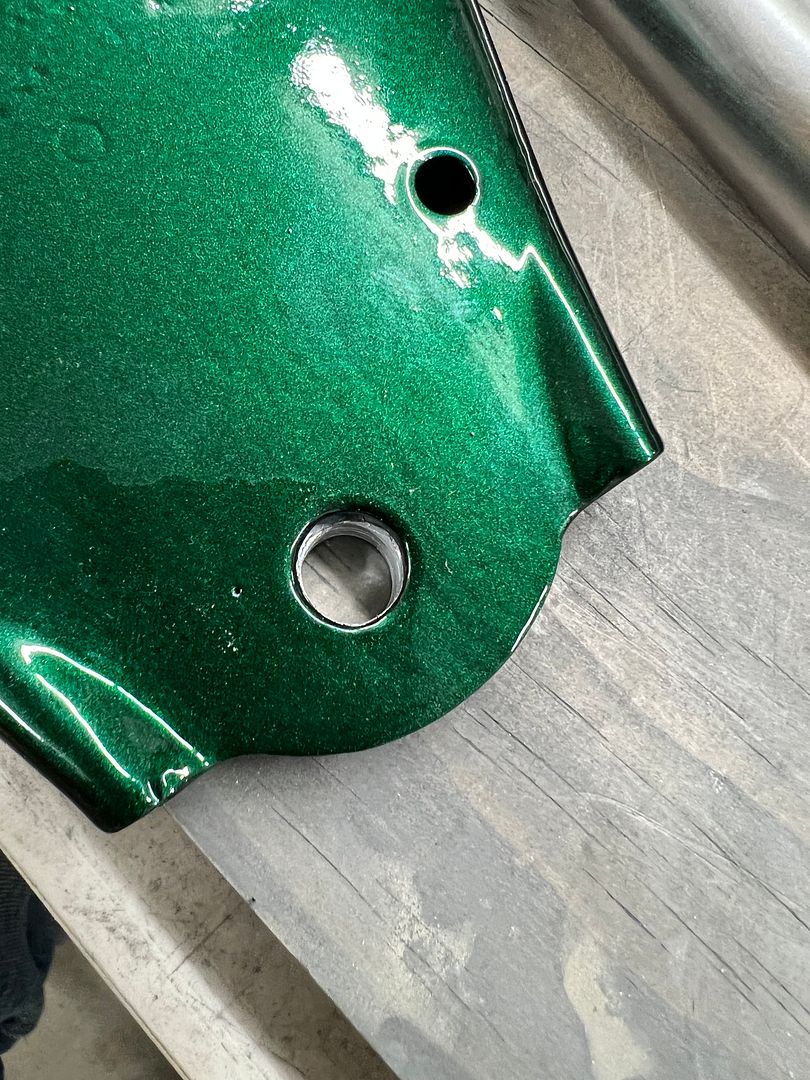
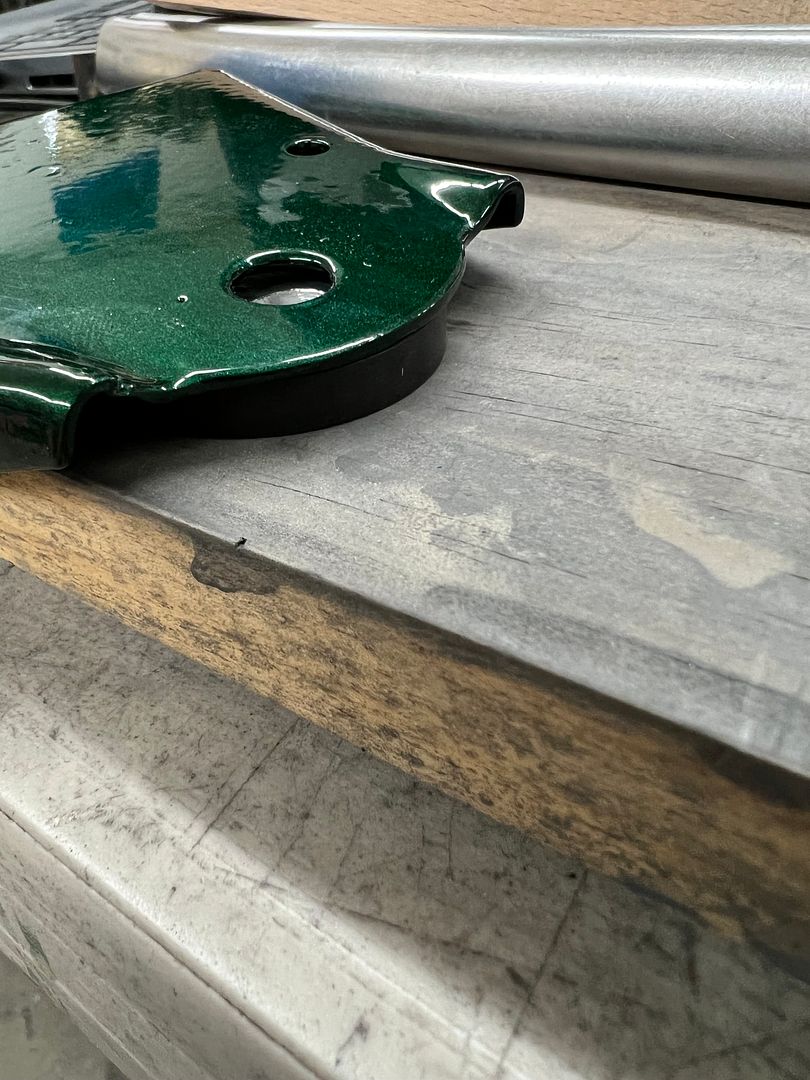
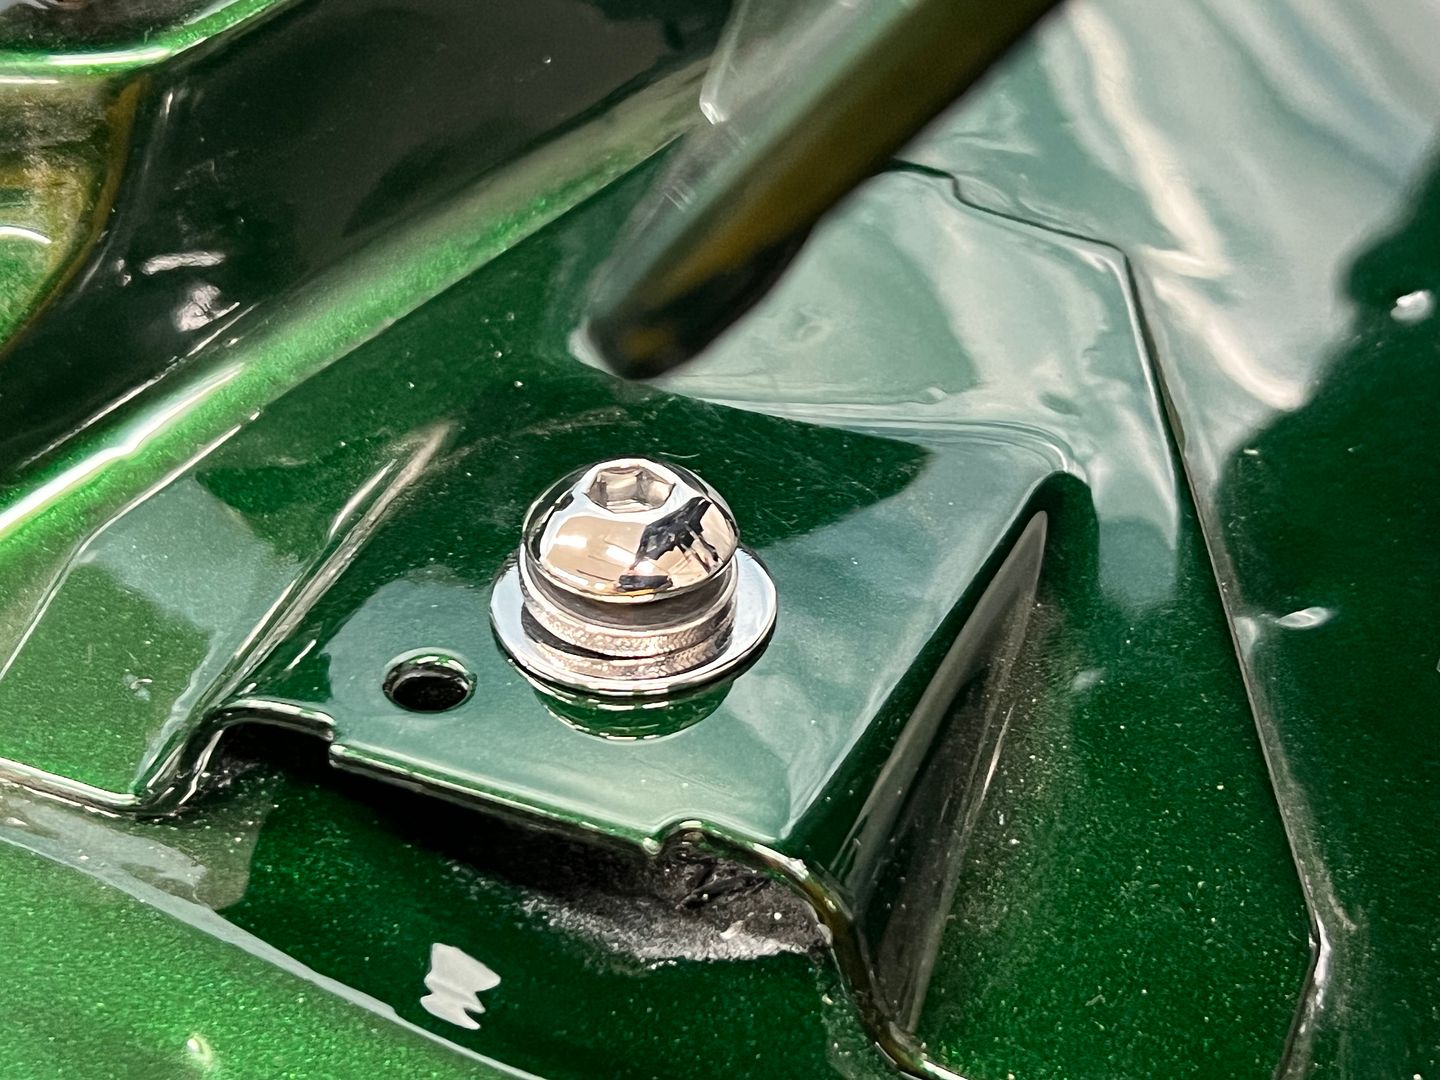
We pulled the front fenders back off, we had mocked them up in order to modify the upper fender mounts at the cowl. They came with some excessively sized holes to allow plenty of adjustment, and we had filled in the factory hole and re-drilled to a normal clearance hole. Here shown after a spray of Organic Green KBC, and the stainless washers we used as shims. Hard to leave those stacked washers after we did the other cleanup in resizing the bracket's mounting hole.
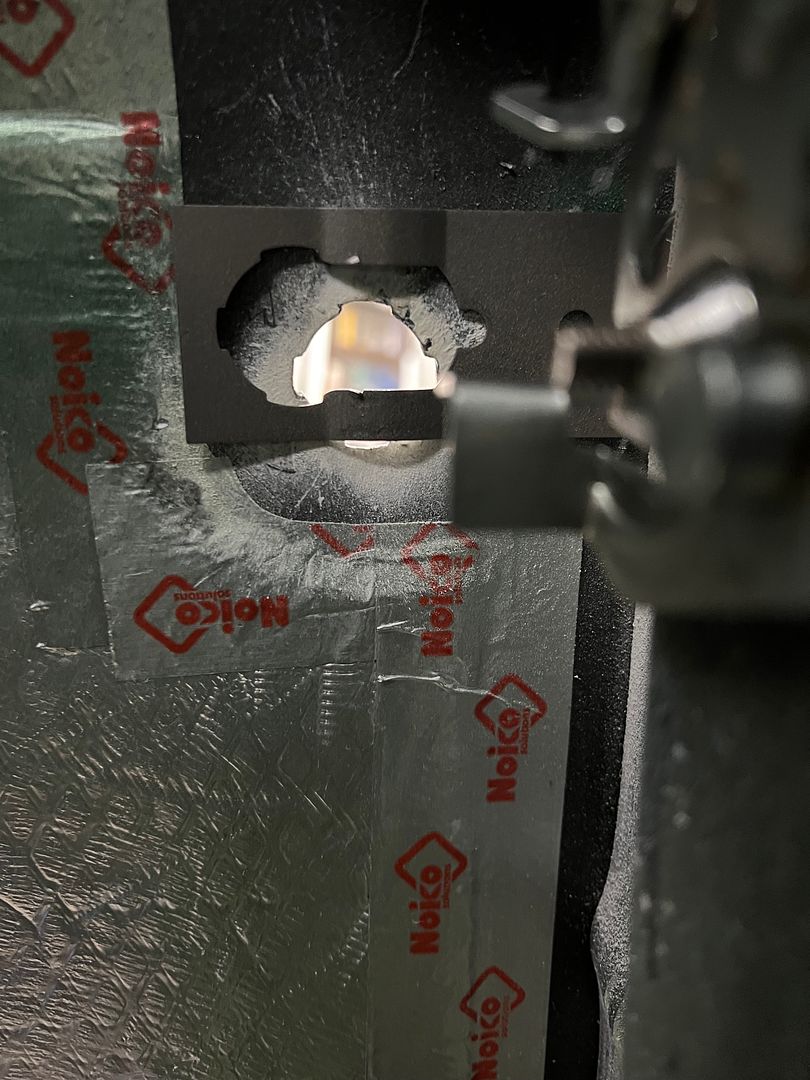
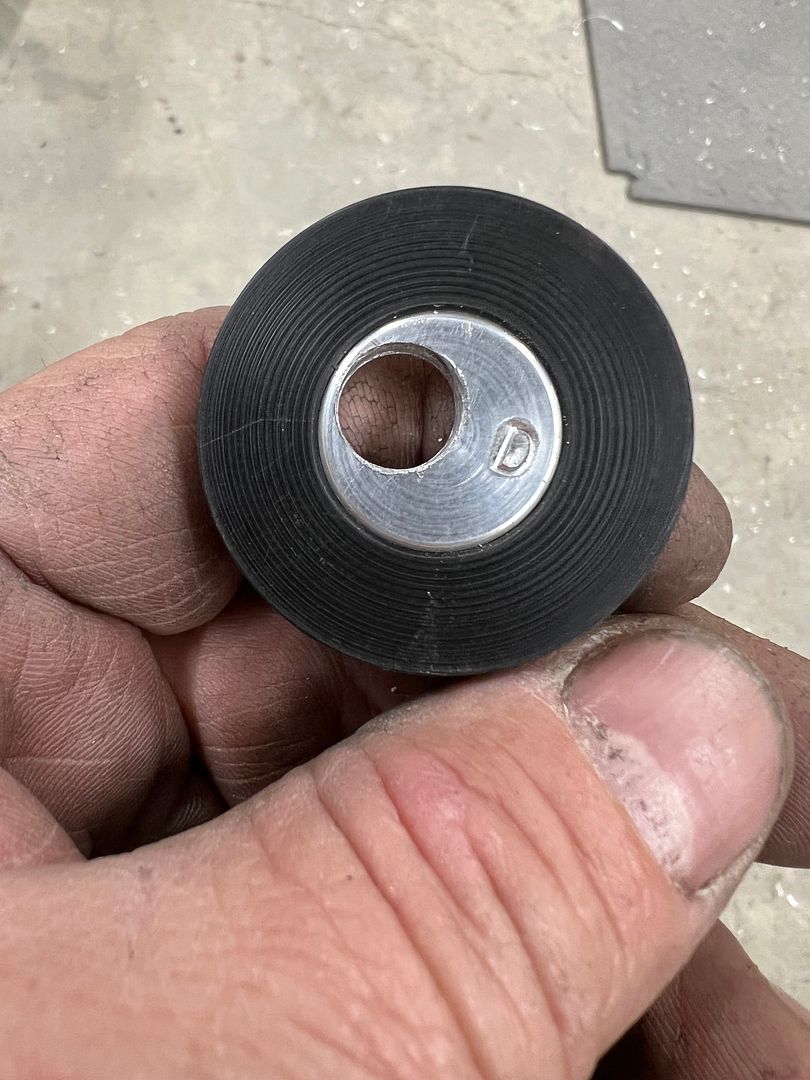
We had some black delrin scraps left over from making the radius arm bushings for Jared's 39, so we put them to use here. Since they had already been drilled, we added an aluminum plug and match drilled the holes to match the bracket. Installed, the black delrin is barely noticeable and makes for a cleaner detail over the stacked washers.
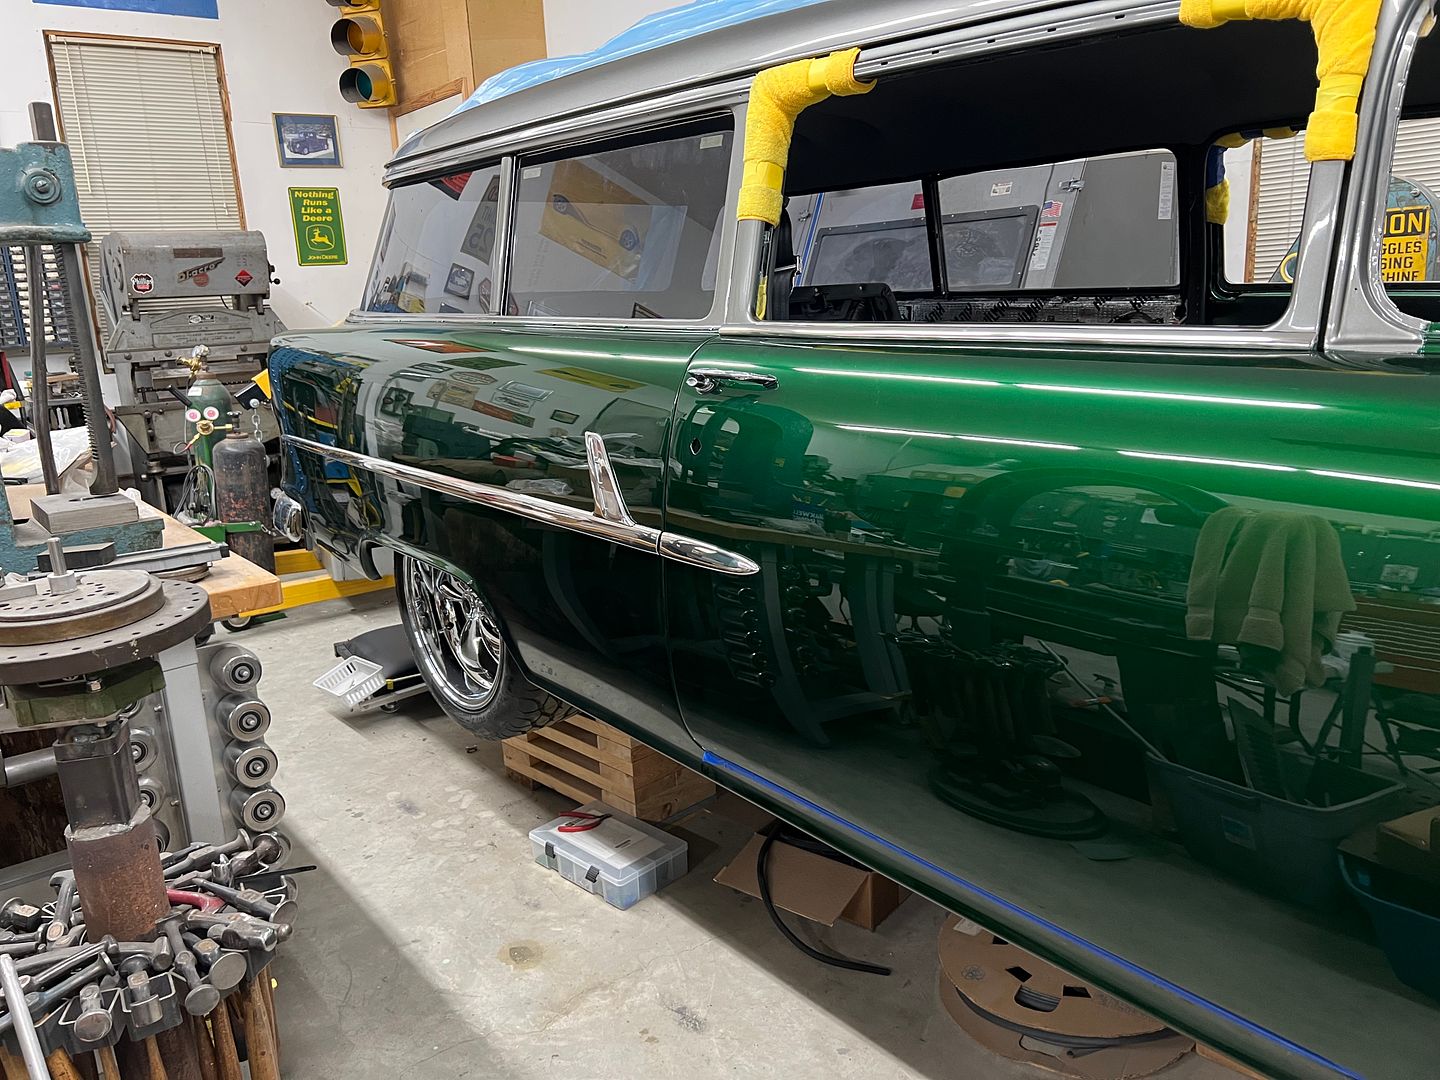
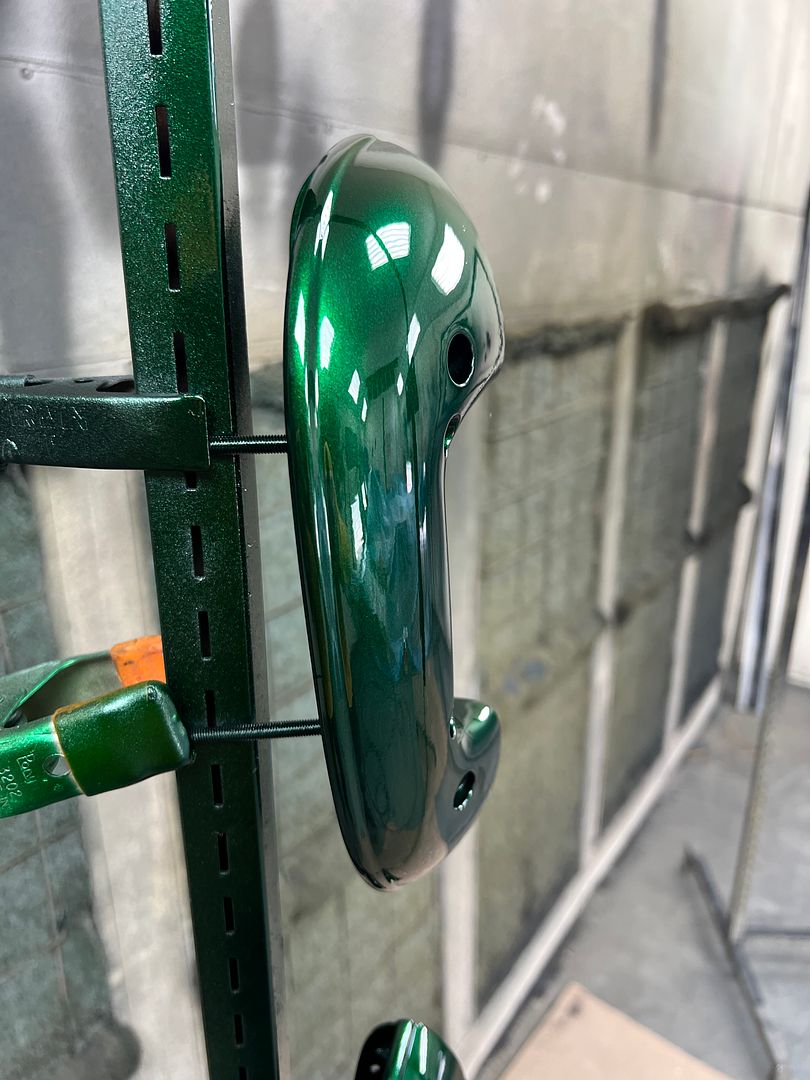
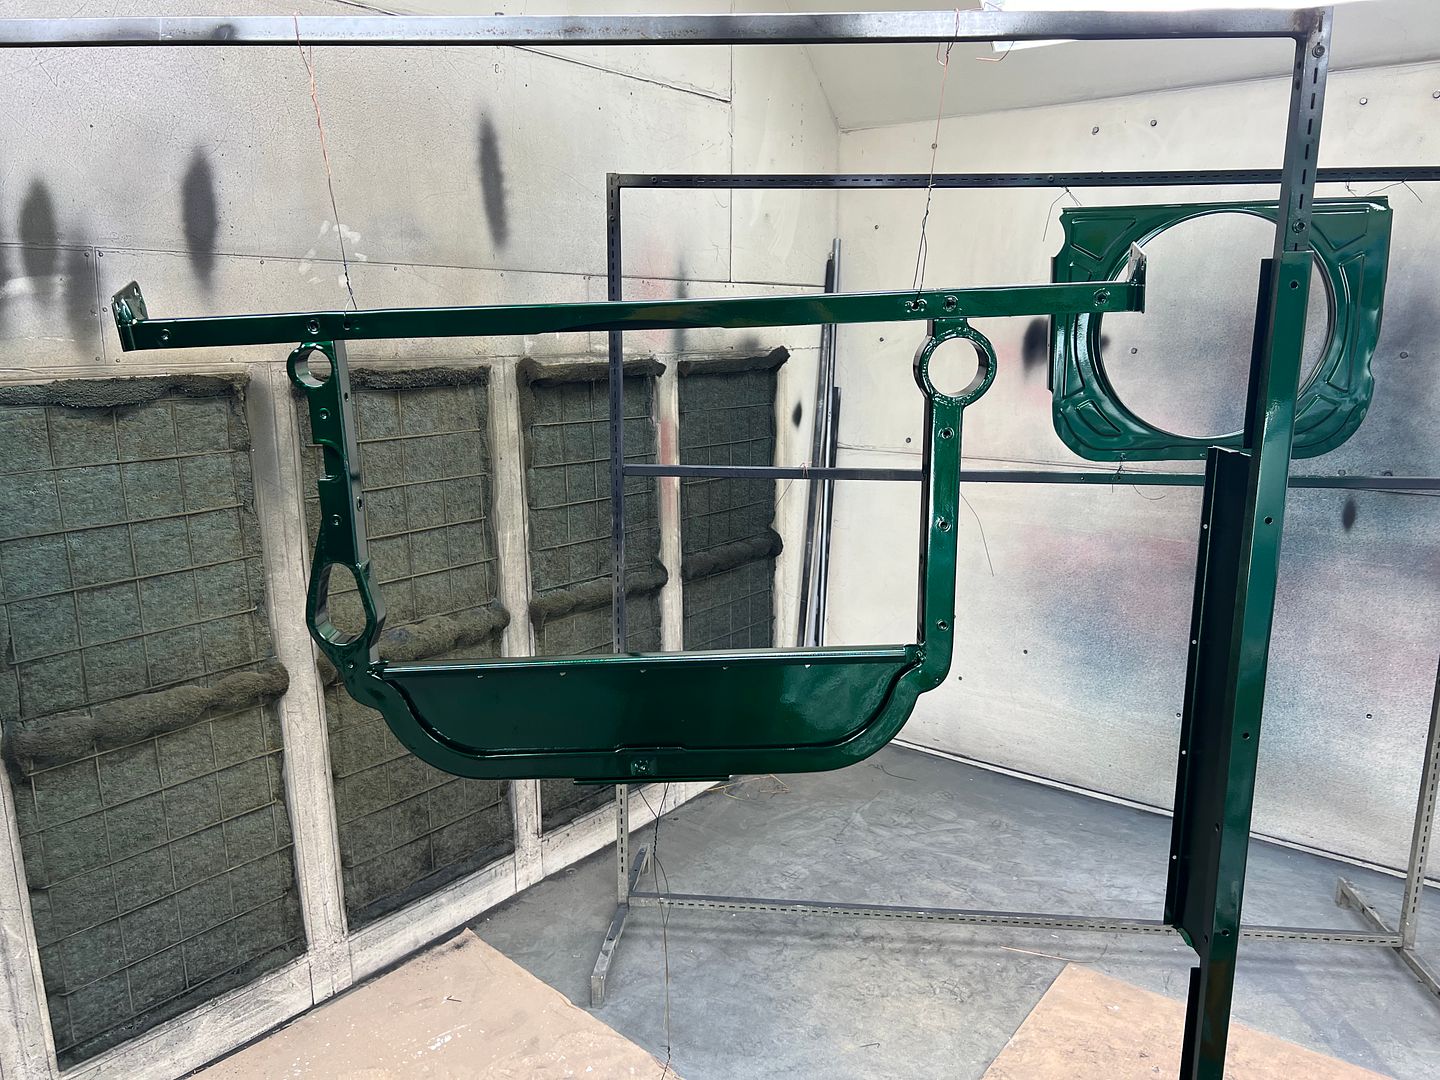
Some of the parts we sprayed while the front fenders were off.
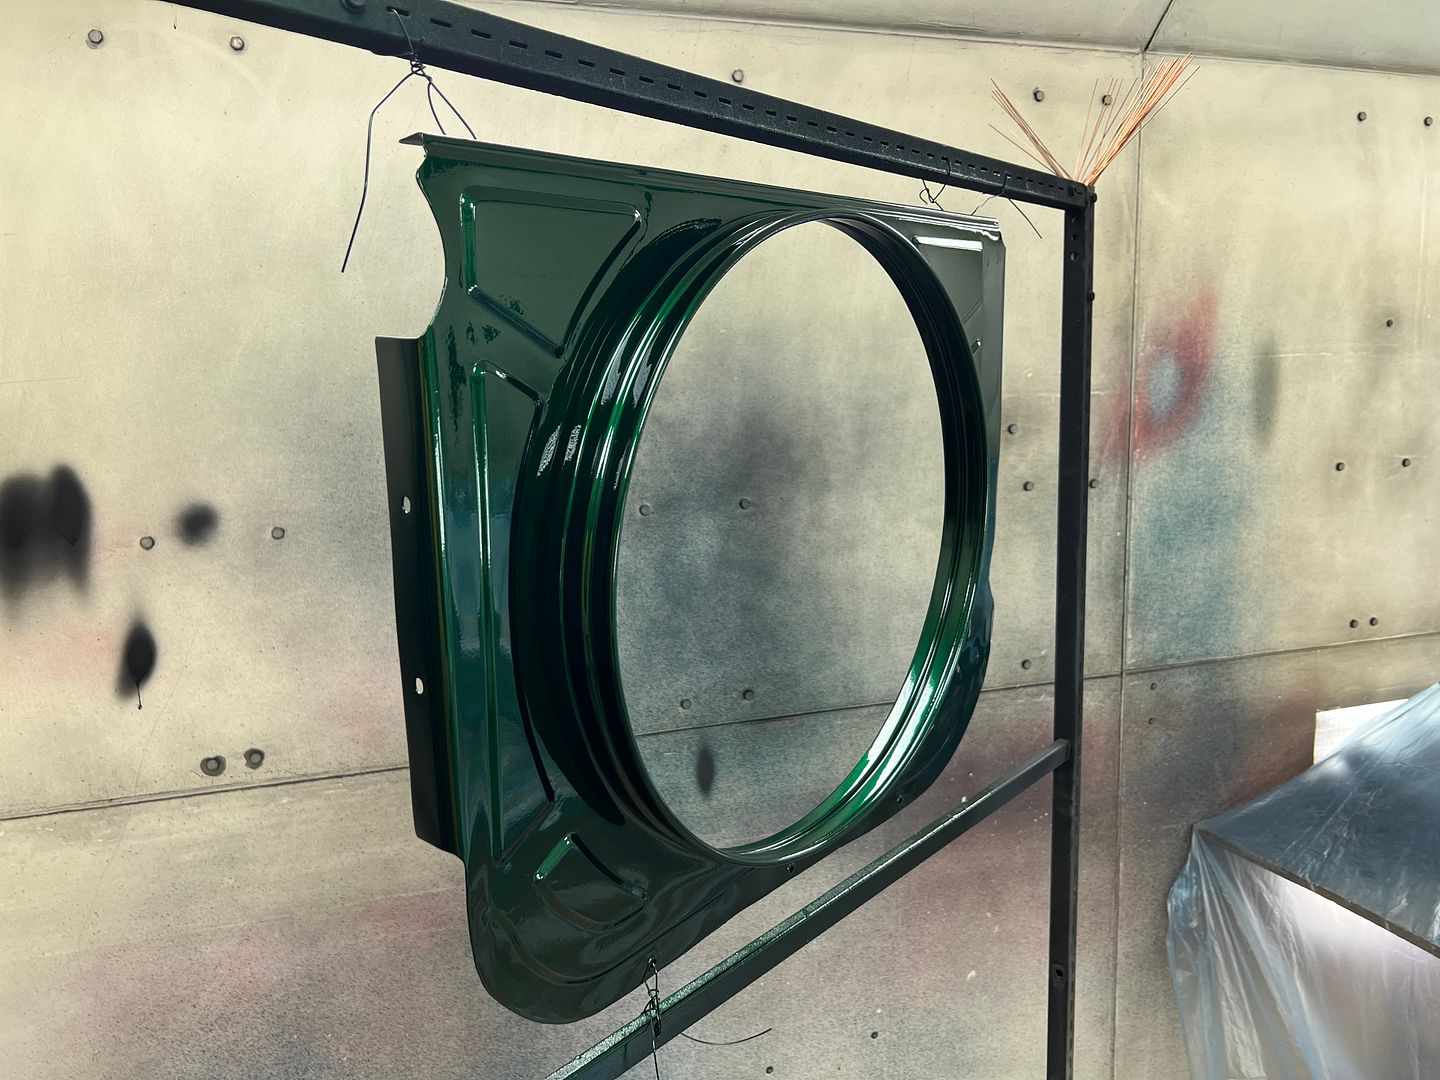

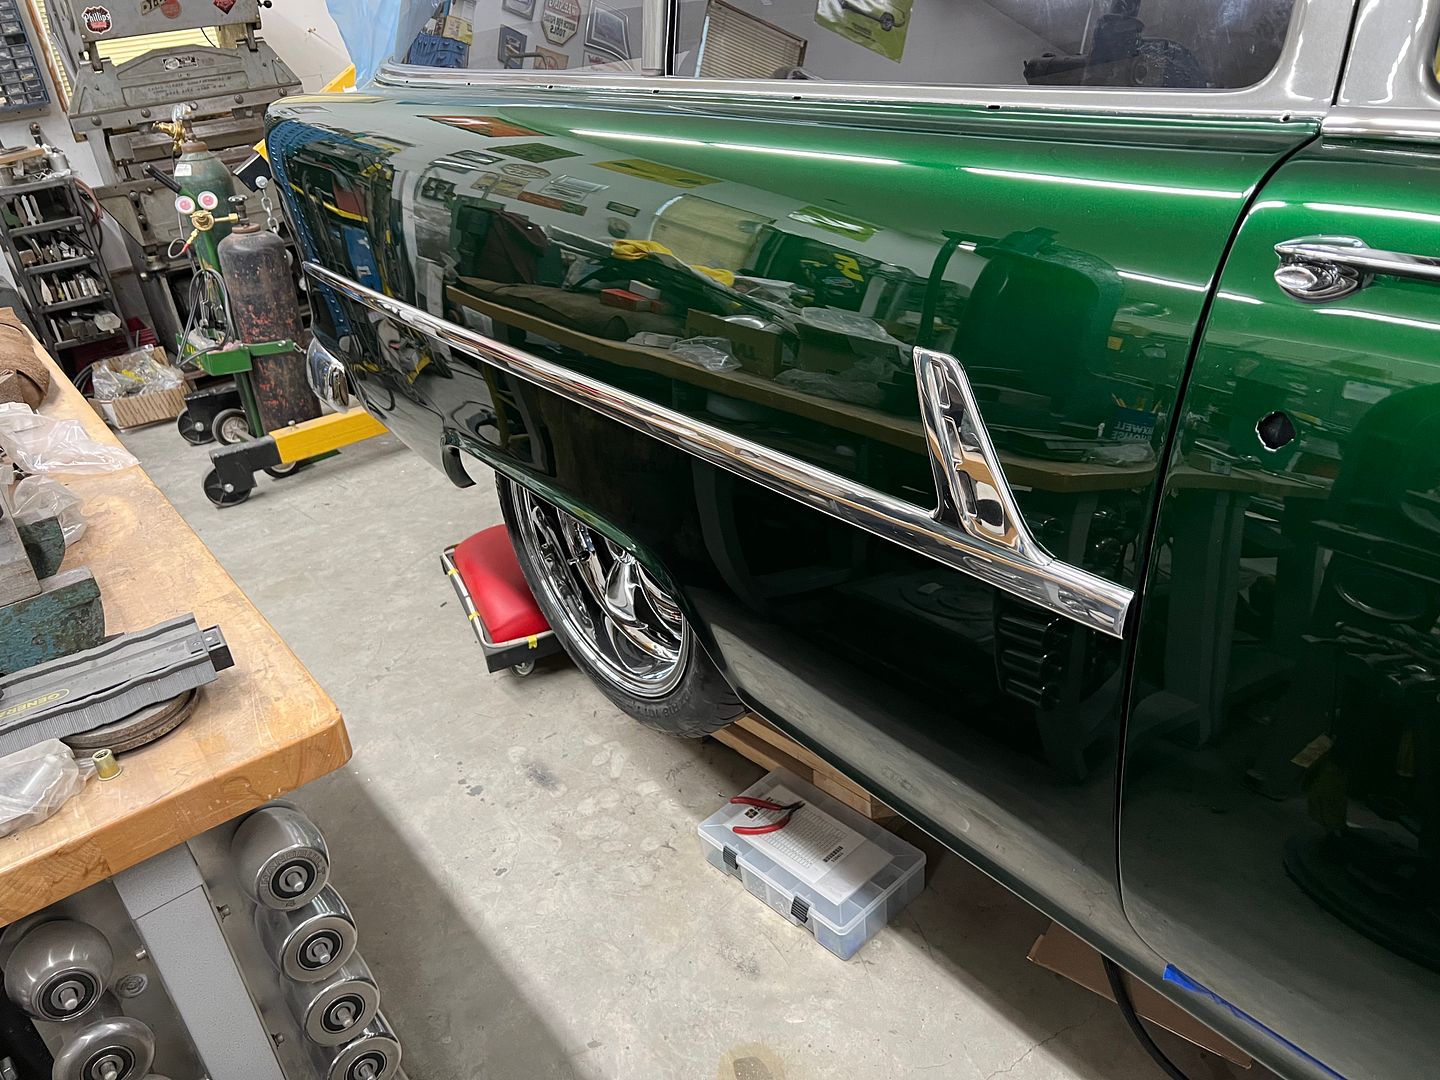
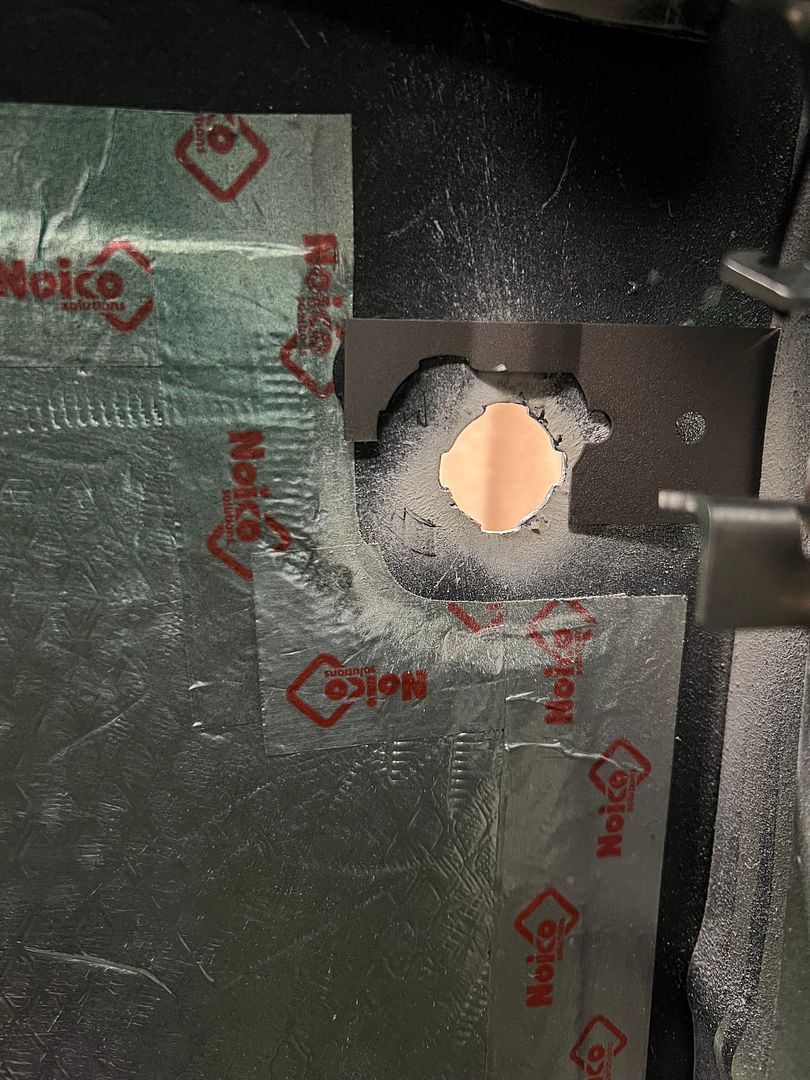
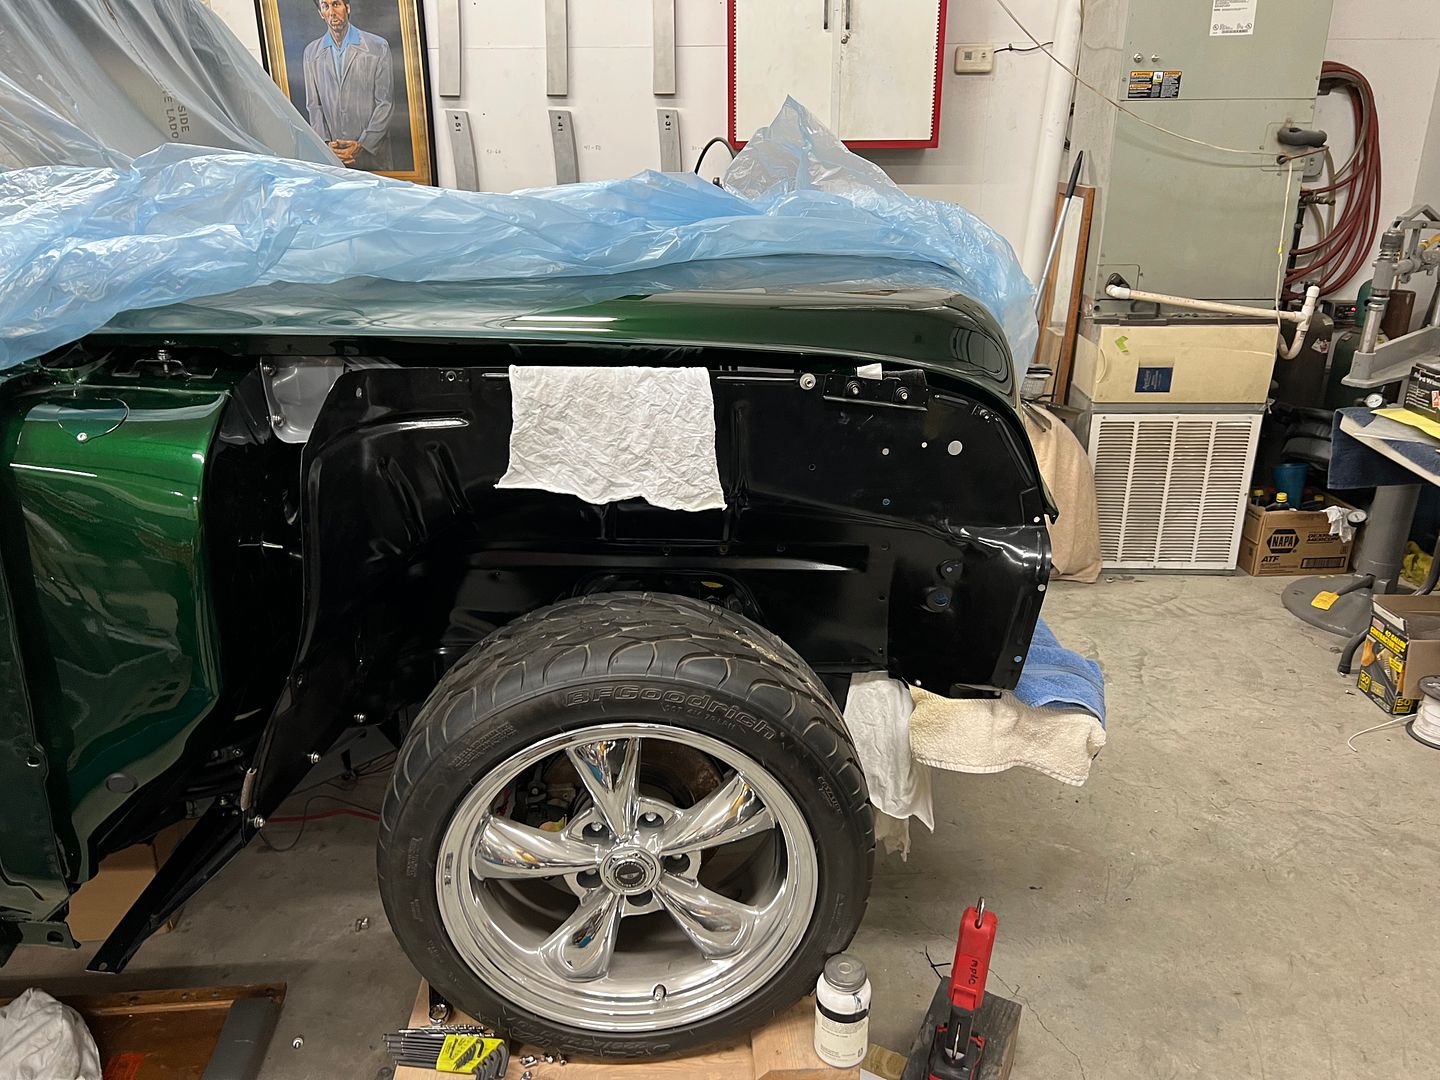
With the core support reinstalled, we started on the installation of the inner fenders.
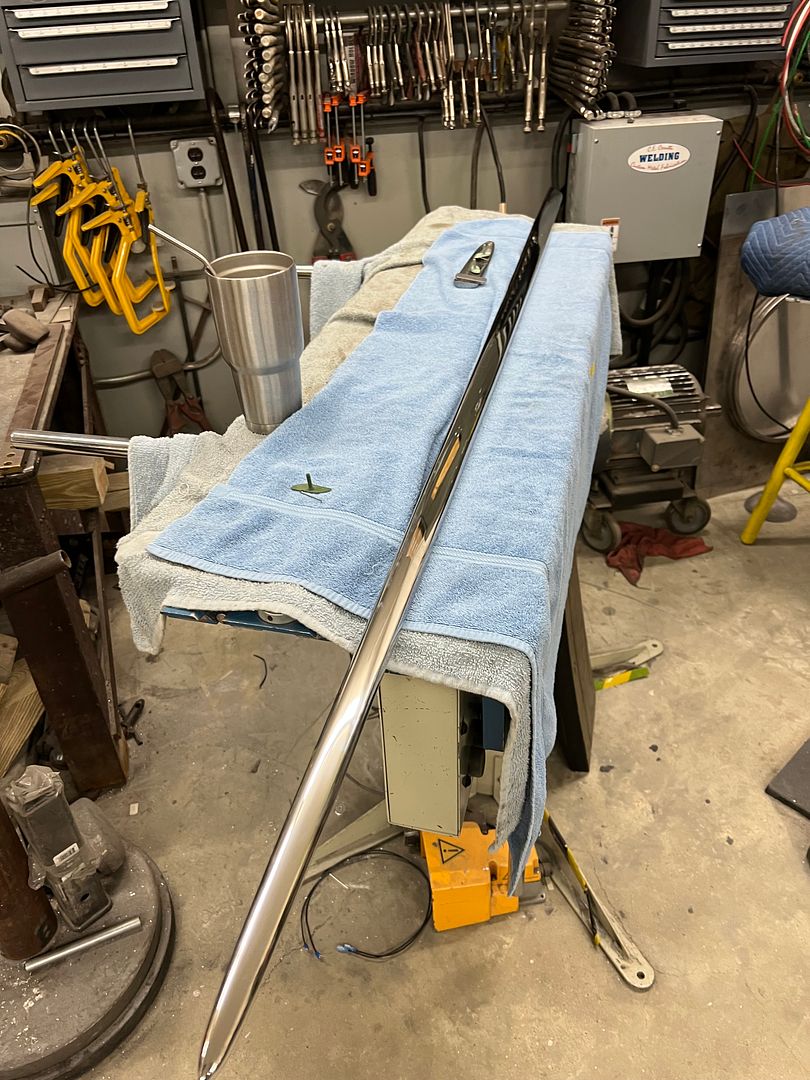
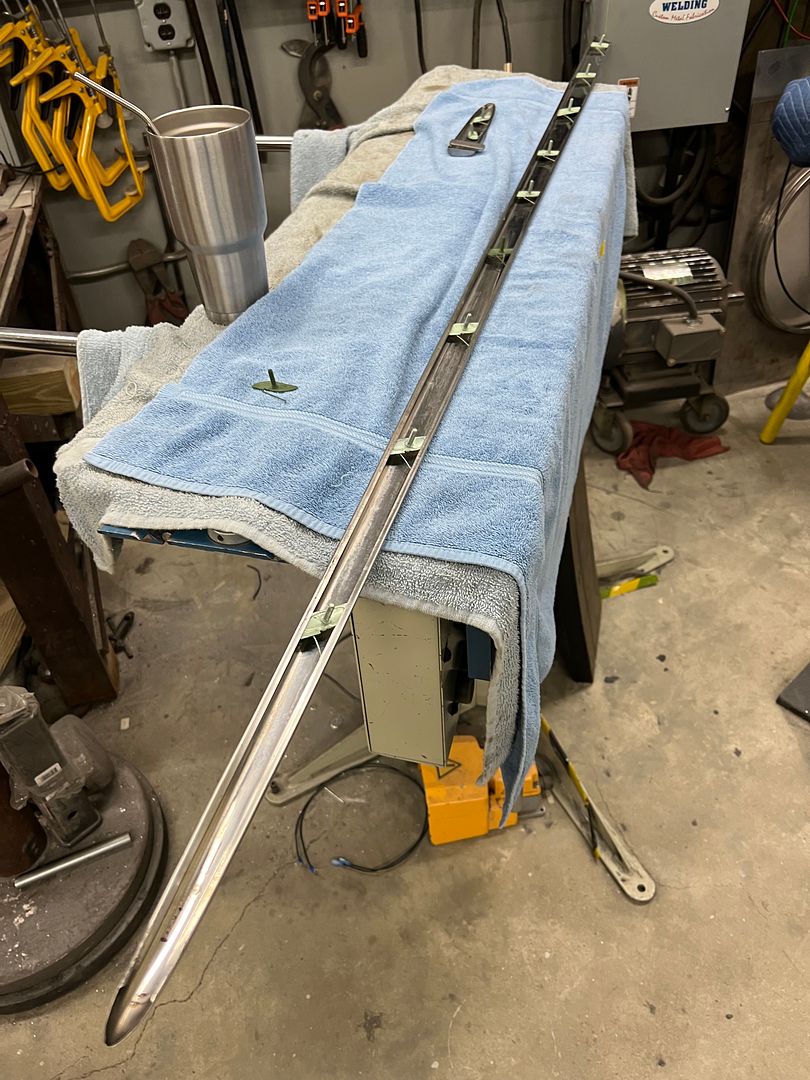
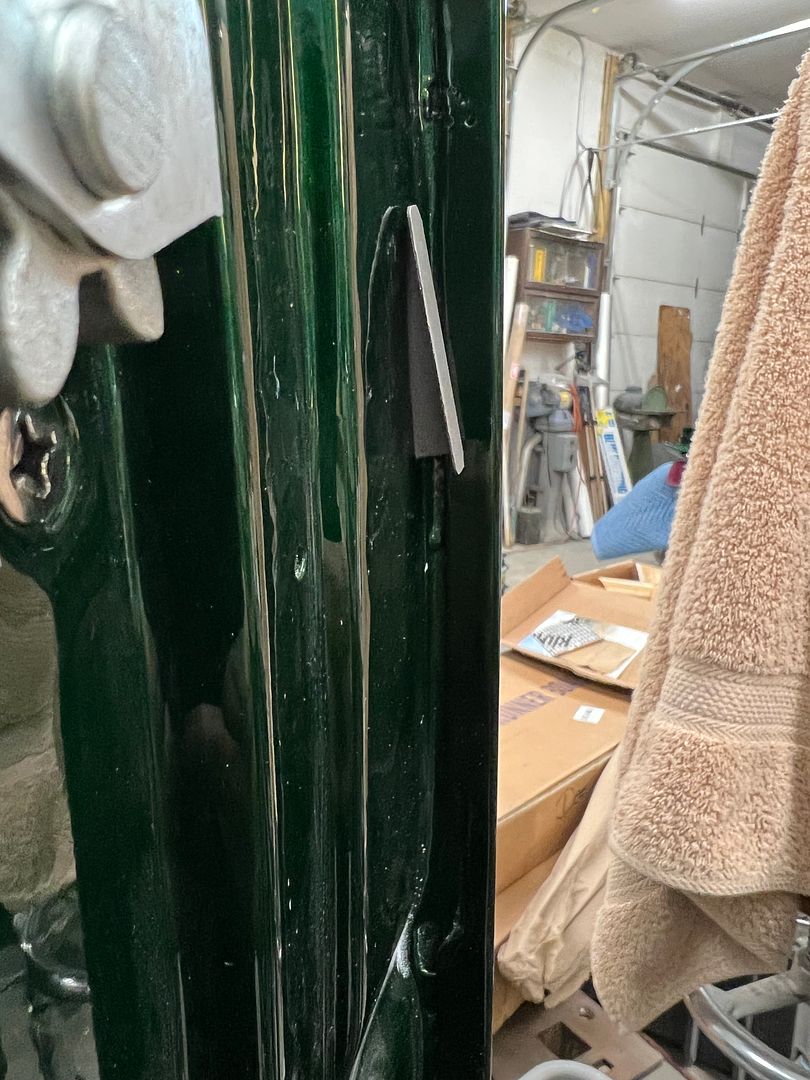
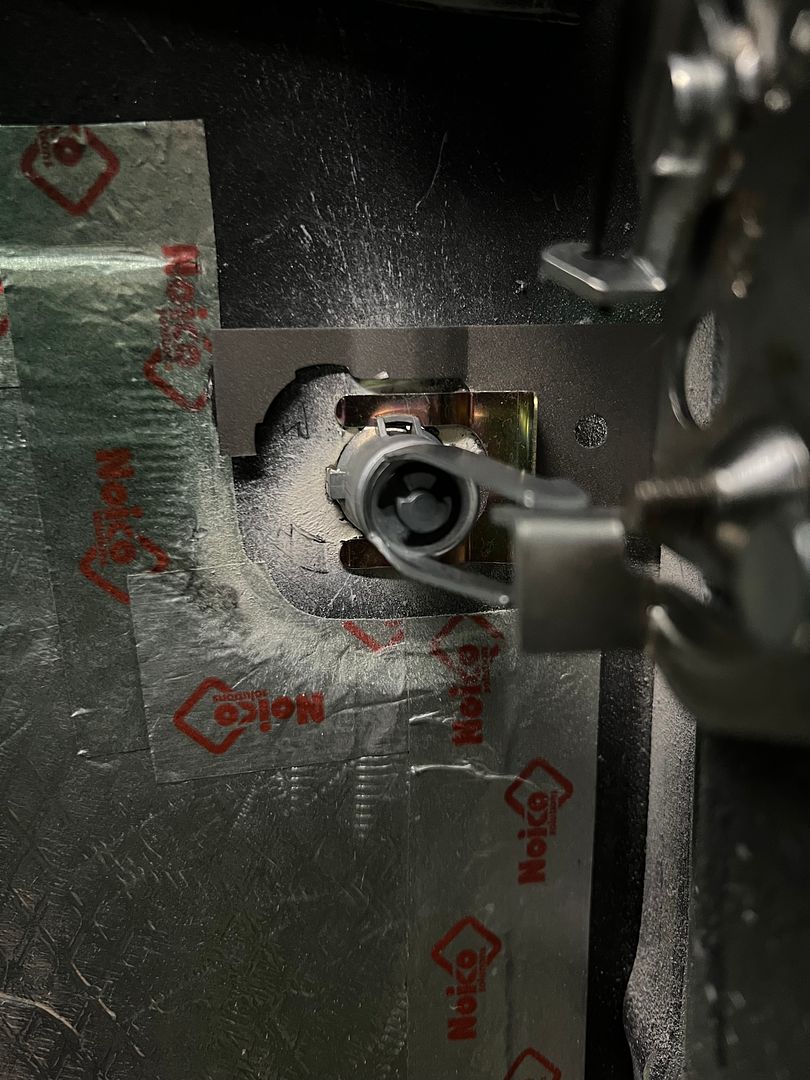
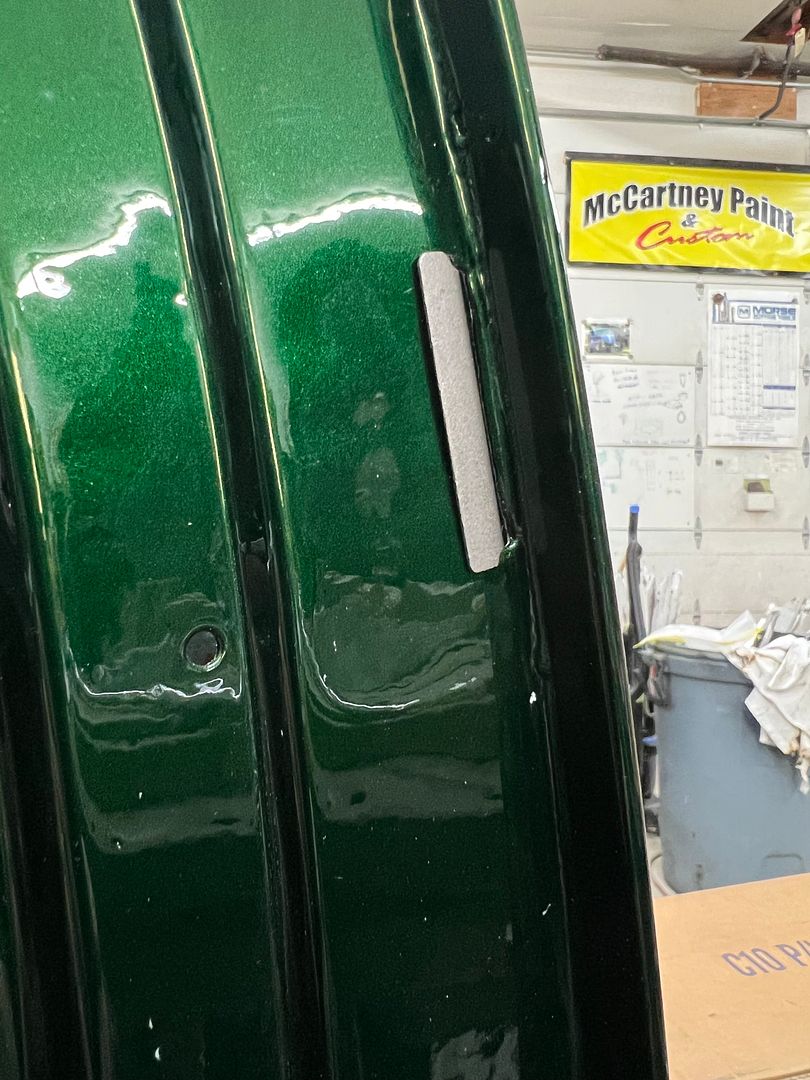
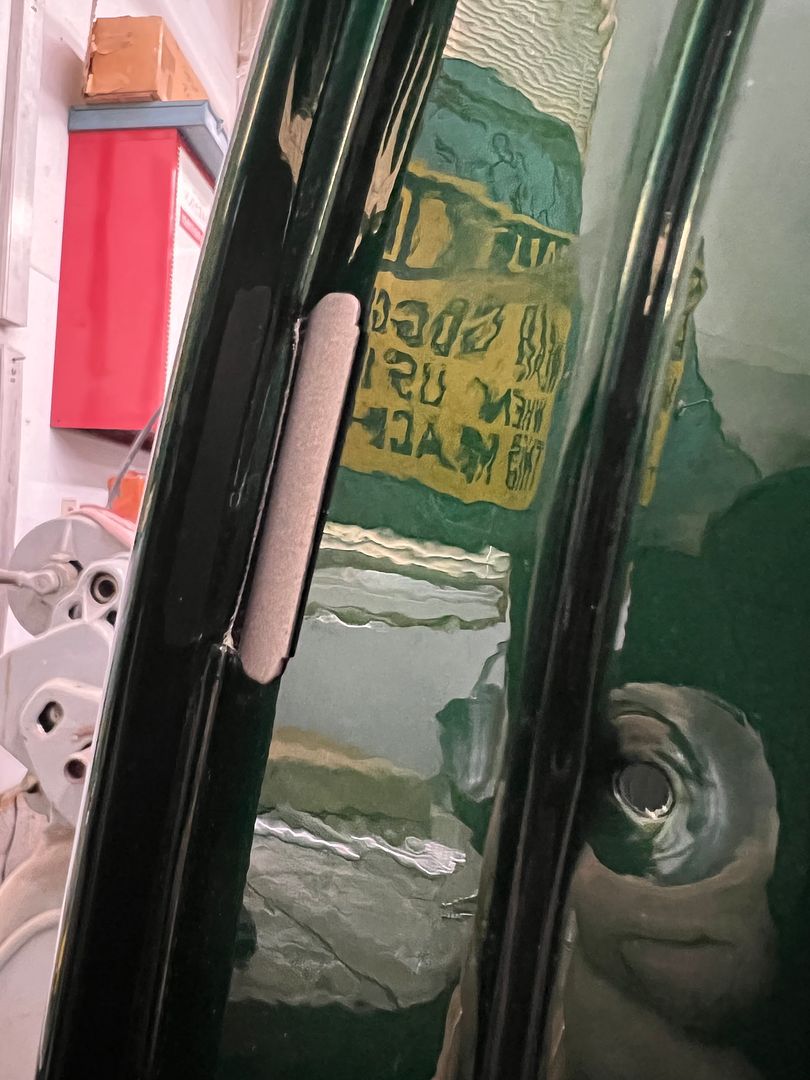
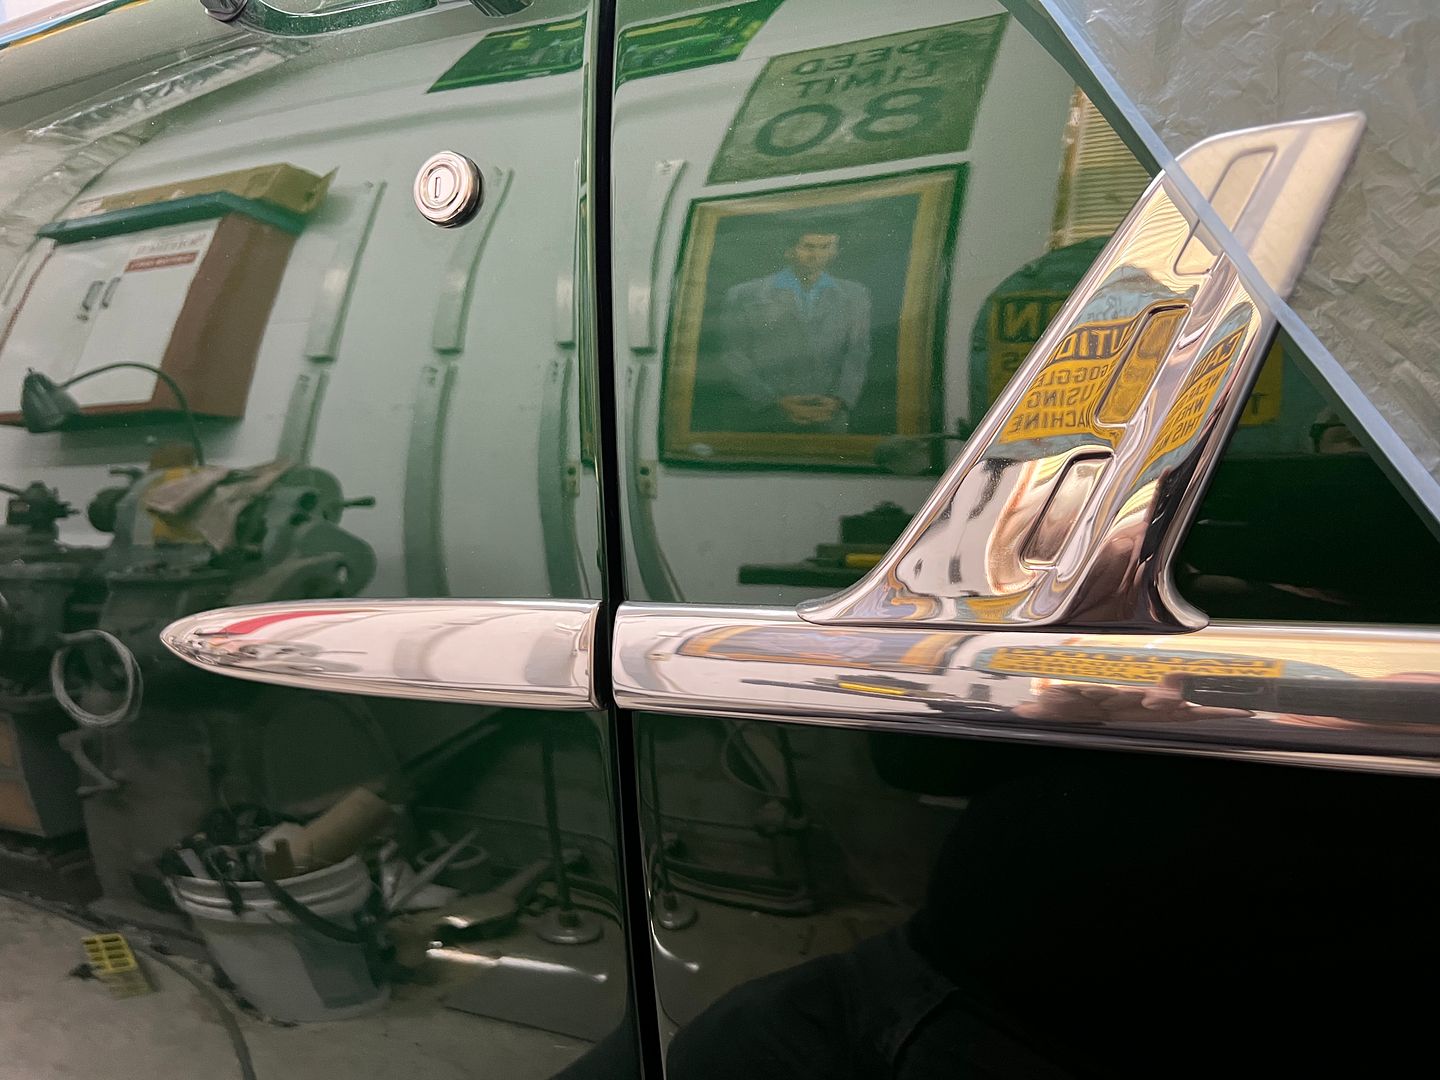
Since our cowl bracket was all cleaned up now, we needed to address the attaching hardware. This started with 400 grit and worked up to 5000 trizact before hitting the buffer...
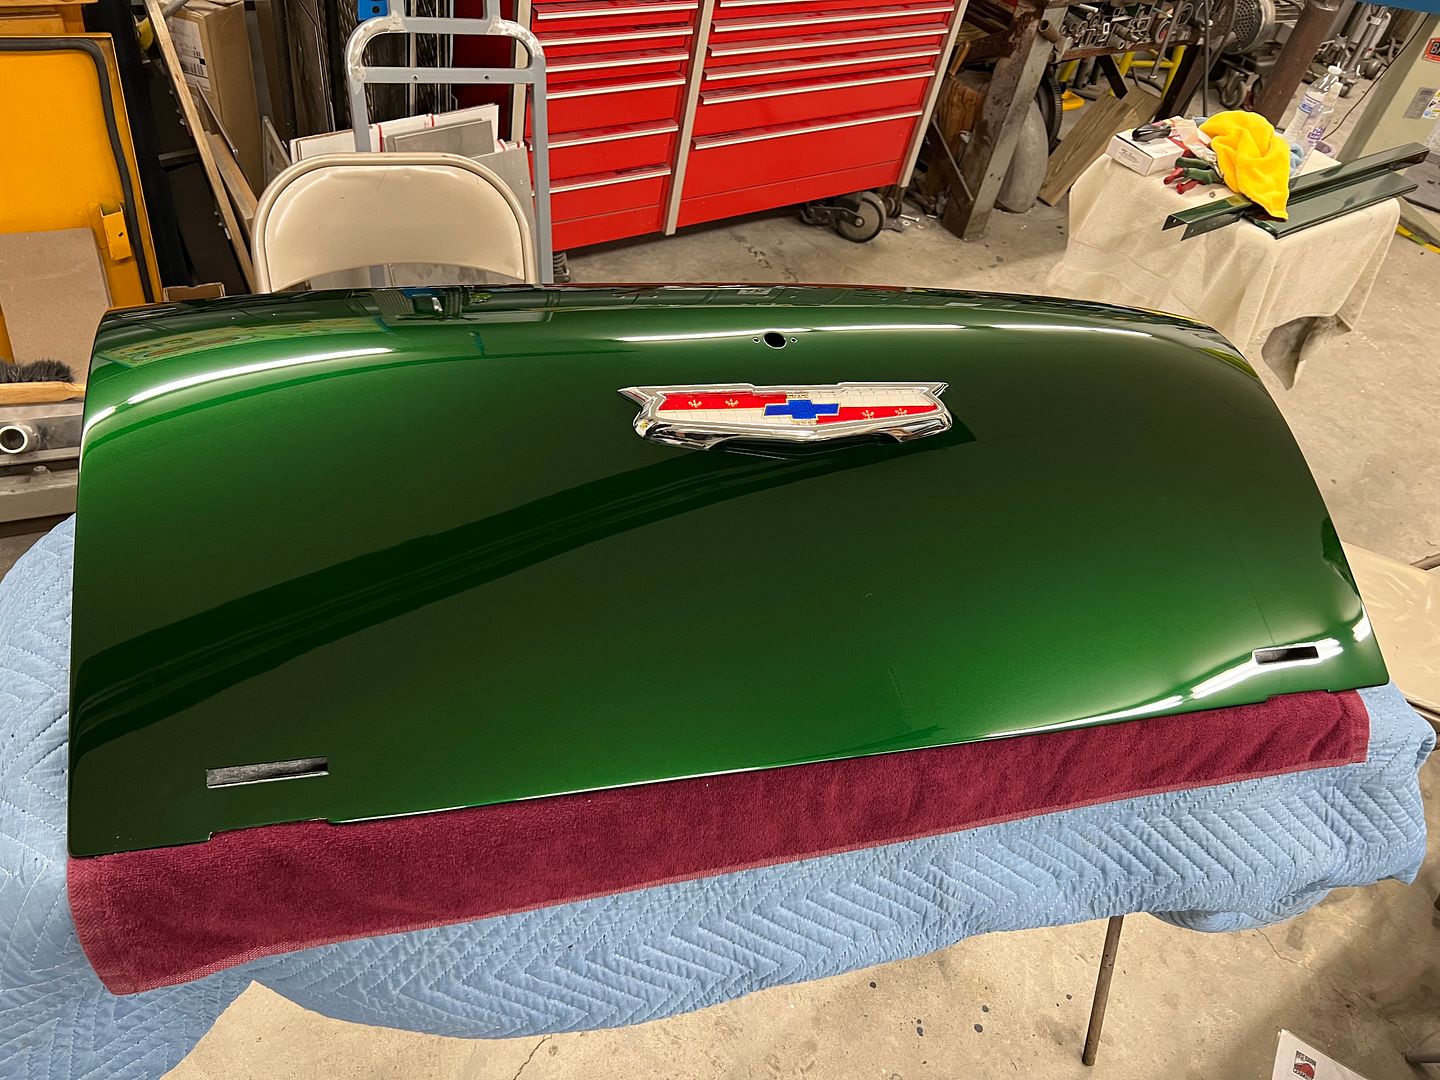
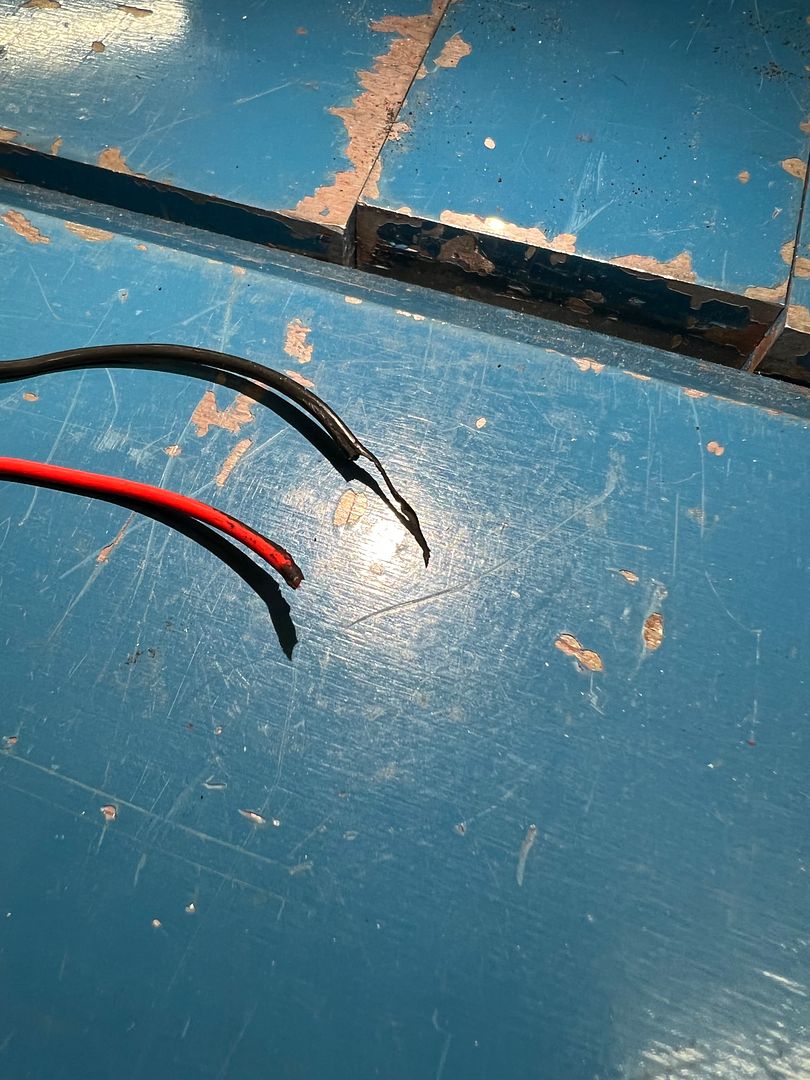
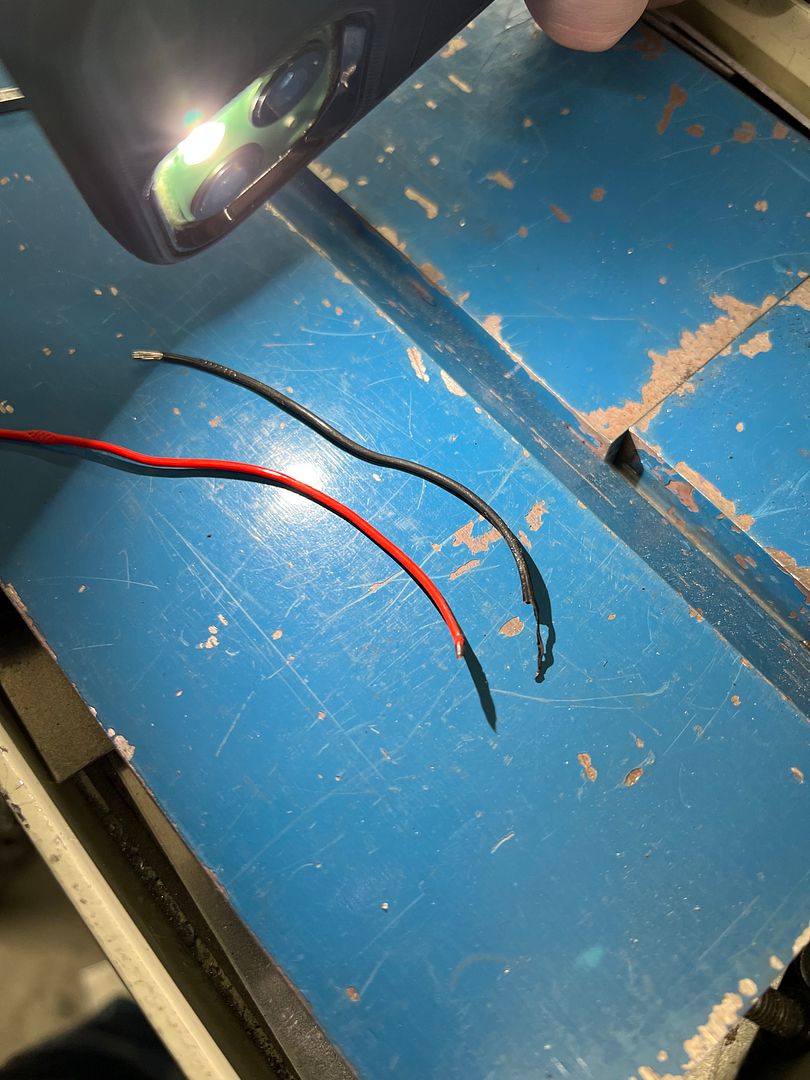
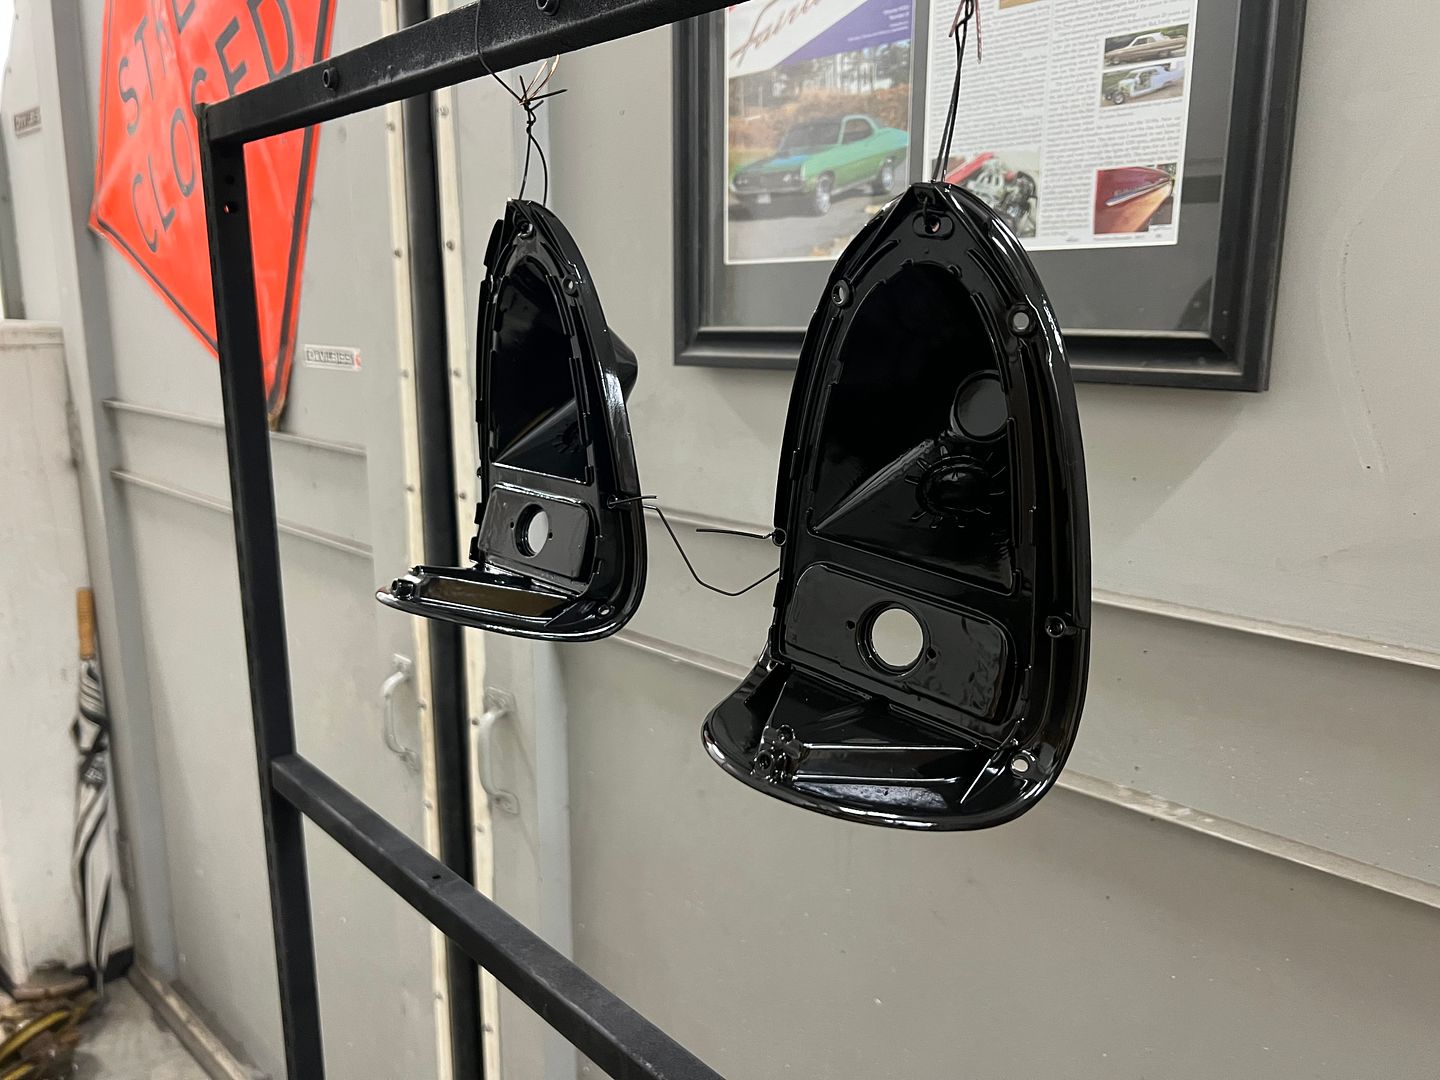
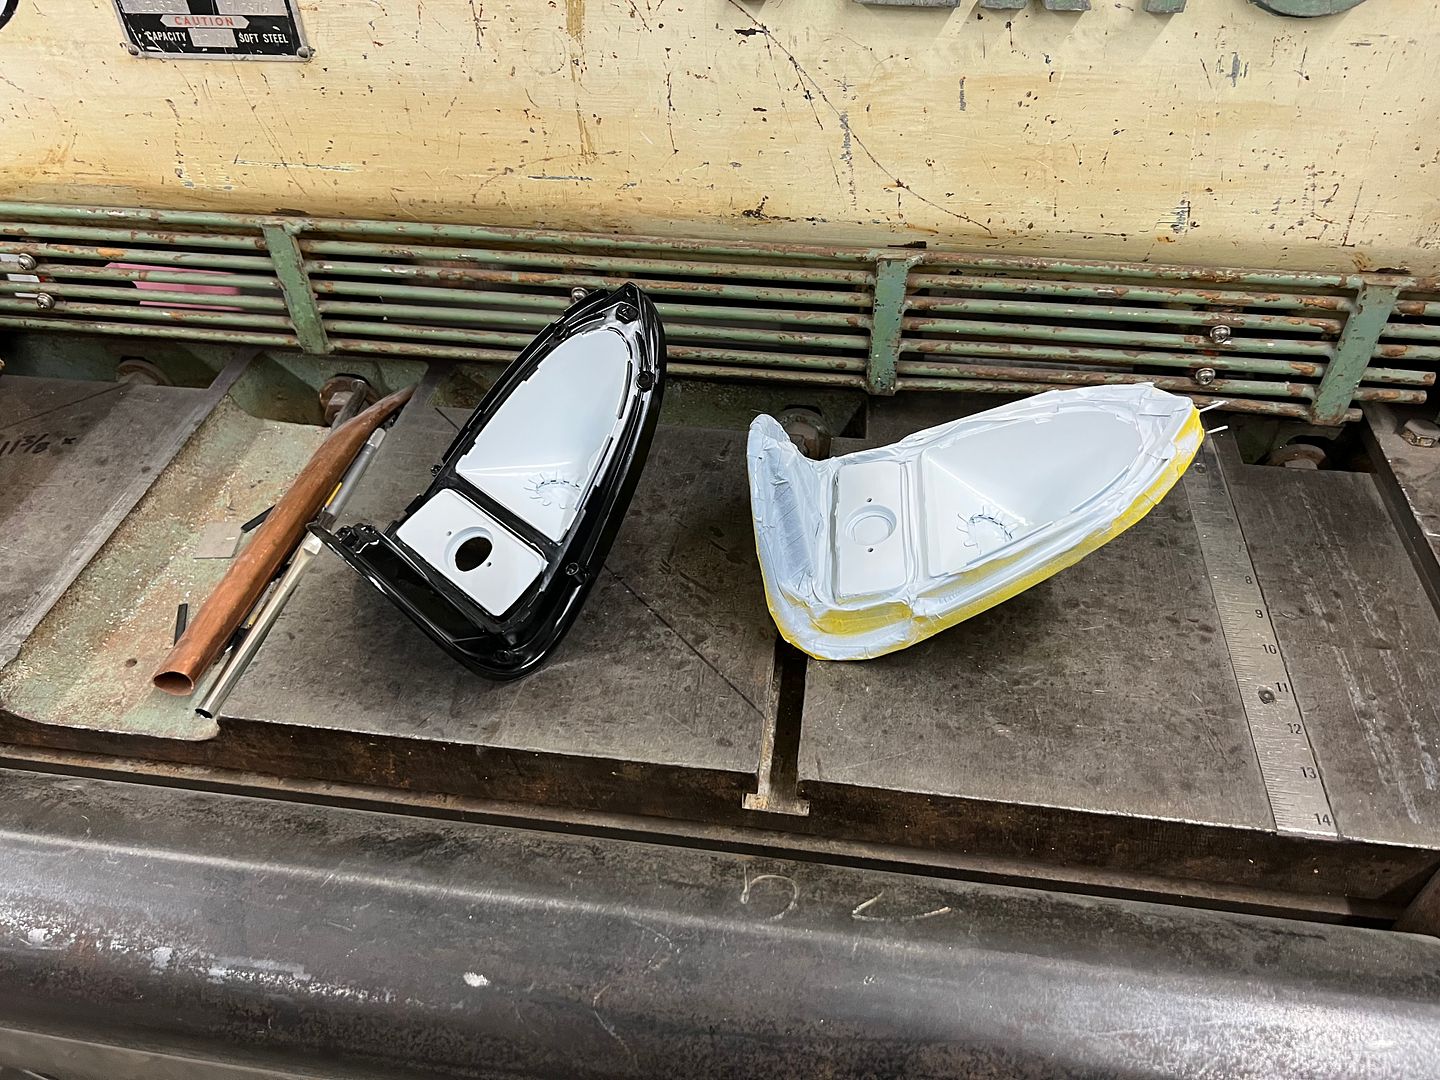
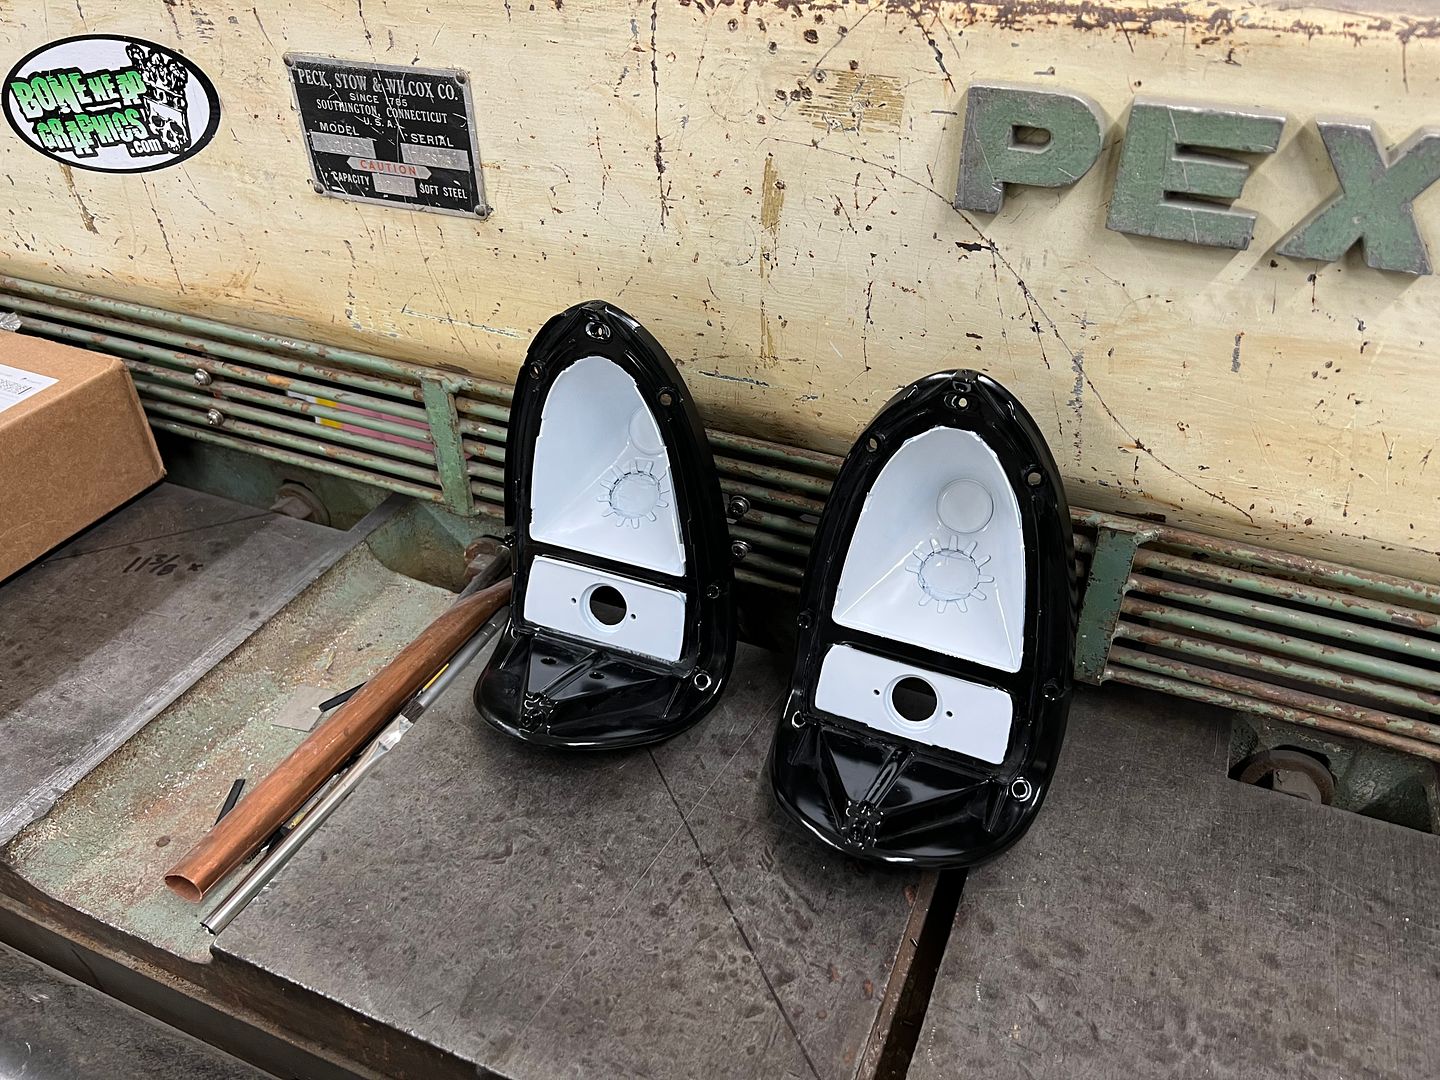
Much better! And so we can finalize the wiring at the back of the car, the tail-light housings had been sprayed in epoxy and we added some catalyzed white to the inner portion for some brighter lights.
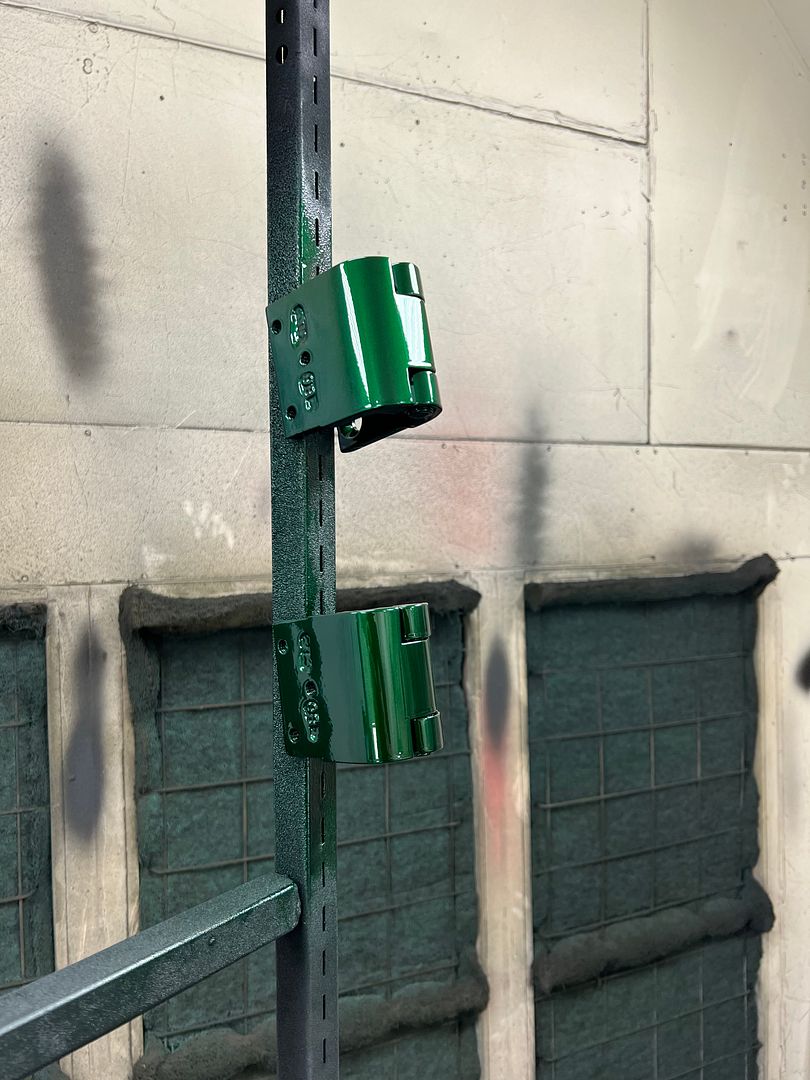
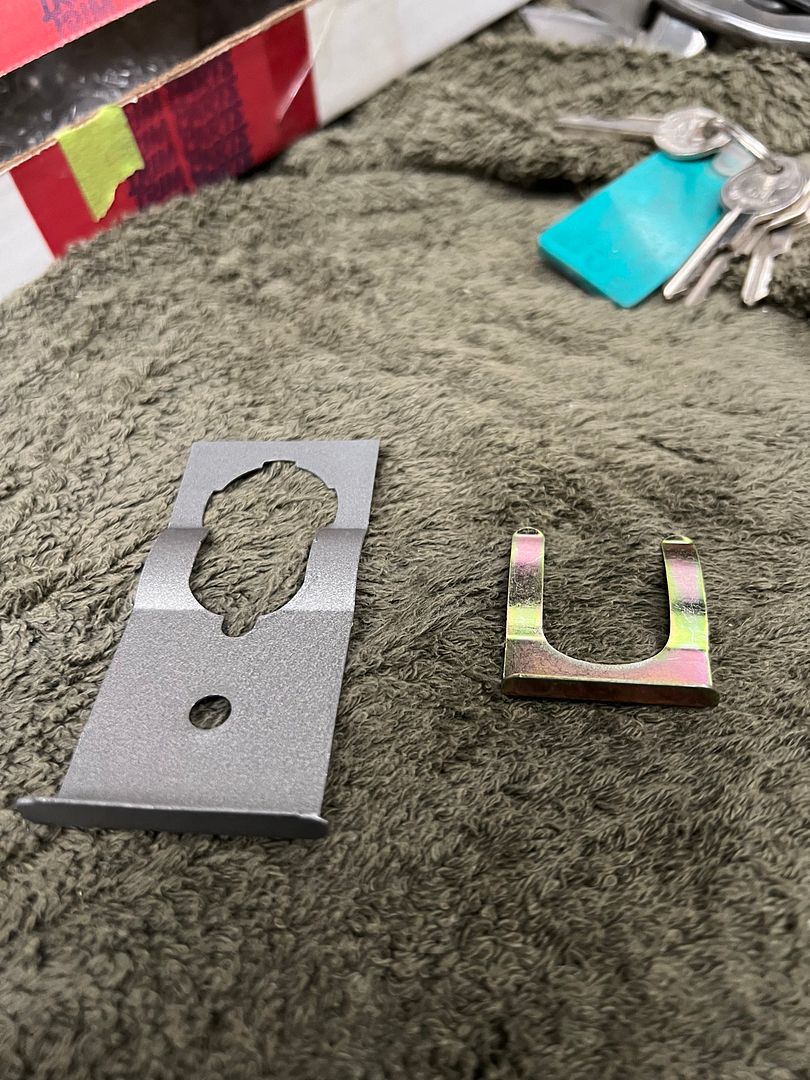
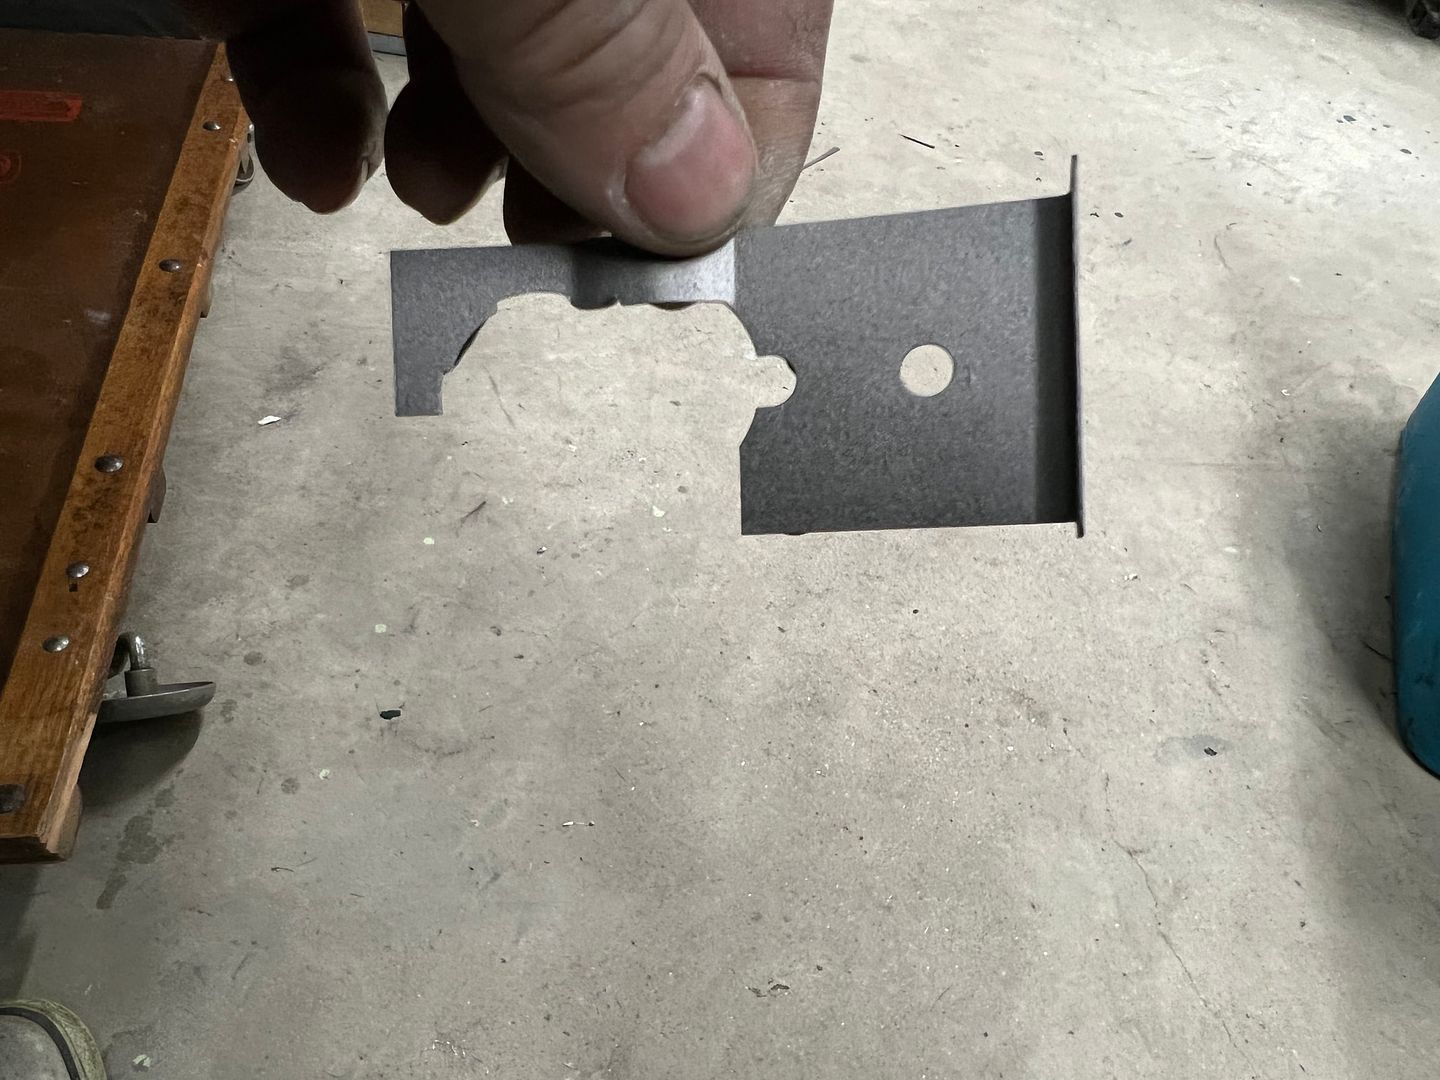
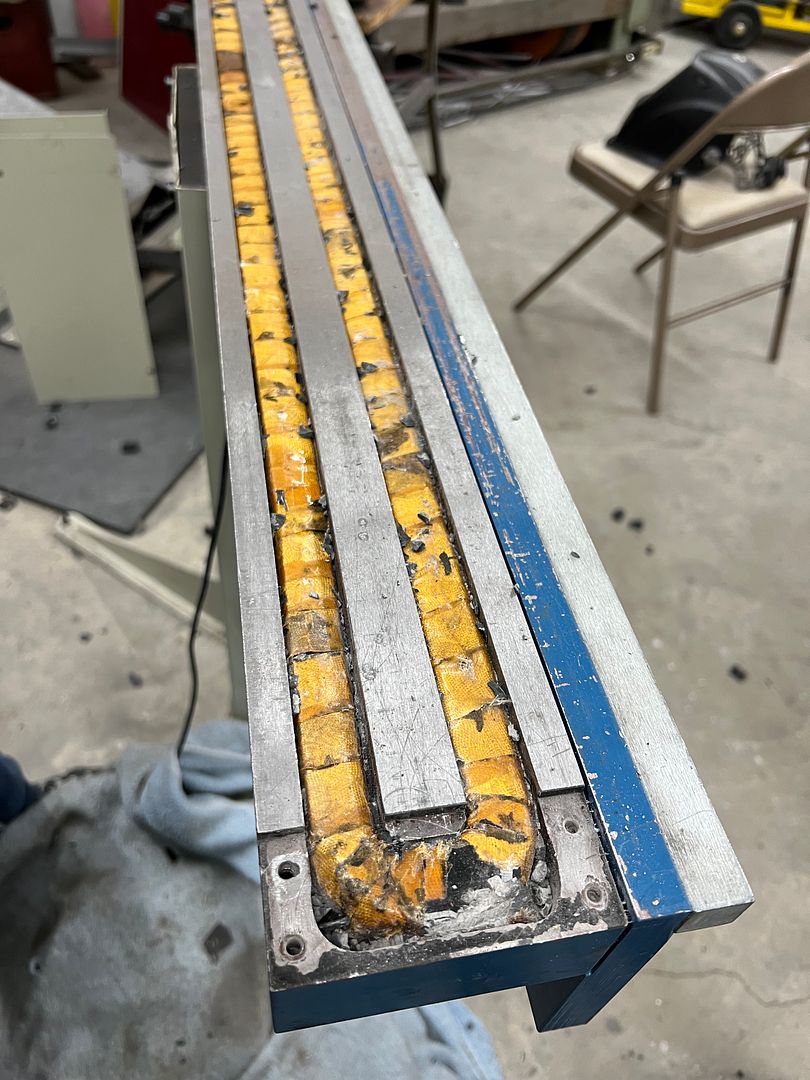
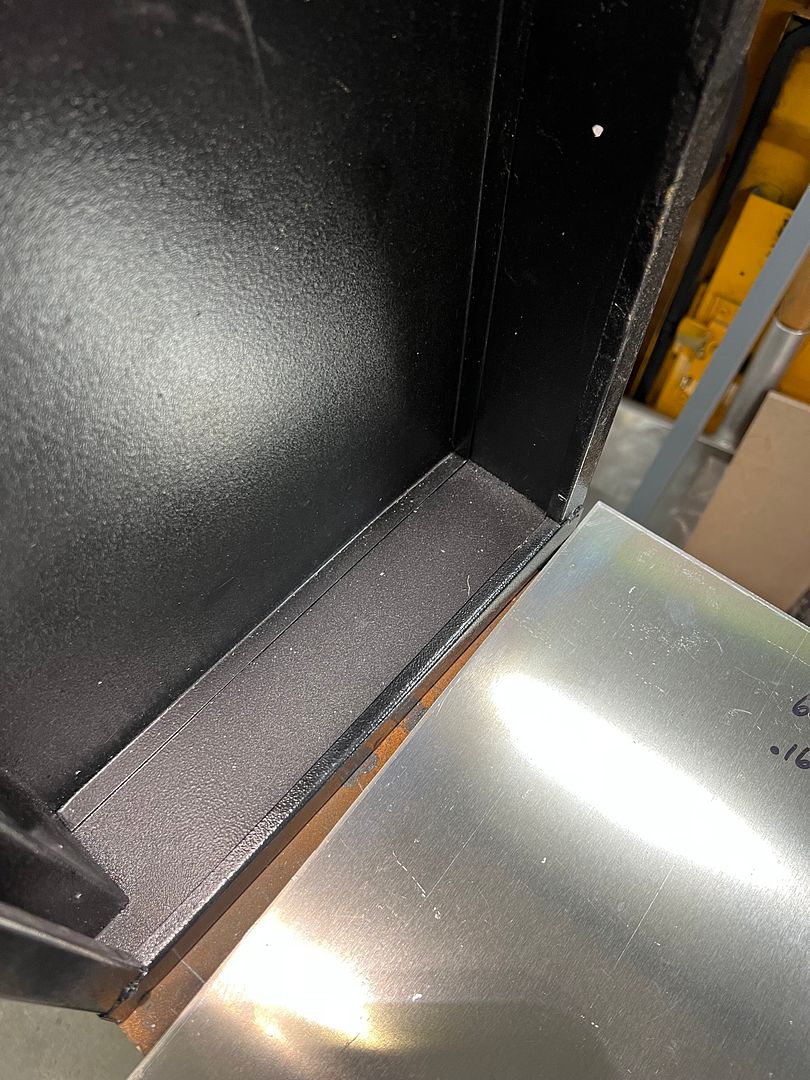
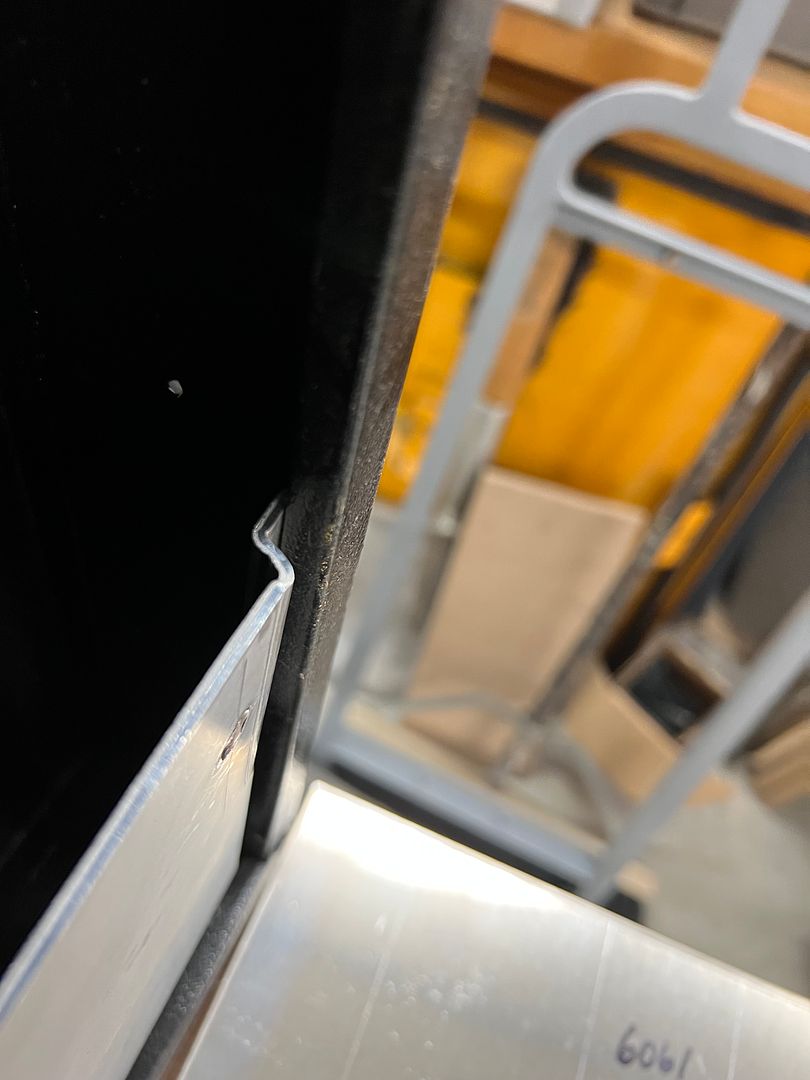
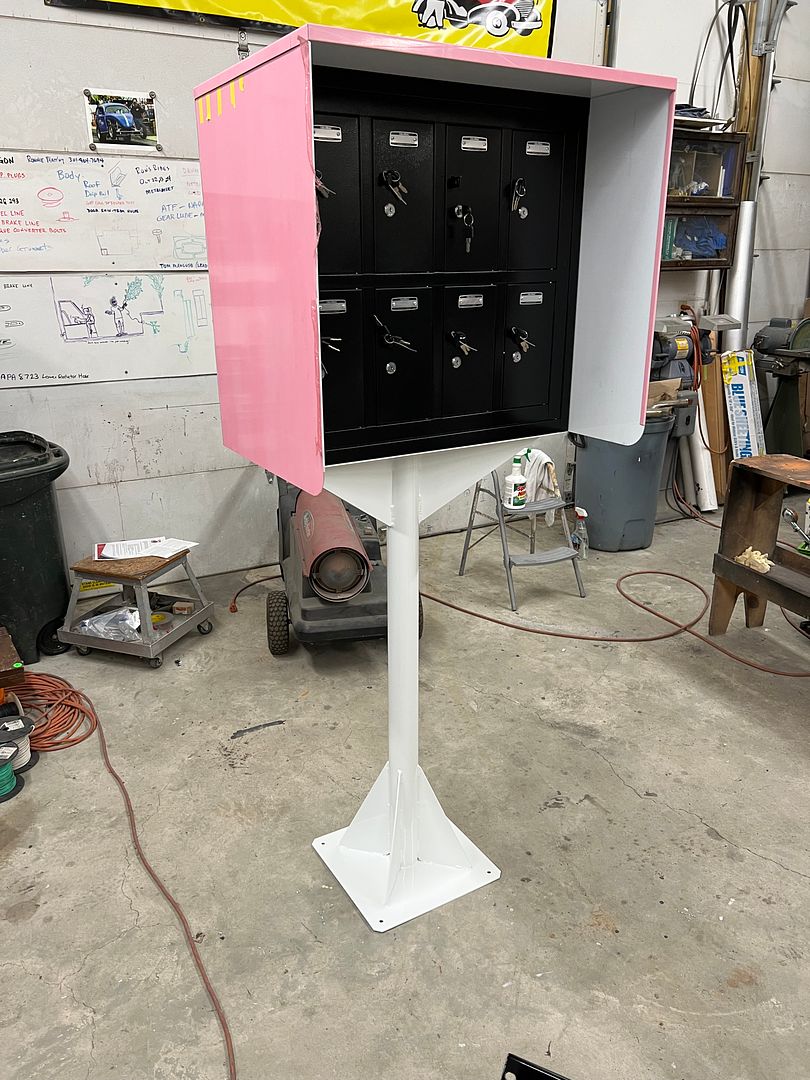
.....and the day job has me building anchored support stanchions for some phone lockers and naturally the mounting holes are on the back side for a wall mounting only. What we need are some bolting plates to hold things down as I wasn’t comfortable with rivnuts in the chinesium steel flange on the bottom.

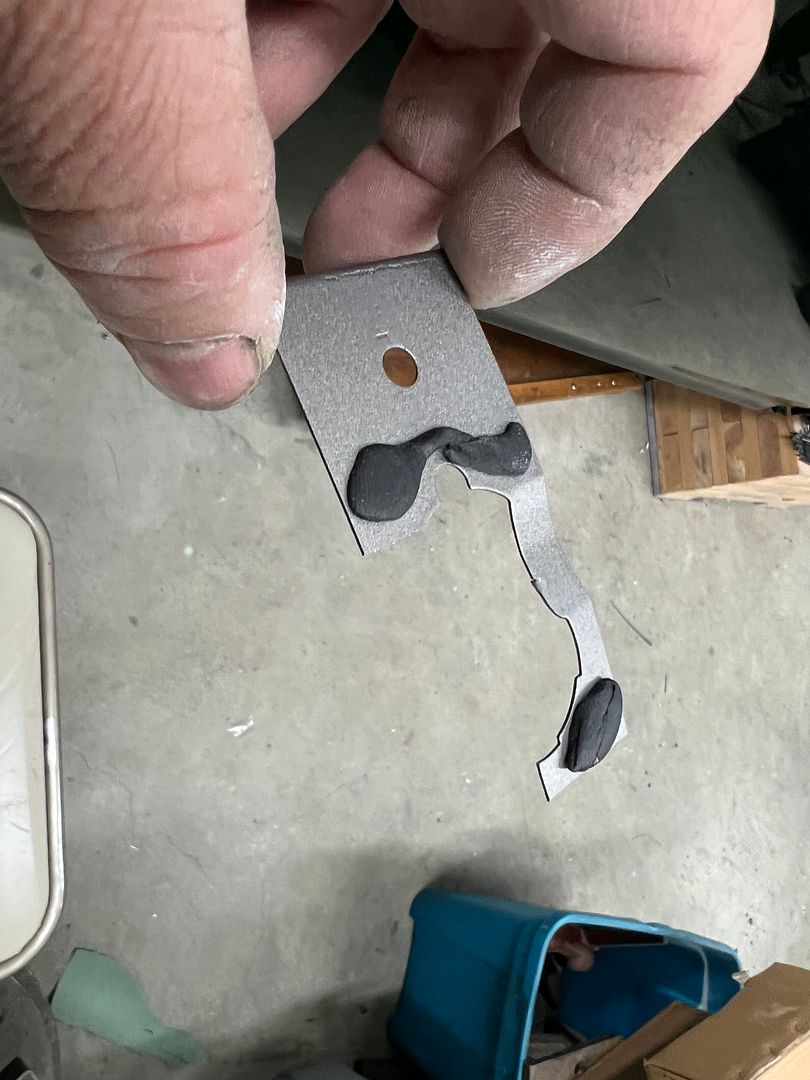
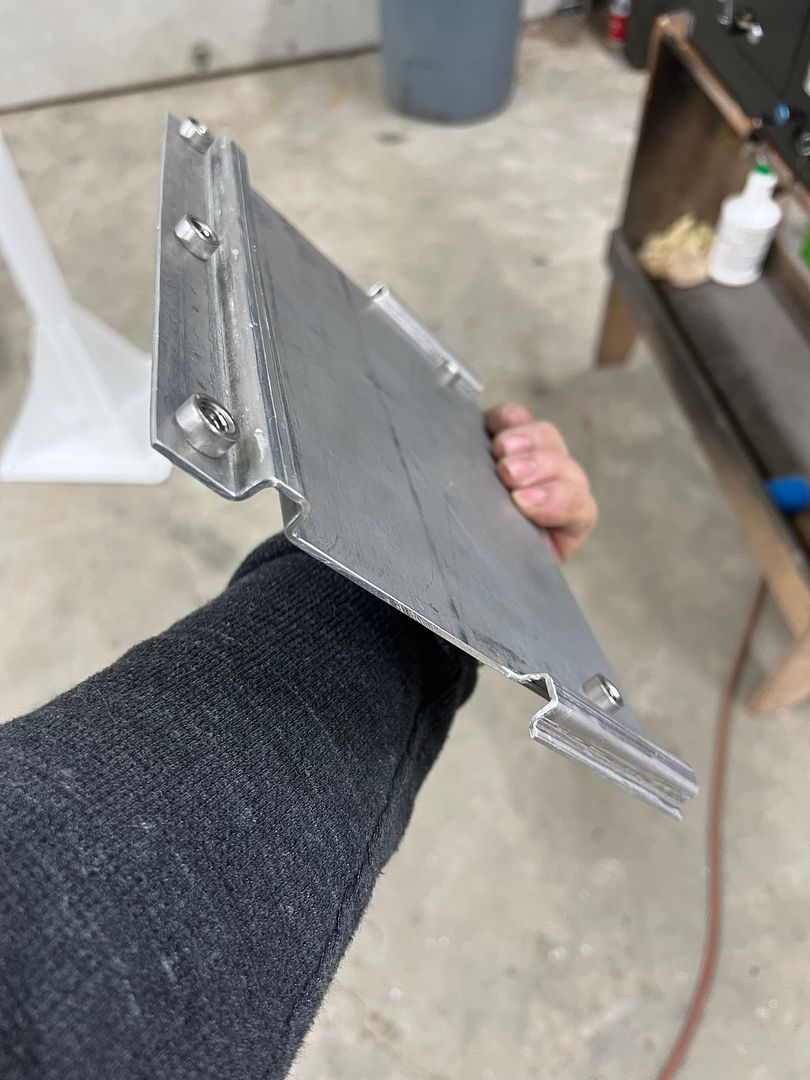
Well, said flange also has a 1/4” upward fold for added strength, so our bolting plate will need a tight reverse bend to offset those but still leave room for press nuts on the end flanges.
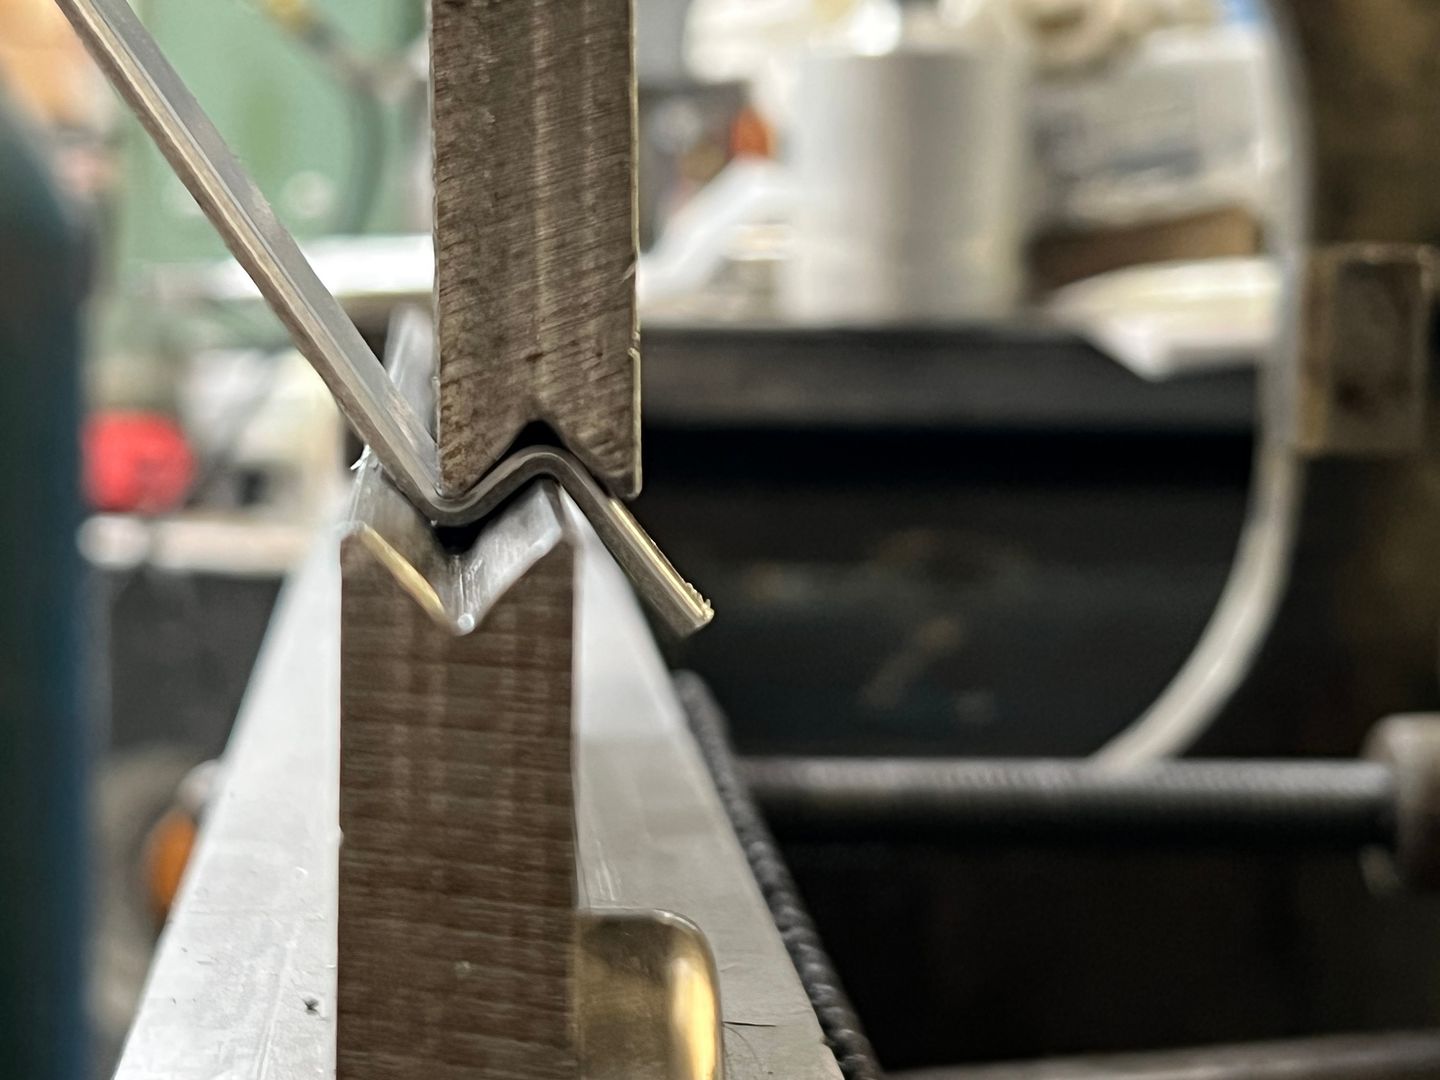
So some 1/2” wide female VEE dies were set up opposing each other with just enough offset to make two bends at once.
Shroud added for weather resistance..
We pulled the front fenders back off, we had mocked them up in order to modify the upper fender mounts at the cowl. They came with some excessively sized holes to allow plenty of adjustment, and we had filled in the factory hole and re-drilled to a normal clearance hole. Here shown after a spray of Organic Green KBC, and the stainless washers we used as shims. Hard to leave those stacked washers after we did the other cleanup in resizing the bracket's mounting hole.
We had some black delrin scraps left over from making the radius arm bushings for Jared's 39, so we put them to use here. Since they had already been drilled, we added an aluminum plug and match drilled the holes to match the bracket. Installed, the black delrin is barely noticeable and makes for a cleaner detail over the stacked washers.
Some of the parts we sprayed while the front fenders were off.
With the core support reinstalled, we started on the installation of the inner fenders.
Since our cowl bracket was all cleaned up now, we needed to address the attaching hardware. This started with 400 grit and worked up to 5000 trizact before hitting the buffer...
Much better! And so we can finalize the wiring at the back of the car, the tail-light housings had been sprayed in epoxy and we added some catalyzed white to the inner portion for some brighter lights.
.....and the day job has me building anchored support stanchions for some phone lockers and naturally the mounting holes are on the back side for a wall mounting only. What we need are some bolting plates to hold things down as I wasn’t comfortable with rivnuts in the chinesium steel flange on the bottom.
Well, said flange also has a 1/4” upward fold for added strength, so our bolting plate will need a tight reverse bend to offset those but still leave room for press nuts on the end flanges.
So some 1/2” wide female VEE dies were set up opposing each other with just enough offset to make two bends at once.
Shroud added for weather resistance..
")