Wagon Progress

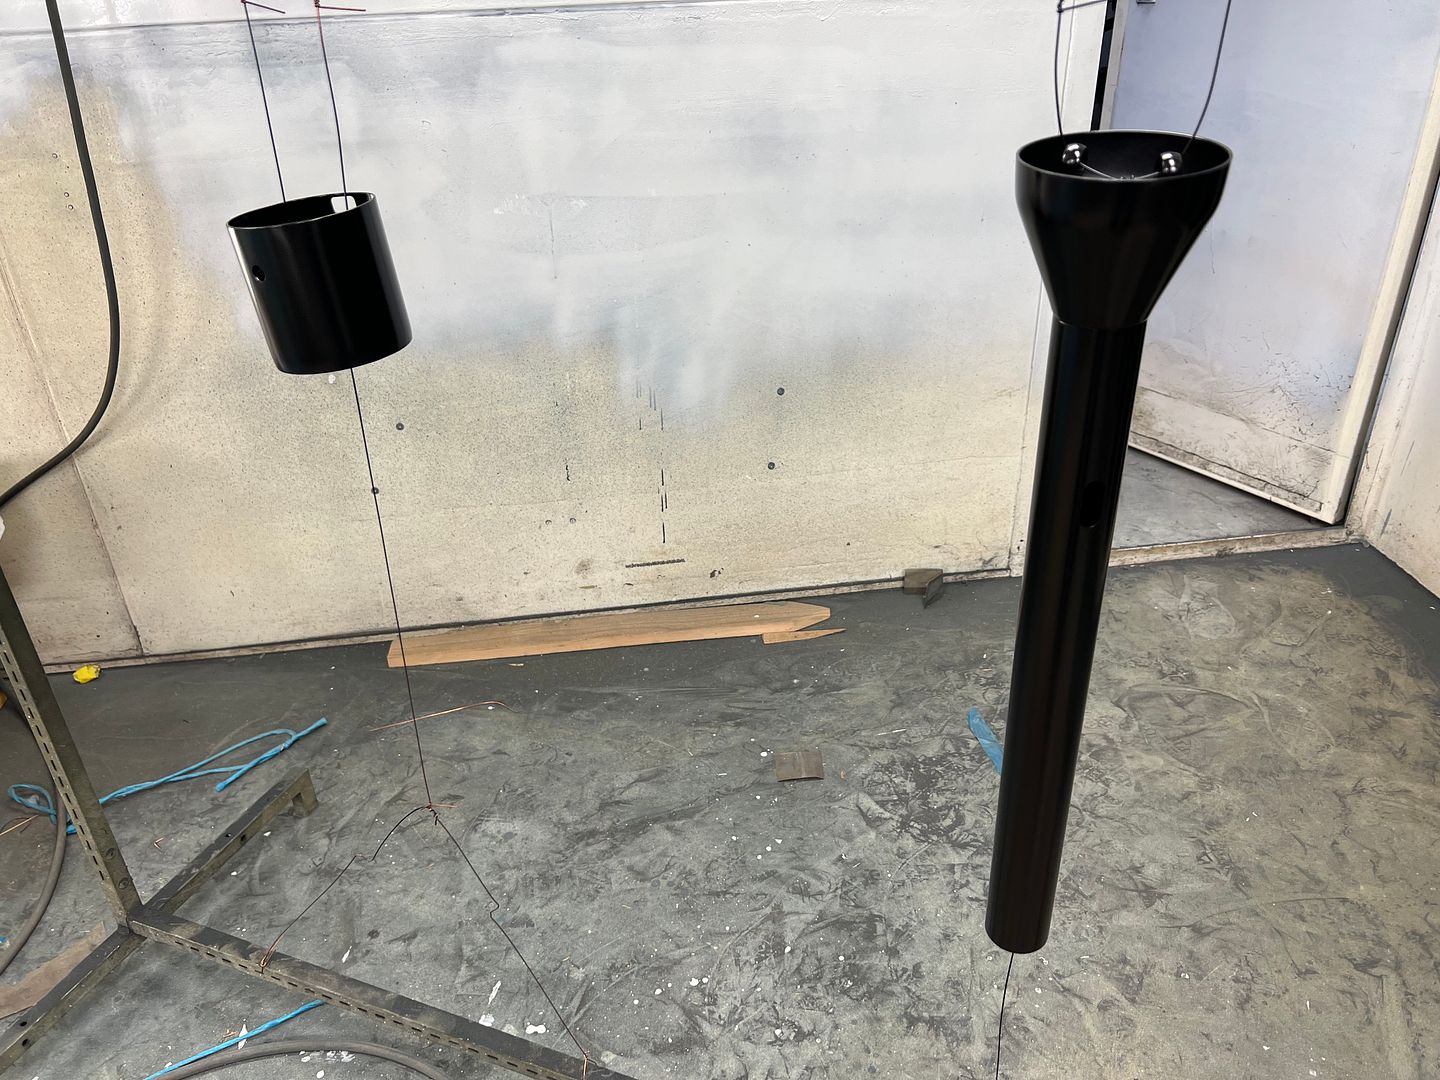
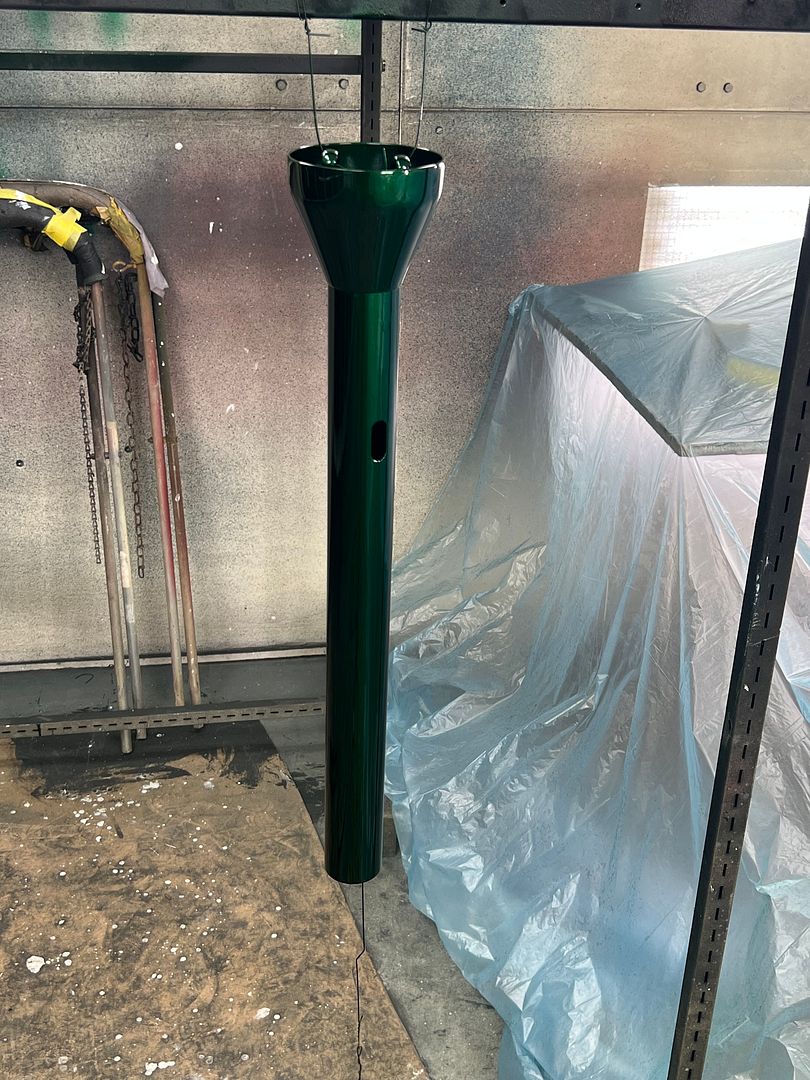
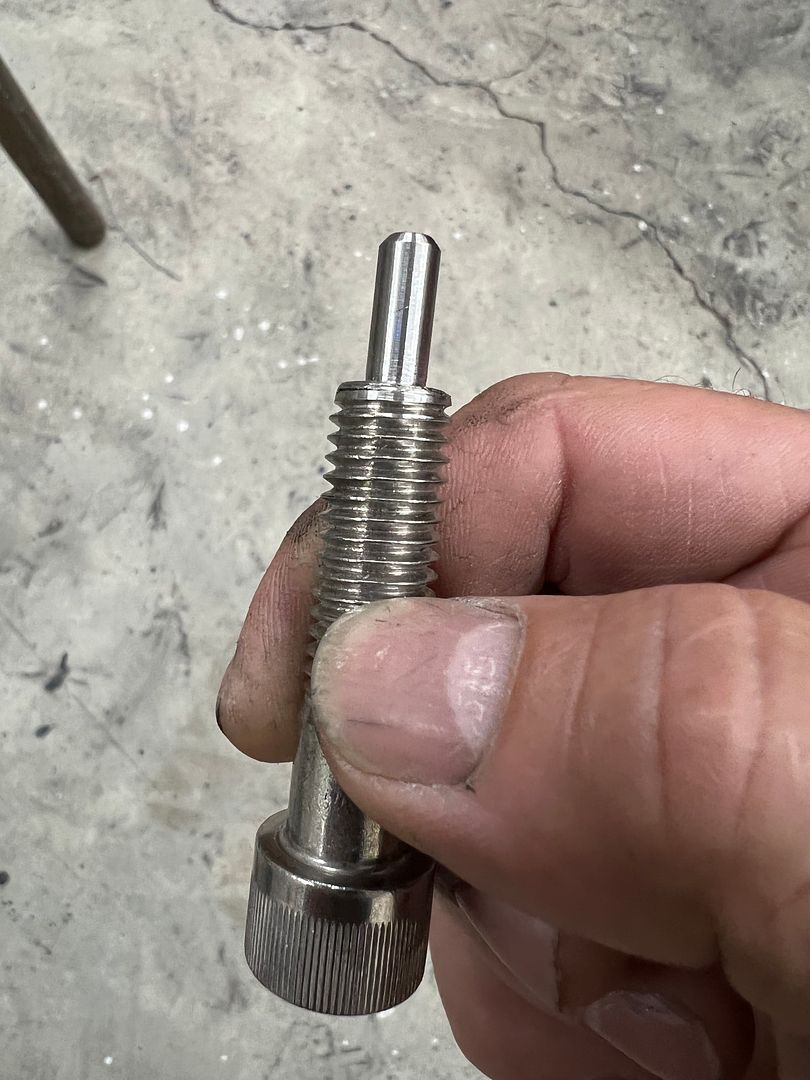
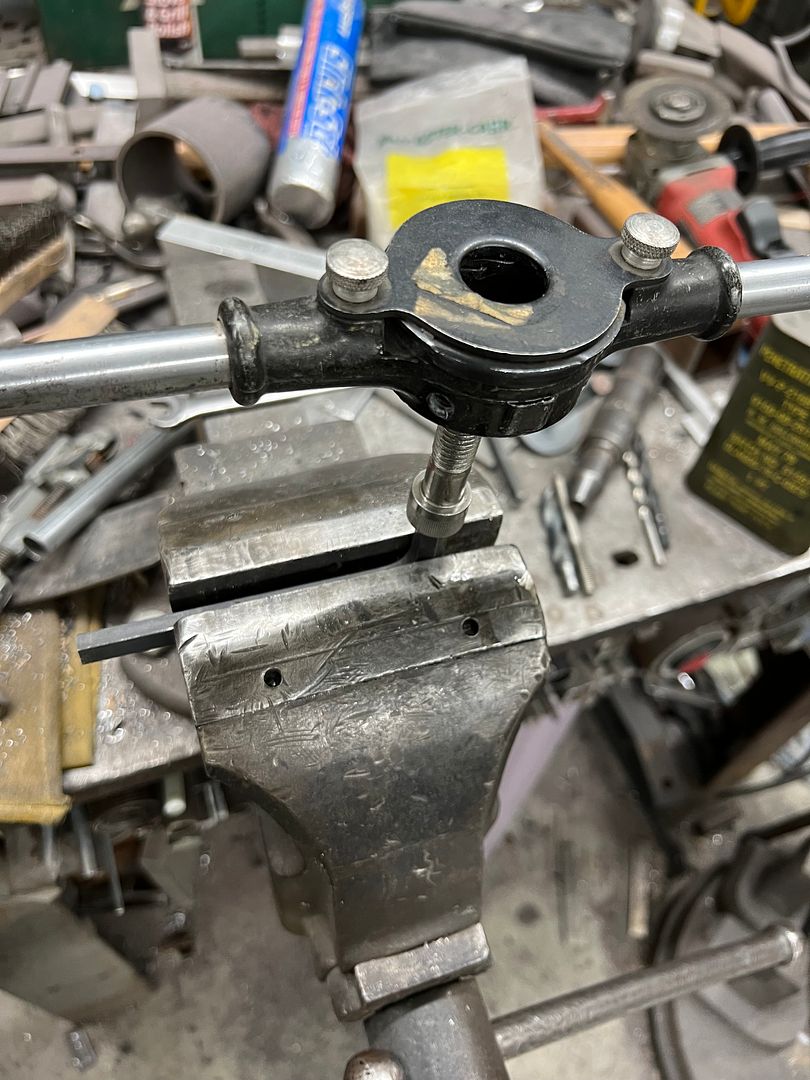
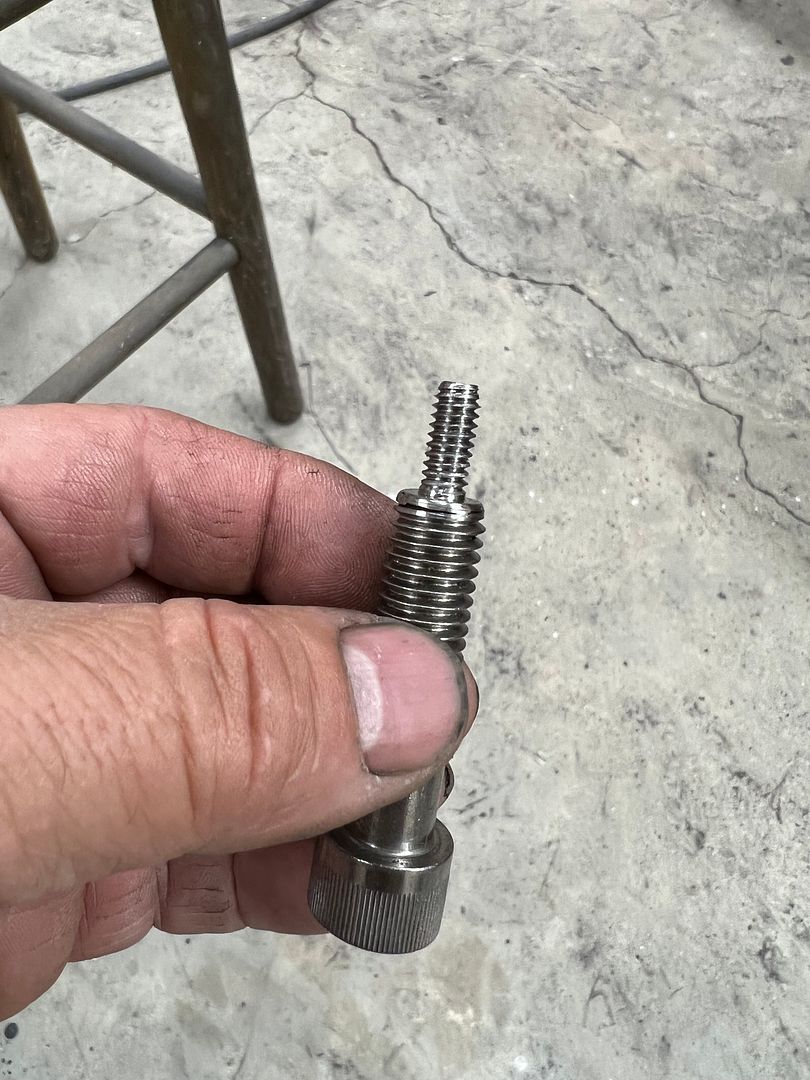
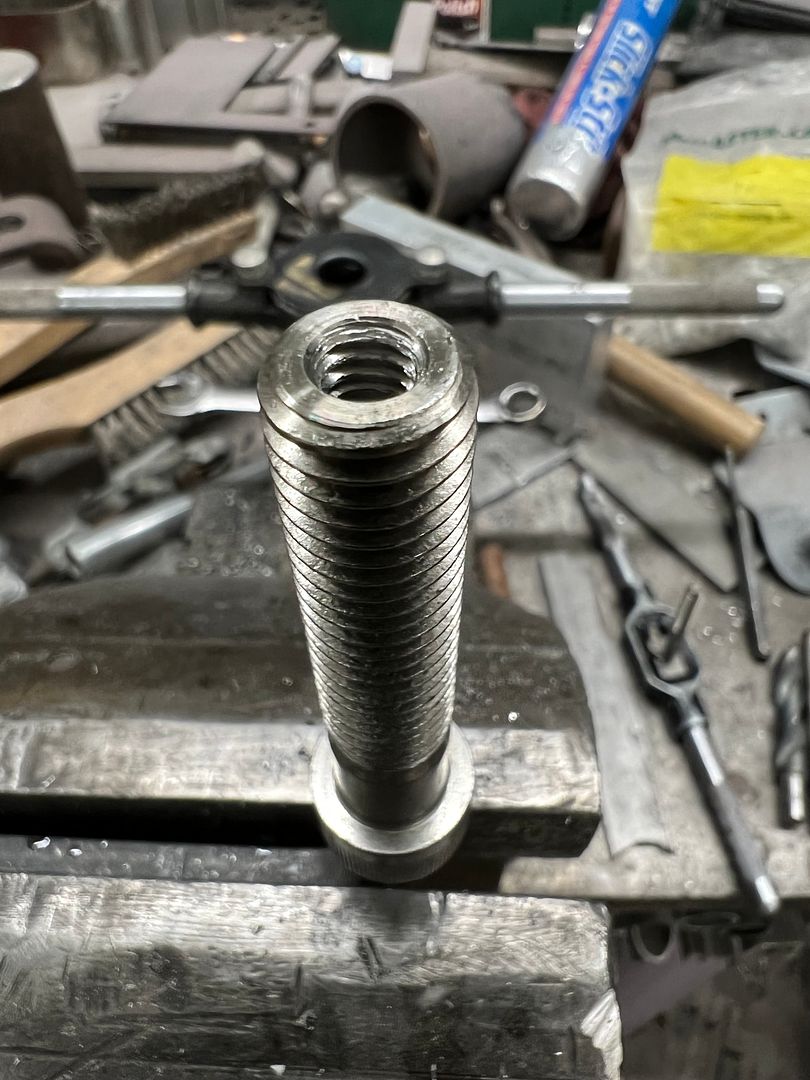
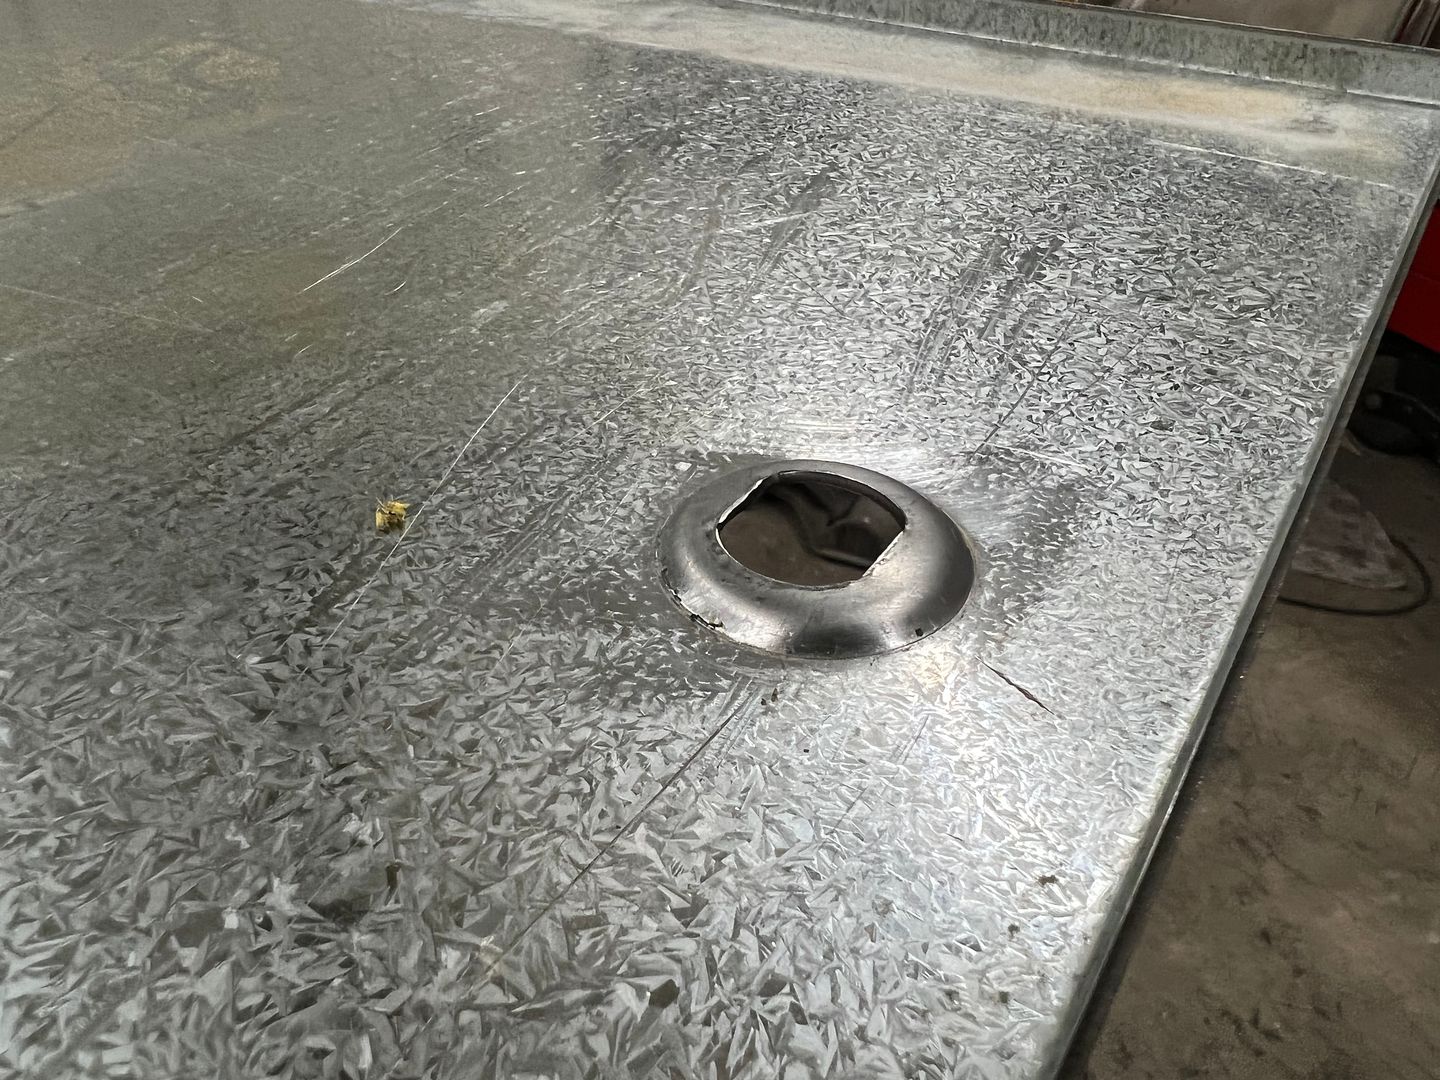
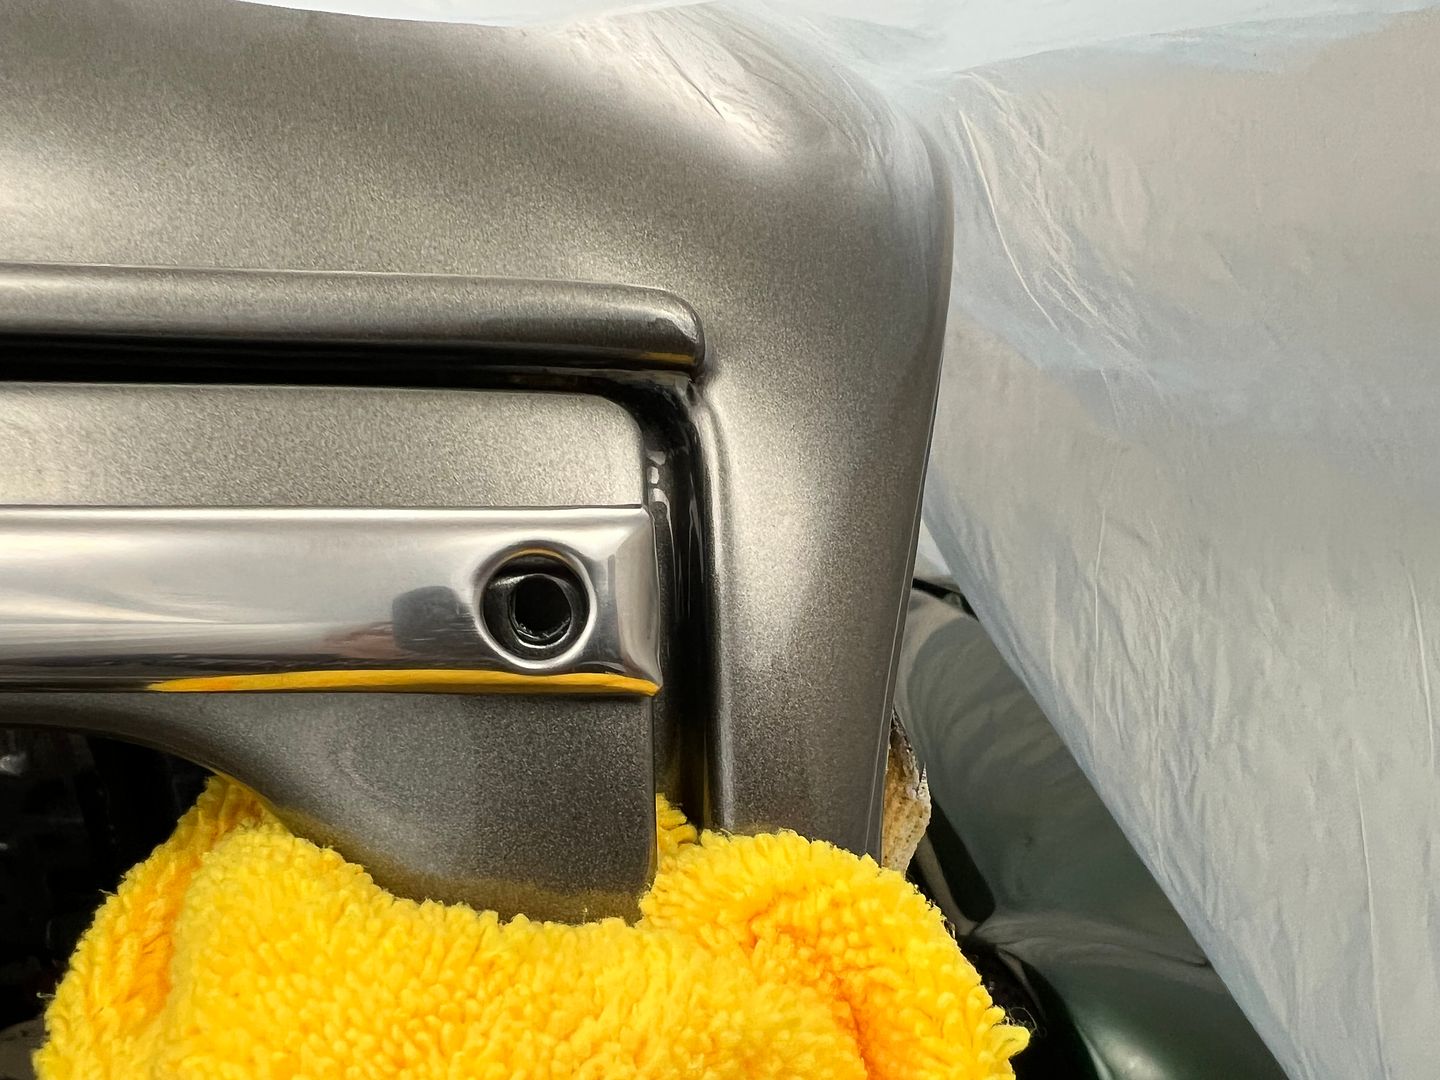
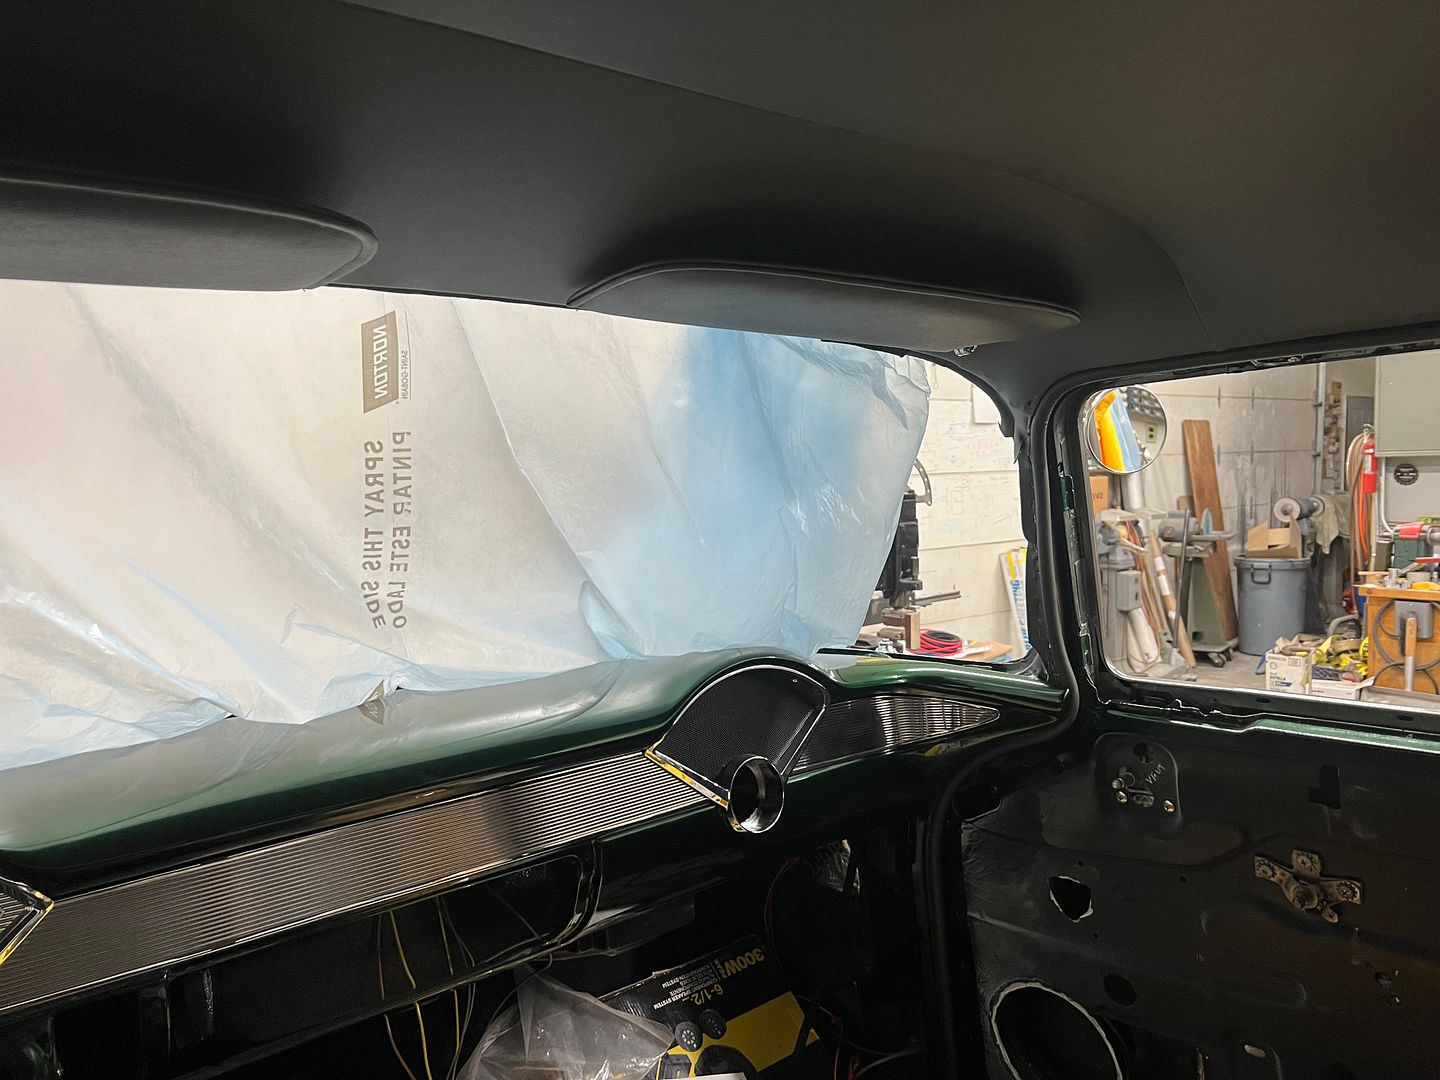
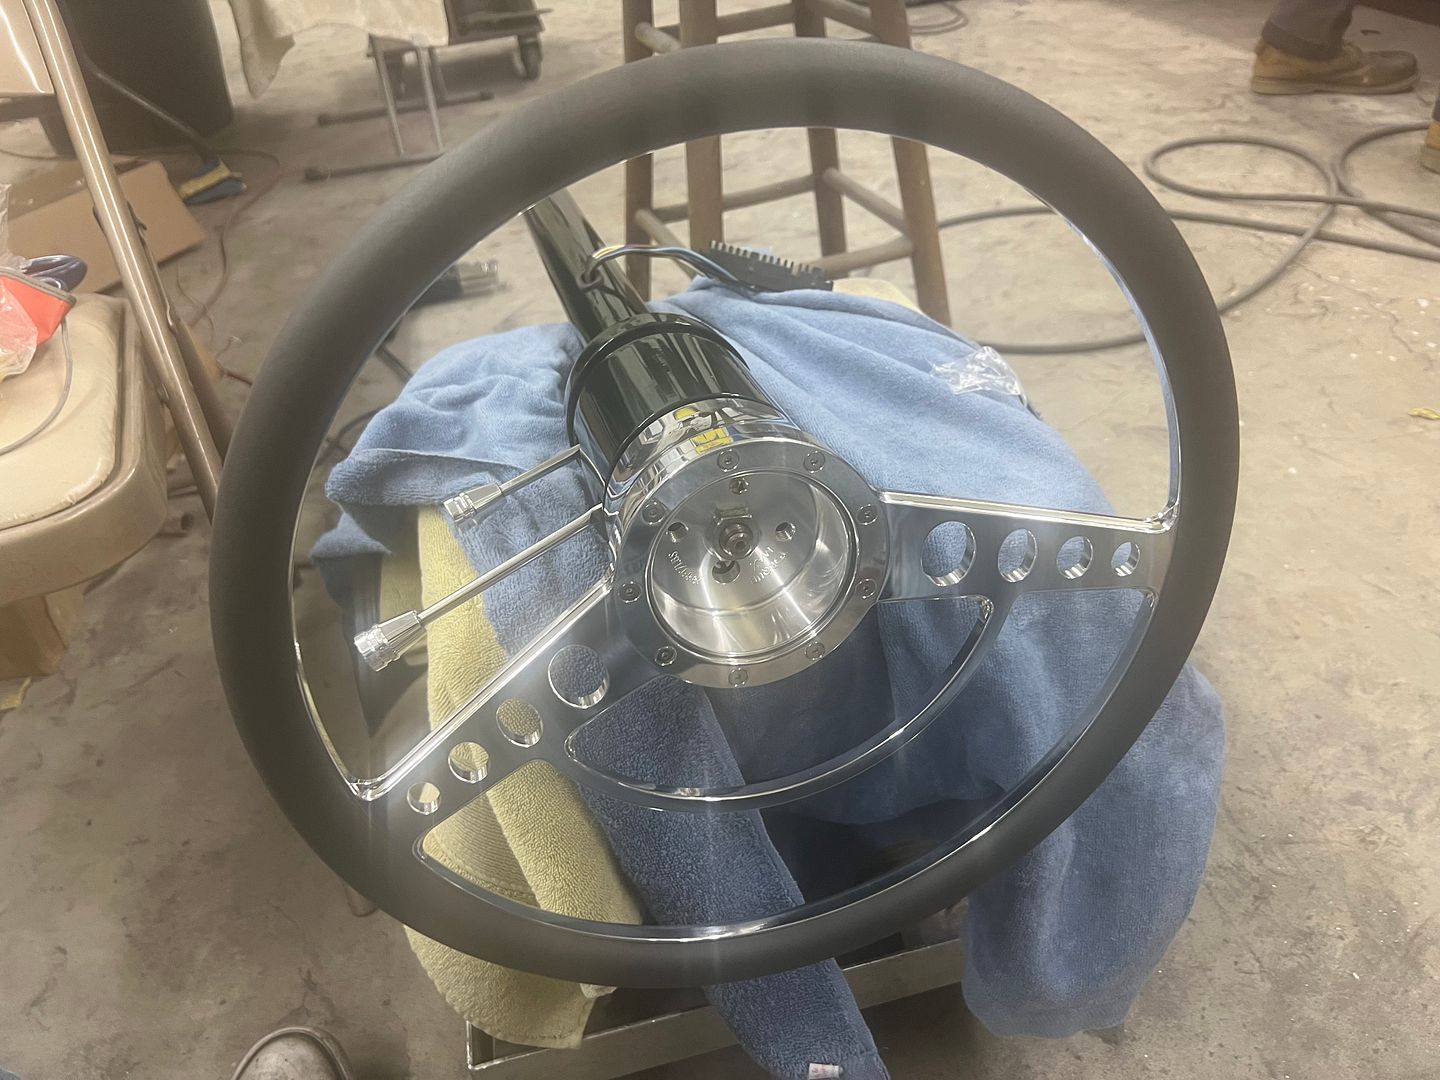
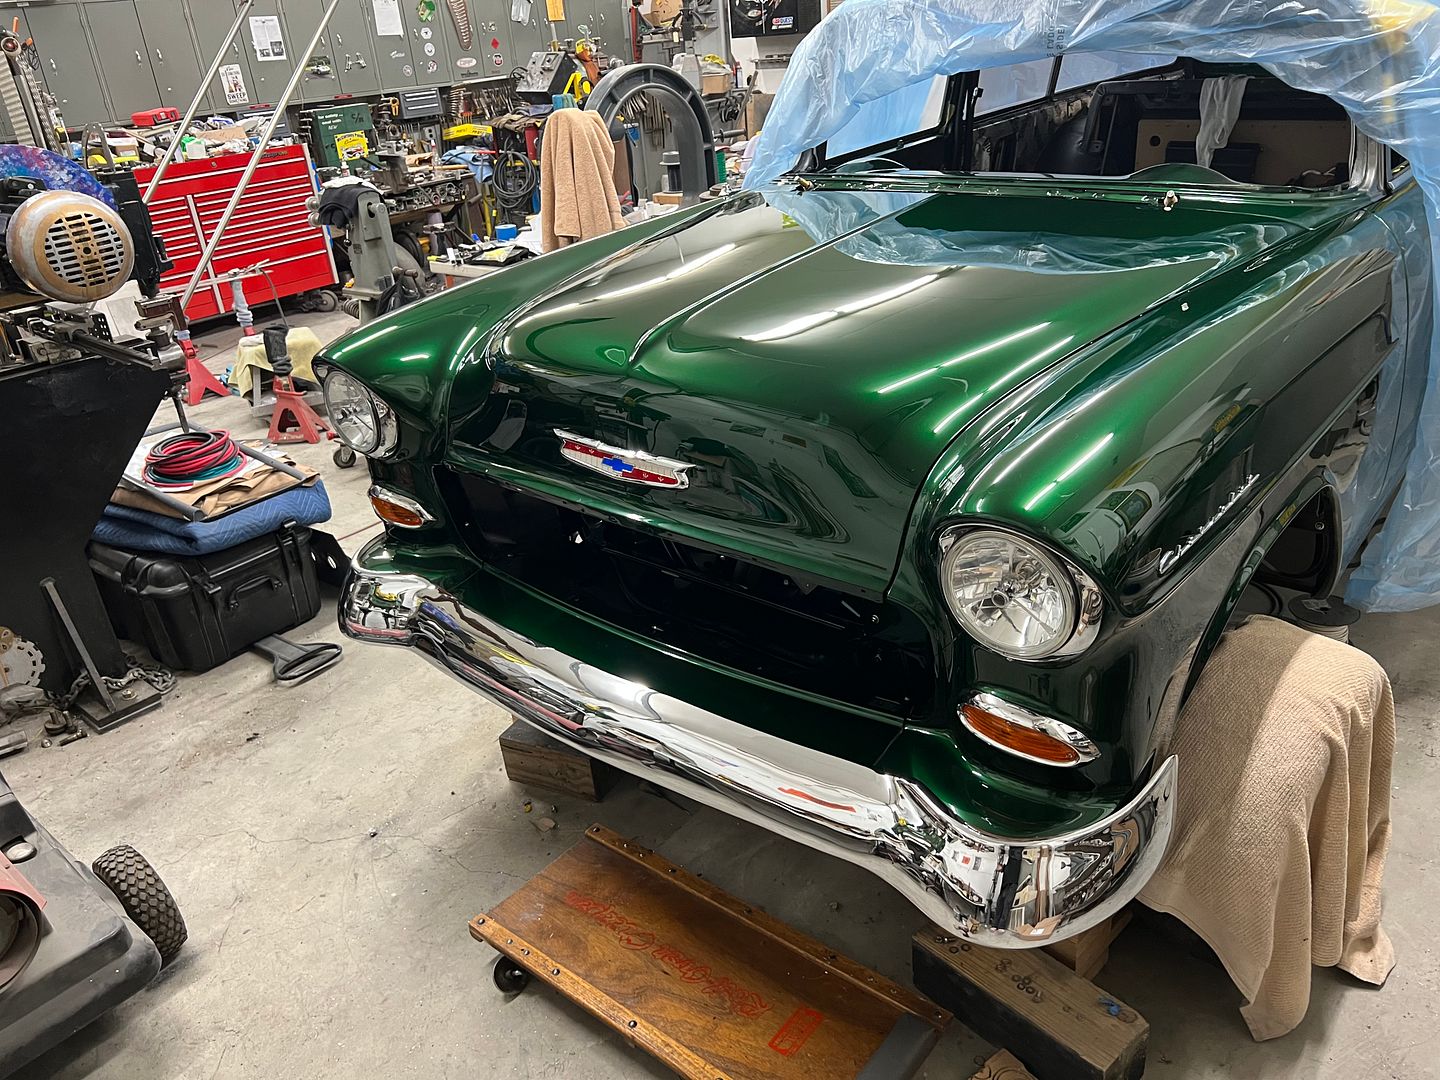
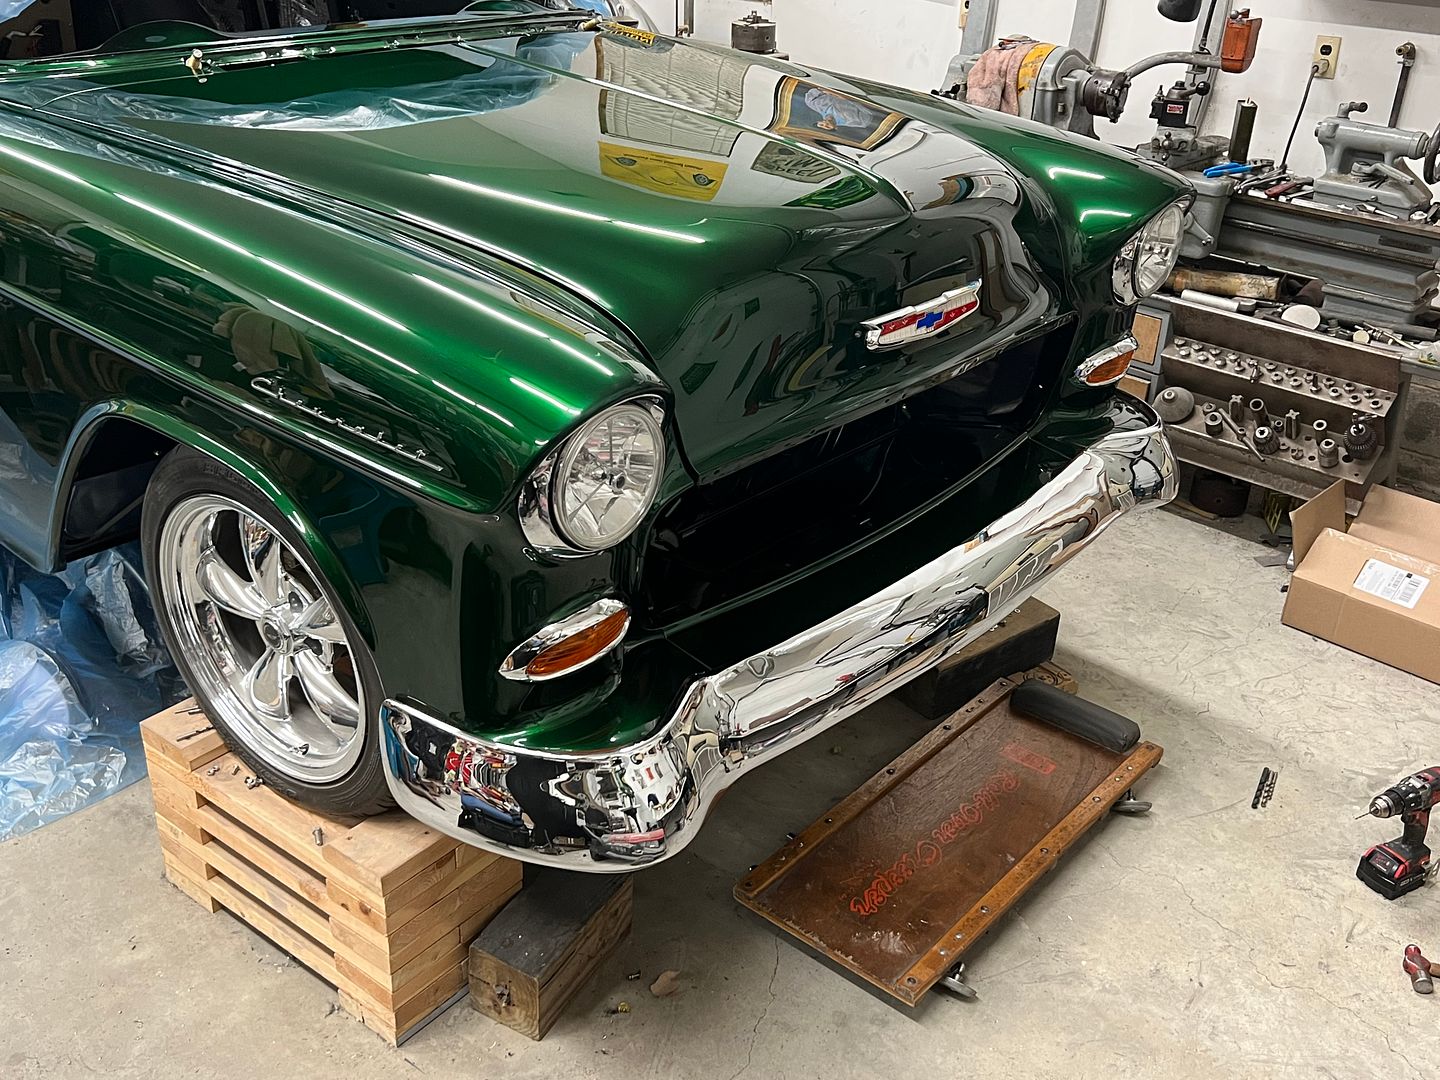
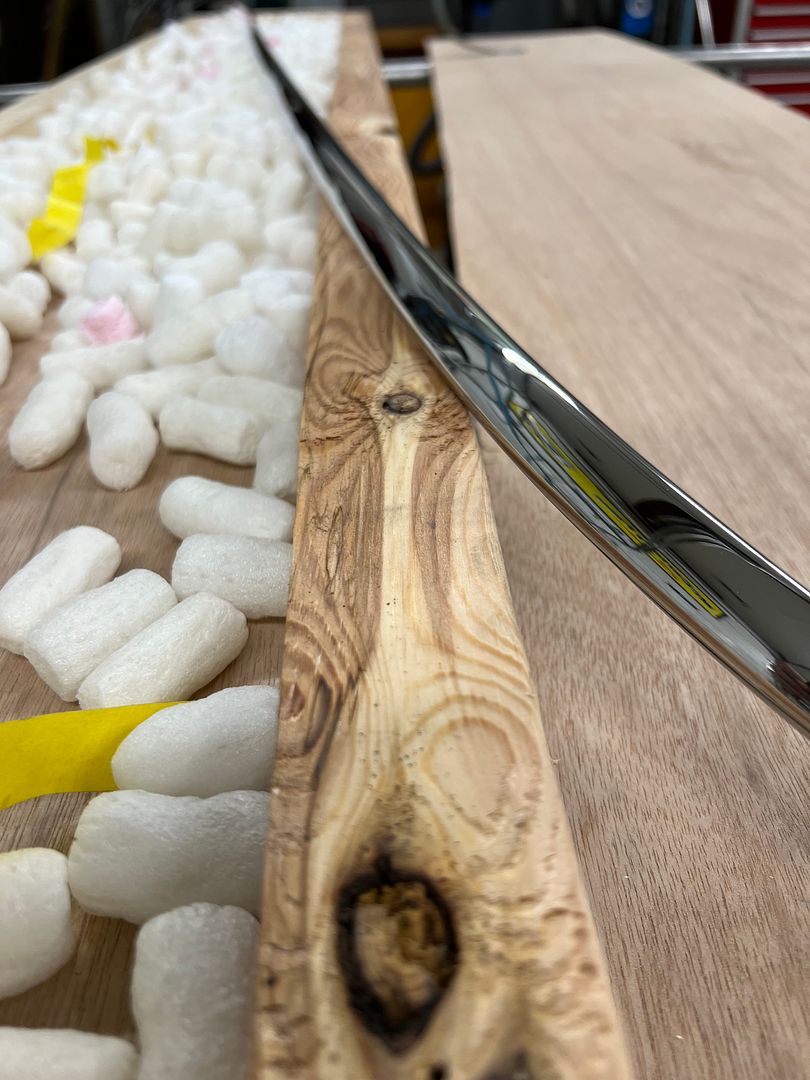
Steering column one step closer to green paint...


IMG_6461.JPG


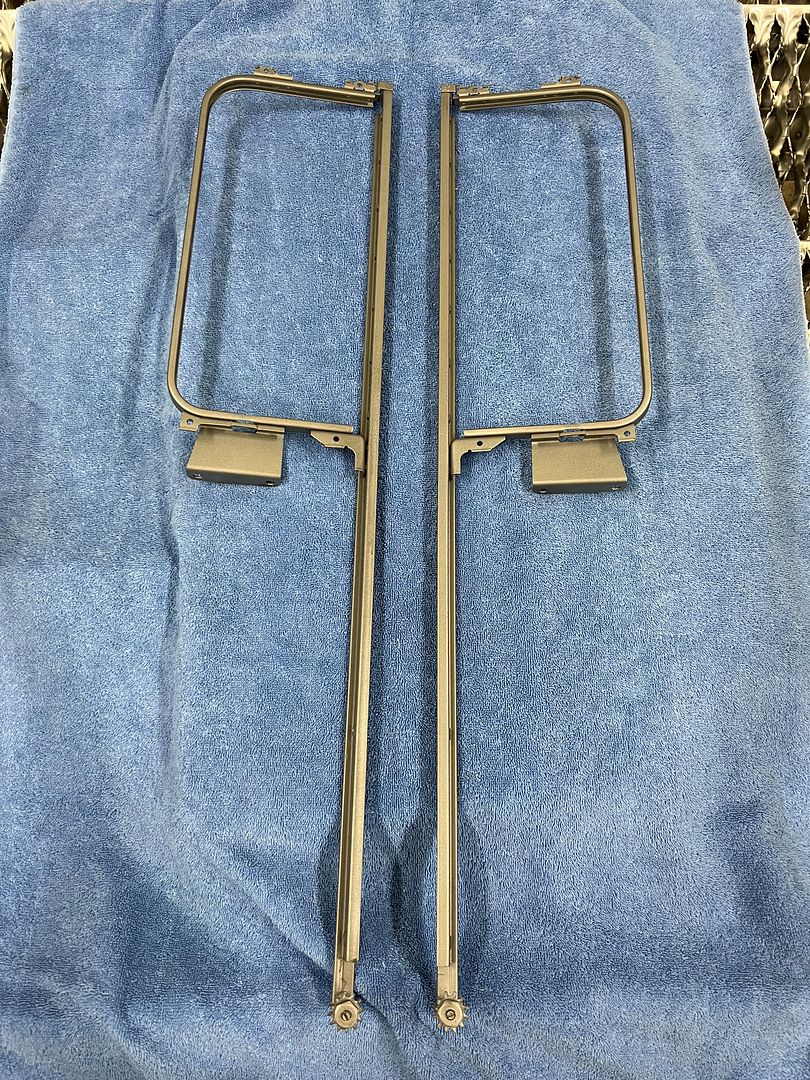
and blocked to 500 grit...


IMG_6500.JPG


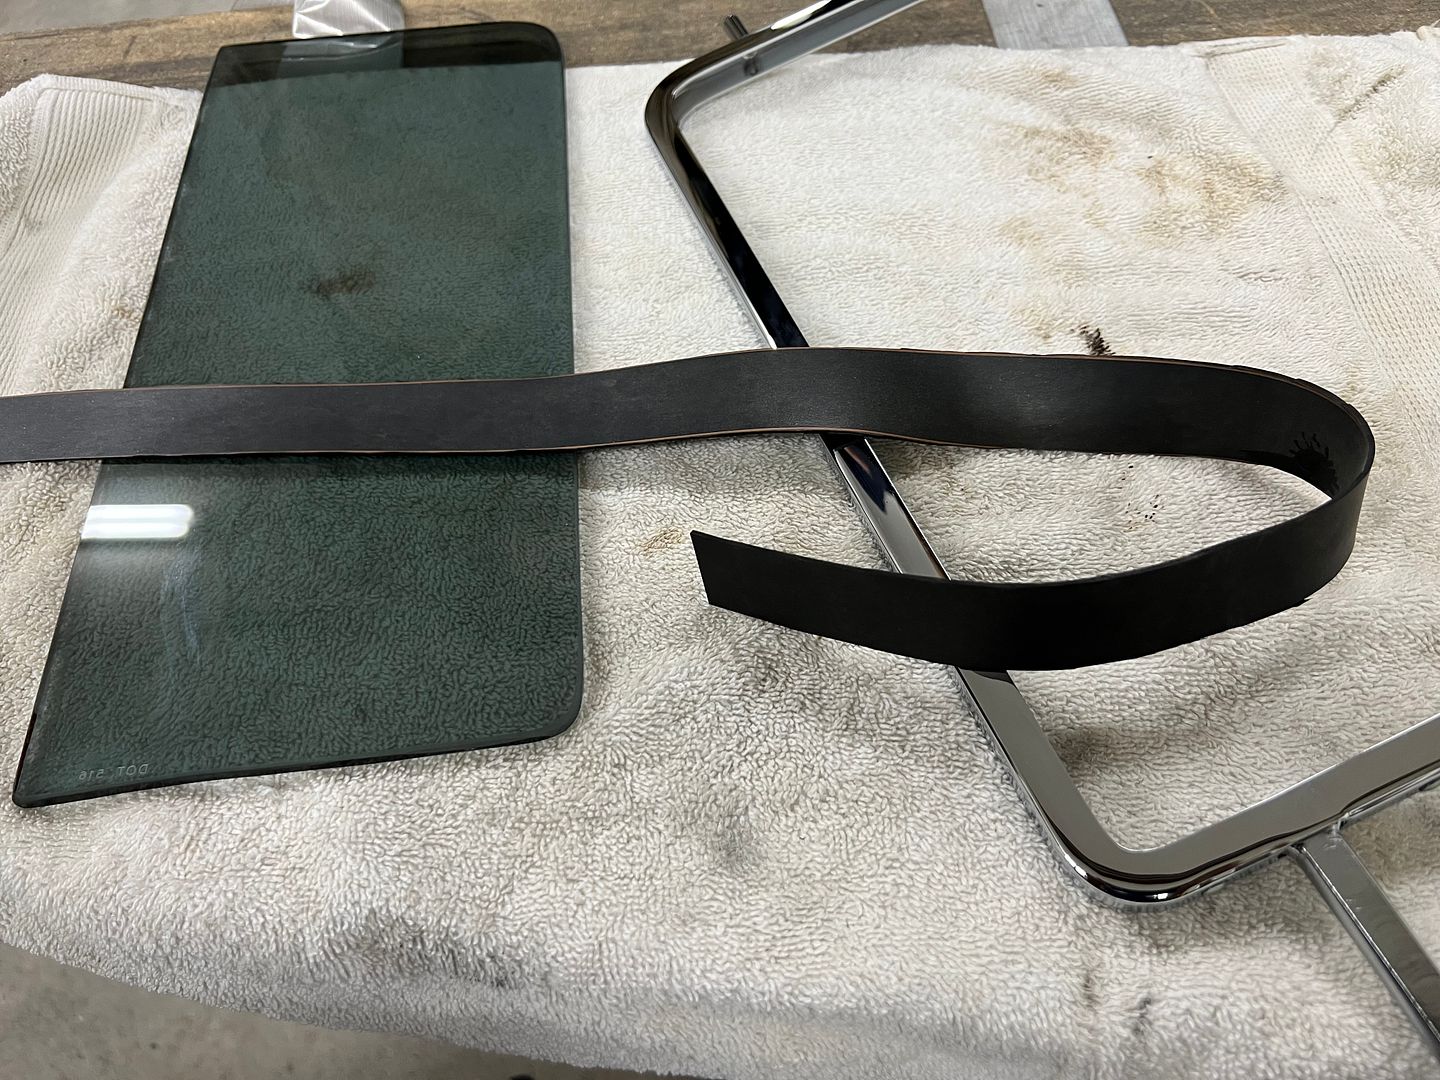
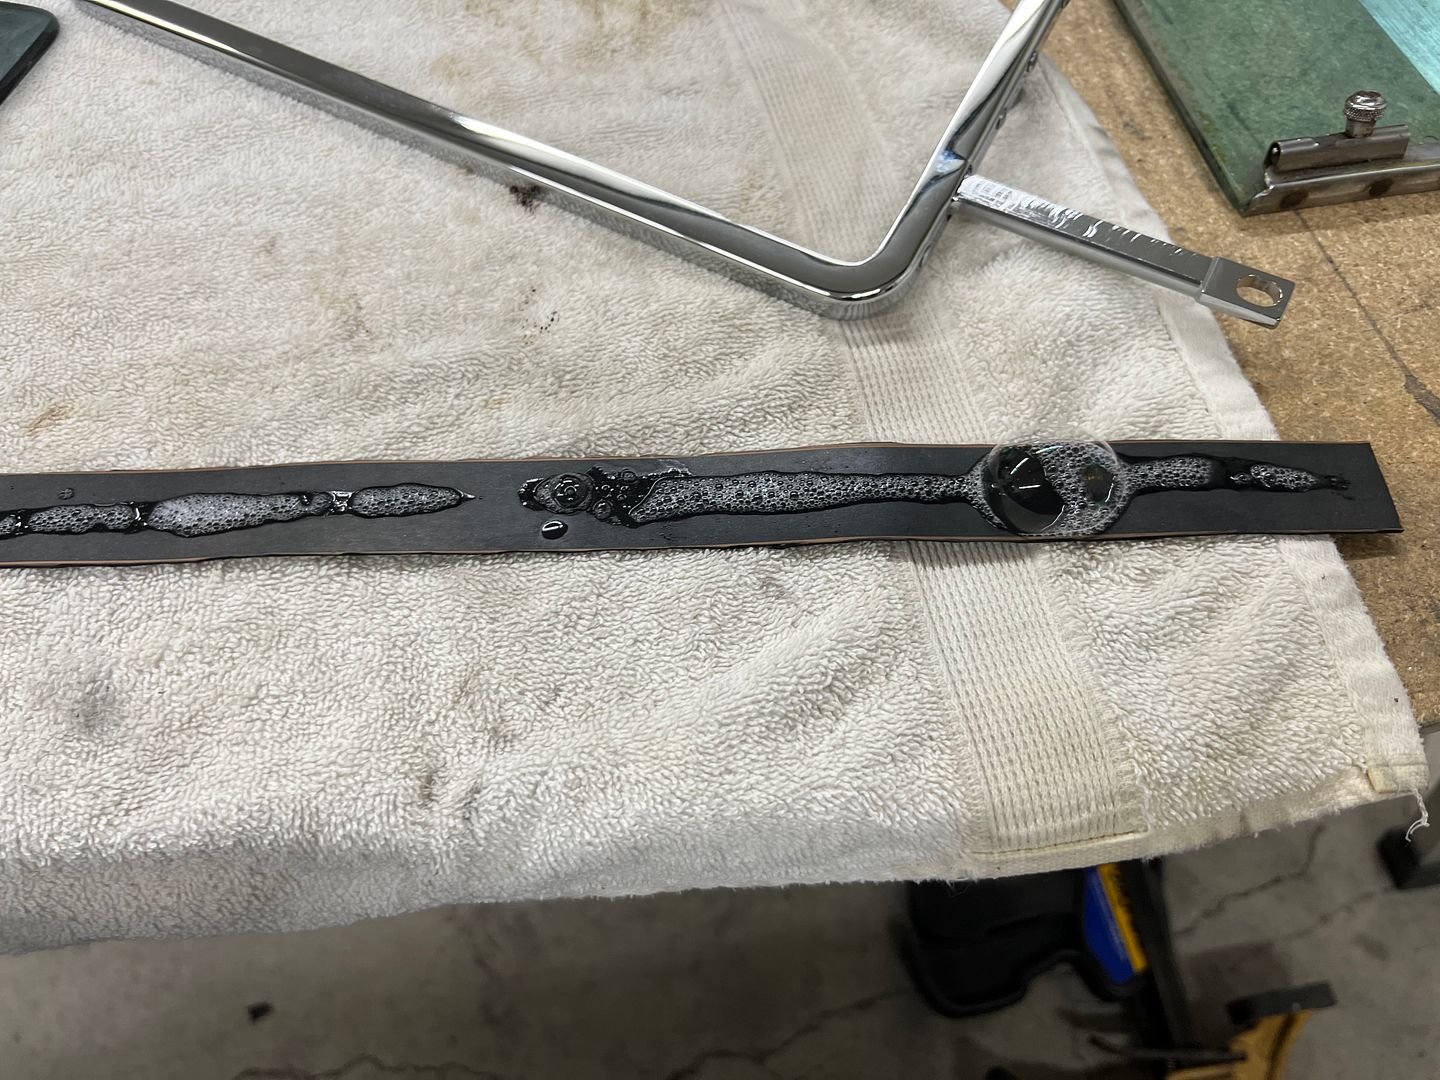
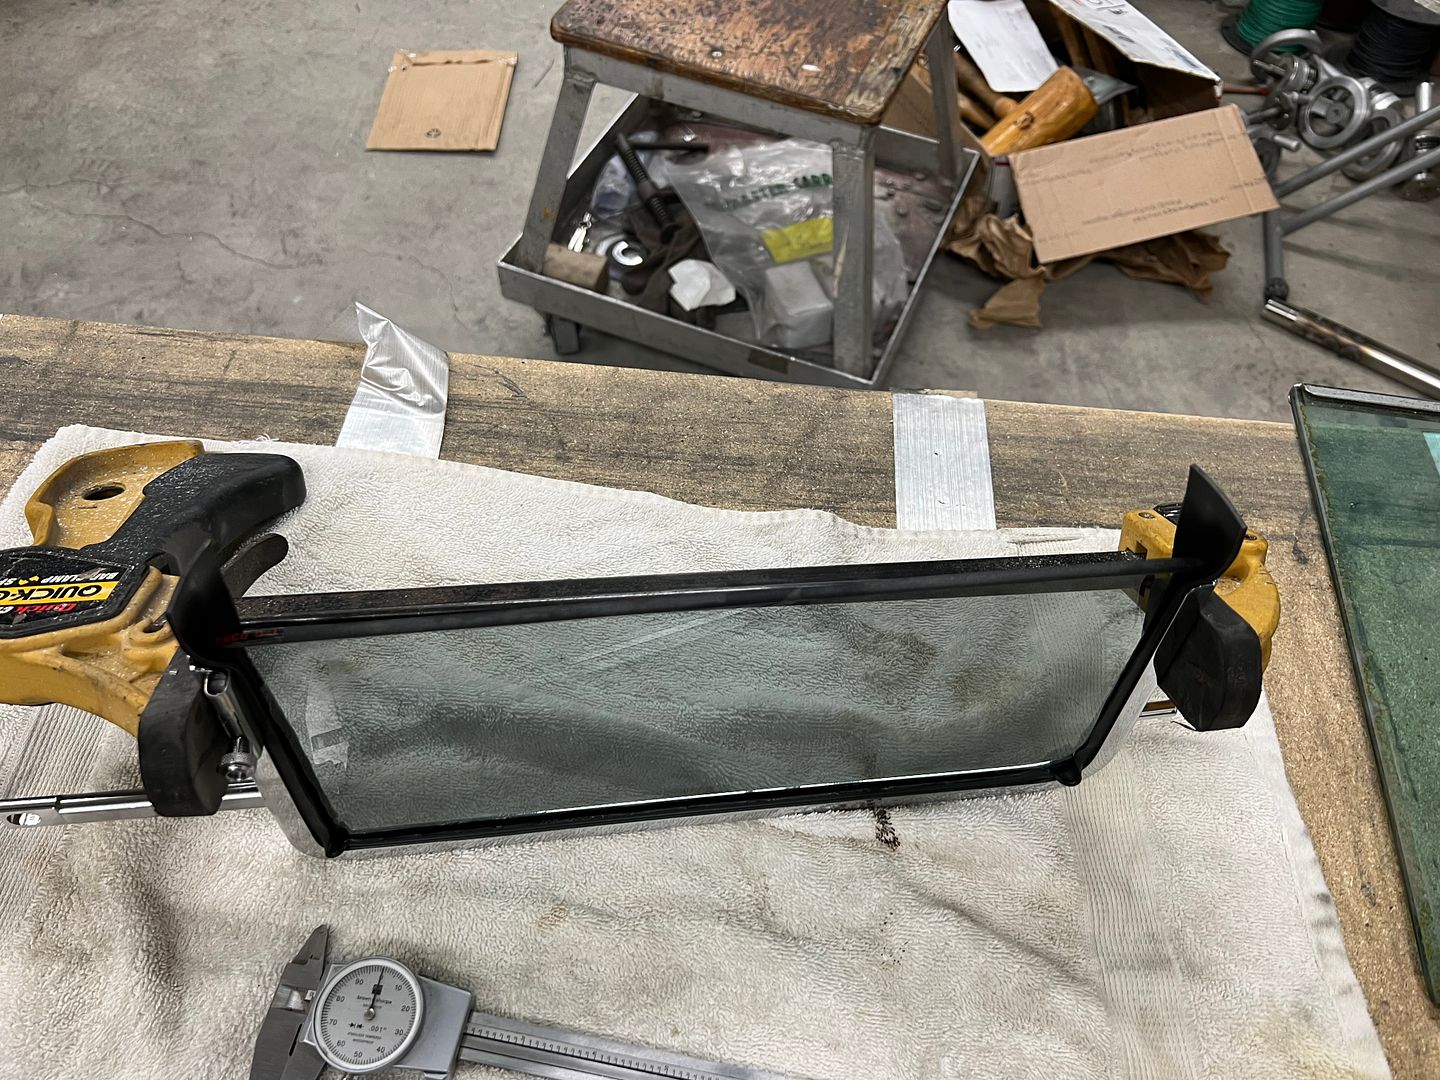
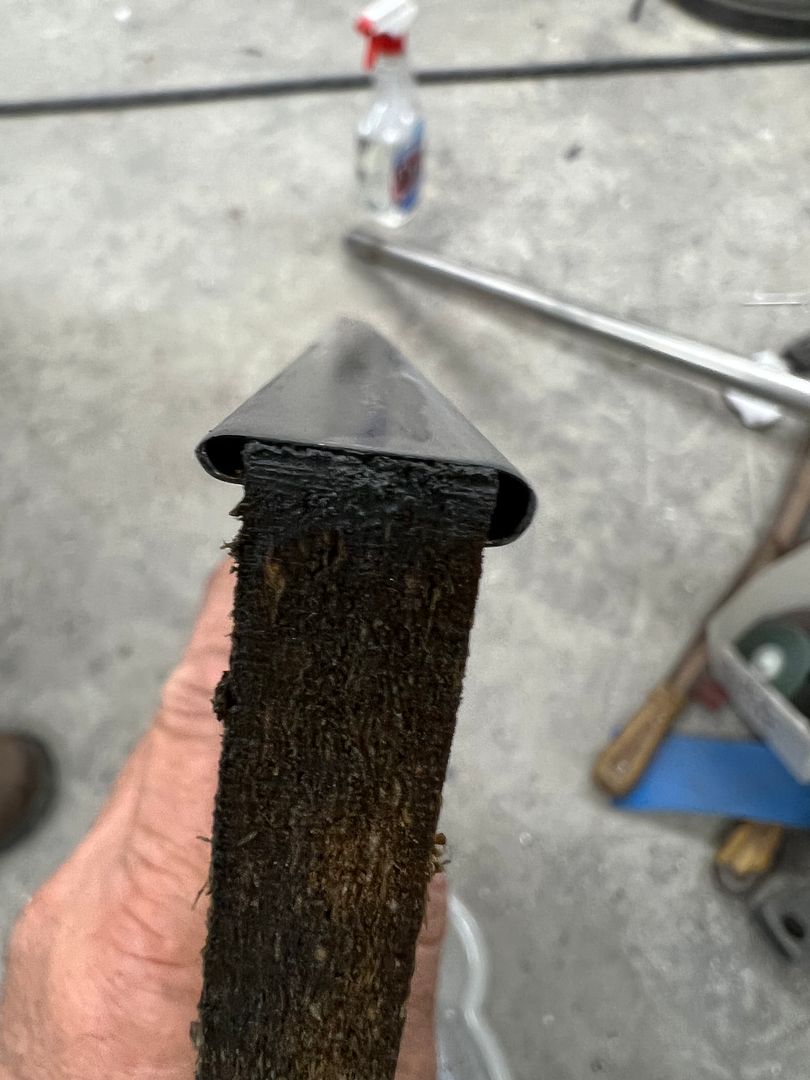
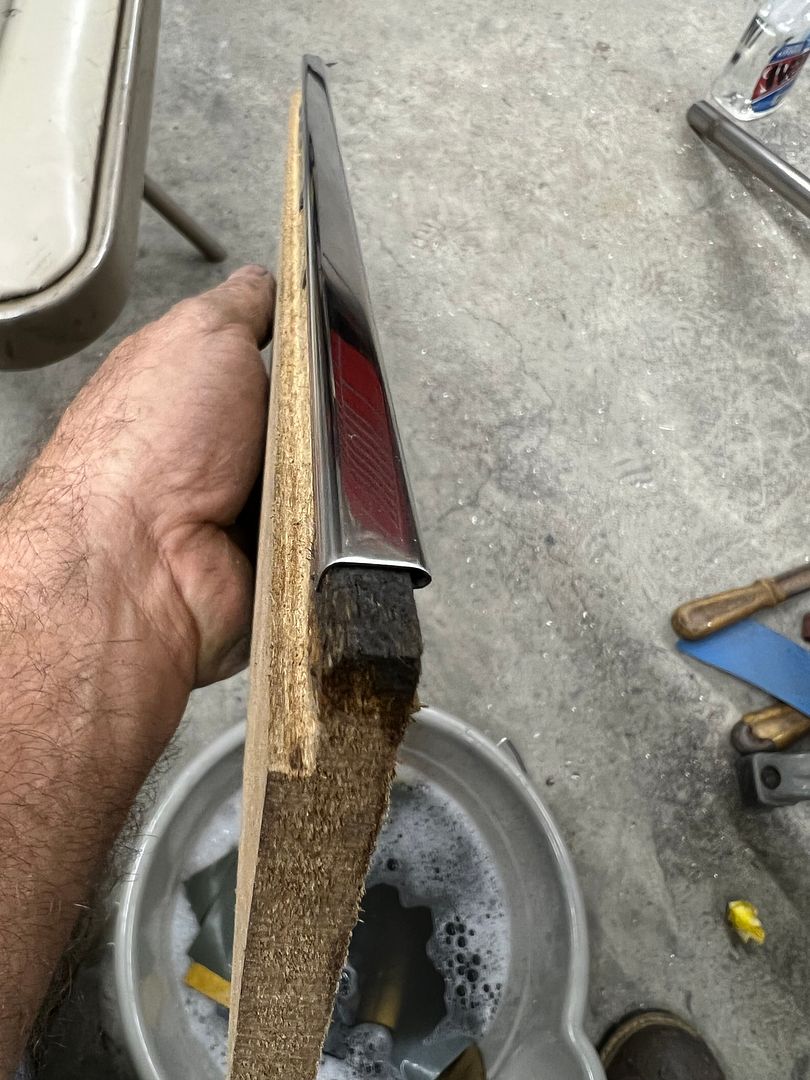
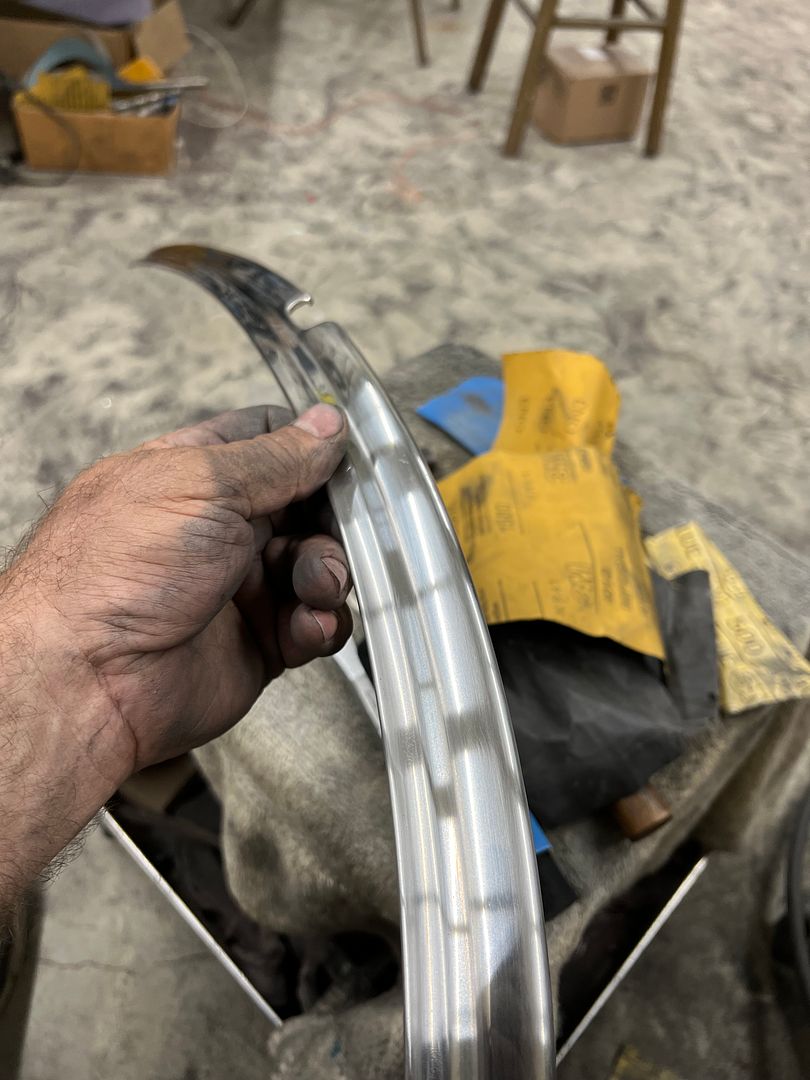
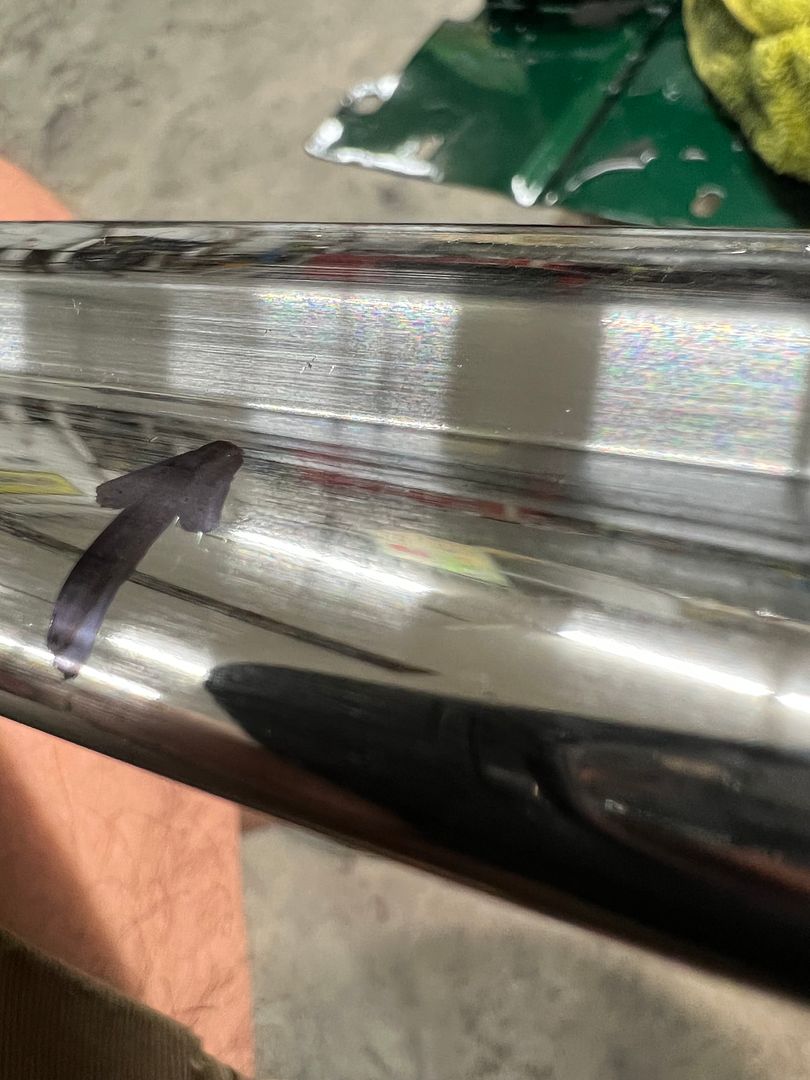
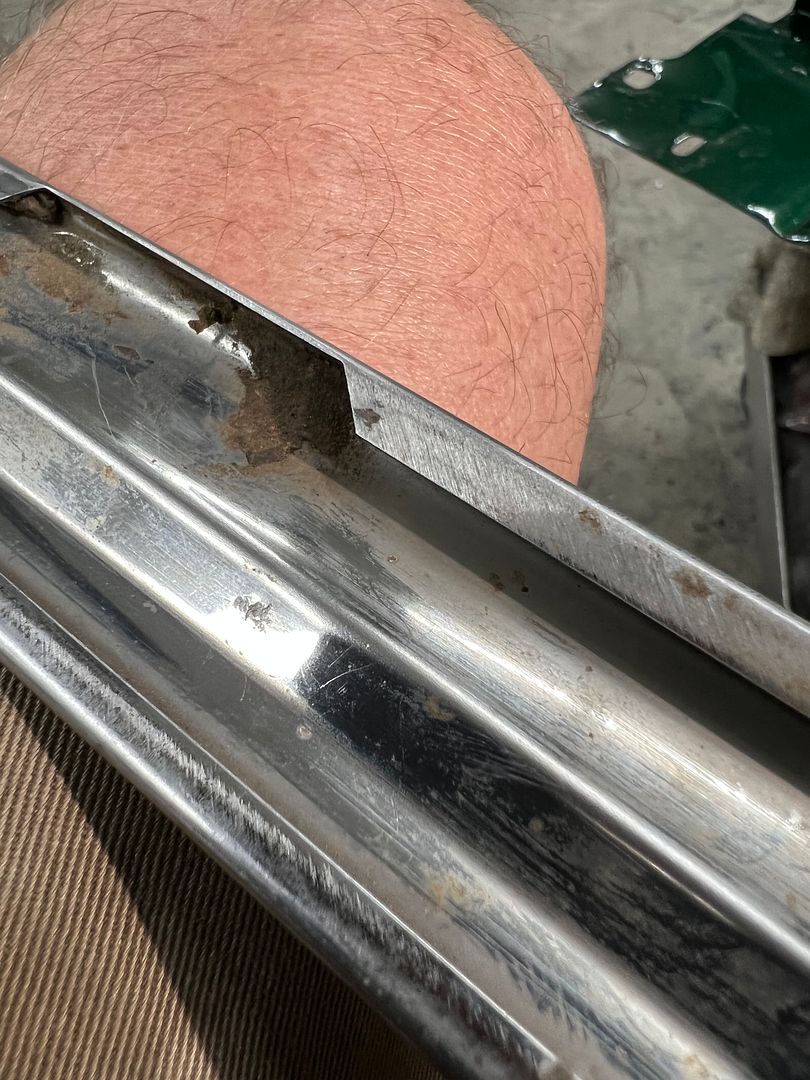
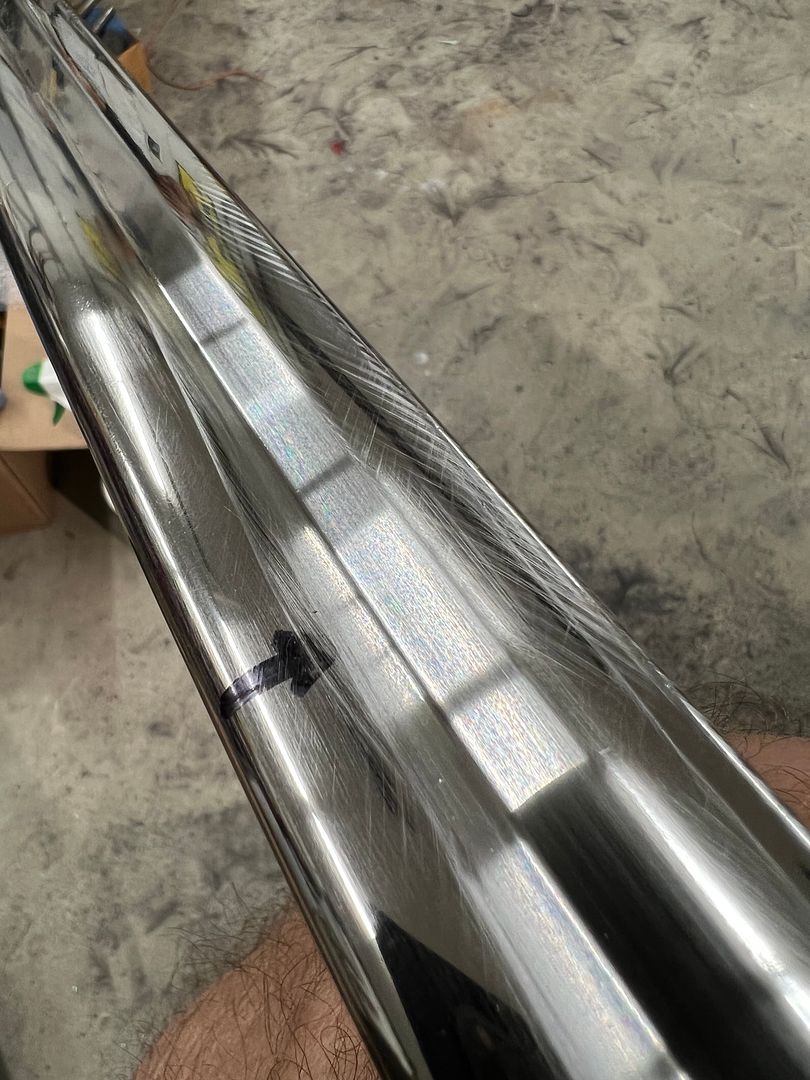
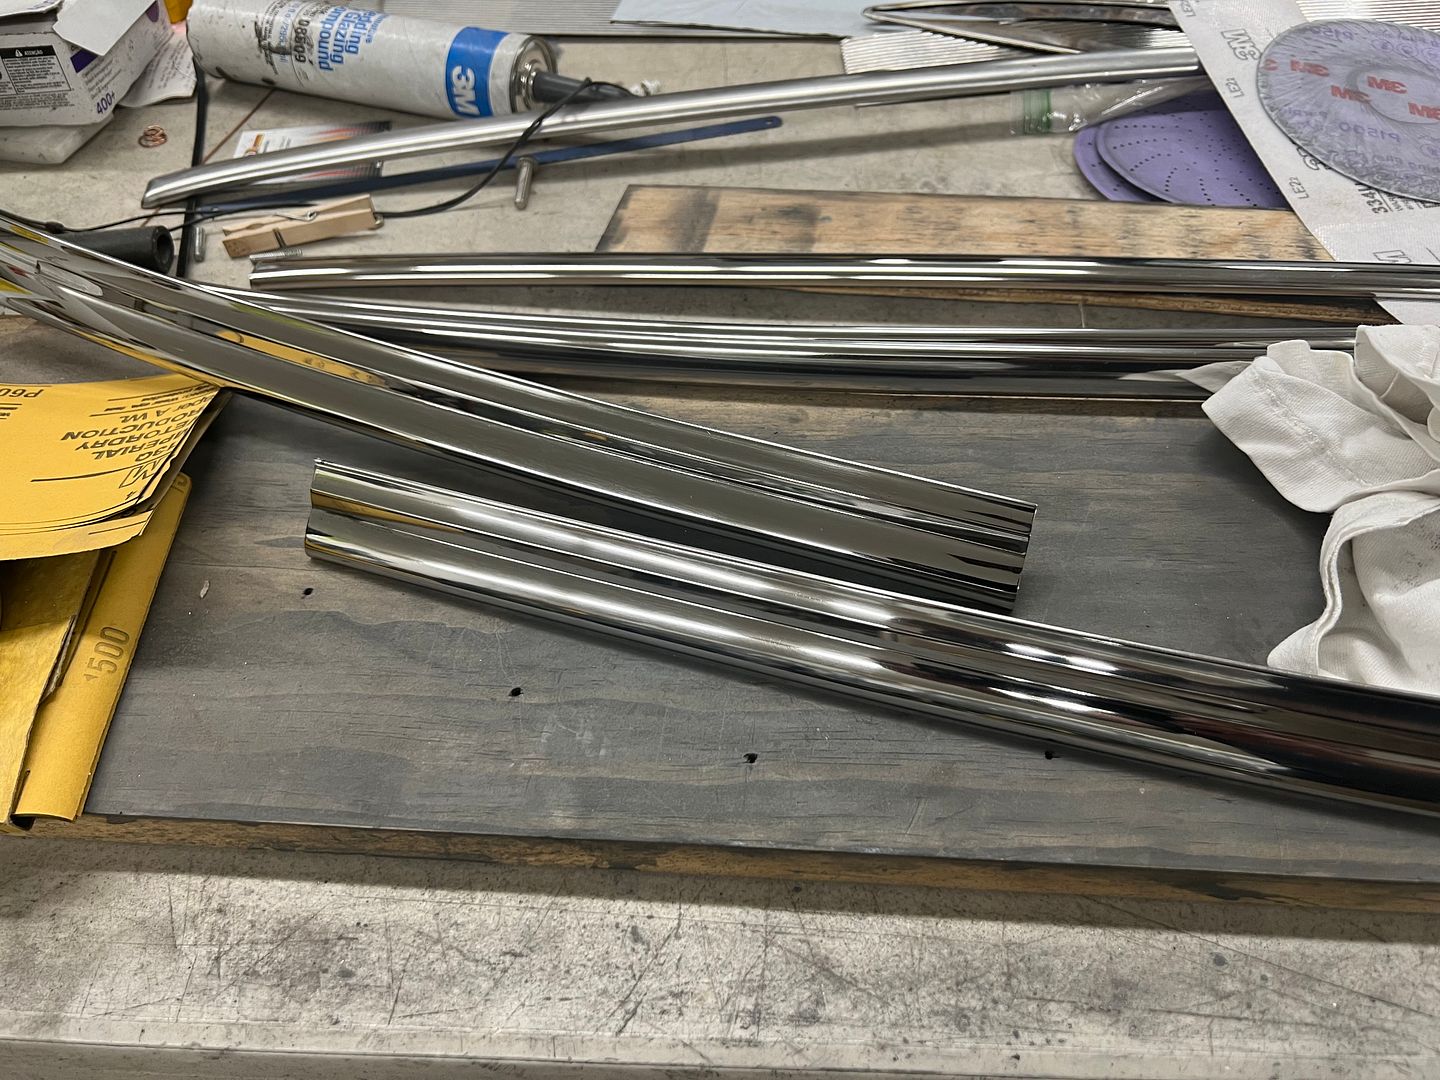
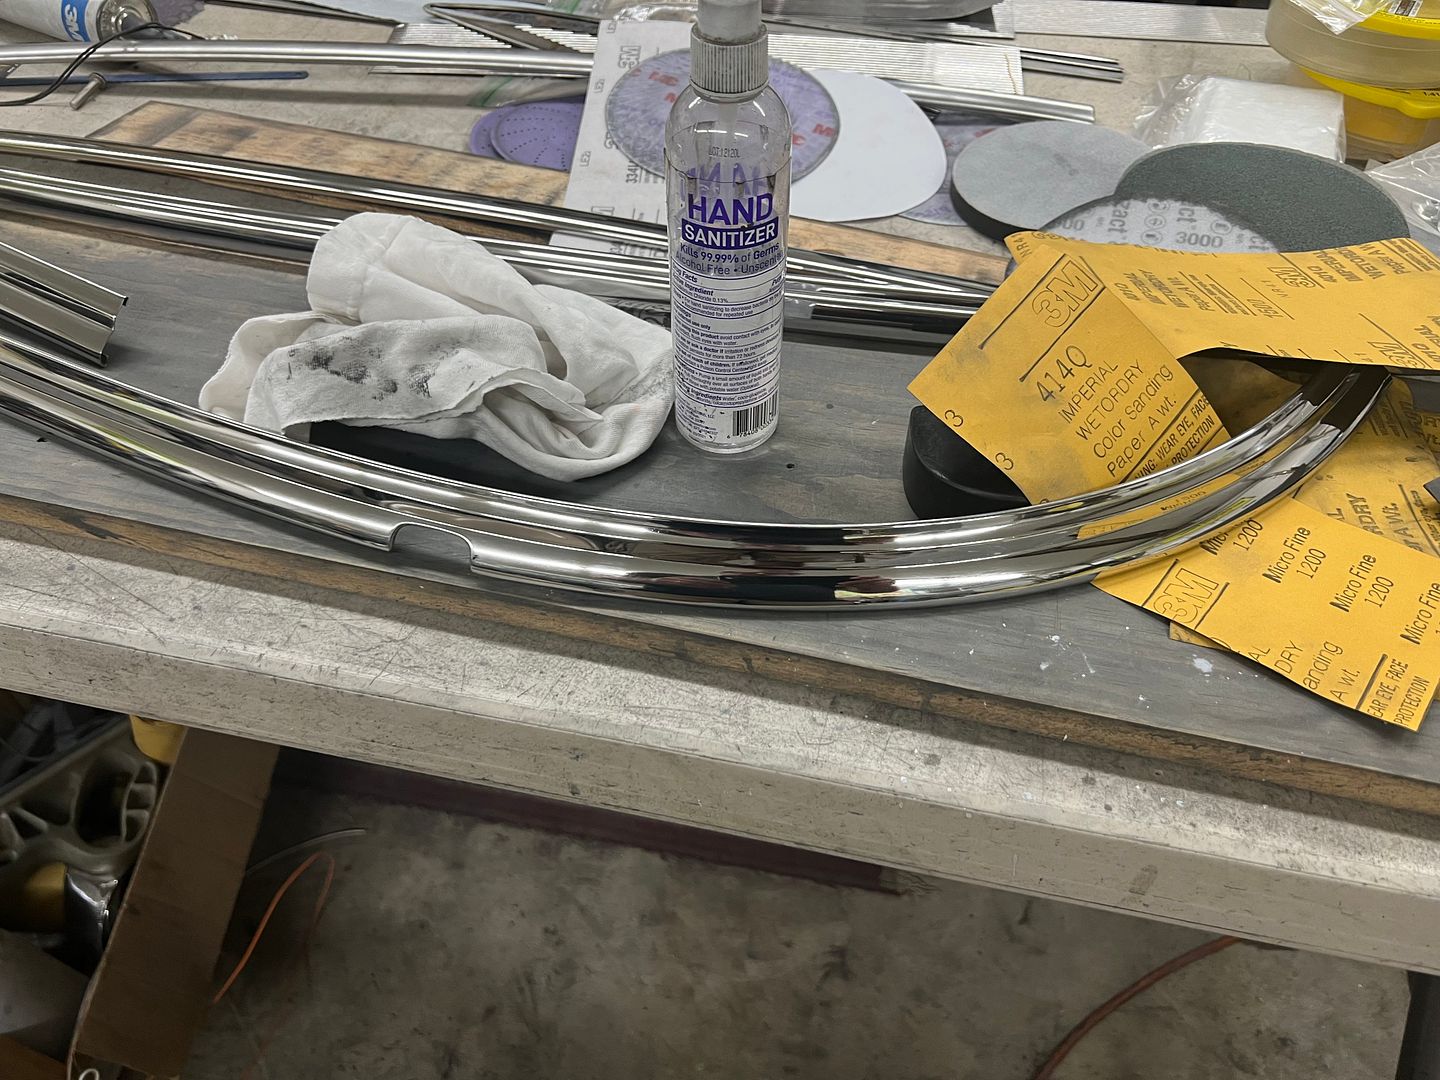
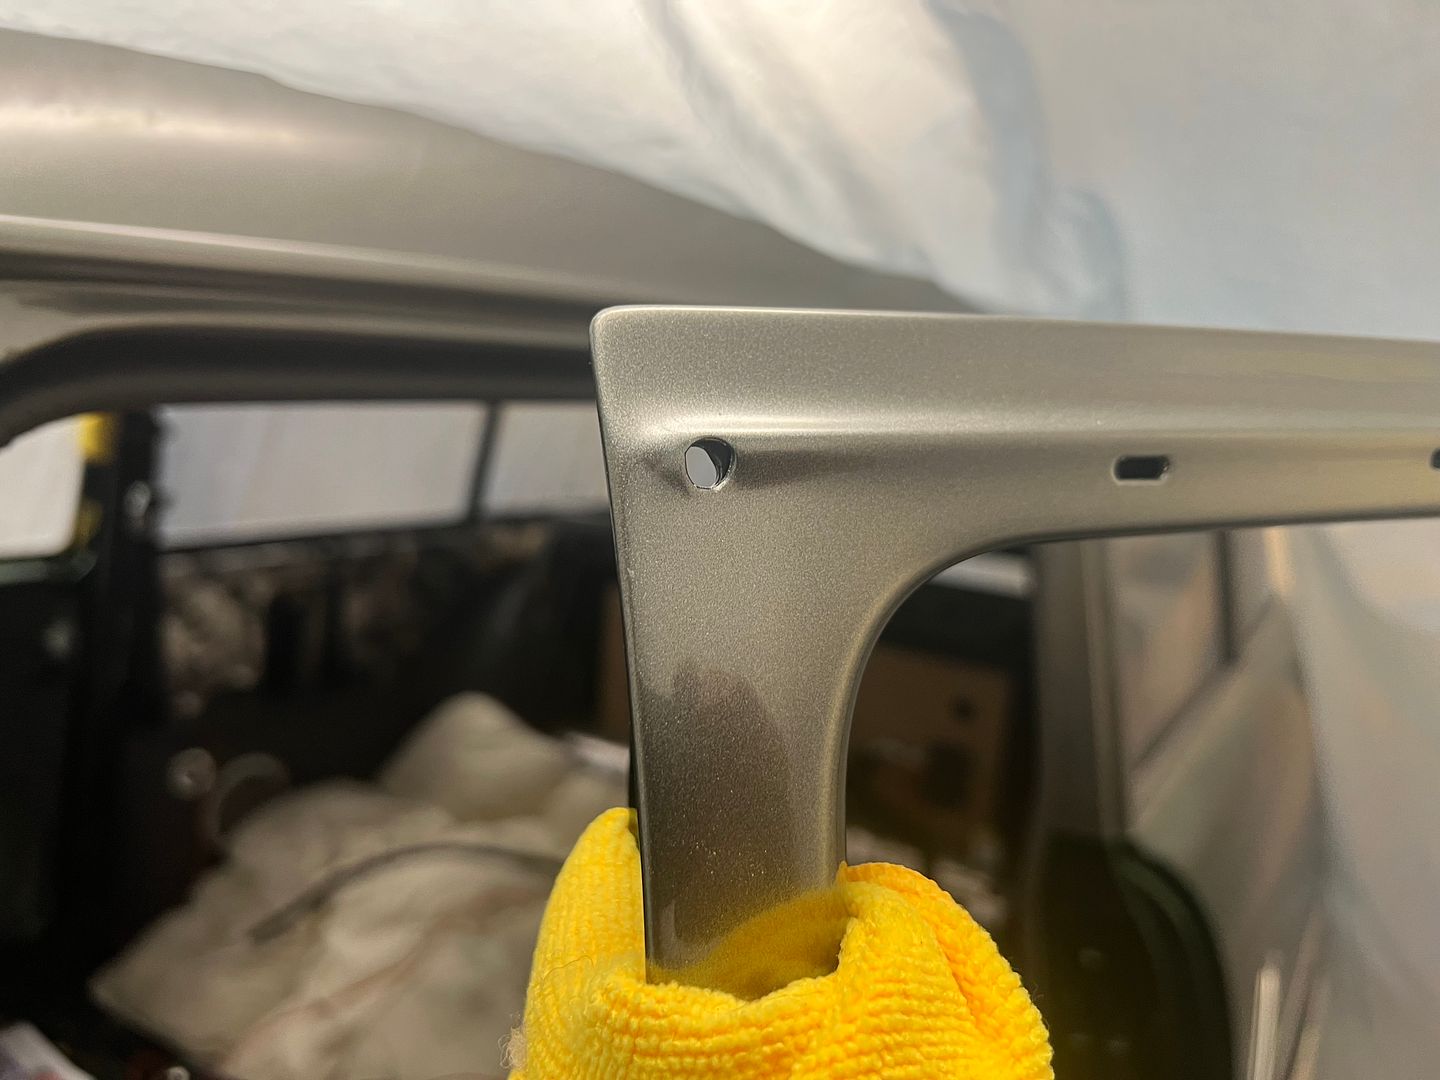
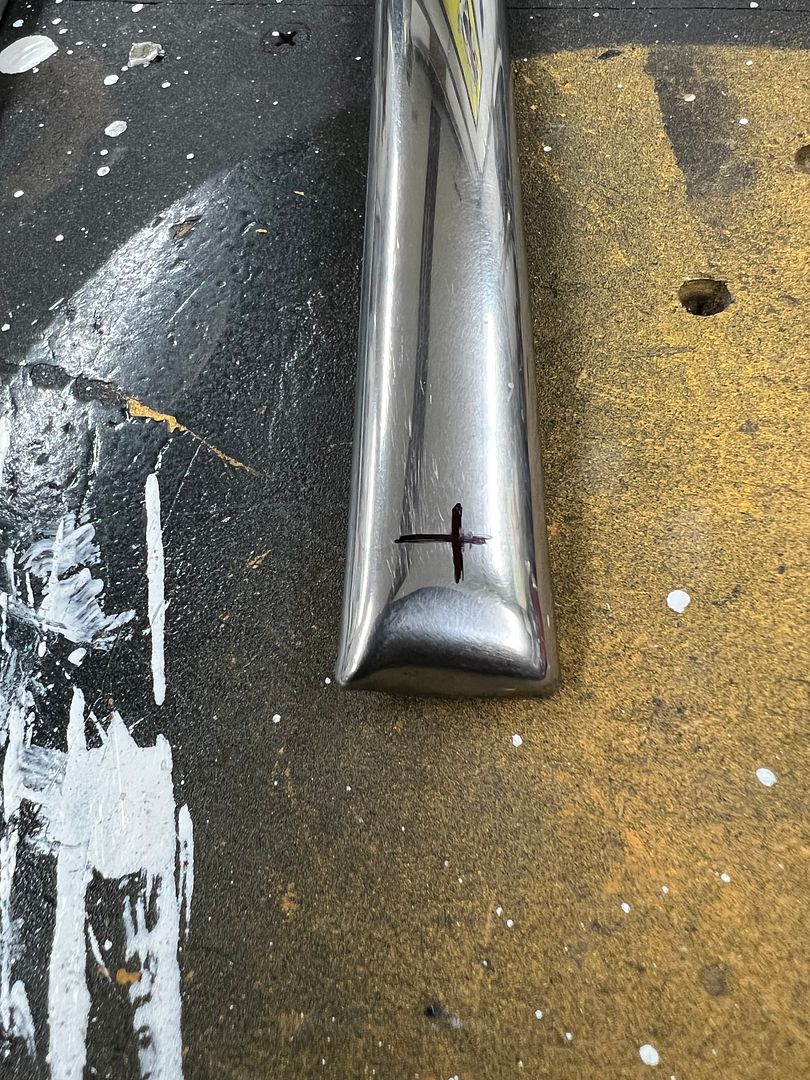
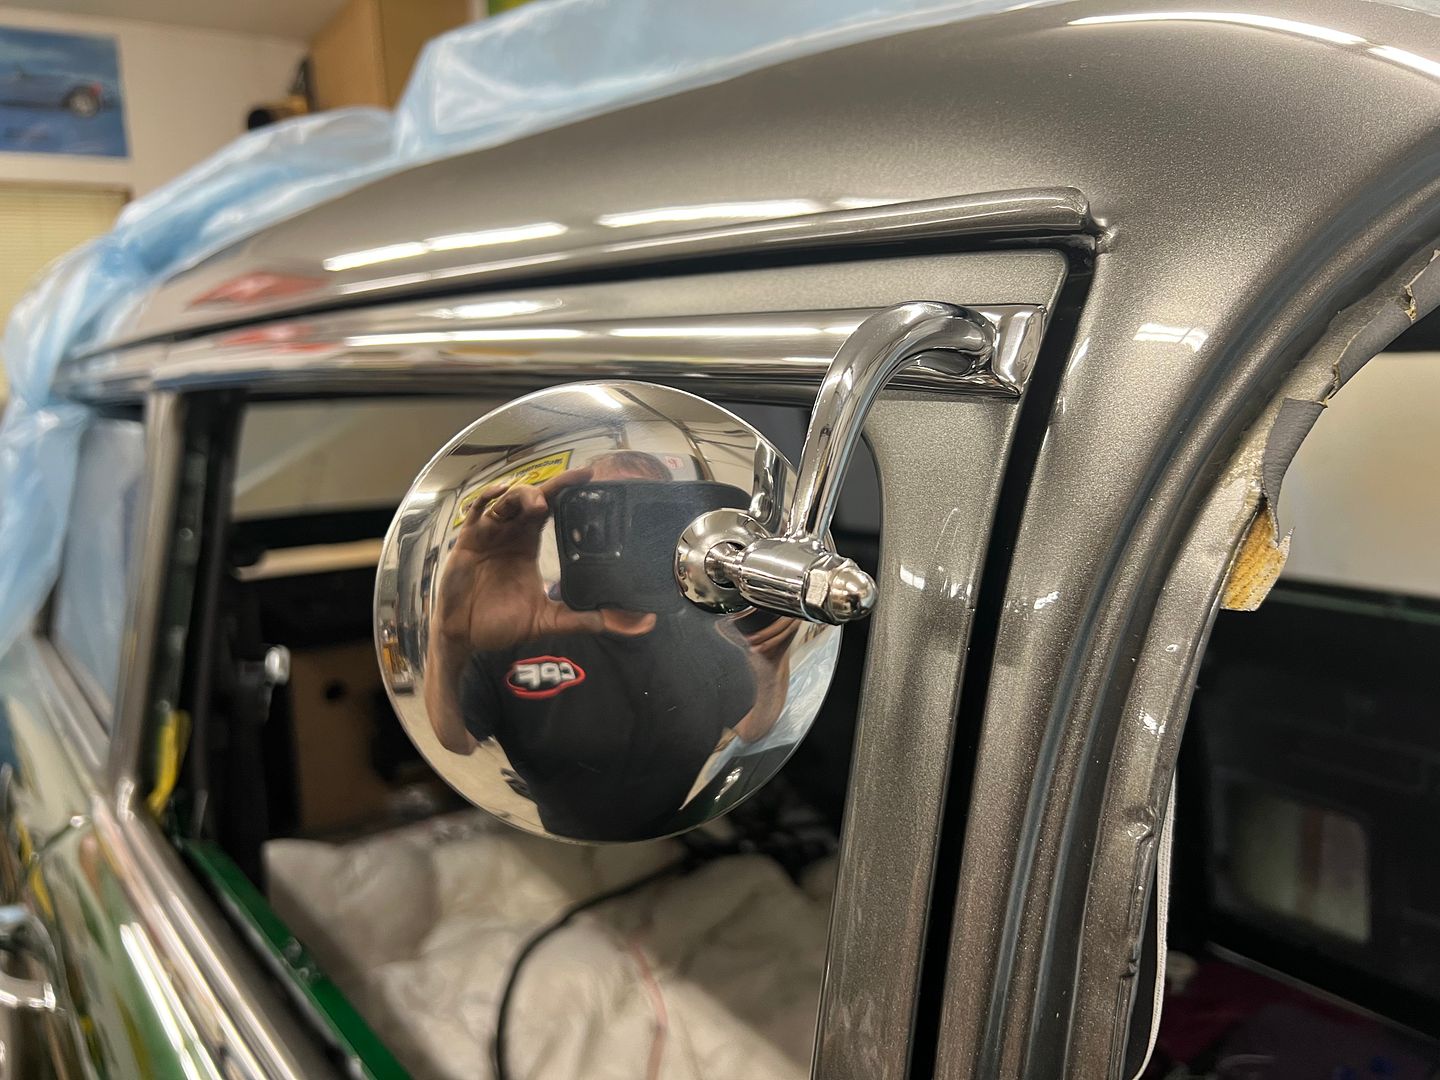
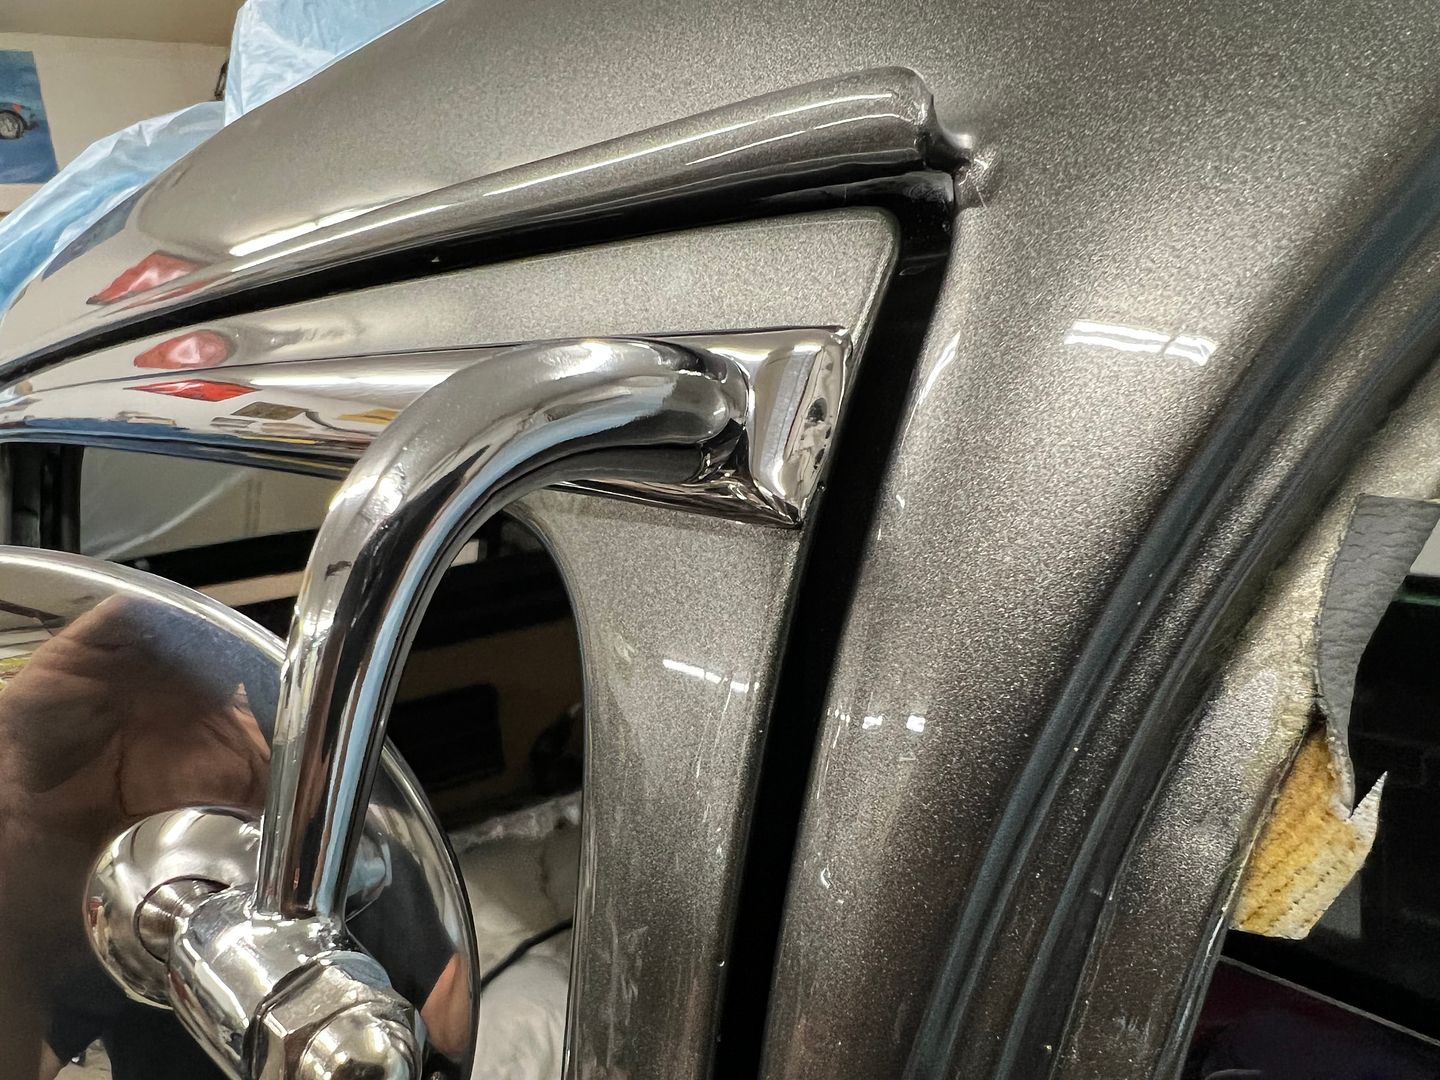
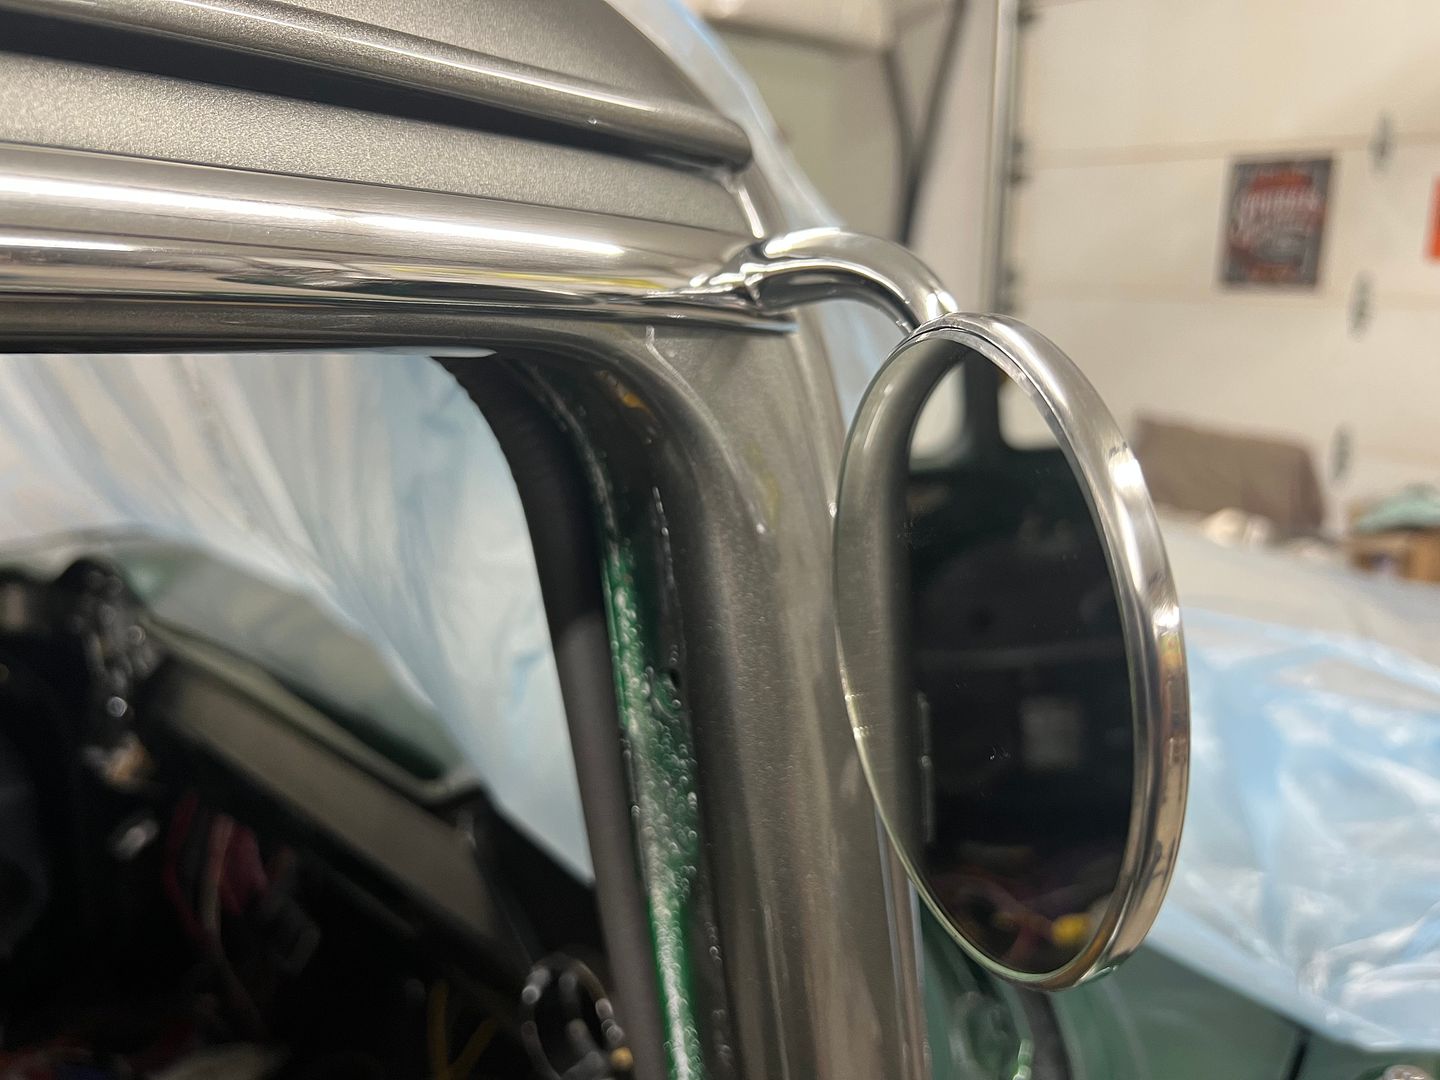
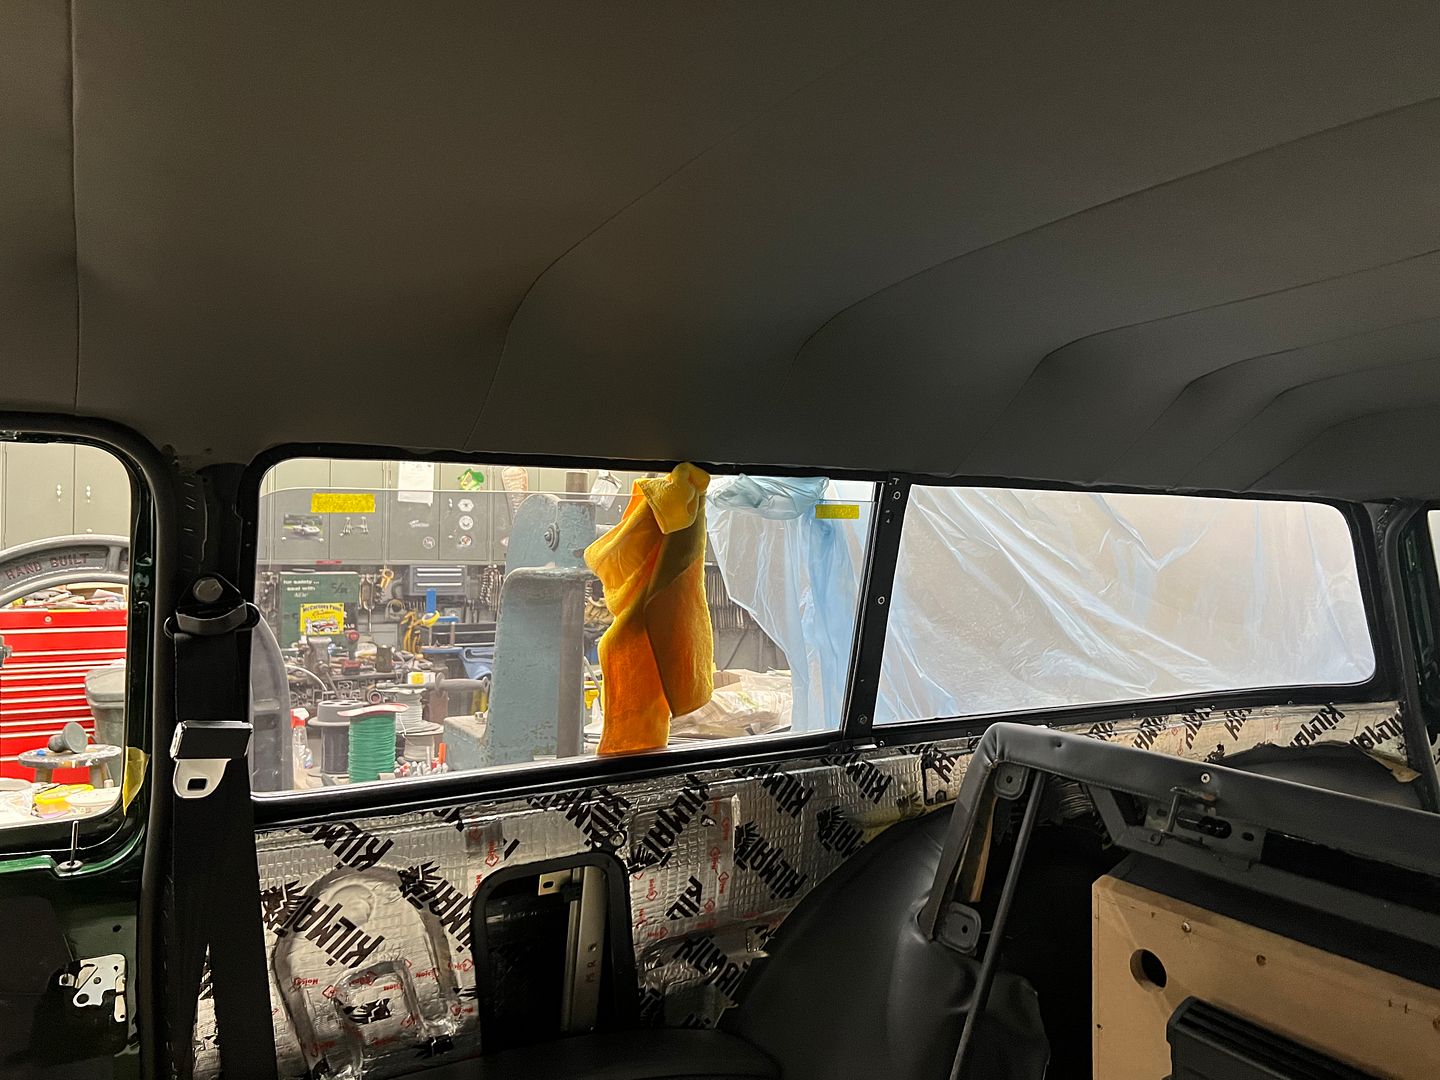
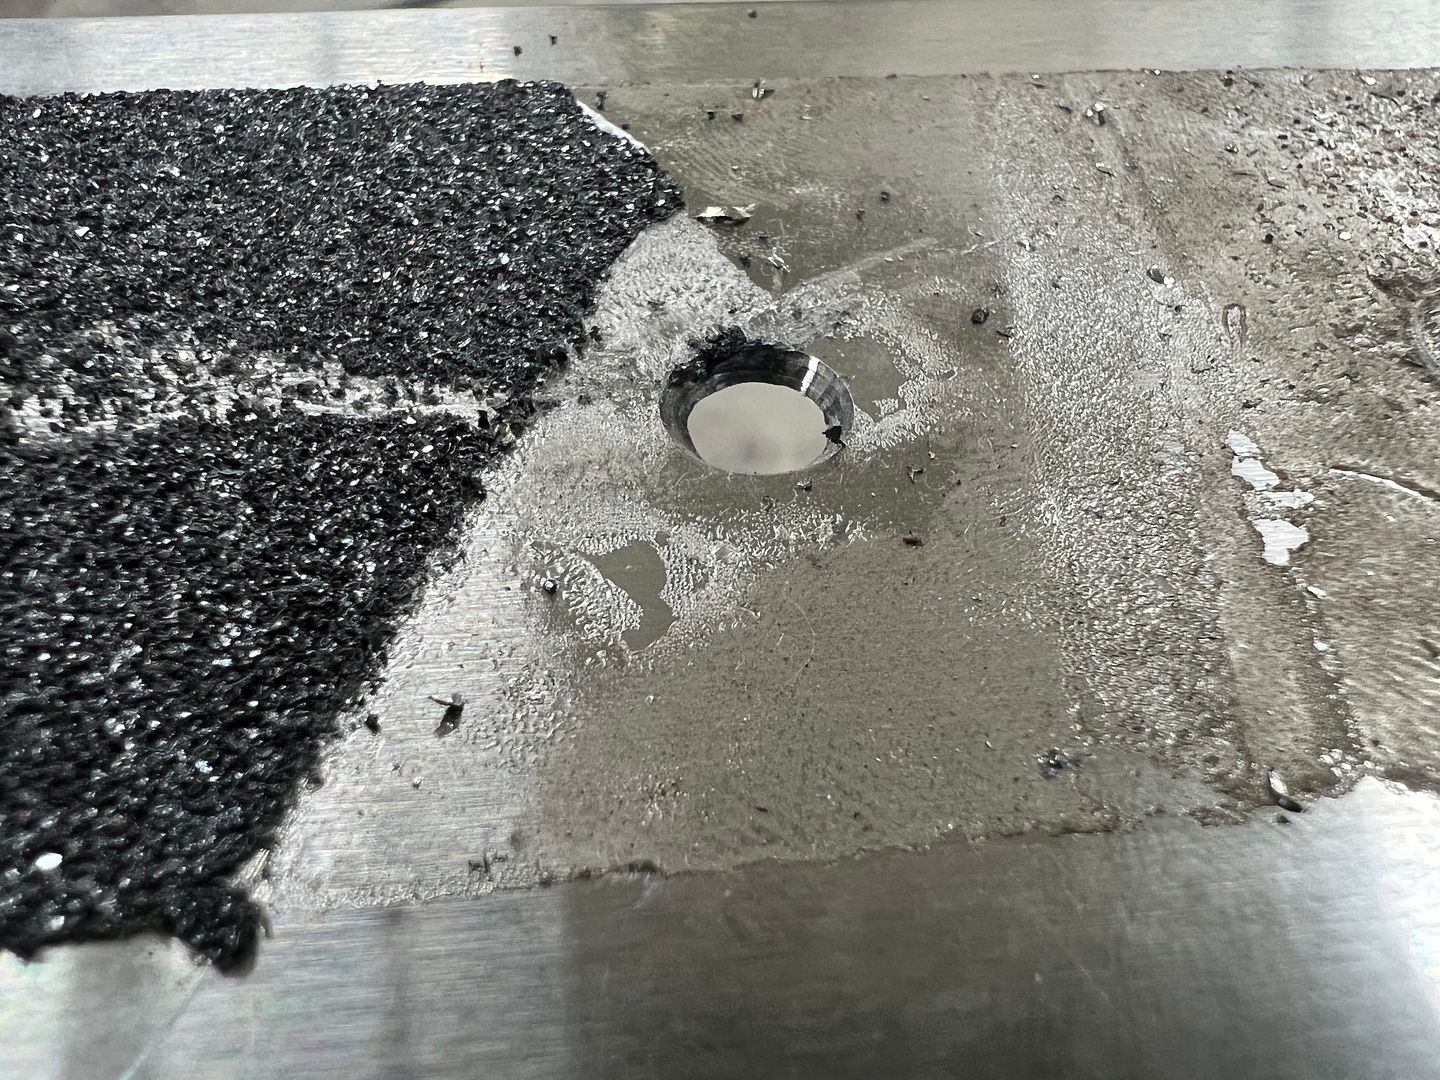
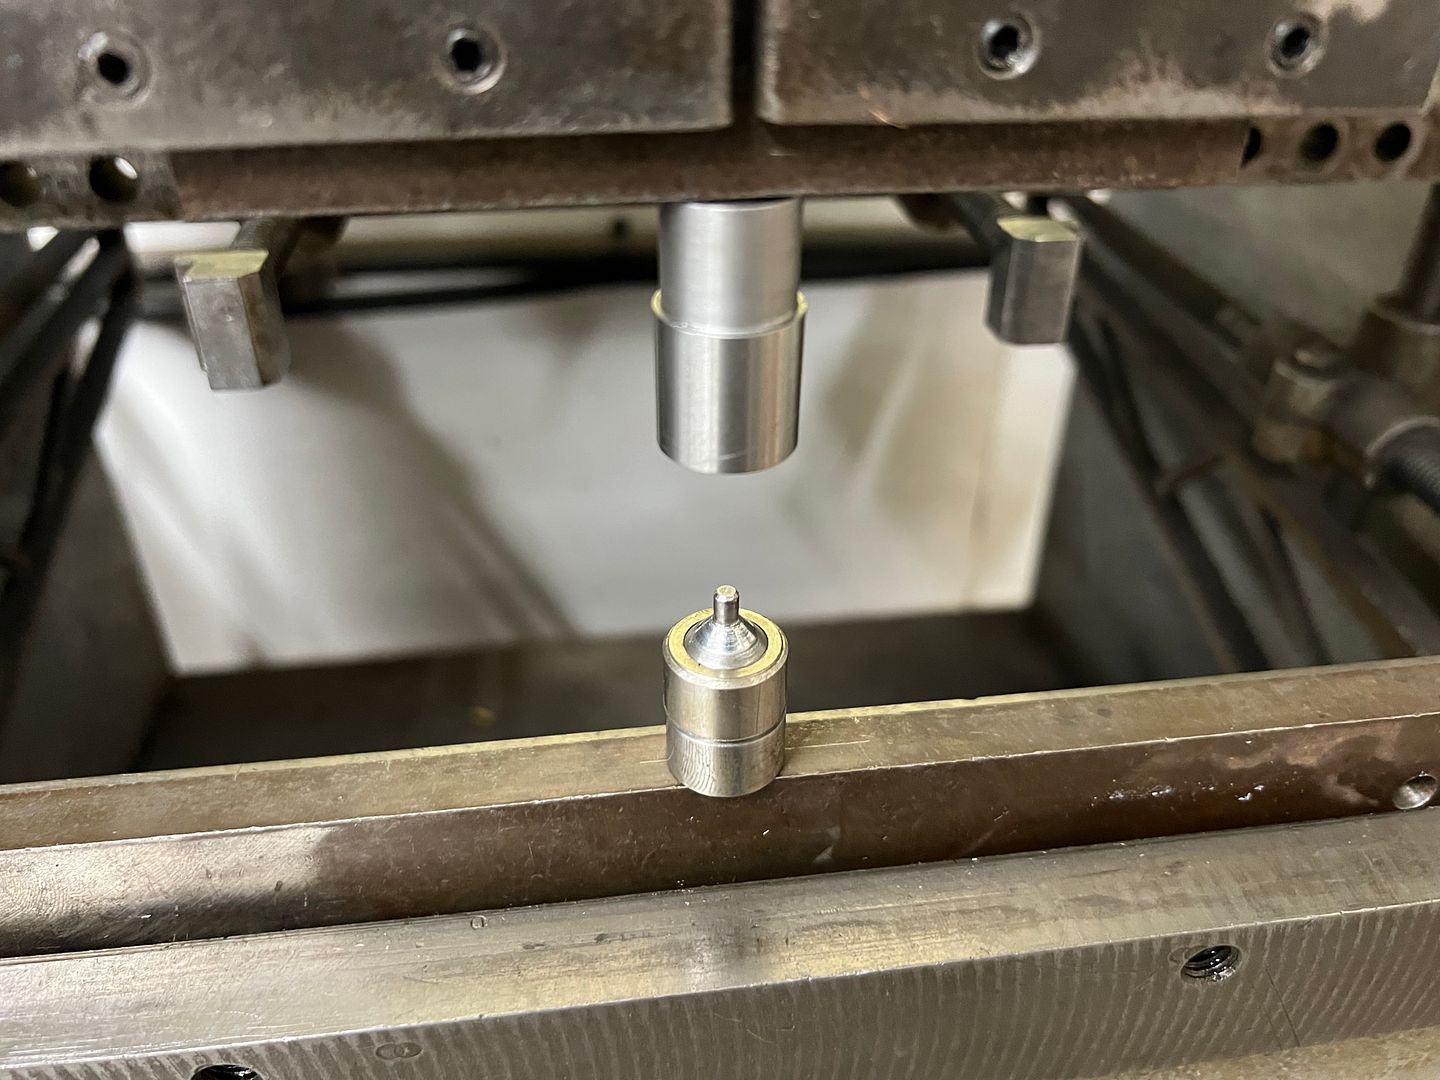
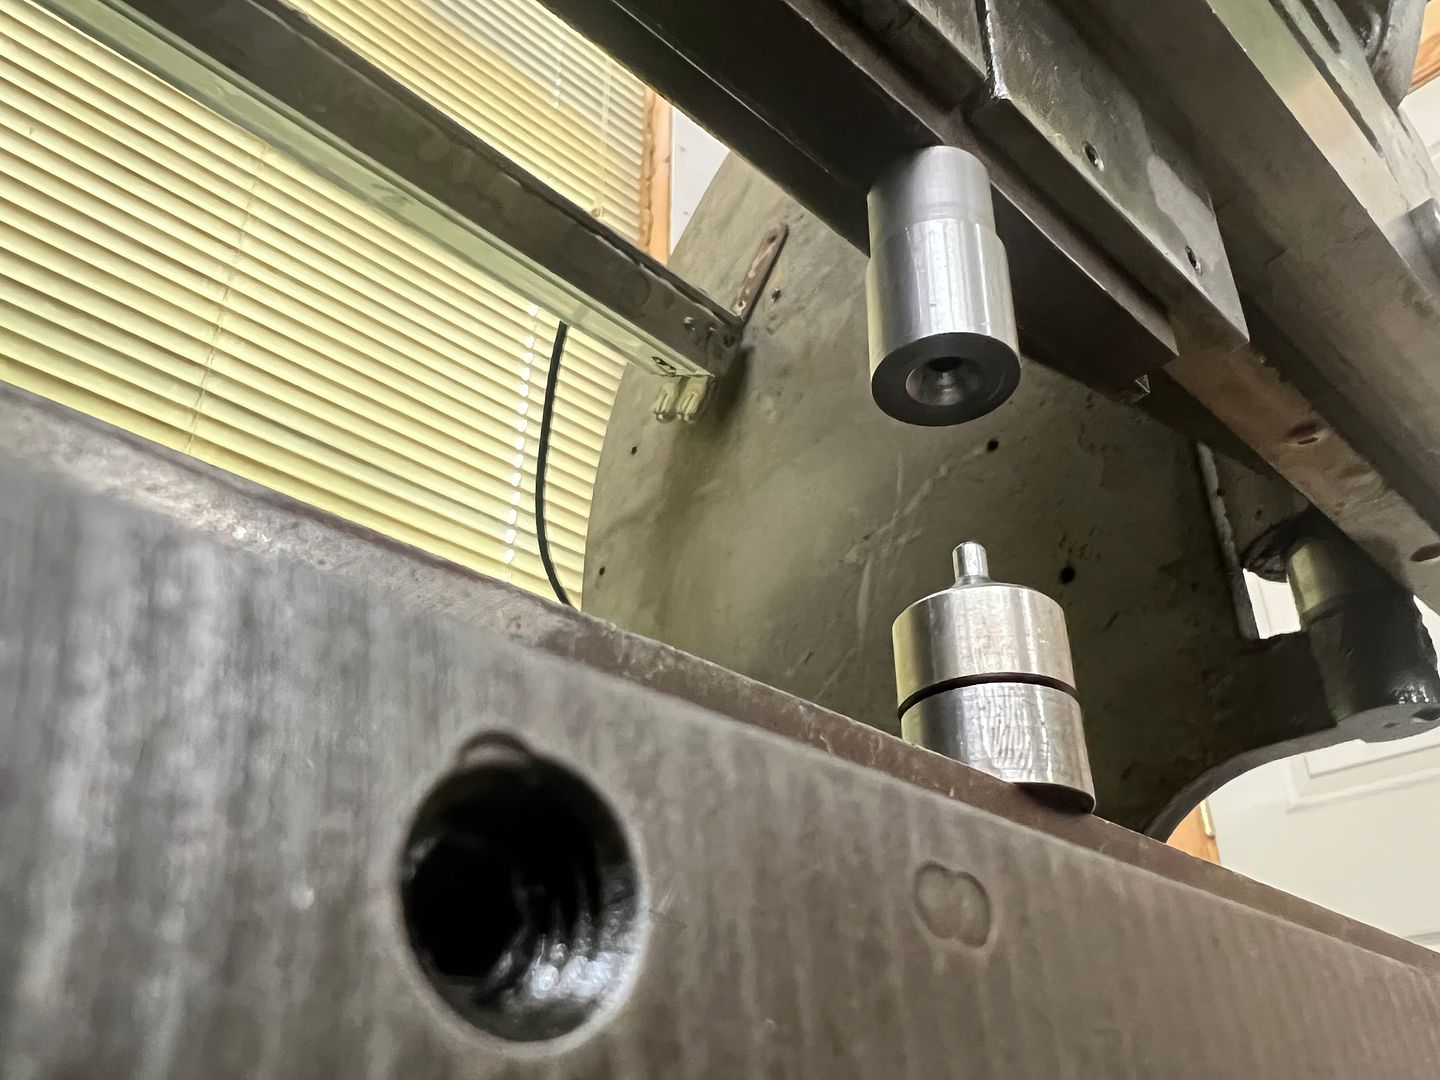
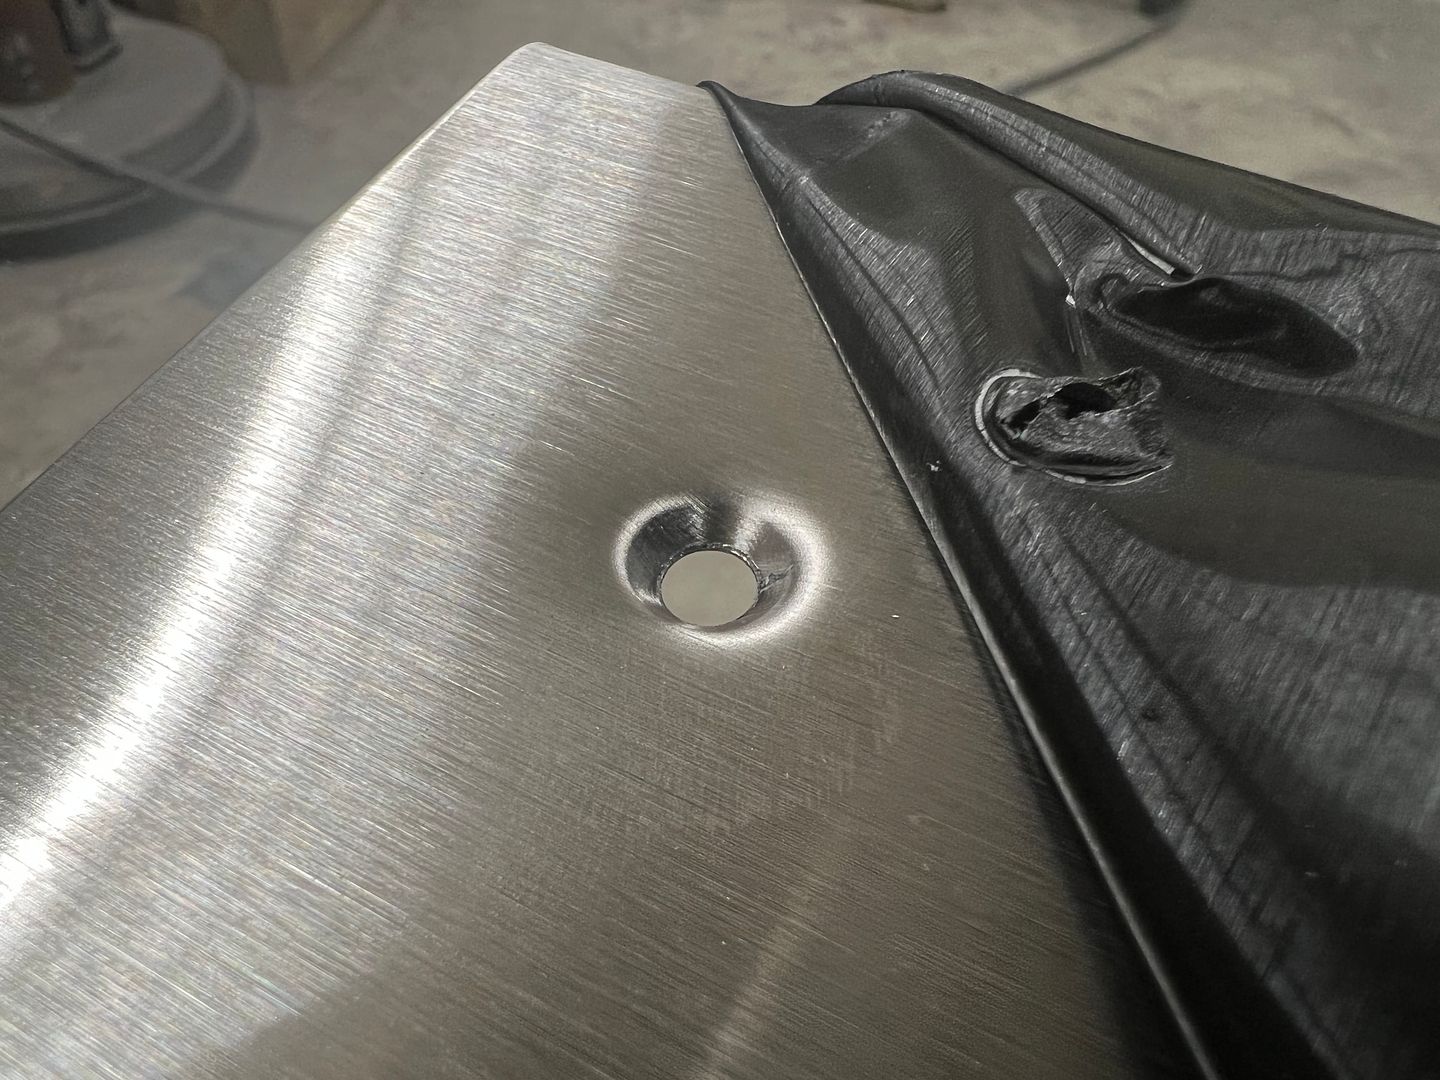
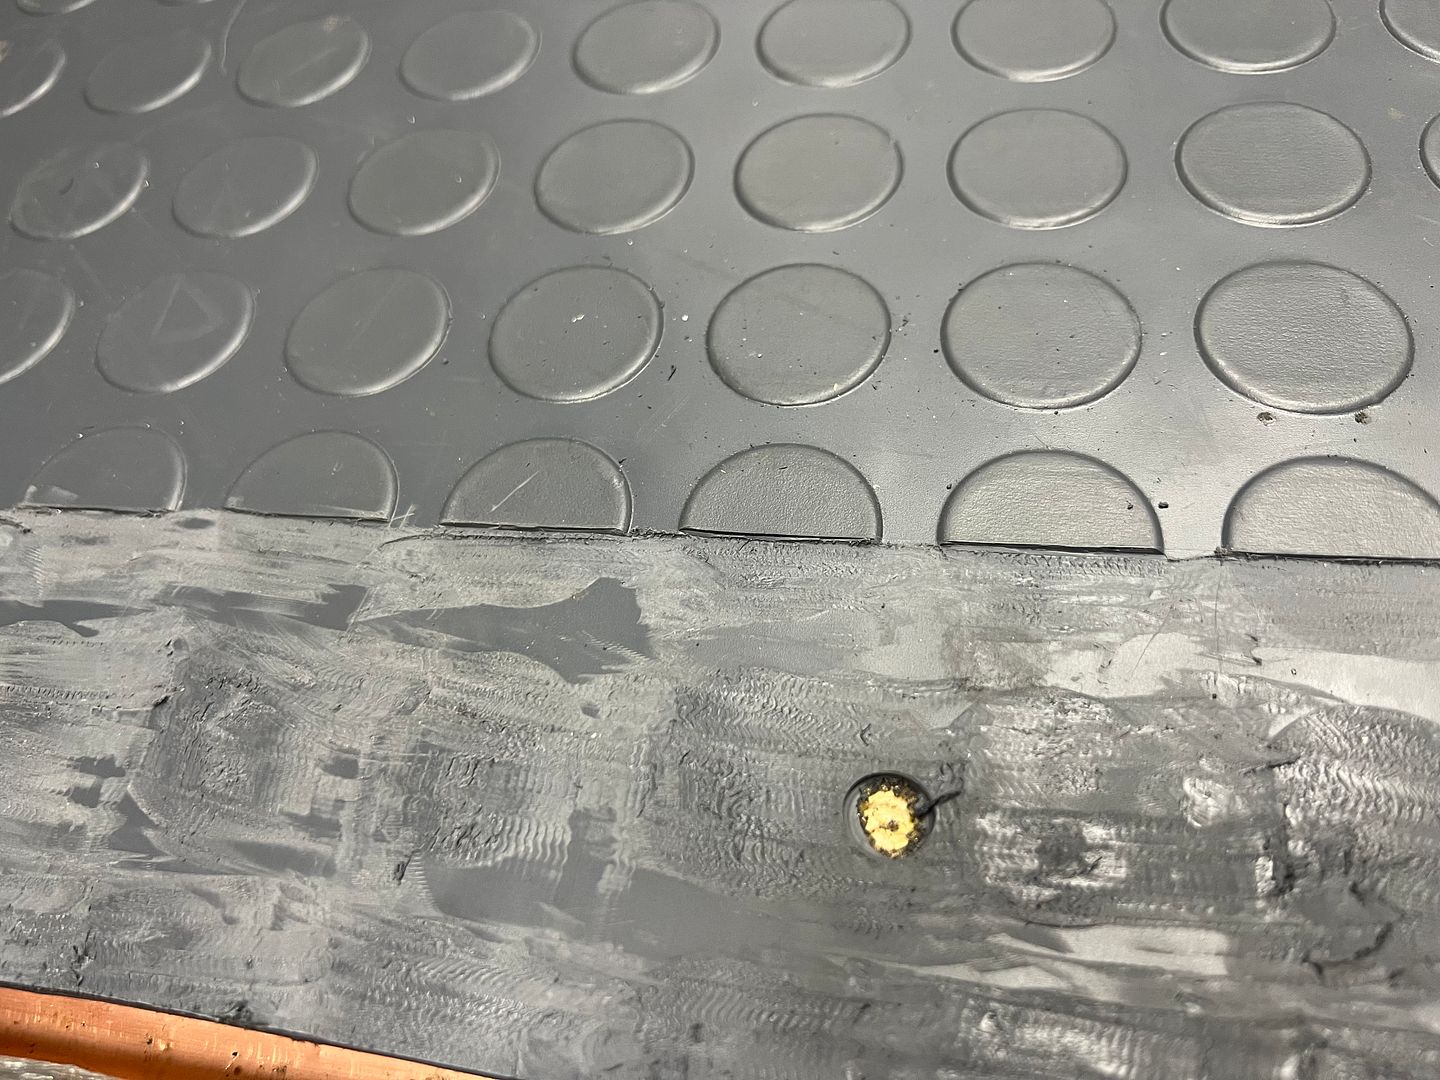
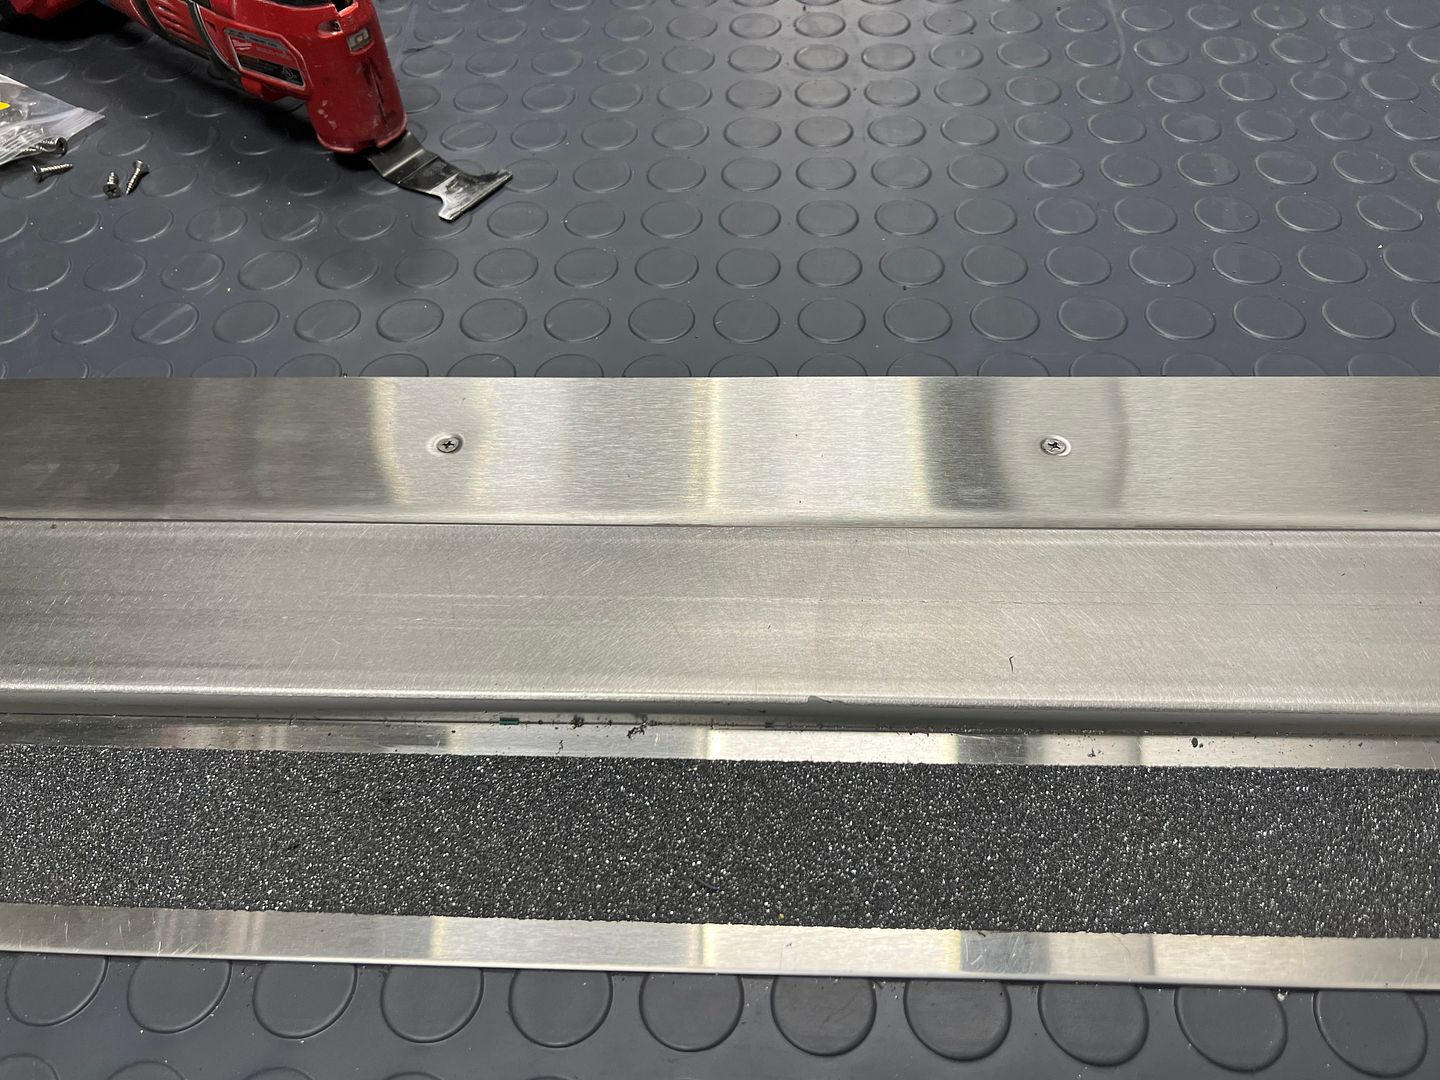
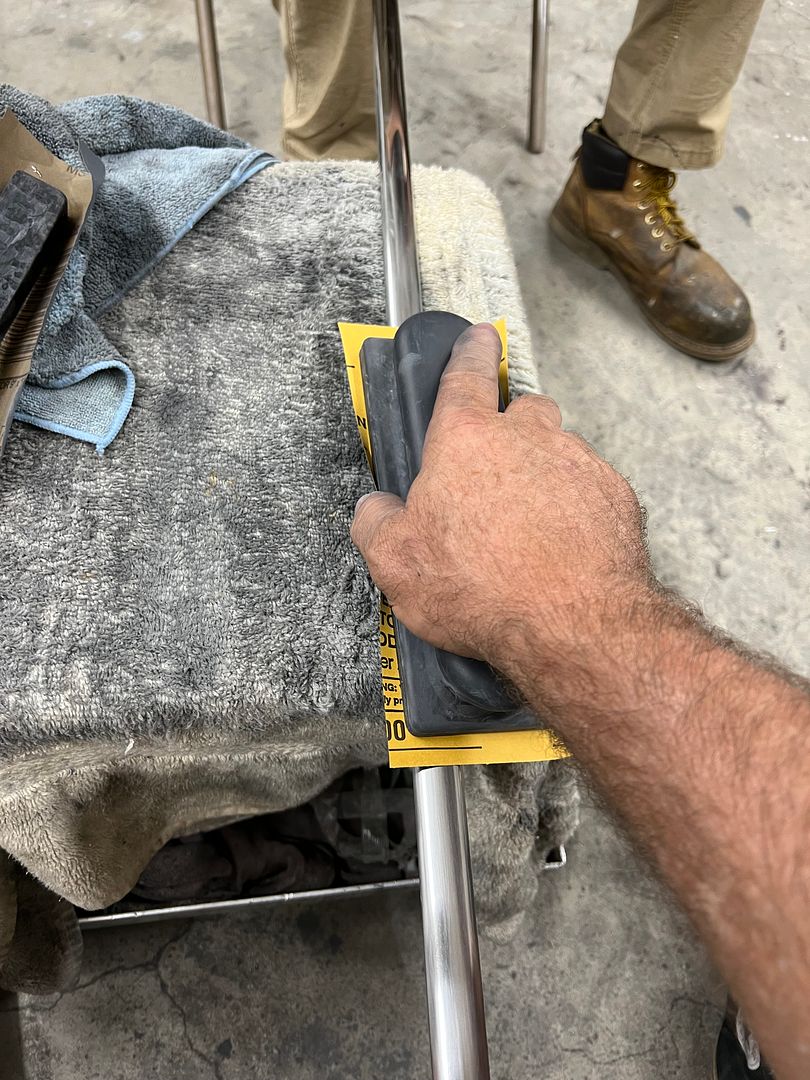
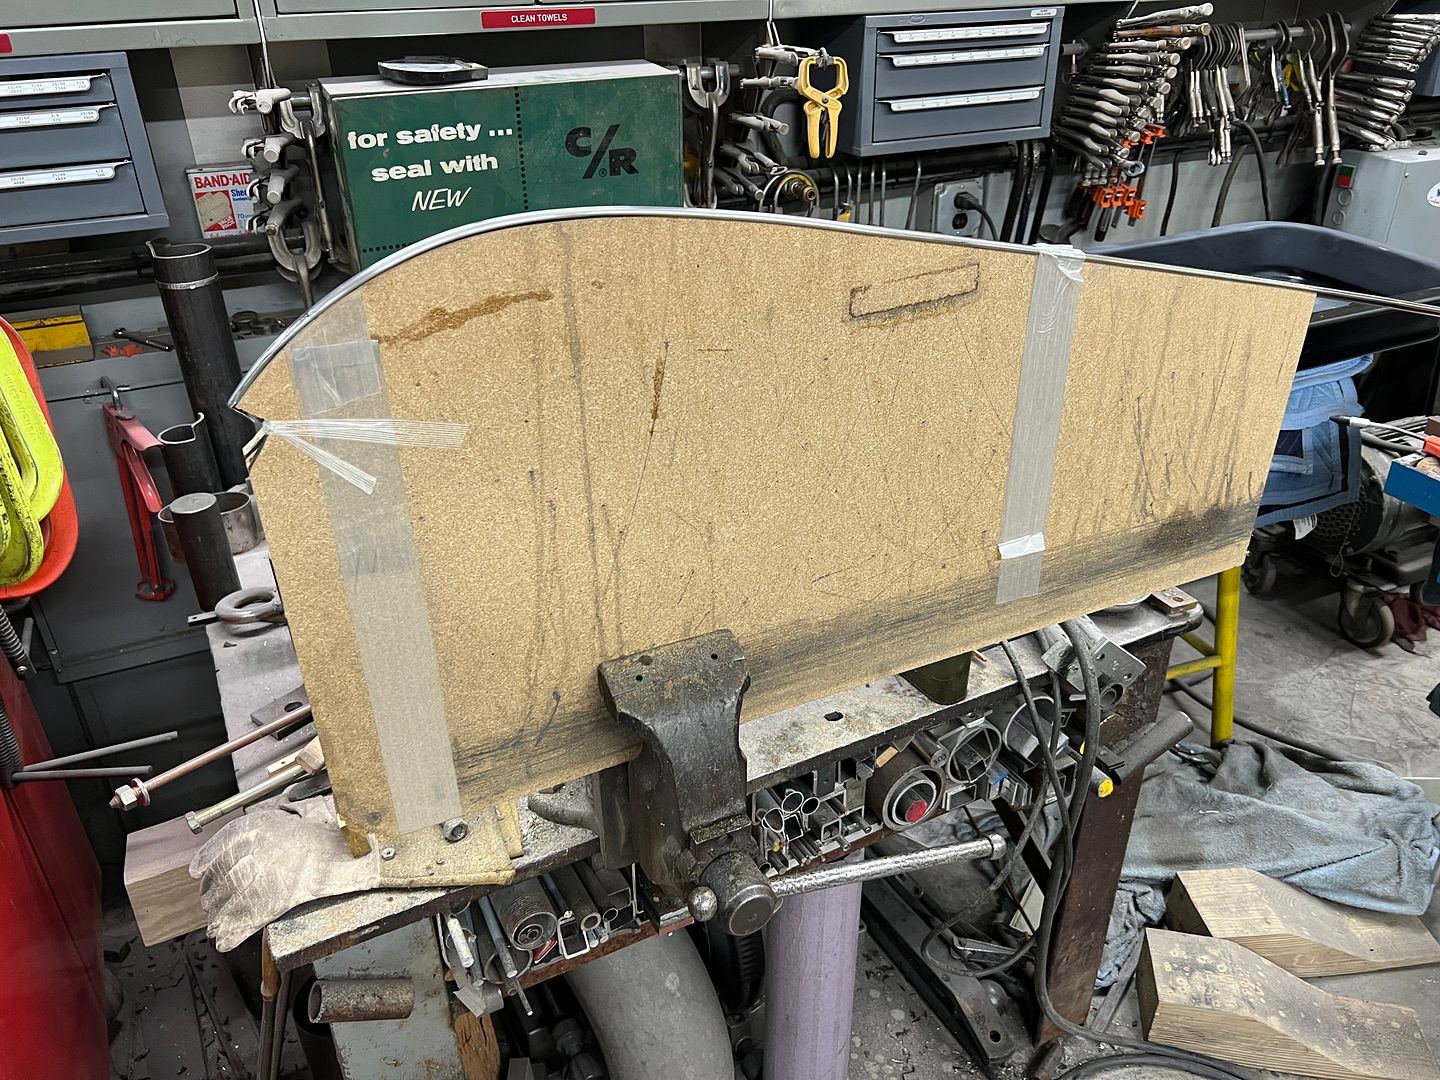
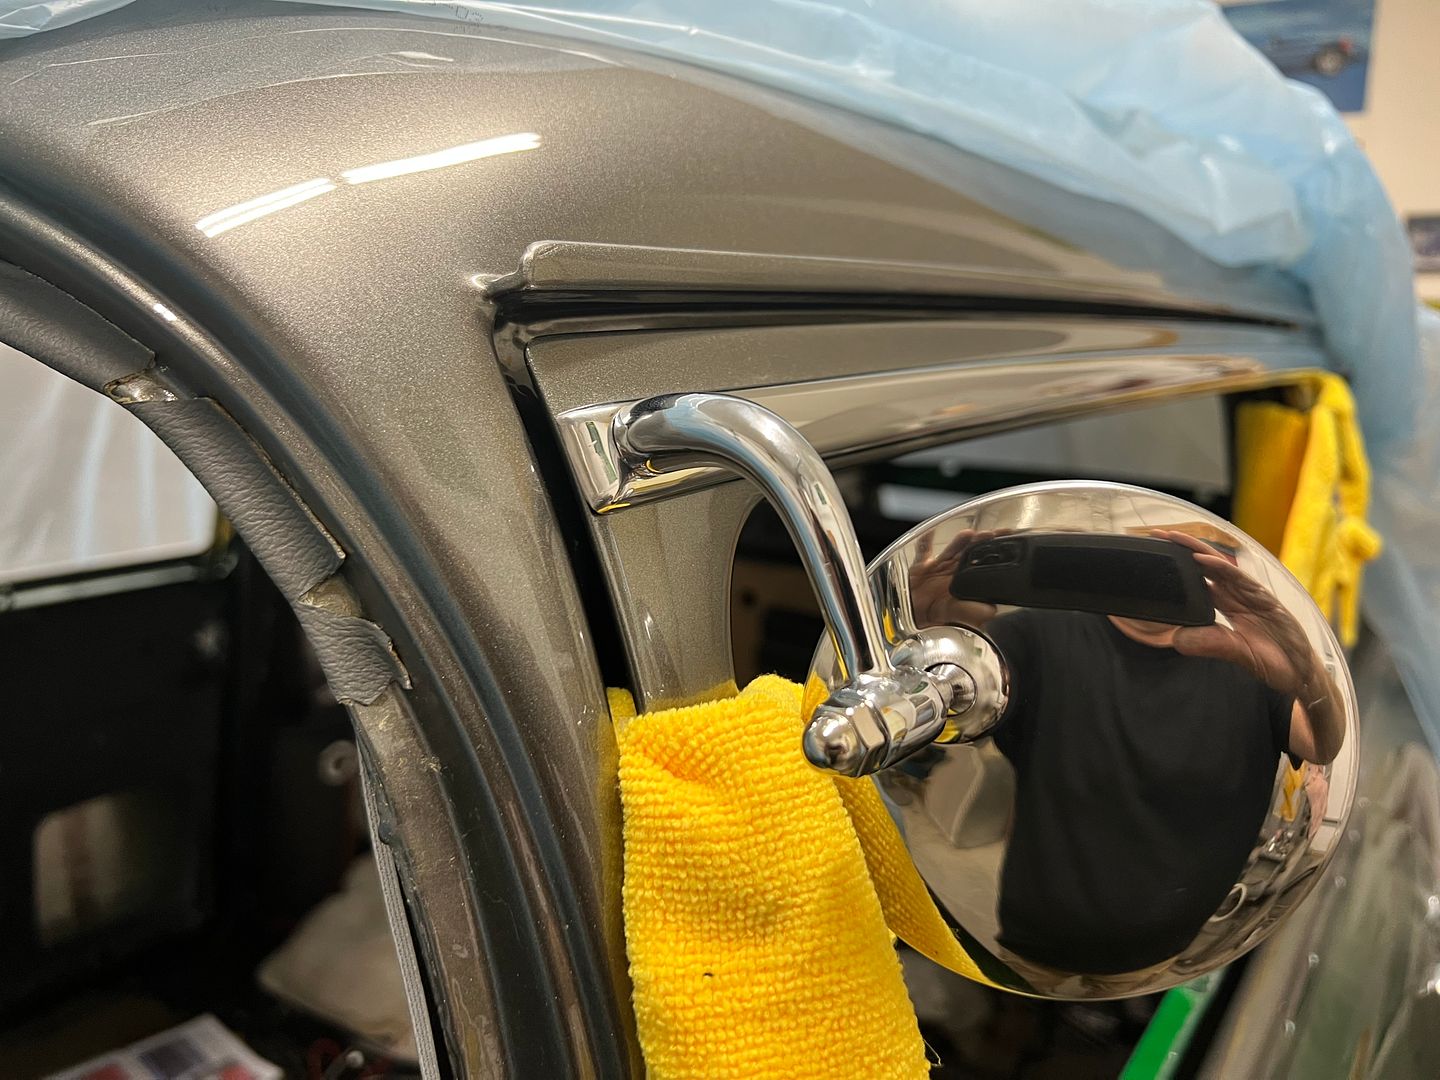
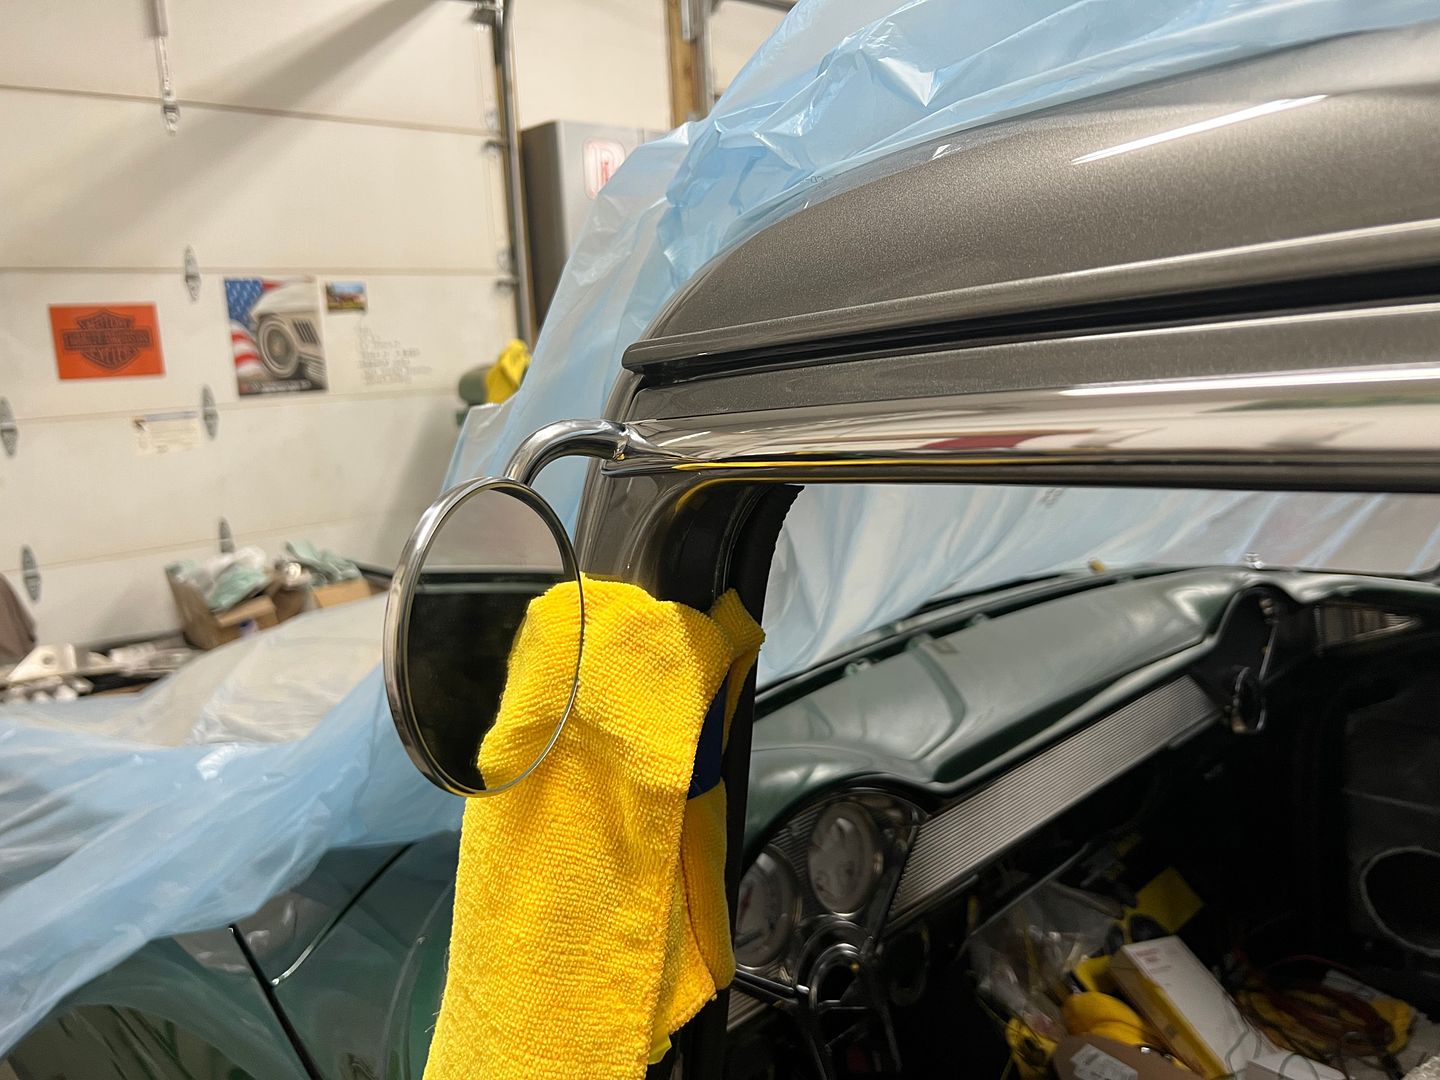
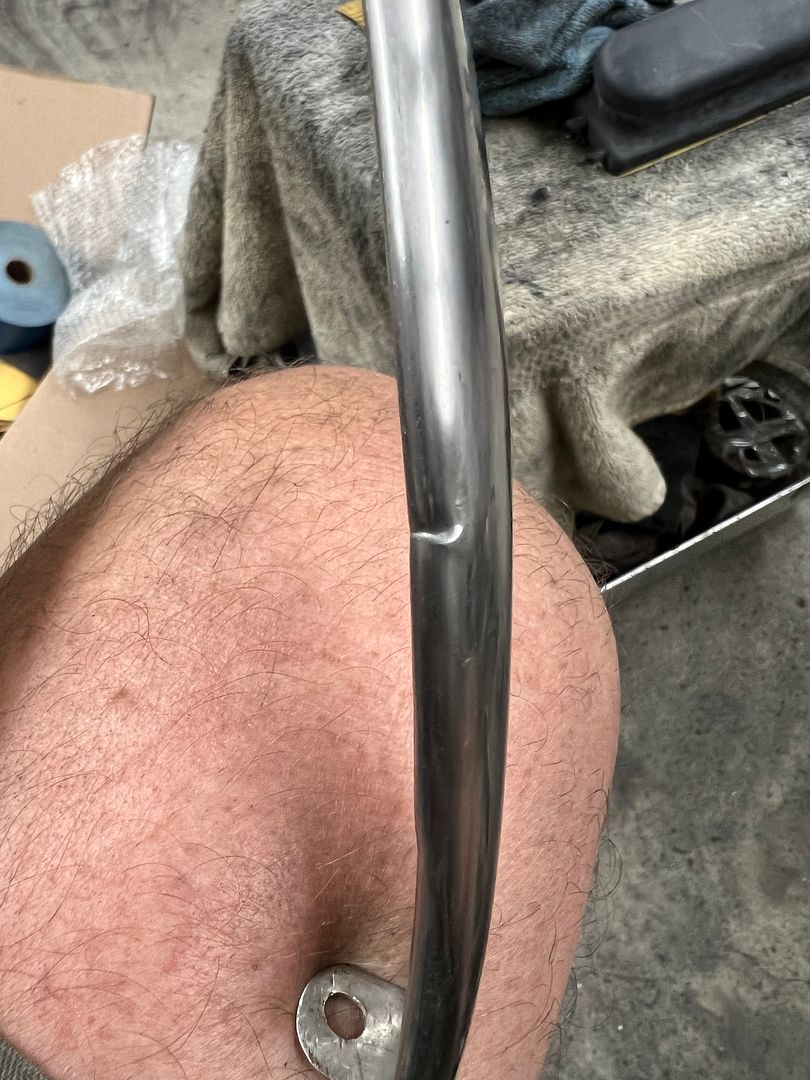
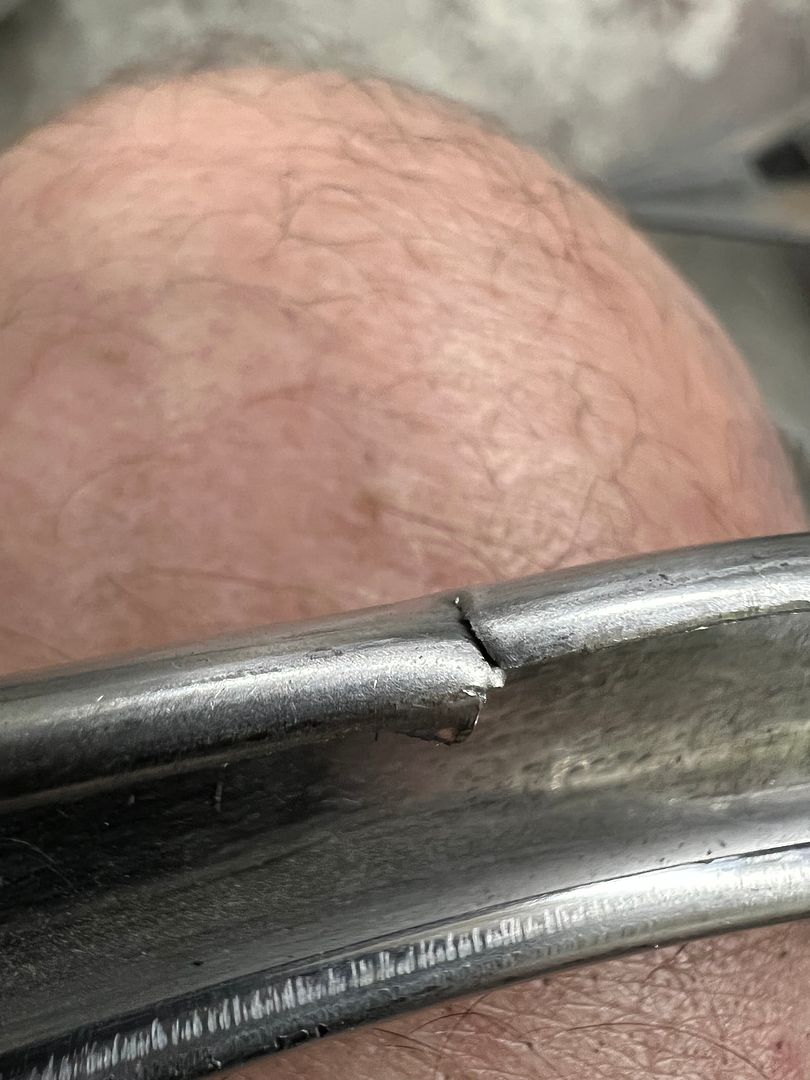
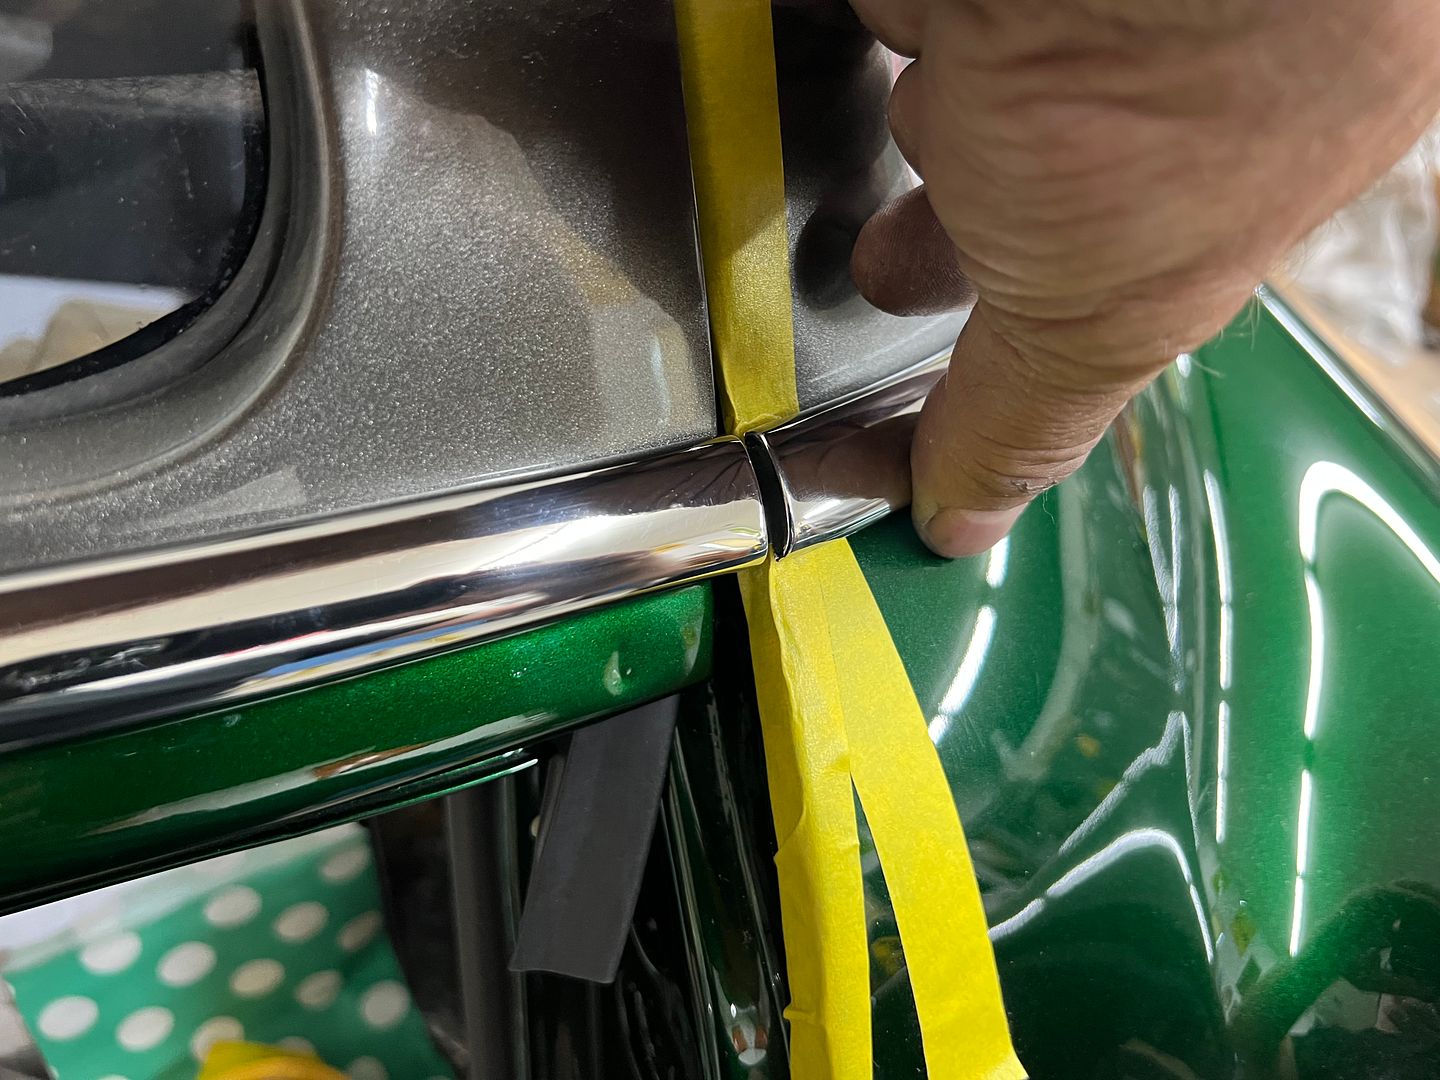
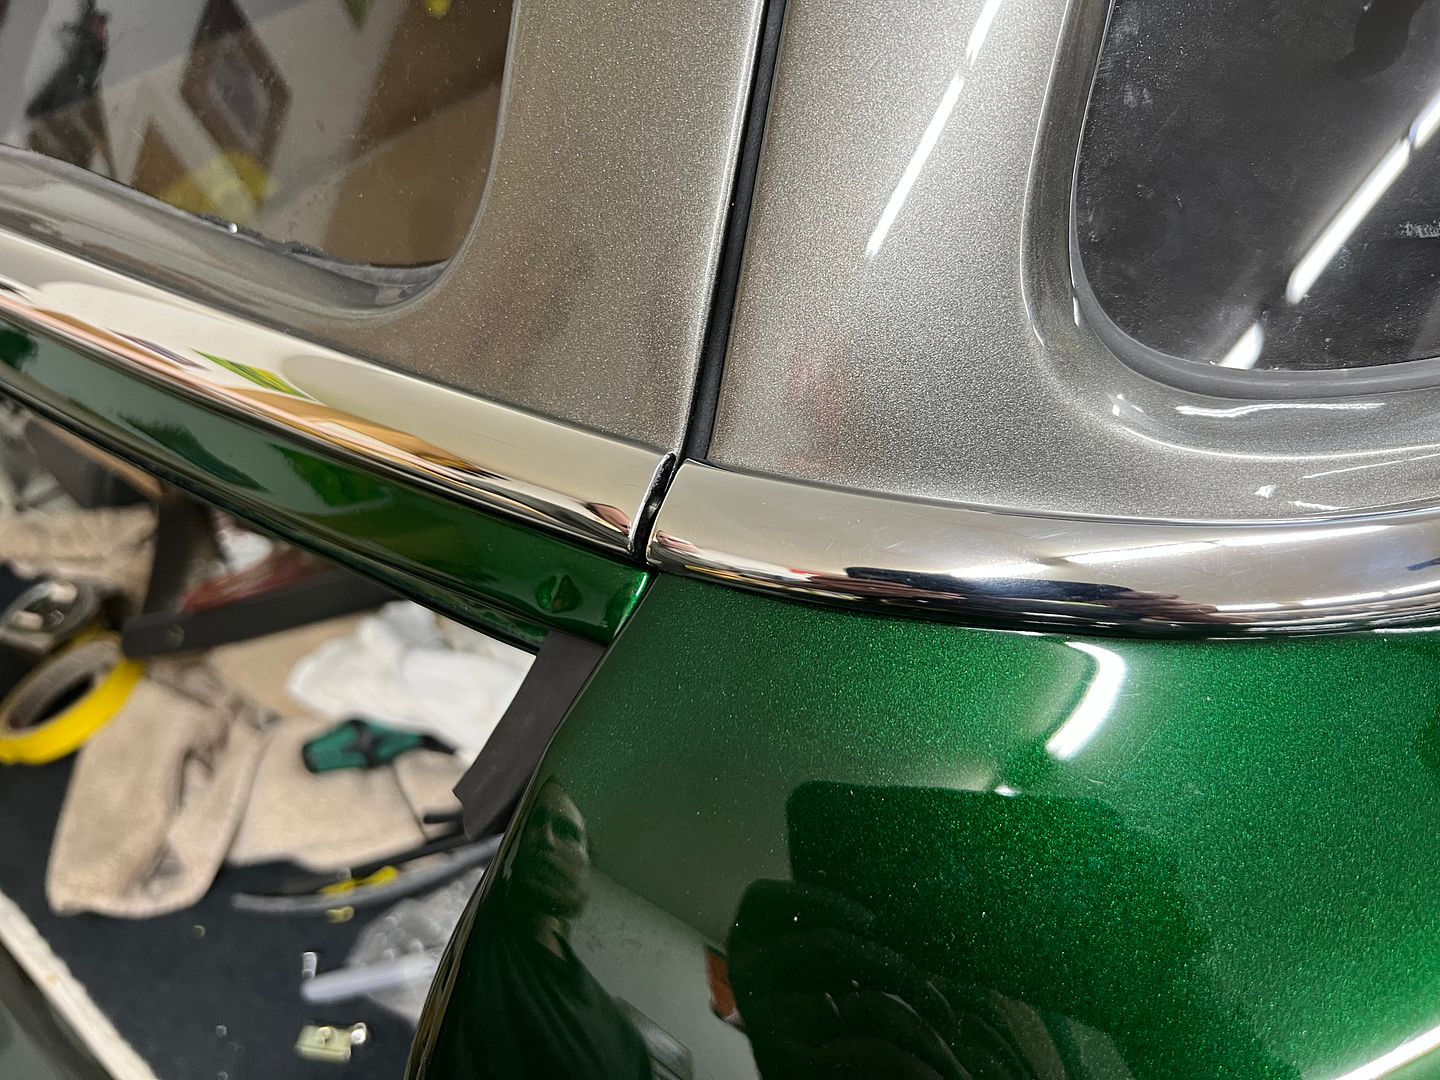
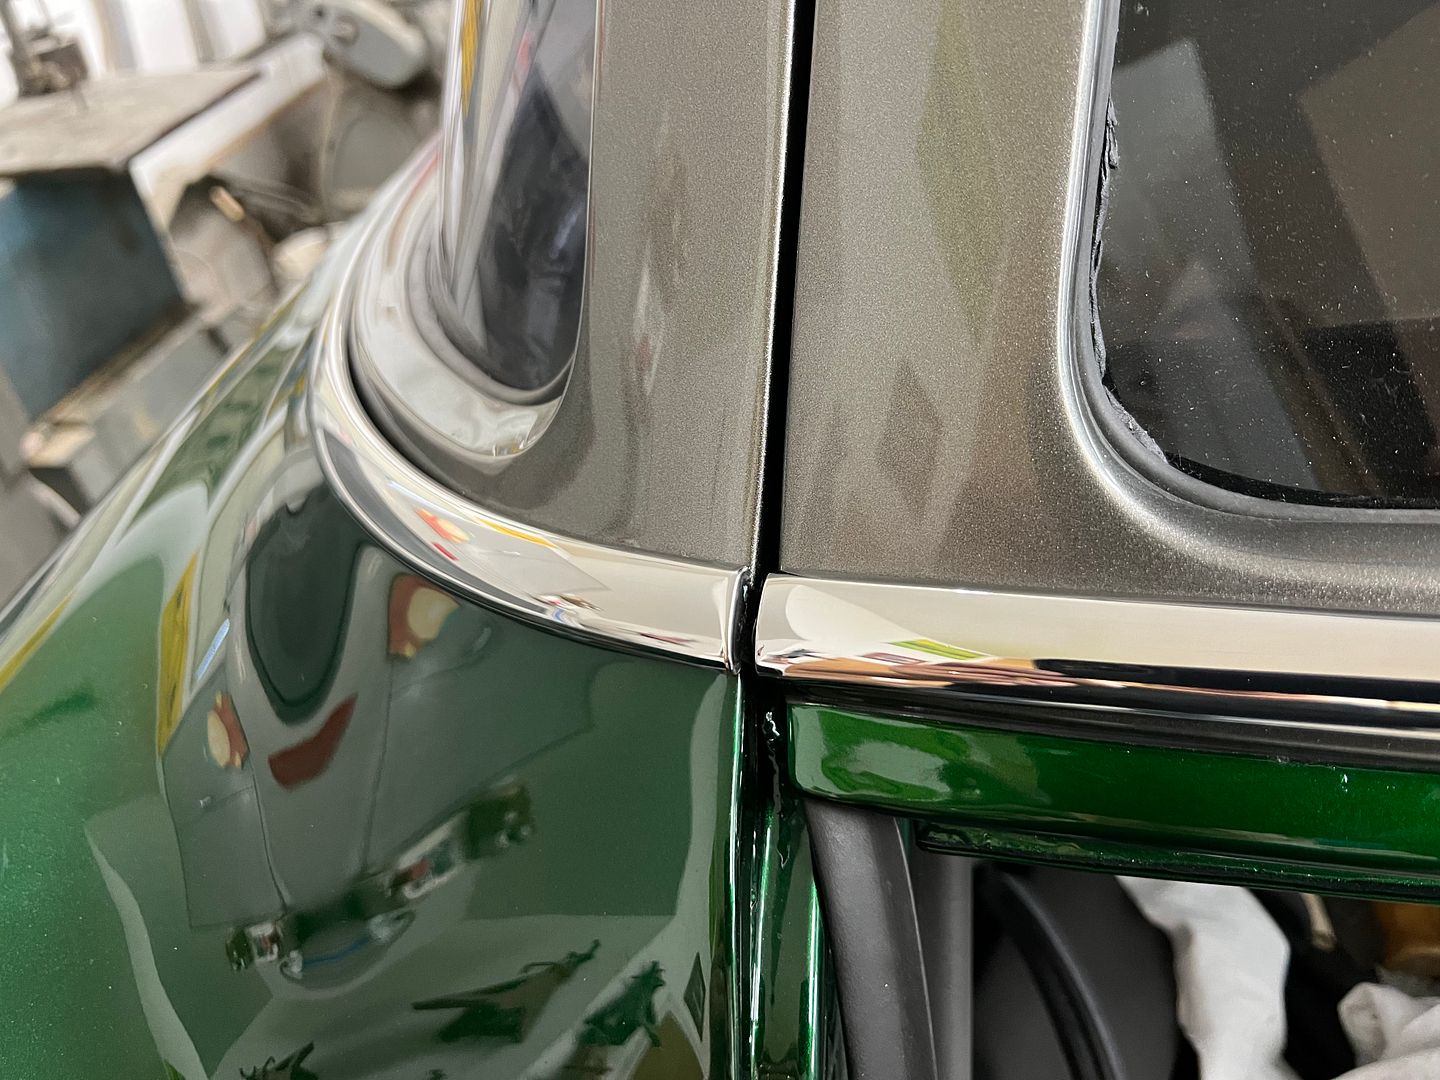
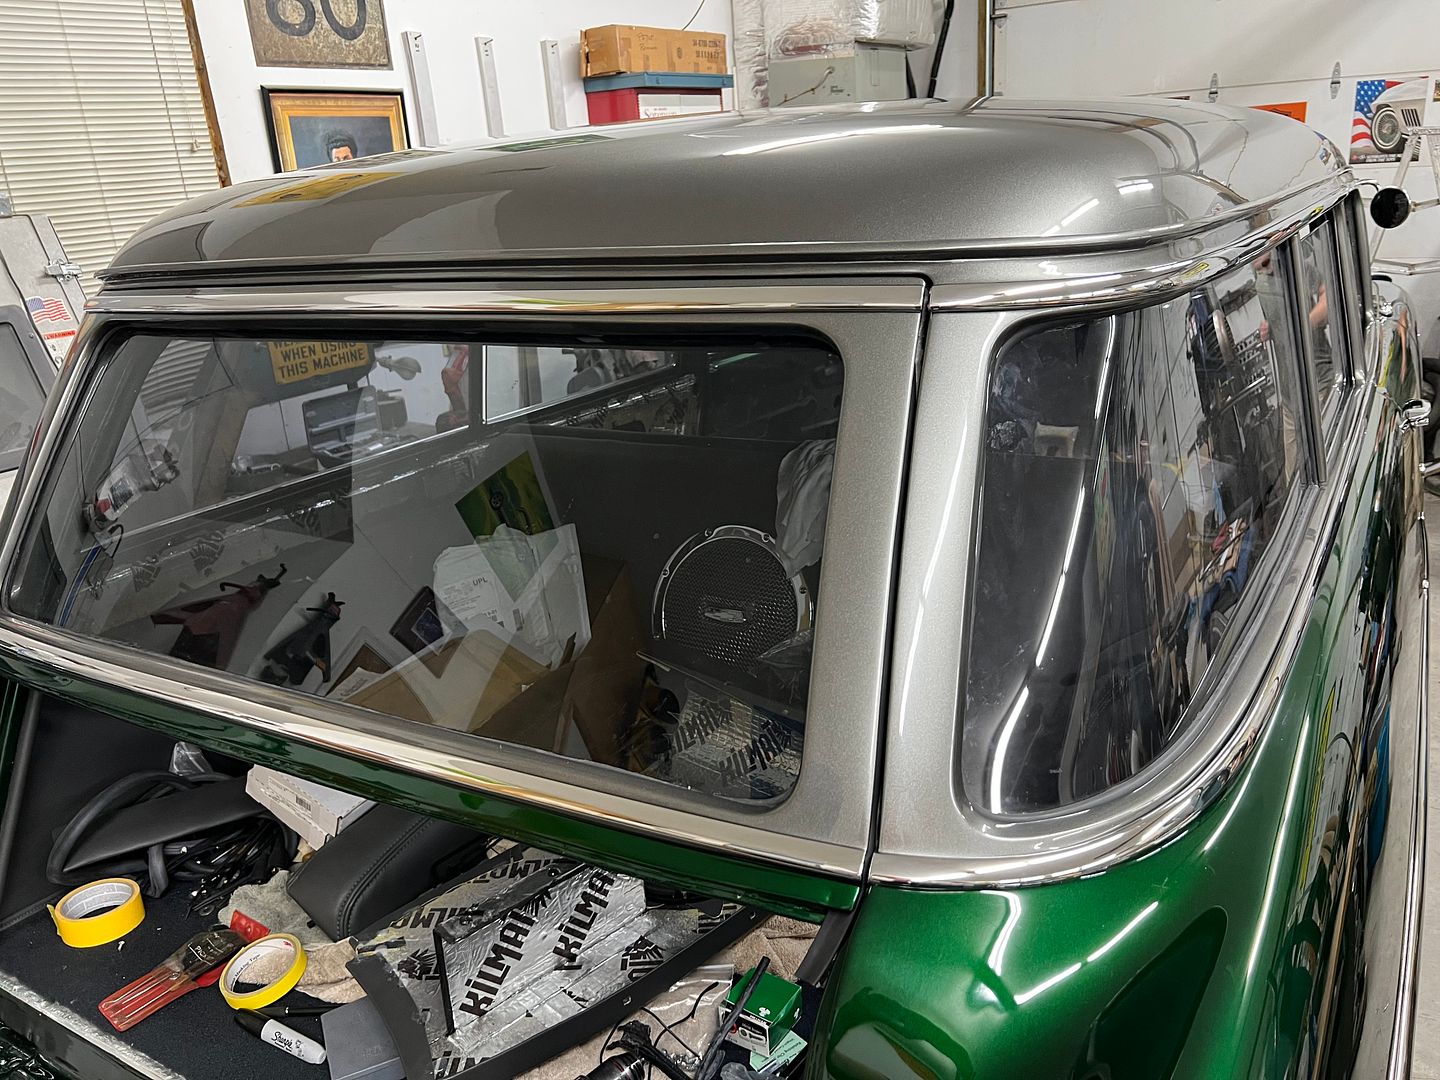
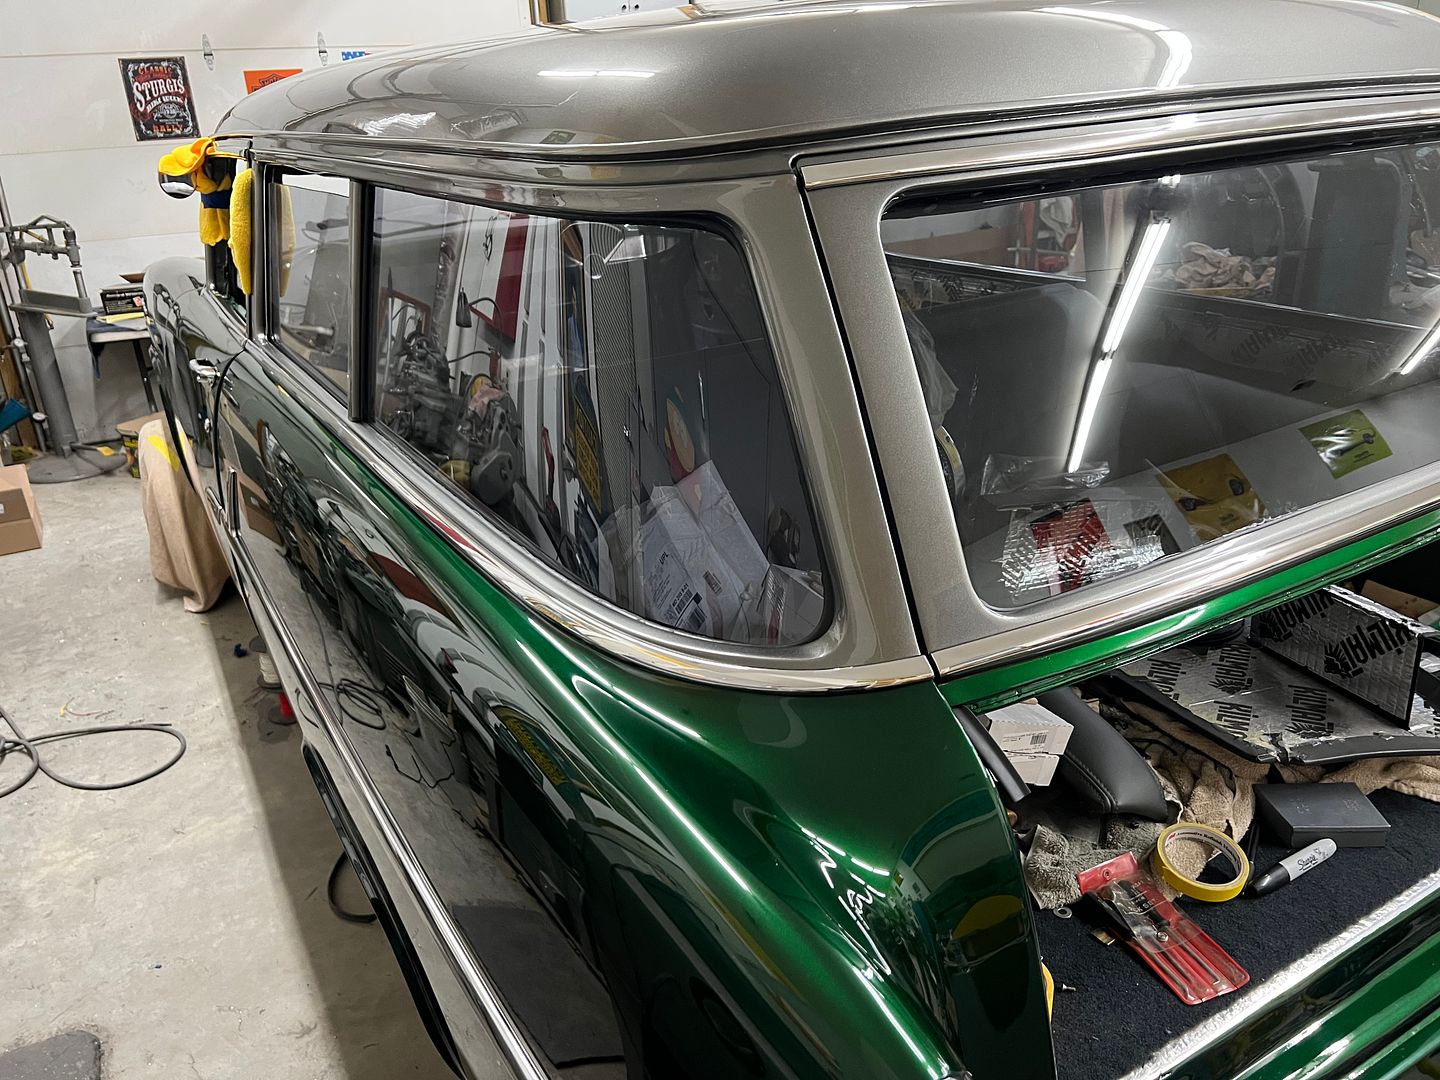
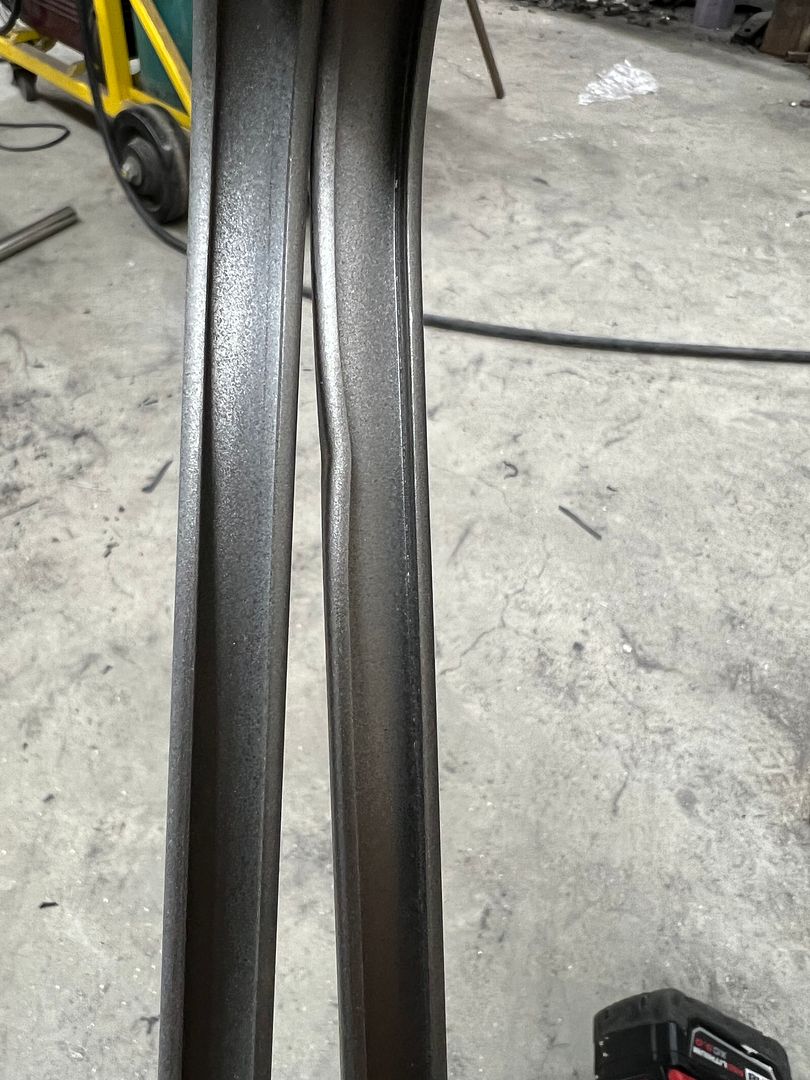
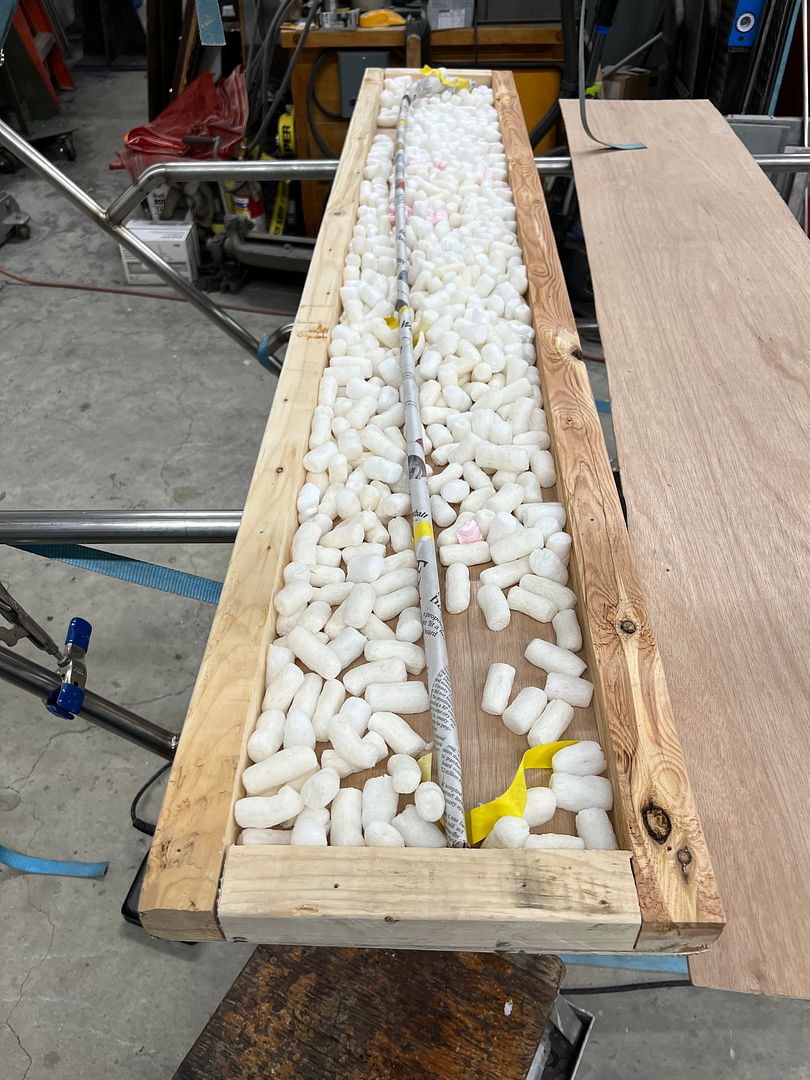
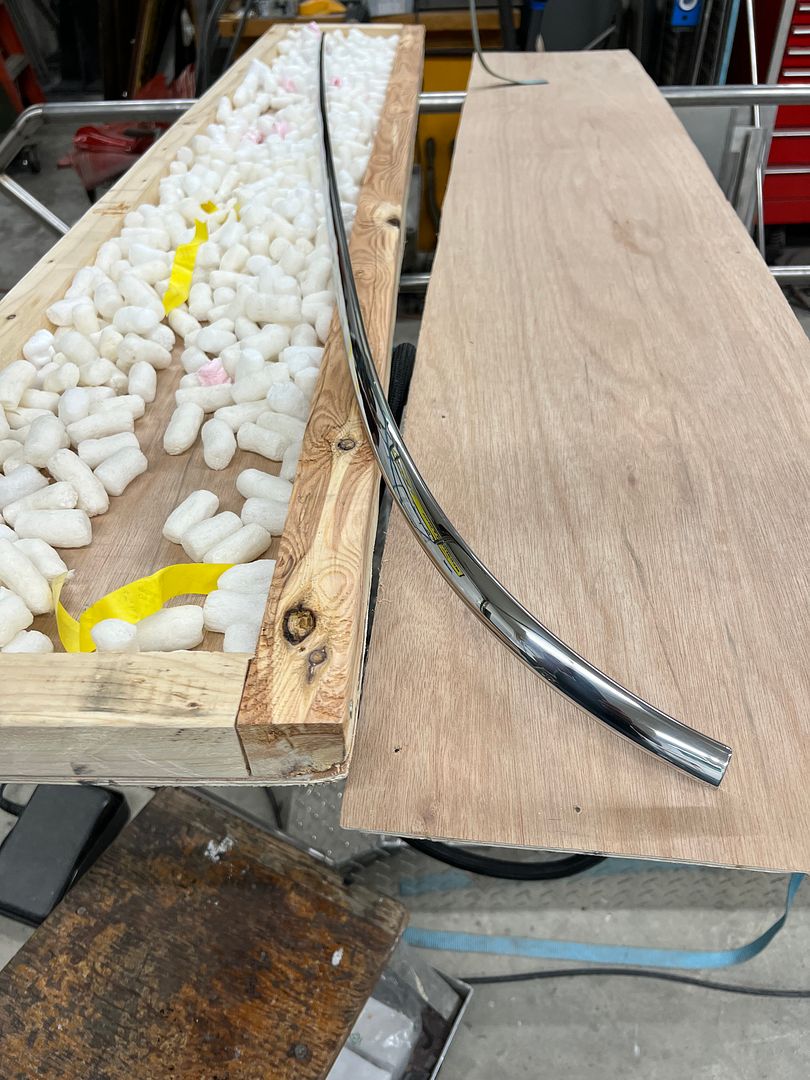
Working on removing dings and refining scratches on the windshield trim in prep for polishing. These pieces are less receptive to using the DA due to all the creases, so we've resorted to wet/dry paper up to 2500 and then polish.


IMG_6581_97HPxTw6tz4qRMxVSUcLao.JPG


IMG_6582_83nZekCAtBhX4U2DQvE2Rr.JPG


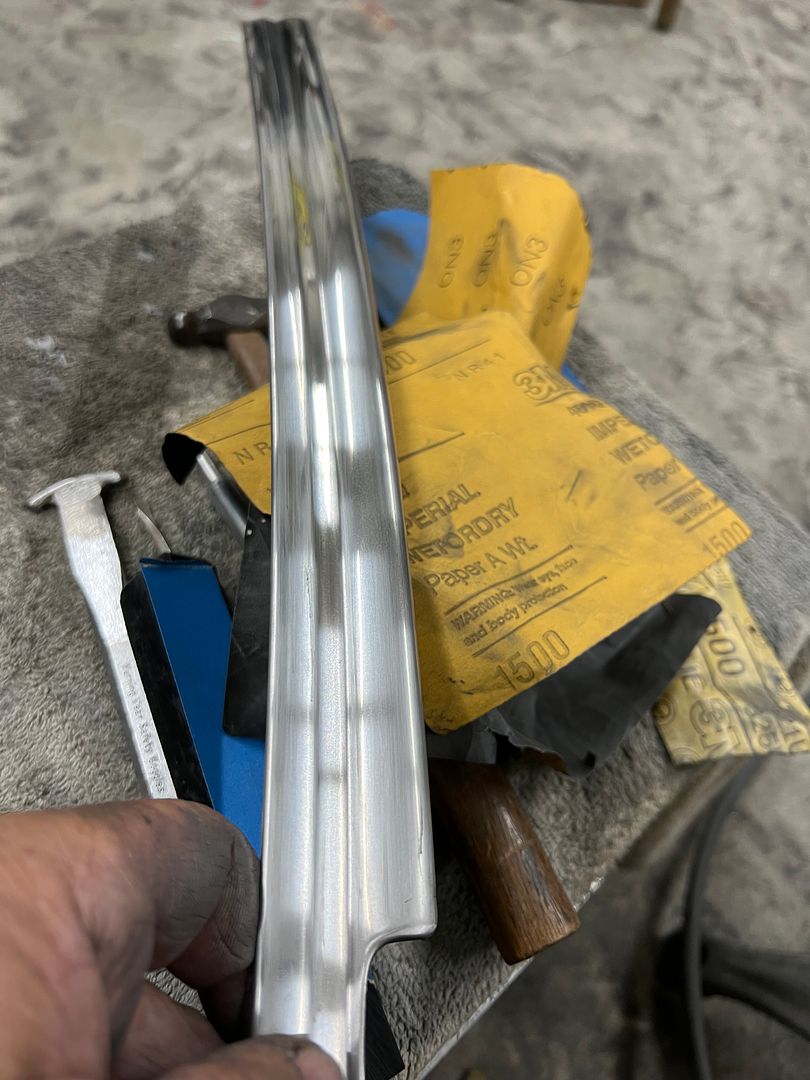
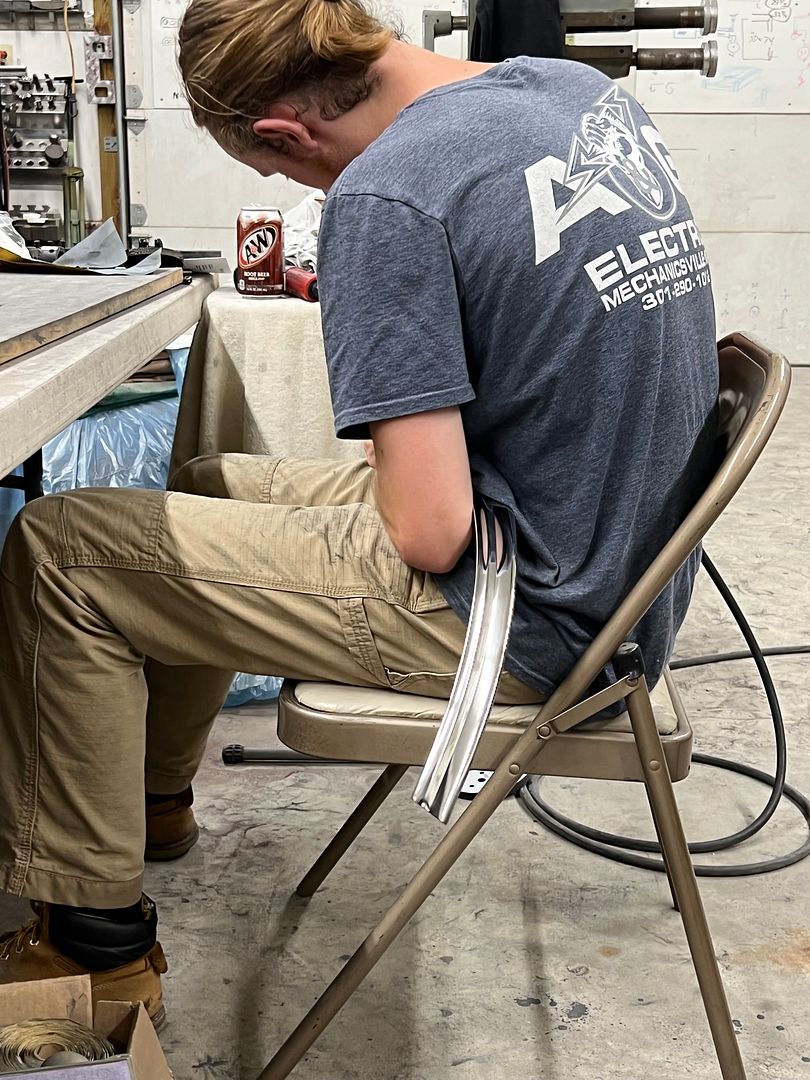
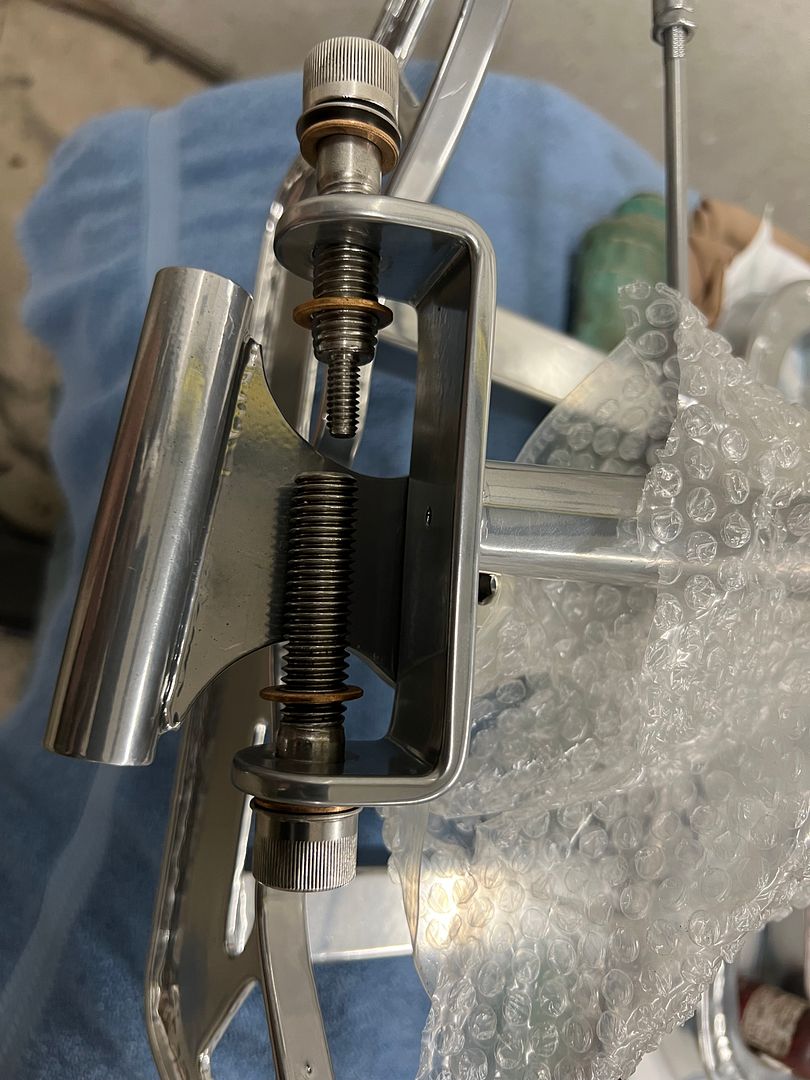
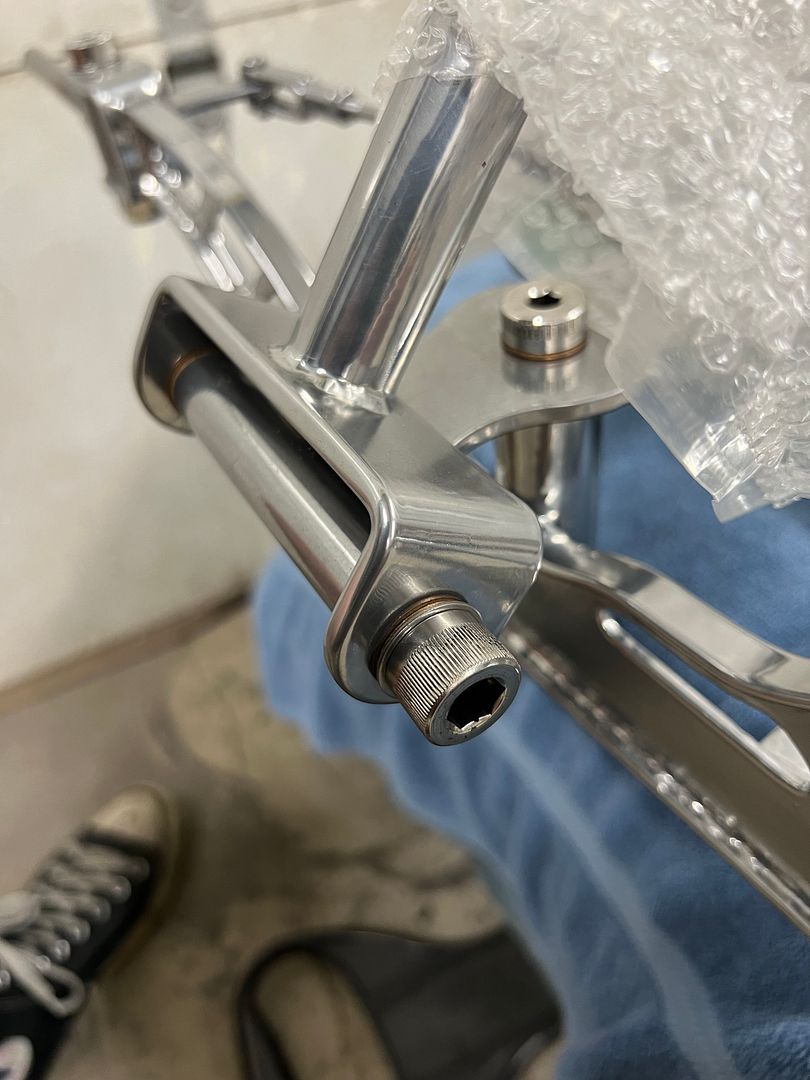
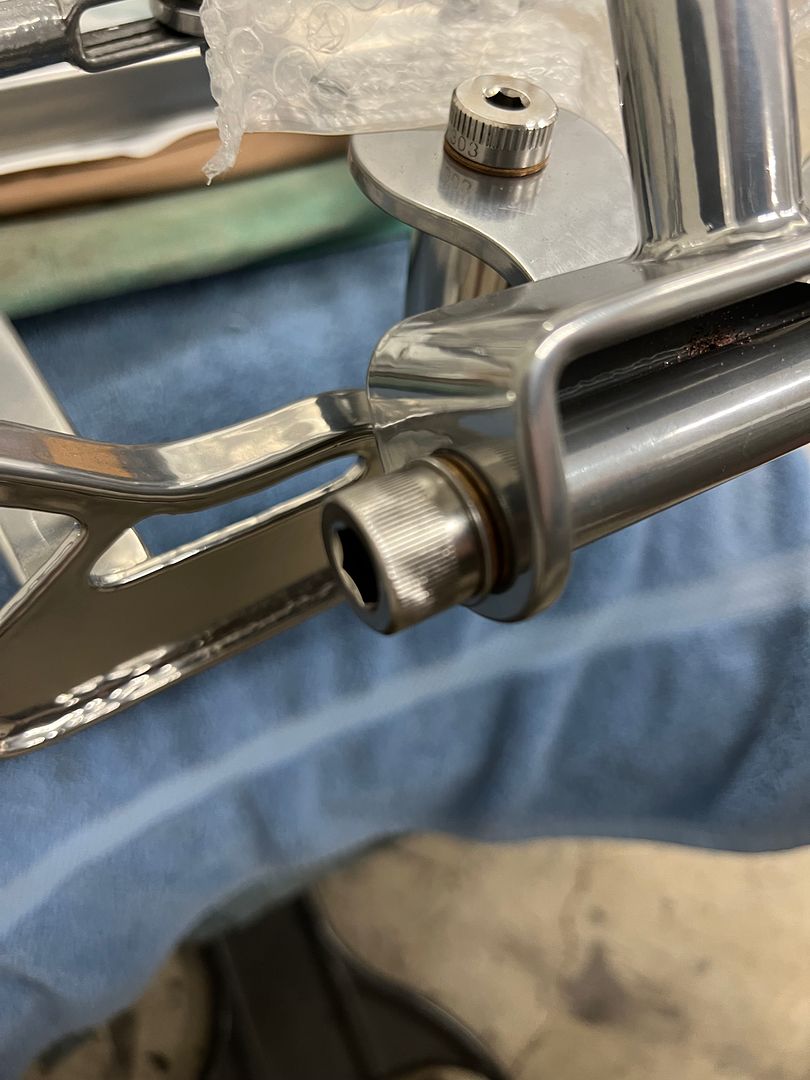
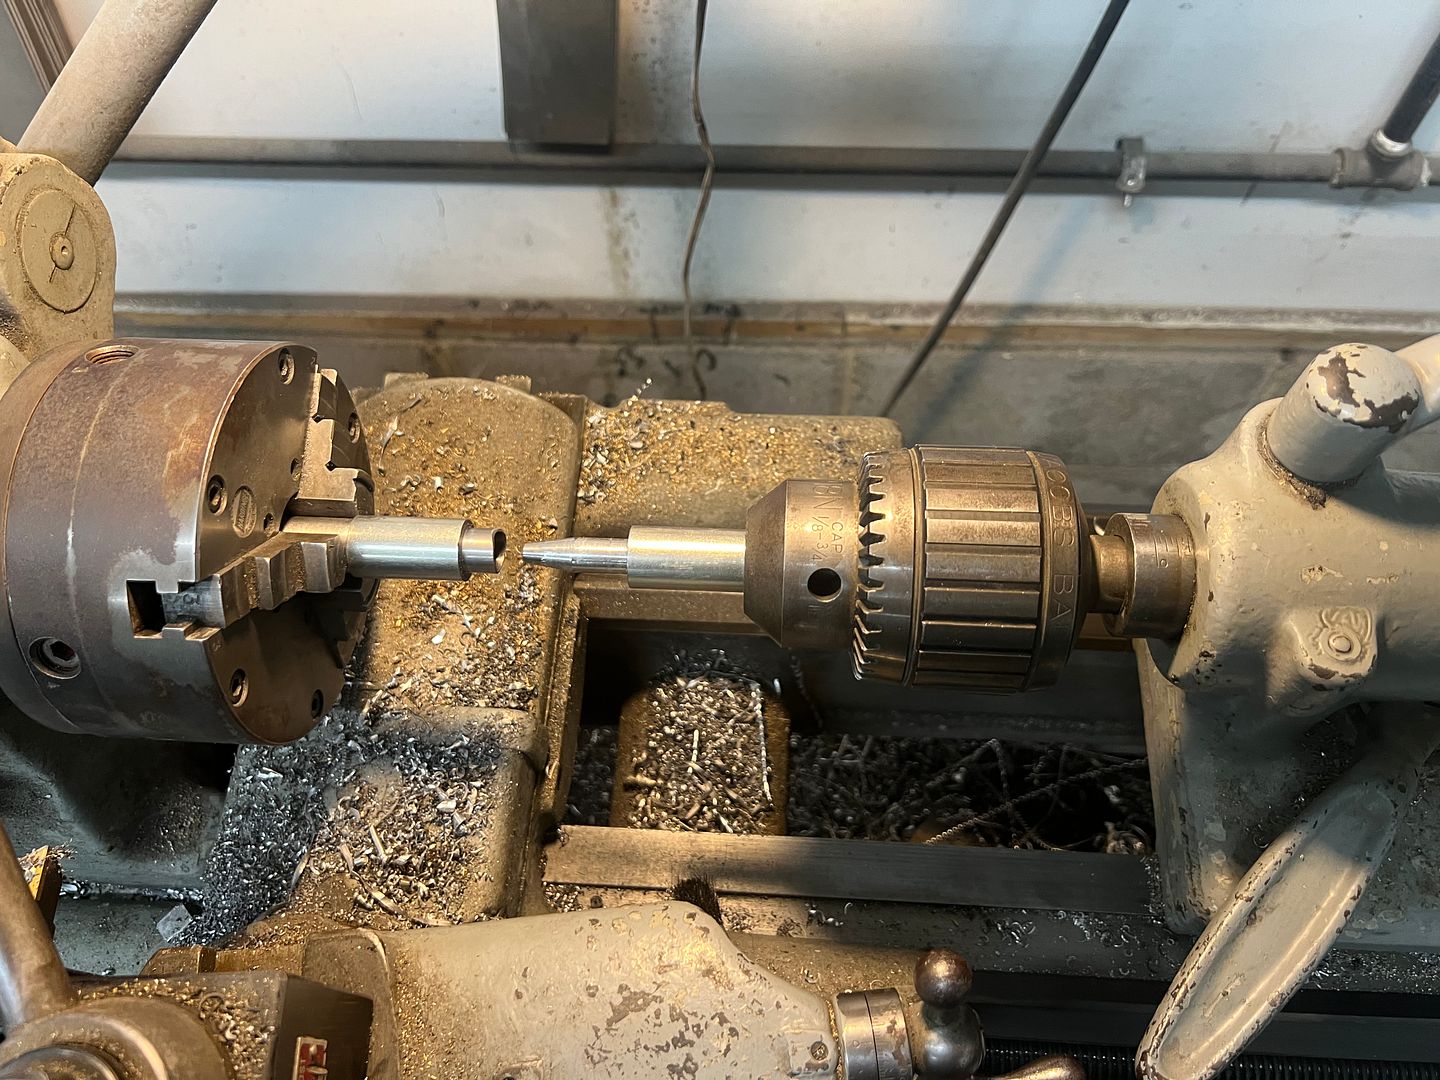
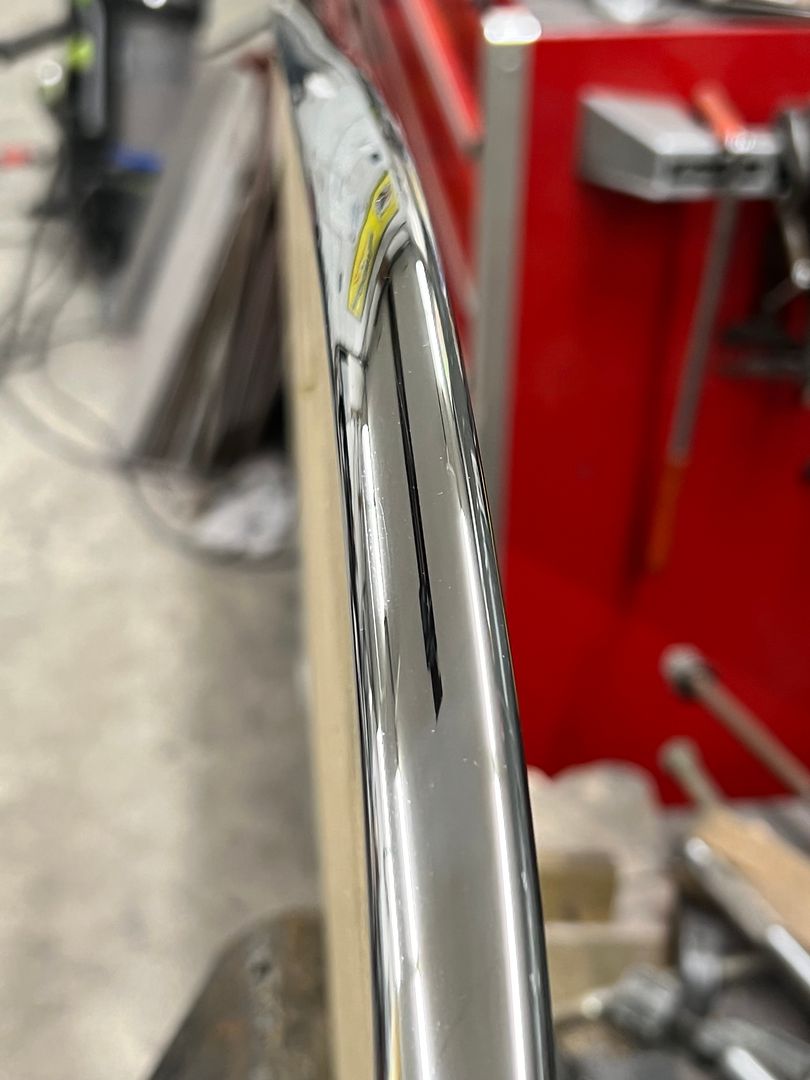
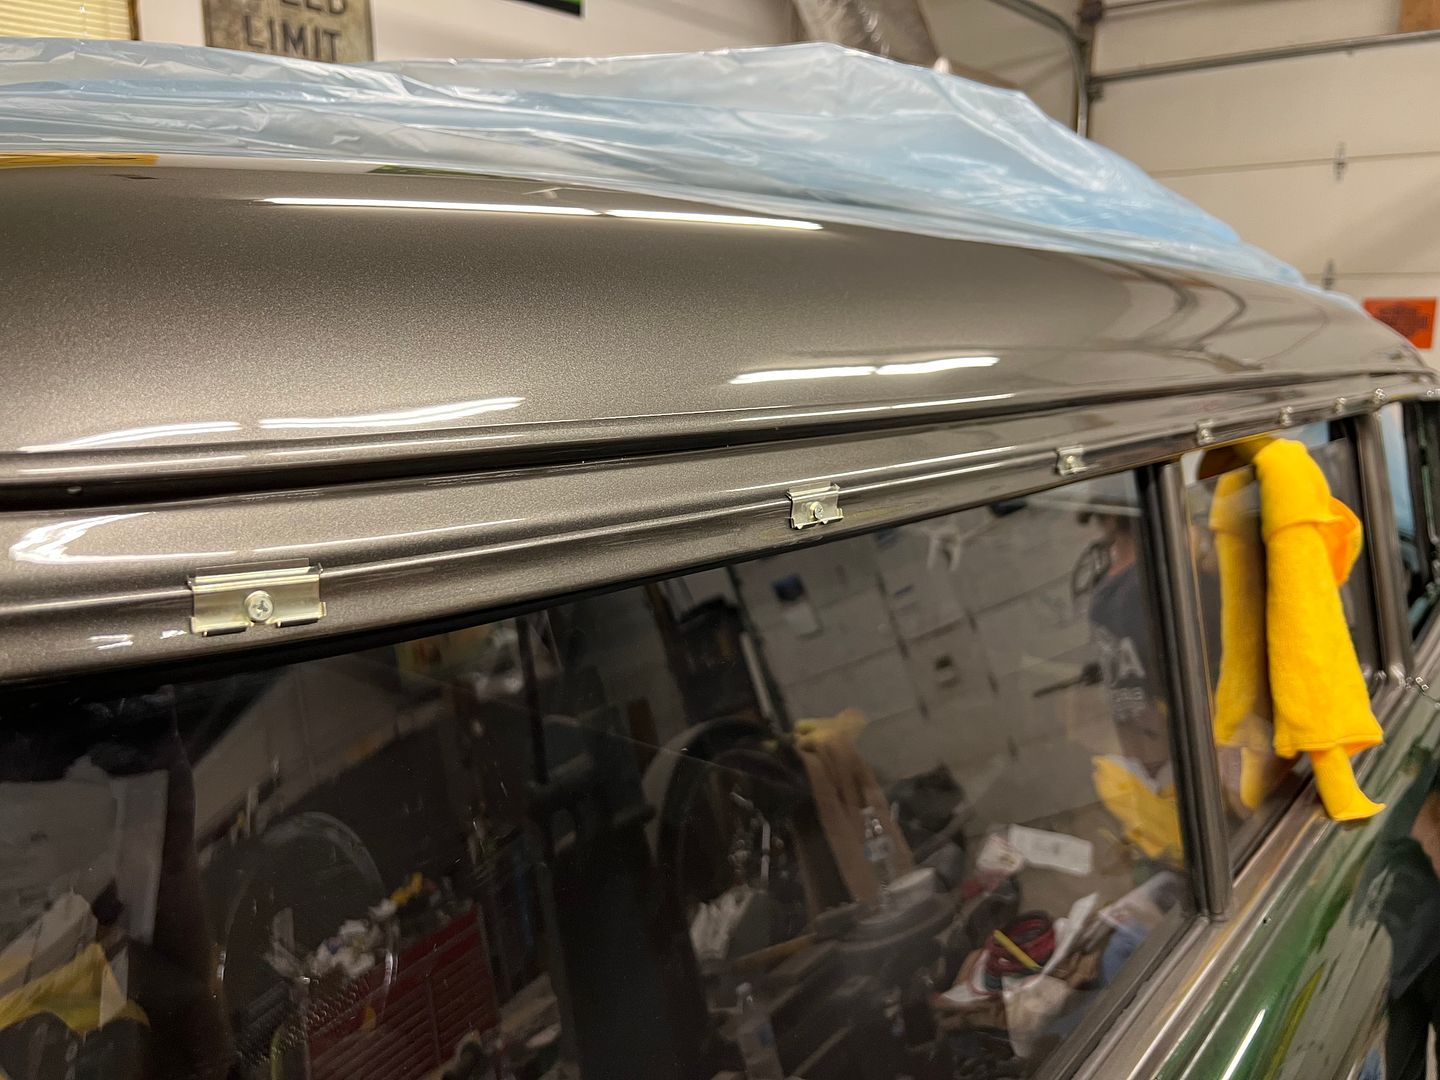
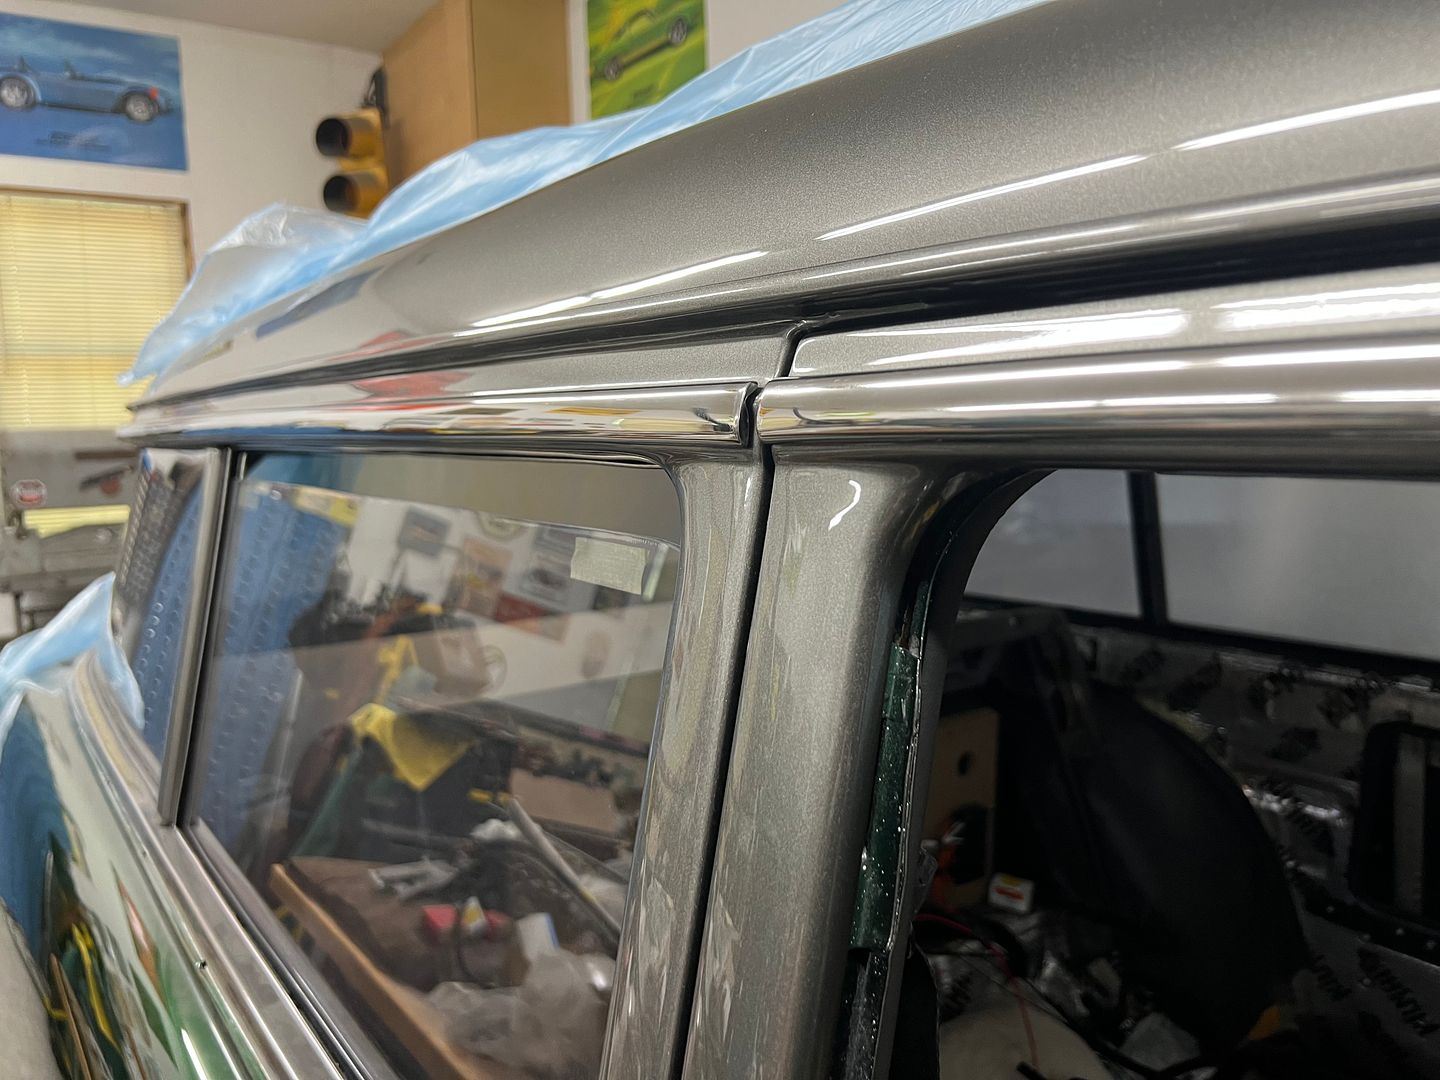
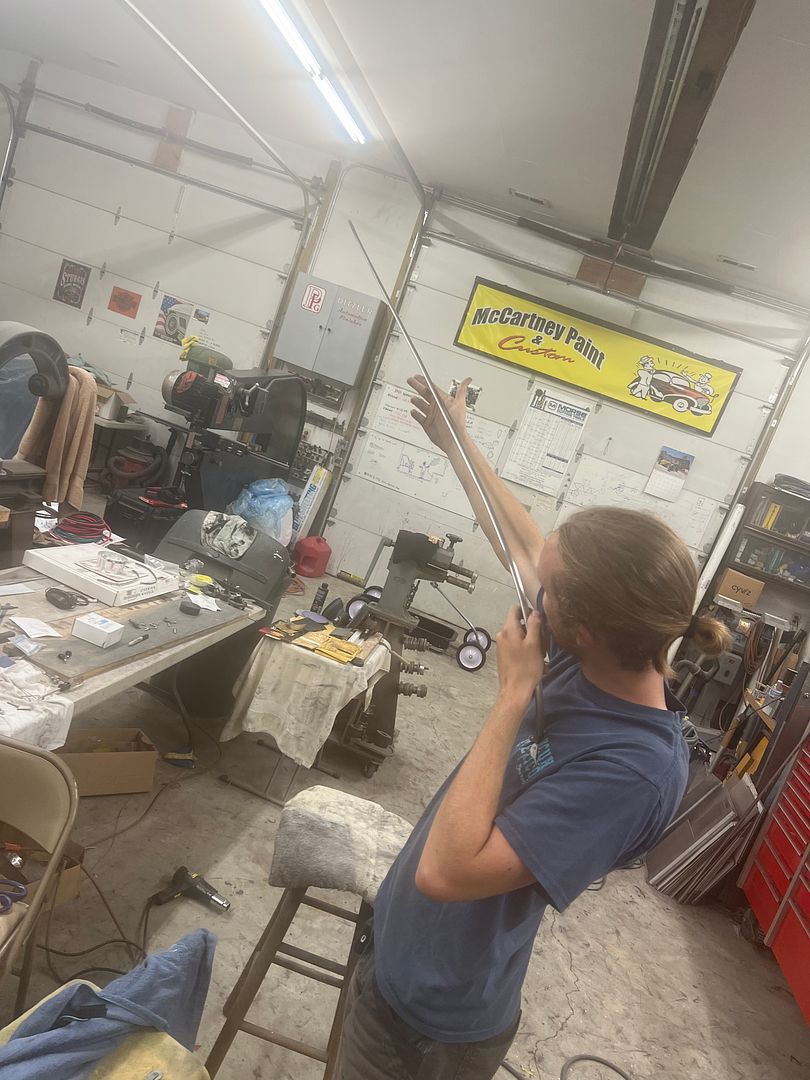
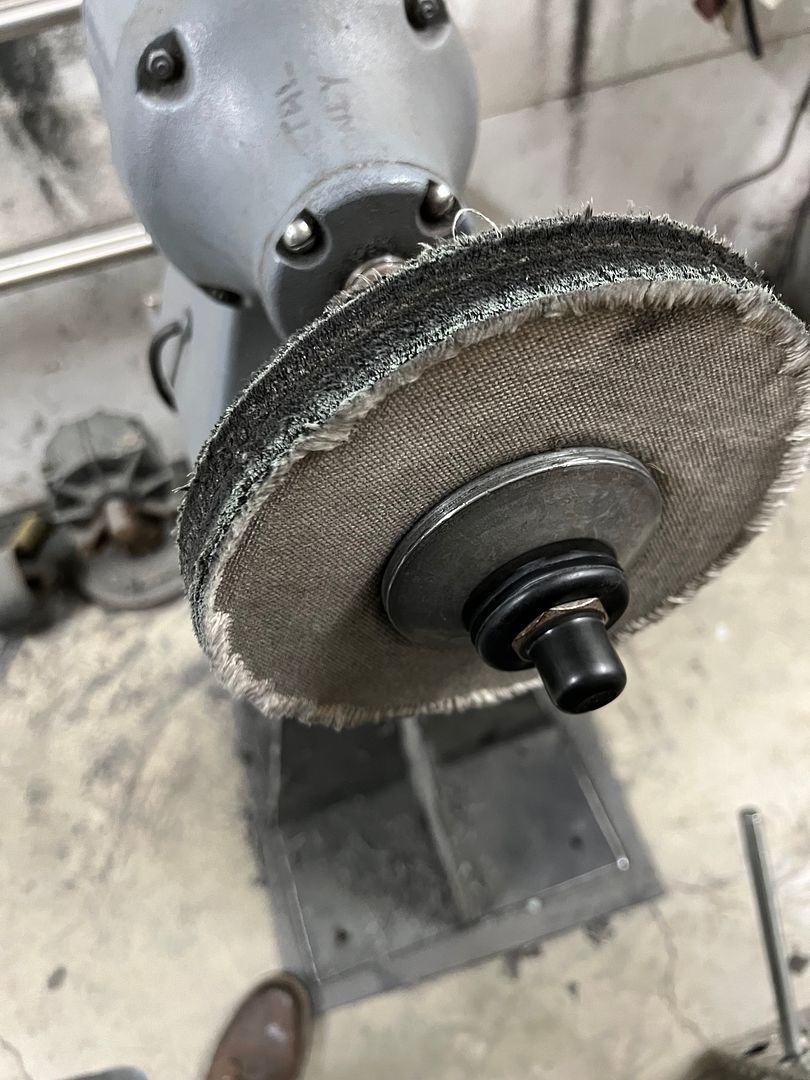
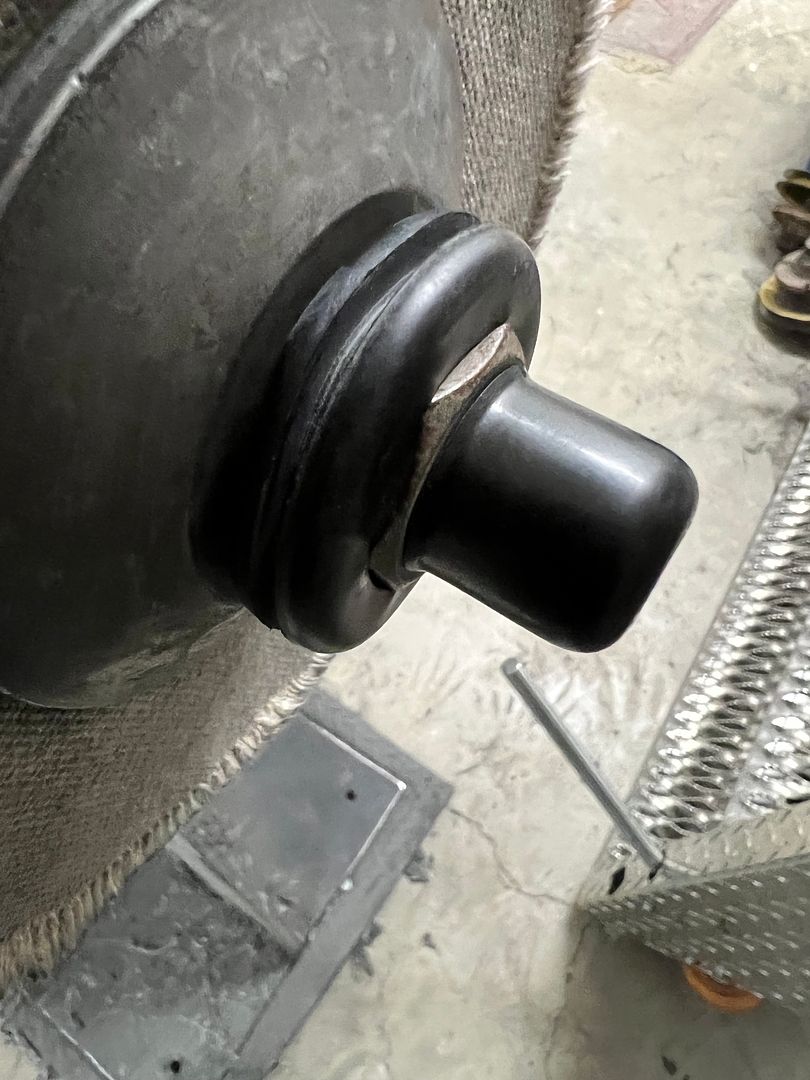
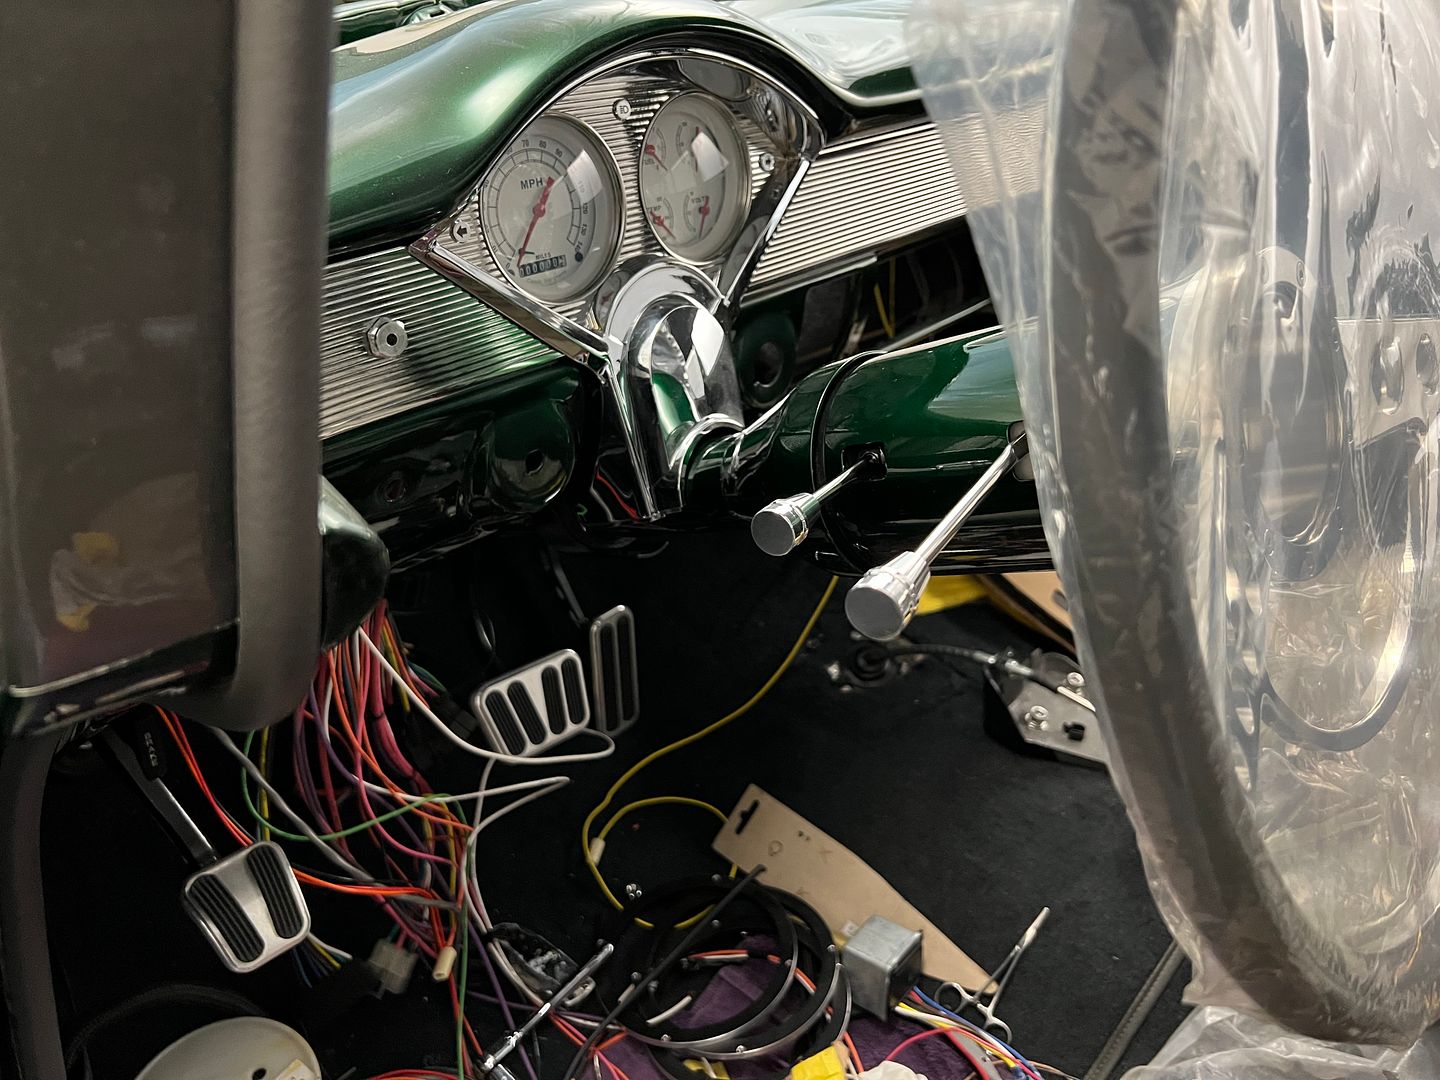
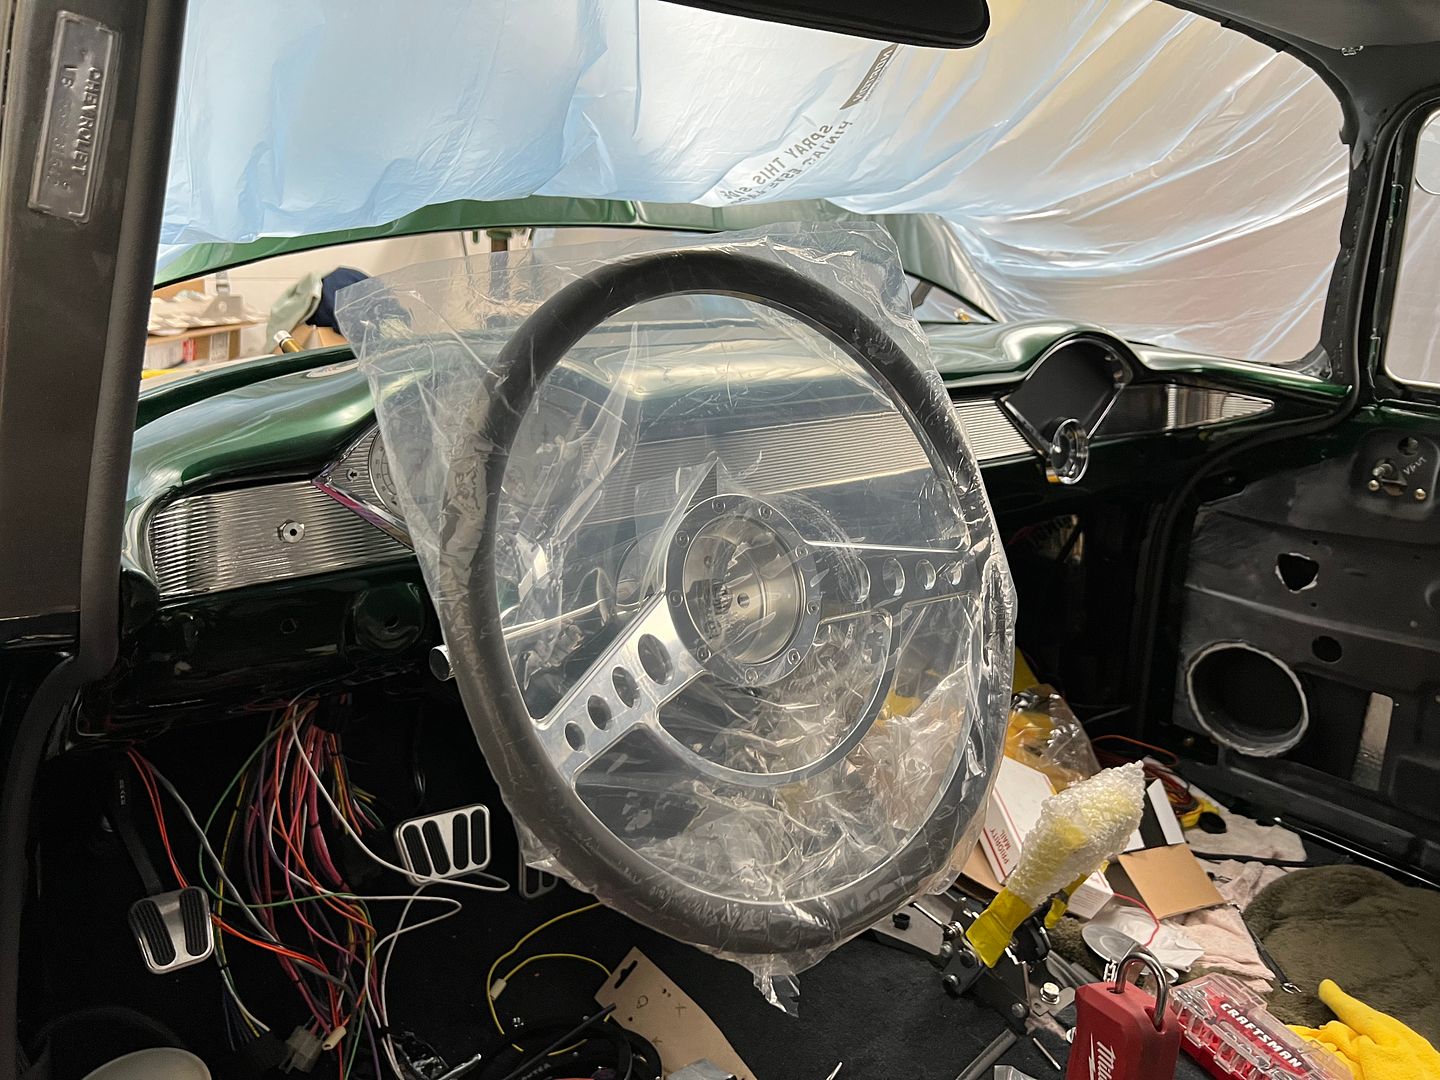
Jared getting the hang of this stainless work....


IMG_6602_3p2P99KNWGq2S4TiUREUyp.JPG


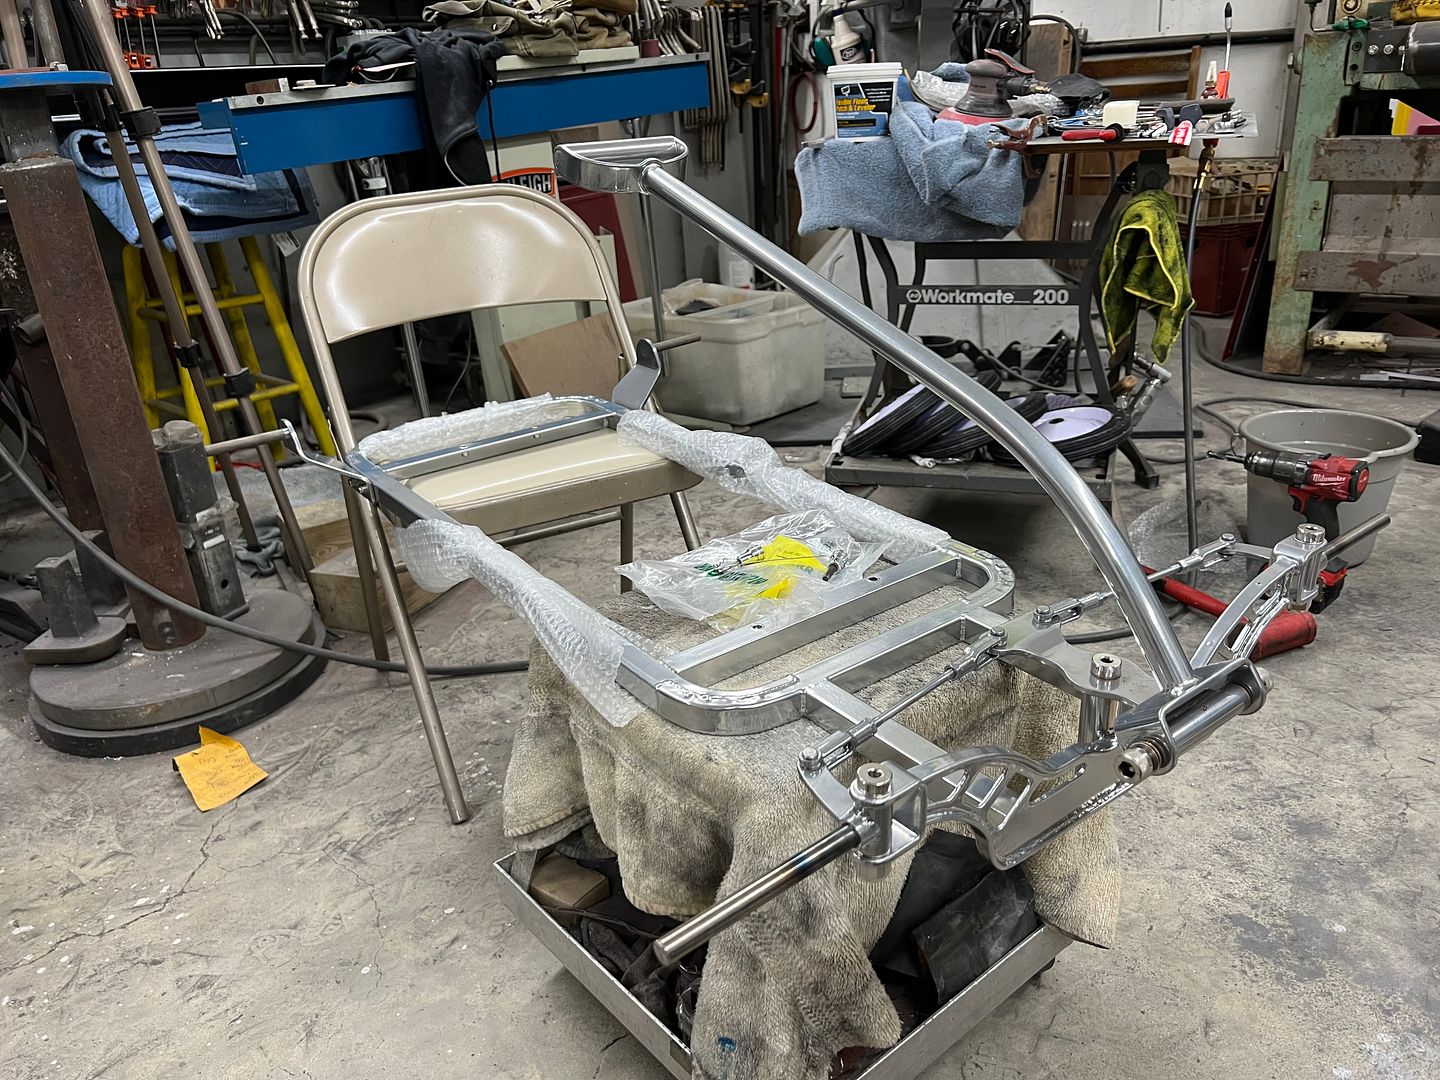
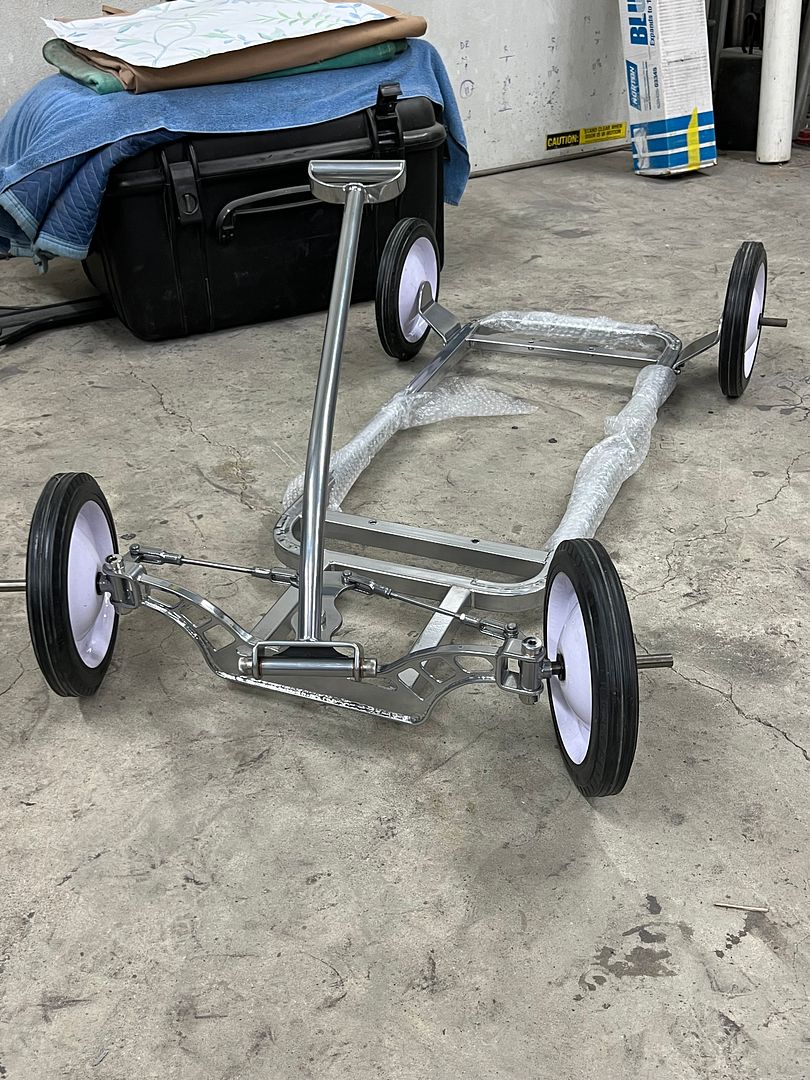
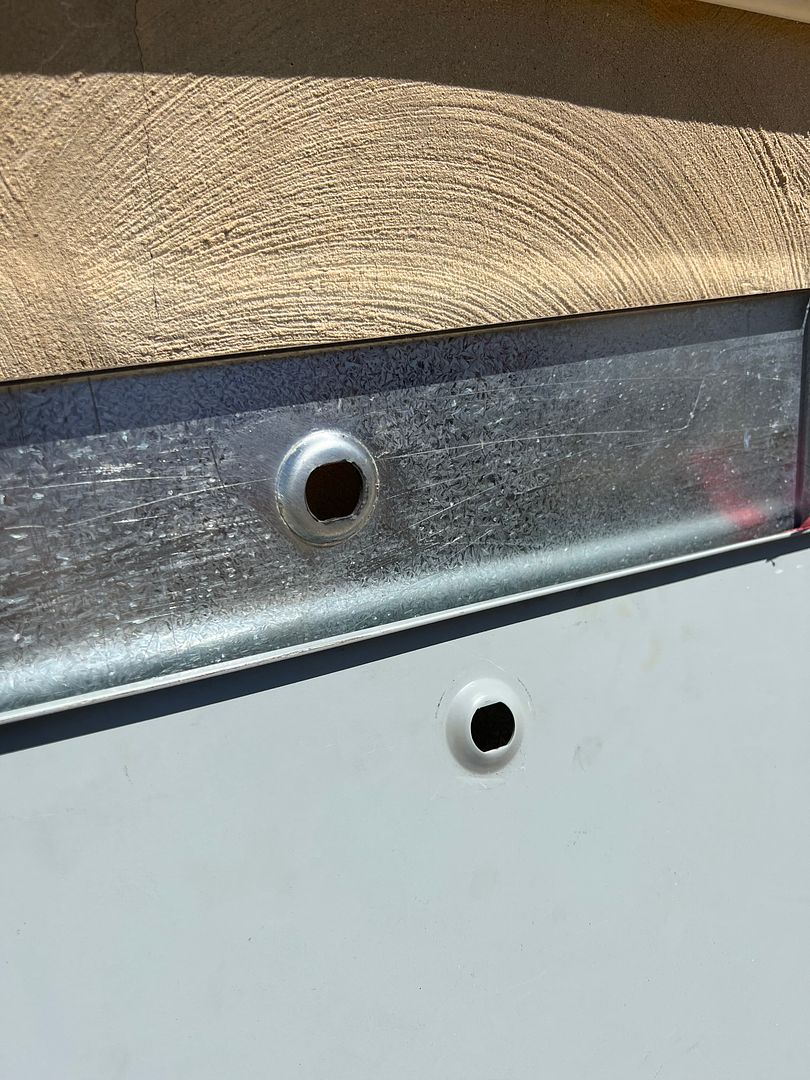
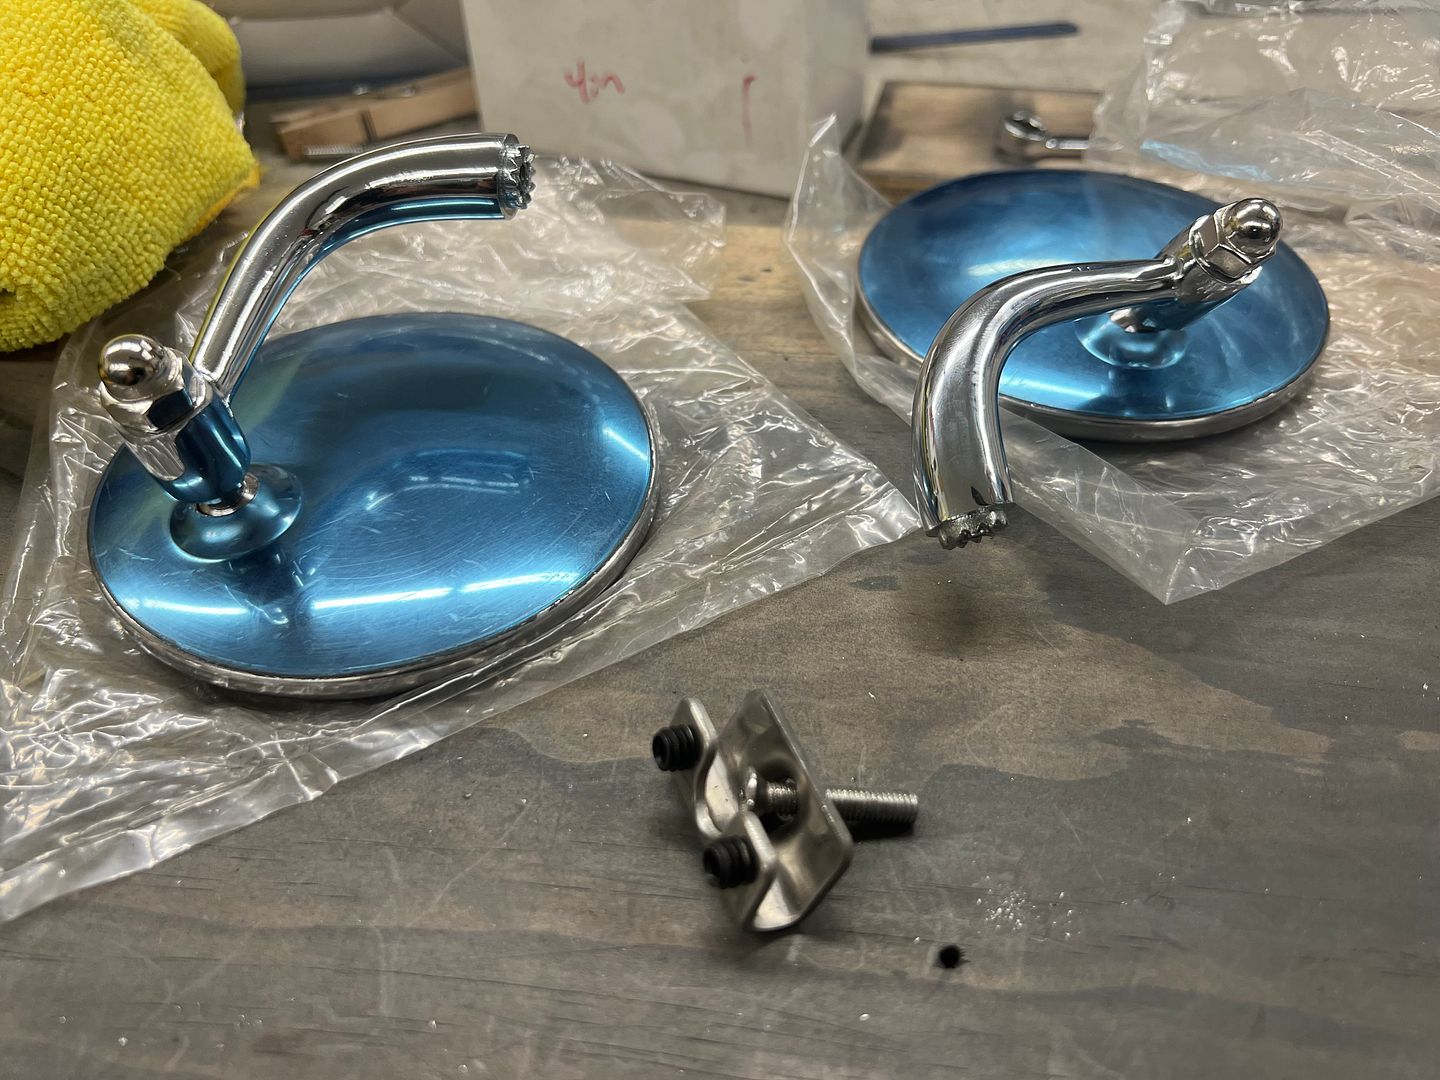
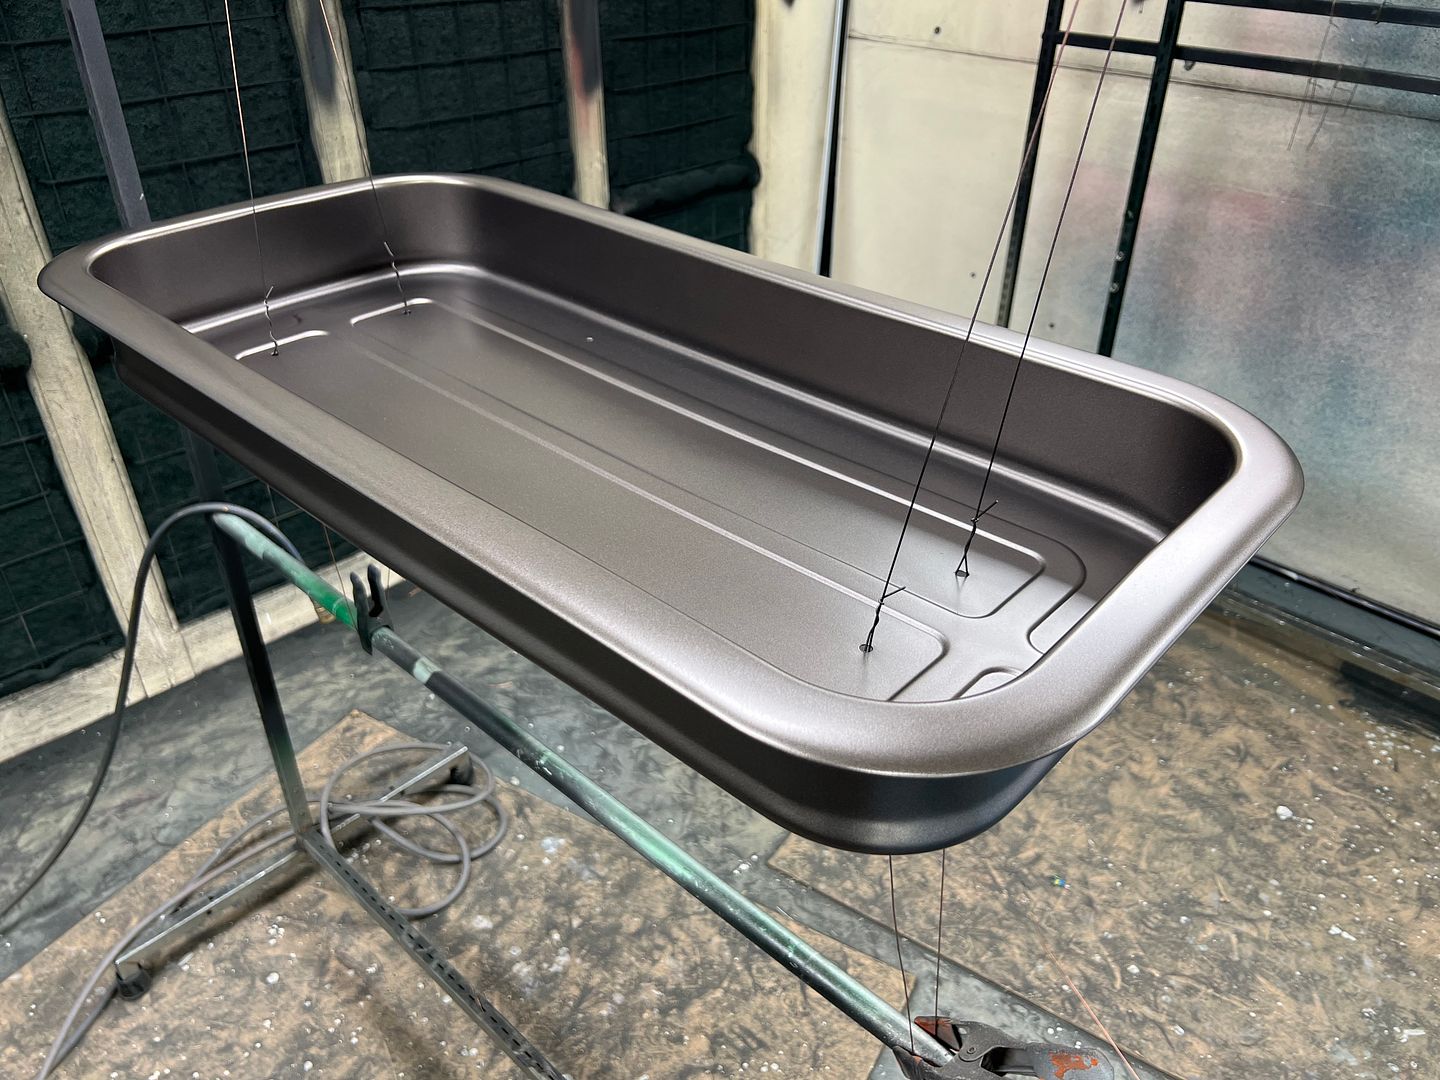
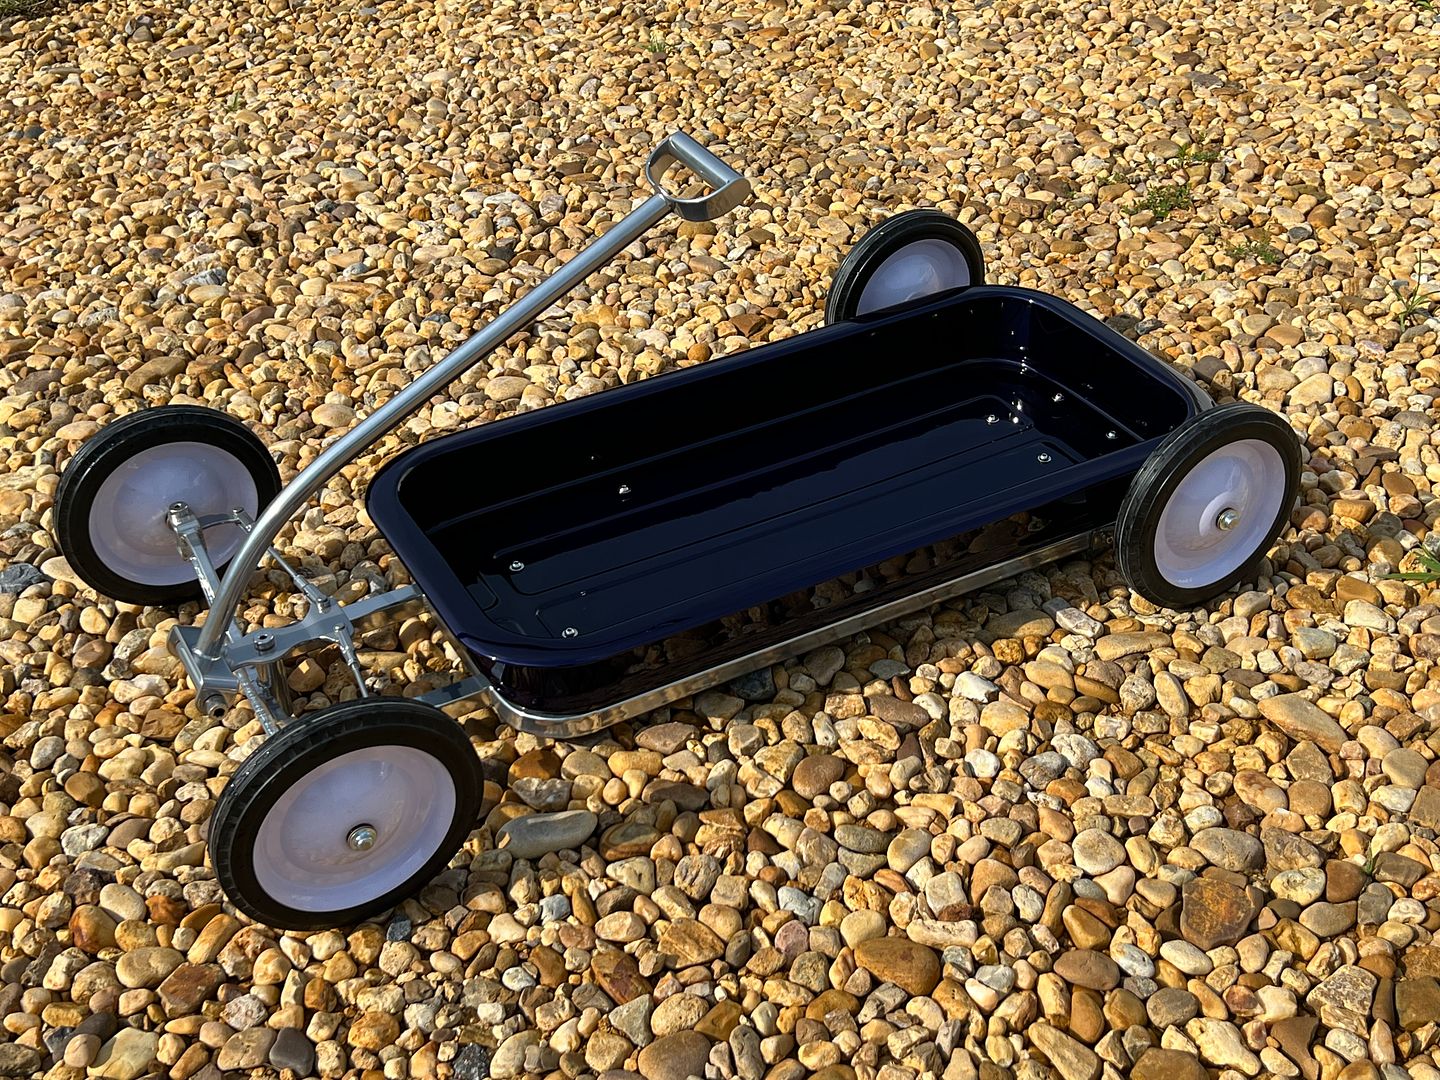
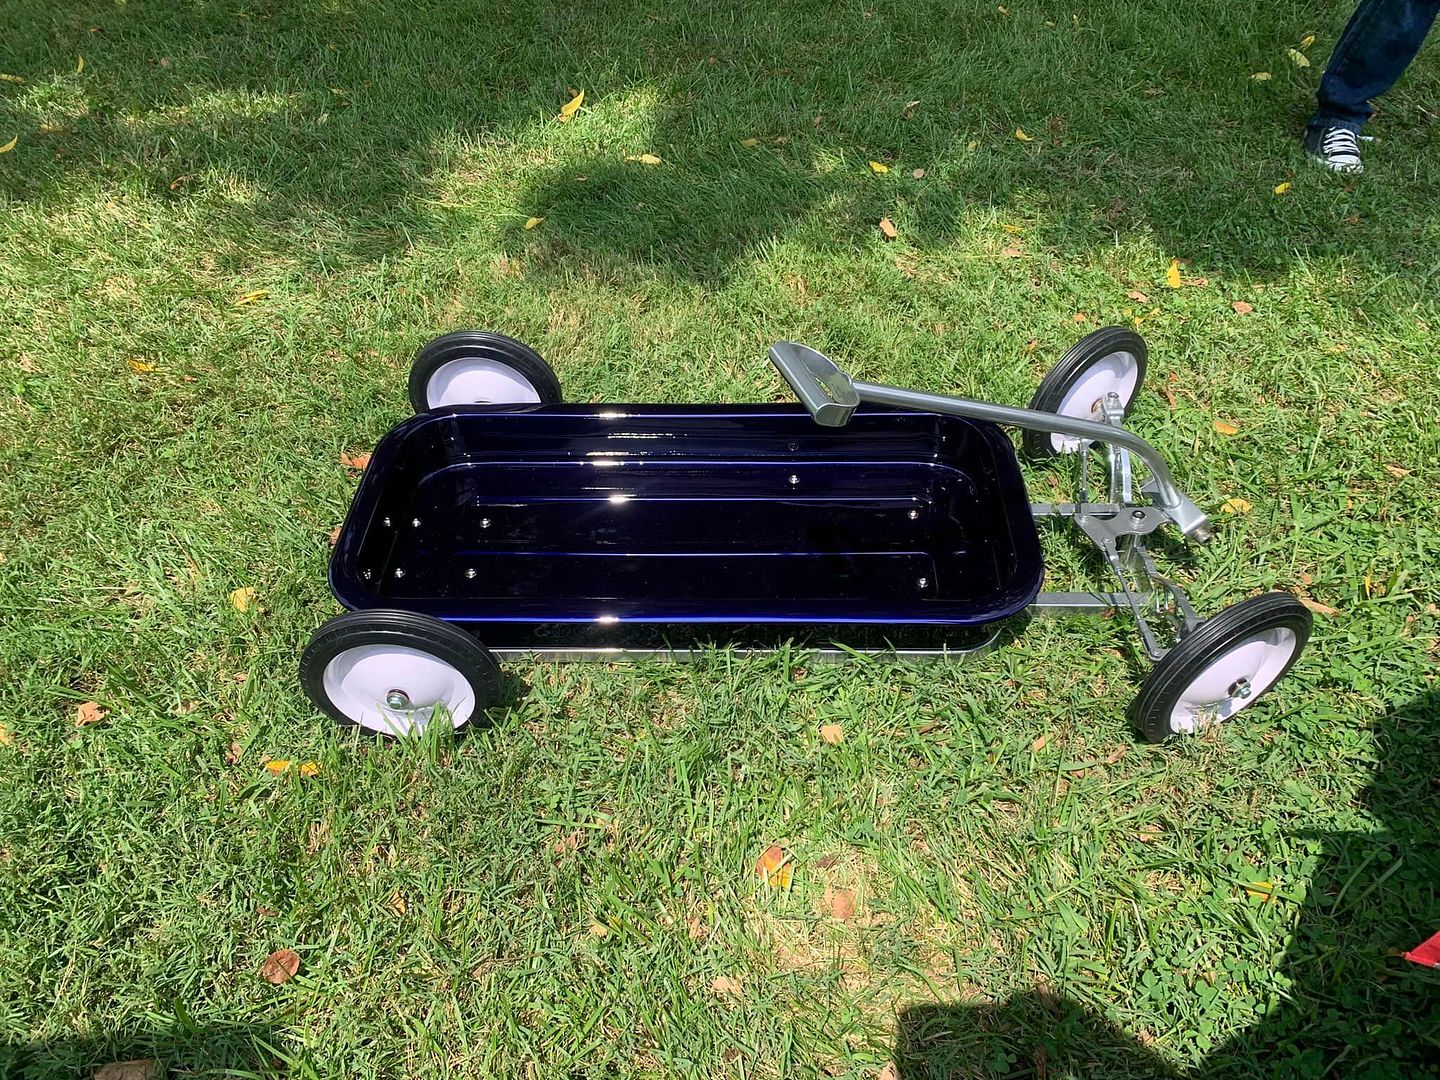
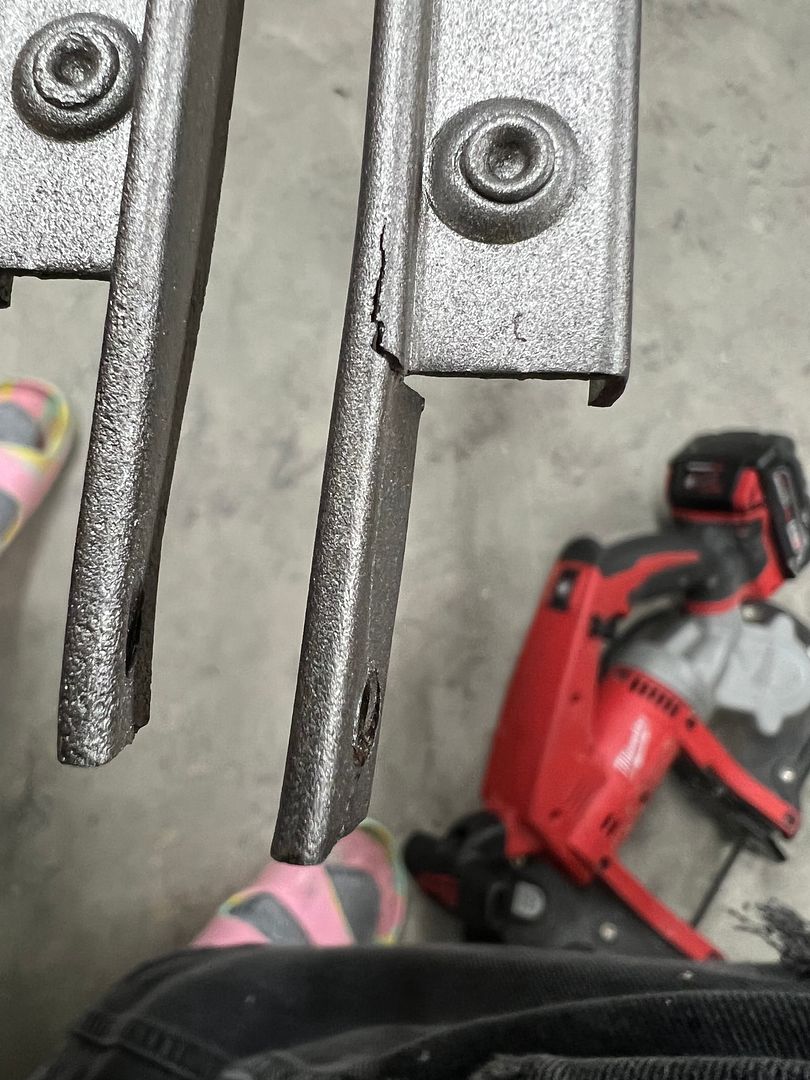
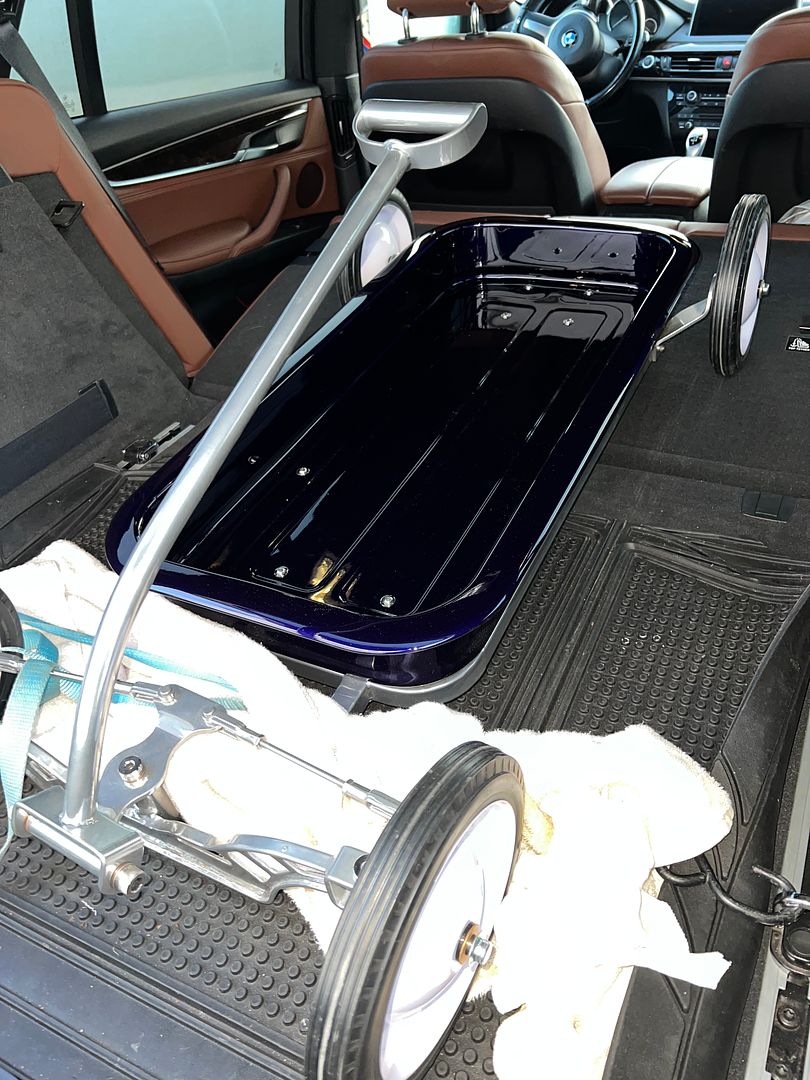
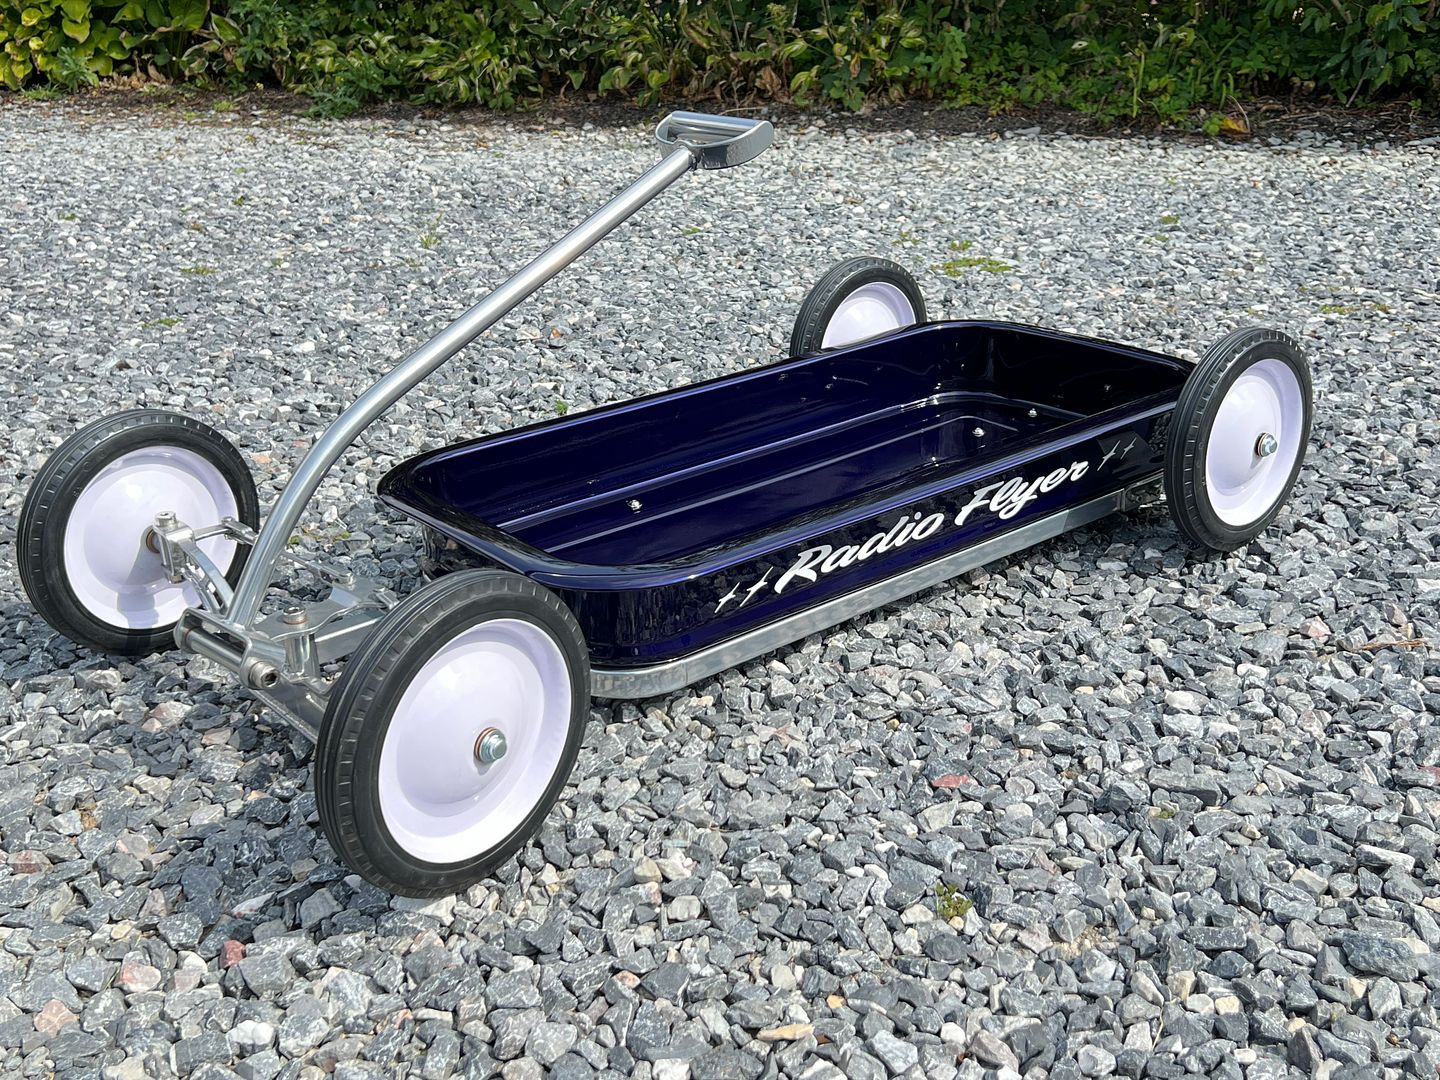
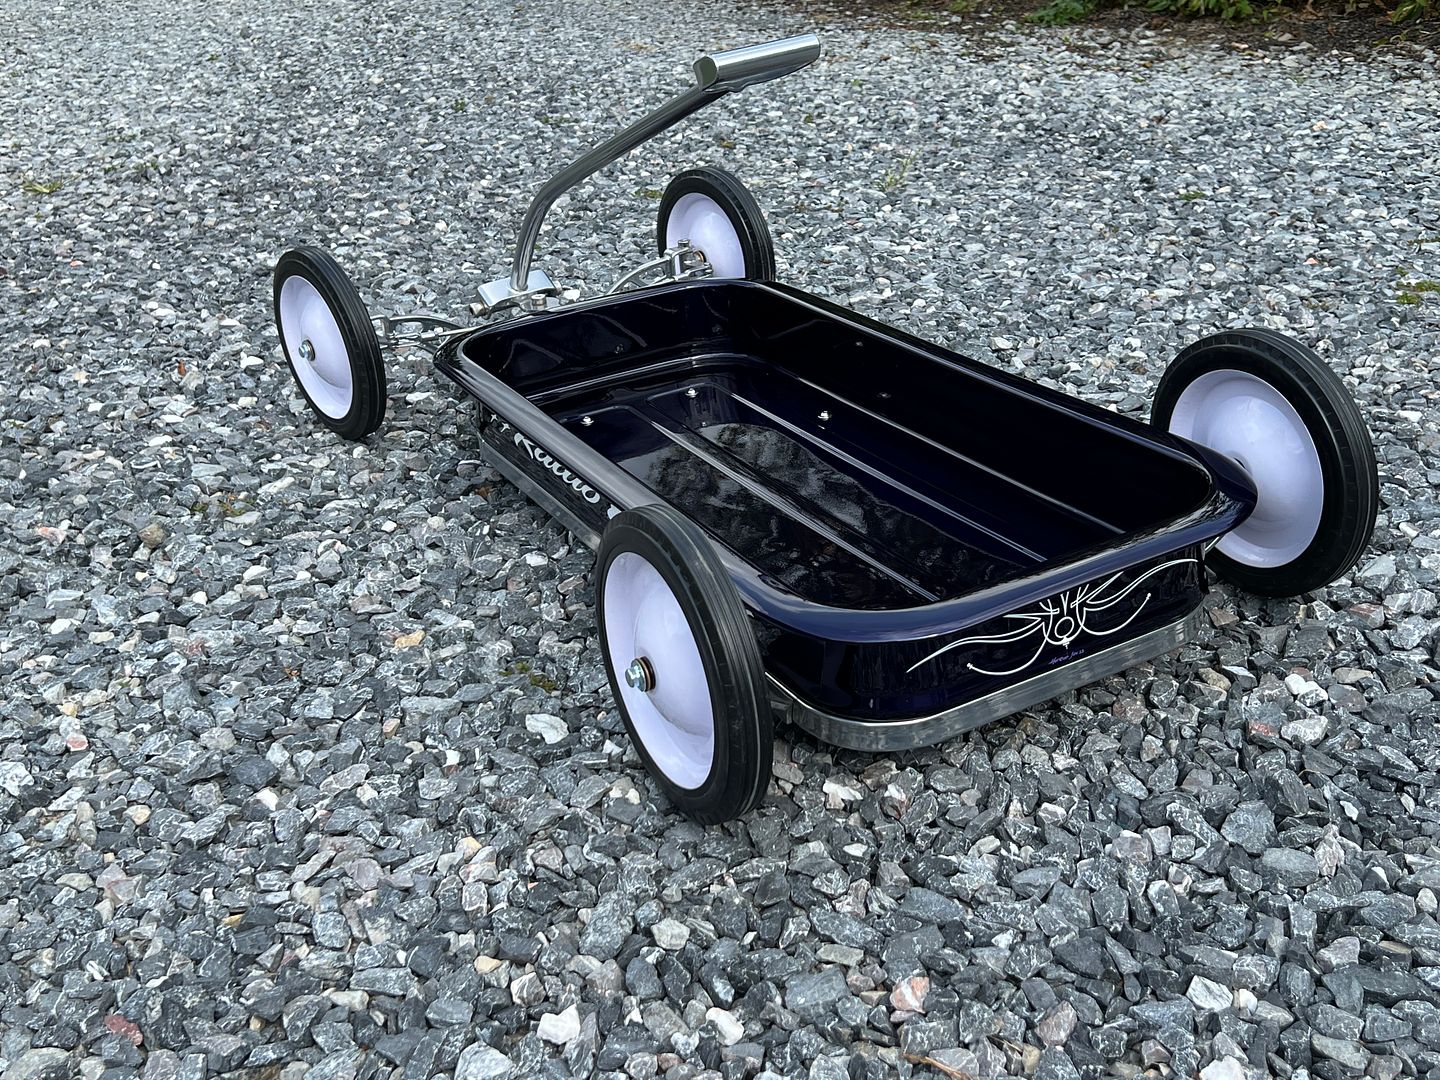
For the other wagon, we went with a powder coat chrome finish to dress up that front dropped axle.


IMG_6605_ptvHv6T6jPbWK57pXppNeC.JPG


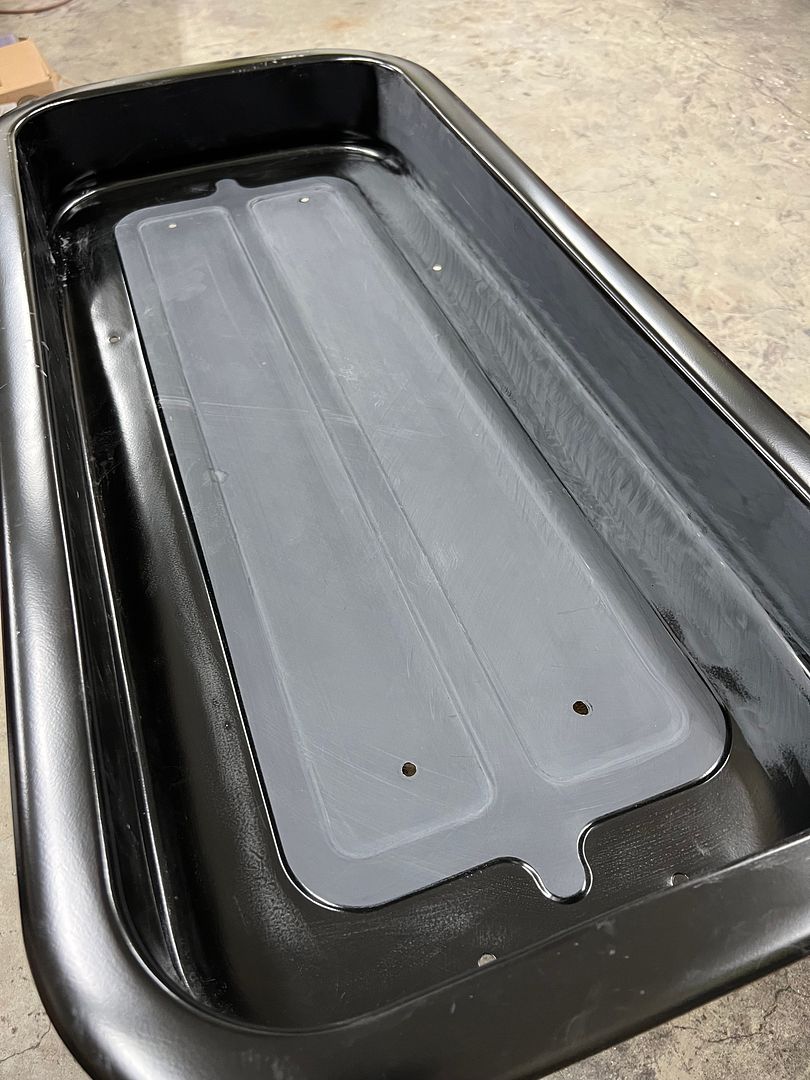
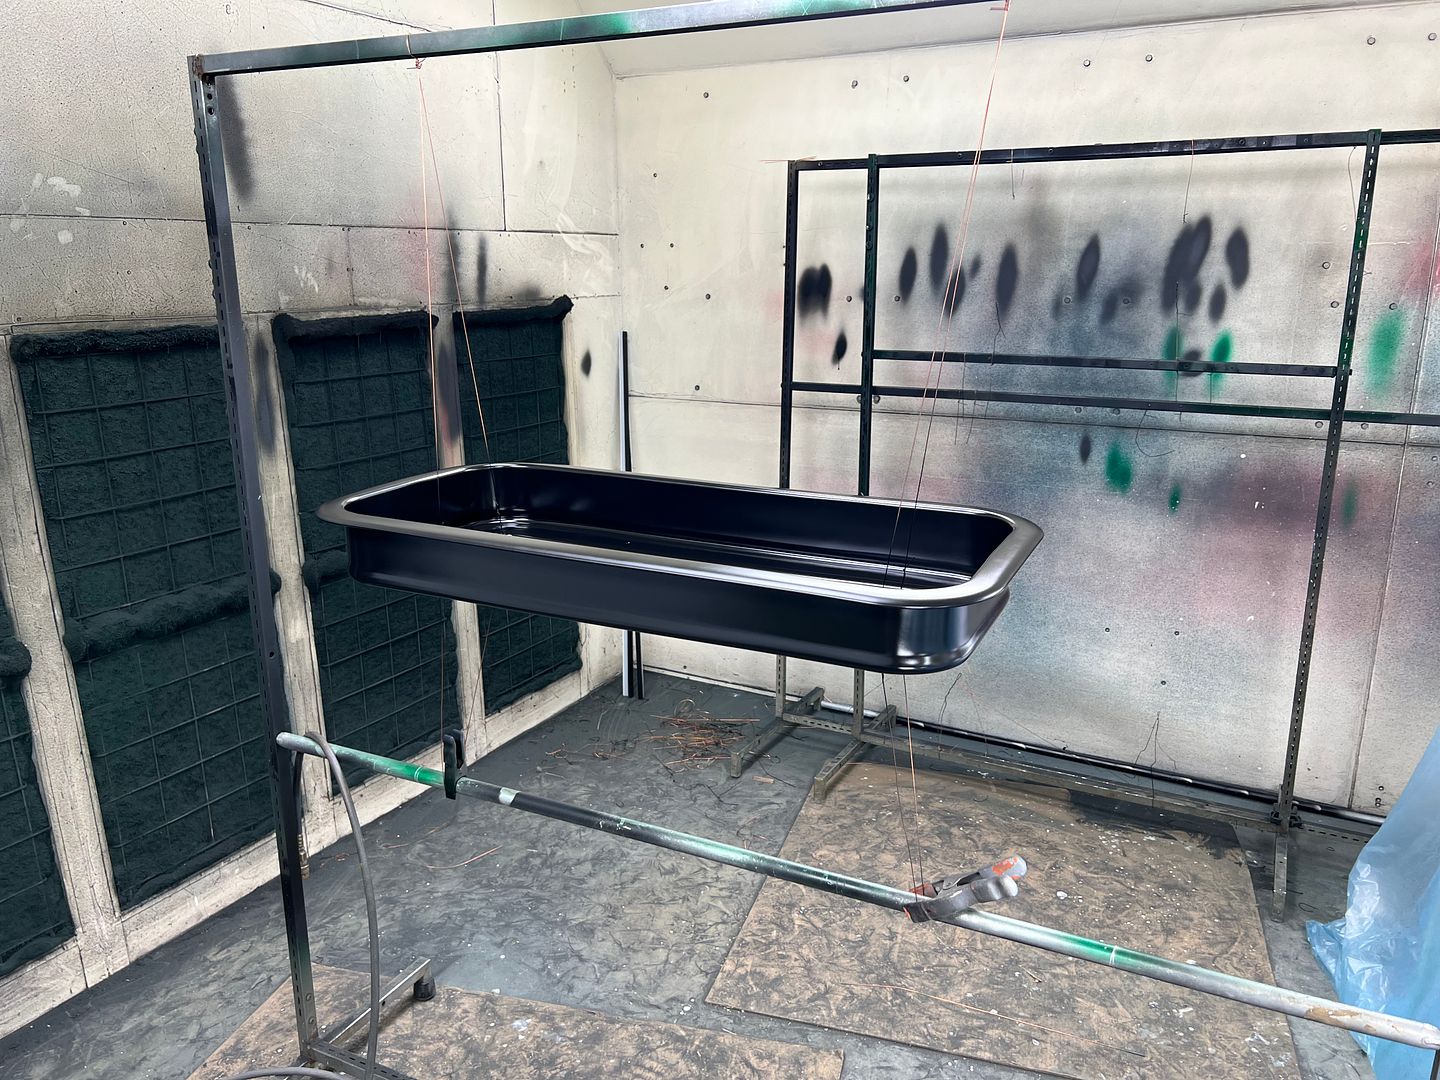
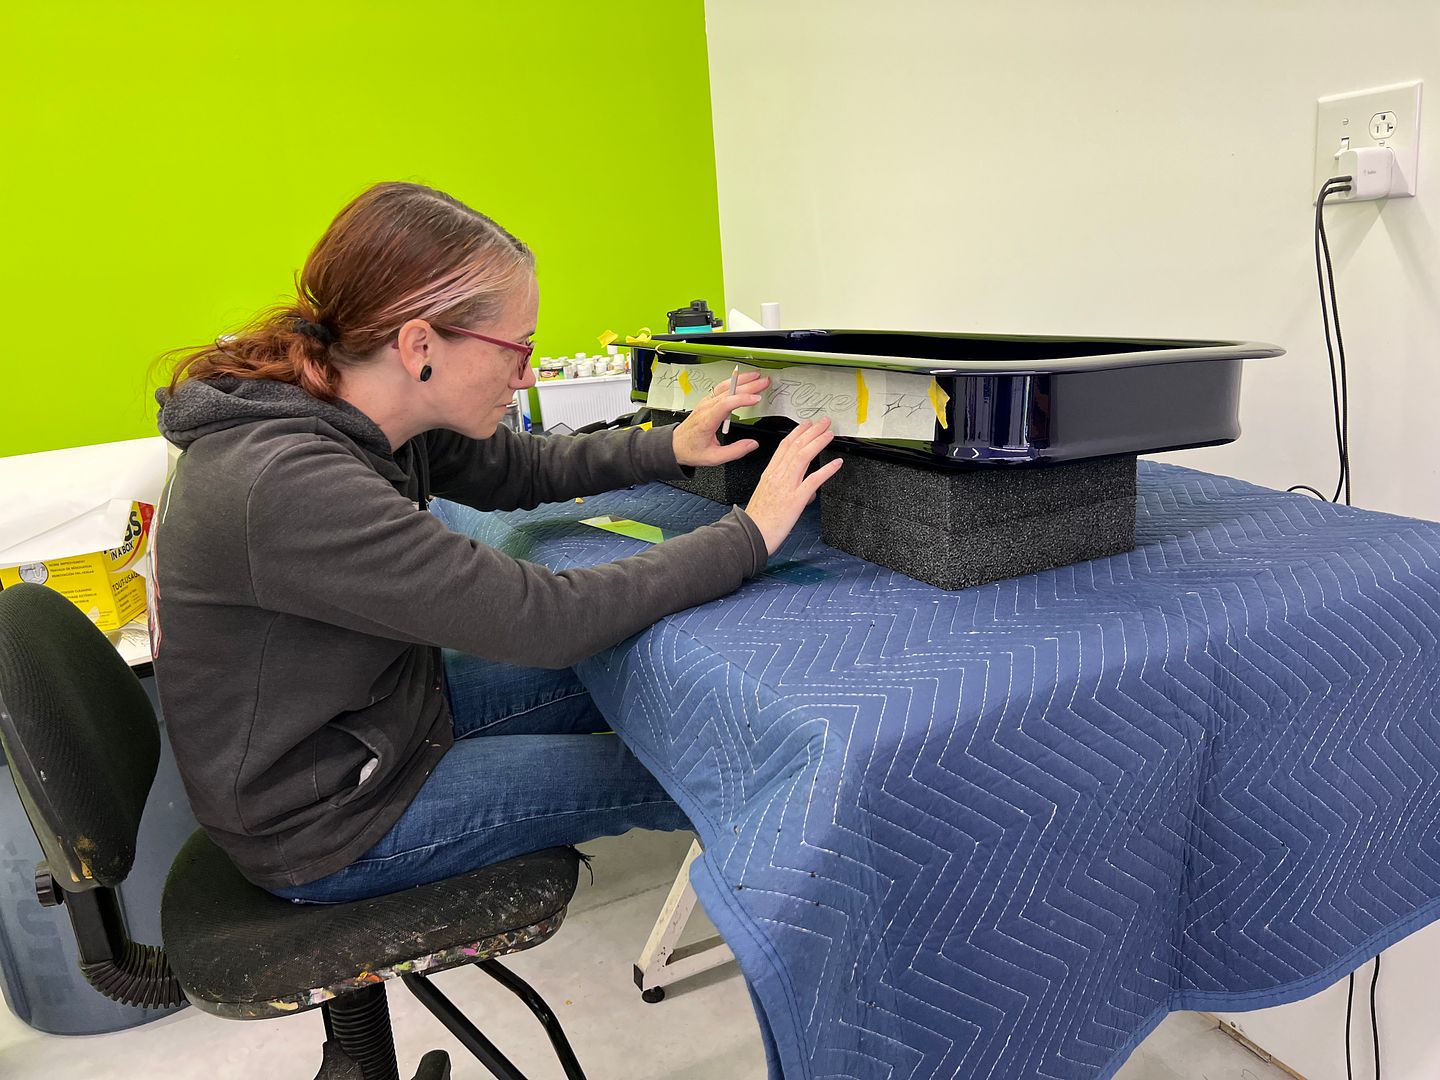
And this is the second round of three coats of epoxy and blocking. Think this will be the last round, and then on to some silver base and blue kandy..


IMG_6604_iegtsRjGDPjHfA9f55j4WA.JPG
 
Last edited:
More work on the wagons. Jared and I continuing to repair some stainless trim. I was asked about our process, so here's a bit more detailed approach. But understand we are complete novices at this, so take any of this with a grain of salt.

To start, some light scuffing in line with 1500 grit helps to highlight any rock dings in the windshield trim..


IMG_6581_97HPxTw6tz4qRMxVSUcLao.JPG


Once any defects are identified, they are LIGHTLY tapped outward from the back side to bring the defect outward where it can be removed. Then 400 grit is used to remove the defect (and by default some of the adjacent material). So we want the defect to be pronounced outward, but not too much. Better to tap it outward in repeated steps than to go too far and create a stretch. I missed getting a picture before we started on this "rock chip"; this was after a few passes with 400 on the 3M board (just above arrow).. It was tapped outward about 4 different times until we got it where the defect was sanded out.


IMG_6612_uS7UY1yZJSFZqnMezs6hEd.JPG


Back side that was tapped....


IMG_6613_kD7kp4BEiMjs8AzLJbxdUG.JPG


IMG_6620_dPxiw9VVTZiRt2bjkpEkaK.JPG


After removing all the dings, the surface was sanded working progressively through grits 1200, 1500, 2000, 2500, and then on to 3000 and 5000 trizact discs on the DA. Afterwards it was polished out on the buffer...


IMG_6626_jwKvQ3KKc7NgzgMrdM7Q8H.JPG


IMG_6624_2qos7PsMaiLc3St1Ca2kXP.JPG


Some parts painted green so we can continue with more assembly... It was 90 in the shop with the paint booth pulling in outside air, so we added some SPI retarder to the Universal Clear.


IMG_6631.JPG


IMG_6627_ekcseHgjEo7KxAYZPRTc32.JPG


IMG_6629_3ewBiyG2pT4xdSSfJE4ovJ.JPG


IMG_6637_3jpmApwdg224FJzpL4FMVx.JPG


When we had mocked up the wagon frame we just had a 1/2” bolt stuck through the bottom of the pull handle. Now that we’ve got the frame back from chrome powder coating, it’s time for some final details. The bolt for the bottom of the pull handle needs to be an Allen bolt to match our kingpins, and we need one from each side to be symmetrical. A little late to thread any holes in the pivot piece, so we’ll go with docking hardware. A 1/2-13 bolt was turned down for 1/4-20 threads, and the opposite one drilled and tapped.


IMG_6642_niVCz8oxYoMgggmdow4hVE.JPG


An allen wrench in the vise holds the bolt for threading


IMG_6644_cHcZ7g4SExLbn3VLCnoLuY.JPG


IMG_6646_6pKzCwLeQNcD6RvF3Psegx.JPG


Bolt for the opposite side...


IMG_6648_6fR7PWqJTkBAj57aaviMa2.JPG


IMG_6651_jr6iLcnQnPS3dyNdZ1WCtP.JPG


IMG_6652_c15xK493ur5oVwHdR574zn.JPG


IMG_6653_e9QHYztfkzN8tnEanFLYWL.JPG


IMG_6659_n2n8bxmo7U5oK6s6UGa63r.JPG


Frame is all done but trimming the axles, now to finish blocking the epoxy on the tub.


IMG_6657.JPG
 
Excellent as usual. I enjoy fixing stainless. I'm looking forward to it on my car. I'm a total self taught novice but I can get it pretty good and it doesn't cost but some sand paper
 
A quick job in the shop to finish off a junction box lid for a data center. A scissor lift took out the old one. A local machine shop made the lid and needed a recess added for the lock cylinder.


IMG_6686_t435xjQcrRisQLbNZH4Dju.JPG


I have a lock reforming tool from MAC tools that looked close to the original but the offset was not quite as deep. So some 1/2" washers were stacked on the punch and a spacer machined on the lathe for the die.


IMG_6680.JPG


IMG_6683.JPG


Comparison, that will do the job...


IMG_6687_n1eEx2GmnekW3YtjvNvgRA.JPG


Back to our stainless trim, we need to modify the upper door trim to hold our peep mirrors. We opted for the old school look of the peep mirrors but did not want to use the clamp on paint chippers. The front edge of the trim uses a machine screw through the door and into a nut plate. Our plans are to use a formed hole in the trim and use the hole in the door to attach the mirrors.


IMG_6701_jG3Zy8ReAgrwZWRUyhUmsi.JPG


IMG_6712_d6qQ2Jkxhx7kMAkGeHjUwa.JPG


As we had used the tail stock of the South Bend before with success, we made some press dies to match the mirror's stepped end and provide a flange in the holes for added strength.


IMG_6705_bP1PGJ2mFtvU1nMLX7EYEU.JPG


IMG_6718.JPG


IMG_6719.JPG


IMG_6720.JPG


IMG_6721.JPG


IMG_6722.JPG


Trial test of the mirror, yellow rag hung outside the rear window for a more visible reflection


IMG_6724.JPG


IMG_6725.JPG
 
Some more fabrication work for the day job, we had a door seal that was being abraded by a non-skid strip on the threshold, and wanted to drop it down some as well for better clearance. So a new threshold was made from 16 Gauge #4 brushed stainless. Where the old used countersunk holes for the #8 screws, we opted for the more correct version of dimpled holes. Provides more contact area for better seated hardware.


IMG_6747_7WnDACwNfrzV12qr6b4xWD.JPG


Dies were made for the dimpling process, they used a 1/4" shank just pushed into a drilled hole in some bar stock vs. welding together. This will allow quick changeout for other sizes/shapes of dies for use in the press brake.


IMG_6737_2WrXB3uKLuGJGqB2j9nDrn.JPG


IMG_6740.JPG


IMG_6744_9UK2Sep4Q3EMdRB2KkRW1c.JPG


Next, to gain a bit more clearance for the door seal, the new threshold was located and the protrusions of the rubber flooring were scored with a utility knife at the threshold edge. Next, we used a multi-tool to shave down these protrusions that would be beneath the threshold. This wasn't much, but better than what was there before.


IMG_6749_jCziDENEBPAyX6bnbk78hw.JPG


IMG_6754_vmc1hQXAf4QChF1J97xnaT.JPG


IMG_6755.JPG


Back on wagon duty, we've been continuing on stainless polishing. We had been doing some of the shorter sections by sanding on top of my 4 wheel shop stool as it has a nice flat top surface.


IMG_6733_jPKoSUAgfVyAMjcGCbYTpj.JPG


Once we got to the longer sections of trim, this became too cumbersome, so some 1/2" MDF was repurposed as a "holding fixture" while we refined the damaged scratches and dings. A Black Diamond longboard was used with 500 grit PSA paper to highlight any low spots, high spots, or other carnage. Then some LIGHT DUTY metal bumping to address the issues and a repeat of the highlighting sanding. Once all the defects were addressed, we then worked progressively through 600, 1200, 1500, 2000, and 2500 w/d paper. Then 3000 and 5000 Trizact, and finally on to the buffer.


A modification of our "fixture" to hold the curved end of the trim...


IMG_6761.JPG


Jared helps out here to help stabilize the skinny trim and keep it from flopping around. Once quick mis-step at this point is about an hour minimum of recovery.


https://youtu.be/Q0h6FuKog44


Nice reflection of the door opener in the ceiling after buffing...


IMG_6770_nQd3vh1qZc1CutvphsHctj.JPG


trim clips added...


IMG_6775_uBpp72c61tYg5HRWhjnfmg.JPG


IMG_6781.JPG


...and our driver's mirror added...


IMG_6778_hMsk2vgt1pFnnjAc117h3Q.JPG


IMG_6779_cTmYBGXCQoEGNQ7tsJHr86.JPG
 
Friday night was paint night. We started with a coat of SPI epoxy thinned for sealing, then two coats of Galaxy gray shimrin basecoat, then 4 coats of Cobalt Blue Kandy, and two coats of SPI universal clear.


IMG_6807.JPG


IMG_6809_1asxwiEgSaXkeghSaF7ufg.JPG


First coat of Kandy:


IMG_6810_7ZYvpq2993u6kMdoKXkSnq.JPG


It was loosely assembled Saturday morning and carried into the sunlight for pictures. The low morning sun was not enough to wake up the metallic in the basecoat, and this looks jet black.


IMG_6819_cHcS6J982iUpHHt85js544.JPG


A bit later, it’s starting to wake up the blue….


After wagon assembly and photo op, we did some more Stainless scratch refinement... Two long pieces left to go. and one on order. Dana had taken one somewhere for straightening, and the results left us with a wrinkle and a crack forming. So that one's replacement is on the way from The Stainless Shoppe.


IMG_6672_kZVHQVdp5aBFDnRjiVWZAd.JPG


IMG_6673.JPG


Jared putting the eagle eye on the remaining stainless to find any defects...


IMG_6838_nTtMzUYieUqsboZkijZUB7.JPG


Reassembling the steering column after painting...


some heat shrink was added to the harness to help prevent abrading against the steering shaft. Our steering wheel puller kit did not have the needed parts for compressing the spring for the ts cam/horn ring, so we made a push ring and modified some 5/16 bolts for the cause. Much cheaper than grinding on the snap on parts.


IMG_6831.JPG


IMG_6830.JPG


IMG_6828_982cuCc53tWmLnAhY5QZaw.JPG


IMG_6829_uP1pc1ys3AeeGC3QKmys4m.JPG


IMG_6840_5yhE4YxkLLnRFsRLb6T281.JPG


Sunday morning I did a shop tour for Pete, his son, and his neighbor. I was too busy running my mouth to take pictures... After that we loaded up the wagon for it's maiden voyage, a shakedown run at Eddie's Brunch and Car Show, located at Bailey's Olde Breton Inn. This isn't a real large show (although it grows every year) but it's one of those must attends, and all the proceeds benefit our local Hospice.


Some takeaways on the wagon design, the pull handle length that was designed for a small child inside the wagon was too short for a 6' tall fella with a long stride. Felt like yap dogs at my heels . And I think the frame design may need air bags, where it did well on the pavement, there was quite a bit of drag (rolling resistance) with the grass up in the frame.


IMG_6979.jpg


IMG_6980.jpg


IMG_6982.jpg


IMG_6983.jpg


IMG_6976.jpg


IMG_6977.jpg


*Car show pictures borrowed from FB
 
More installing stainless trim. The screw holes for the beltline trim that wraps into the tailgate opening had been filled when we shaved the lead seams. So we used some tape to protect the paint as we aligned the side trim to the lift gate trim before drilling the holes.


IMG_7001_8STXaakszYzTjPpH5xUZnN.JPG


IMG_7002_6uQoVMeQh4Q9DzeZsL3fpR.JPG


IMG_7020.JPG


IMG_7087.JPG


One piece to go on the left side, awaiting the trip from WI.


IMG_7088.JPG


Next, we attempted to install our vent windows in the "reconditioned" frames the owner had bought. Only we noticed they weren't so ready for installation...


IMG_7121_dVE8vUVPTFULGy1Zso9hQt.JPG


and bent...


IMG_7122_2BzZqqcas23bJcK6Kh5fhN.JPG


Well, since we're on a roll, lets check the stainless trim that divides the vent and side windows. This had been "reconditioned" and included with the bent and cracked vent frame. Looks like they just polished up the dents and scratches. Not going to meet our standards.


So we media blasted the original frames, which had no damage, and dropped them off at the Shop at Shorty's for a Cerakote finish.


IMG_7108.JPG


Inspecting the stainless trim, we found the originals to be less beat up than the reconditioned stuff, so we opted to straighten out the originals. Here's a comparison of the trim, the two on the left are the reconditioned that had been polished right over the defects. The two on the right are the originals, the left of the two has had any dings/dents pushed from the back in prep for our refinement process. (except the one up top I missed) The right one has gone through our w/d 360, 600, 1200, 1500, 2000, and 2500, all done wet. There are some minor scratches still, so we'll go through this process once more prior to buffing to make sure we have a flawless finish.


And a helpful hint for those who dabble in polishing stainless. We've all had occasion where the stainless slips off the buffing wheel, bouncing off the buffer shaft, causing another 2-3 hours to correct. We added a rubber grommet to cover the nut and a plastic end cap to cover the threads. Less chance of damage from those mis-steps.


IMG_6997_6TGLC6GiKZgobkY8ekoPS1.JPG


IMG_6998_sZgCdHbEPSygRfPAKar4Xq.JPG


We did get some more chrome on the front. Look, no bolts!!


IMG_7117_jANGB6EMBTAfihjnKRu6CE.JPG


IMG_7119_ktoimSttx47YTXswnAV1TG.JPG
 
Picked up the vent window frames from The Shop at Shortys, done in a Gunmetal Gray Cerakote finish.


IMG_7189.JPG


and we got our final piece of stainless trim from The Stainless Shoppe...


IMG_7202_8uBWHs4NCDJRNToWHL7Ppg.JPG


Packaged very well....


IMG_7203_mJZ9hDnSZiZfpD8PEPUgrq.JPG


IMG_7204_67QZCLWNXrwCZ2stnosz73.JPG


Steering column installed...


IMG_7154_9ZTWvt9cmjhwBcHYqSR2Jn.JPG


IMG_7155_fDXD1gZDQhCukQi1JMqXr9.JPG


Friday was our appointment for lettering the blue wagon, rode up to PA to HotRodJen's art studio..


IMG_7206_q5bk1cHWTnojcrNUtgi1Re.JPG


We opted for a script that deviated from the stock "decals", why hand paint something to match a factory decal? Let's go with looks fast while standing still...


IMG_7207.JPG


IMG_7209_nMqp7nYRE4bszDb44nP5Jo.JPG


IMG_7213_wjdG3JRBoskLewQG56HhJ6.JPG


IMG_7221.JPG


and reassembled for the trip home..


IMG_7234_wq27z5gfZ4Tcd9cUUCYp5M.JPG


IMG_7235_supgnH8yTLxEKZ1mqF7KAe.JPG
 
Thanks, yes, I can sit and watch her videos all day.


More progress on the wagon, (the green one) working on the parts so we can assemble and install the vent windows. For our glass installation, we did things twice as the 1/16 rubber did not give a snug enough fit. So here is our second round using 3/32 thick rubber. One inch wide strips were cut out of the sheet and lubricated with an Ivory/water mix.


IMG_7293_tudbsaJdKt3HeVPEeD1jbT.JPG


IMG_7295_bzEc6WjD3E51Xg7wEbJvzW.JPG


The rubber was wrapped around the glass and it was pressed down inside the frame by hand. Then a "slight" squeeze of the frame to ensure it wasn't sprung open from the installation process.


IMG_7297_pJVr11Z4ToHWdwjmtJPuKh.JPG


These got moved to the attic for a good heat baking (drying the soapy solution) and we'll trim the rubber flush with the chrome vent frame in a couple of days.

Next, onto prepping the stainless trim for the vent windows for buffing, refining the scratches. Detail work like this is more difficult with parts flopping around in your hand, so some MDF was found the correct size (width) to hold the wide portion of the trim, and another piece of MDF was shaved to fit the narrow piece of trim. We should have these done this weekend.


IMG_7308_kjLfG4LVJUXNGdwnnH8Qmt.JPG


IMG_7310.JPG


Next, we picked up our battery, but the lifting handle bosses on the ends of the battery interfered with our OEM hold down.


IMG_7366_hX5WufbbDXs2YKQEDfFhS9.JPG


IMG_7368_sR5QjkPaTj6FLb1Quo1Faq.JPG


Not to be dissuaded, the belt file made short work of a shave.


IMG_7374_oYh7d1bDYL5rLQV5ig7Ttq.JPG


Luckily the mount hides our sanding marks. Much better down where it belongs...


IMG_7375_1YK3HfcyHwaP4gSkfJqRer.JPG


Like it's made to go there...


IMG_7376.jpg
 
Was there any adhesive used on one side of the rubber seal for the vent wing, or was it just a compression fit?

McMasterCar for the rubber?
 
Back
Top