rusty428cj
Rusty Gillis
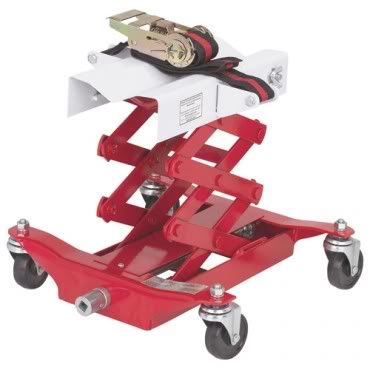
This transmission jack is the best for installing doors available at Harbor Freight for about $80 I bought mine over 15 years ago for use on the race car than found out how well it worked for installing doors.
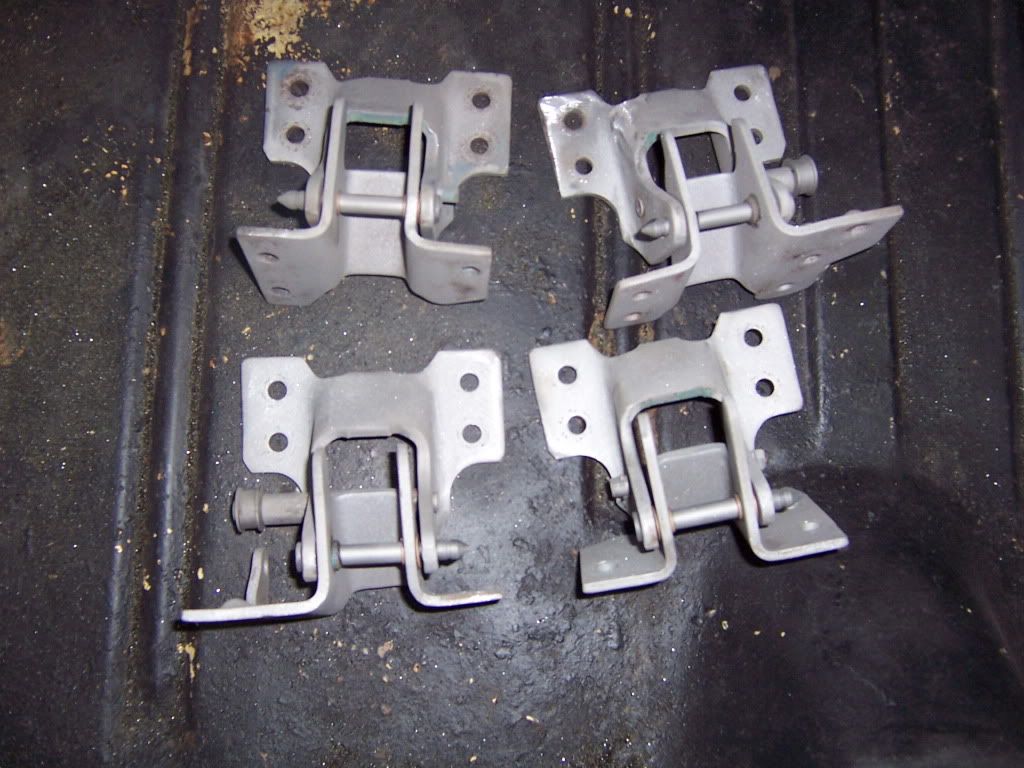
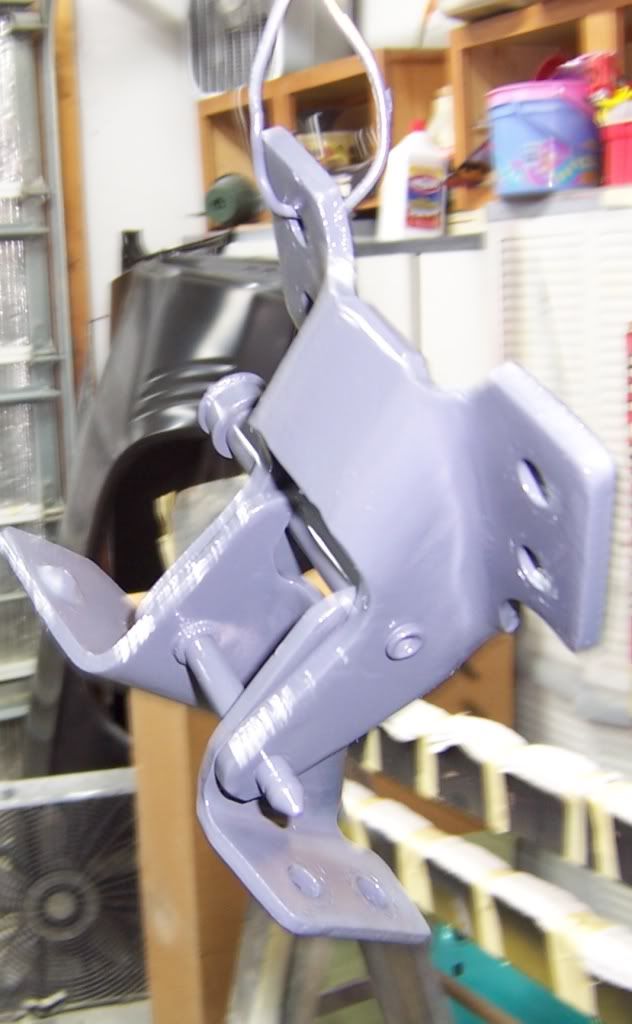
Bob Hollinshead;2507 said:BK, set those hinges up so you can pull the pins-saves a lot of grief! I put those doors on myself without the aid of a lift all the time. Set the car at the right height and balance if off your knee. Once you get used to doing it without help you actually prefer no help. I did some pins and bushings on an 05 Silverado recently, no help, no jack, now those loaded doors are heavy!
Bob Hollinshead;2507 said:BK, set those hinges up so you can pull the pins-saves a lot of grief! I put those doors on myself without the aid of a lift all the time. Set the car at the right height and balance if off your knee. Once you get used to doing it without help you actually prefer no help. I did some pins and bushings on an 05 Silverado recently, no help, no jack, now those loaded doors are heavy!
") So without further adieu
So without further adieu

 Im going to order a black gallon kit tomorrow


ADTKART;2776 said:He never even gets dirt into the house while he is working. LOLAaron
jcclark;2777 said:That's because he's not allowed in the house anymore, there's 5 girls living there.
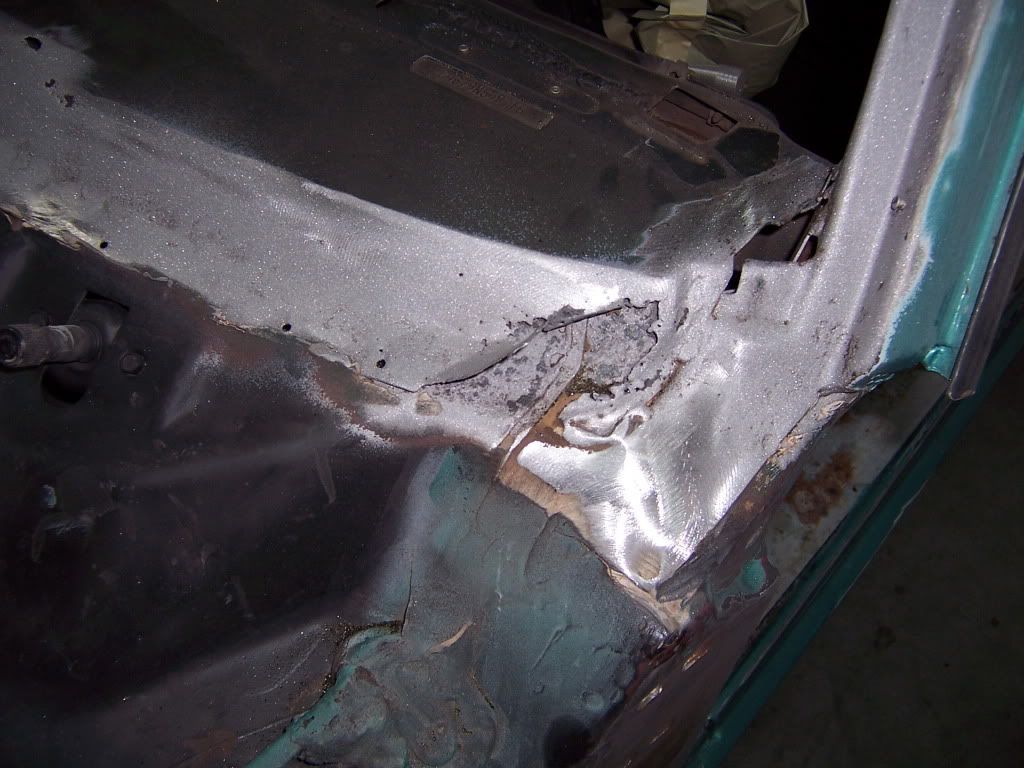
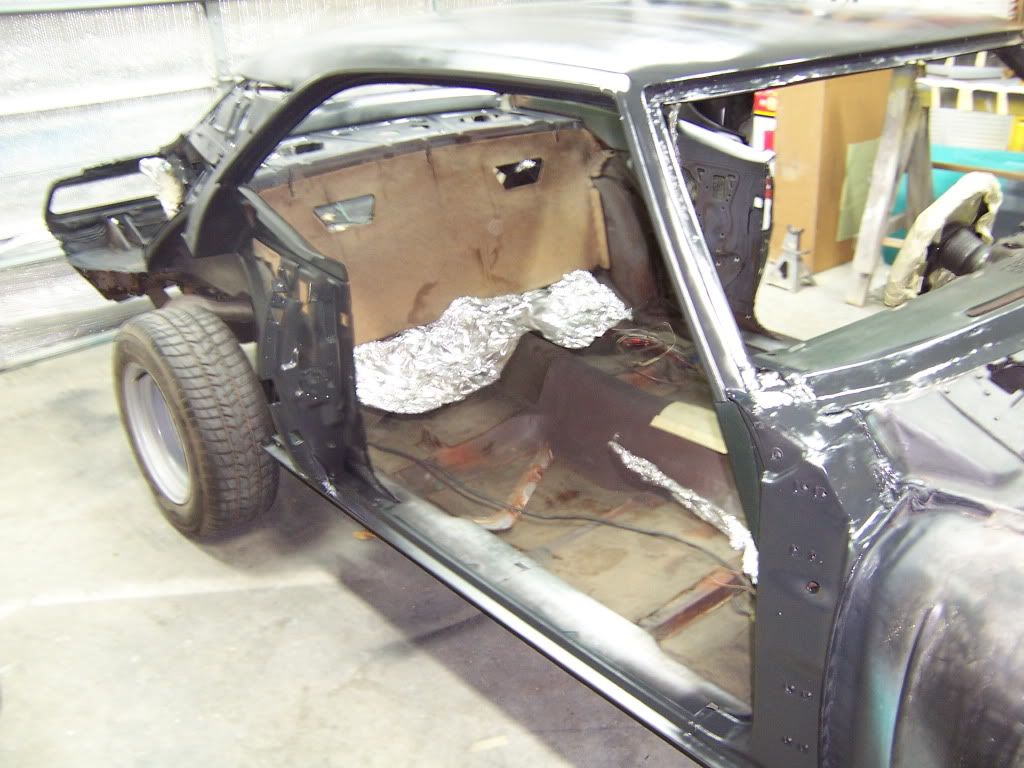
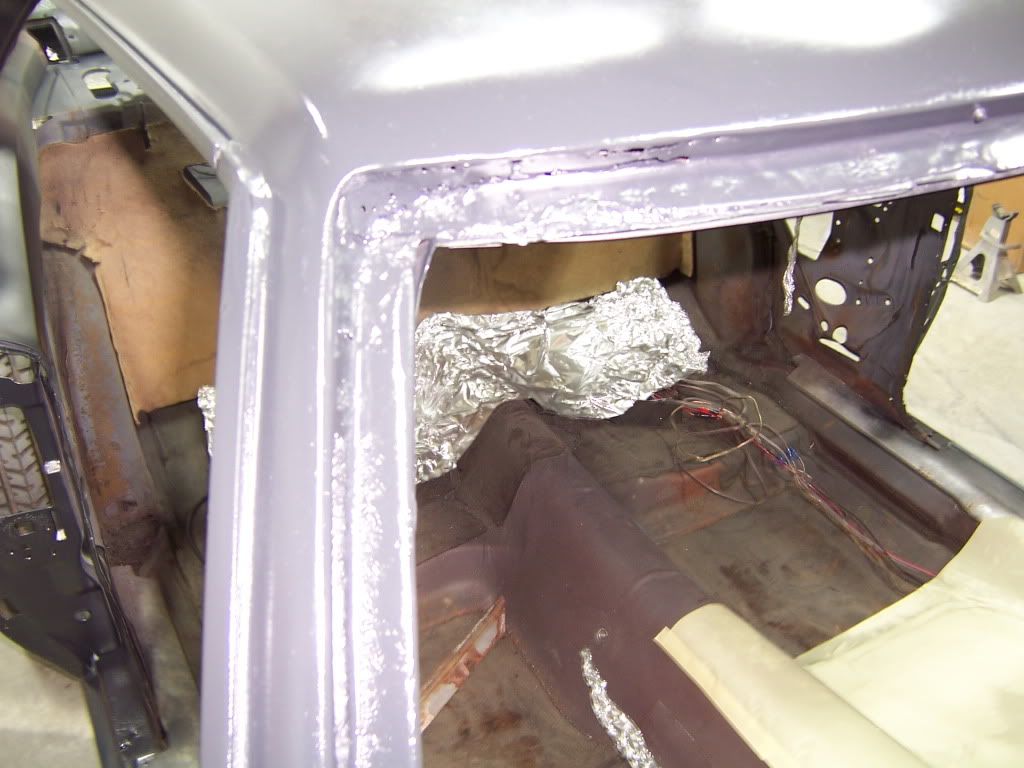
Bondoking;2771 said:I was able to get a better fit for the rear body lines.., however the striker area is still jacked at the moment.. Think I will be able to resolve this when I have time to work on it again..
I called my ole buddies this morning and ask for some tips.. ( Barry and Aaron ), they got me lined out.. thank you both
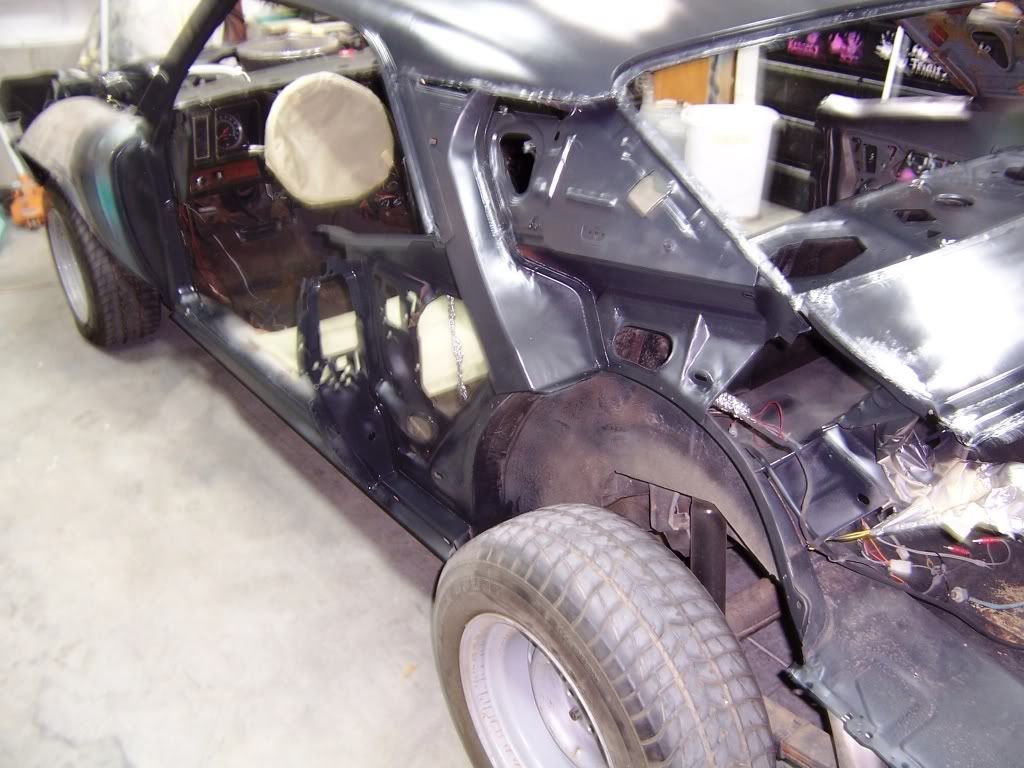
Check out the decklid.. It is bowed up.. I know they all have a crown to them, but this one seems bowed up pretty bad. It does not fit up with the quarters at all.
I may have to stand on it to flatten it out..reminds me of Chad standing on a hood I think it was
View attachment 244
View attachment 246
View attachment 245
) so back to the grind lol..