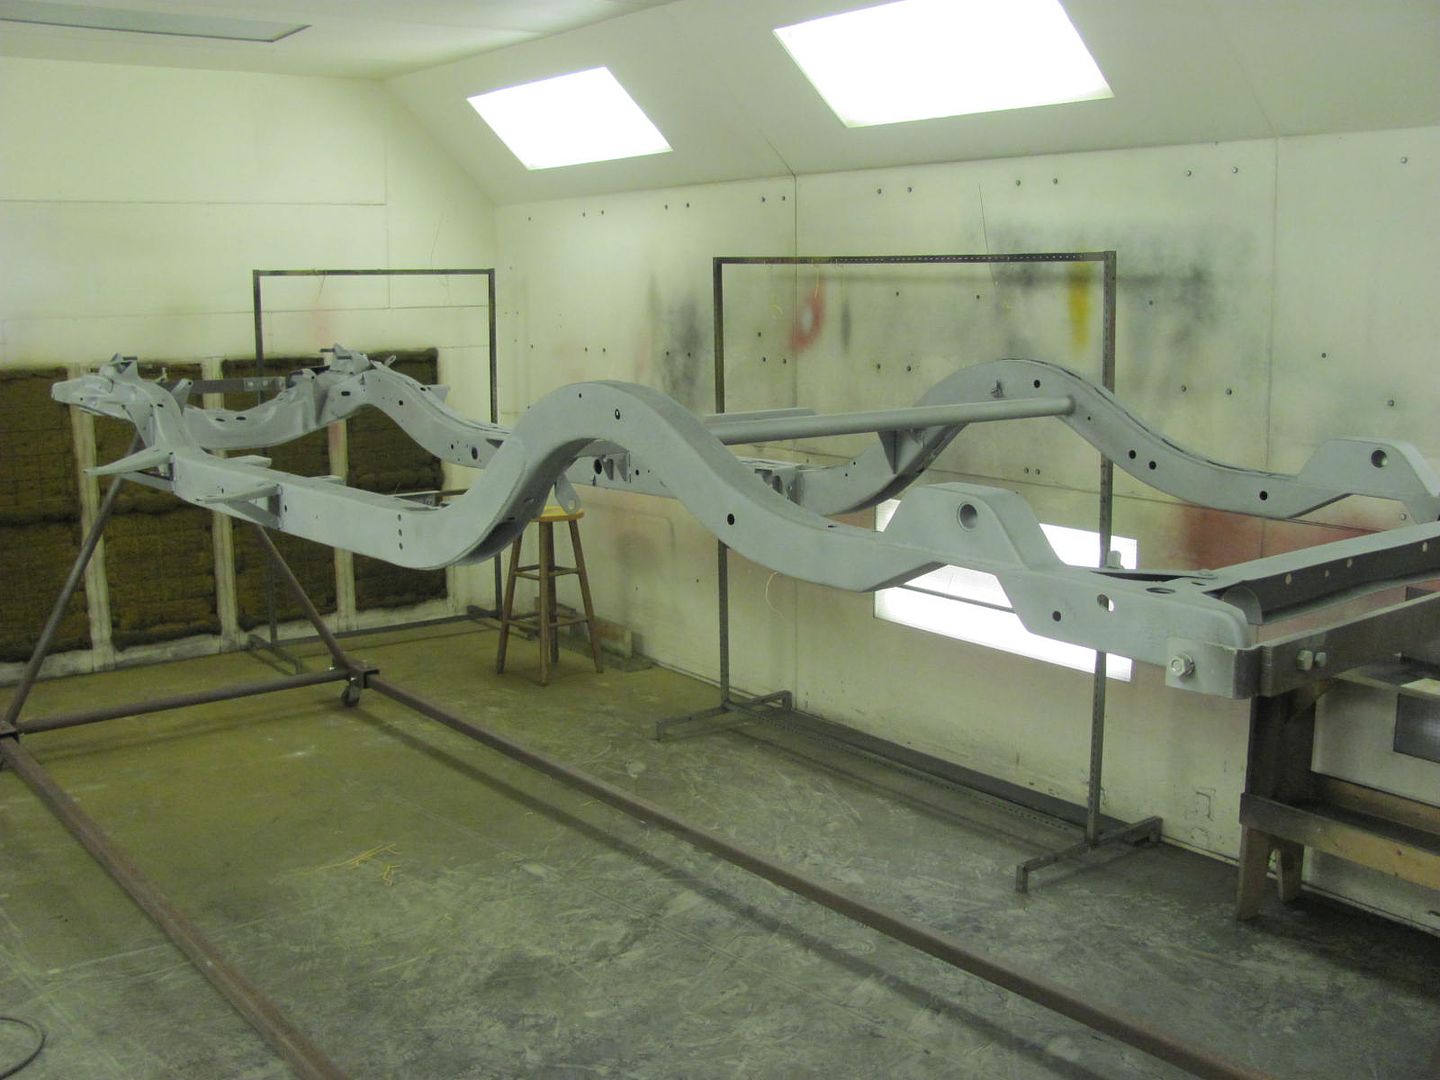
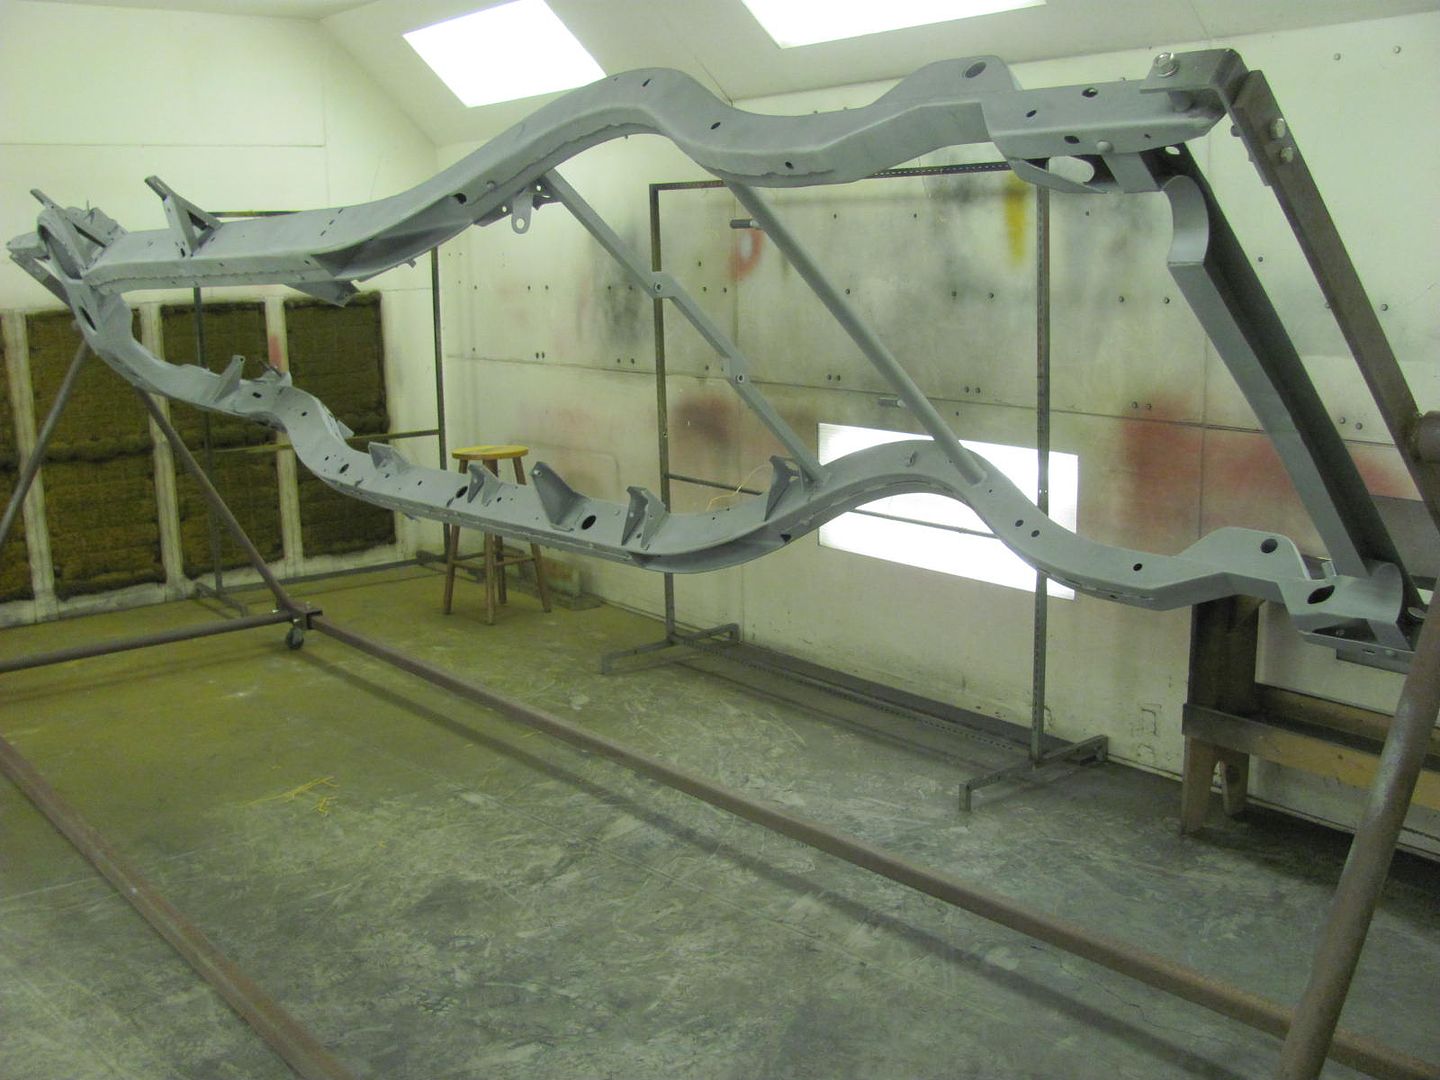
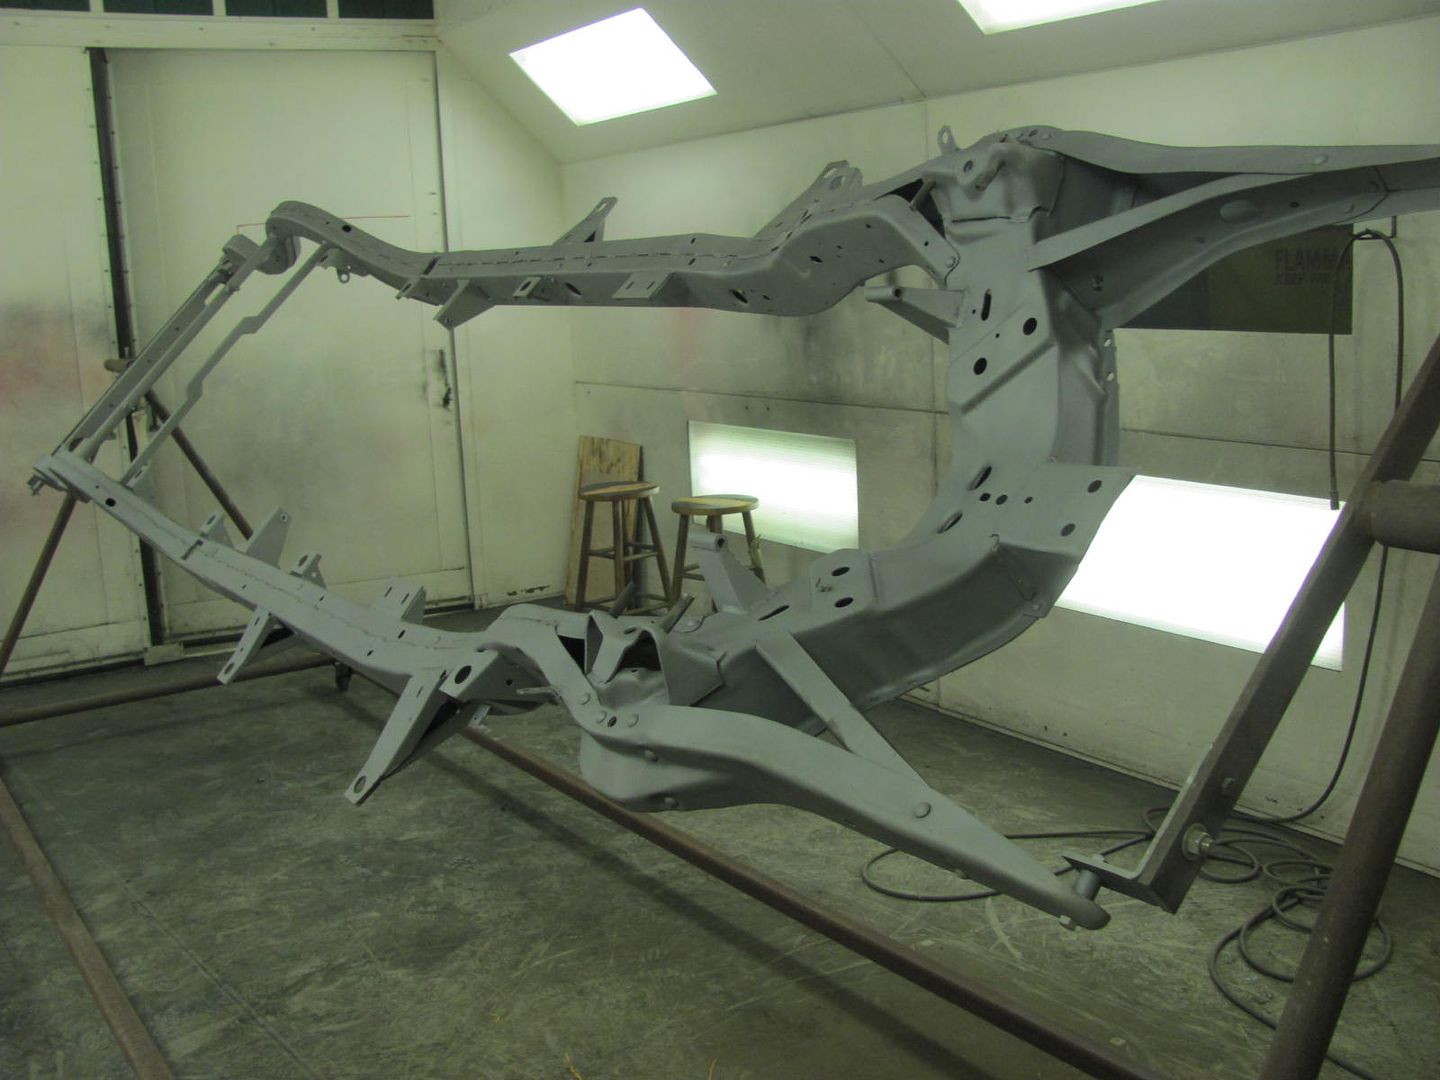
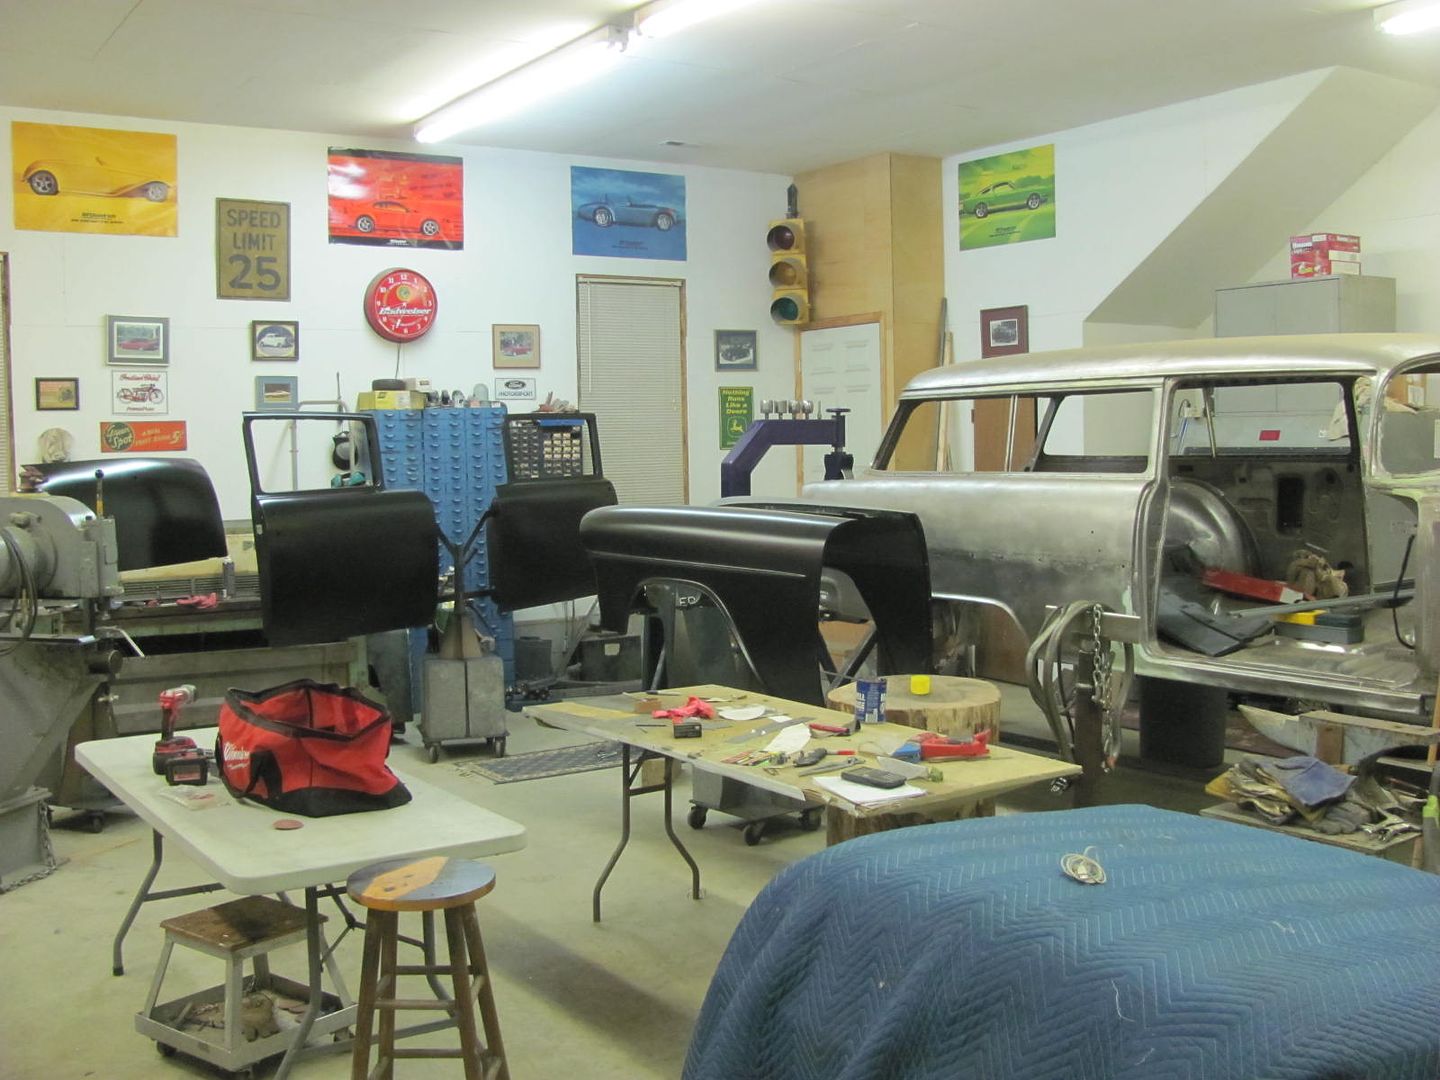
Wagon Progress

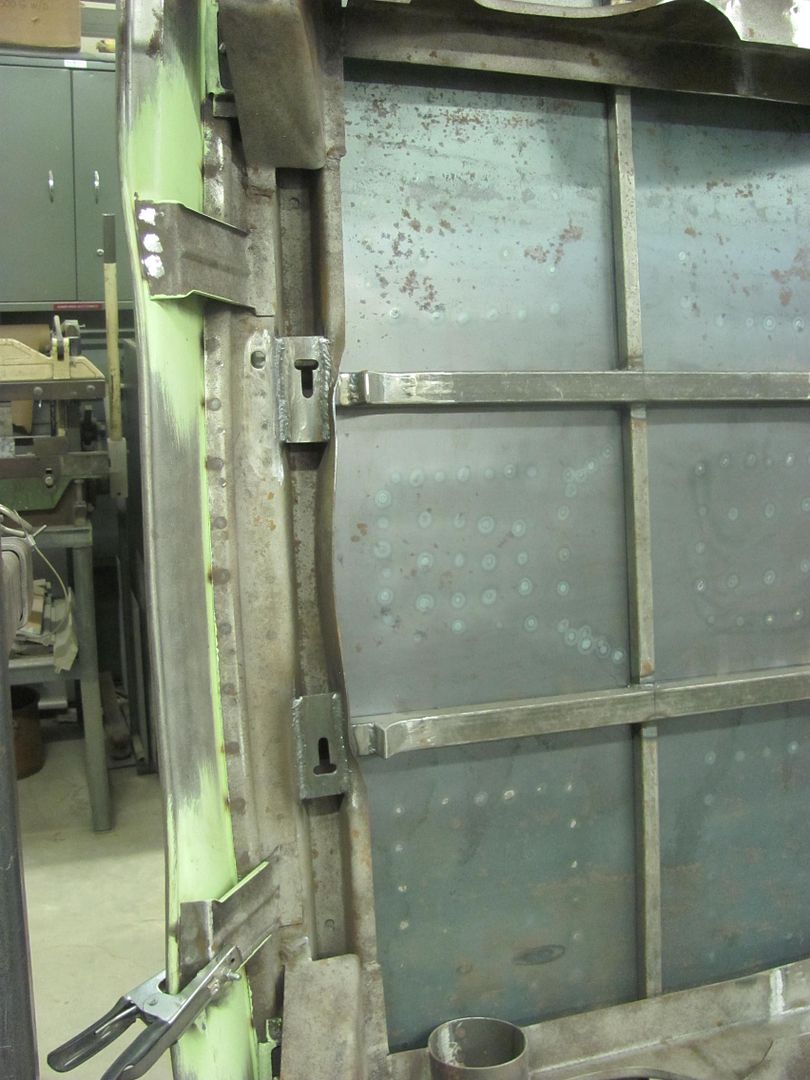
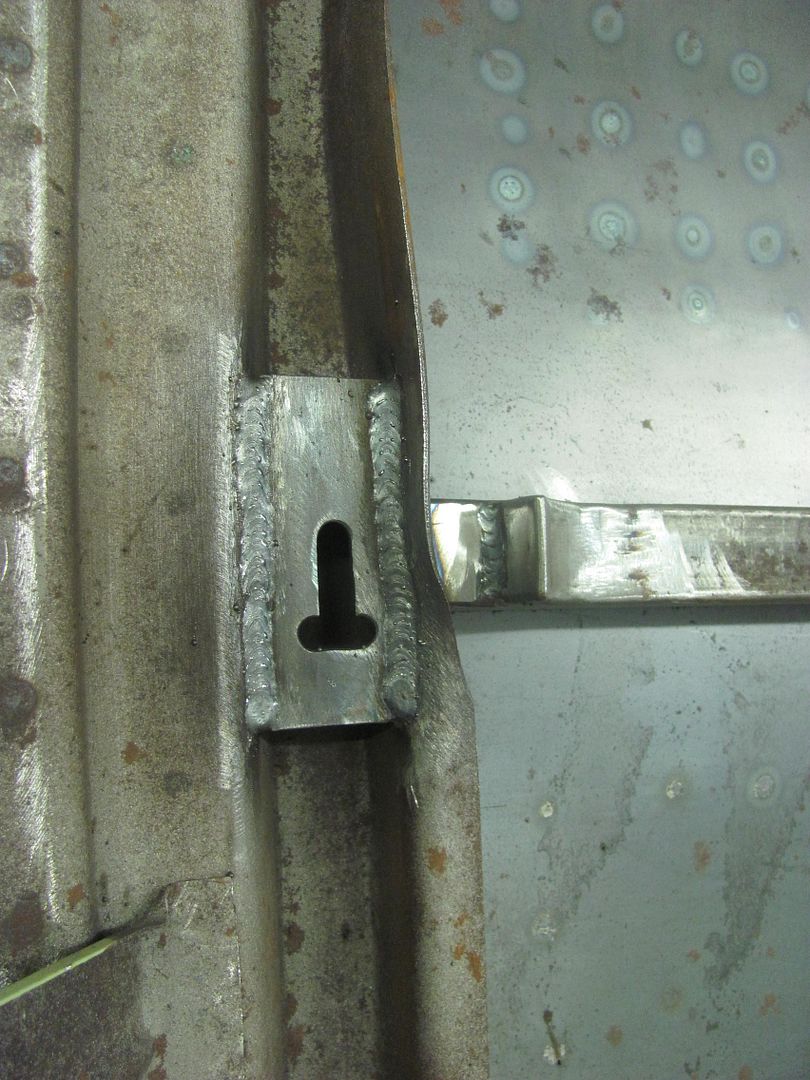
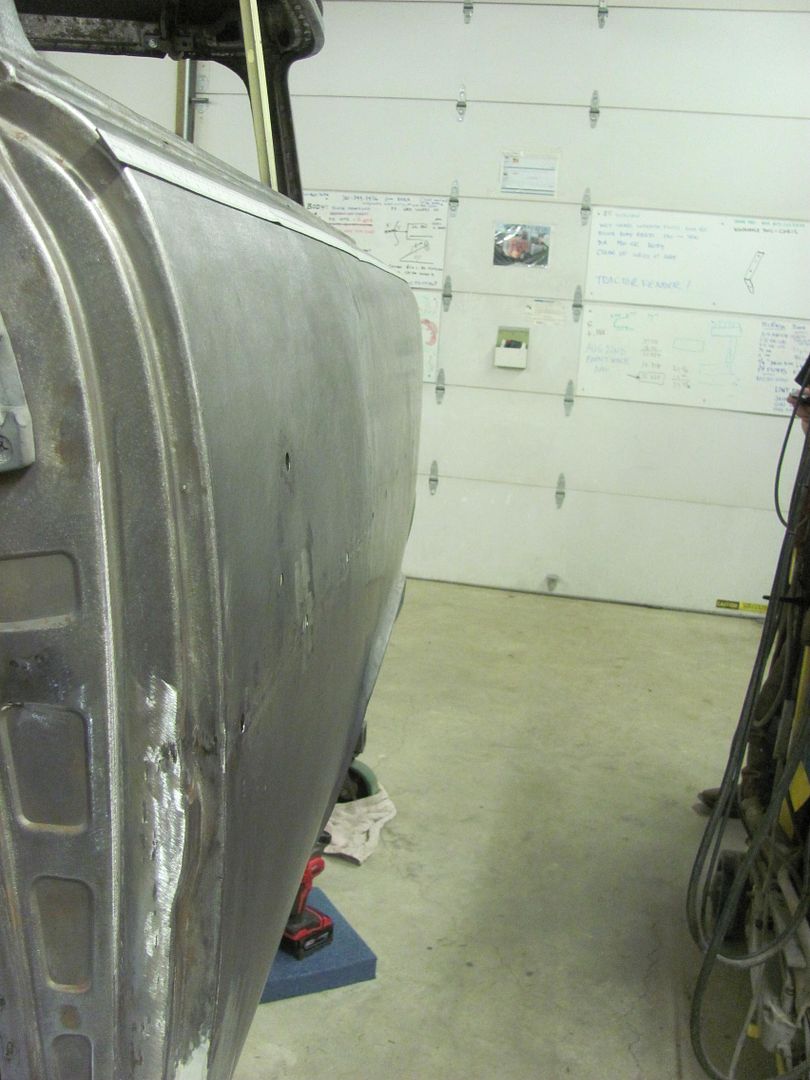
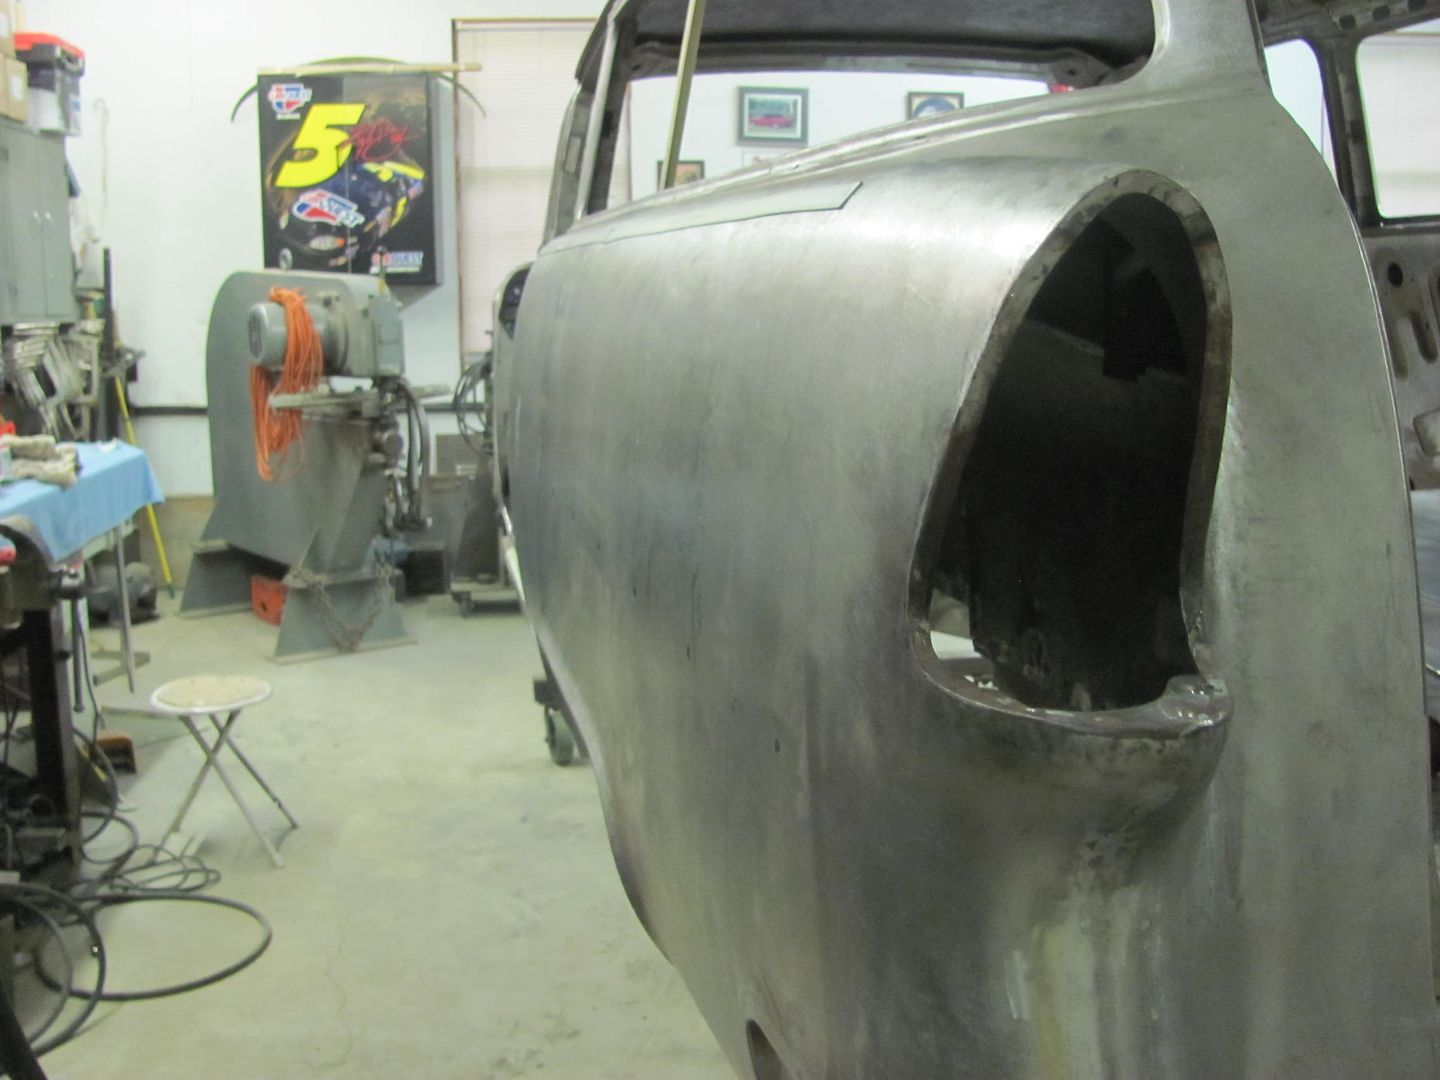
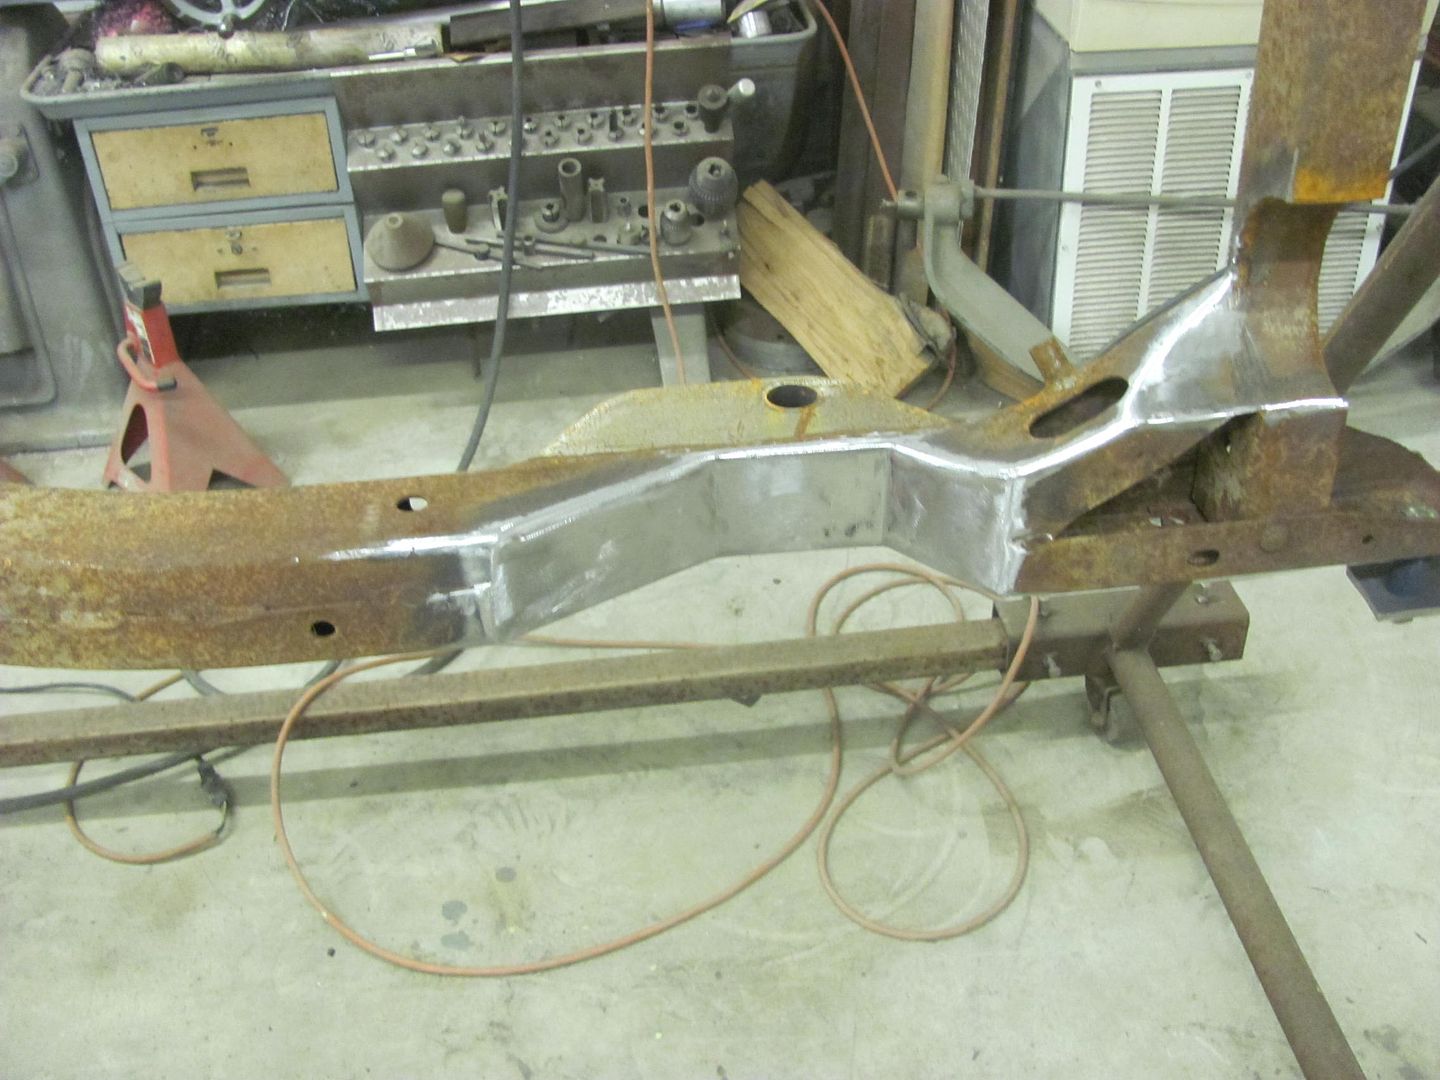
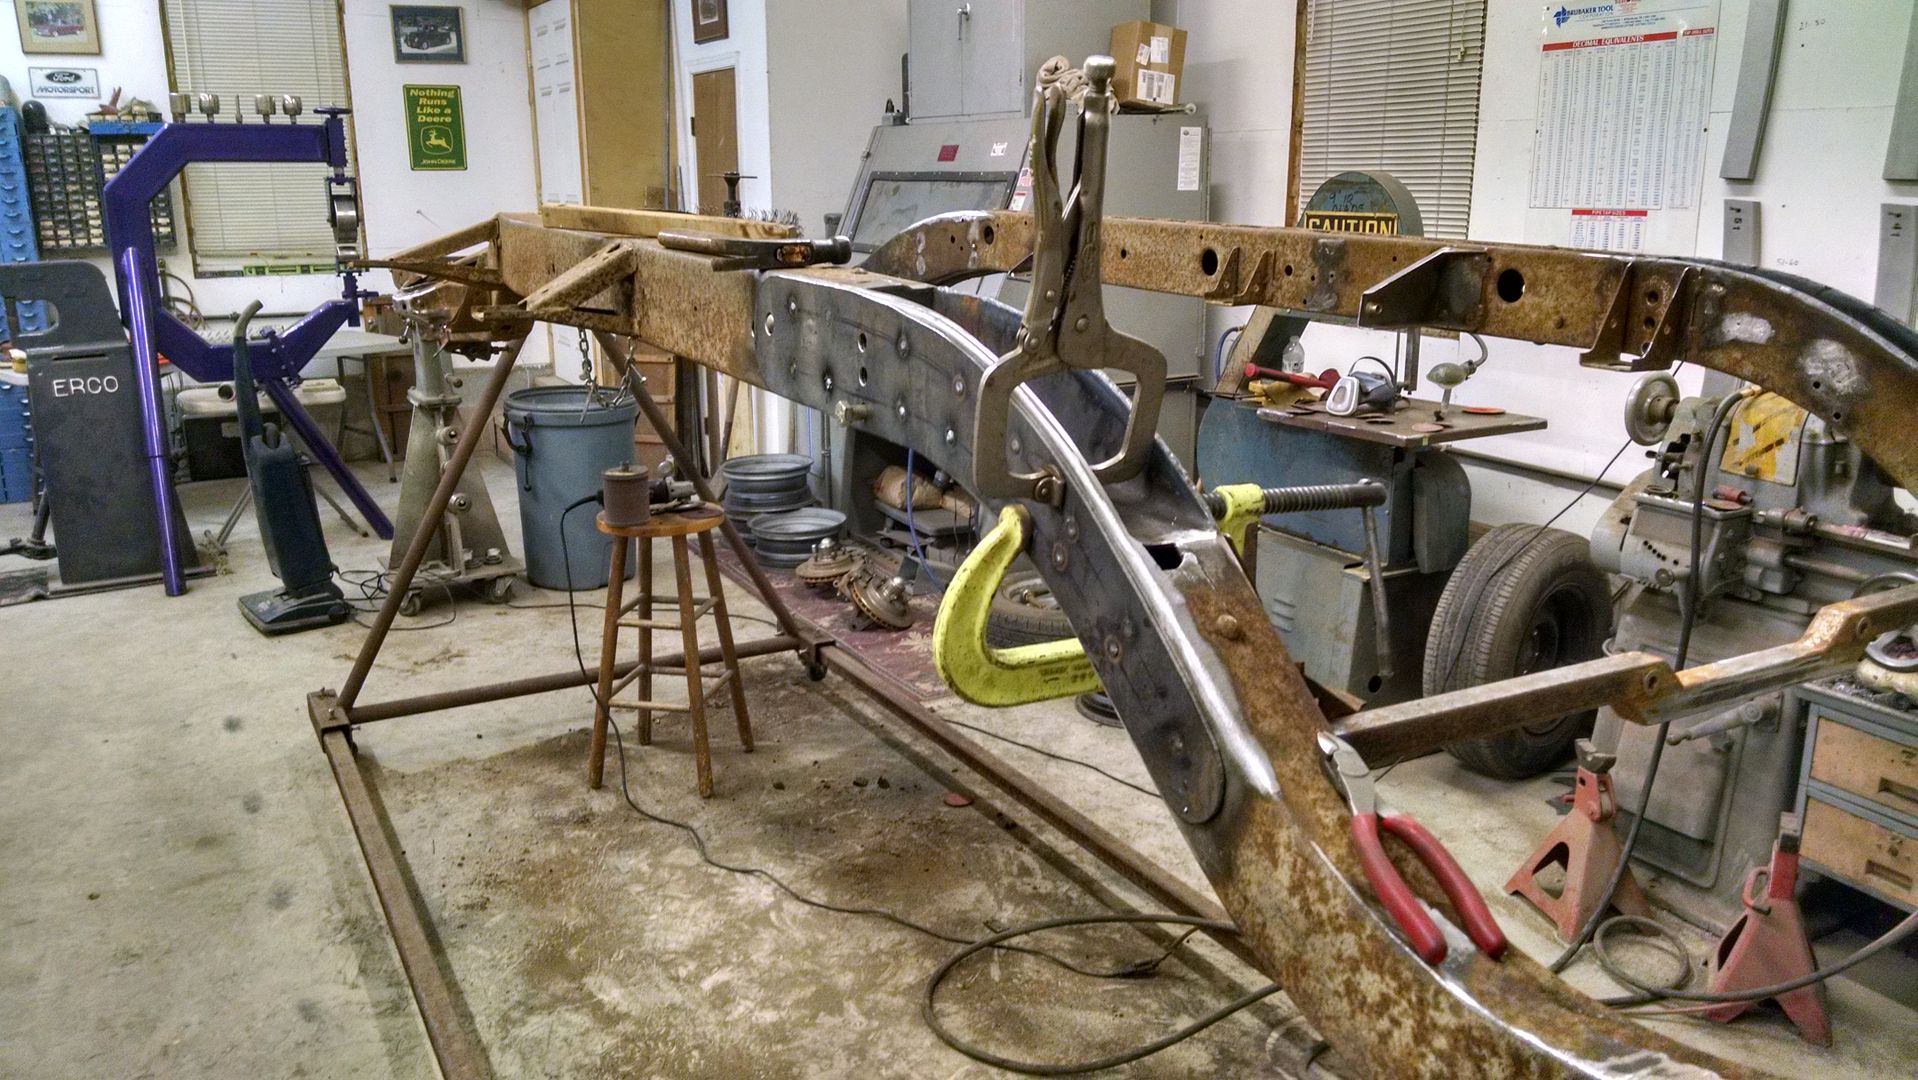
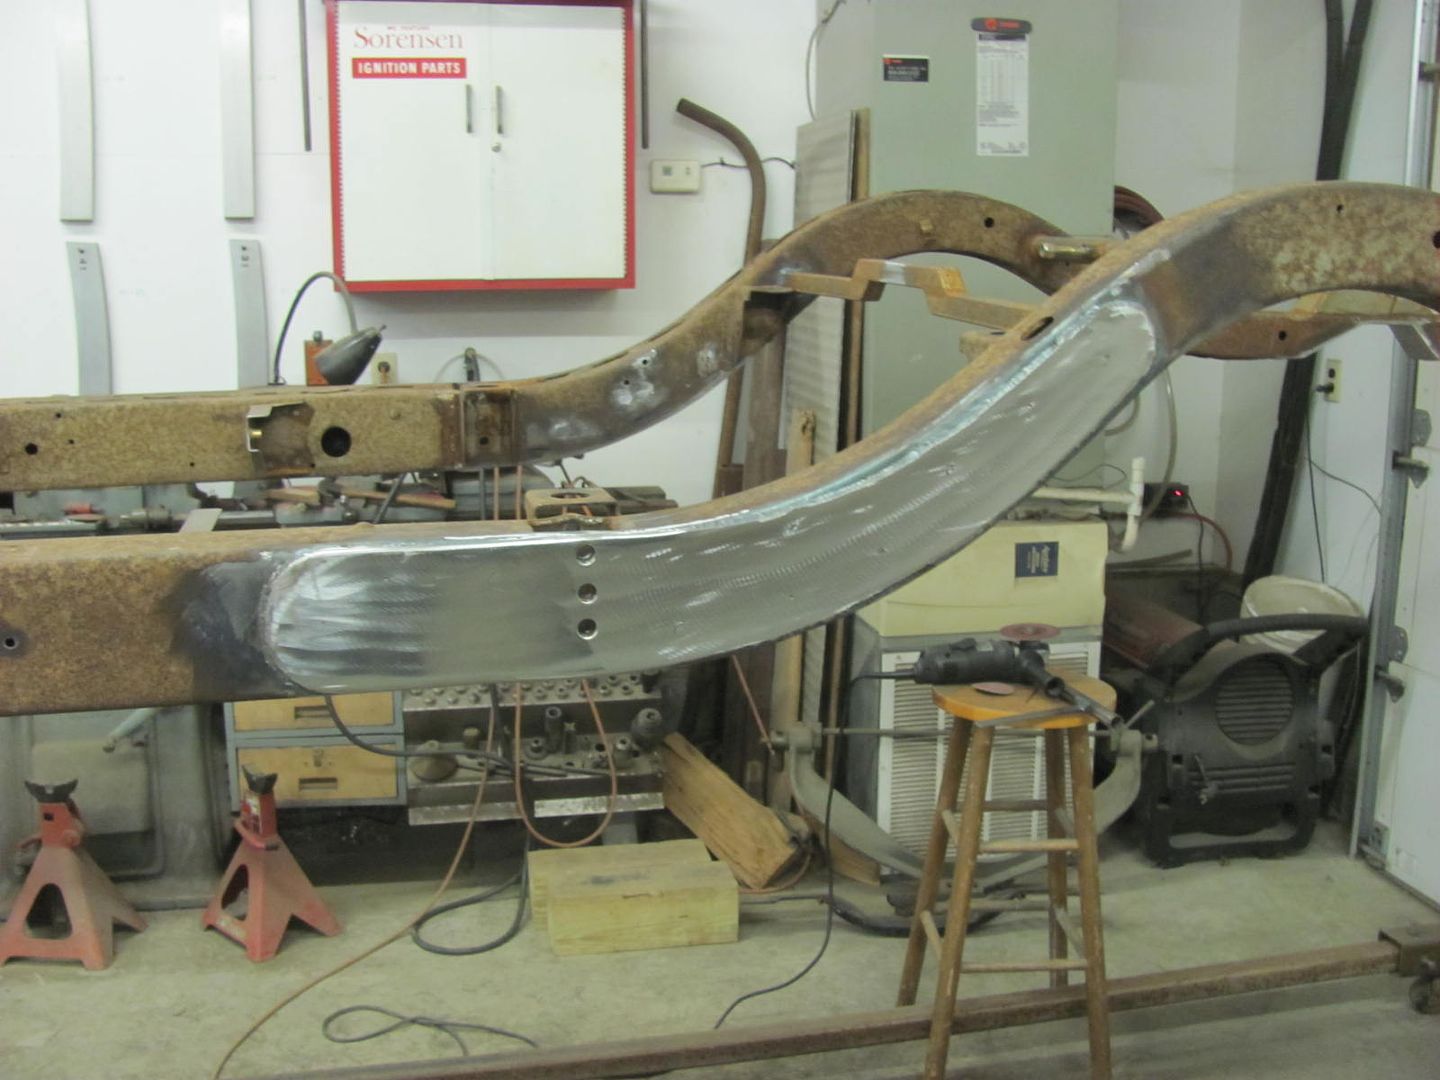
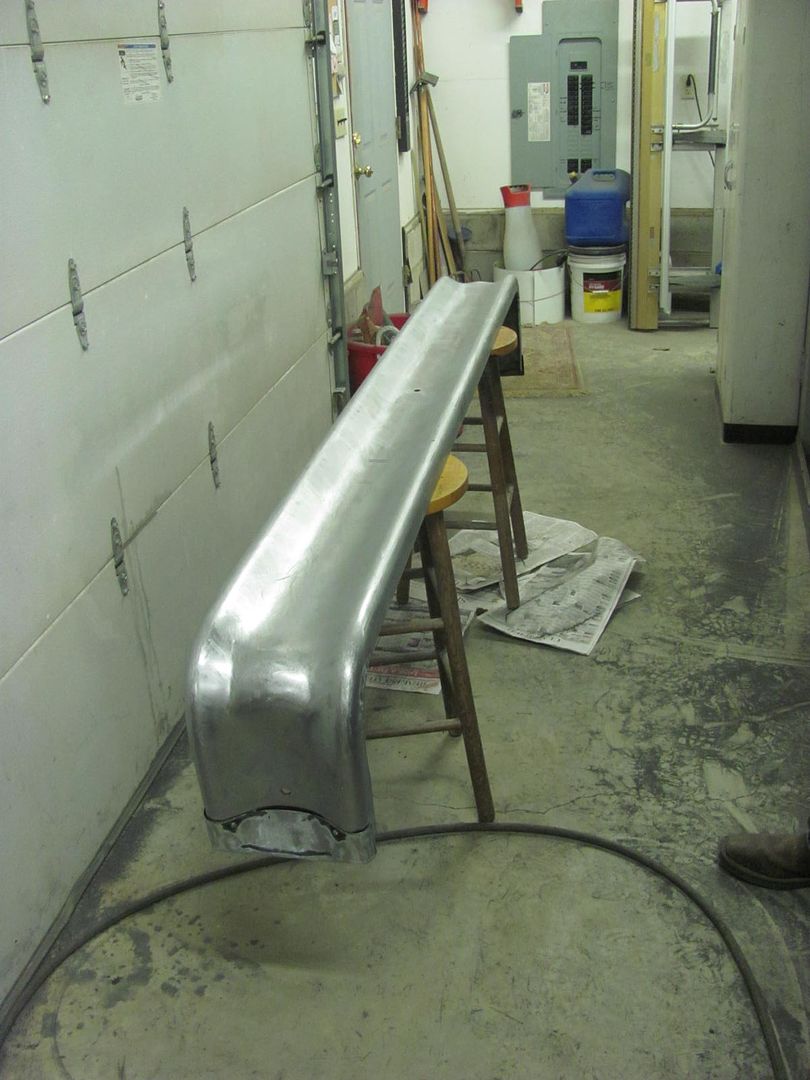
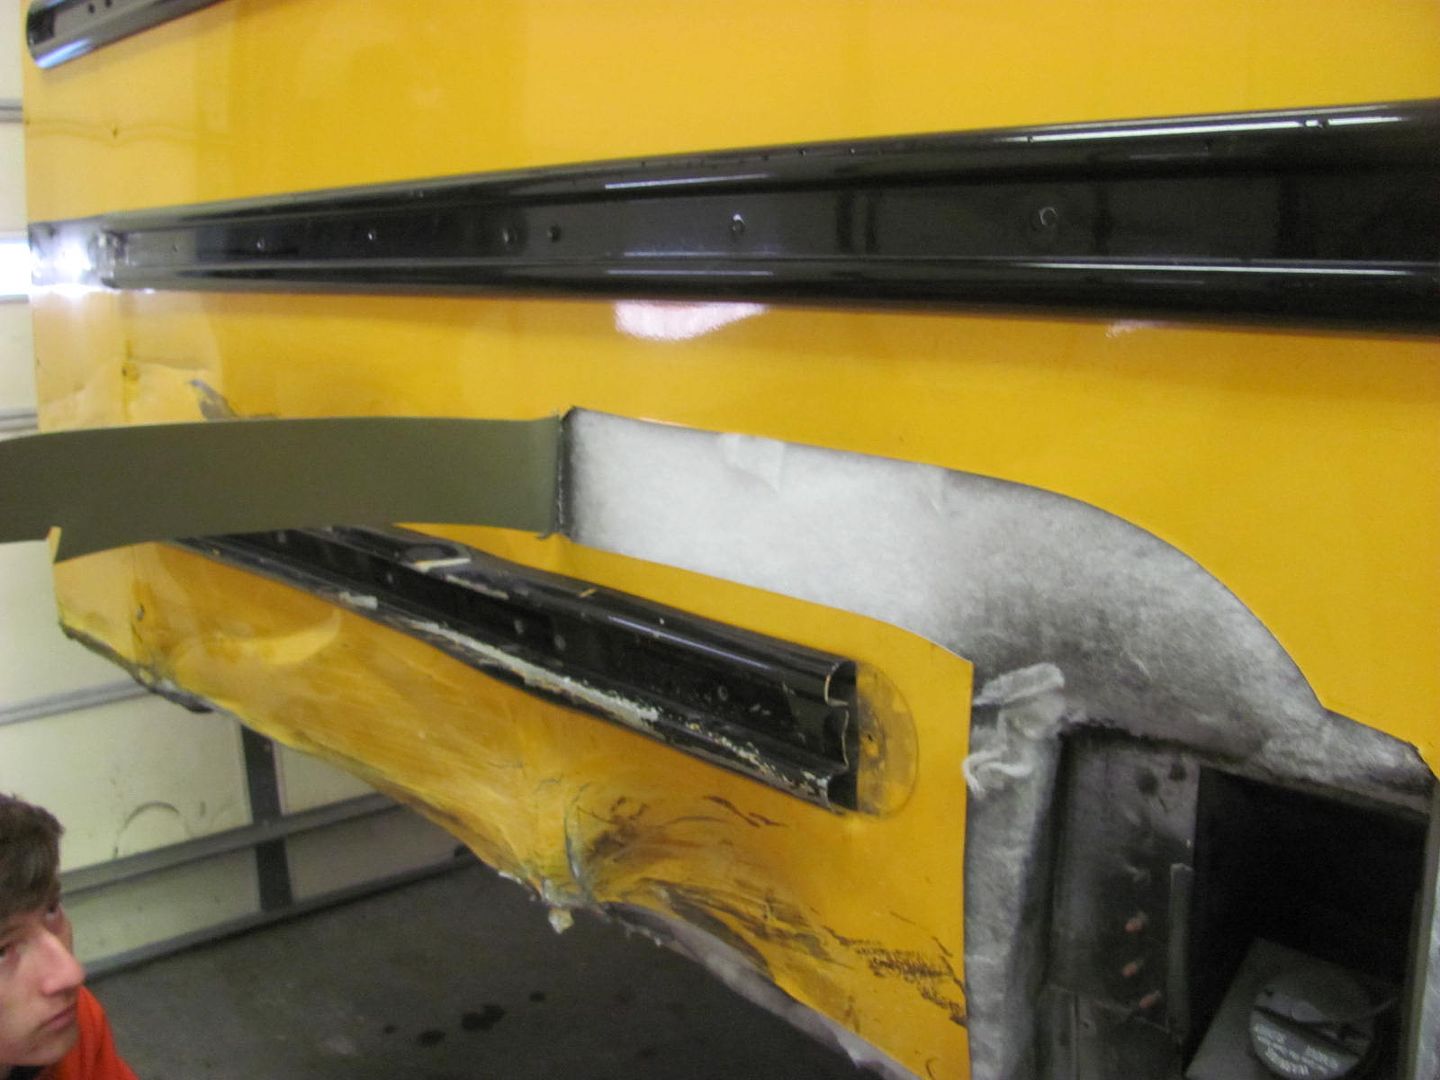
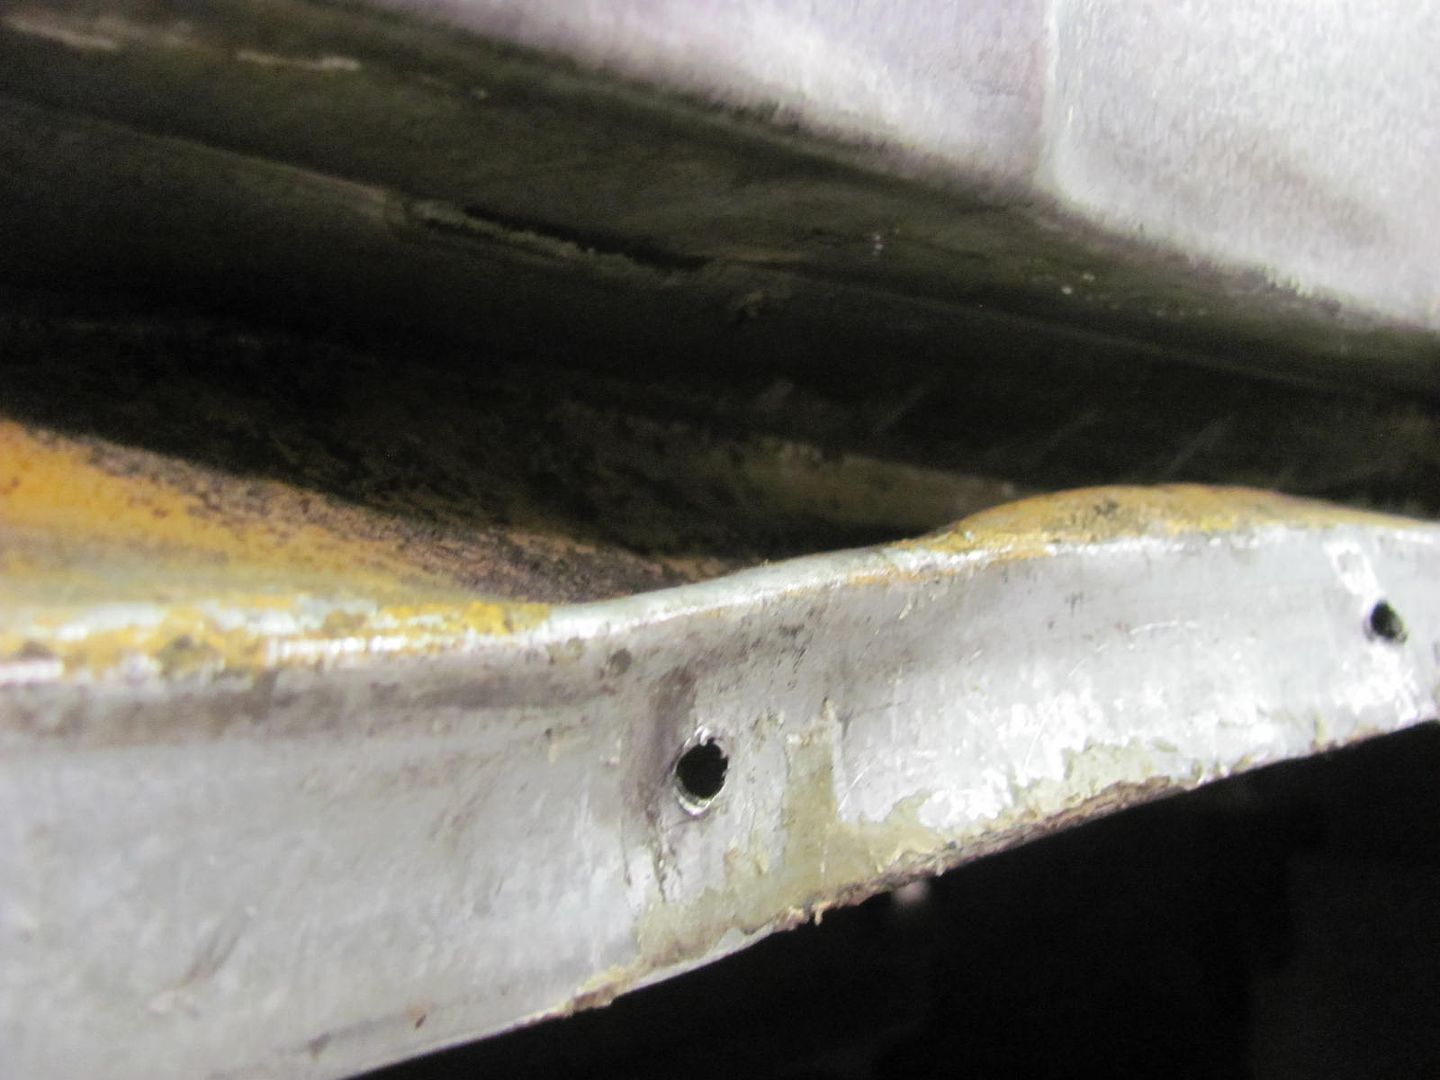
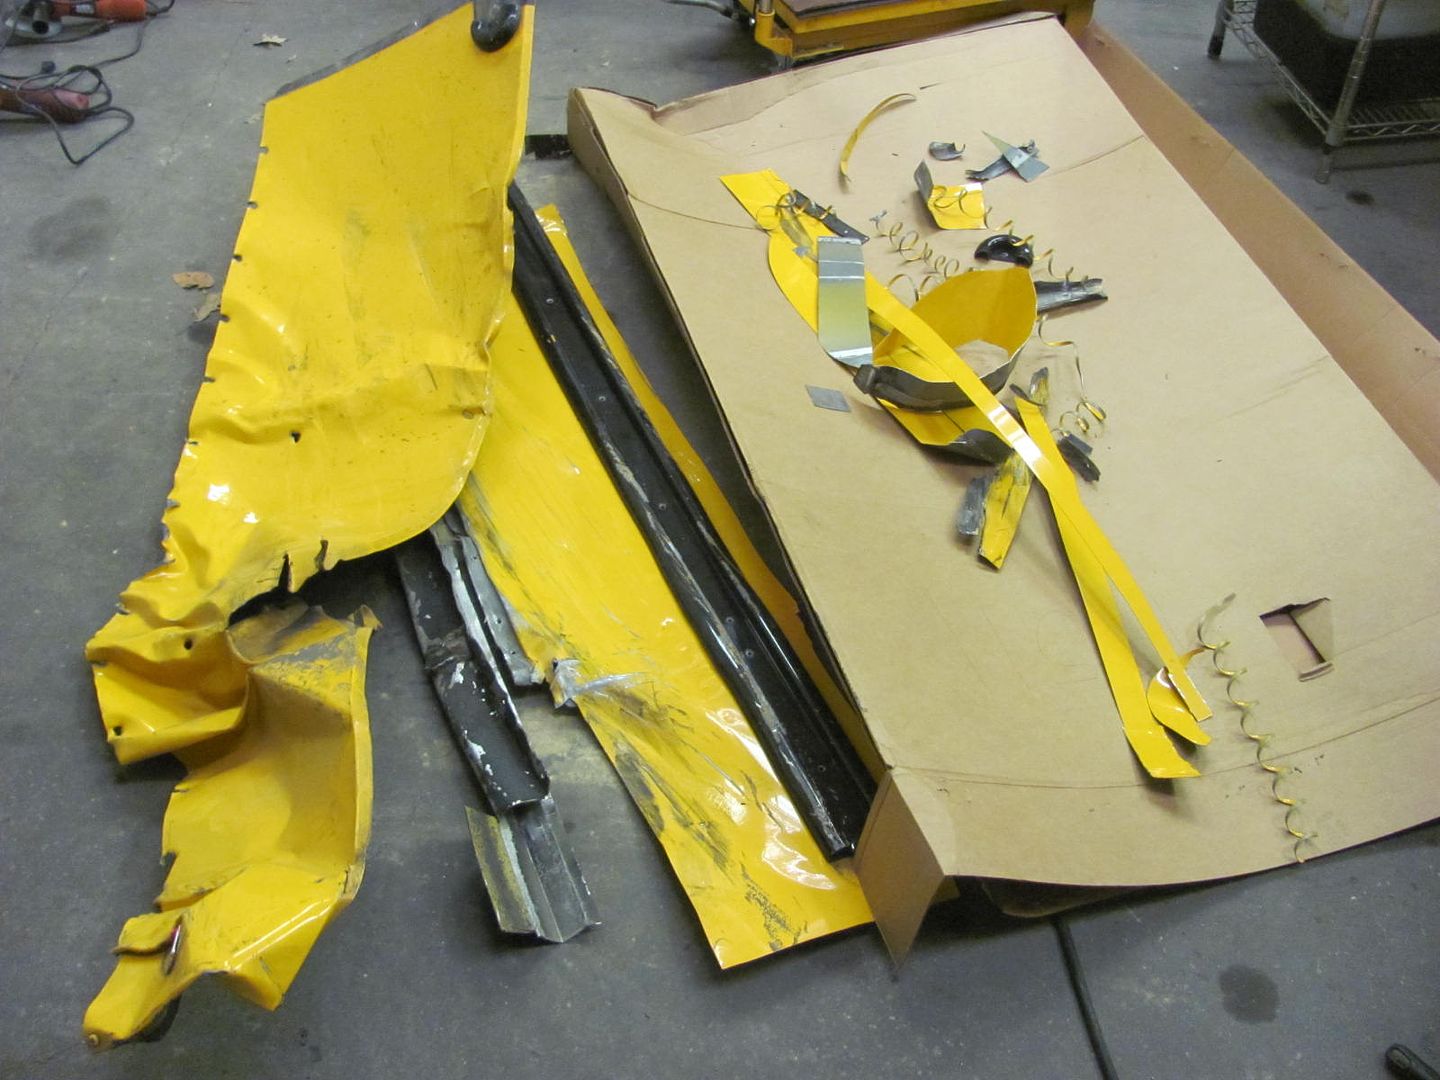
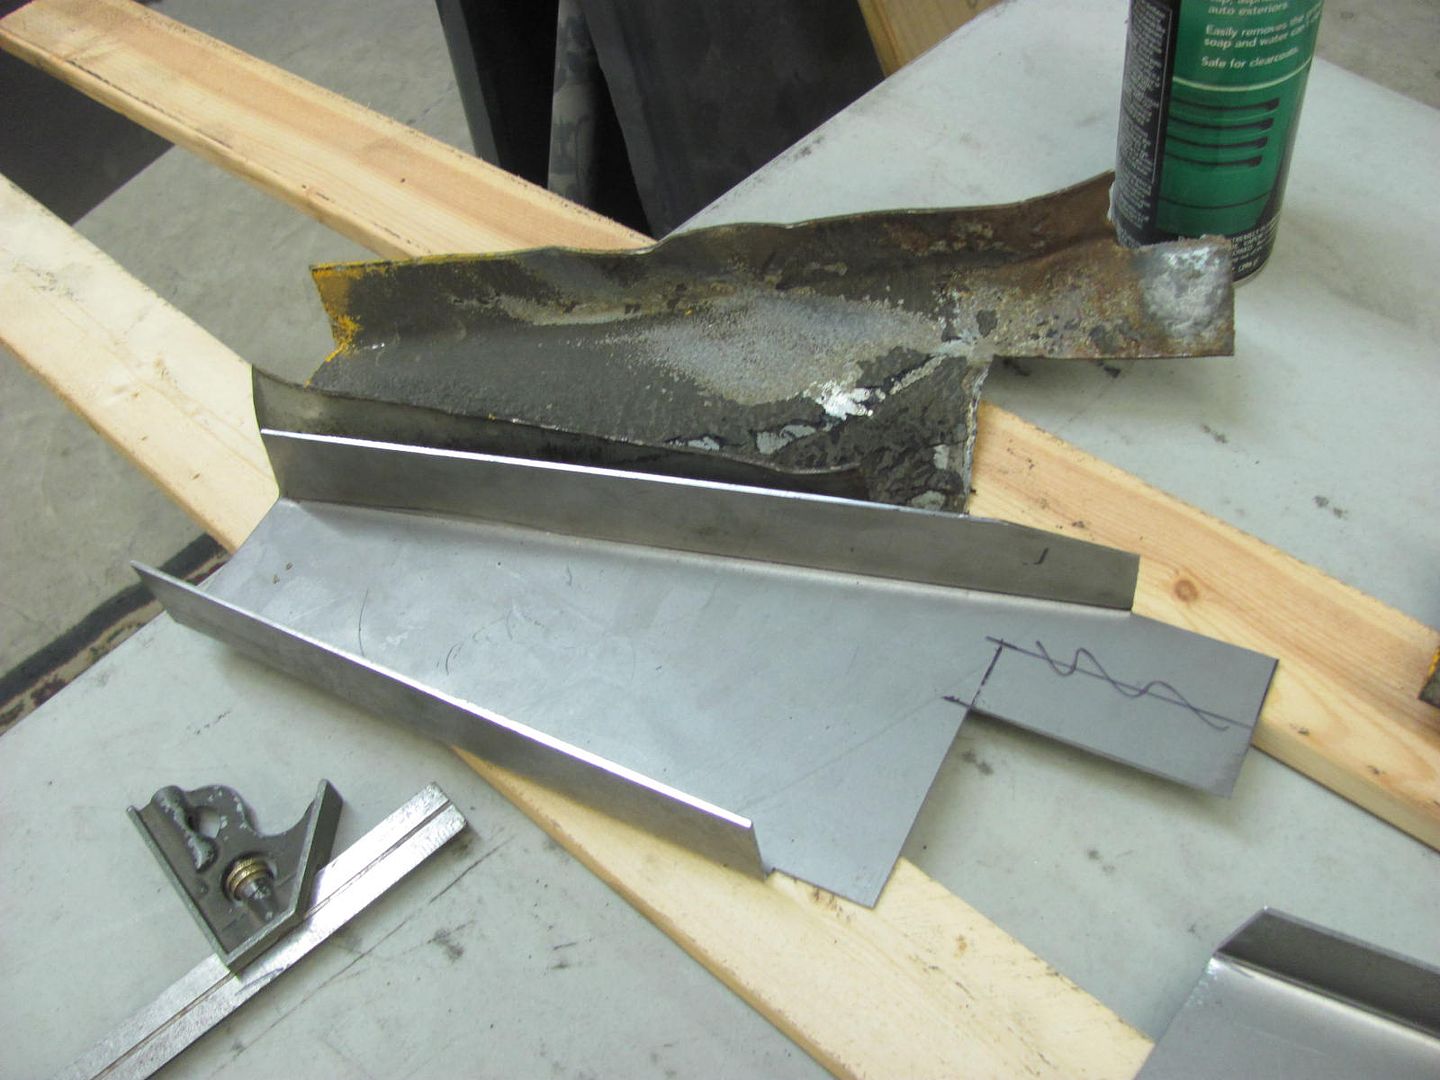
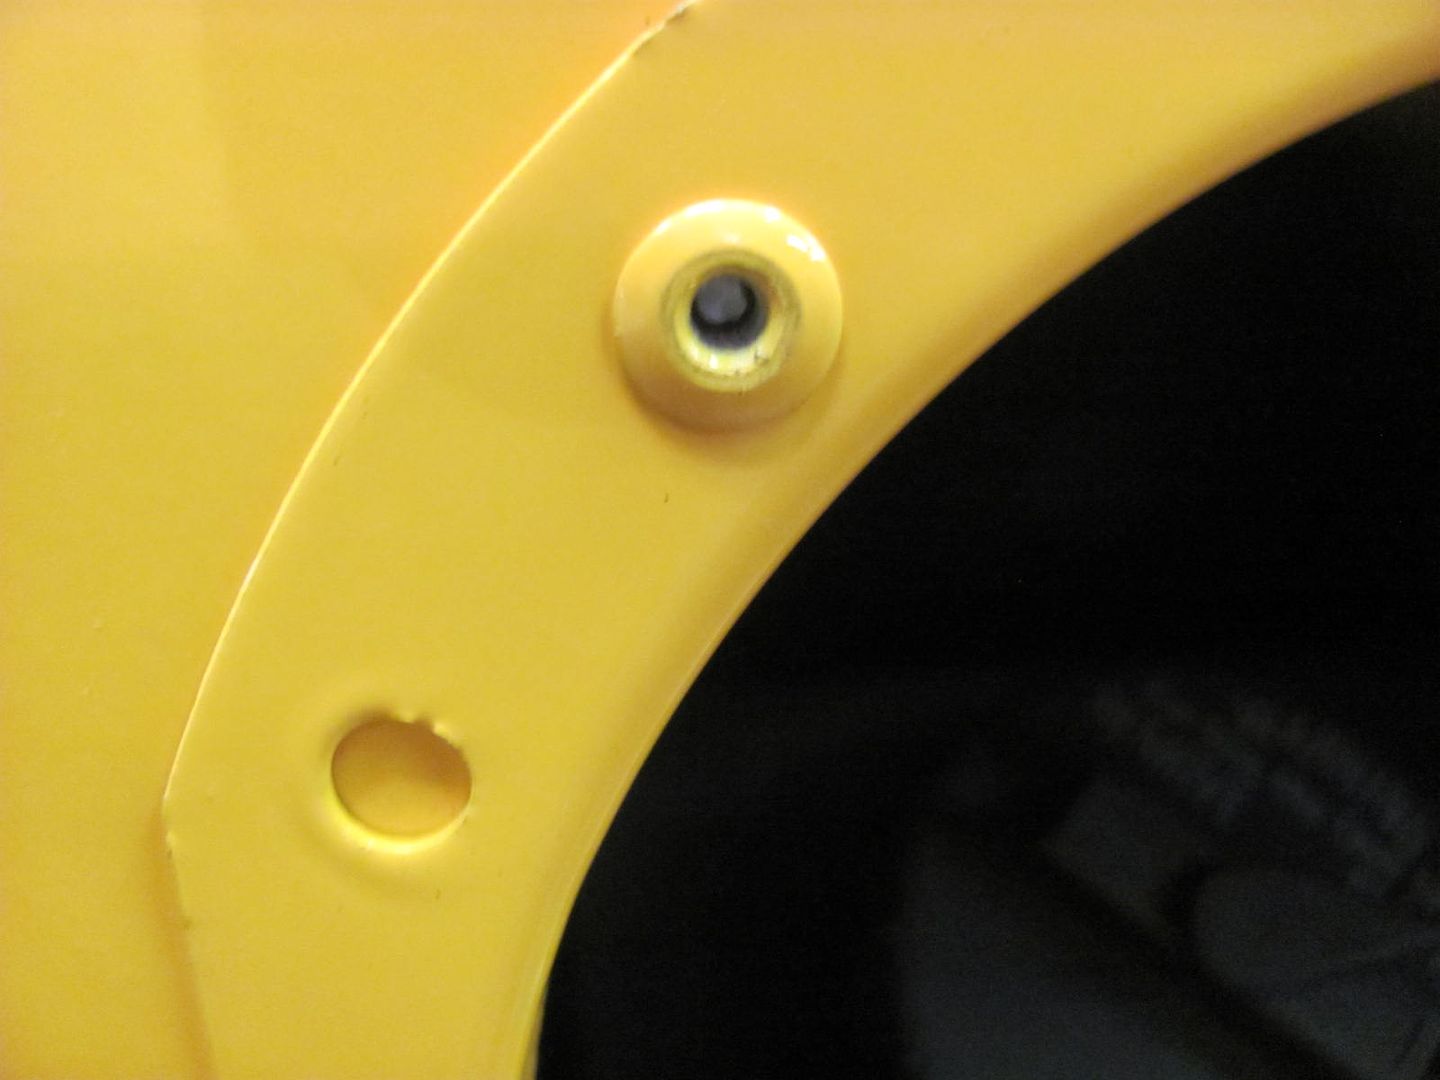
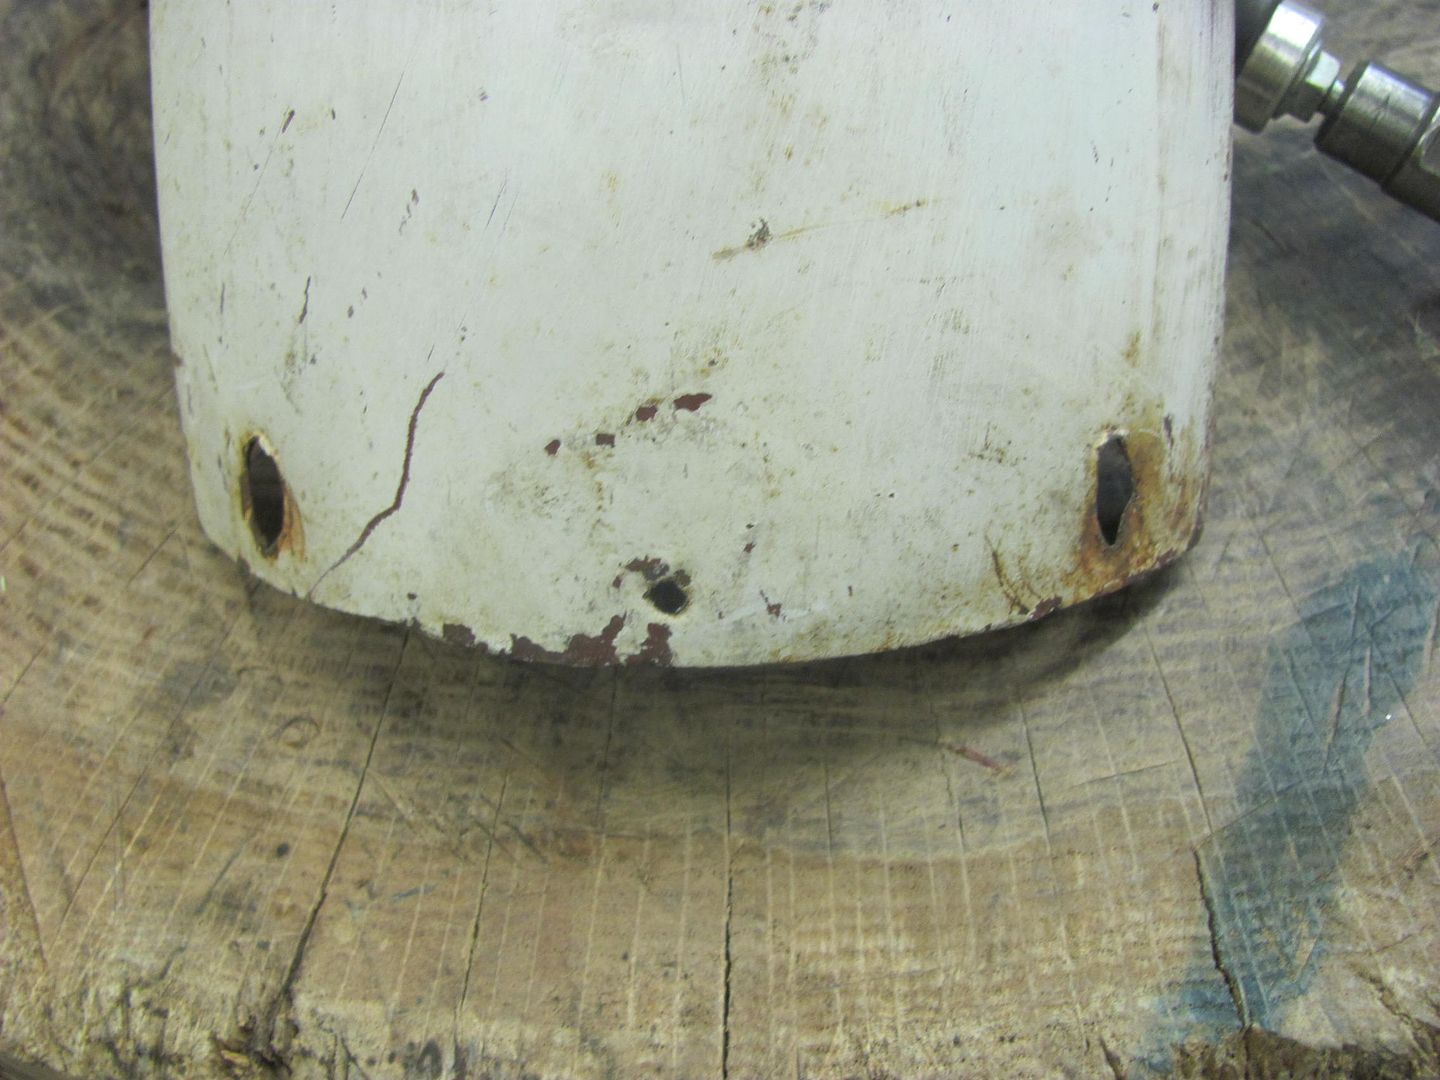
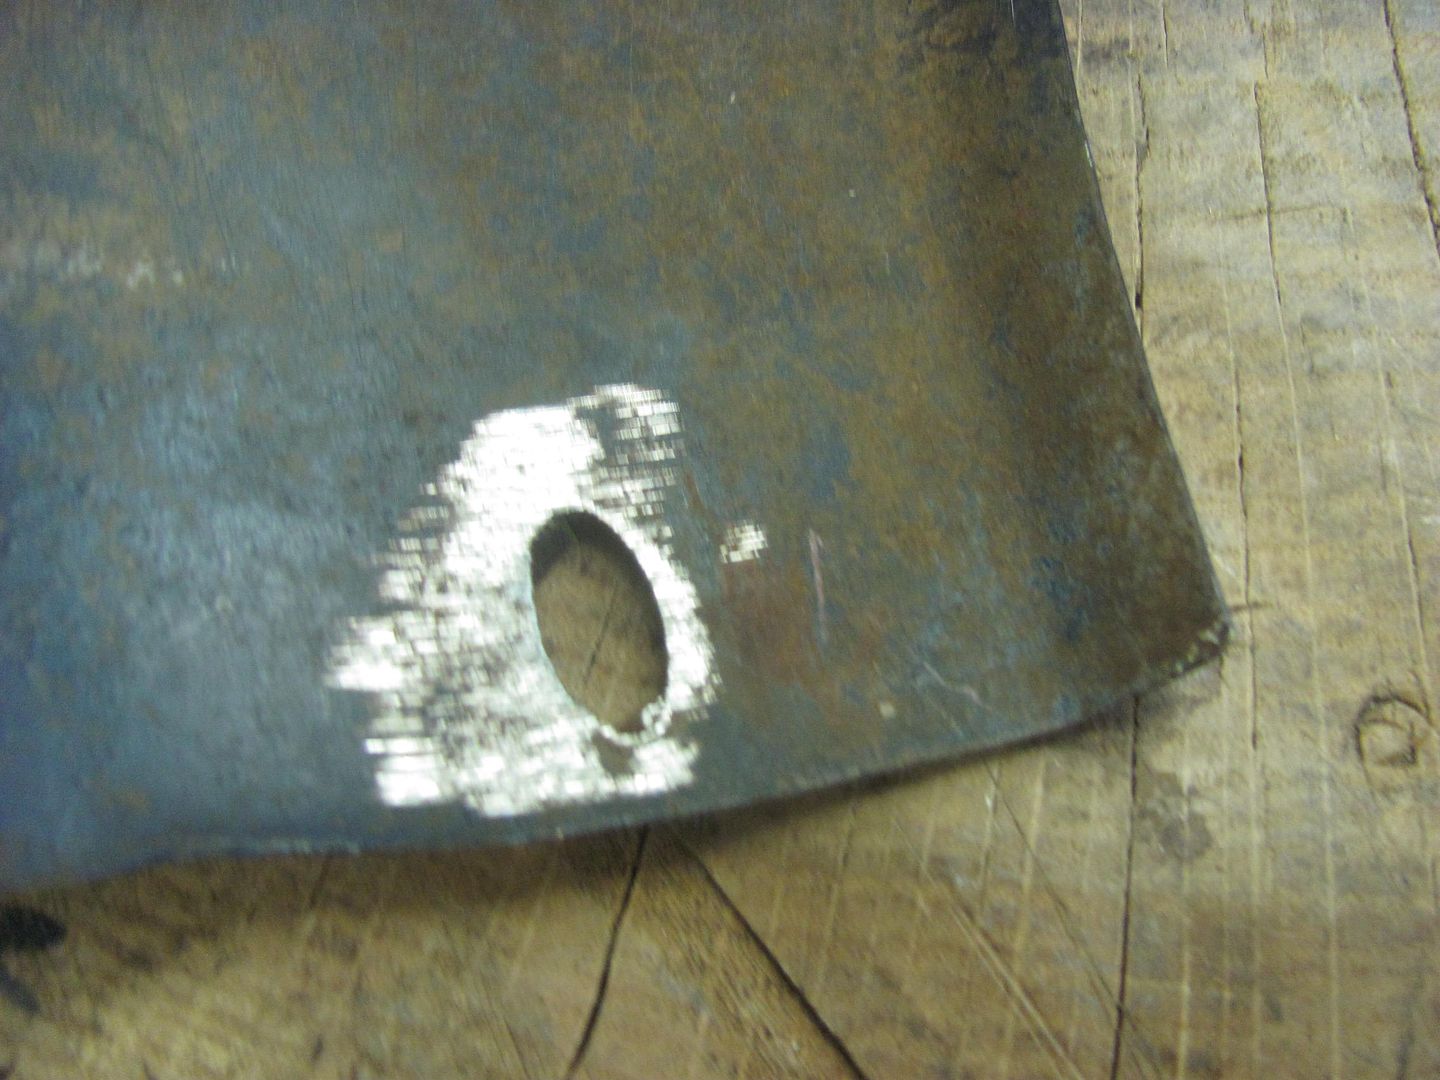
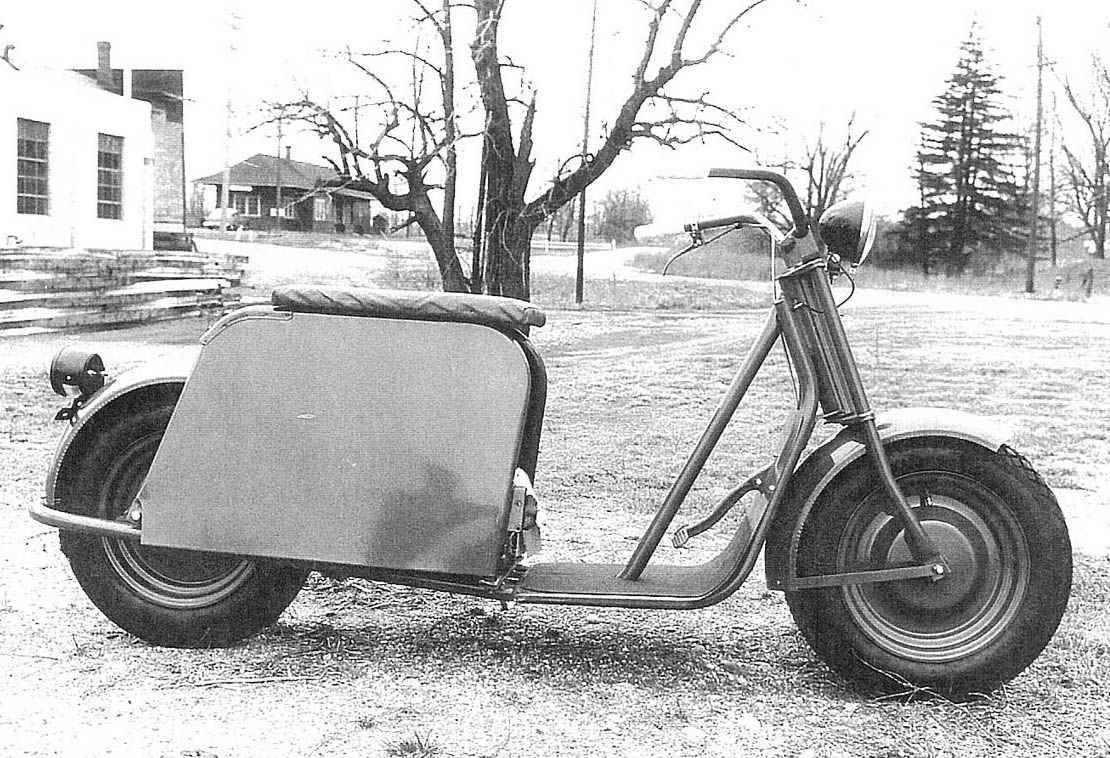
Well time to finish up Randy's scooter fender(s). The original (rear) had been loose at some point as the fender mounting holes were nice and elongated from flopping around. So I'll get them filled in and Randy will need to match drill them to the frame..


Picture%203549.jpg


Picture%203550.jpg


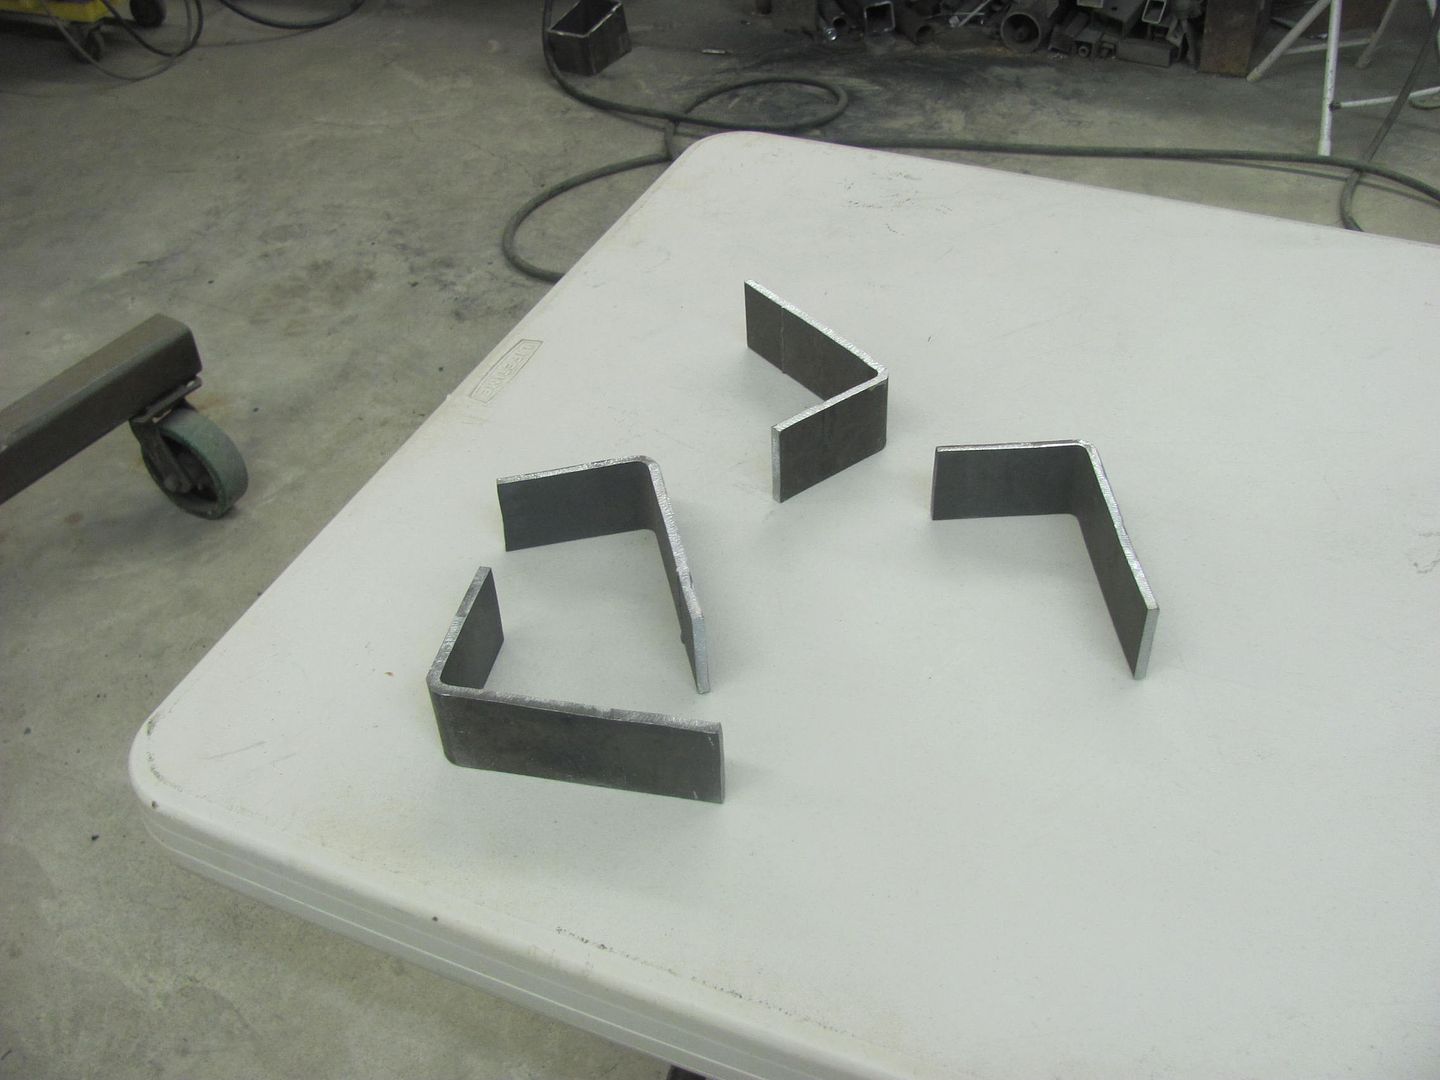
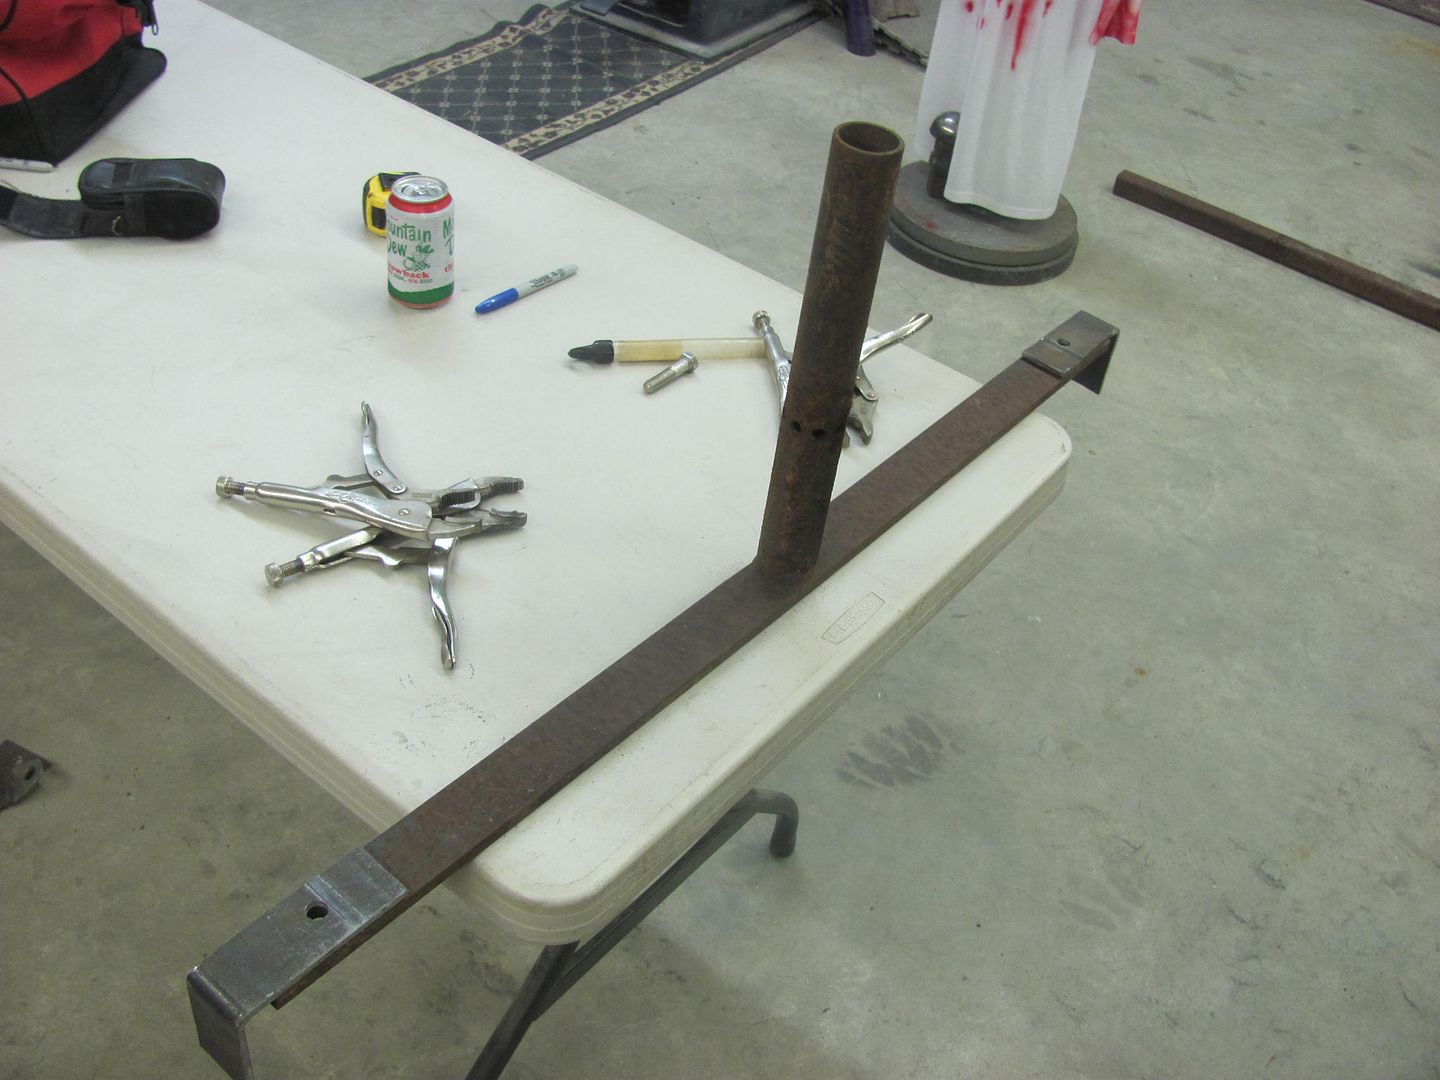
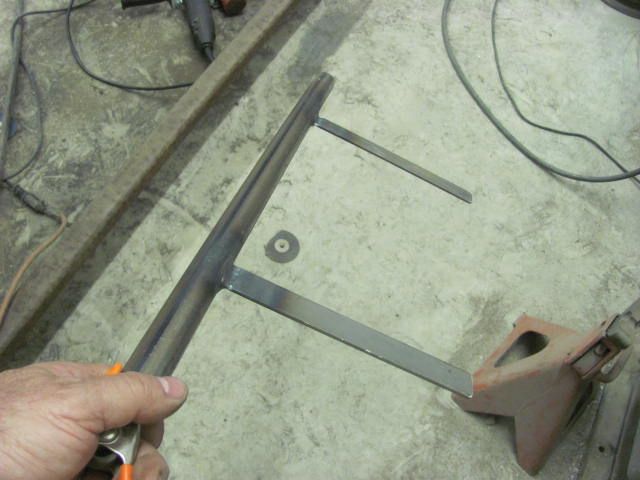
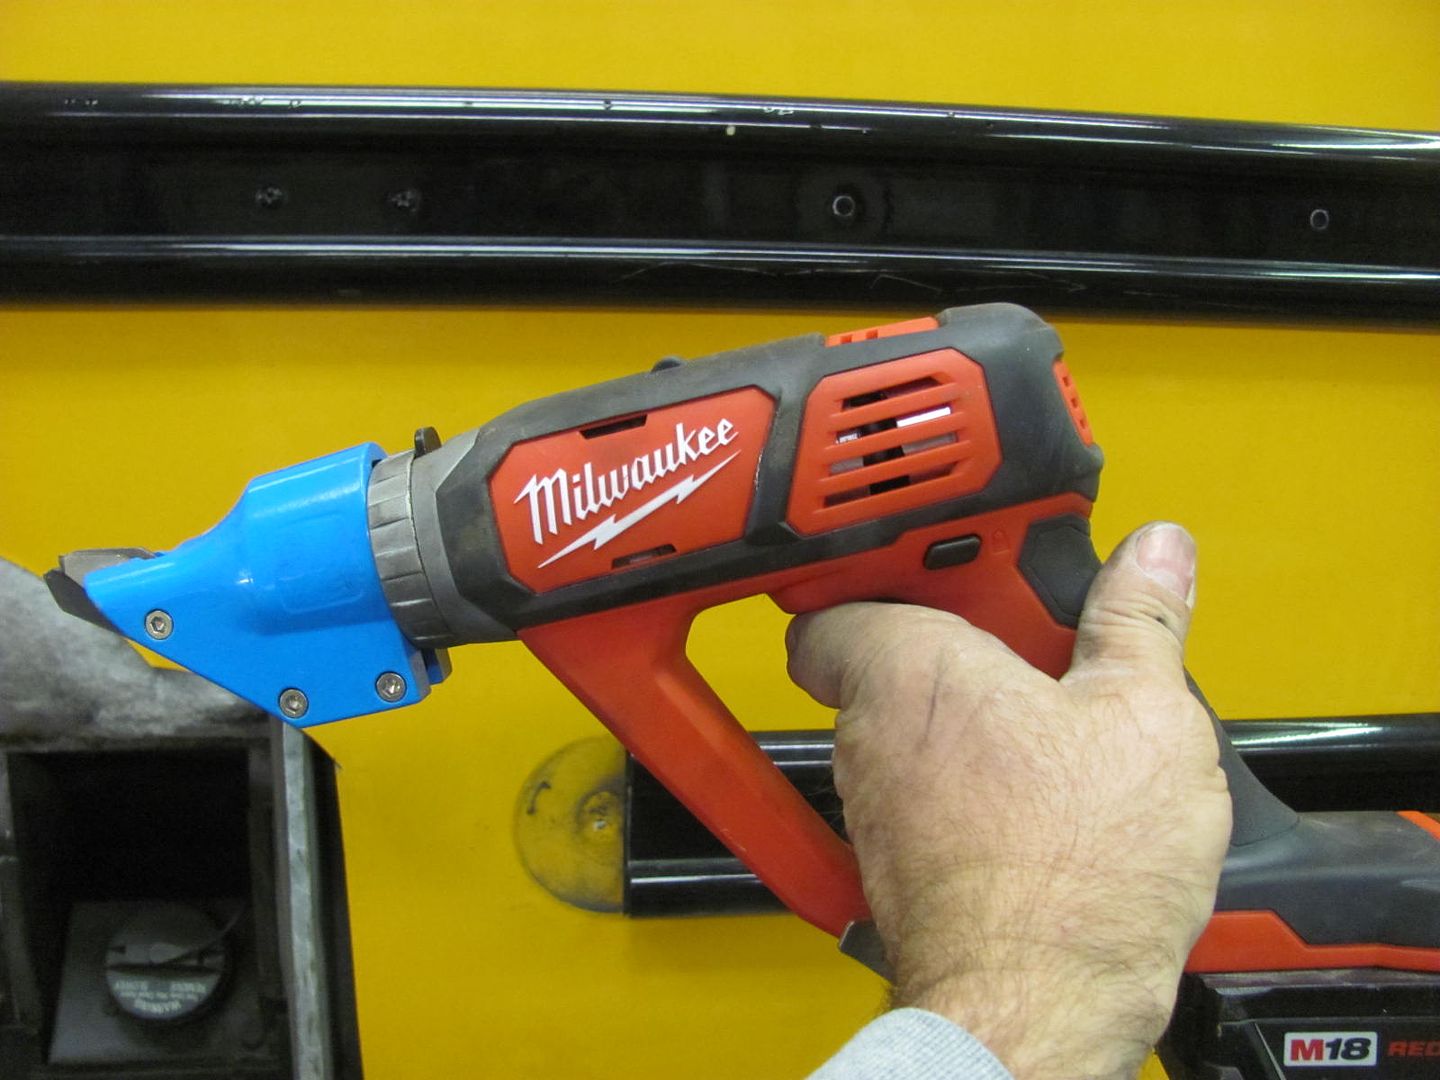
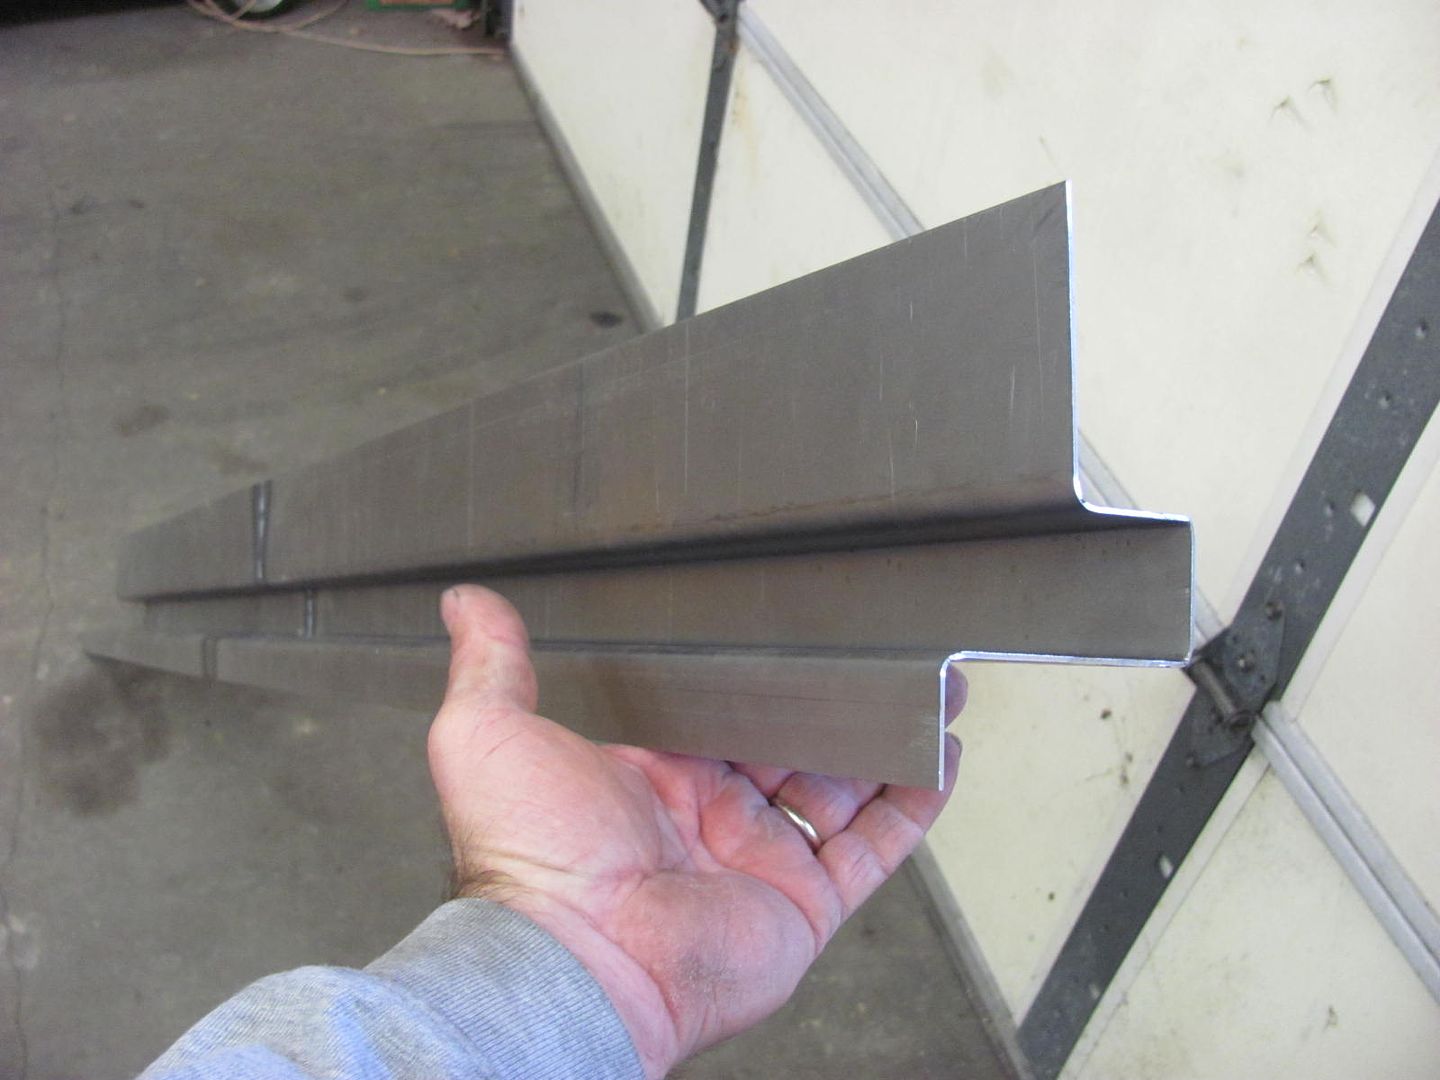
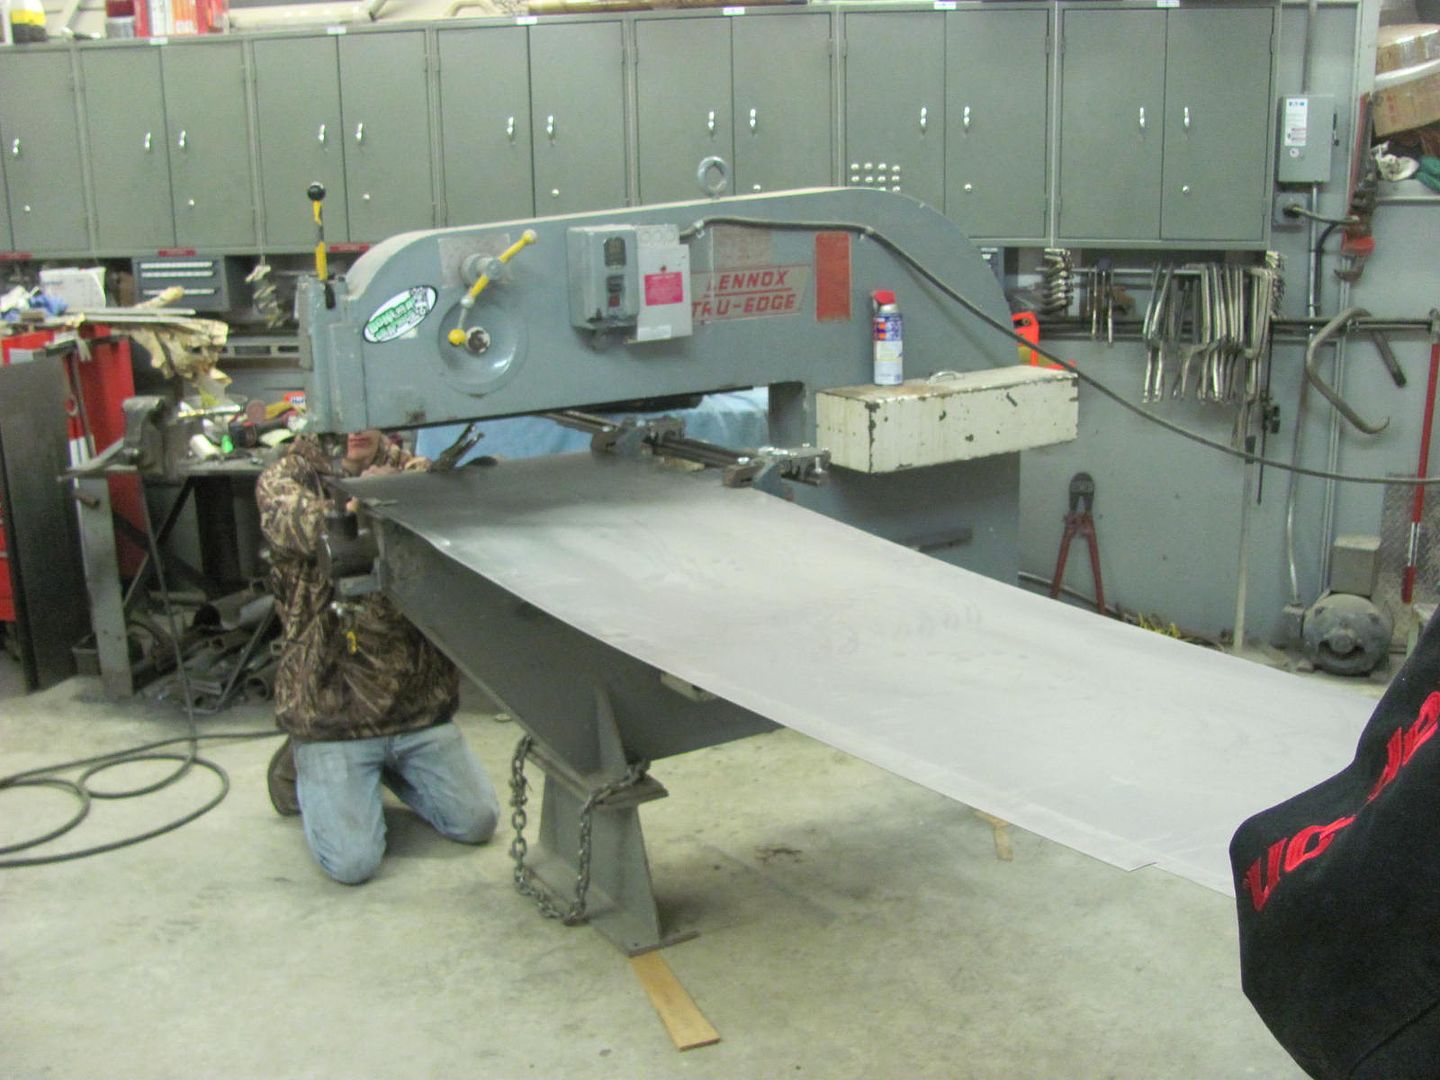
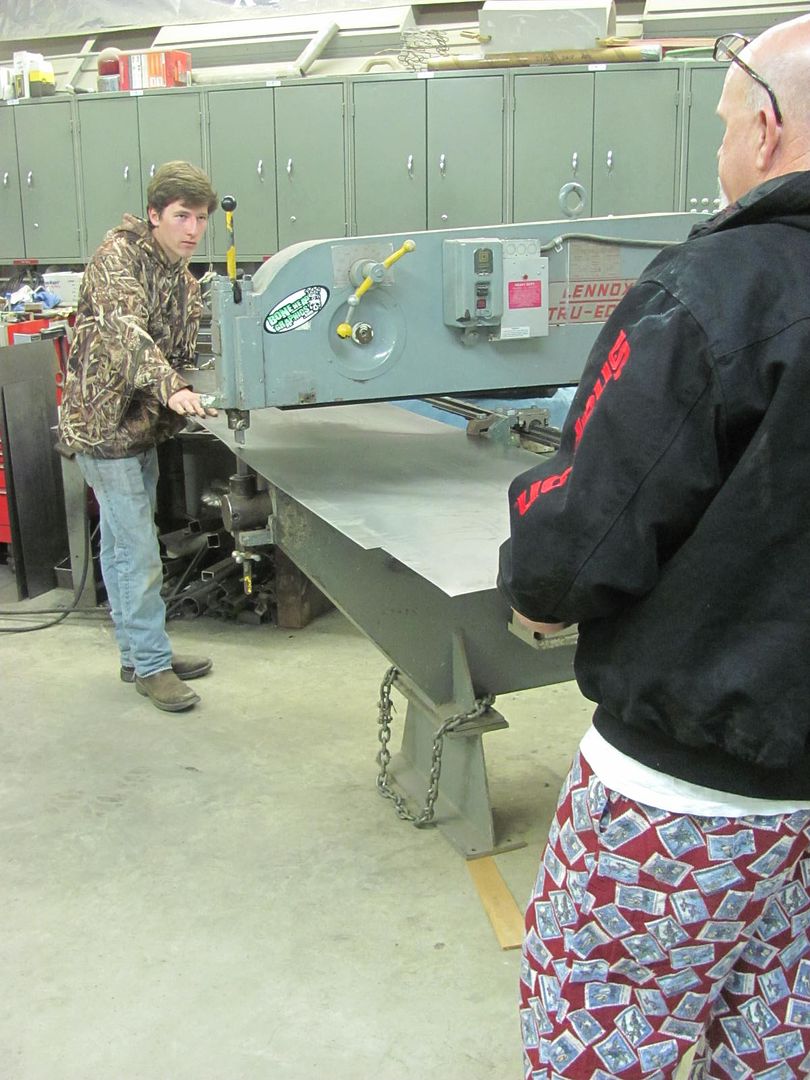
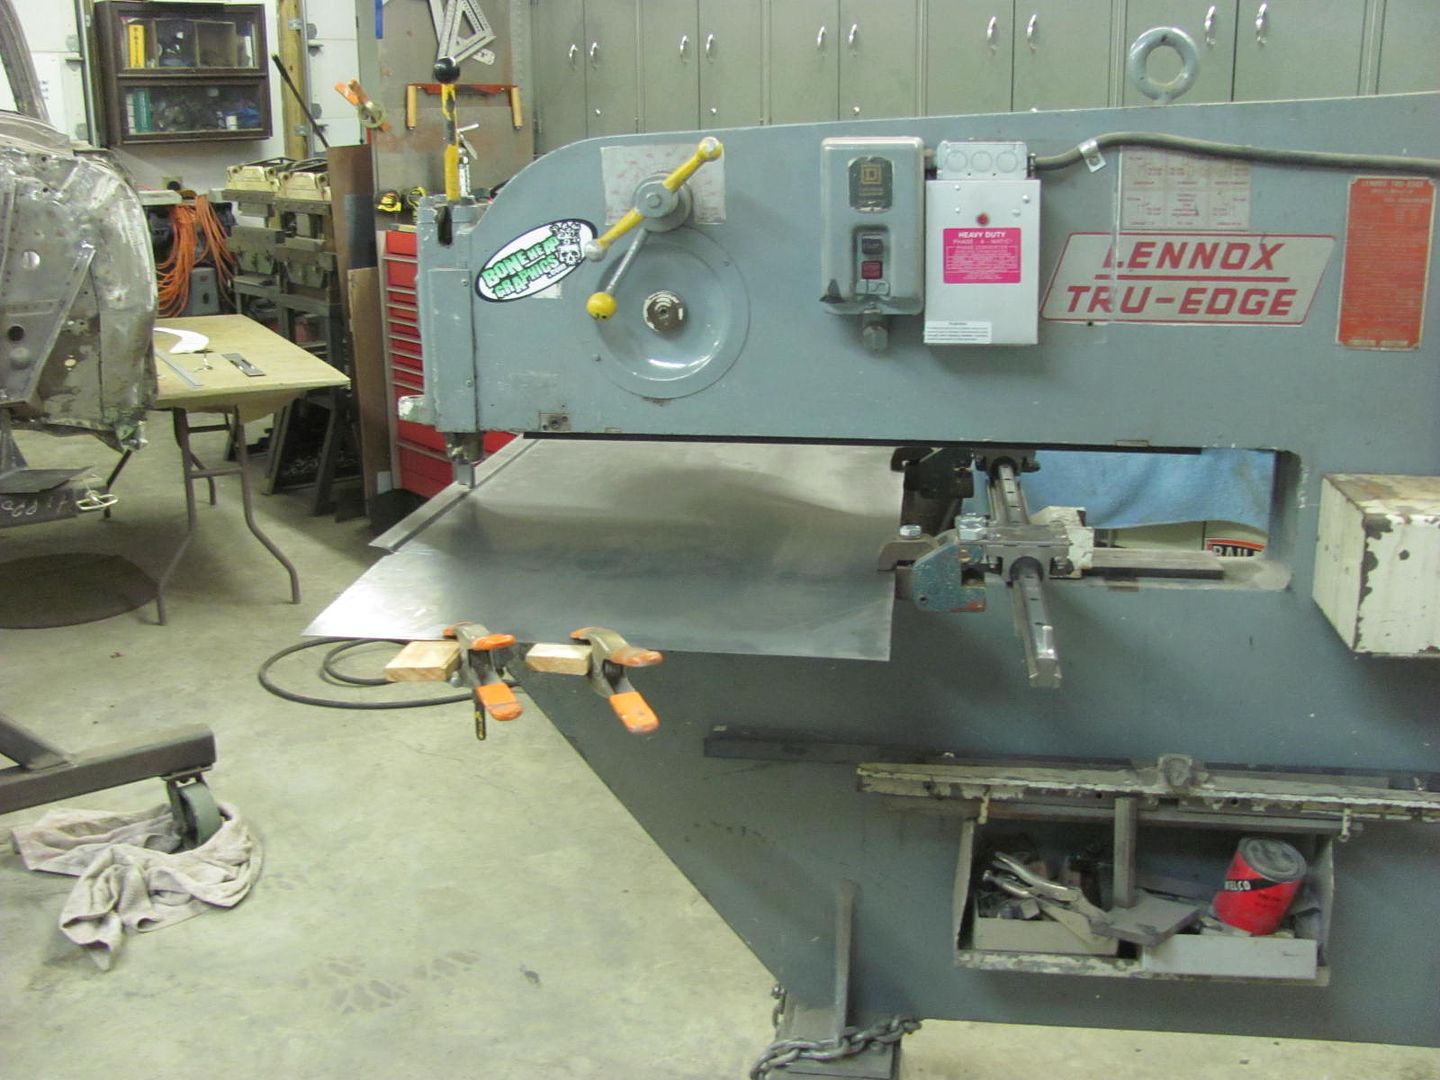
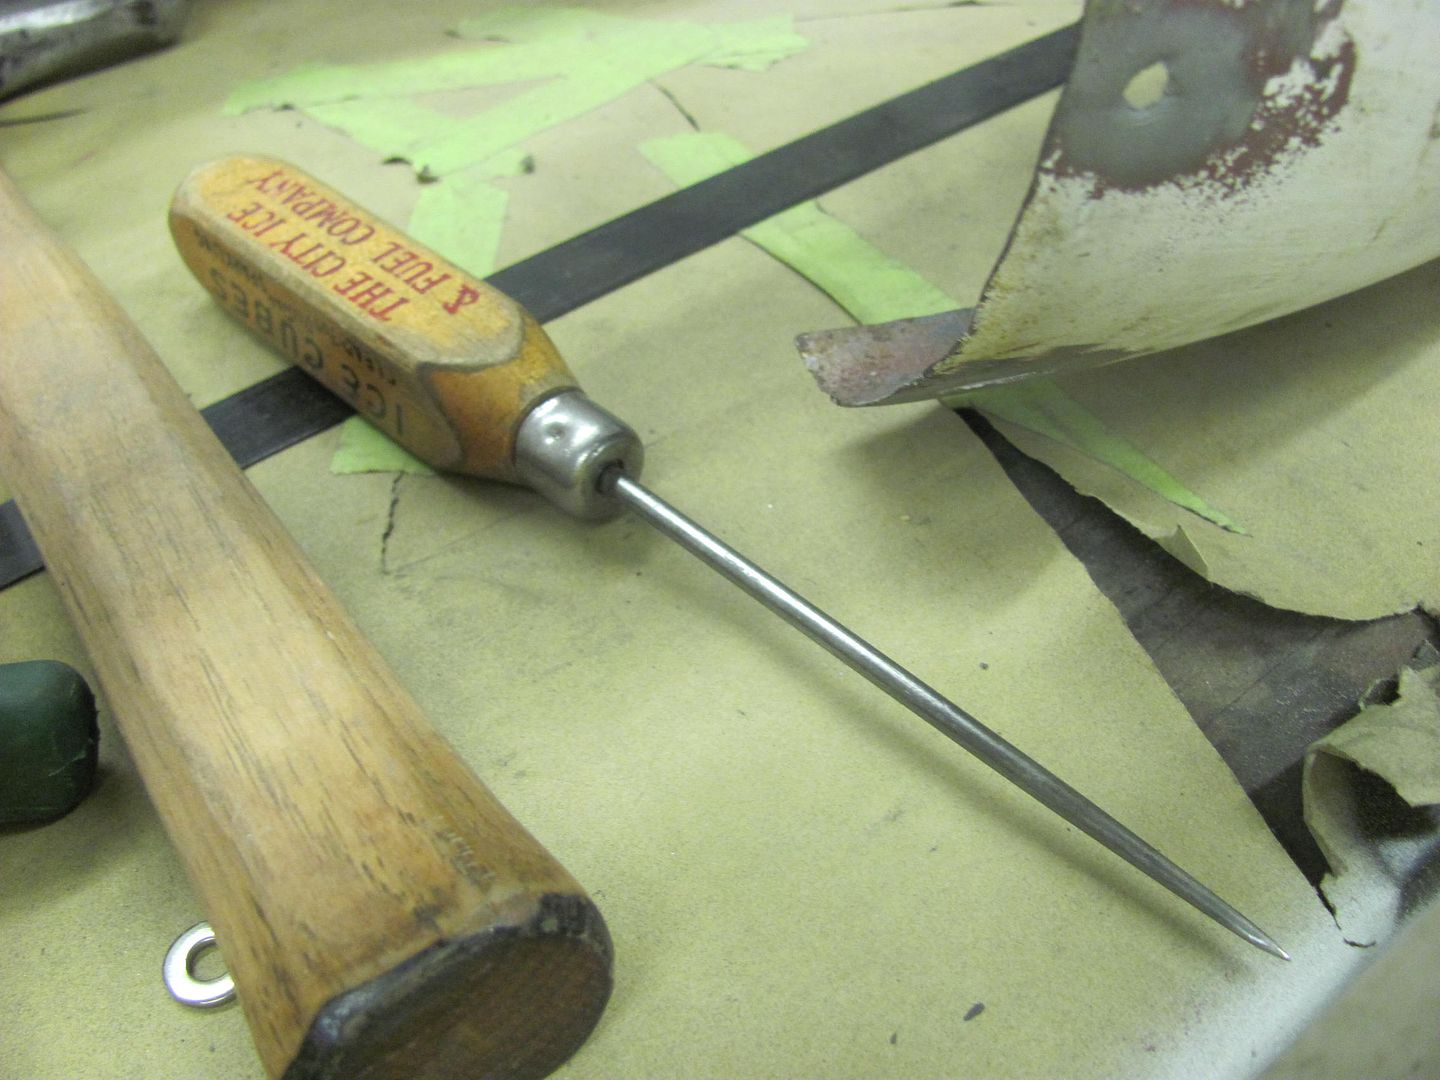
Use the right tools for the job :headscrat


Picture%203553.jpg


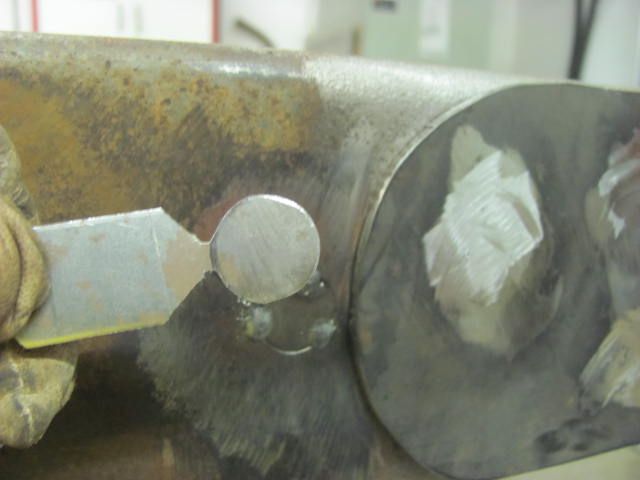
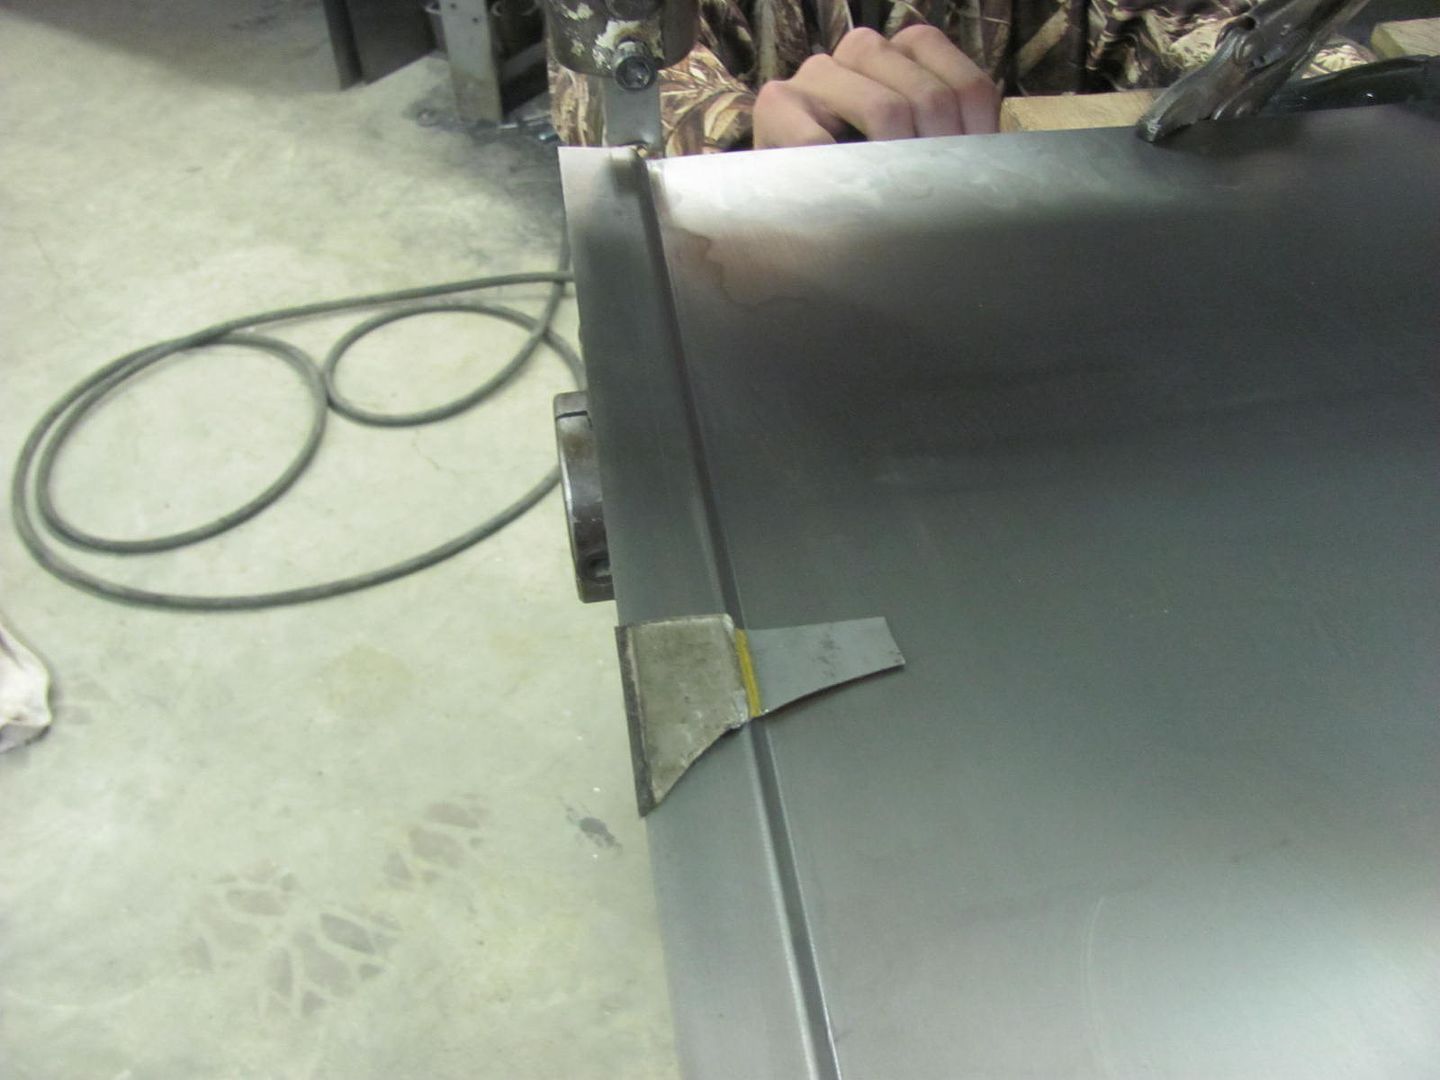
After marking, when cutting out such a small piece I like to leave a "handle" until the very end..


Picture%203554.jpg


Picture%203555.jpg


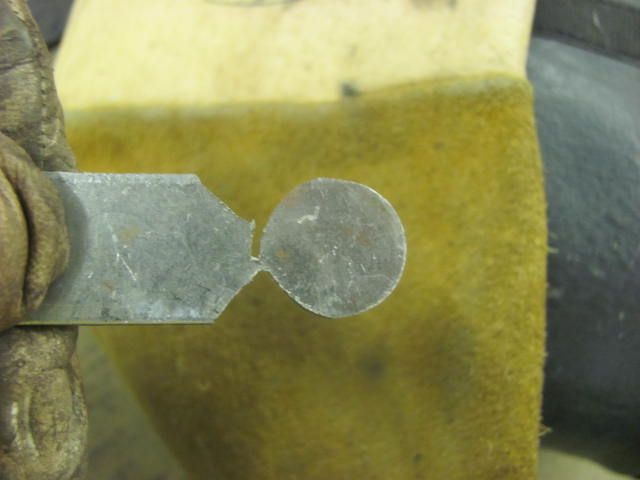
....gives you something to hold onto while fine tuning the fit
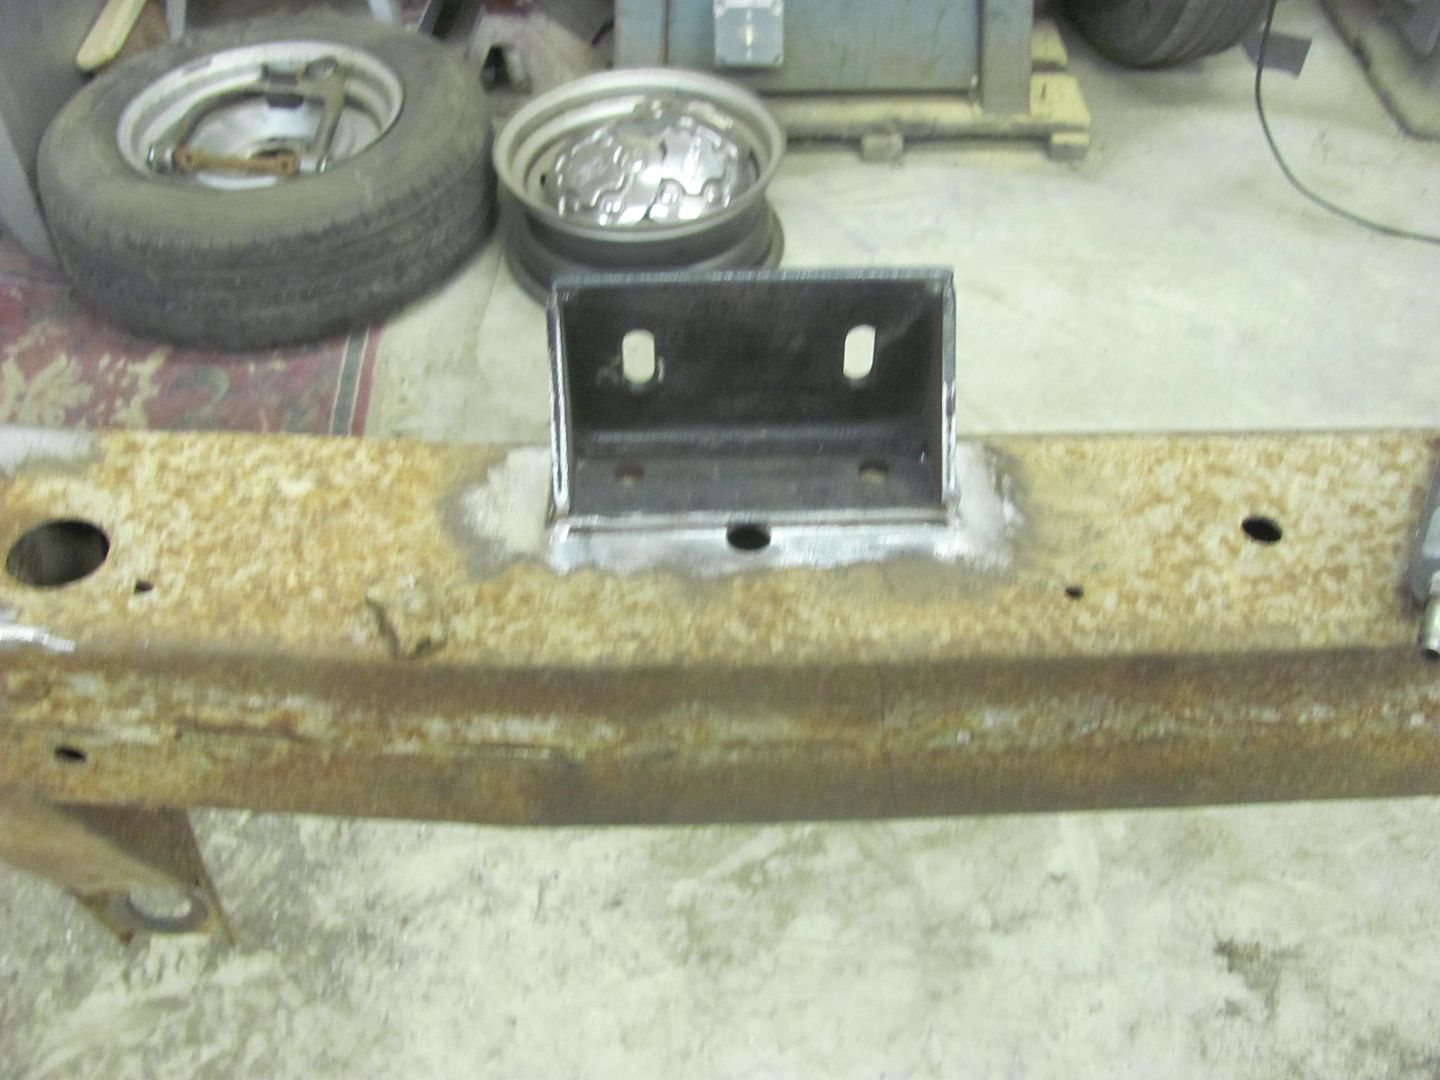
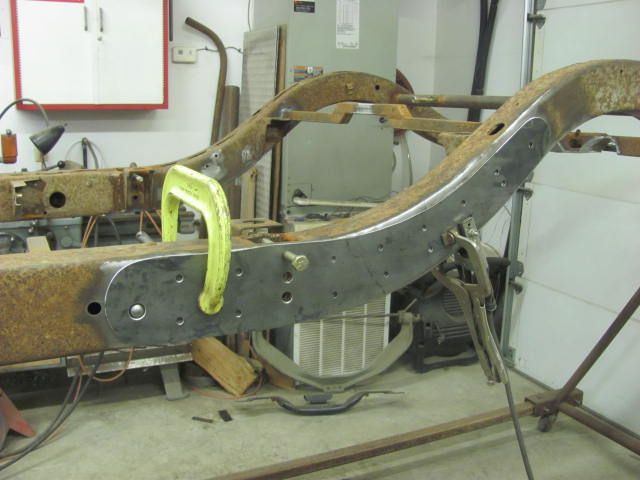
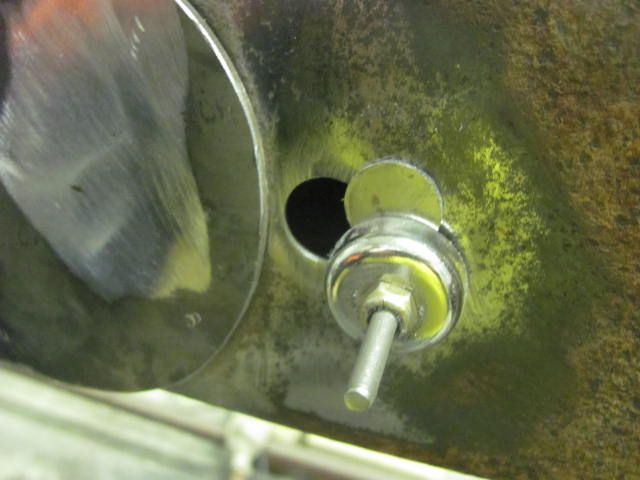
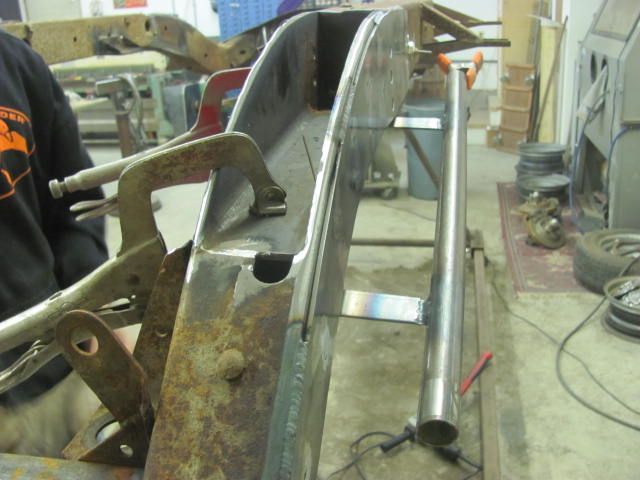
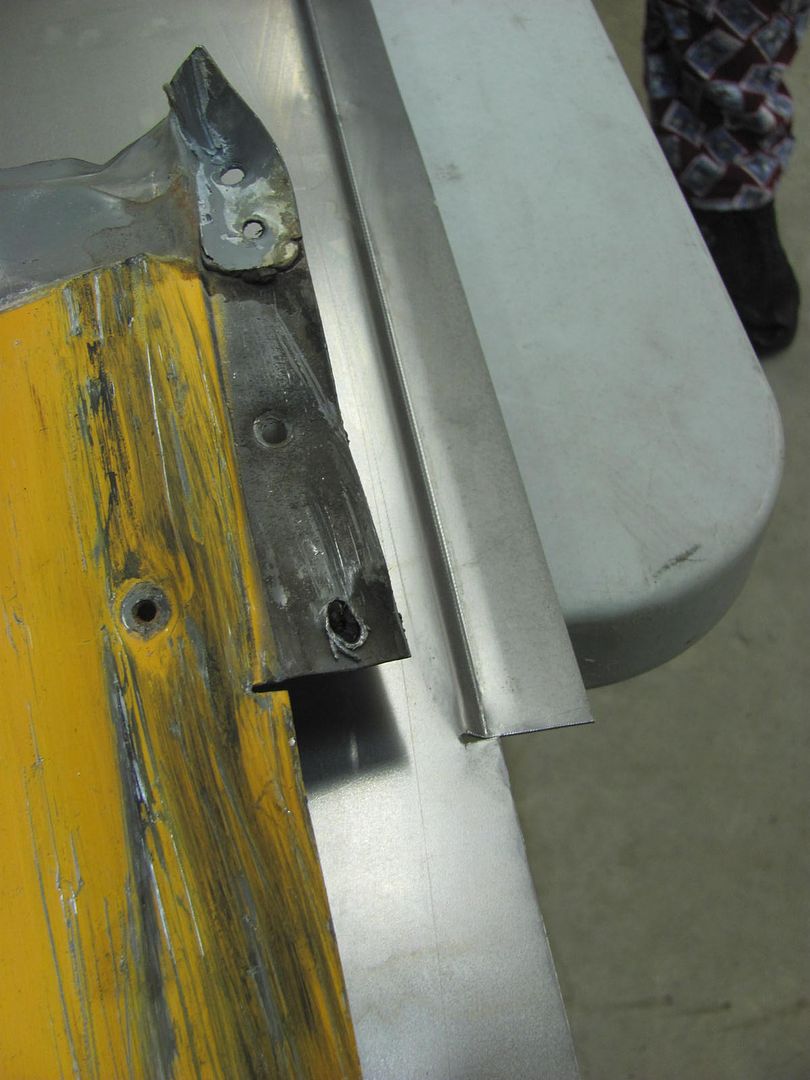
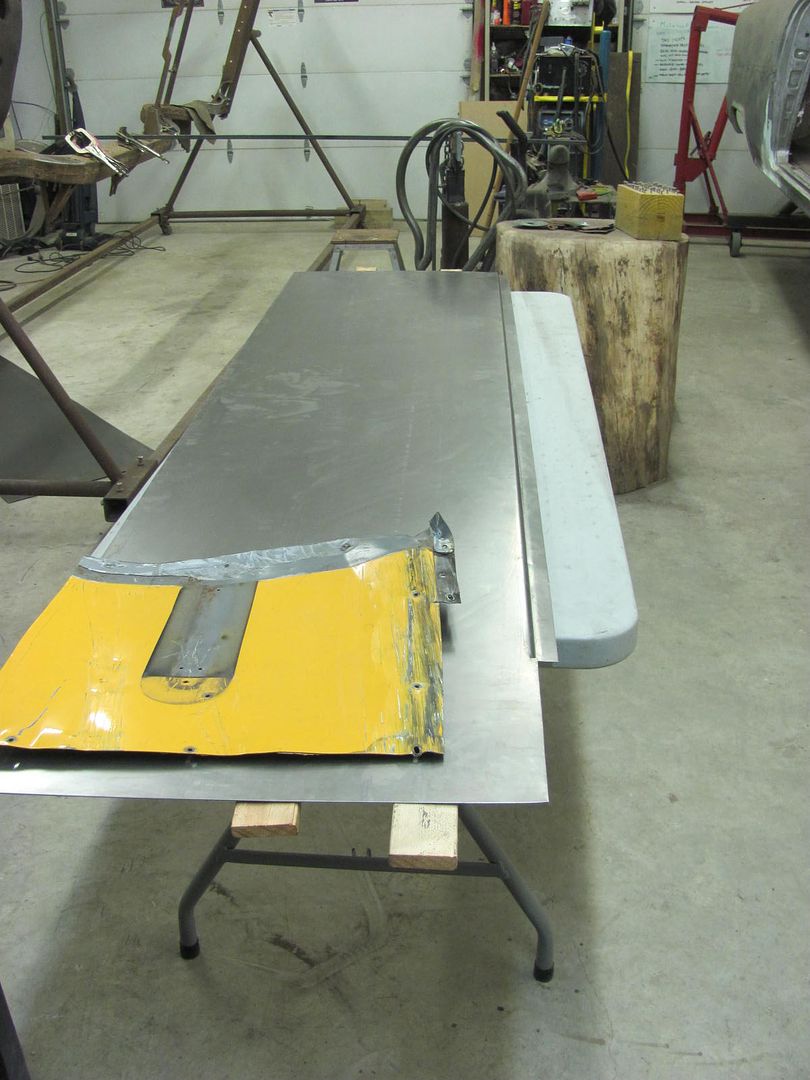
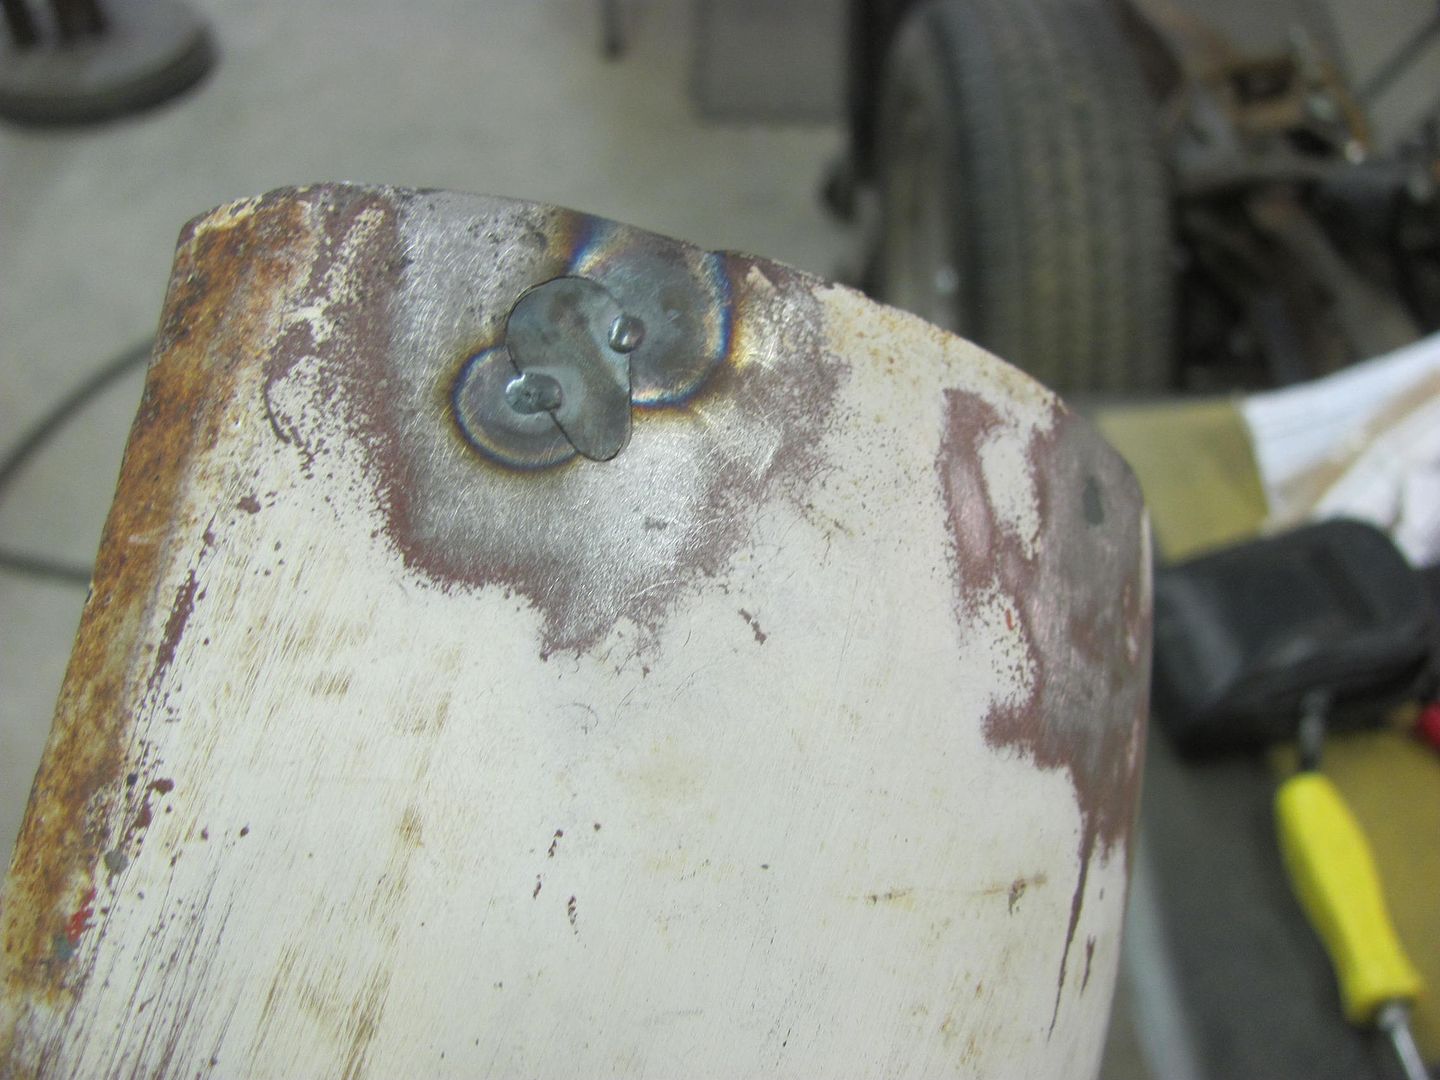
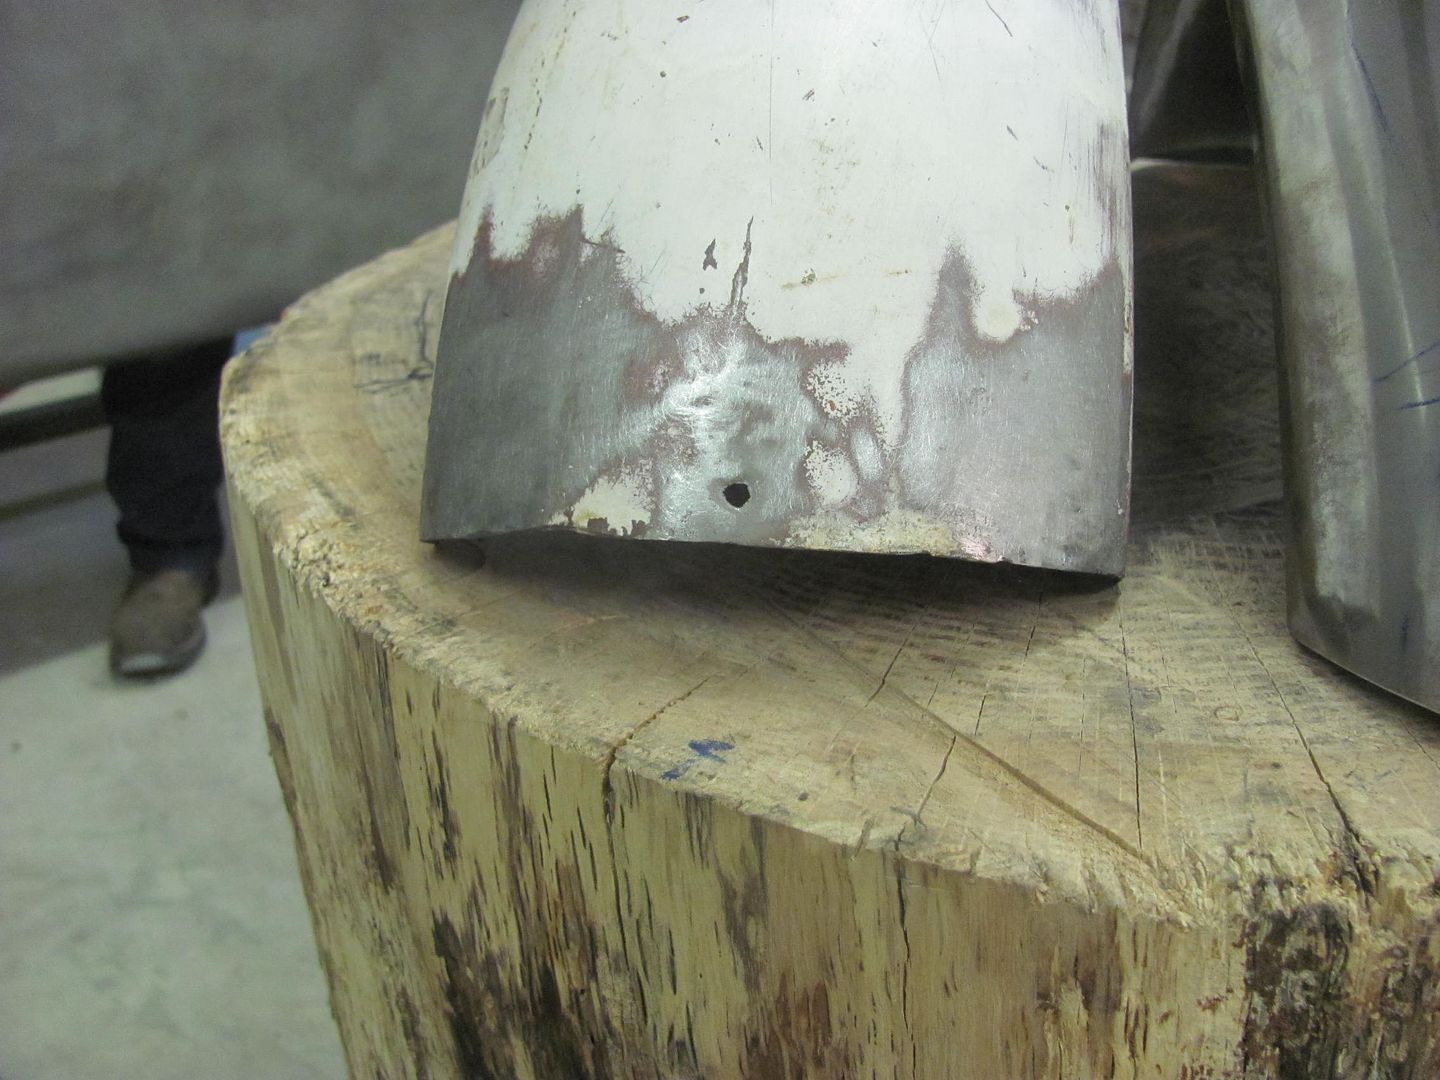

Picture%203556.jpg


Nice and snug....


Picture%203558.jpg


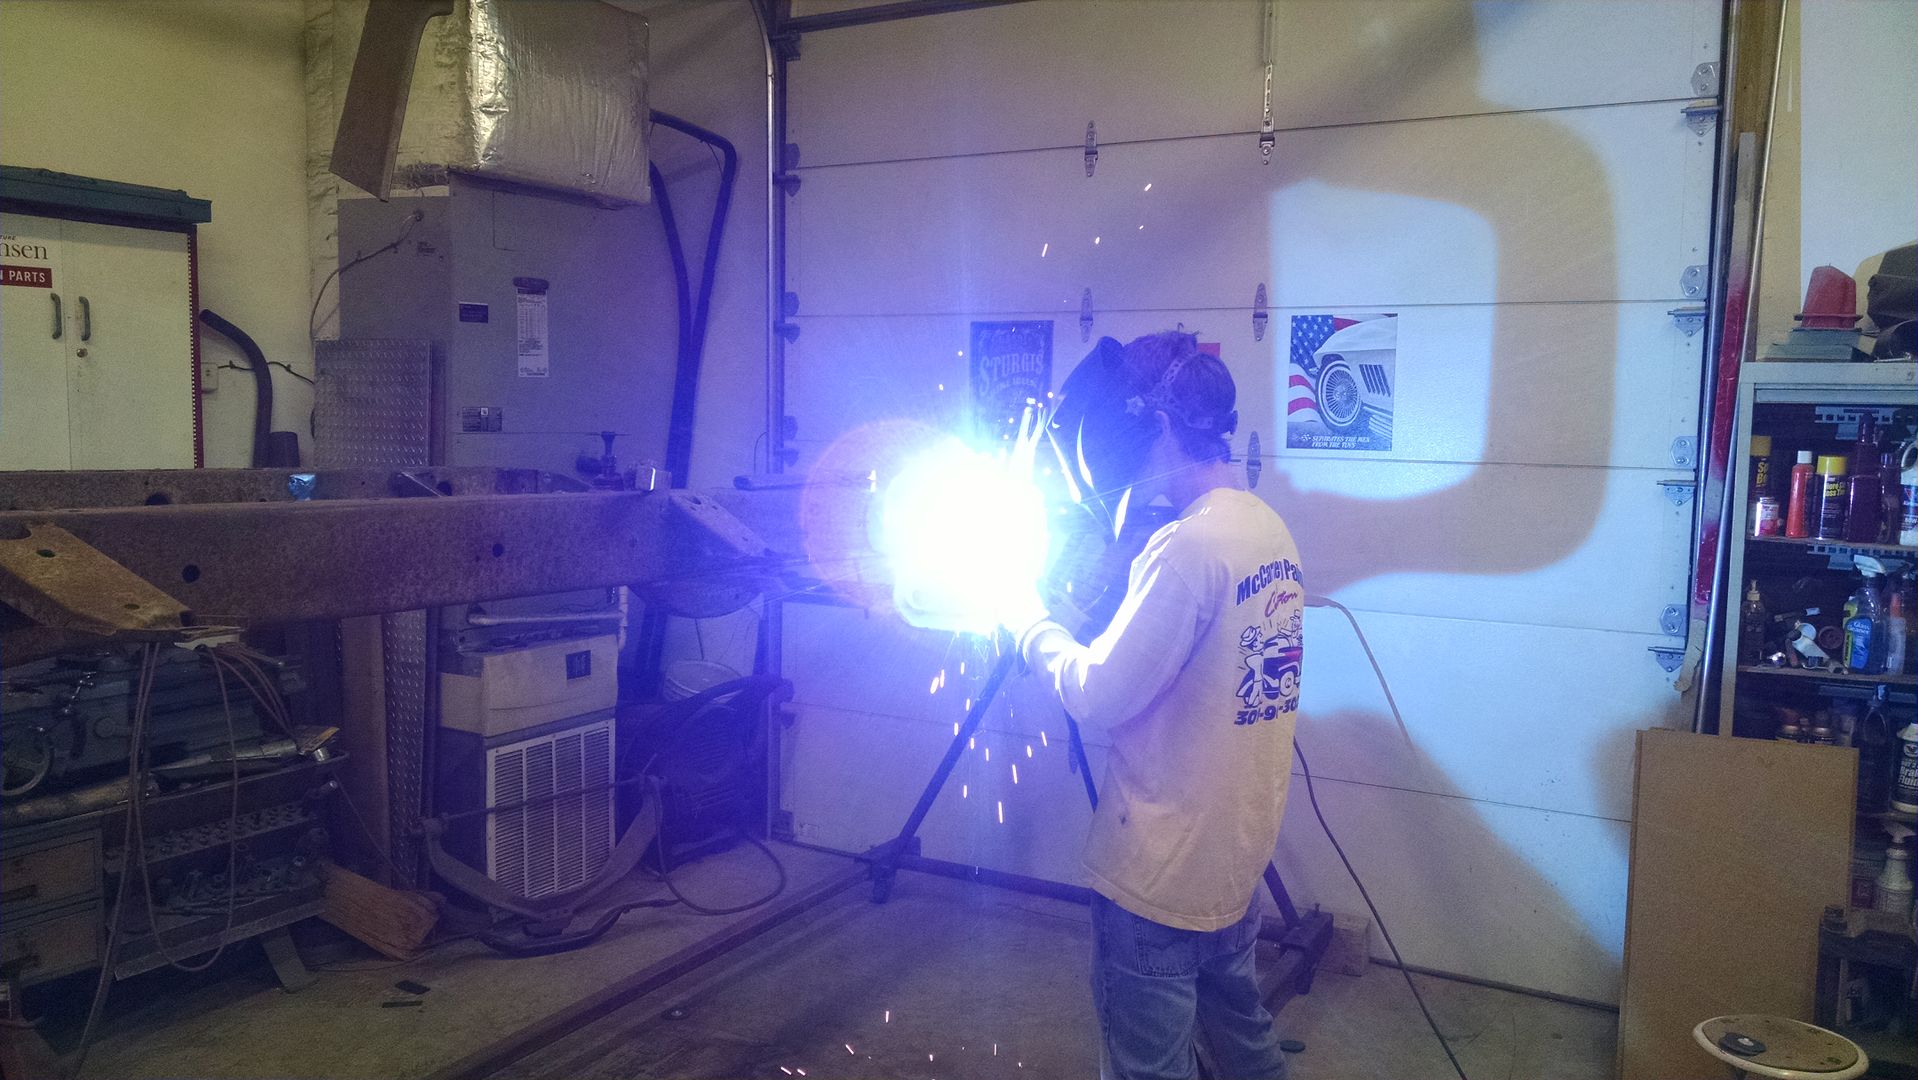
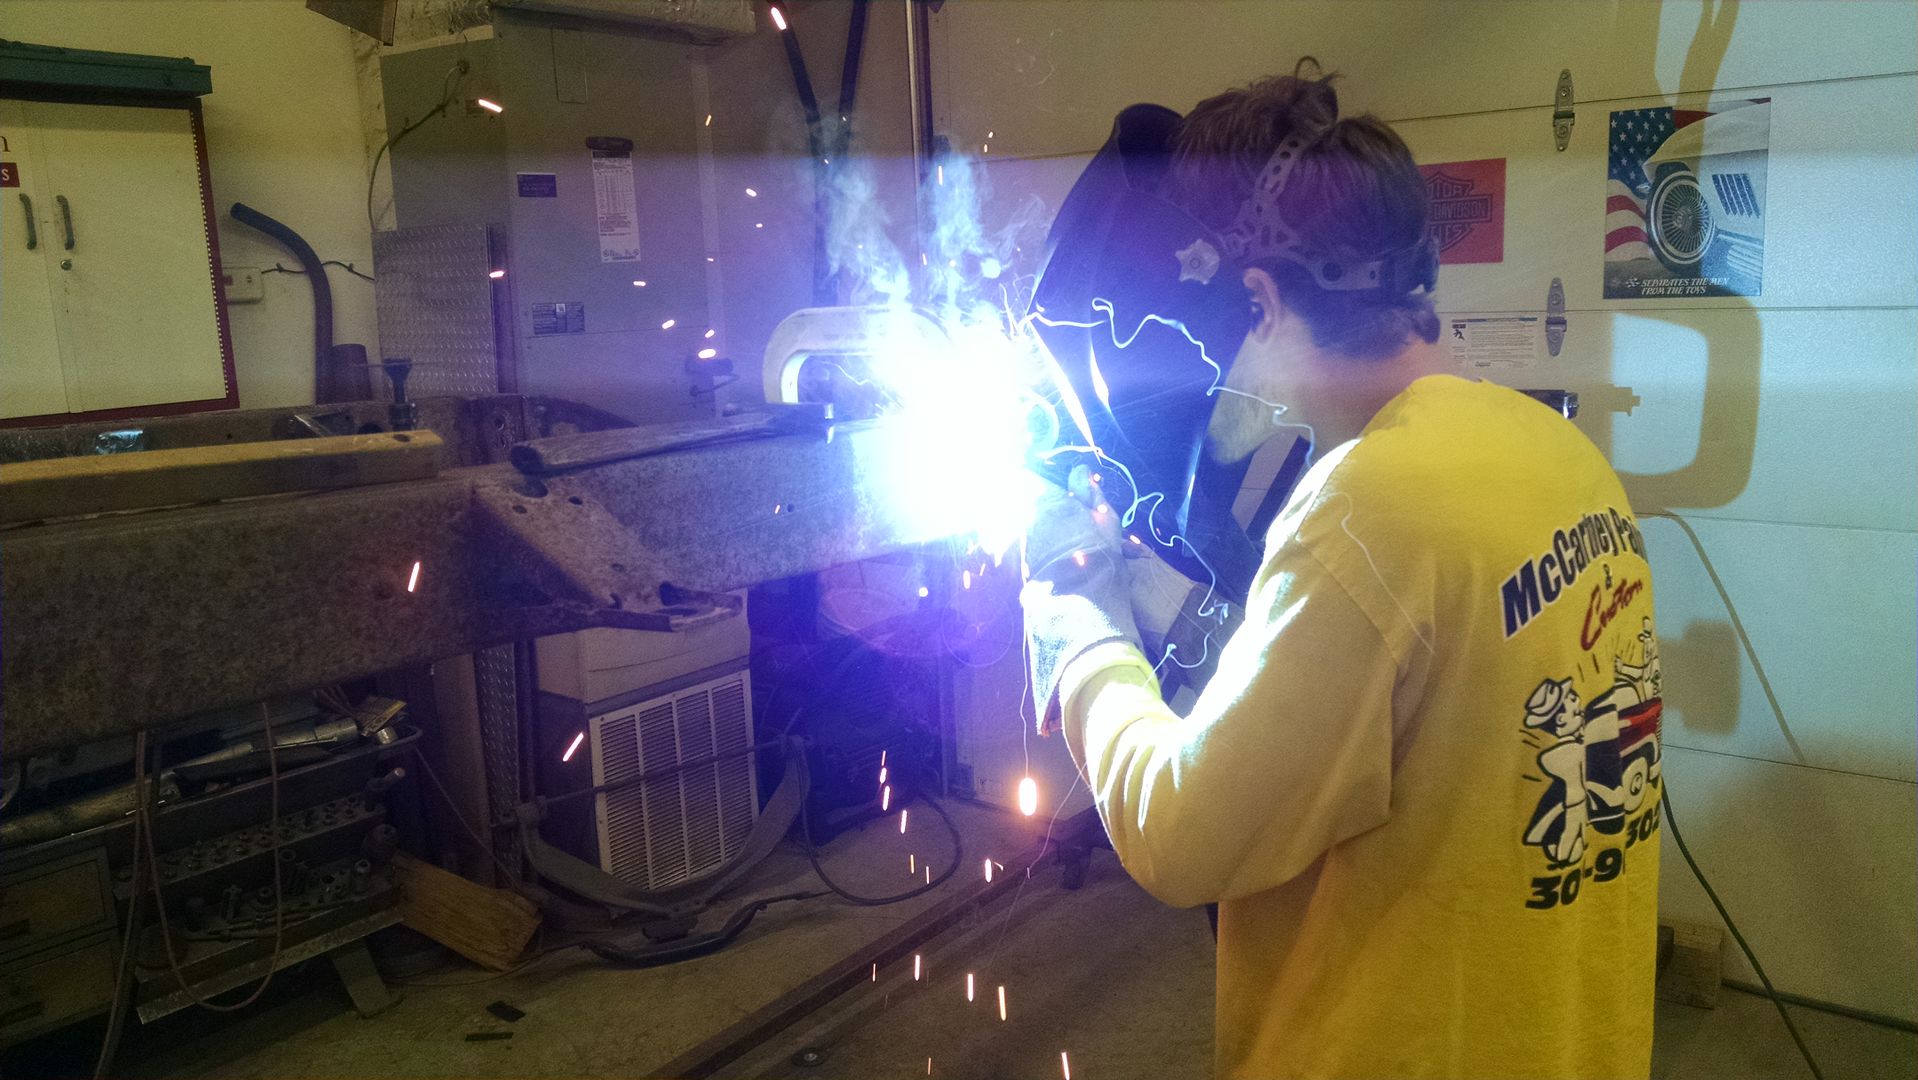
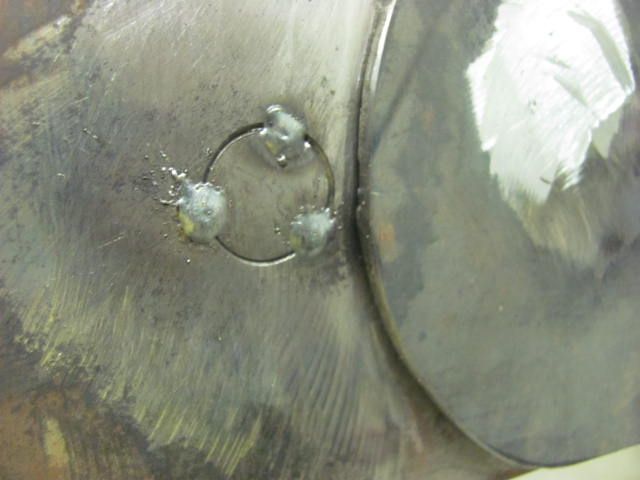
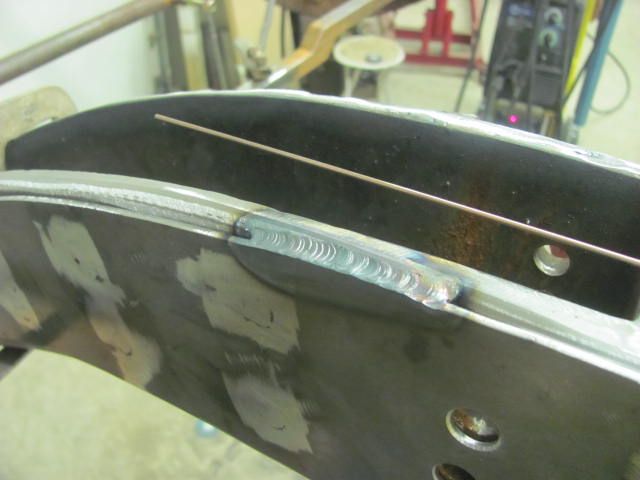
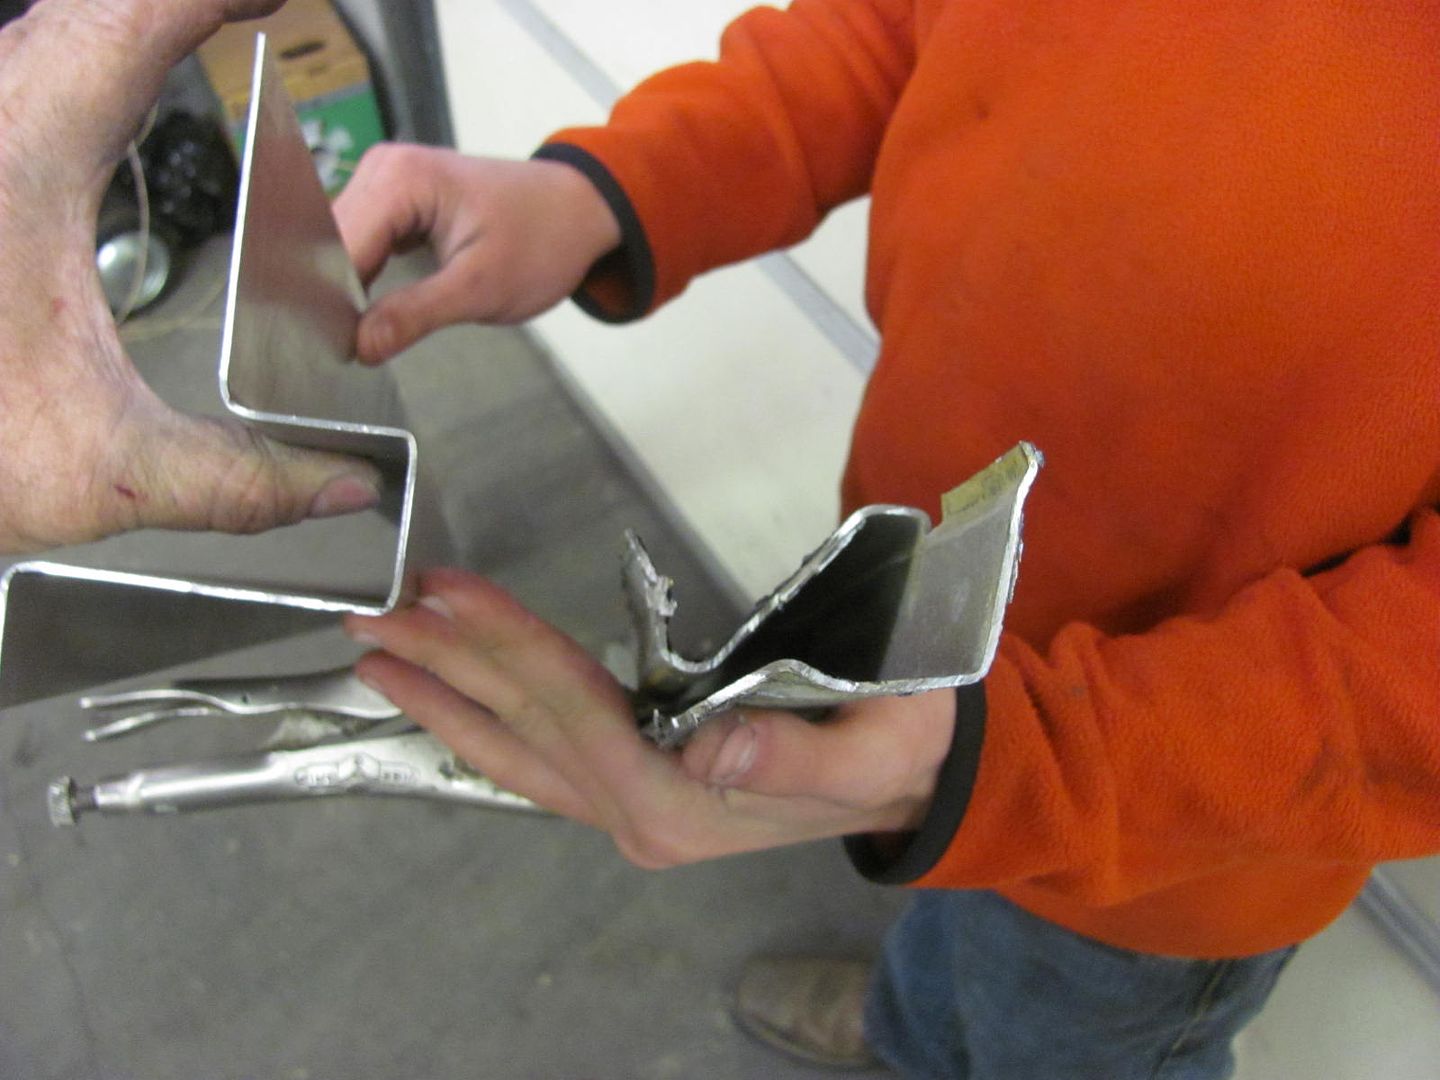
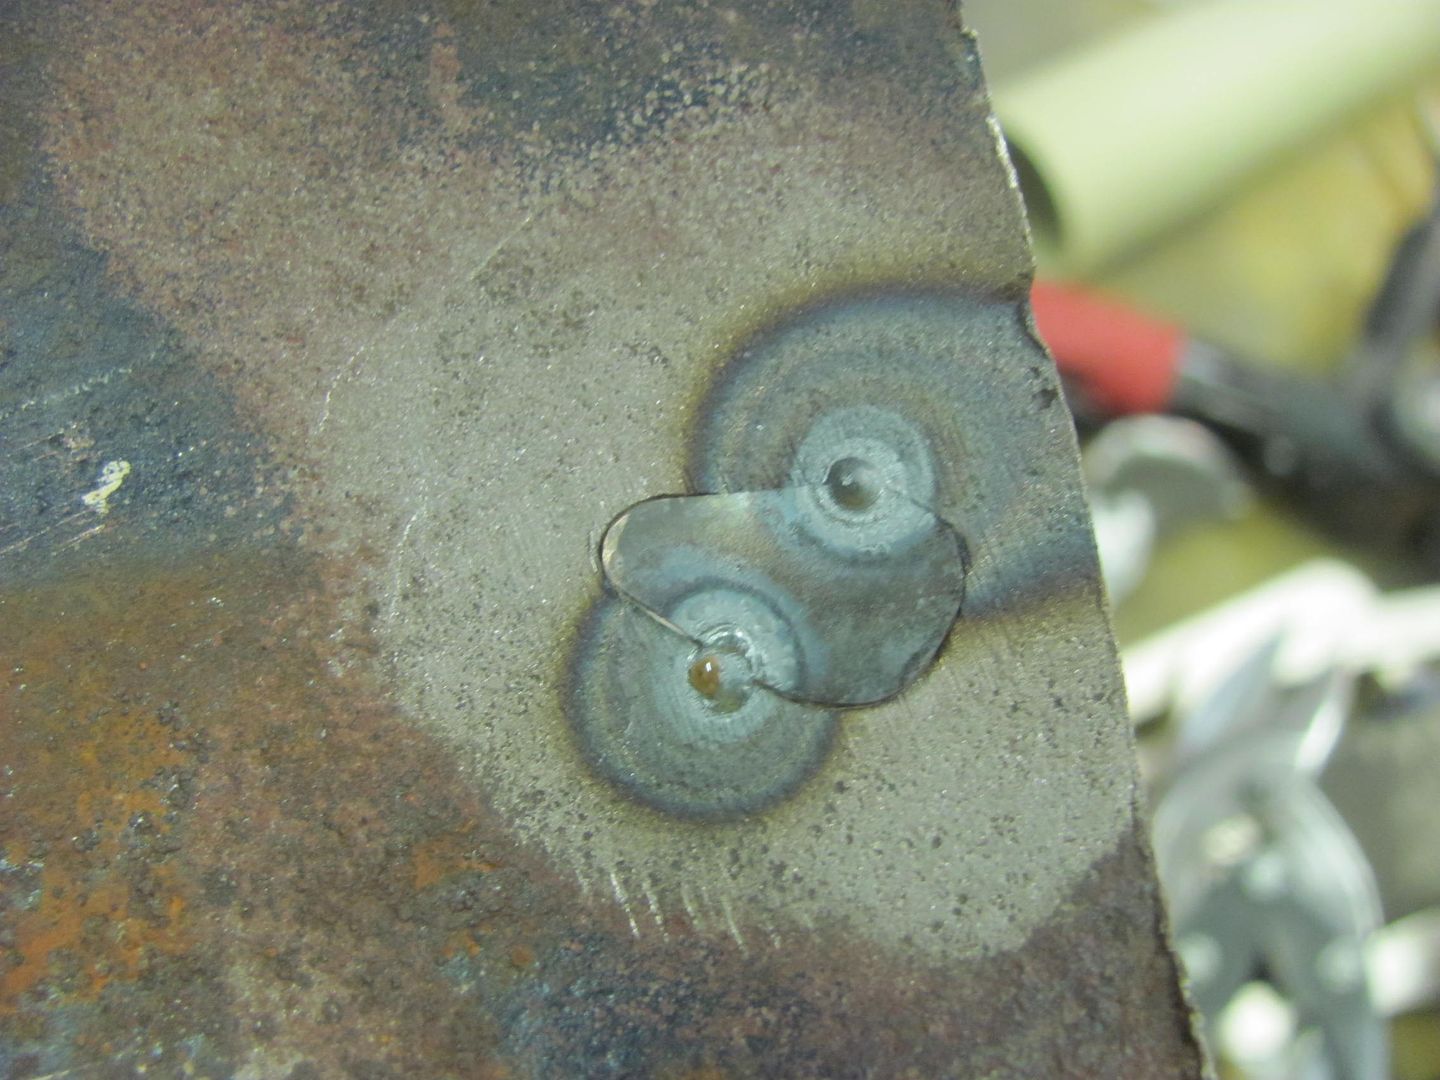
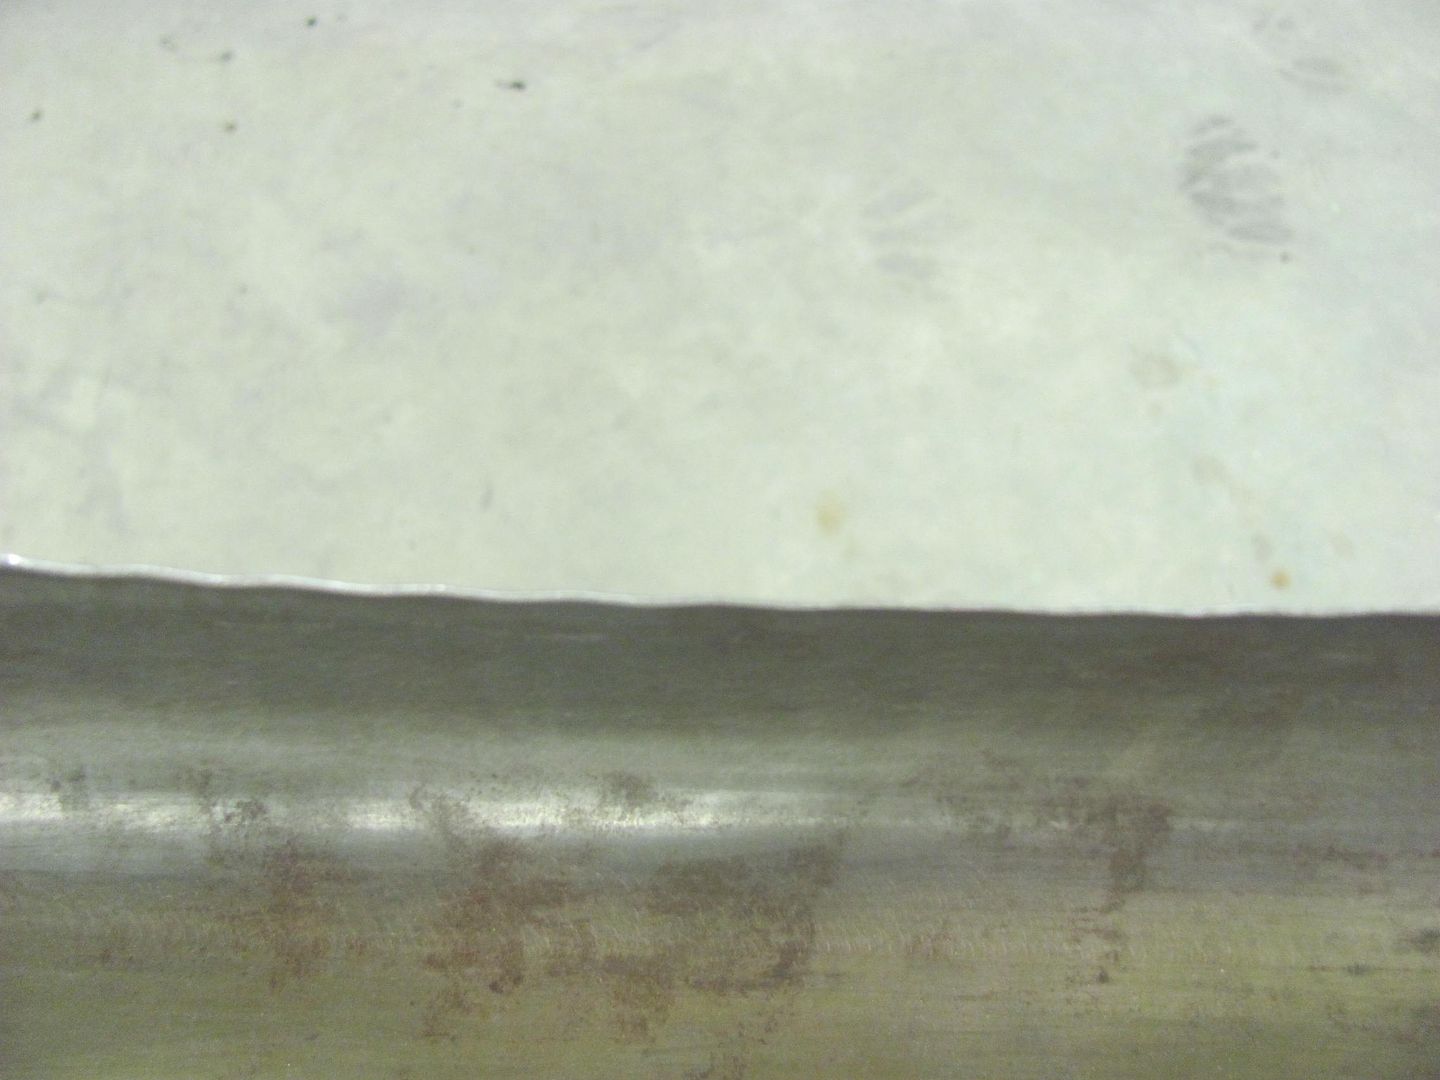
Tacking in the filler piece...


Picture%203560.jpg


Picture%203559.jpg


Picture%203561.jpg


Picture%203563.jpg


Picture%203565.jpg


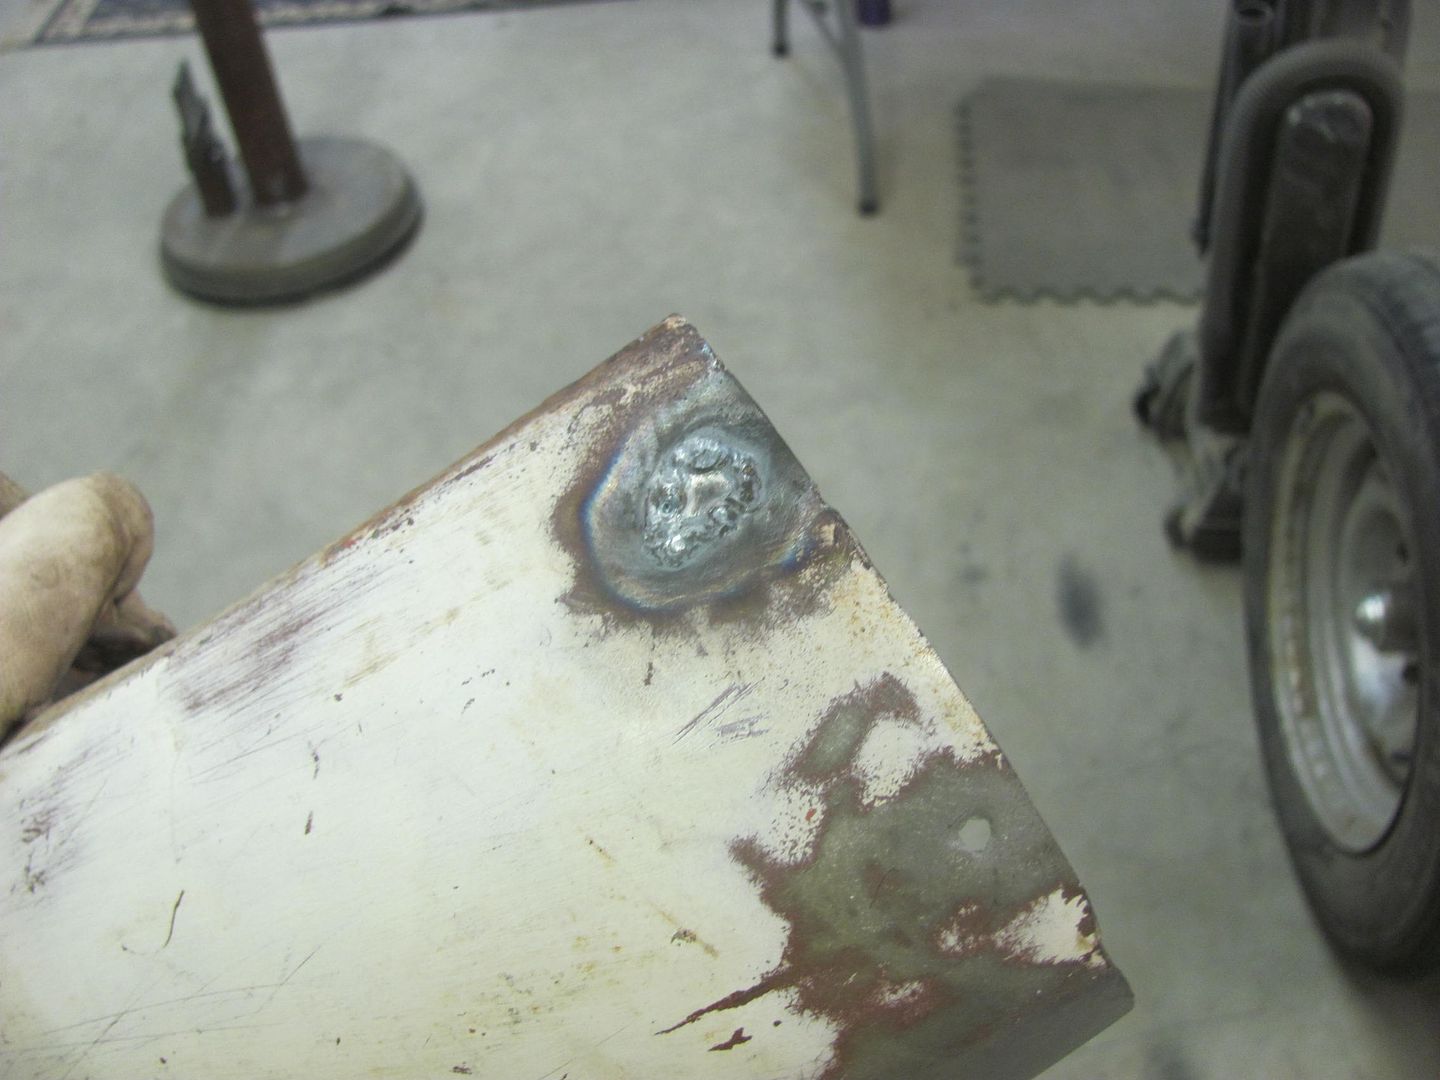
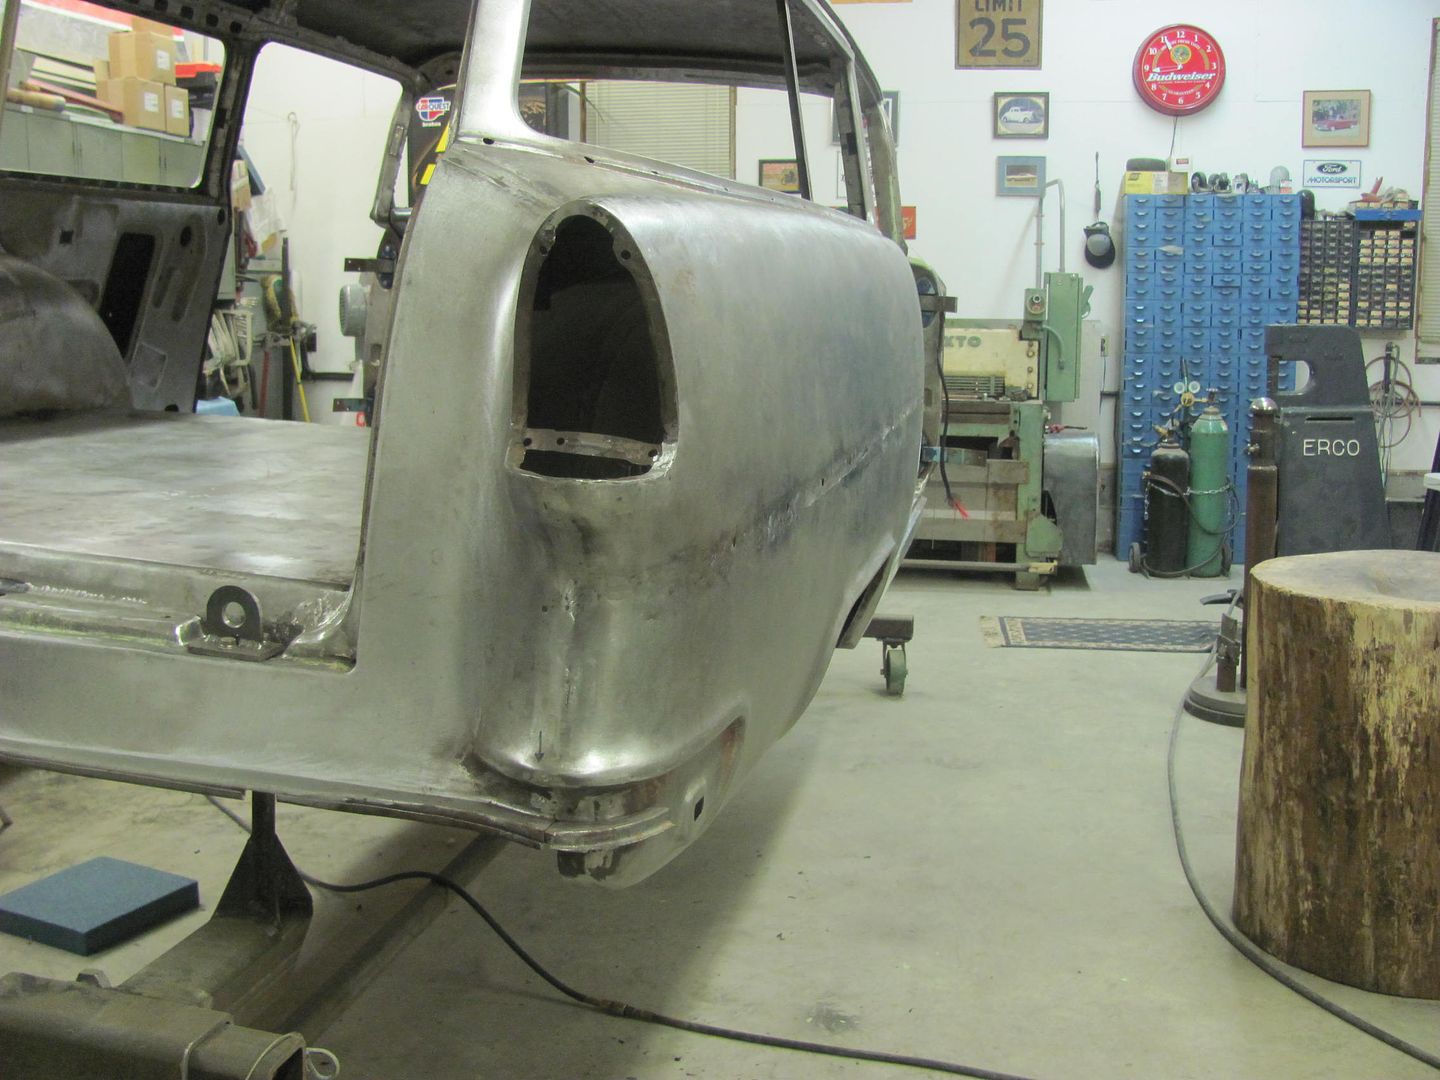
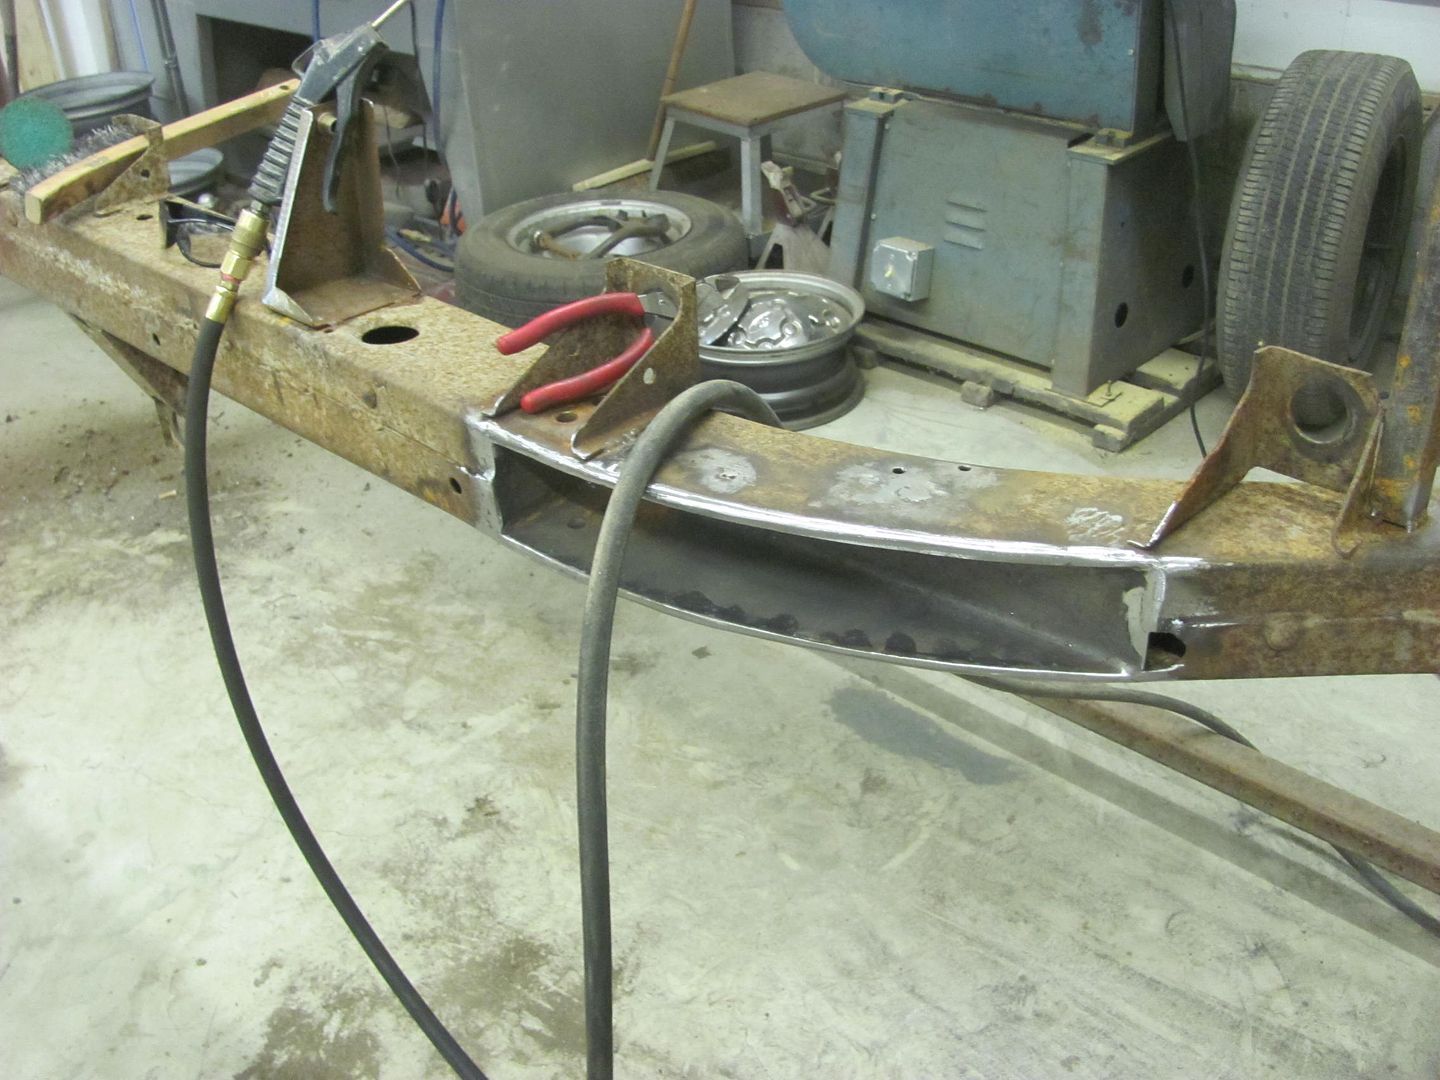
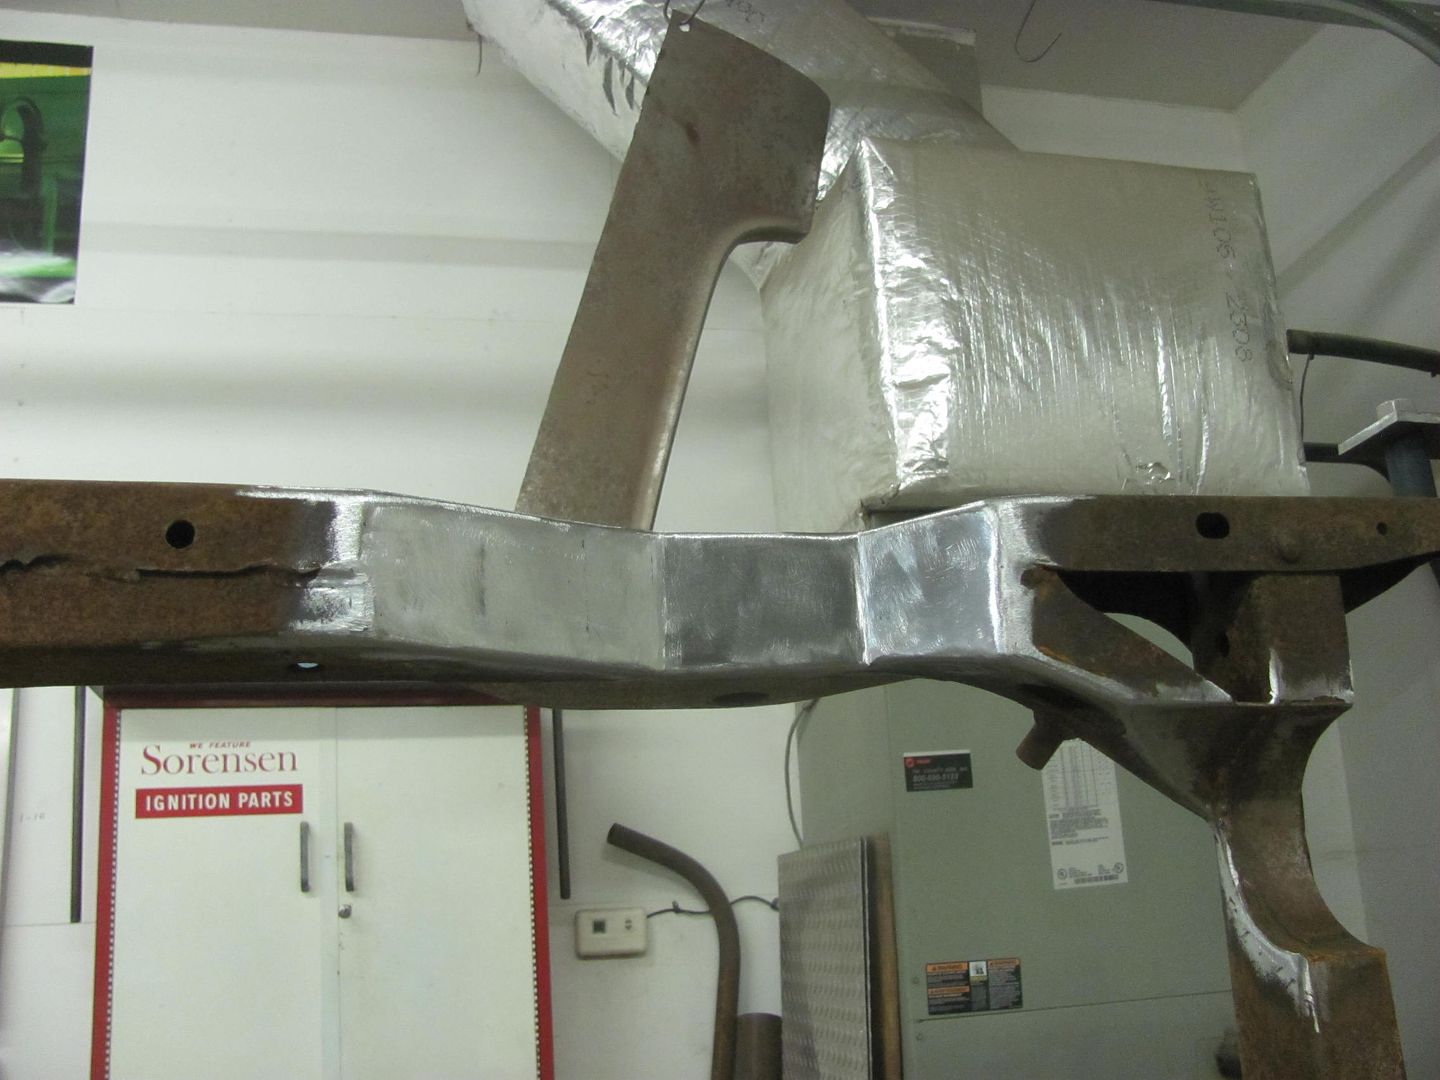
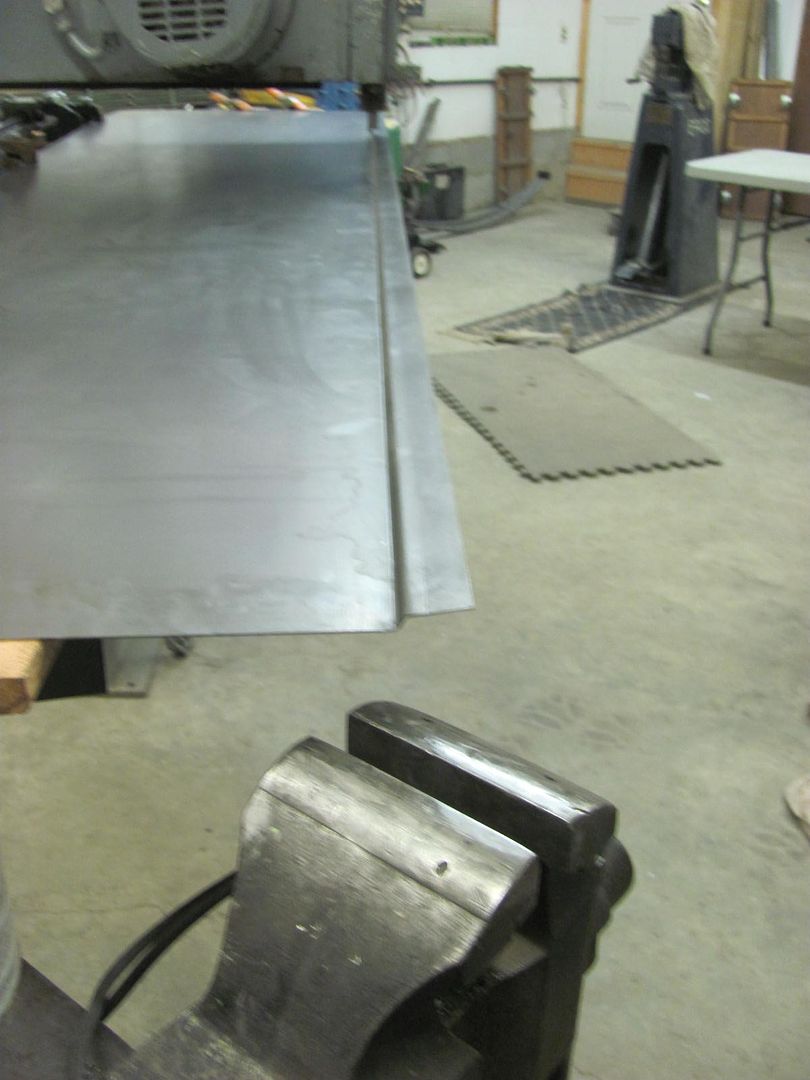
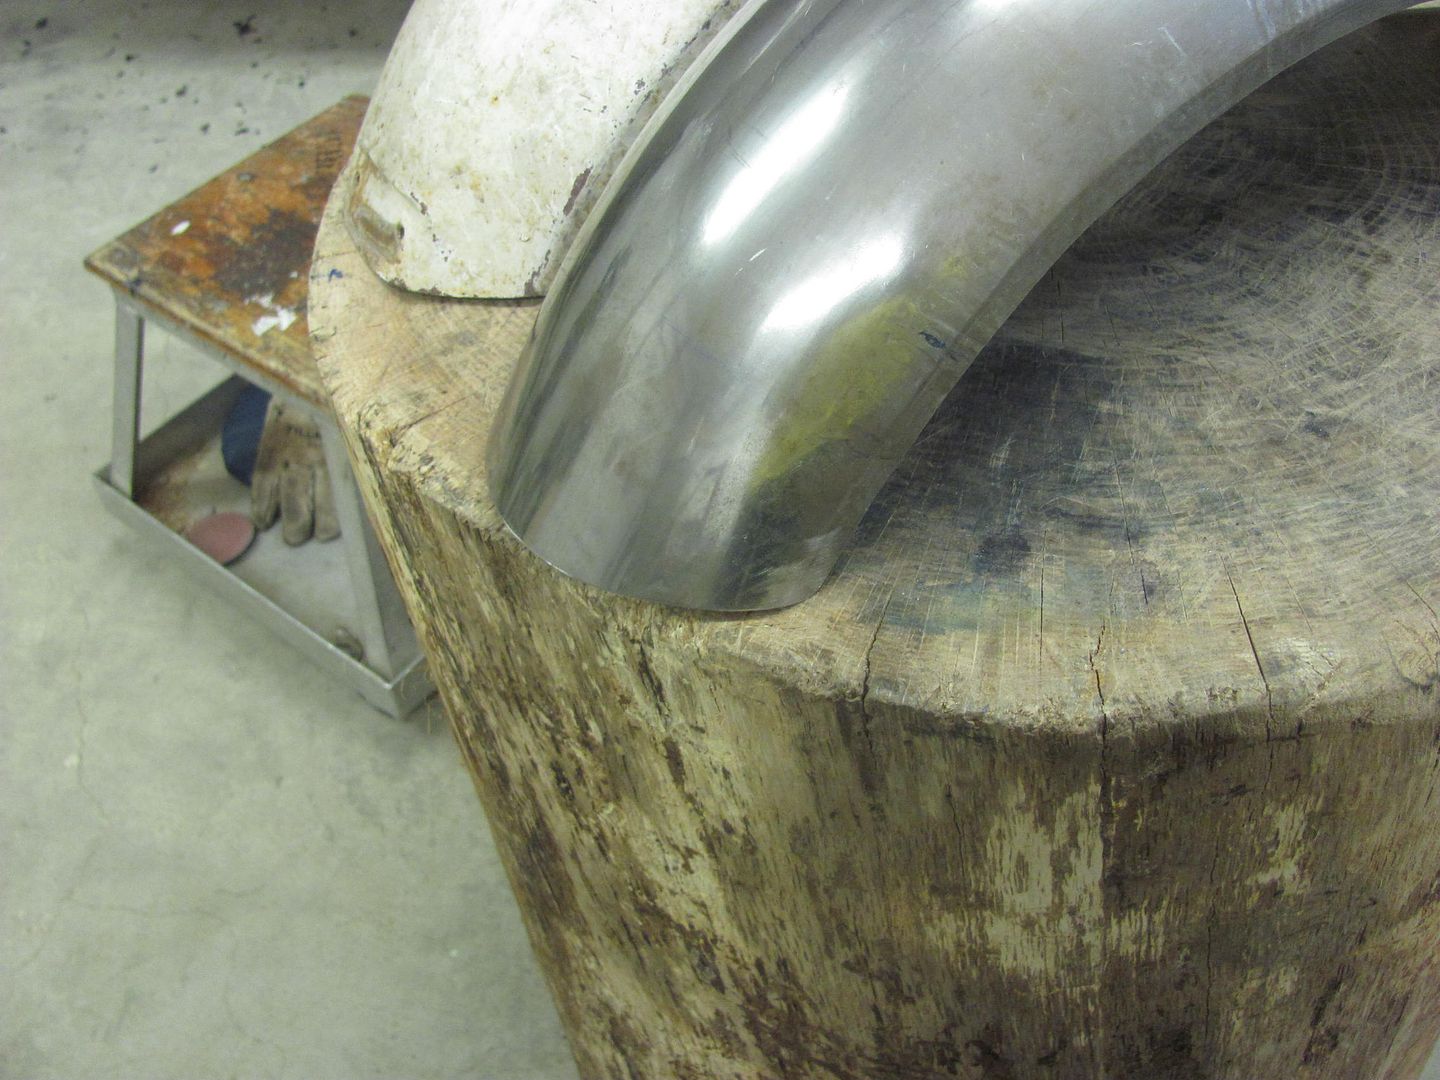
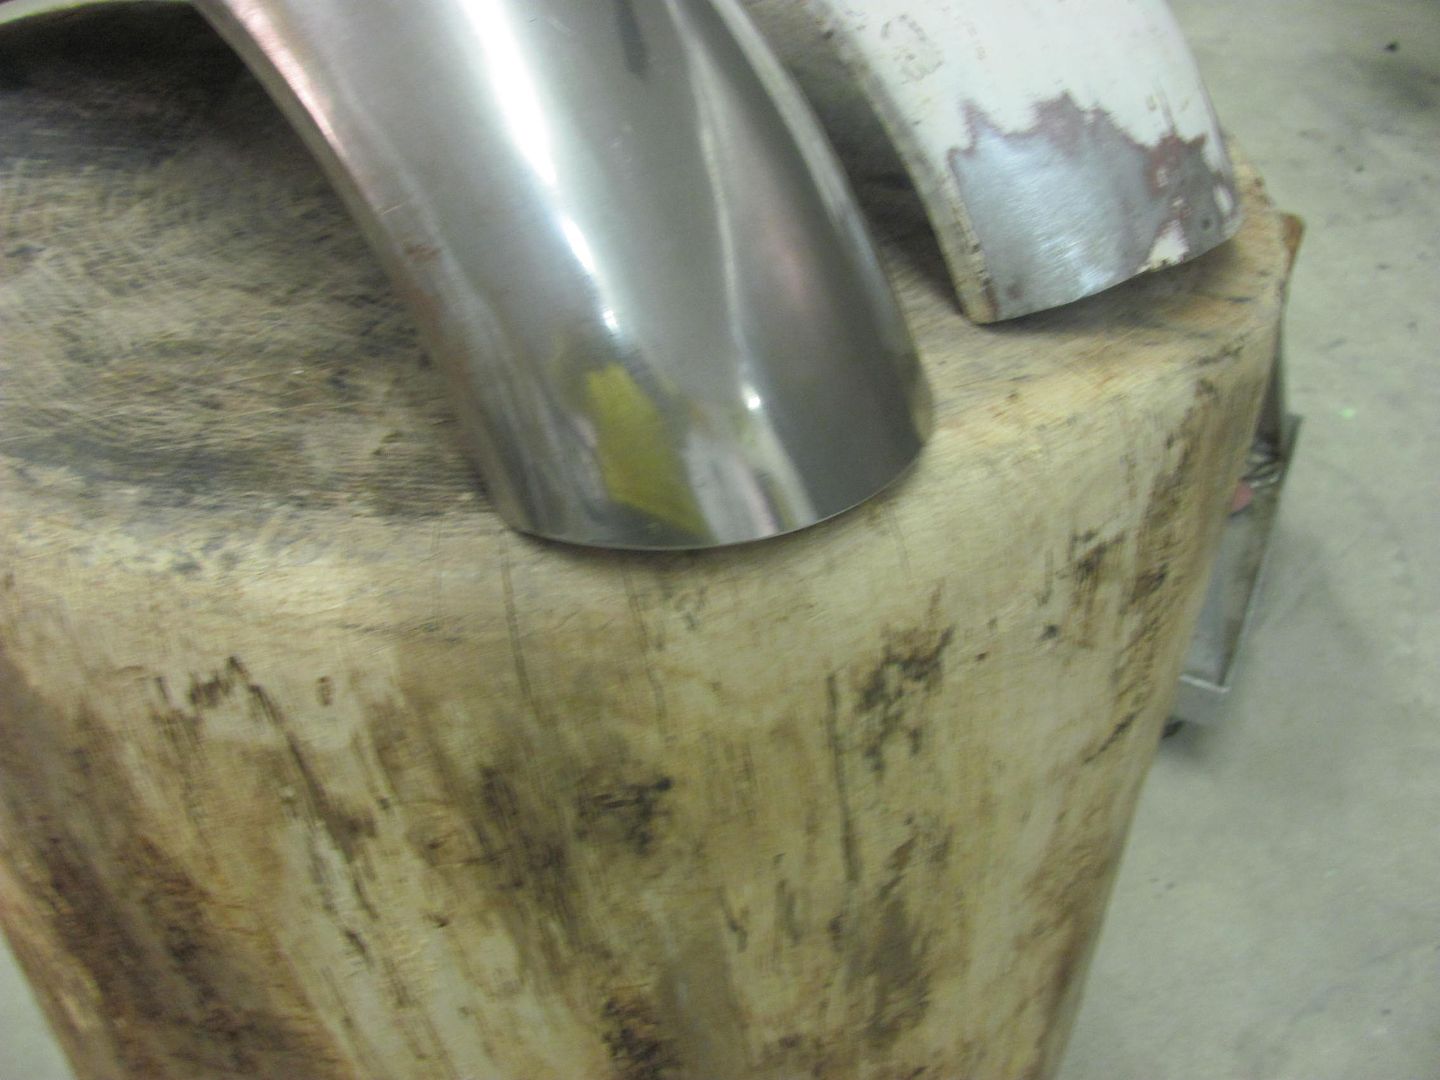
Next was to trim a nice radius on the front and back ends of the new front fender....


Picture%203567.jpg


Picture%203569.jpg


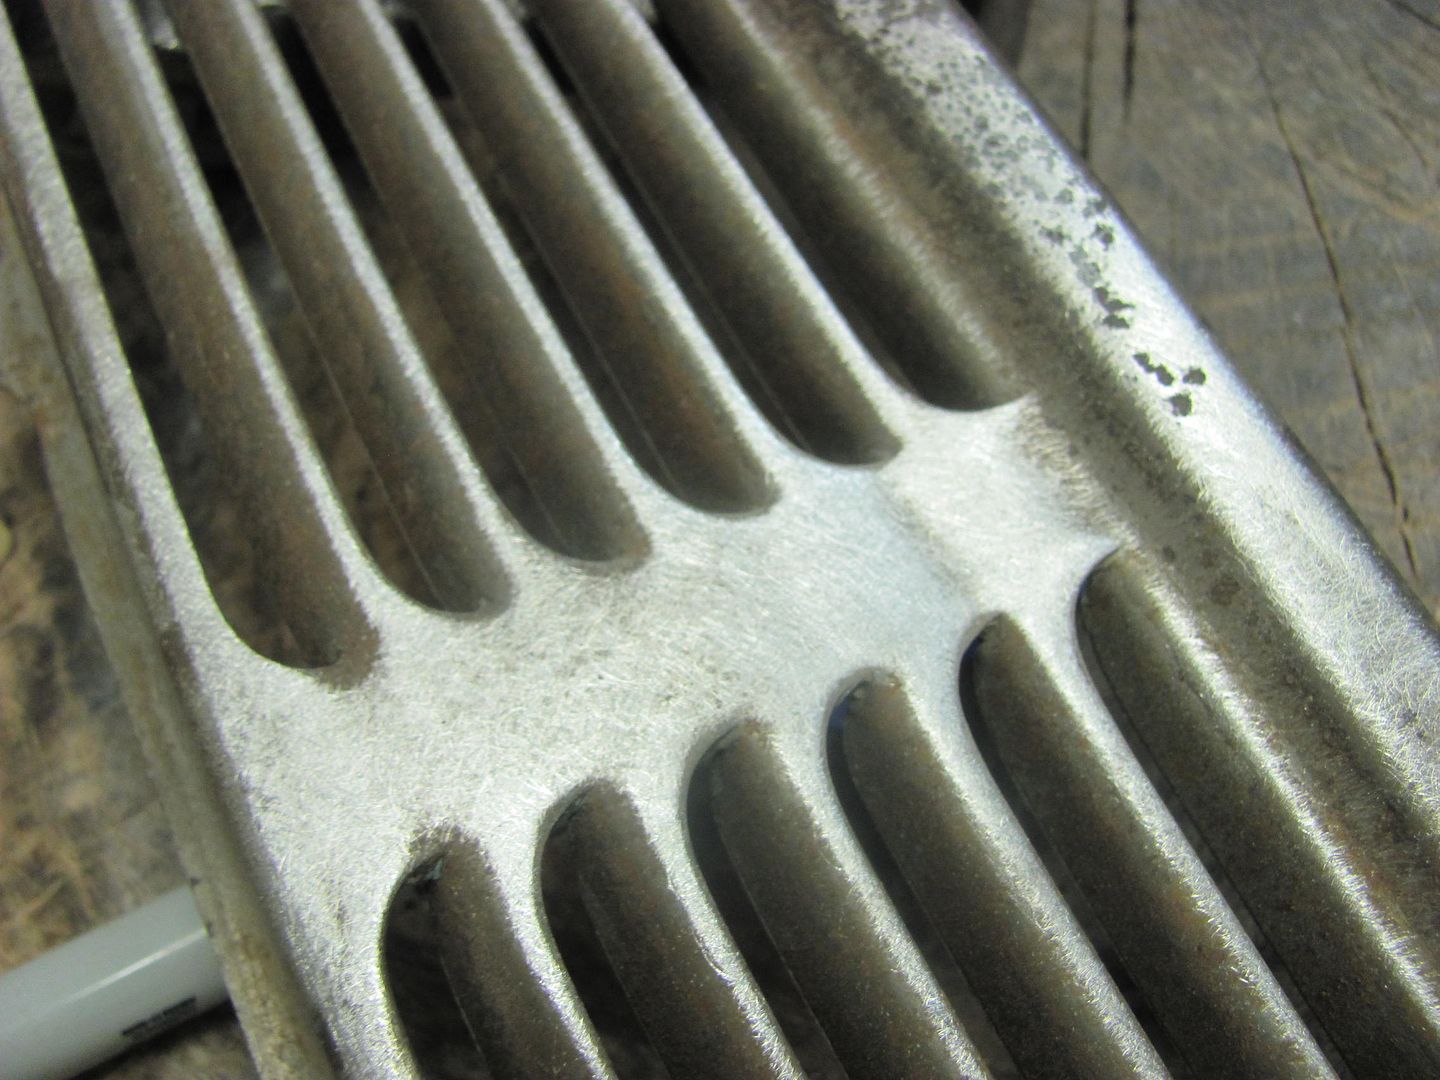
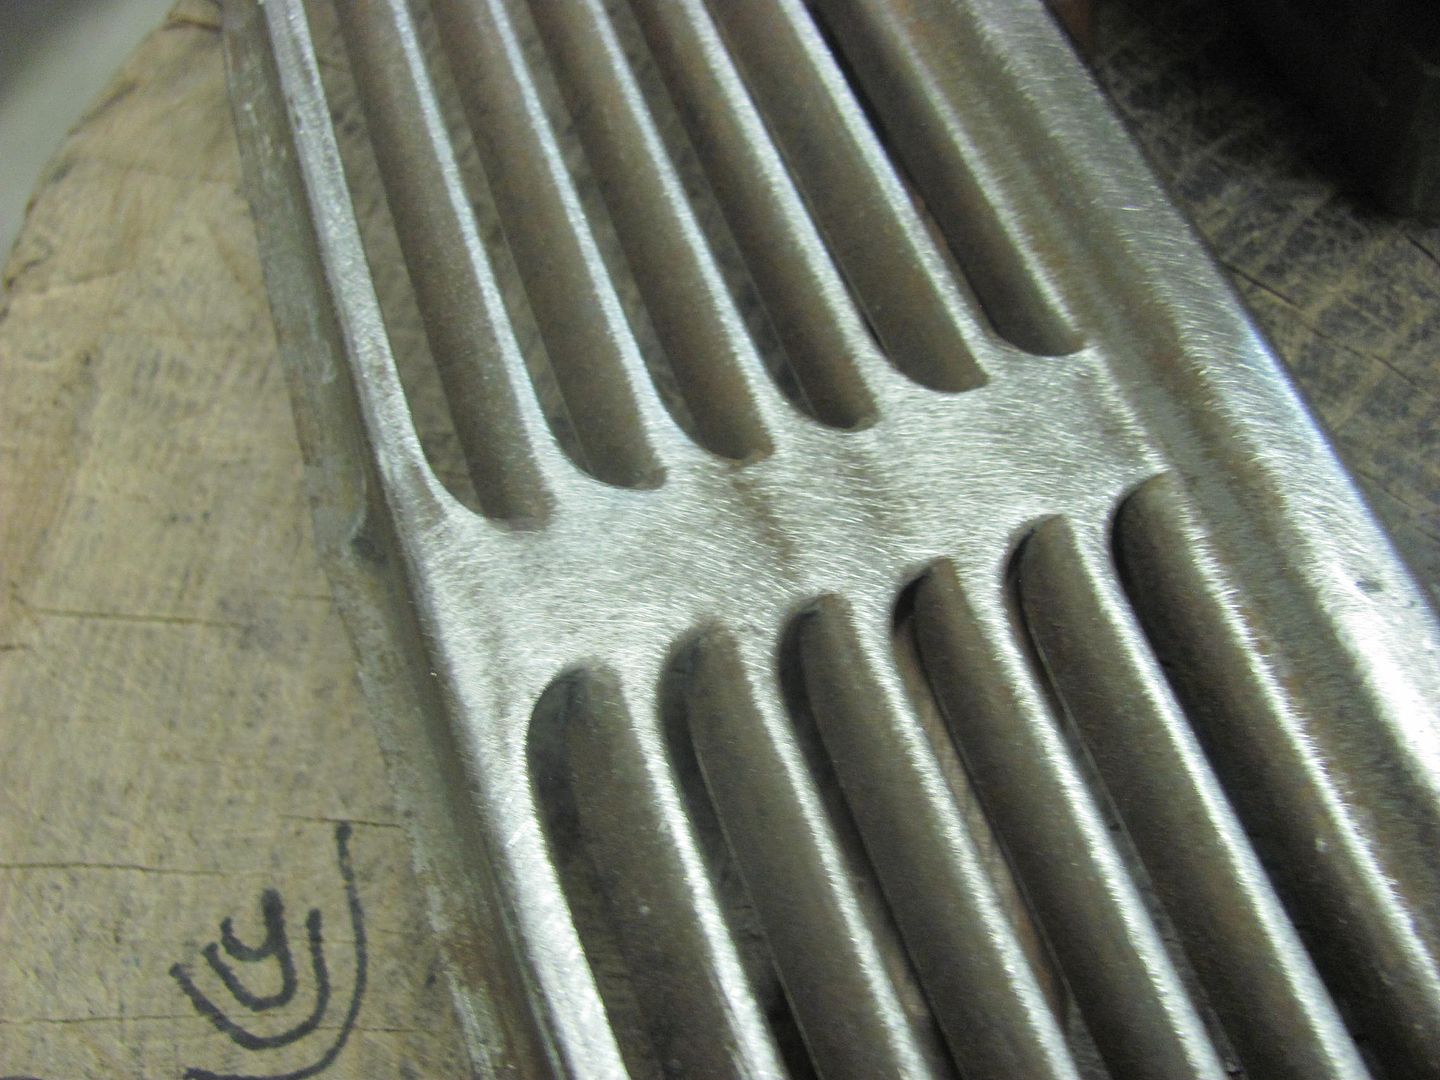
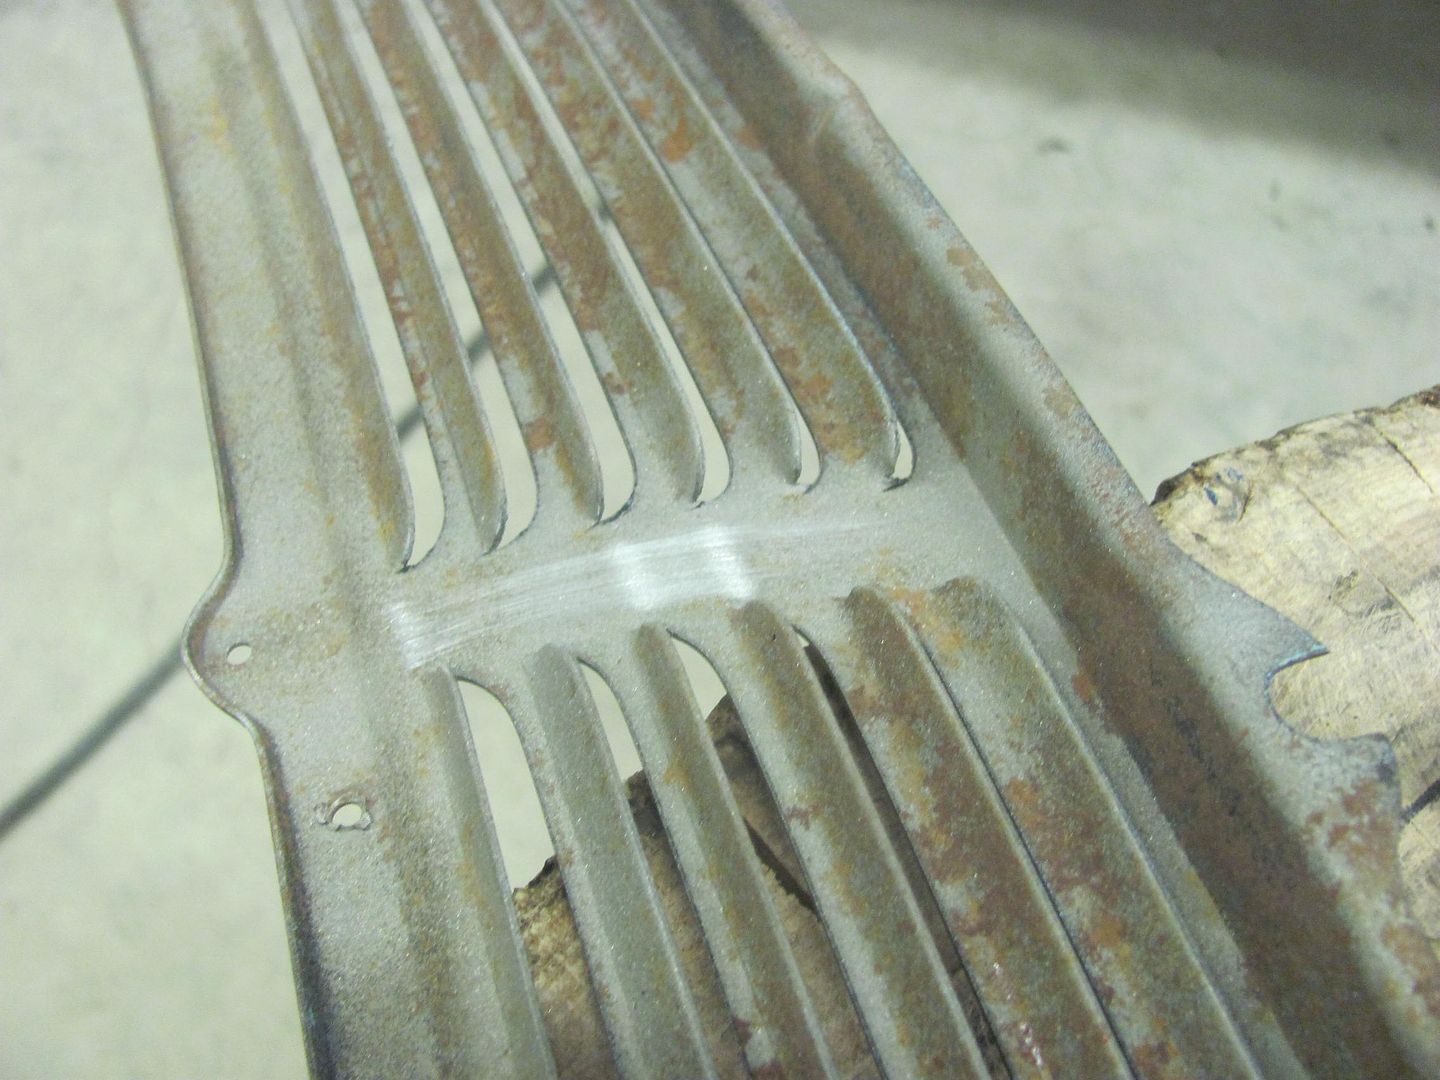
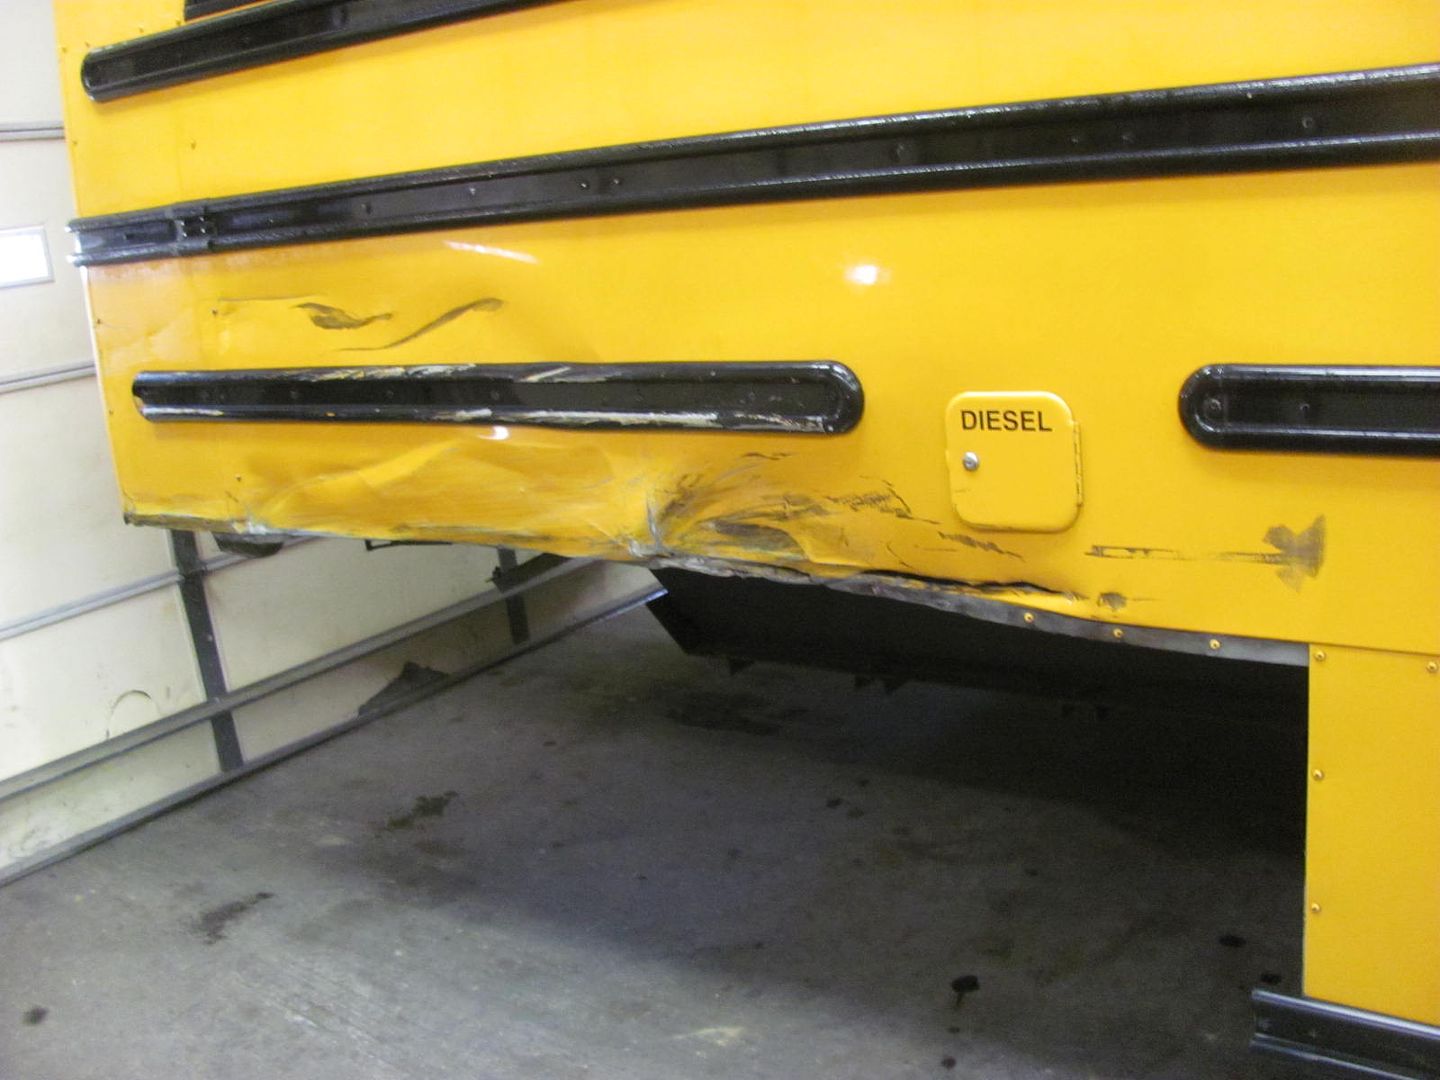
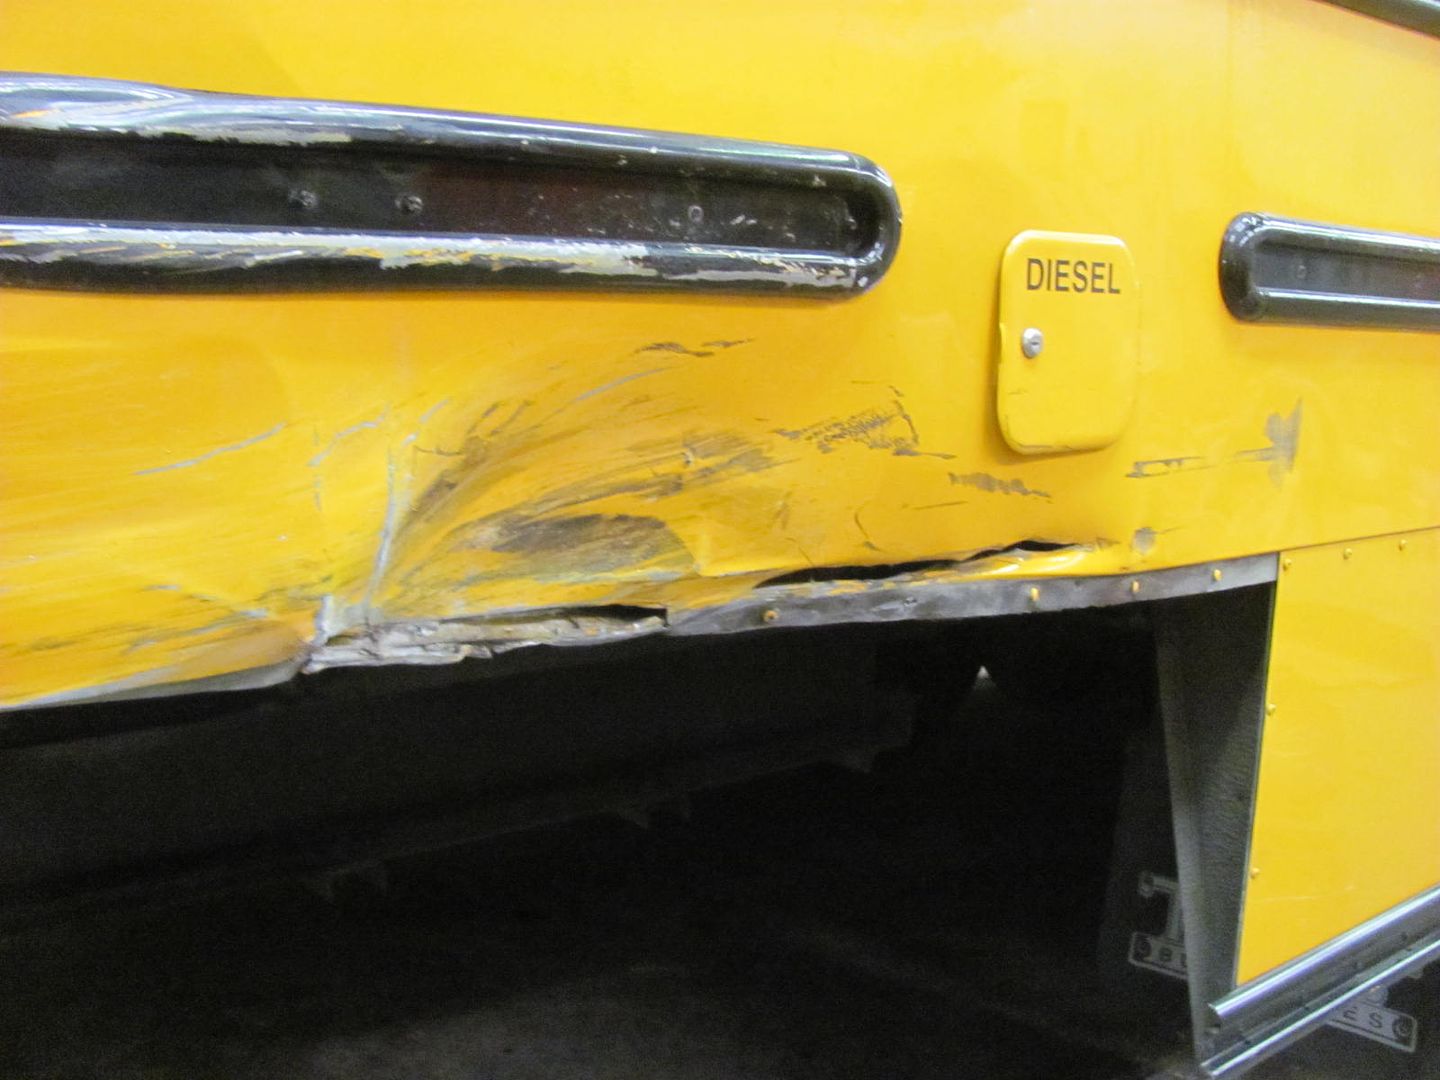
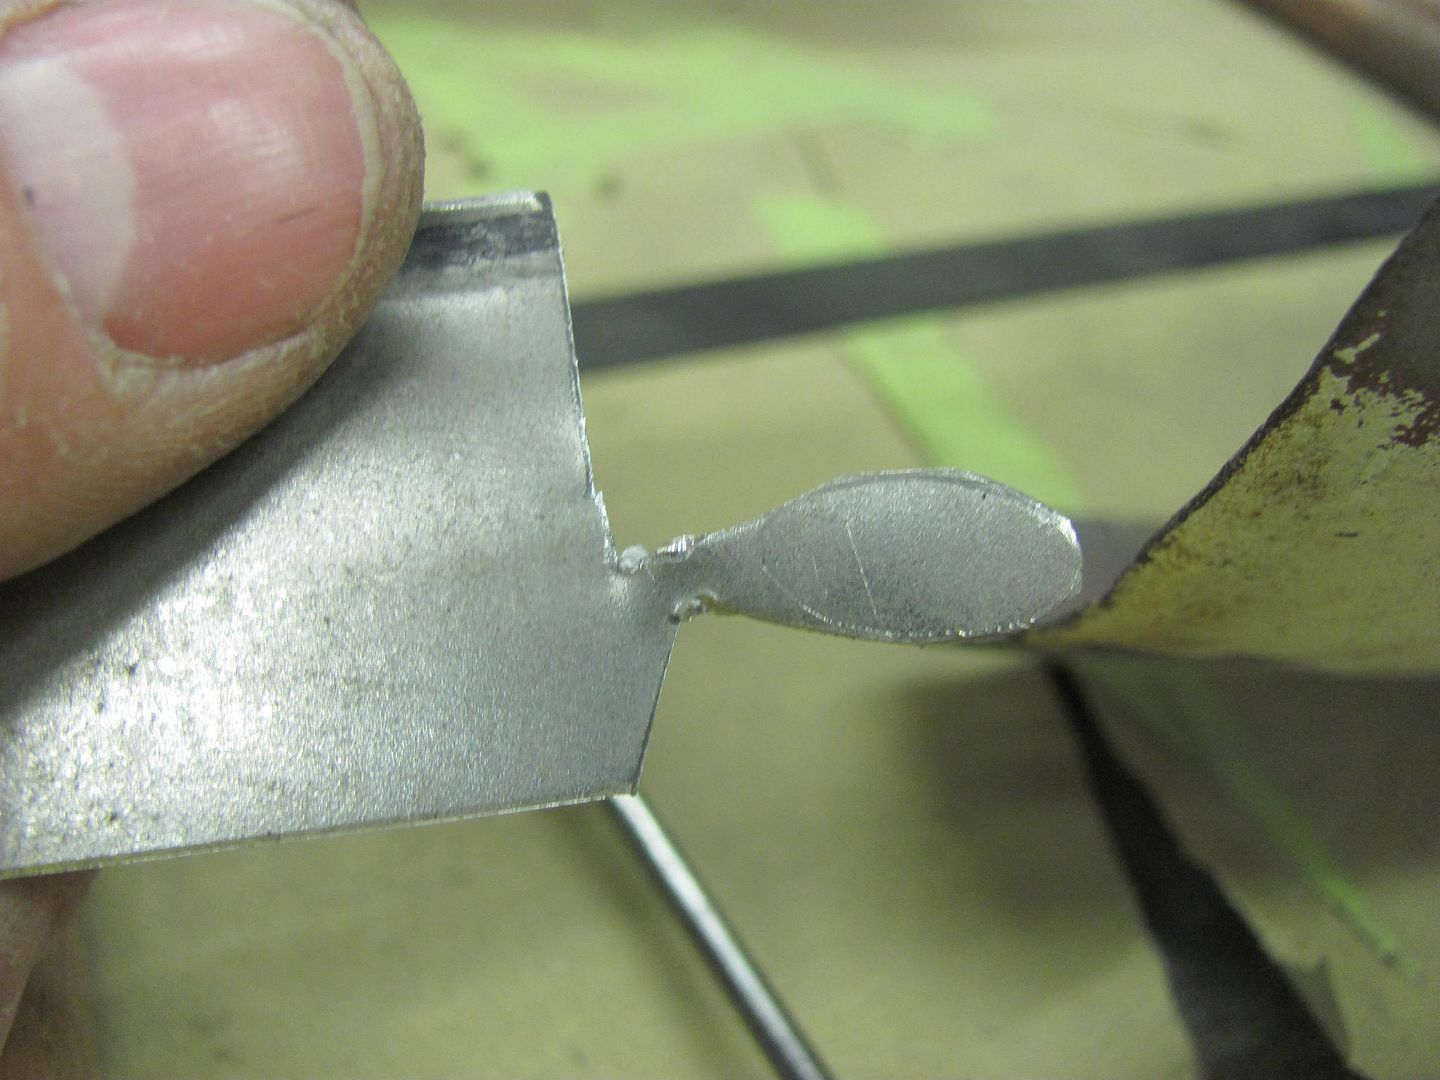
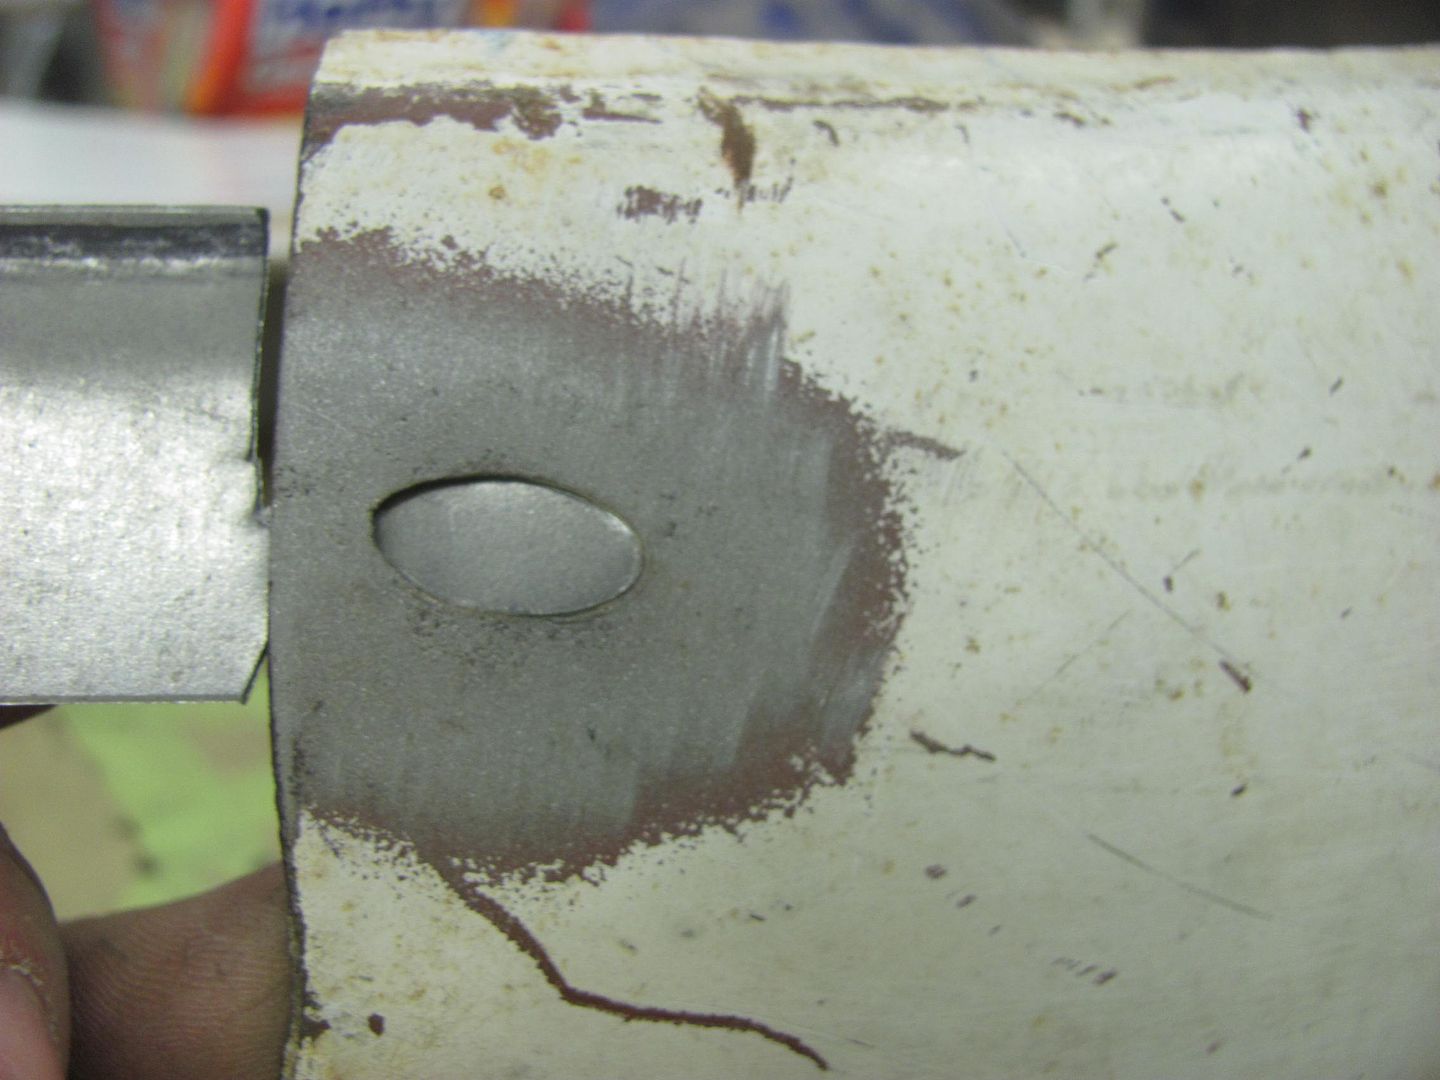
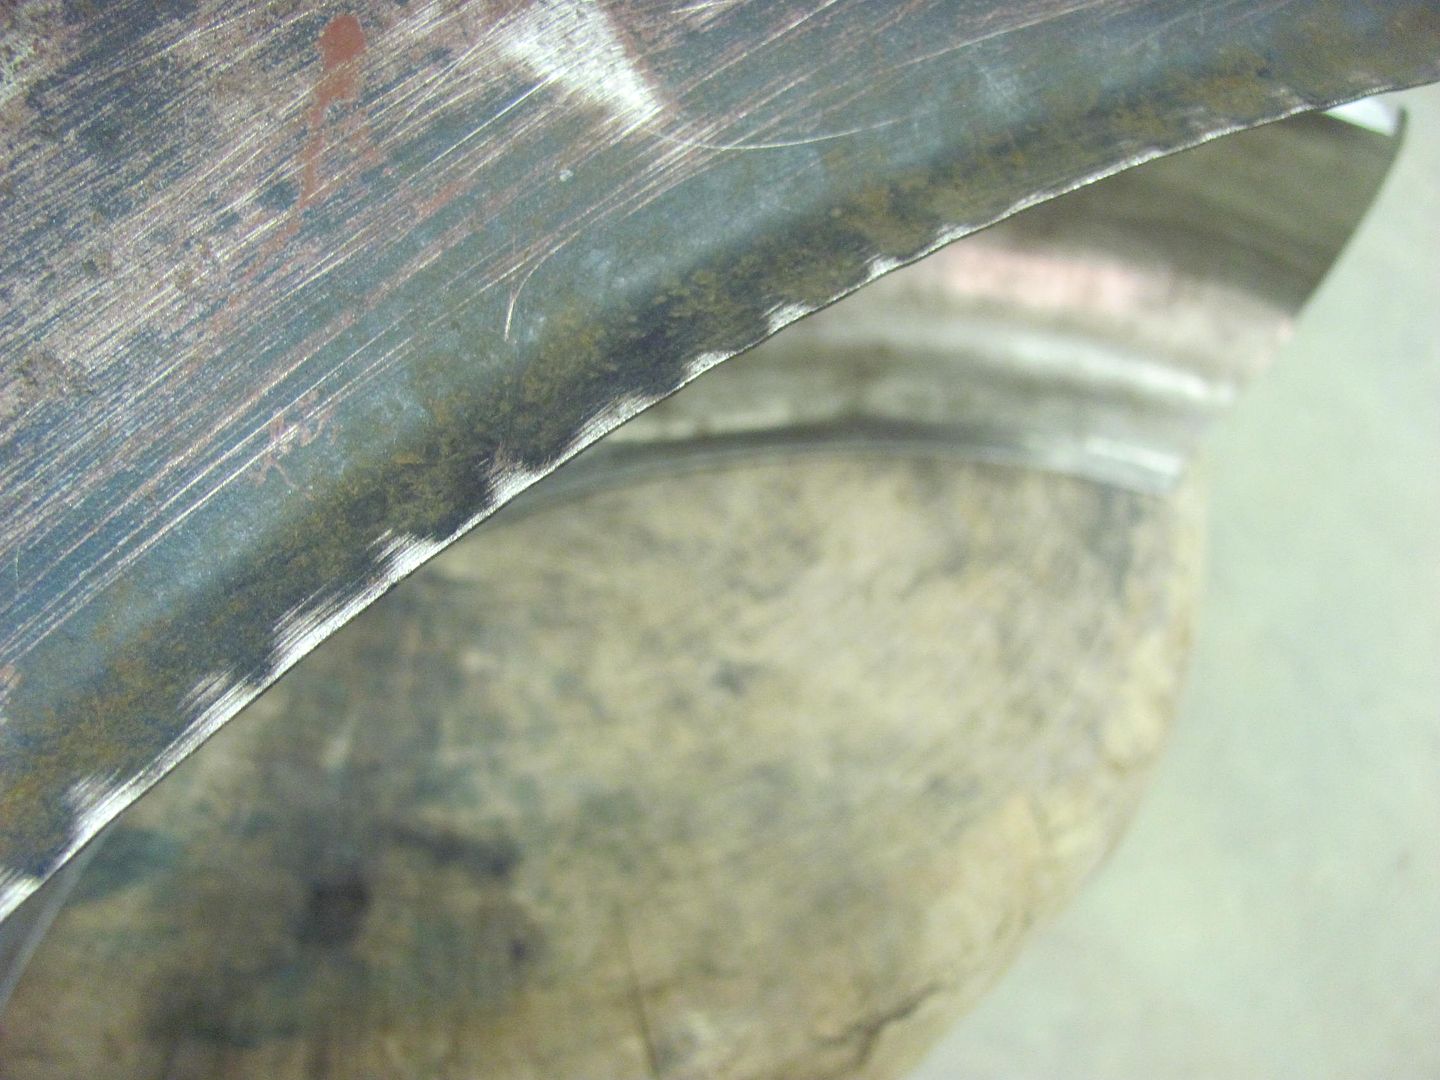
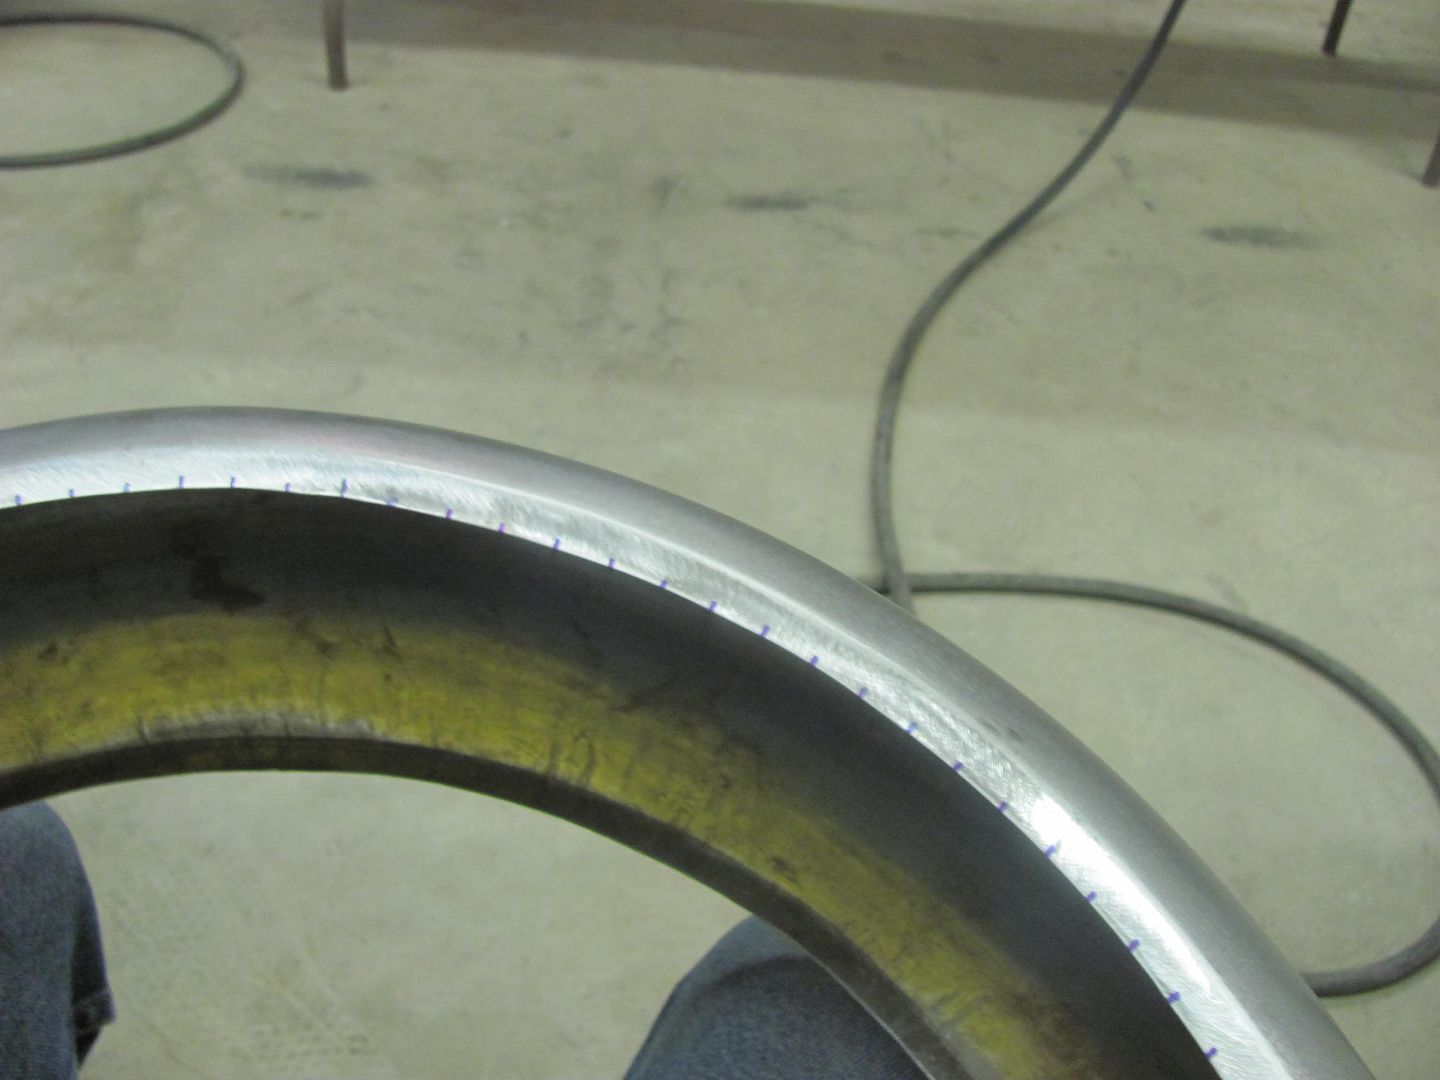
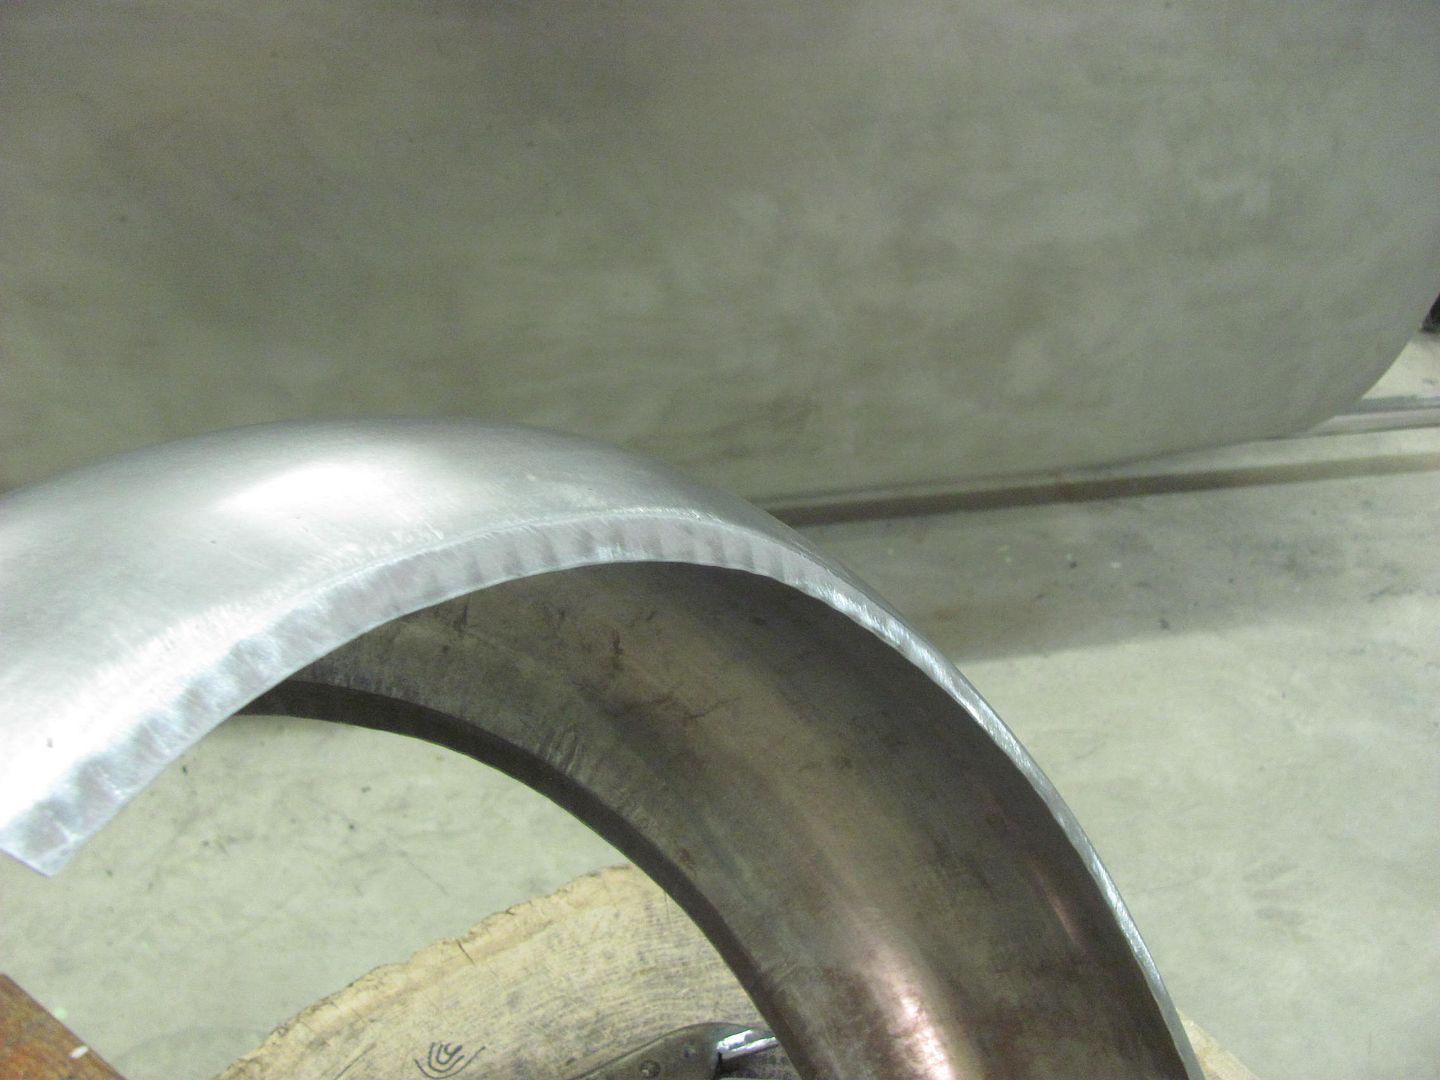
Last on the list, the forming process with the old fender left some "pie crust" edging, as seen here and in an original photo...


Picture%203572.jpg


Picture%203571.jpg


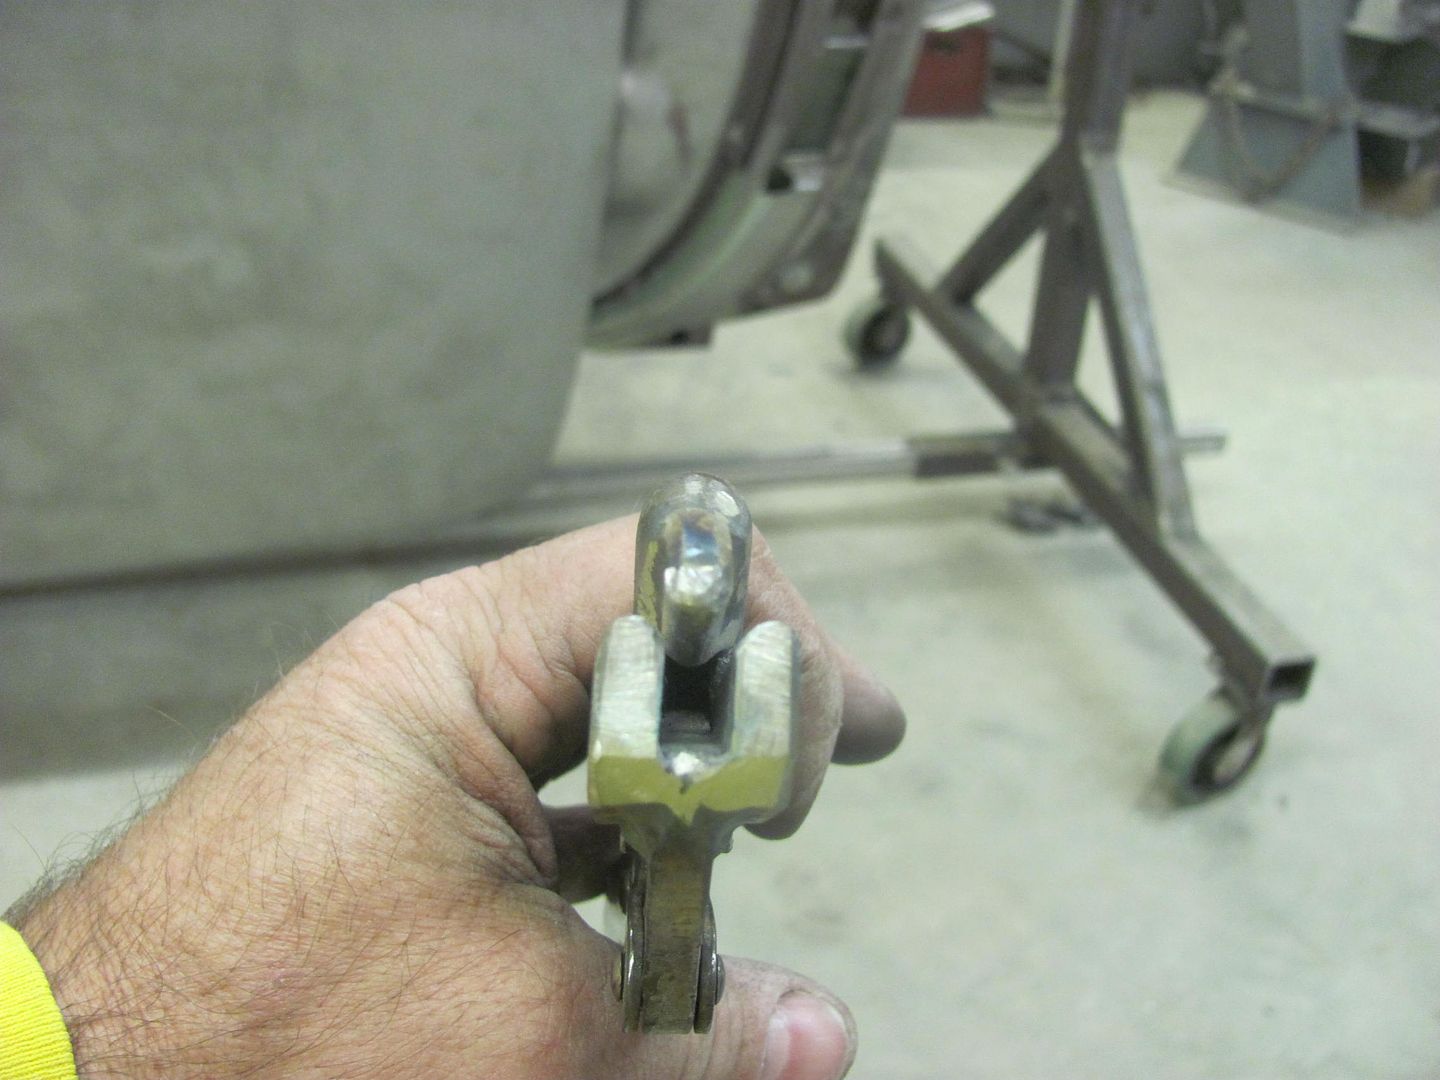
So we needed a special tool in order to duplicate this feature...


Picture%203574.jpg


Picture%203575.jpg


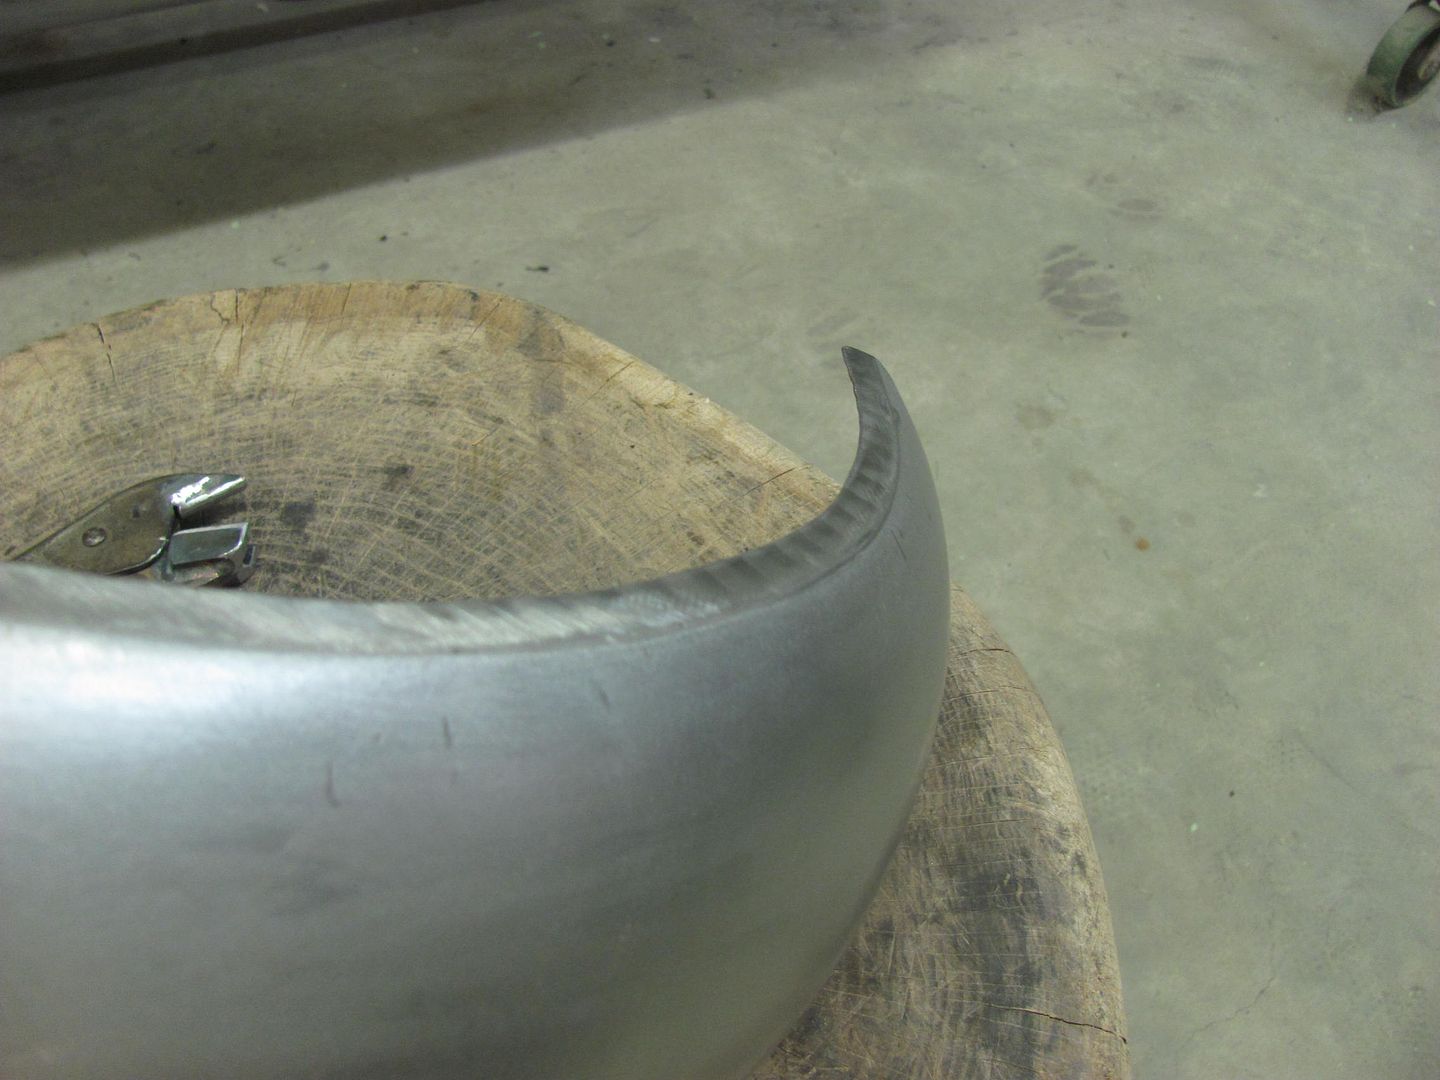
Spacing all marked out....
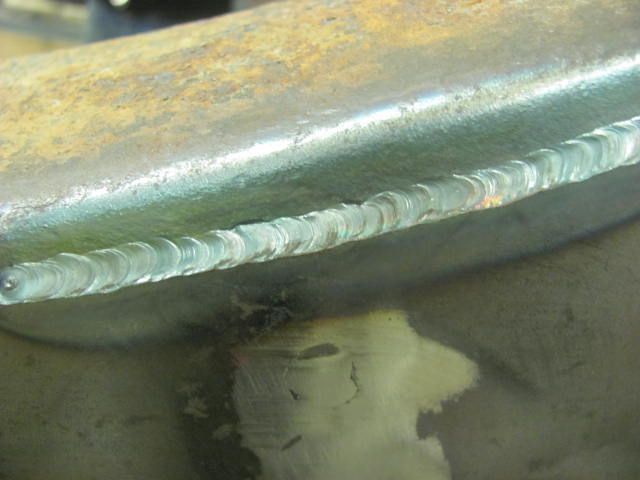
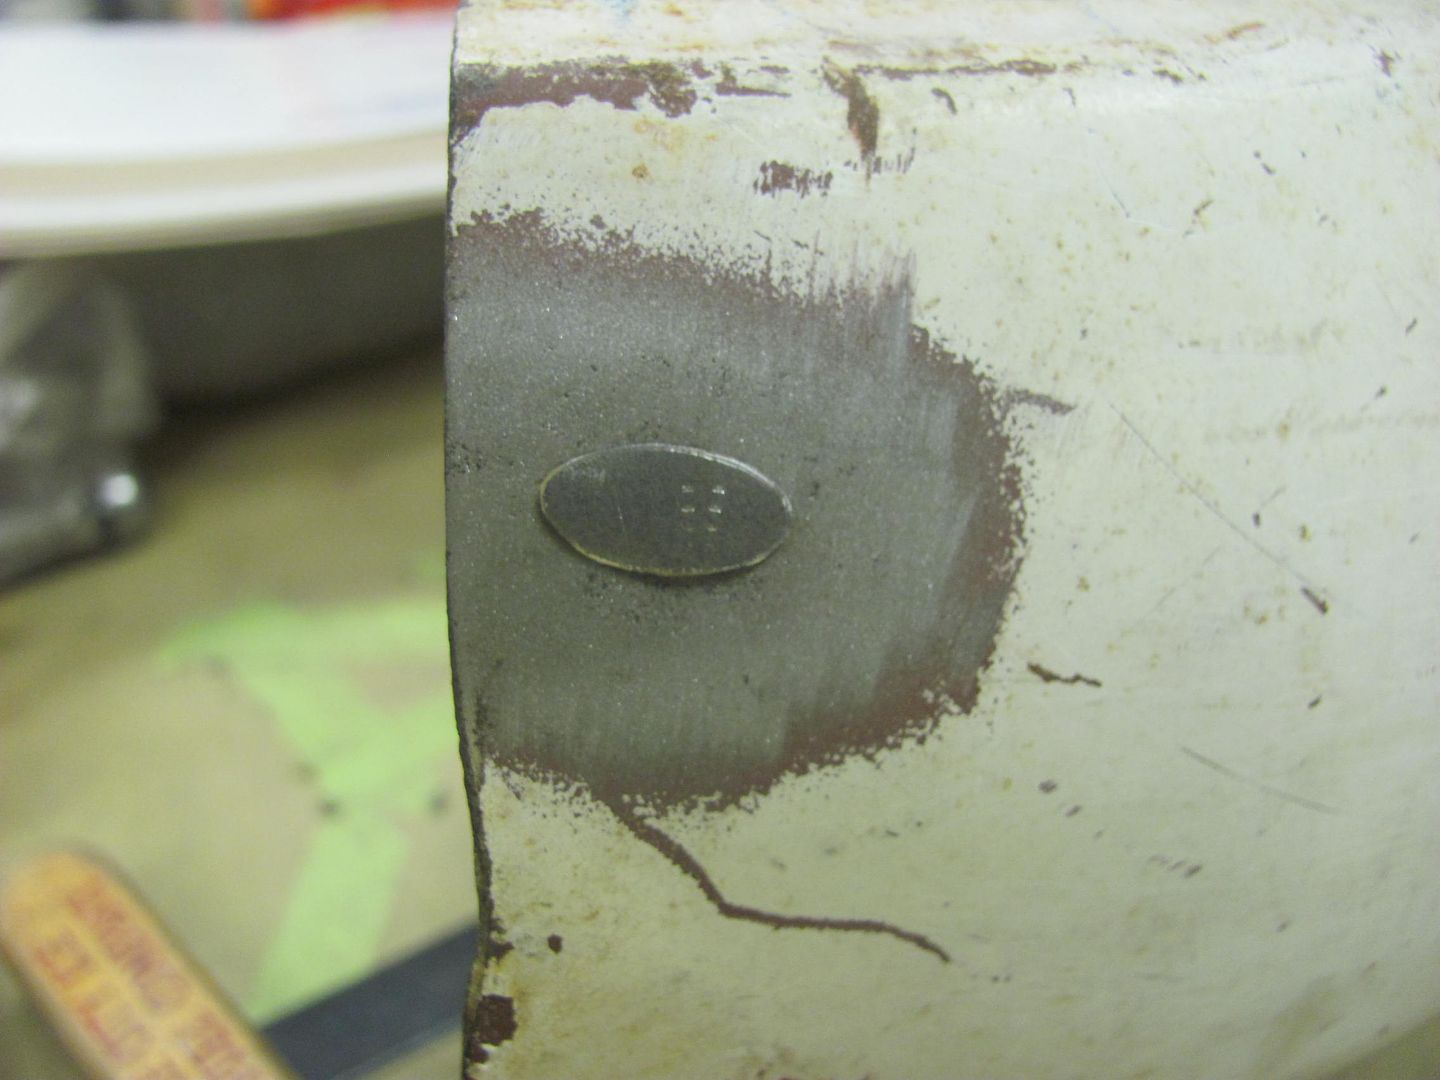
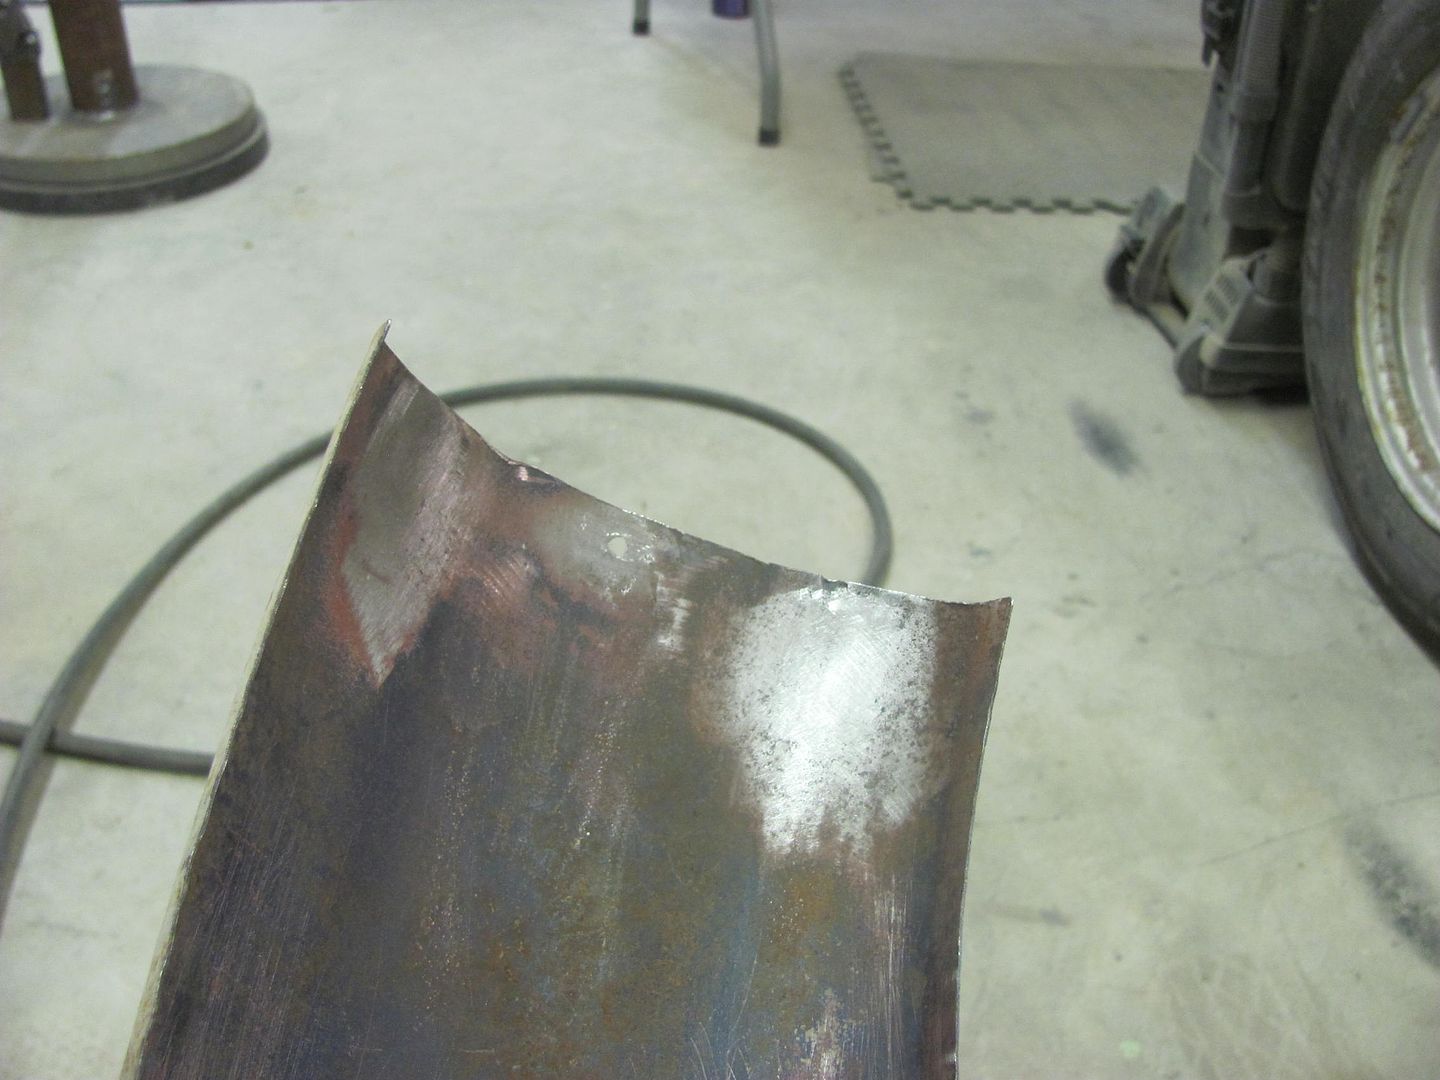

Picture%203576.jpg


Finished edge...


Picture%203577.jpg


Picture%203578.jpg


Picture%203579.jpg


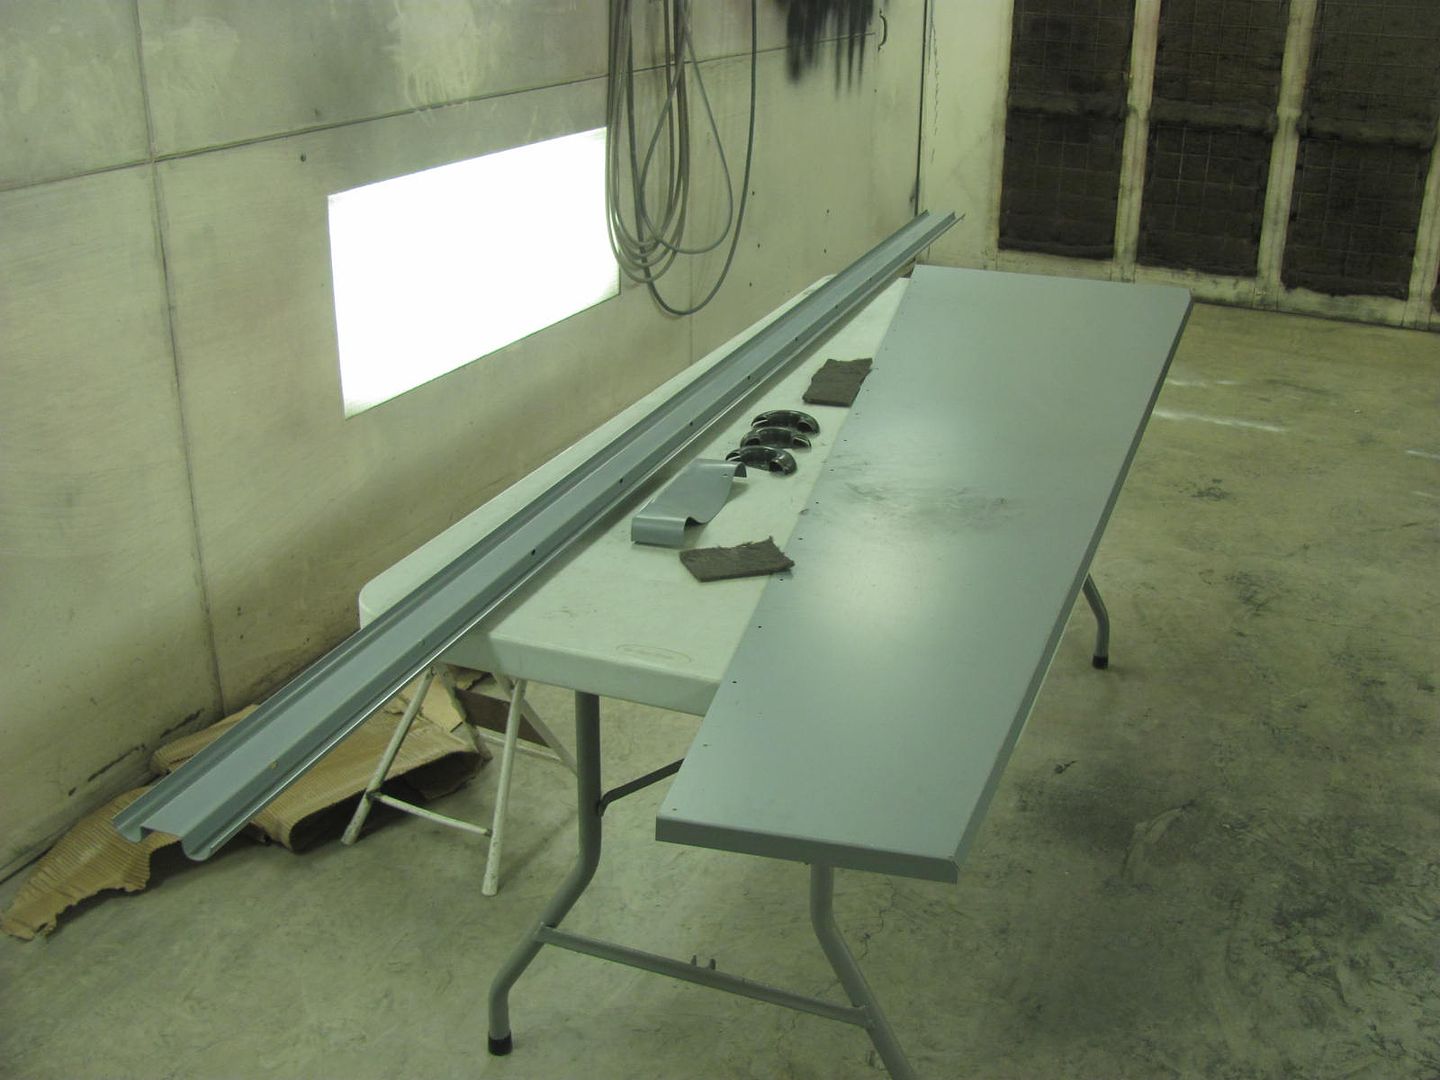
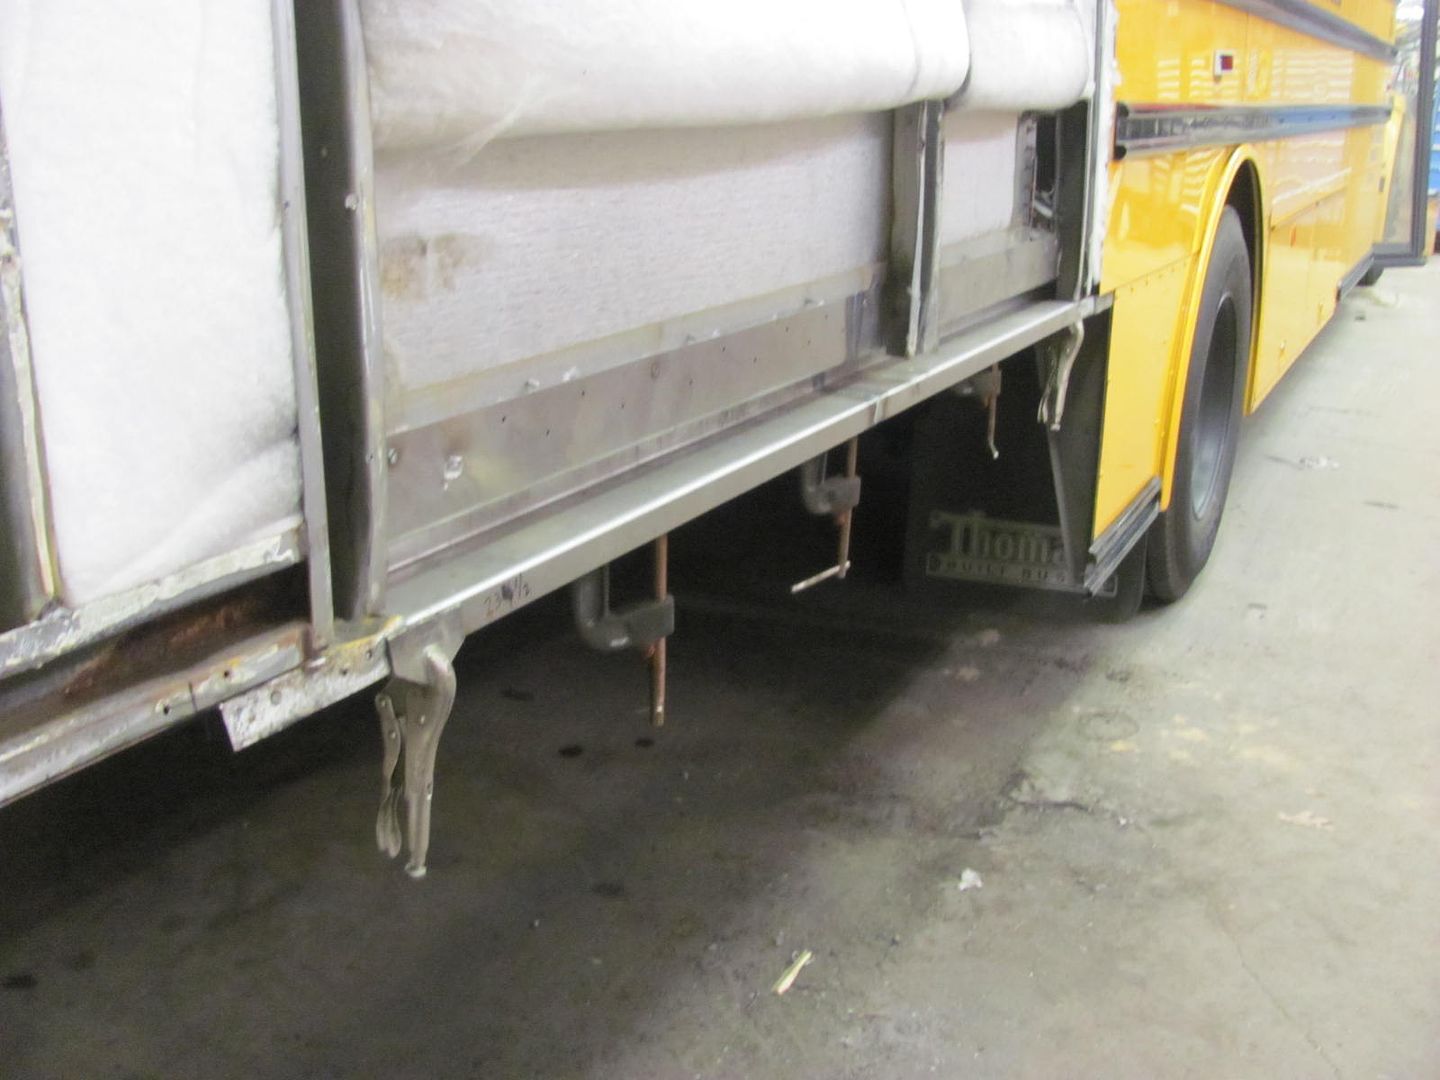
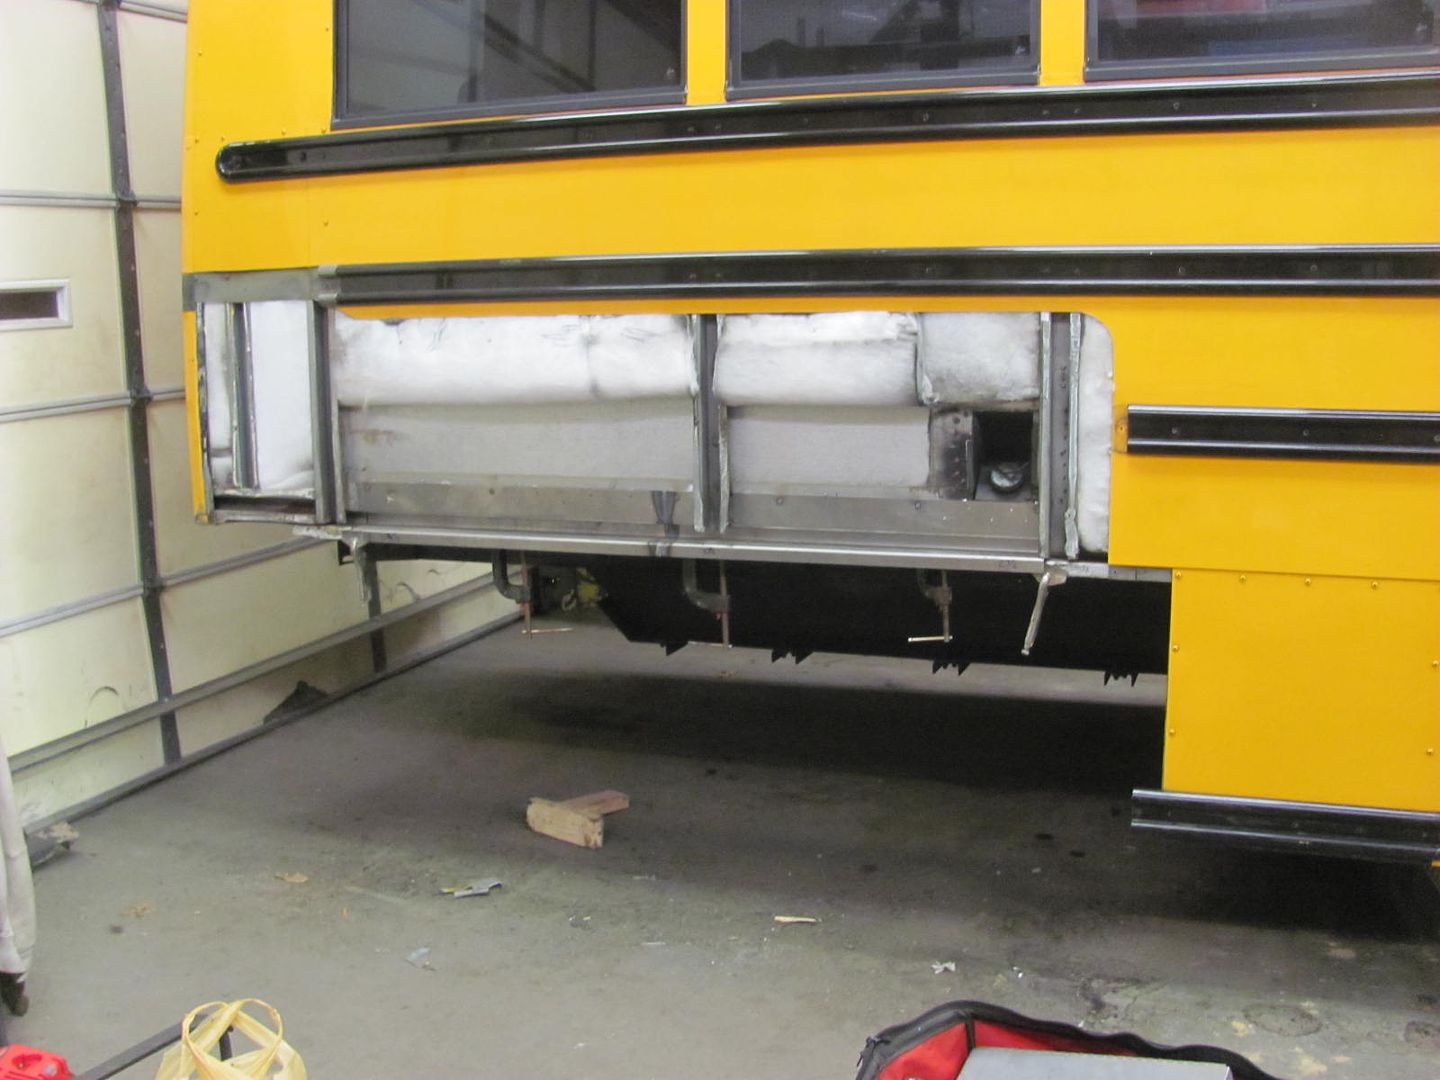
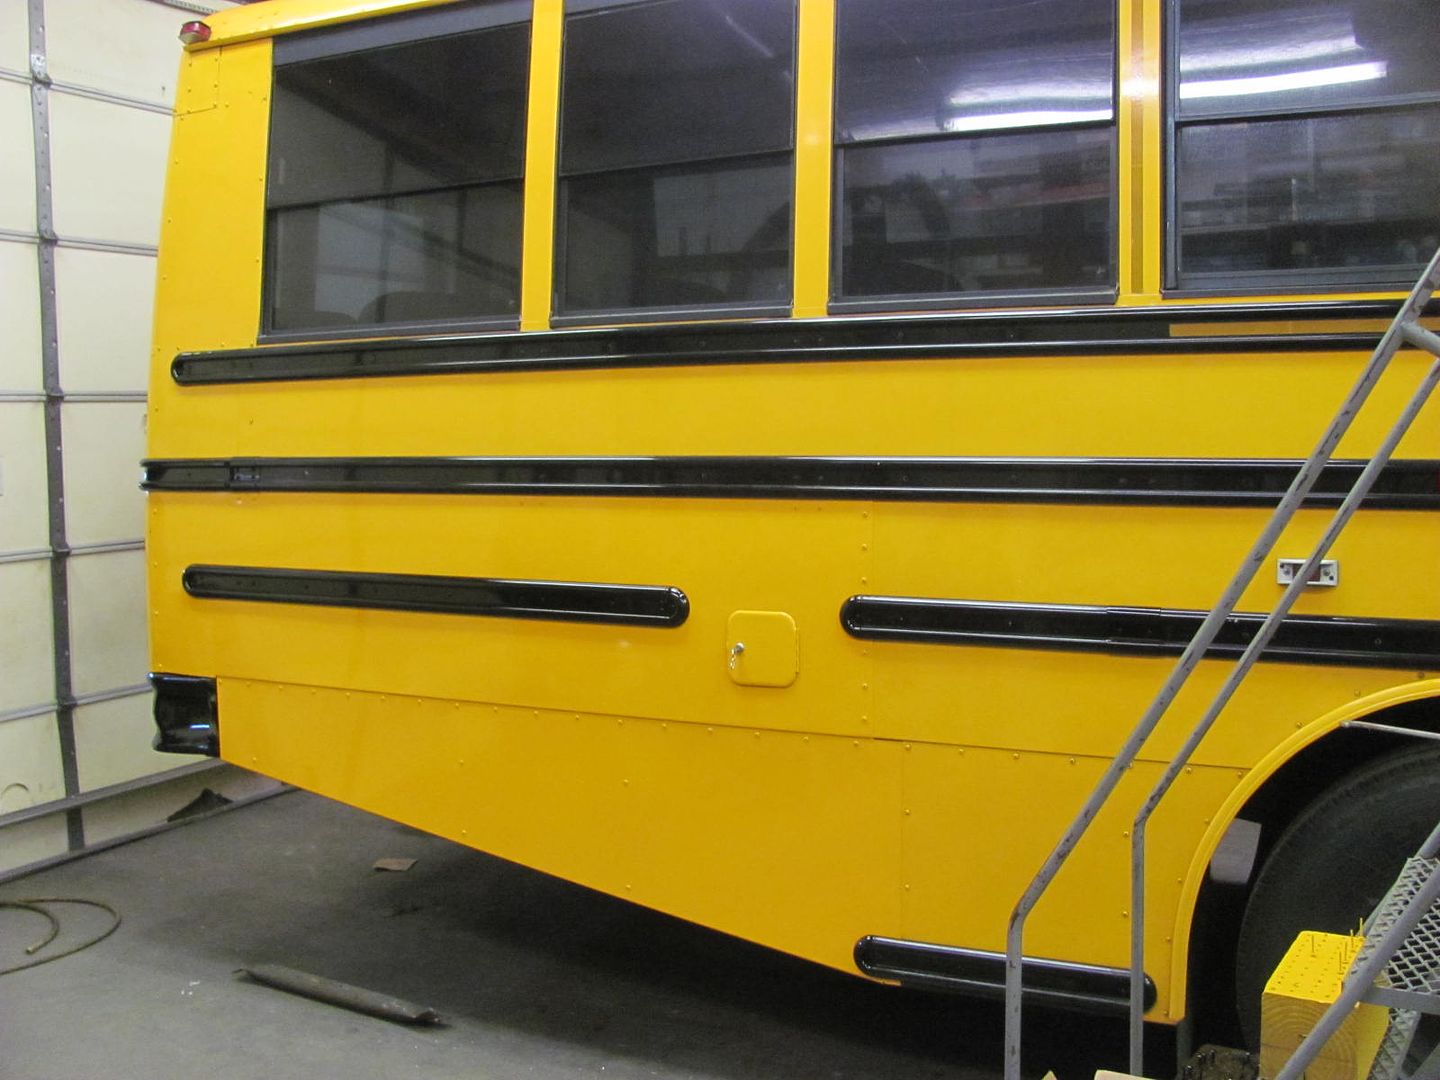
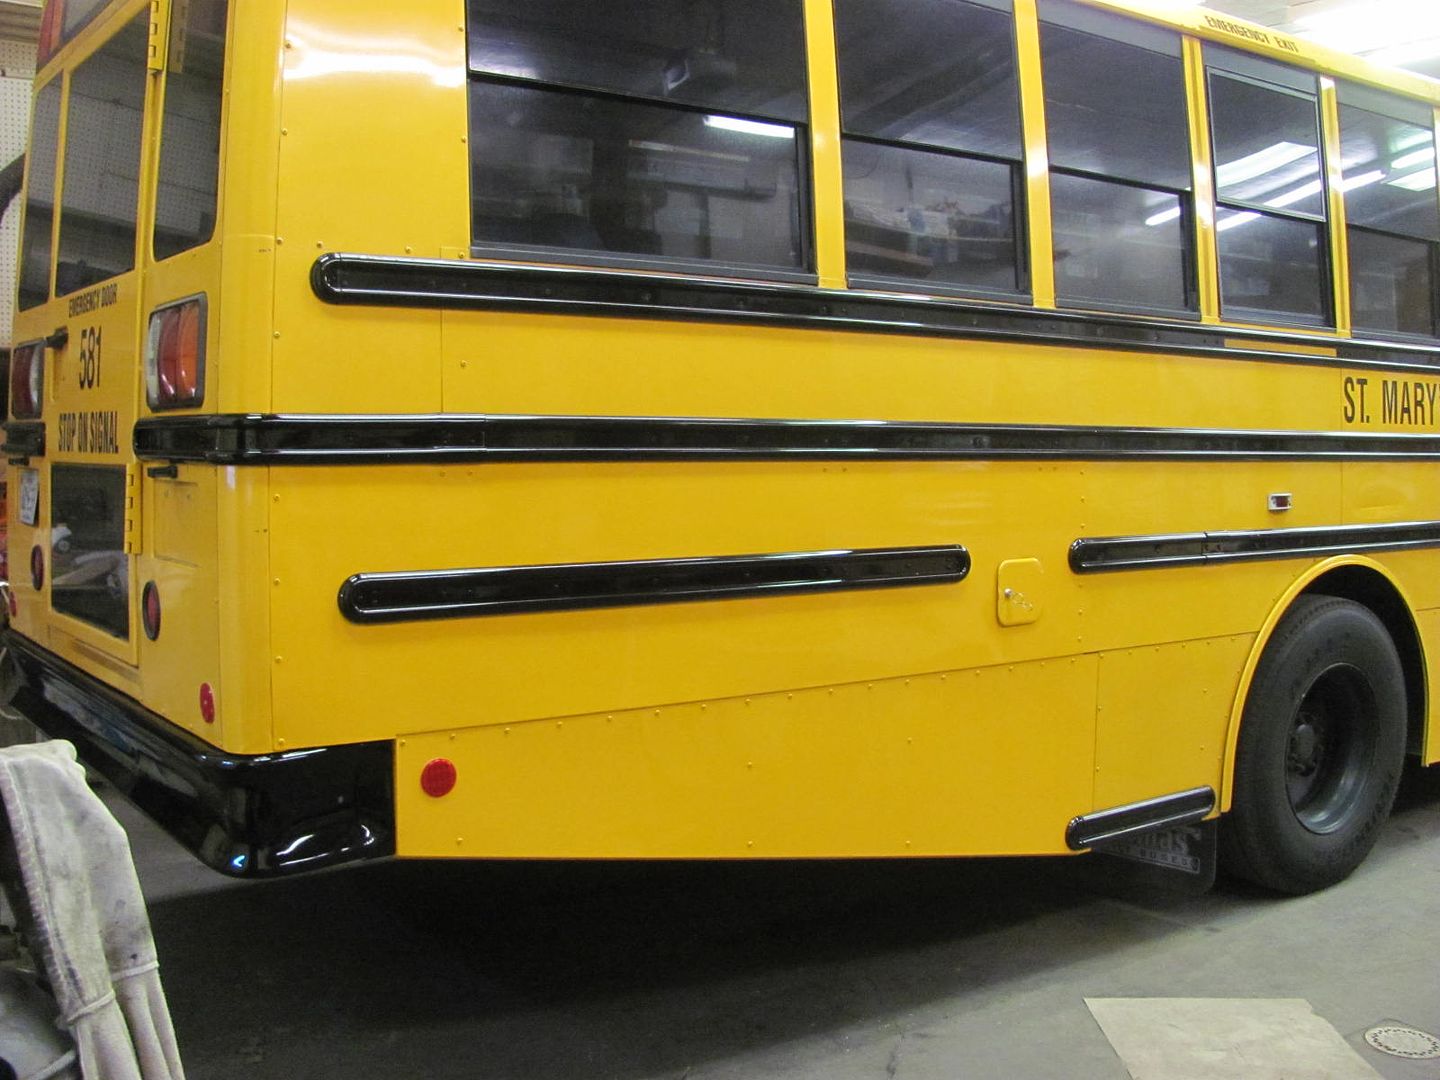
All ready for delivery!
 
Kyle was off tonight so I missed getting some in-process pictures.. Still cleaning up welds to get the body ready for media blasting. The rear brackets for the gas tank straps were welded in...


Picture%203582.jpg


Picture%203583.jpg


I also worked on the passenger quarter this evening. One of the biggest problems with welding a horizontal seam down through the middle of the quarter on a car is the tendency for the seam to cave inwards.. I had some help this evening using the Watervliet hammer and a 24" radius die..


Picture%203591.jpg


Still have some highs and lows to address, but the weld seam is back out close to where it should be, and the Atlantic Ocean has calmed quite a bit..


Picture%203590.jpg


Next was to remove some creases in the cowl vent, seen here...


Picture%203584.jpg


Picture%203585.jpg


Looks like someone may have kneeled on it at some point in the last 60 years. I've found the easy way to "highlight" an area like this in need of repair is to use a piece of 80 grit on the back side:


Picture%203587.jpg


Picture%203589.jpg


Got the creases out using the body hammer with the chisel tip, and forgot to get the finished pictures. Next time...
 
Thanks Bob!


Our enclosed trailer has the white wagon wheels that always seem to turn rusty in a few years, so I have been trying different wheels to see what might work....


These are some late model Mustang wheels, the hub hole would need to be opened slightly, but the offset was, well off.


Picture%203619.jpg


Perhaps on a fancy trailer with more stainless trim, but these just looked too much. Next, some plain Jane Ford Ranger wheels....


Picture%203620.jpg


Much better, correct offset, and no wheel modification needed. Just need to change up the color and add some stainless trim rings. I do have some bright orange, some bright red, and a few other colors in the paint locker..


Some before and after media blasting..


Picture%203615.jpg


Picture%203616.jpg


Two down, two to go, and then we'll get some SPI epoxy on there for some rust preventative measure. Can't get it all done in one night. And more weld grinding and other prep work on the wagon continues. Since the big cleanup in preparation for the class in the shop earlier this month, we haven't been able to find our quarter panel profile template, so Kyle made a couple of them, one for in front of the rear wheel, one behind, and we've been working on the weld seams and doing some metal bumping to minimize our stock in filler products. Drivers side is looking much better than it did last week, still about another day to go and the quarters should be good for epoxy primer..


Picture%203617.jpg


Picture%203618.jpg
 
Stopped by my brother in laws and took delivery of the rotisserie for the frame...


Picture%203626.jpg


And Kyle cut some adapter angles out of a piece of 4 x 6 tubing...


Picture%203628.jpg


Well, we didn't get pictures of the funny part. Kyle and I loaded the frame in the trailer and headed off to the local car wash to remove the grease from the front cross member. We had quite a few stares and a couple horns honking as he pushed the frame around the car wash parking lot and I was sitting on the frame rail, maneuvering with the Jr. steering wheel. We found the tire presoak and a wire brush does wonders for the engine grease. The car wash attendant did not look too pleased, but never said a word.


Back at the shop, bolting the adapter plates onto the frame...


Picture%203633.jpg


Picture%203639.jpg


You can see in the above picture we used 1-1/2" long spacers to get a better access for media blasting the frame..


Disassembly starts....


Picture%203649.jpg


Picture%203651.jpg


Picture%203652.jpg


Picture%203653.jpg


After a few revolutions and a bit of air pressure, we had quite a pile of 60 year old dirt..


Picture%203654.jpg


Override springs from the era. The handyman wagons were often used as work vehicles, and this option helped with the heavy loads...


Picture%203655.jpg


All stripped....


Picture%203658.jpg


Picture%203661.jpg
 
More prep and welding on the frame....


Picture%203722.jpg


Picture%203723.jpg


Picture%203724.jpg


Picture%203725.jpg


We've been going through a dry spell here in the shop, it's been quite some time since we've seen any yellow body panels. Soon to change....


Picture%203726.jpg


Picture%203727.jpg
 
More work on the frame, Kyle was prepping the frame for welding on the strengthening plates while I drilled the plates for plug welds..


Plug welding the passenger side plate....


Picture%203733.jpg


Picture%203735.jpg


Picture%203737.jpg


The outer perimeter will be Tig welded, and here's the driver's side plate all clamped up and ready to go.. Hindsight and all that, should have made the plates about 2" longer and we wouldn't have those pesky holes in the way at the front end..


Picture%203739.jpg


So we decided to cut out some 14 gauge and fill in those holes. Cut a piece the same width as the hole, and rounded the end. Then used the band saw to cut a vee on the back side of the "plugs" and continued to clean up the radius with the 3" Roloc sander. Once close, a bit more on the band saw and break off the remaining, then fine tune with the sander..


Picture%203741.jpg


Picture%203743.jpg


Magnet used to hold in place for tacking..


Picture%203748.jpg


Picture%203742.jpg


For TIG welding the perimeter of the plates, we decided to make up a "crutch" that we could rest our hand on for better holding the torch...


Picture%203751.jpg


Picture%203750.jpg


Kyle is getting a pretty good hold on this welding stuff...


Picture%203747.jpg


He even let me get in some practice....


Picture%203755.jpg
 
Kyle got the welds finished up on the frame plates...


Picture%203756.jpg


Picture%203758.jpg


Frame is ready to send to get media blasted...


Picture%203757.jpg


And the rear was busted apart for some media blasting as well


Picture%203762.jpg


Picture%203763.jpg


Getting the bus parts prepped for paint, the owner had a used bumper in stock so it will get repainted...


Picture%203761.jpg


Picture%203760.jpg
 
We've been waiting for an opening at the machine shop's blasting booth, we're going to get the frame done first. They have some large platform in there now for the US Navy, so it looks like another couple weeks.. So in the meantime, Kyle has been prepping some front end components for paint..


Picture%203764.jpg


Picture%203765.jpg


Picture%203766.jpg


Picture%203767.jpg


......and we should have this showing up tomorrow, need to get some metal cut out of the side and new replacement made up...


Picture%203726.jpg
 
Here's what we had to contend with on the bus. Some can opener effect going on....


Picture%203769.jpg


Picture%203770.jpg


Picture%203771.jpg


After cutting some of the mangled mess out of the way.........


Picture%203773.jpg


Picture%203774.jpg


Picture%203775.jpg


......we saw that the bottom structural member was not going to cooperate. The horizontal section behind the weld tear at the top used to be vertical... So to save some time, we'll cut this out and make a replacement. This is 16 ga, and is there to keep vehicles out of the passenger compartment. It did it's job, so let's put in a new one to restore the integrity..


Picture%203776.jpg


Picture%203777.jpg


Here the bottom flange is pushed in over an inch..


Picture%203778.jpg


Here's the replacement we made up..


Picture%203780.jpg


Comparison....


Picture%203782.jpg


Picture%203783.jpg


All trimmed, we'll get the replacement panel formed and fitted Tuesday..


Picture%203784.jpg


Spare parts...


Picture%203786.jpg
 
T&M..


Well our bus side panel is just shy of 8' long and about 24" wide. We did a light pass on the wheeling machine just enough to break the grain, figured it would have less chance of waves that way... We found out real quick that 8' is a bit long, so some 1x2's were pony-clamped under the outside edges to provide a bit of support. We tried to make a pass through the bead roller for the stepped flange at the bottom, with less than stellar results, a bit wavy up and down. Good thing we had the other half of the sheet. More wheeling, and used the offset / step dies in the Lennox Tru-Edge.


Picture%203787.jpg


Given our challenges with the long panels, we had to call in reinforcements. Regardless of the late hour that Scott's attire suggests, it was only 8 at night!


Picture%203789.jpg


Picture%203788.jpg


Linear slides really came in handy, nice straight detail this go round..


Picture%203791.jpg


Picture%203792.jpg


Comparing the bend relief above the rear bumper ear...


Picture%203793.jpg


Picture%203795.jpg


Tomorrow evening well get it fitted to the bus and final trimmed..
 
Lots of pieces, too!


Finished the welding of the lower structural member on the bus repair...


Picture%203797.jpg


Picture%203798.jpg


.....and underneath it is tied to the floor cross members


Picture%203802.jpg


Added the frame around the fuel door, this helps prevent the side panel from flopping around as the fuel door is pushed closed..


Picture%203803.jpg


Picture%203808.jpg


Picture%203807.jpg


Picture%203806.jpg


Thursday evening we'll get all the holes pre-drilled for the skirting and start prepping for paint..
 
The braces for behind the lower skirt were mangled pretty well, had to untwist the pretzels to get accurate measurements..


Picture%203809.jpg


Picture%203811.jpg


Getting all the holes prepped...


Picture%203813.jpg


Welding in the new braces..


Picture%203817.jpg


Picture%203820.jpg


All the pieces of the puzzle... Well, almost..


Picture%203821.jpg


Picture%203822.jpg


Now to bust it apart for paint prep..
 
The other night while spraying parts, I made a couple trips over to the bus location with the spray gun... in between coats, to get some primer on the bare steel we put in... SPI epoxy on the structural components..


Picture%203856.jpg


.....and some epoxy AND yellow added to the nice scraped up lower corner..


Picture%203857.jpg


Coming together...


Picture%203859.jpg


Rivets were media blasted and urethane only, just like the screws. This shows how well the paint holds up to the installation "abuse"...


Picture%203860.jpg


Done!


Picture%203863.jpg


Picture%203866.jpg
 
Dropped it off before work, picked it up afterward.


Picture%203866.jpg


After about an hour in the driveway with an air hose, the flow of trapped media is scarce, but I'm sure there's still some there. We'll get some SPI epoxy sprayed tomorrow night...


Picture%203867.jpg


Picture%203868.jpg


Picture%203869.jpg
 
I agree. That is nice. Funny how you can blow air and vacuum every crevice and think you have all abrasive gone till the spraying begins. Never fails especially hoods
 
Yeah, had some media coming out of the frame still today..


55 parts everywhere....


Picture%203870.jpg


Two coats of SPI epoxy....


Picture%203871.jpg


Picture%203872.jpg


Had some left in the paint gun so a couple of extra pieces were moved in...


Picture%203873.jpg


Picture%203874.jpg


Oh yeah....the "new" trailer wheels were all blasted and ready to go, so they got a couple coats on the back side...


Picture%203875.jpg


Picture%203876.jpg
 
Back
Top