Wagon Progress

Bob, I haven't sprayed any waterborne, but this is likely similar. It seems to have a "thinner viscosity" than the urethanes and bases that I've been used to.. It seemed to cover well, but then I was spraying black diamond over black epoxy. It laid nice and flat with minimal build..
 
Thanks!


Well, we had gotten some more sanding done......


Picture%202928.jpg


Picture%202929.jpg


Picture%202930.jpg


.....and since it was still early in the evening, mixed up some more epoxy....


Picture%202931.jpg


Picture%202932.jpg


Picture%202933.jpg


Picture%202934.jpg
 
Doesn't seem like much to show, we're still sanding away....


Picture%202936.jpg


Picture%202937.jpg


Picture%202976.jpg


Picture%202938.jpg


Picture%202945.jpg


Picture%202946.jpg


Got about half done with the tail gate and remembered we needed some holes drilled in the new skin for the emblem. Only issue was that I had done some spring cleaning earlier this year and the original skin with the hole pattern and location was now gone. So I sent an email to Mikey at The Stainless Shoppe, as he had an original, and he got me squared away... Thanks Mikey!


Picture%202953.jpg


Picture%202952.jpg


I located the hole for the center alignment pin first, and planned on using some spotters for the remaining 4 holes... Some measurements were taken to insure the emblem was on straight, and then some "backstops" used. The spotters come in a set of various sizes, and typically you never find the exact size you need...


Picture%202957.jpg


Picture%202959.jpg


These will go in some 10-24 threaded holes on the emblem. The closest size was the 1/8" spotters, so we'll need to adjust the fit..


Picture%202958.jpg


A couple wraps of fineline tape and we now have a snug fit so the spotters don't fall out..


Picture%202961.jpg


Picture%202962.jpg


Picture%202960.jpg


Then the emblem is located on the tail gate with the center alignment pin, then the back stops. The emblem is pressed onto the tail gate, and the spotters leave their mark on the epoxy paint finish..


Picture%202963.jpg


Next, the studs are installed finger tight using sleeve retainer. This will hopefully keep them from spinning inward any further risking possible damage to the chrome bezel...


Picture%202965.jpg


Picture%202966.jpg


The nuts that come with the emblem are the split thread variety, and I had some threaded ones left over from the Fairlane build, that also are slightly larger in diameter, which may help out as the emblem also serves as a lift handle..


Picture%202967.jpg


Holes drilled and emblem fitted


Picture%202969.jpg
 
Got some more SPI Epoxy sprayed, here's the parts for my niece Katie's truck that she prepped...


Picture%203010.jpg


Picture%203011.jpg


....and some more on the wagon parts....


Picture%203013.jpg


Picture%203014.jpg


Picture%203015.jpg


Picture%203016.jpg


Picture%203017.jpg
 
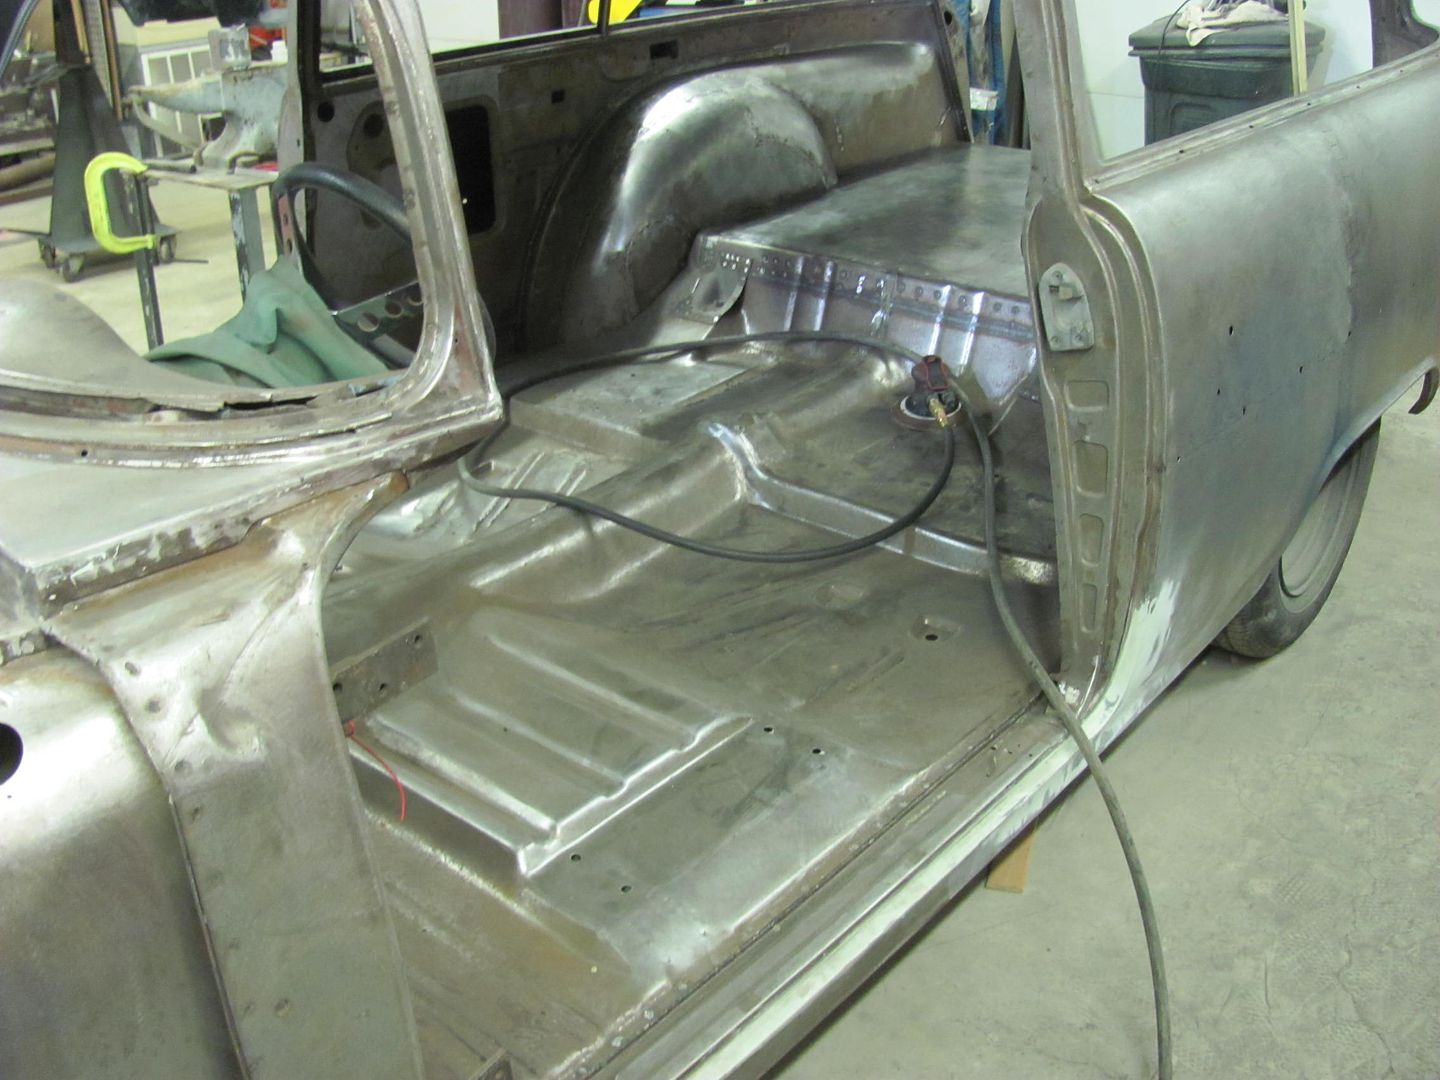
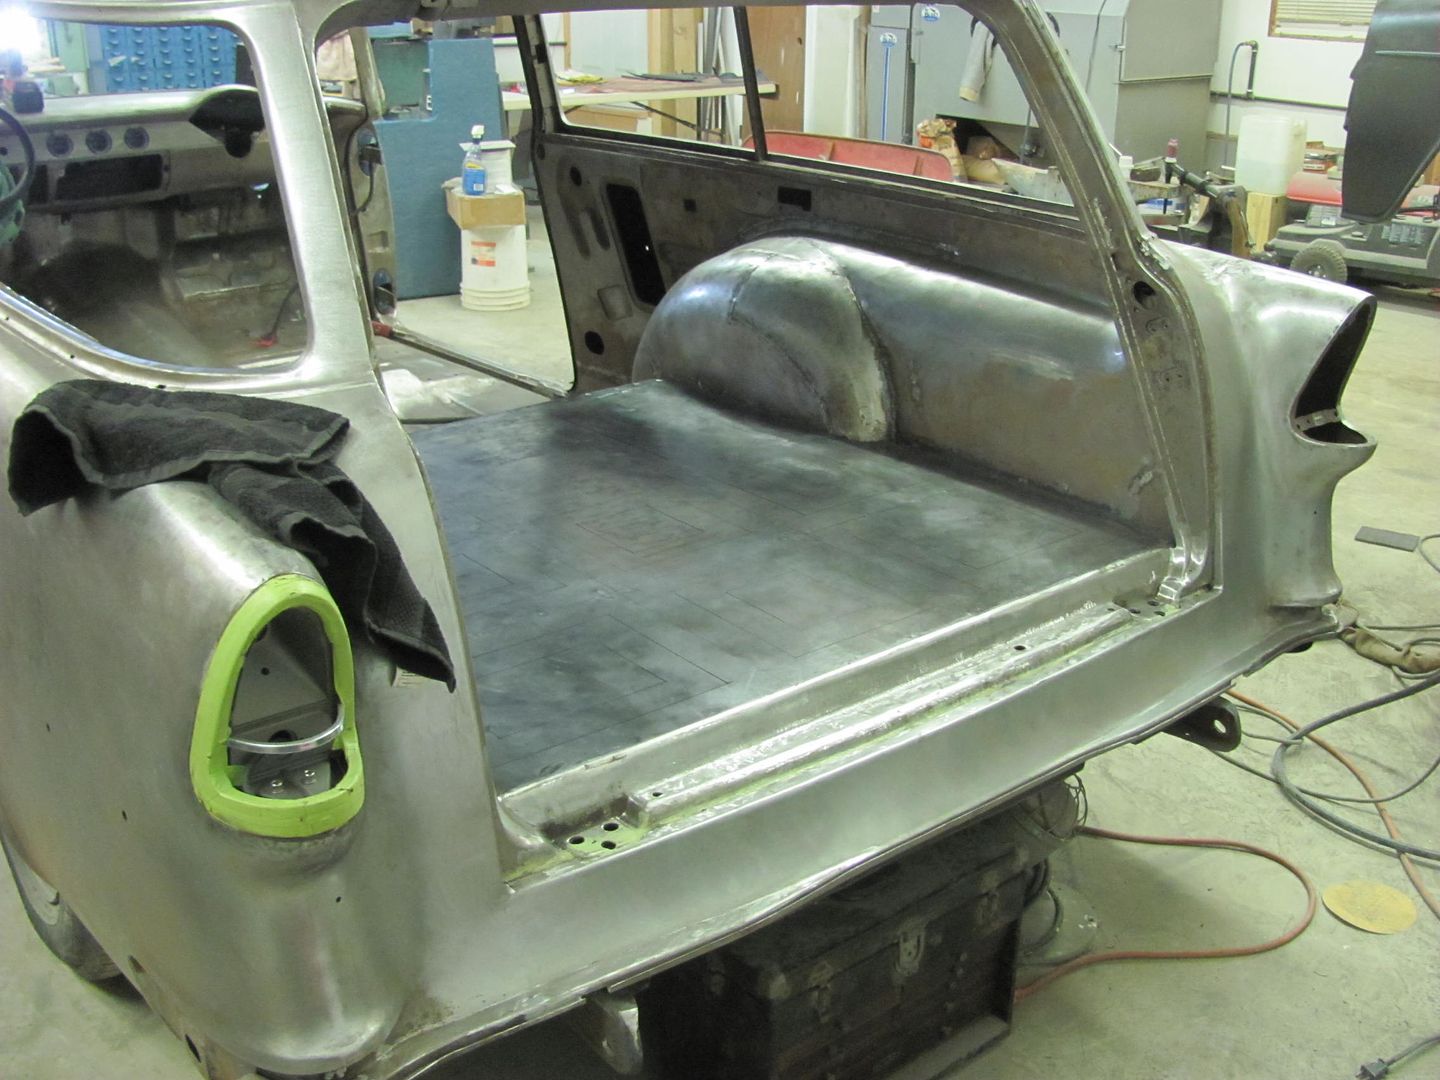
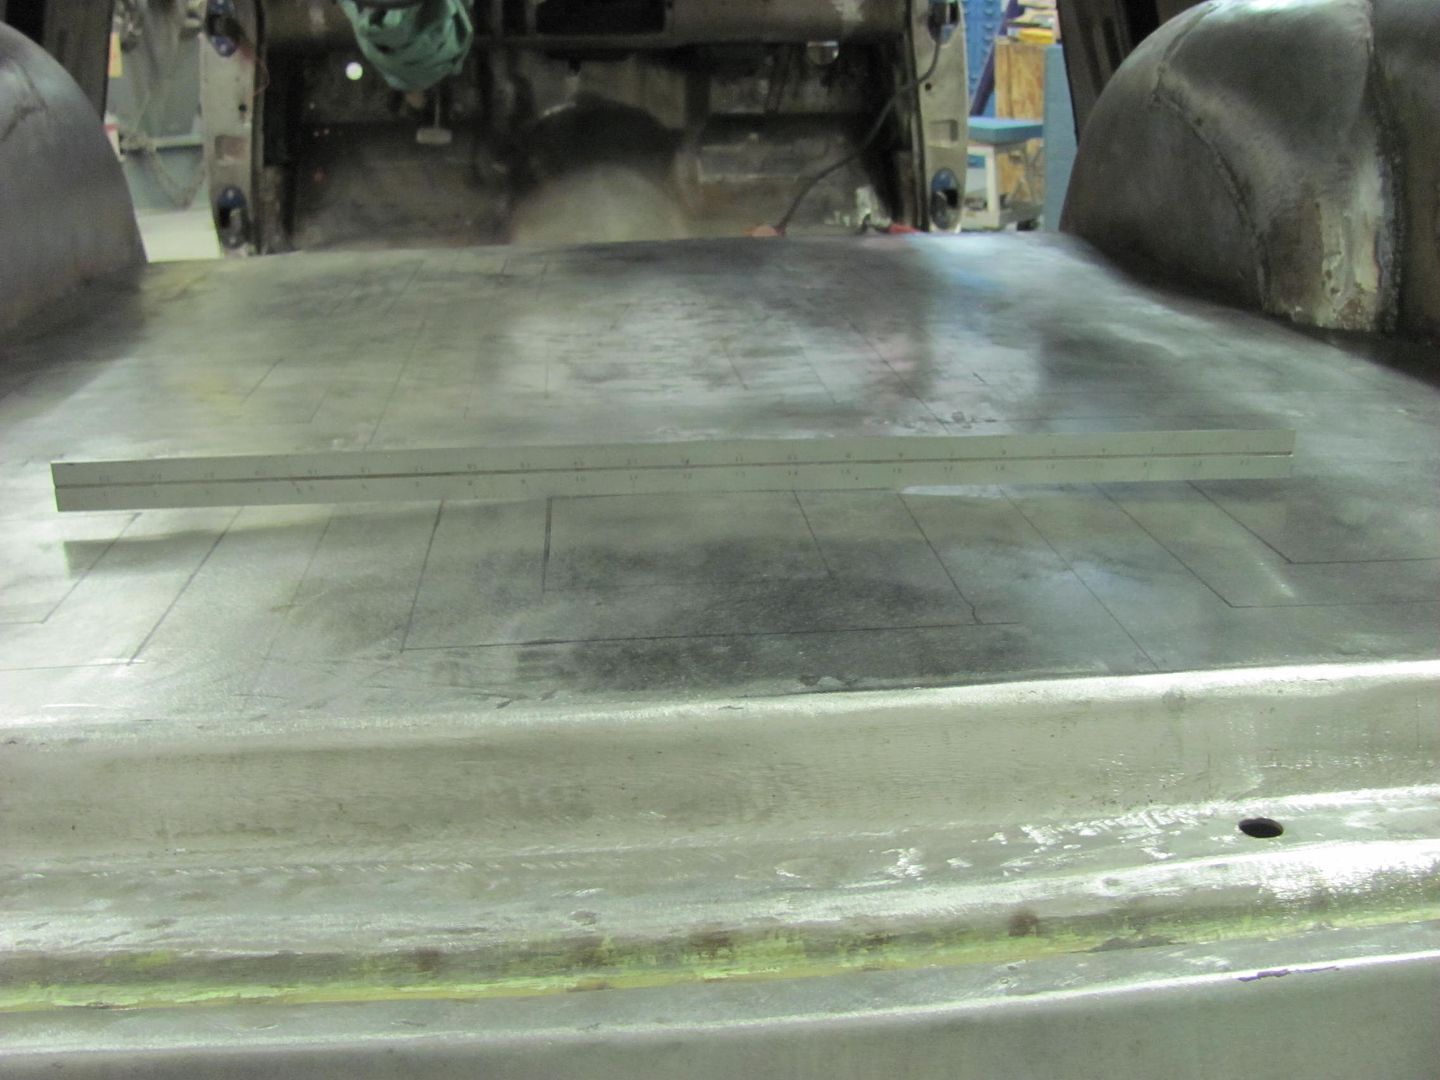
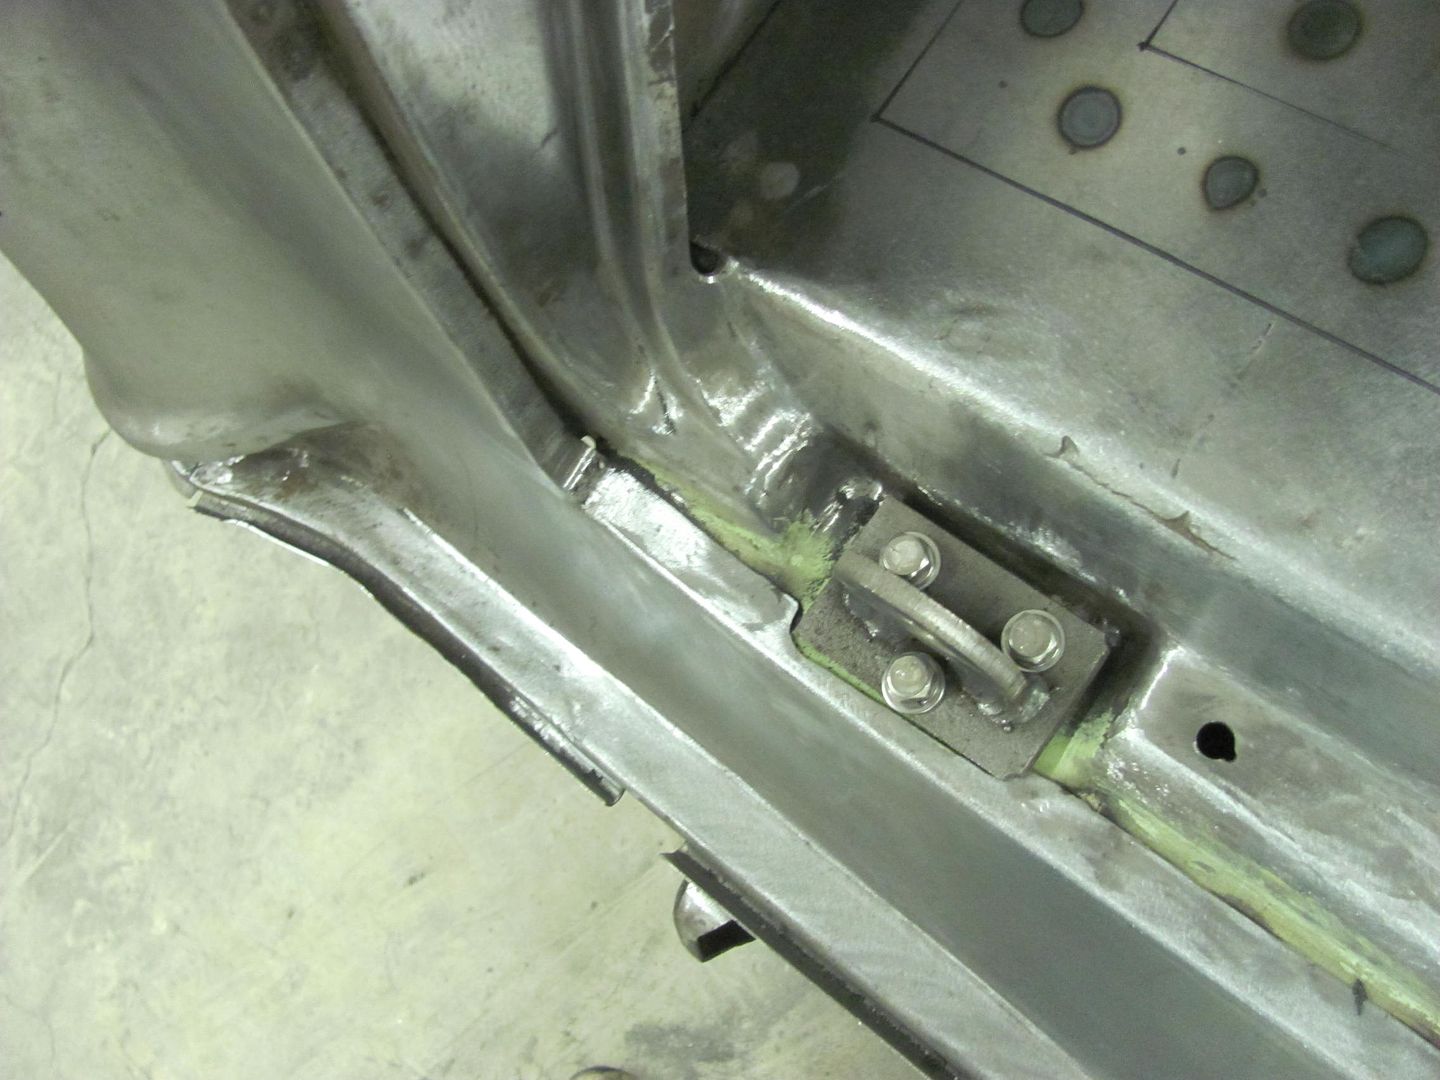
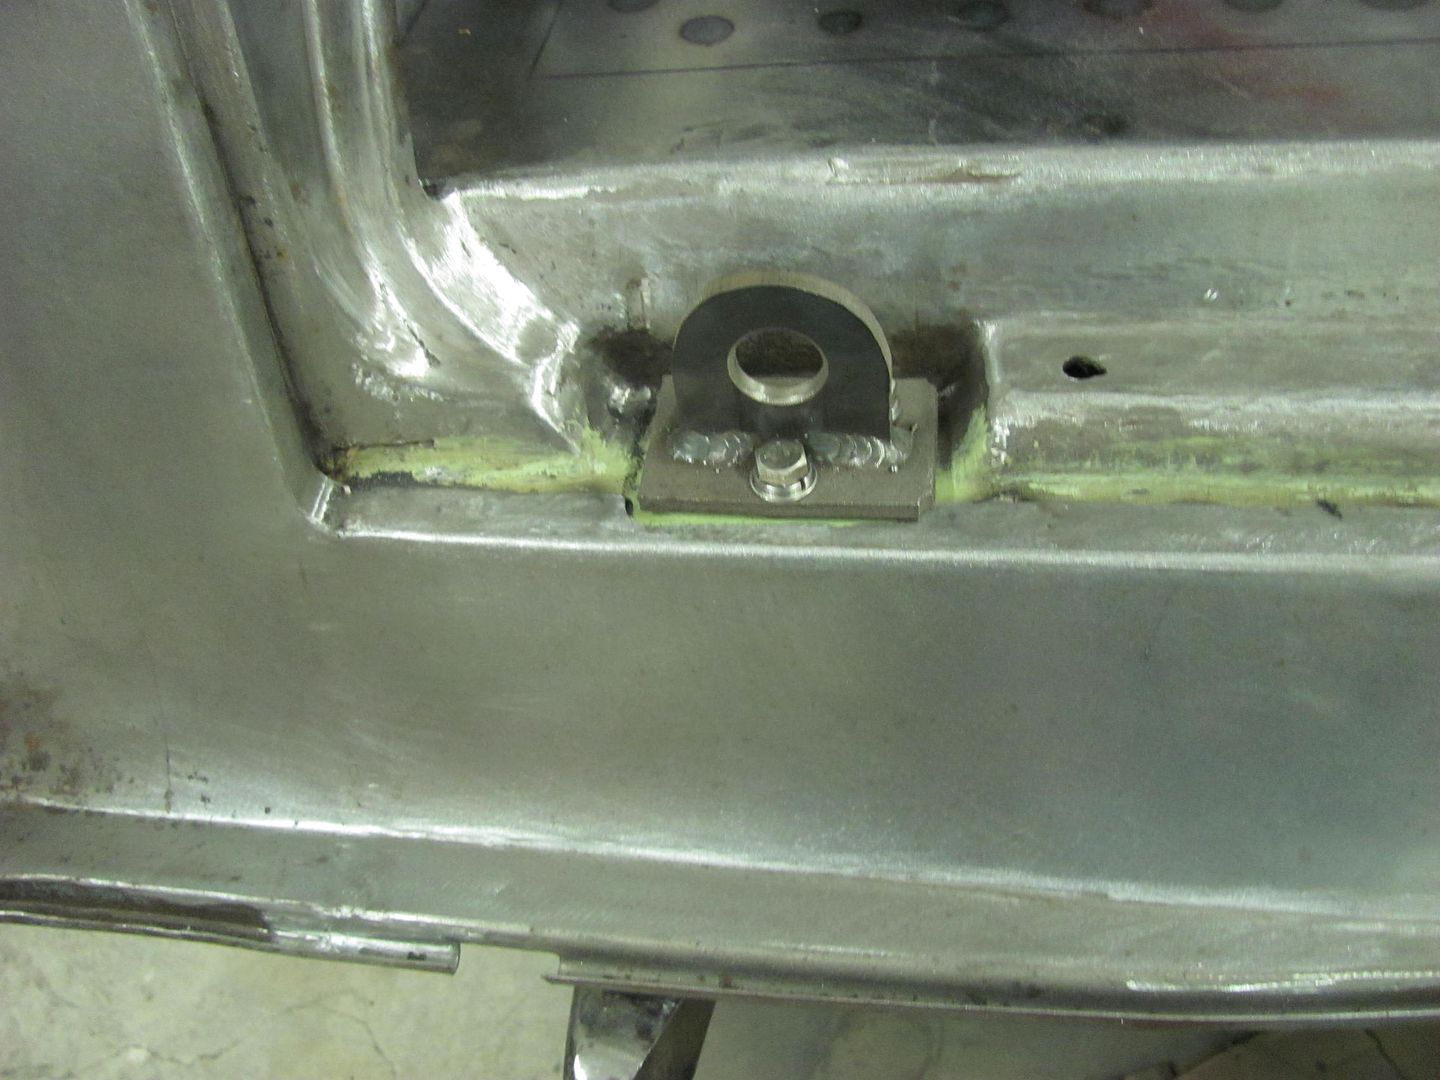
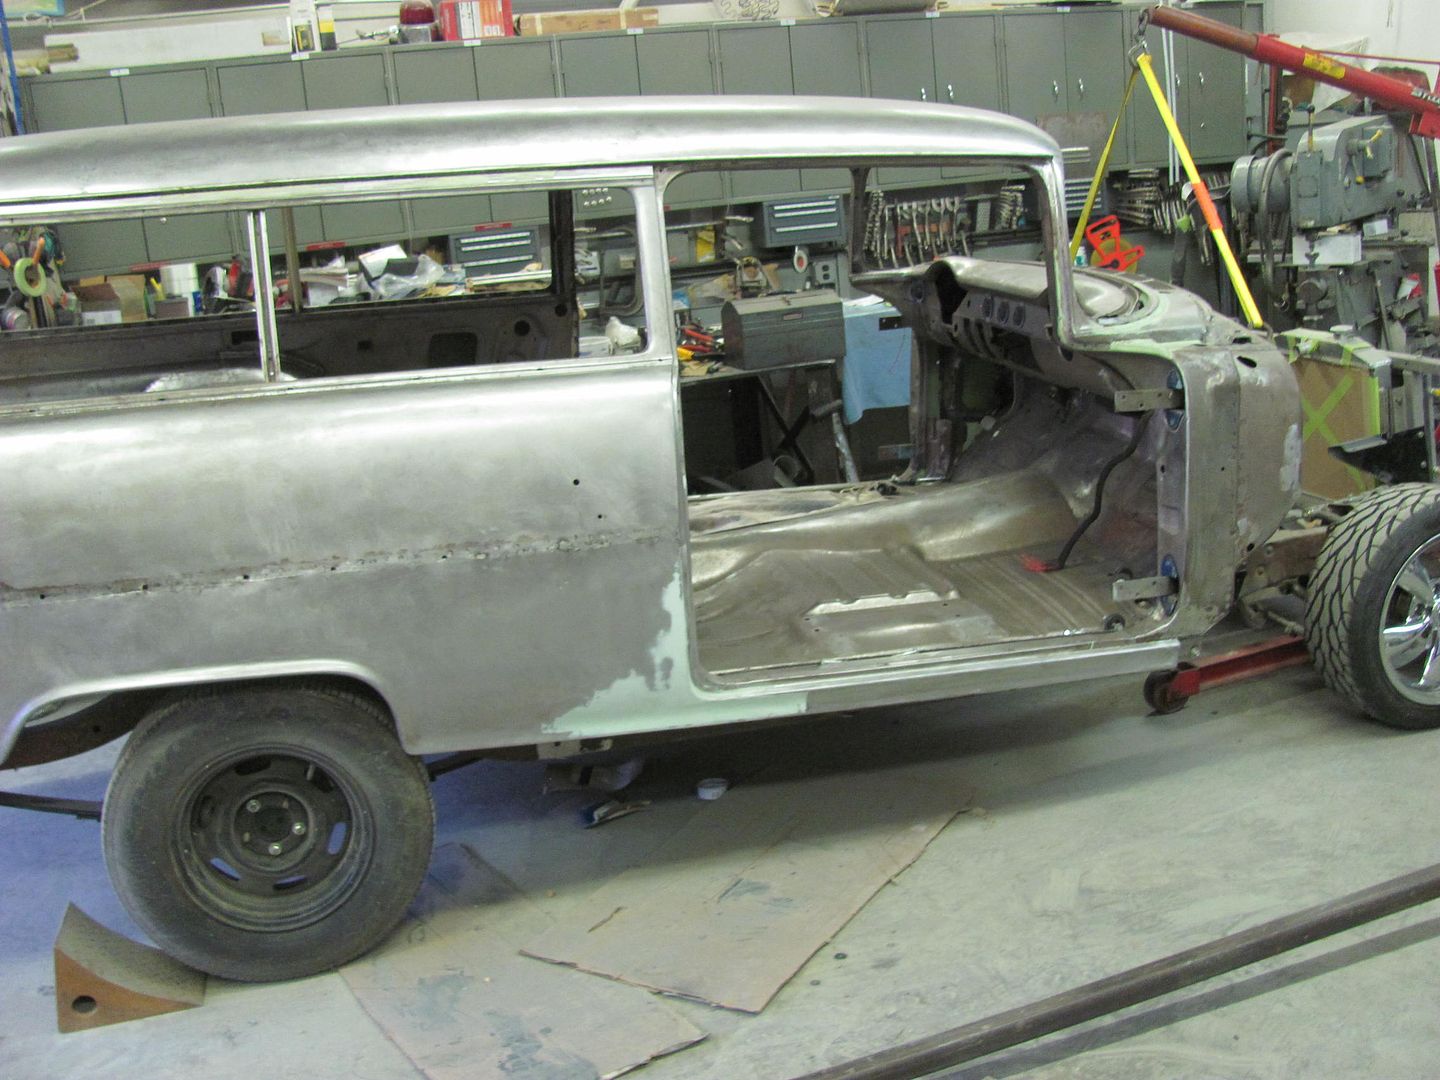
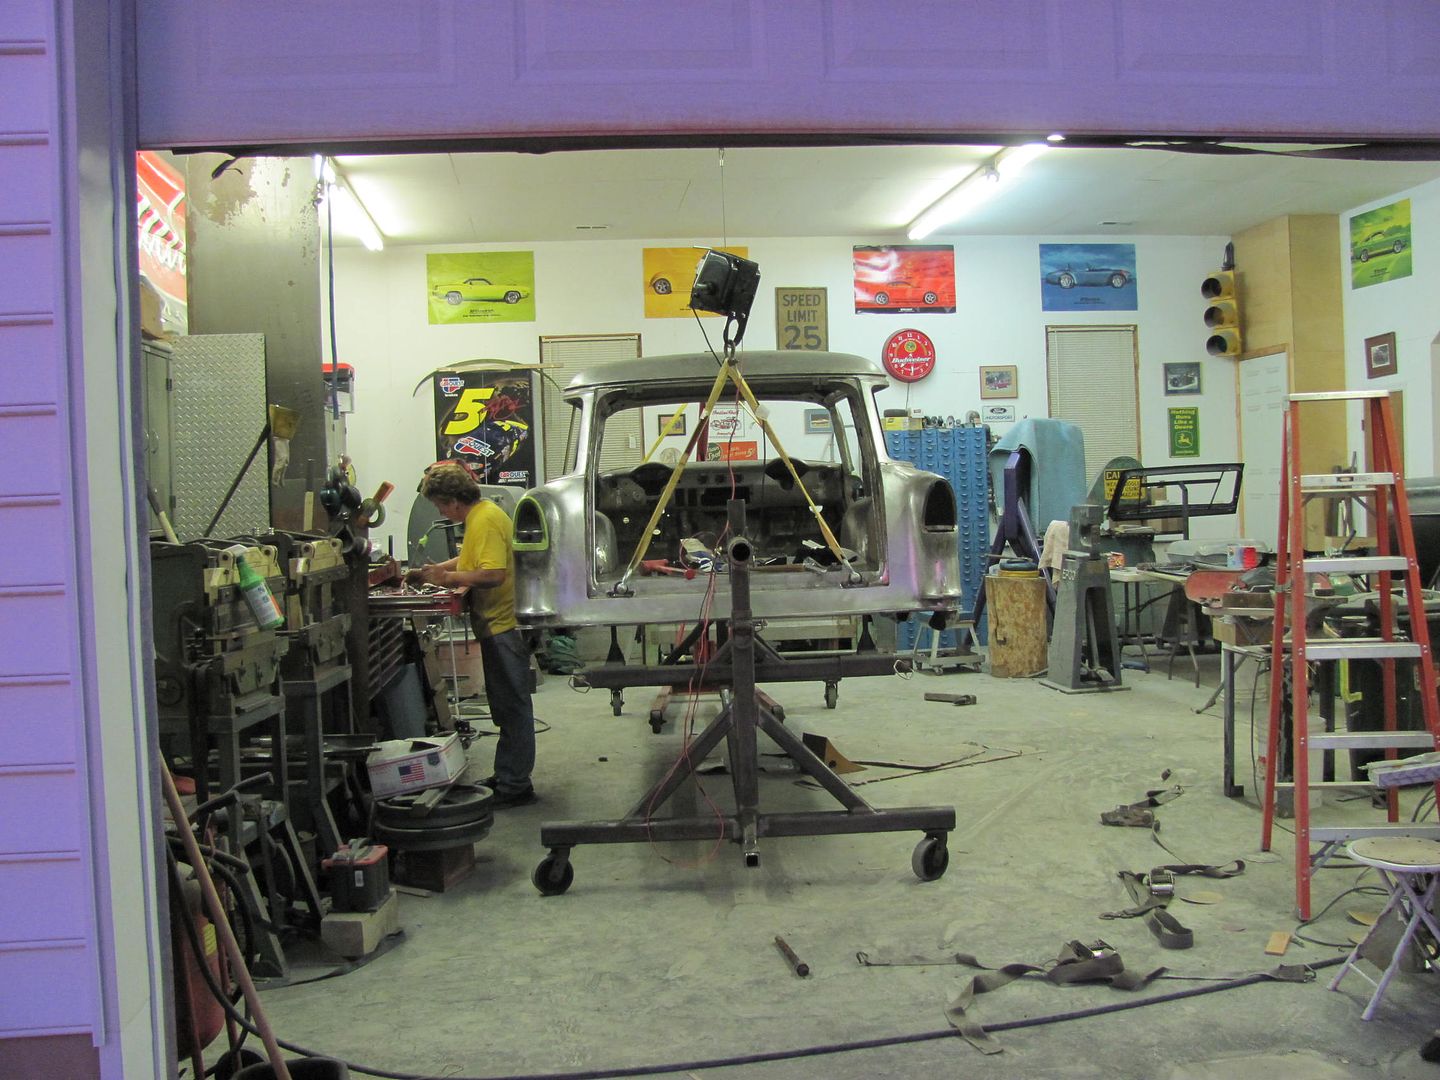
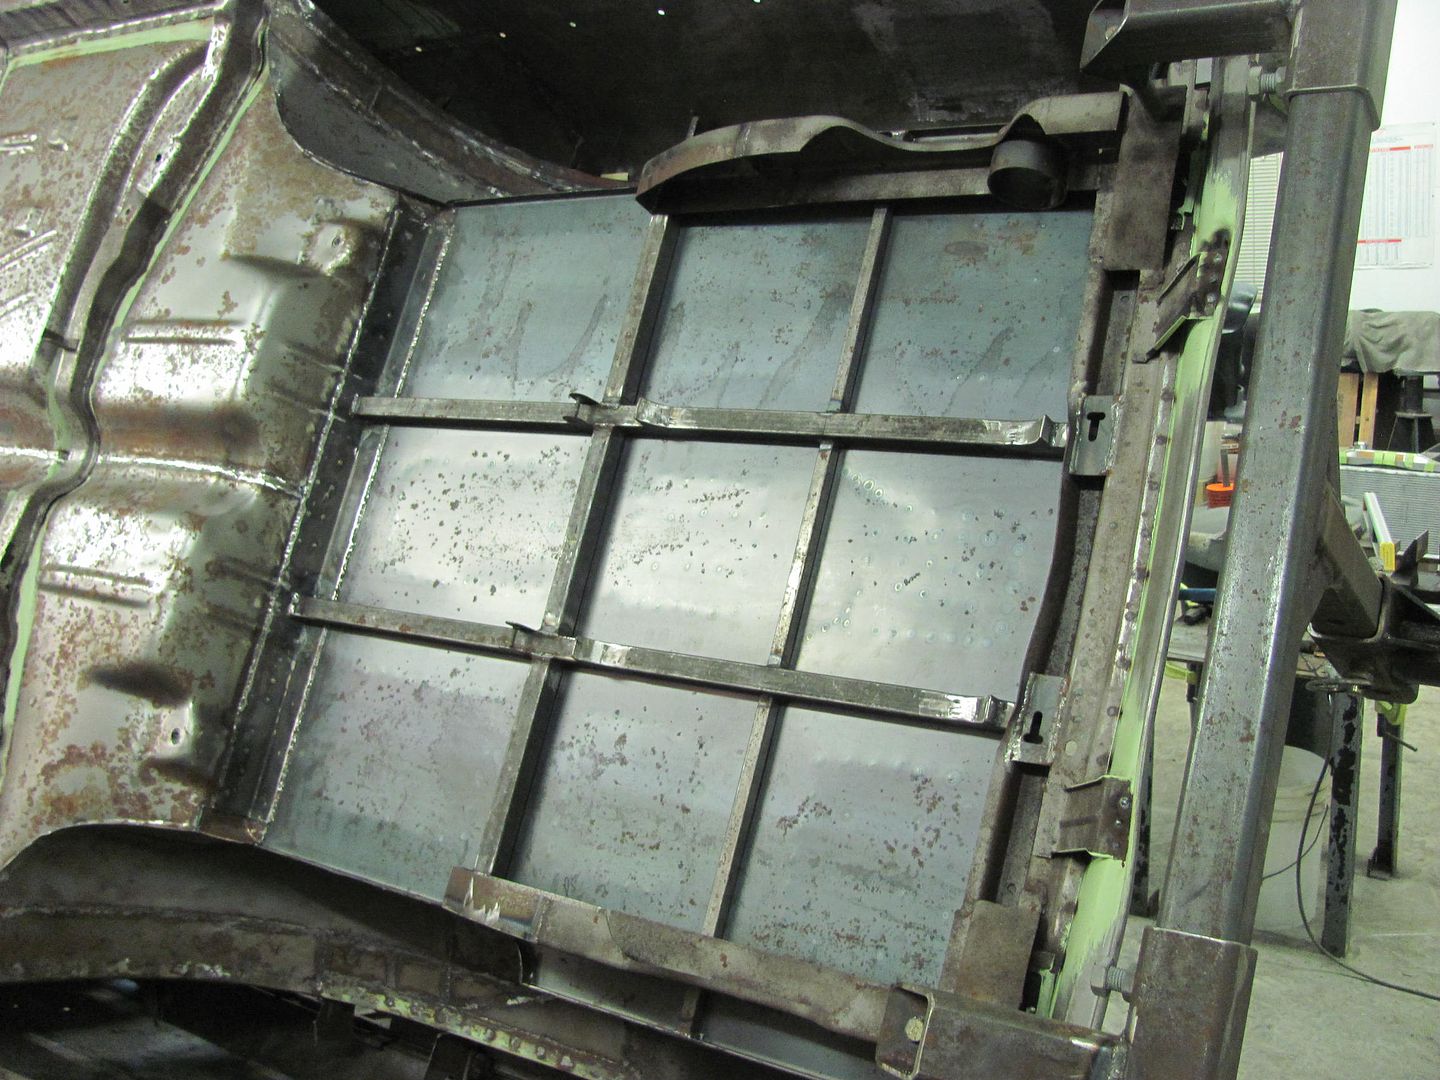
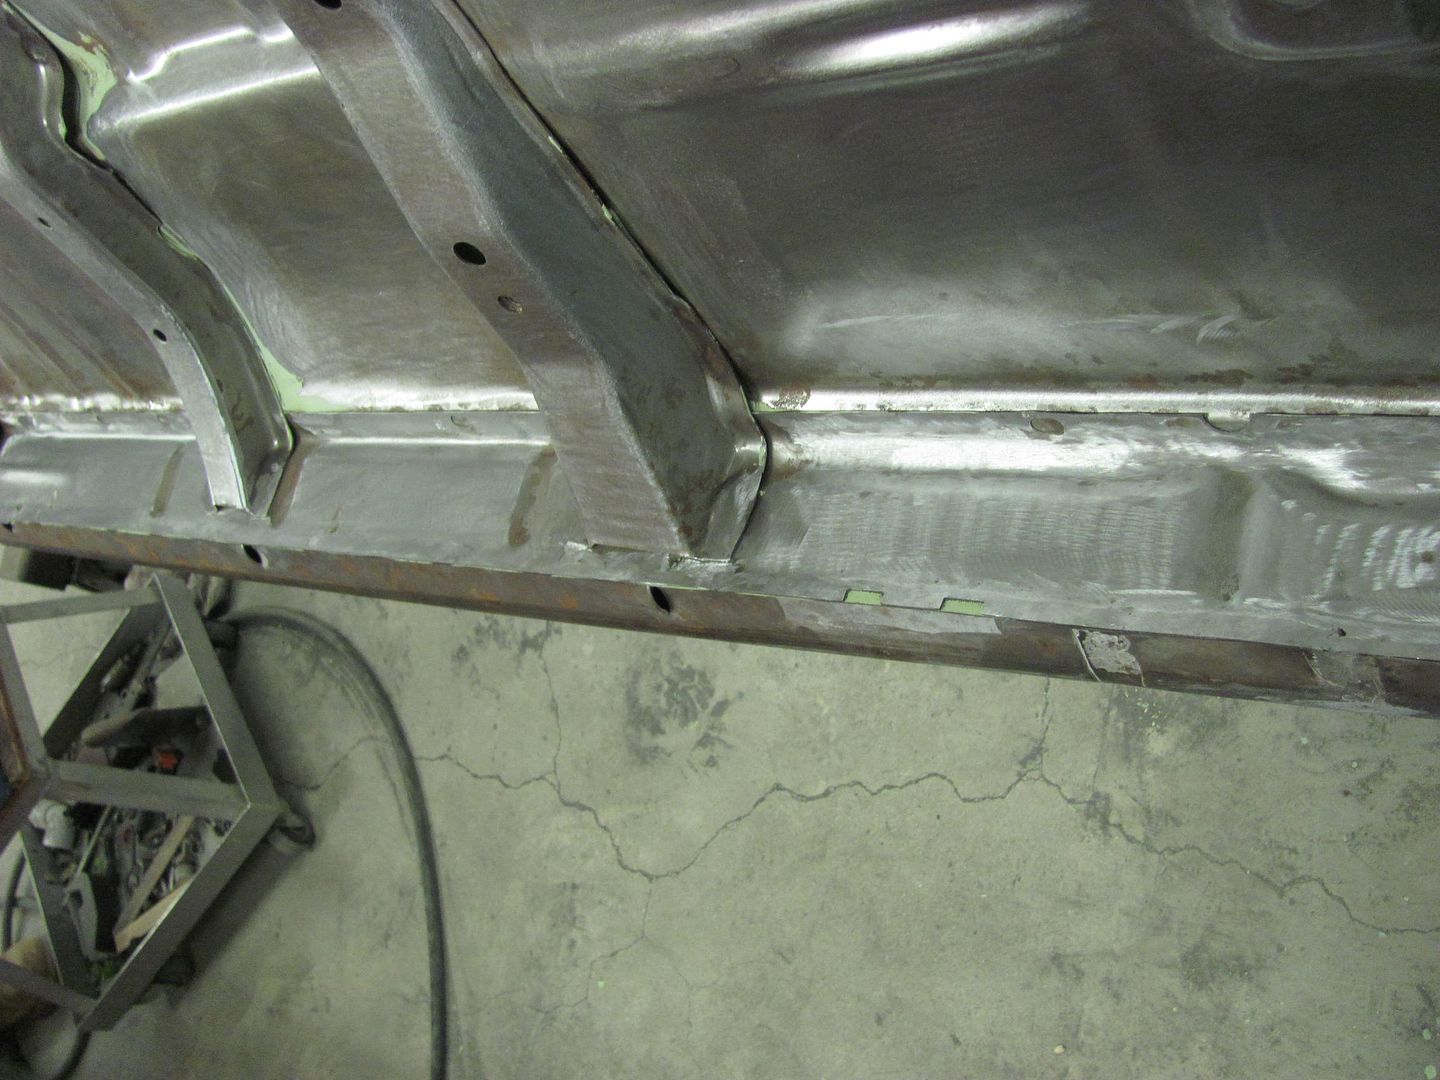
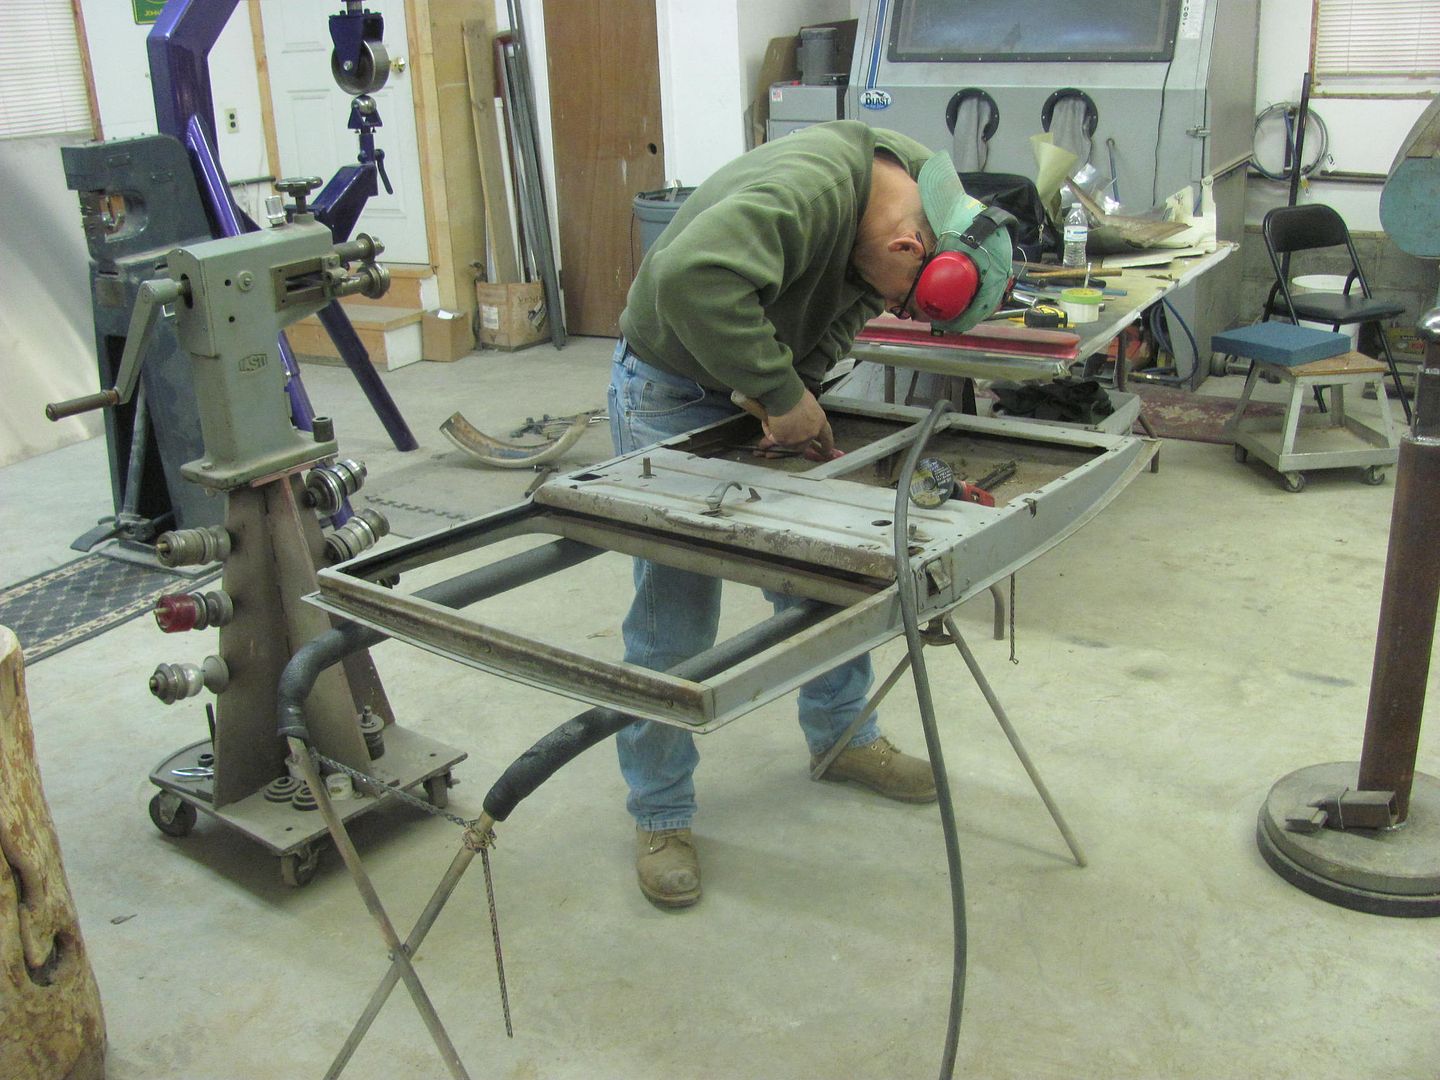
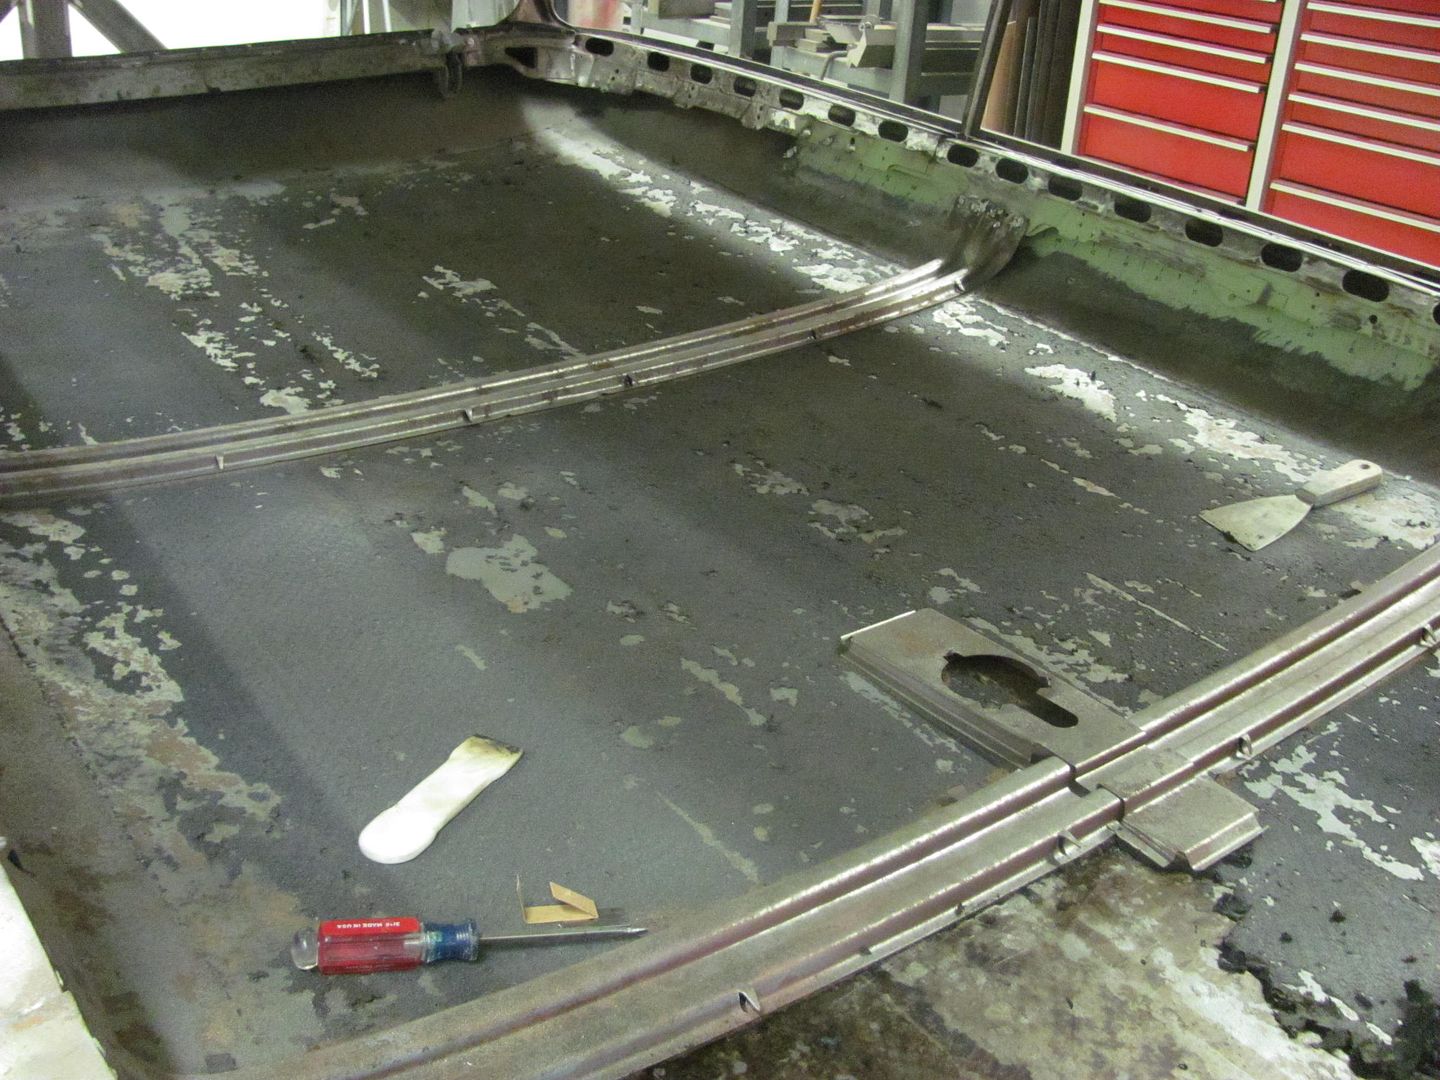
Well there has been a slight break in the updates, as I've been in Okinawa for about a month. Not to fear, Kyle has been plugging away on the wagon, it even has a floor in it, as you can see here...


Picture%203051.jpg


Picture%203053.jpg


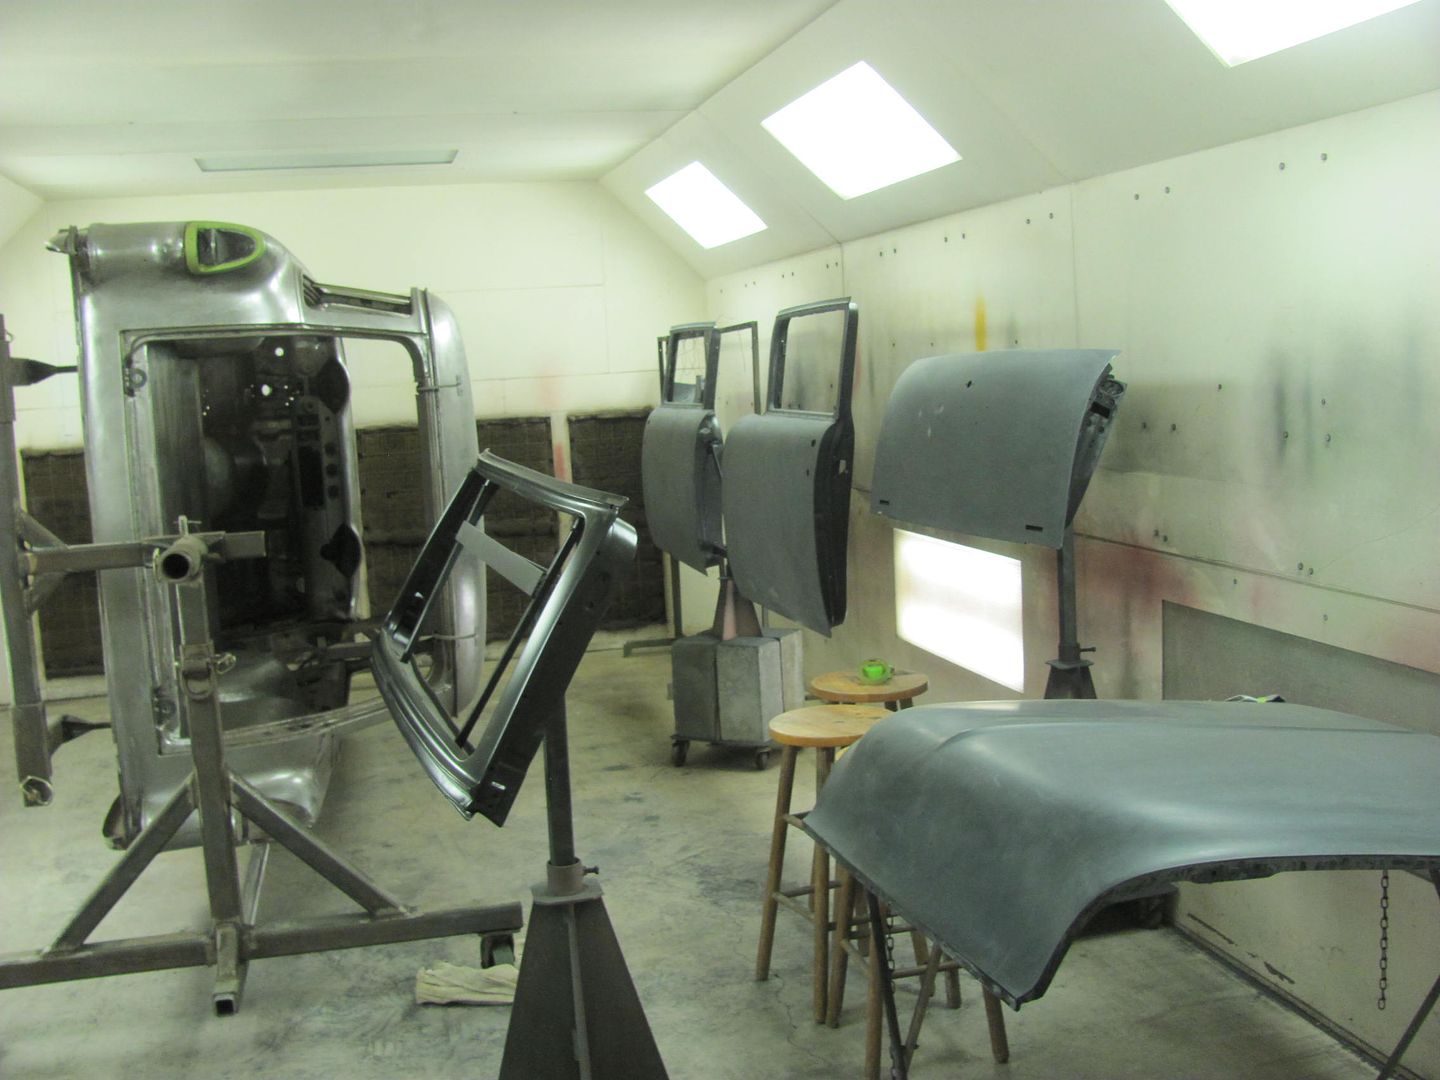
He did get a quite a bit of blocking done while I was gone....


Picture%203045.jpg


Picture%203059.jpg


Picture%203060.jpg


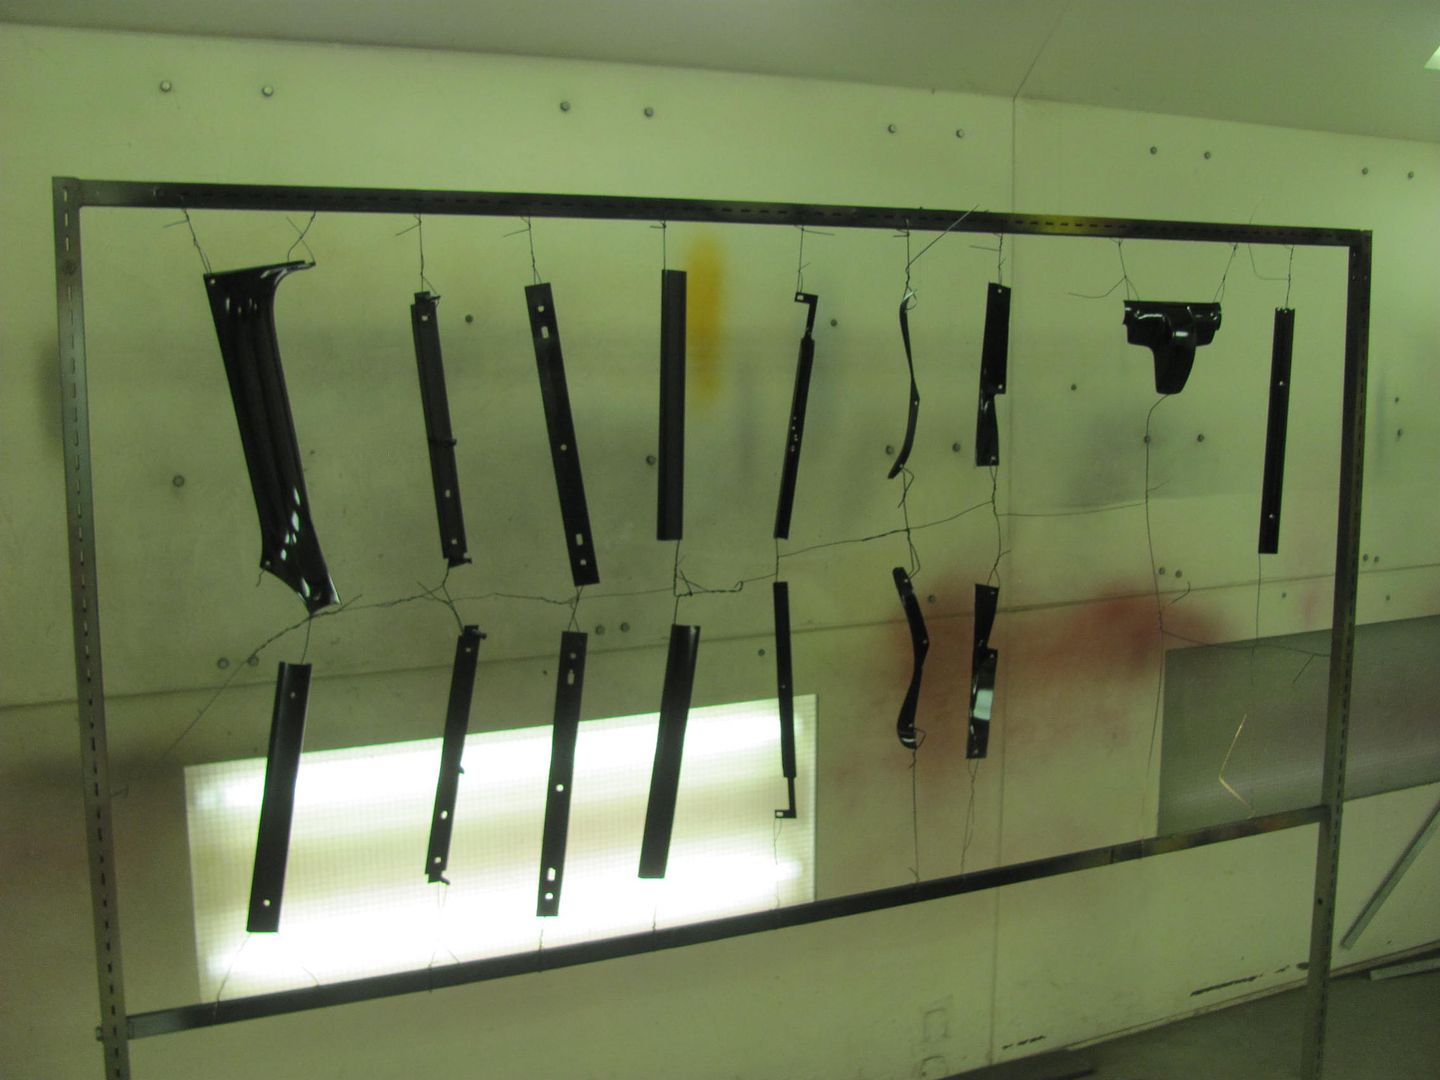
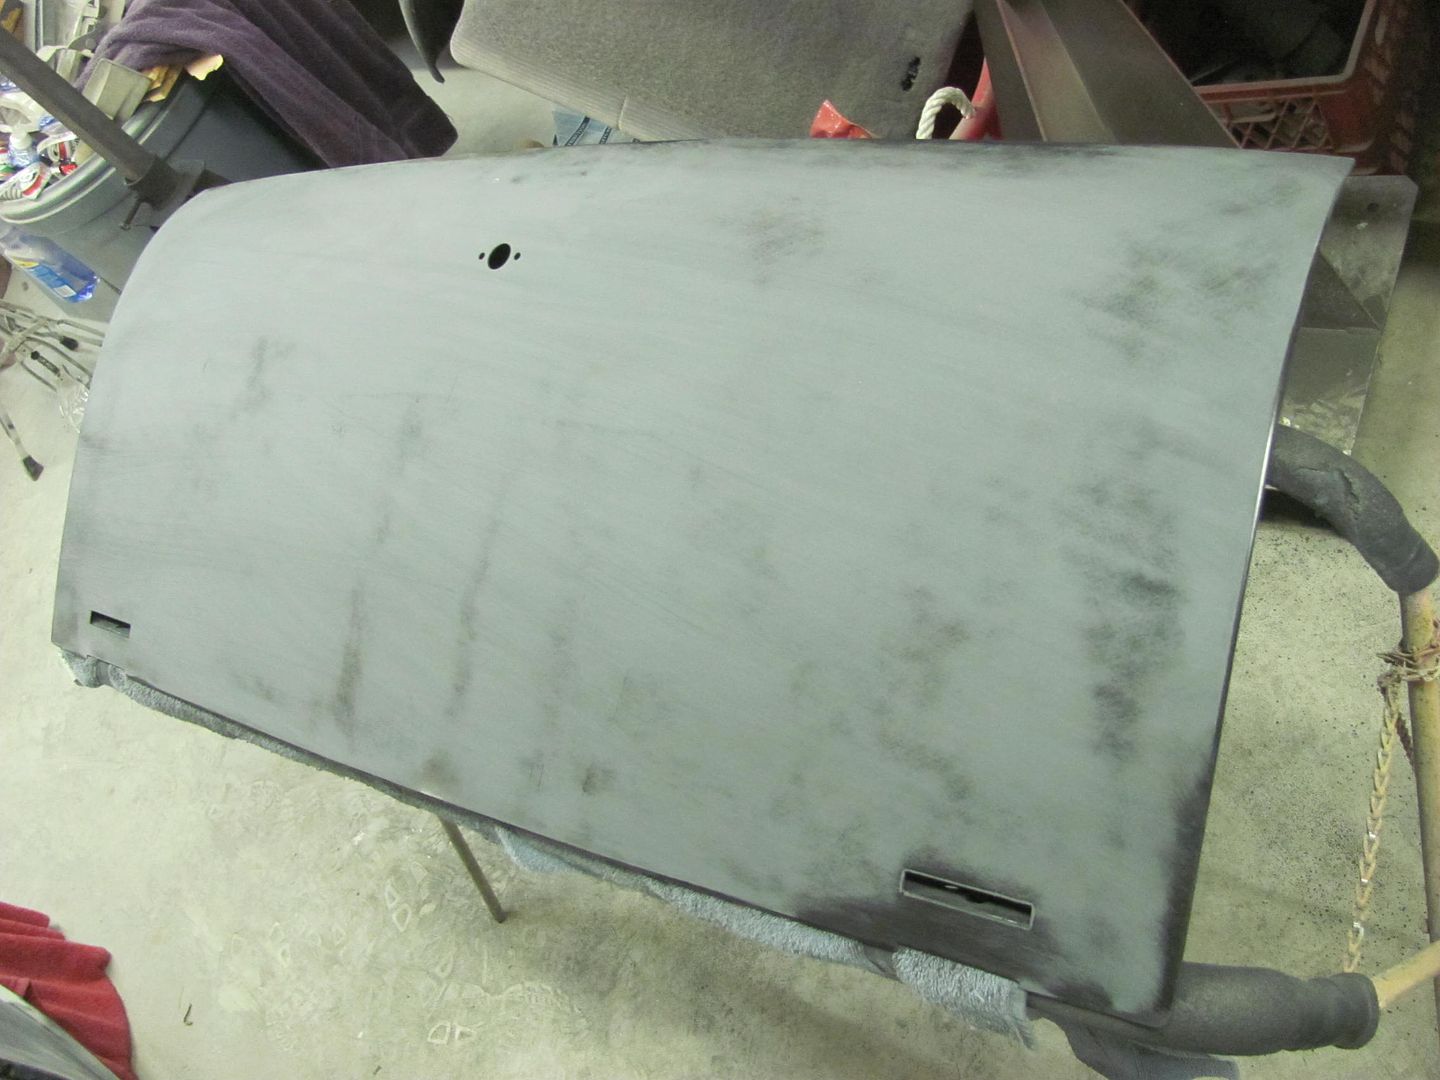
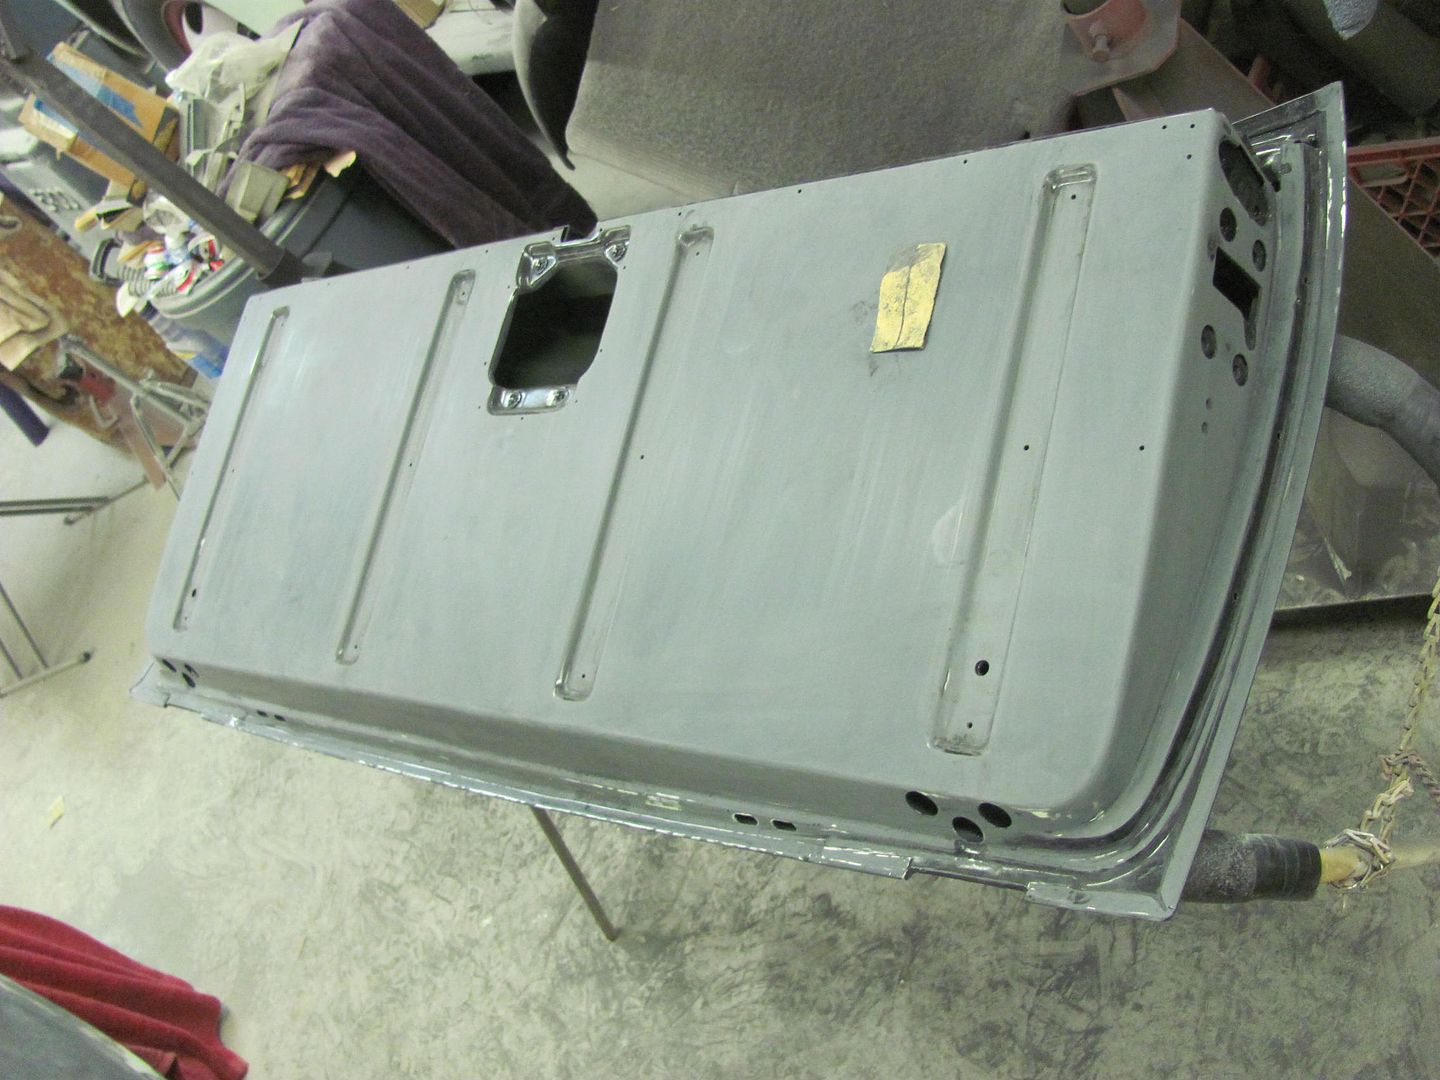
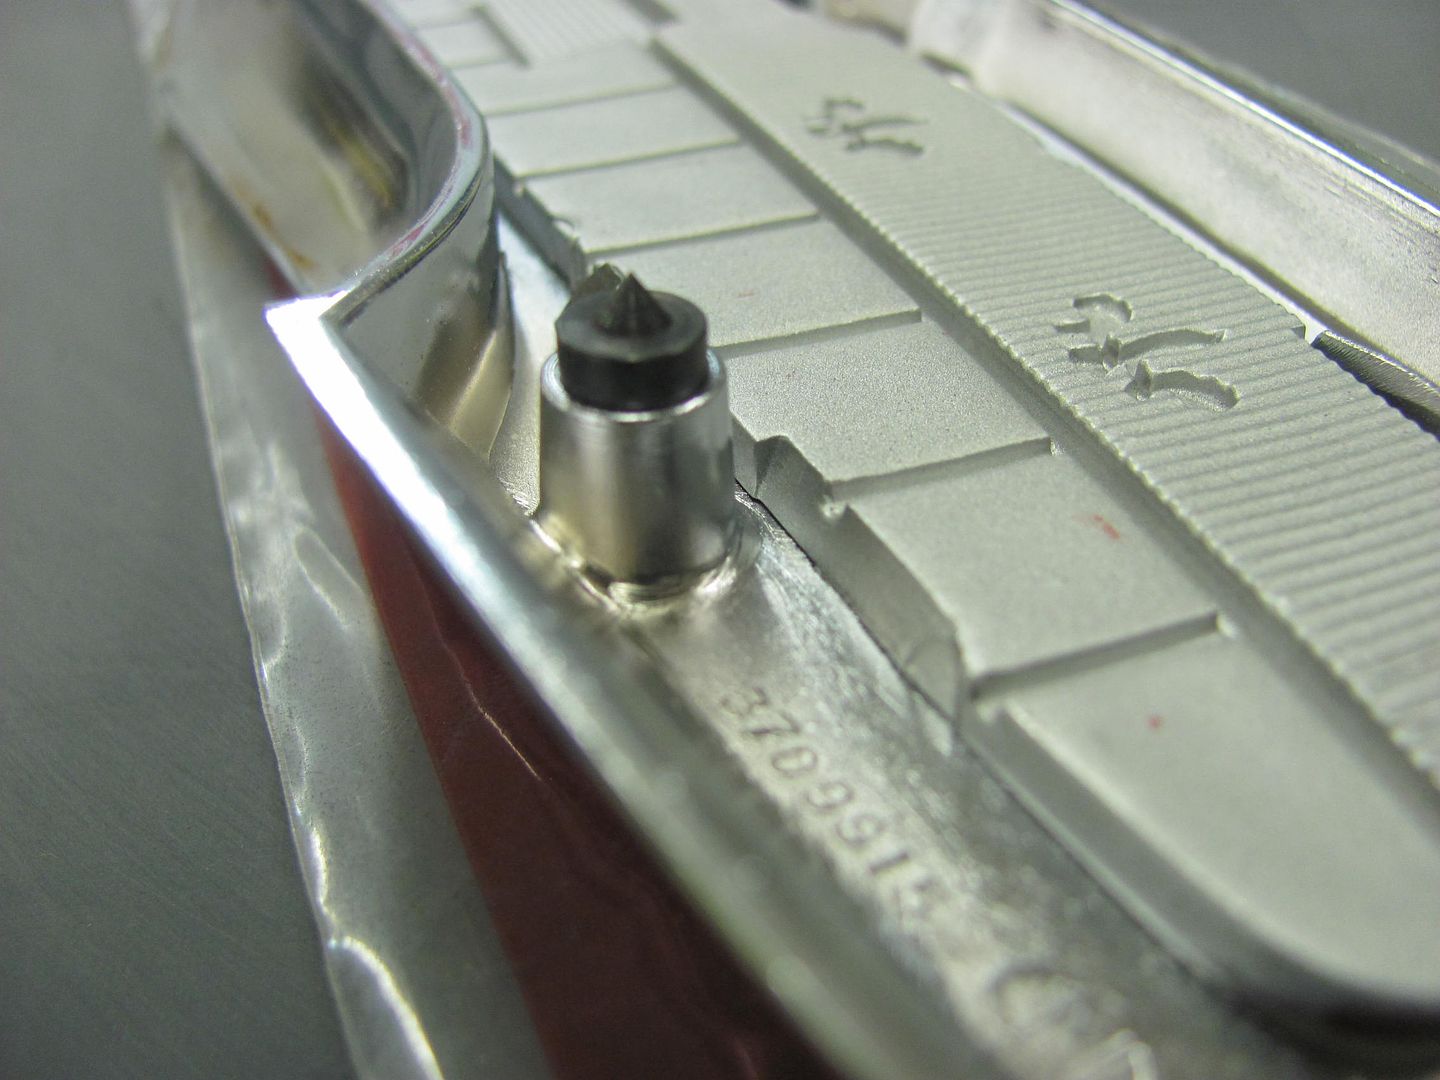
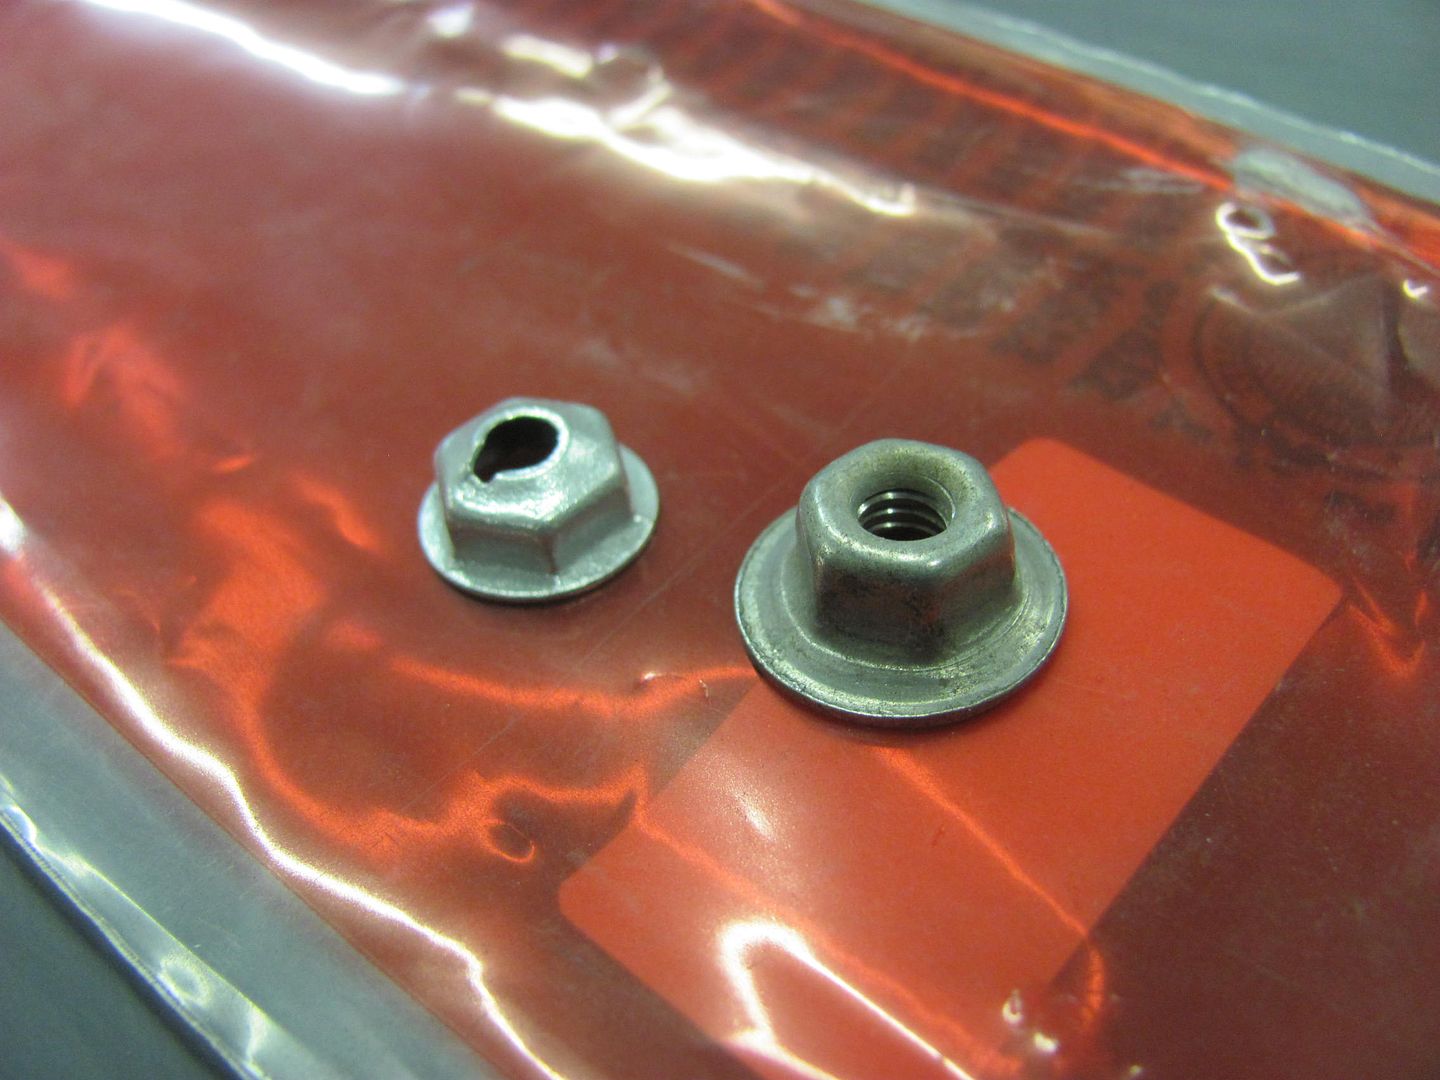
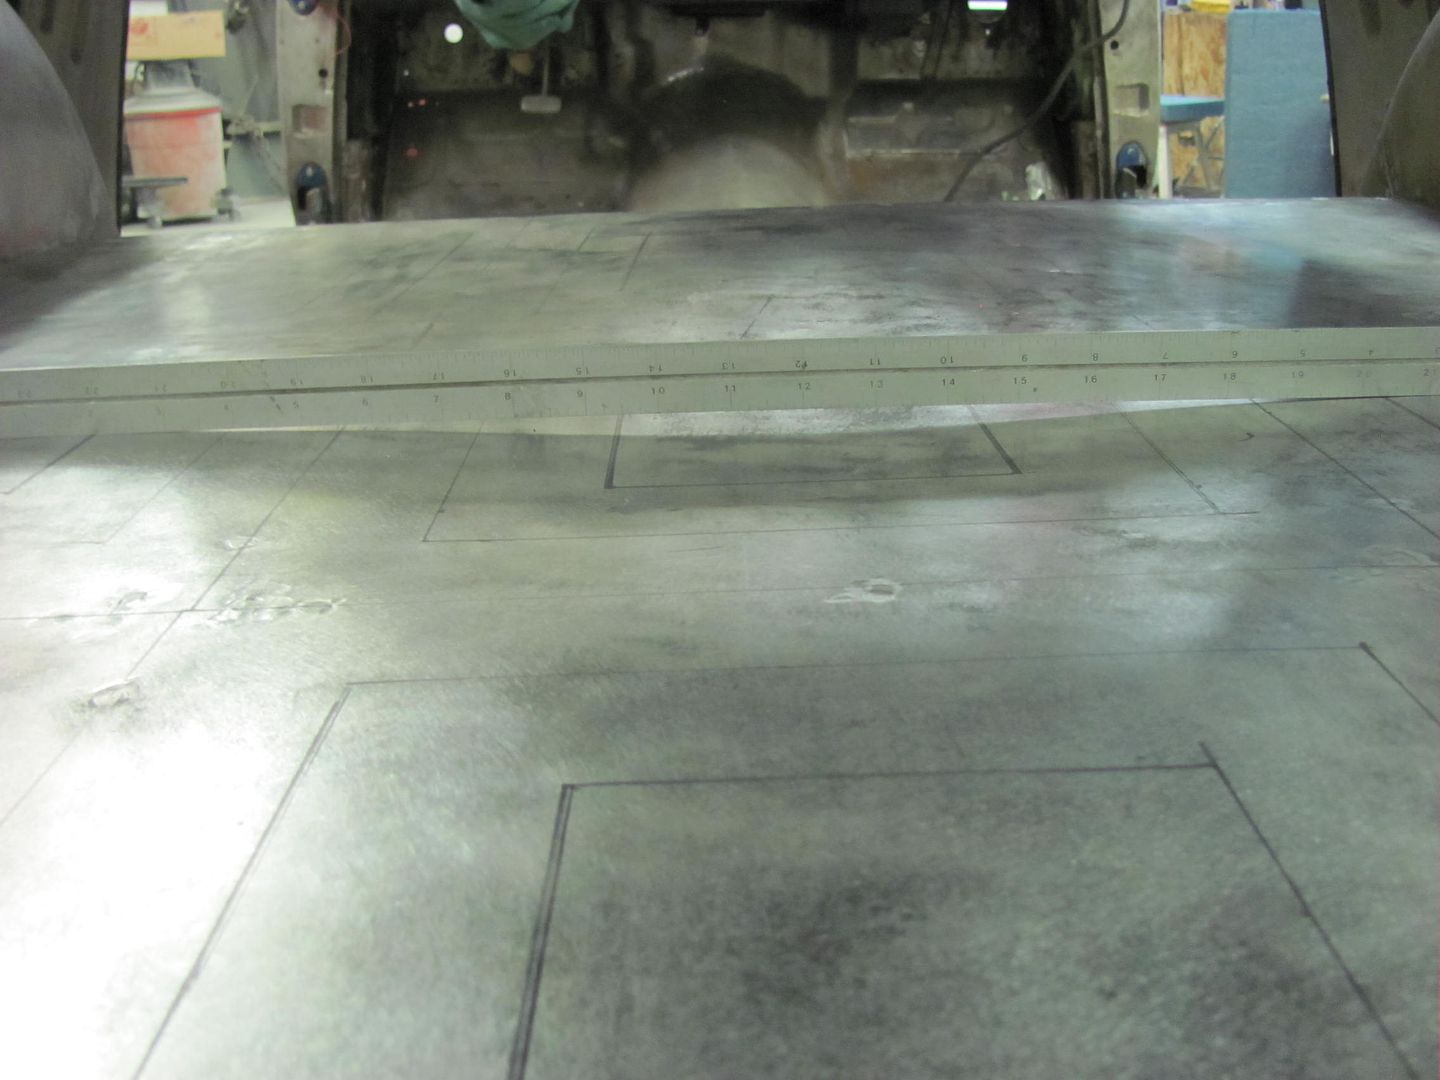
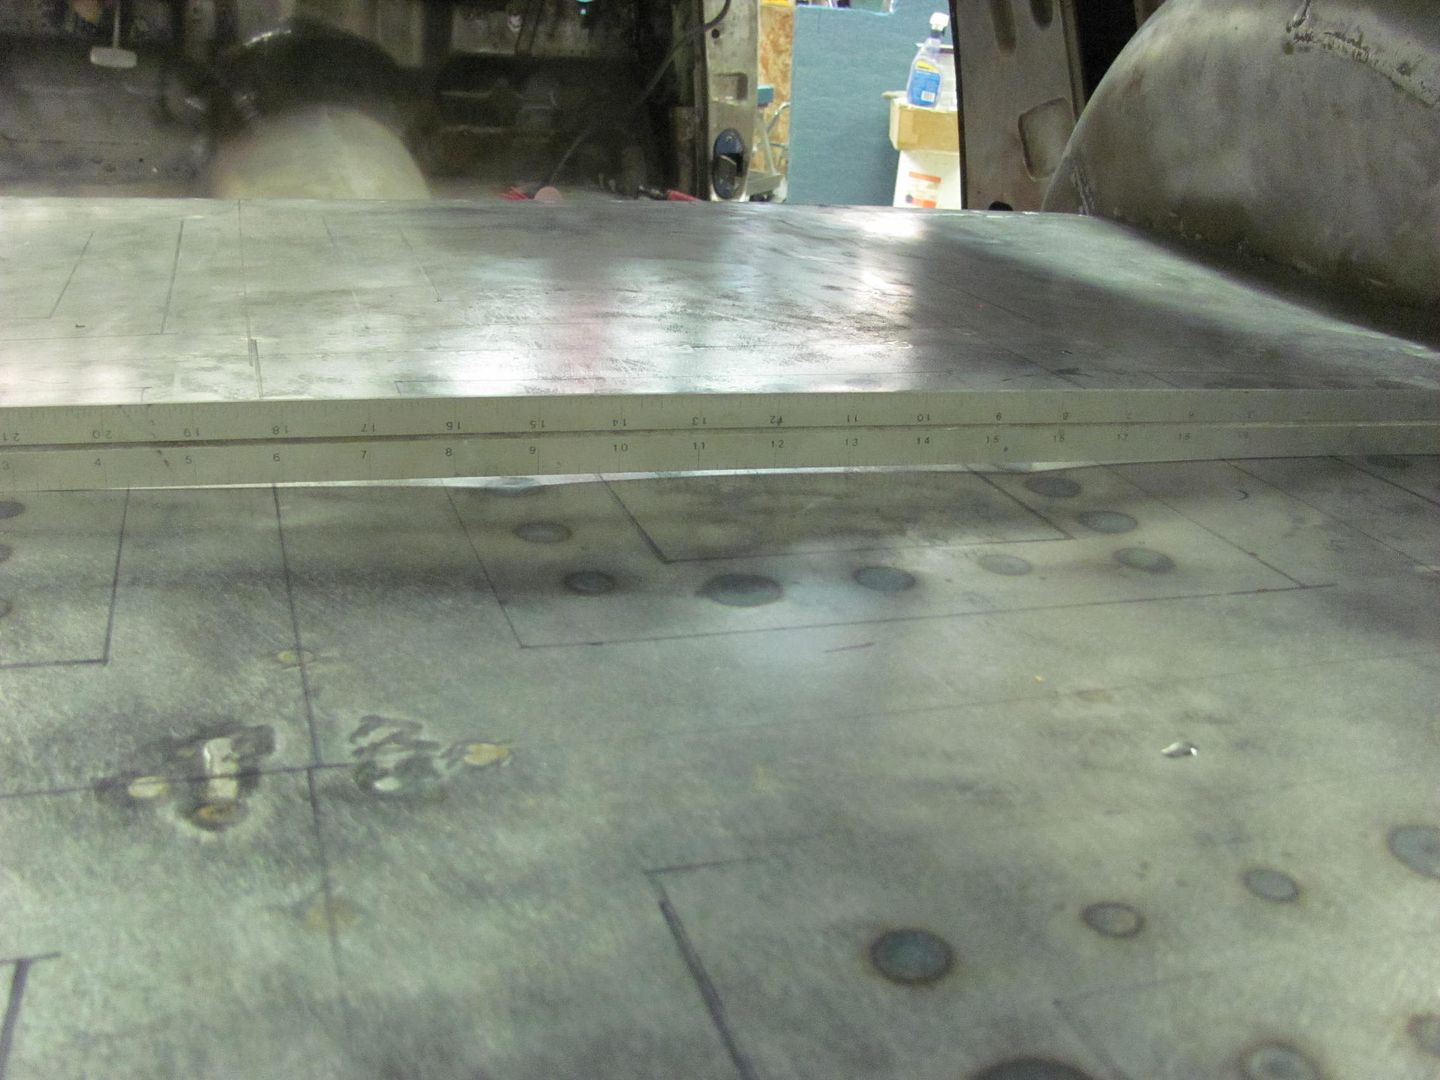
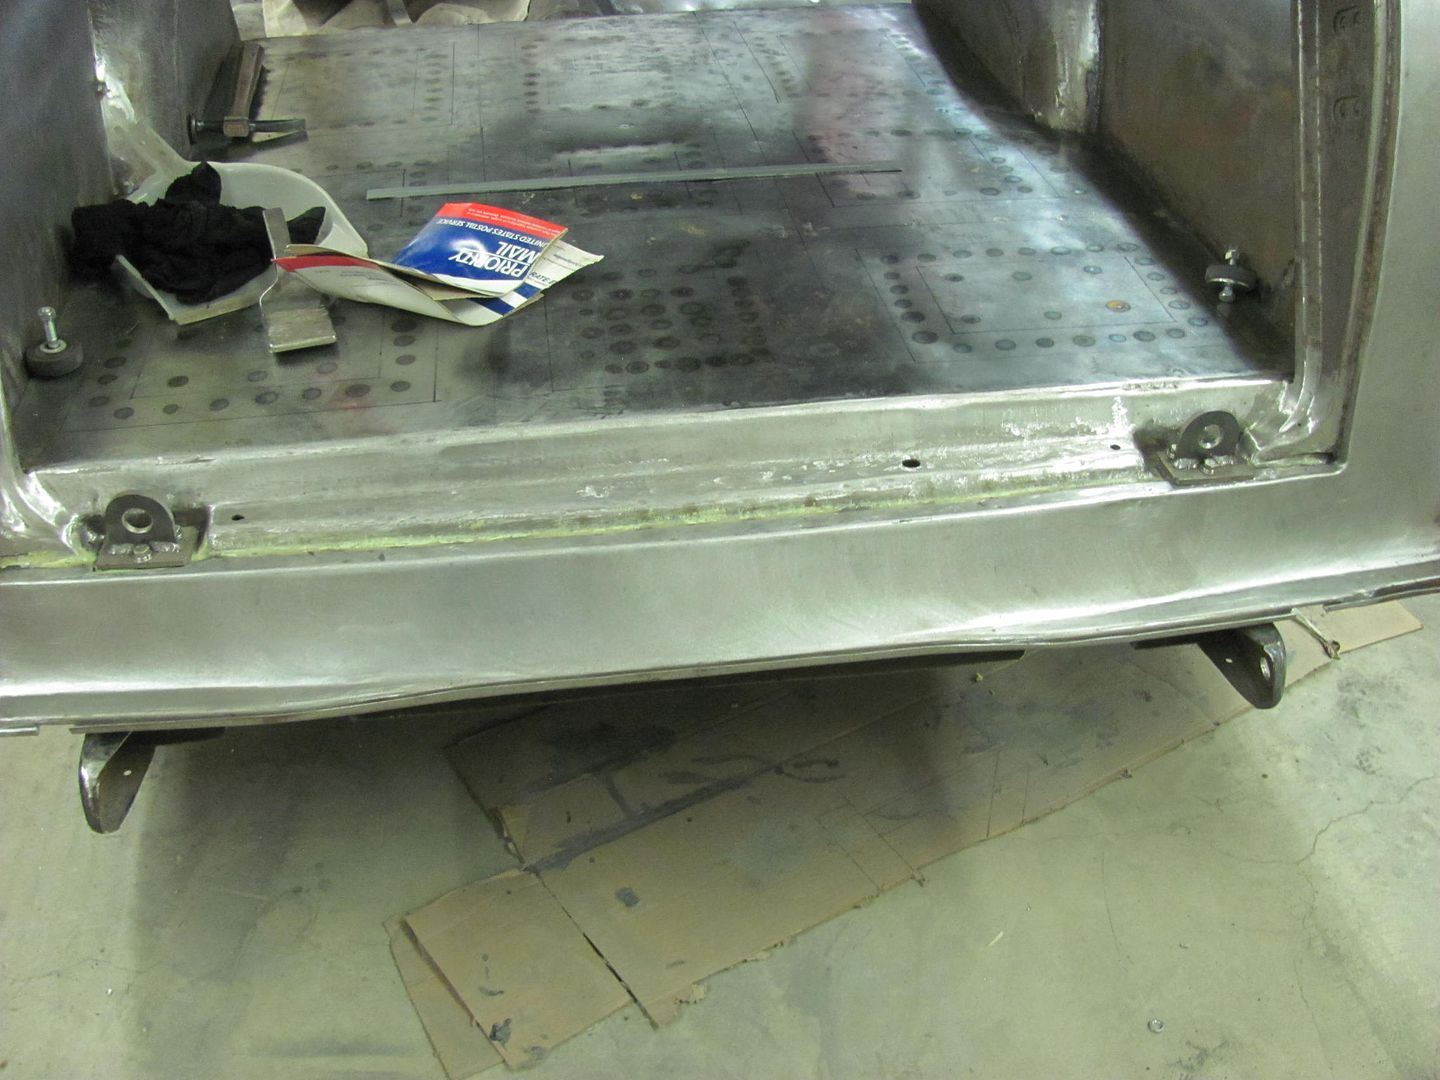
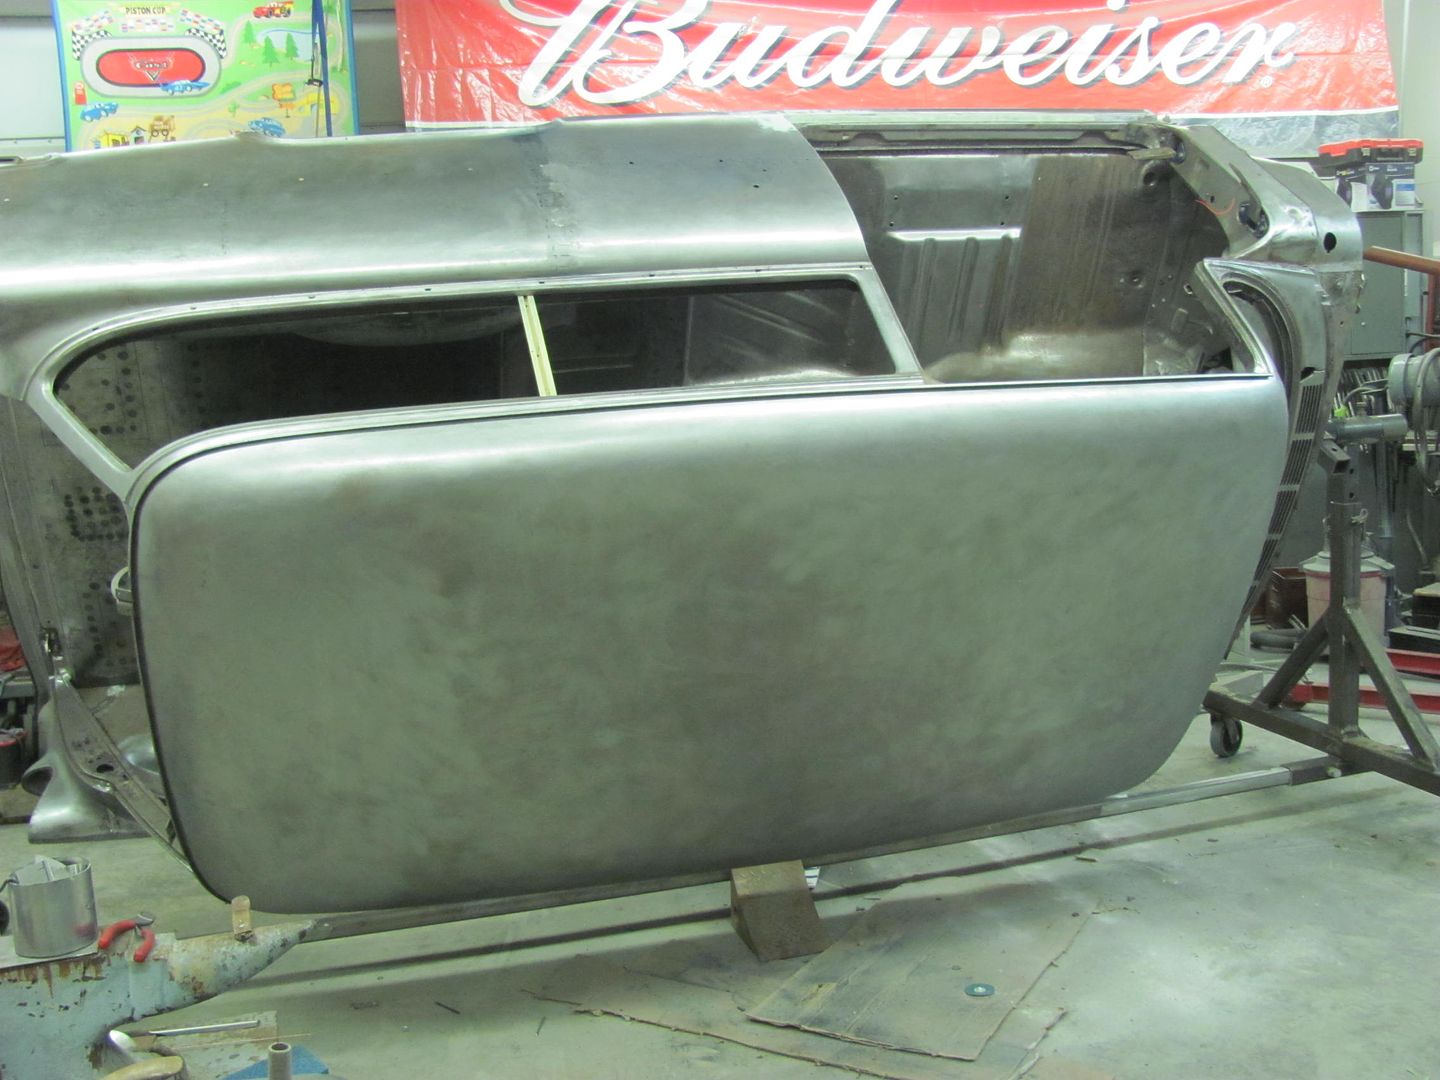
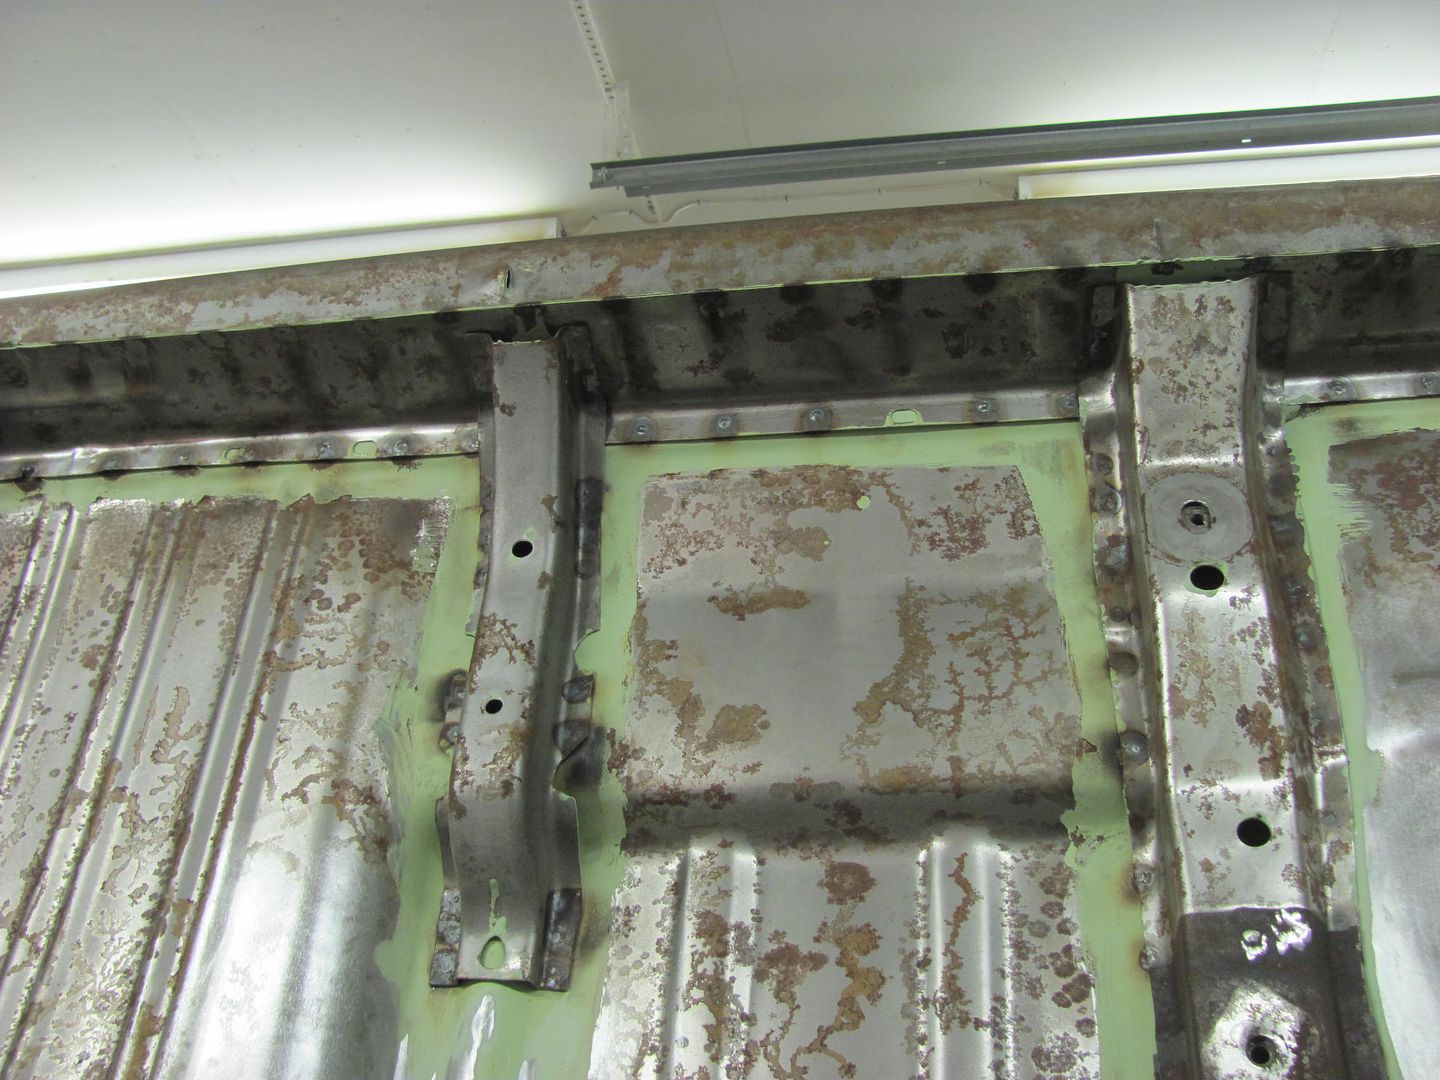
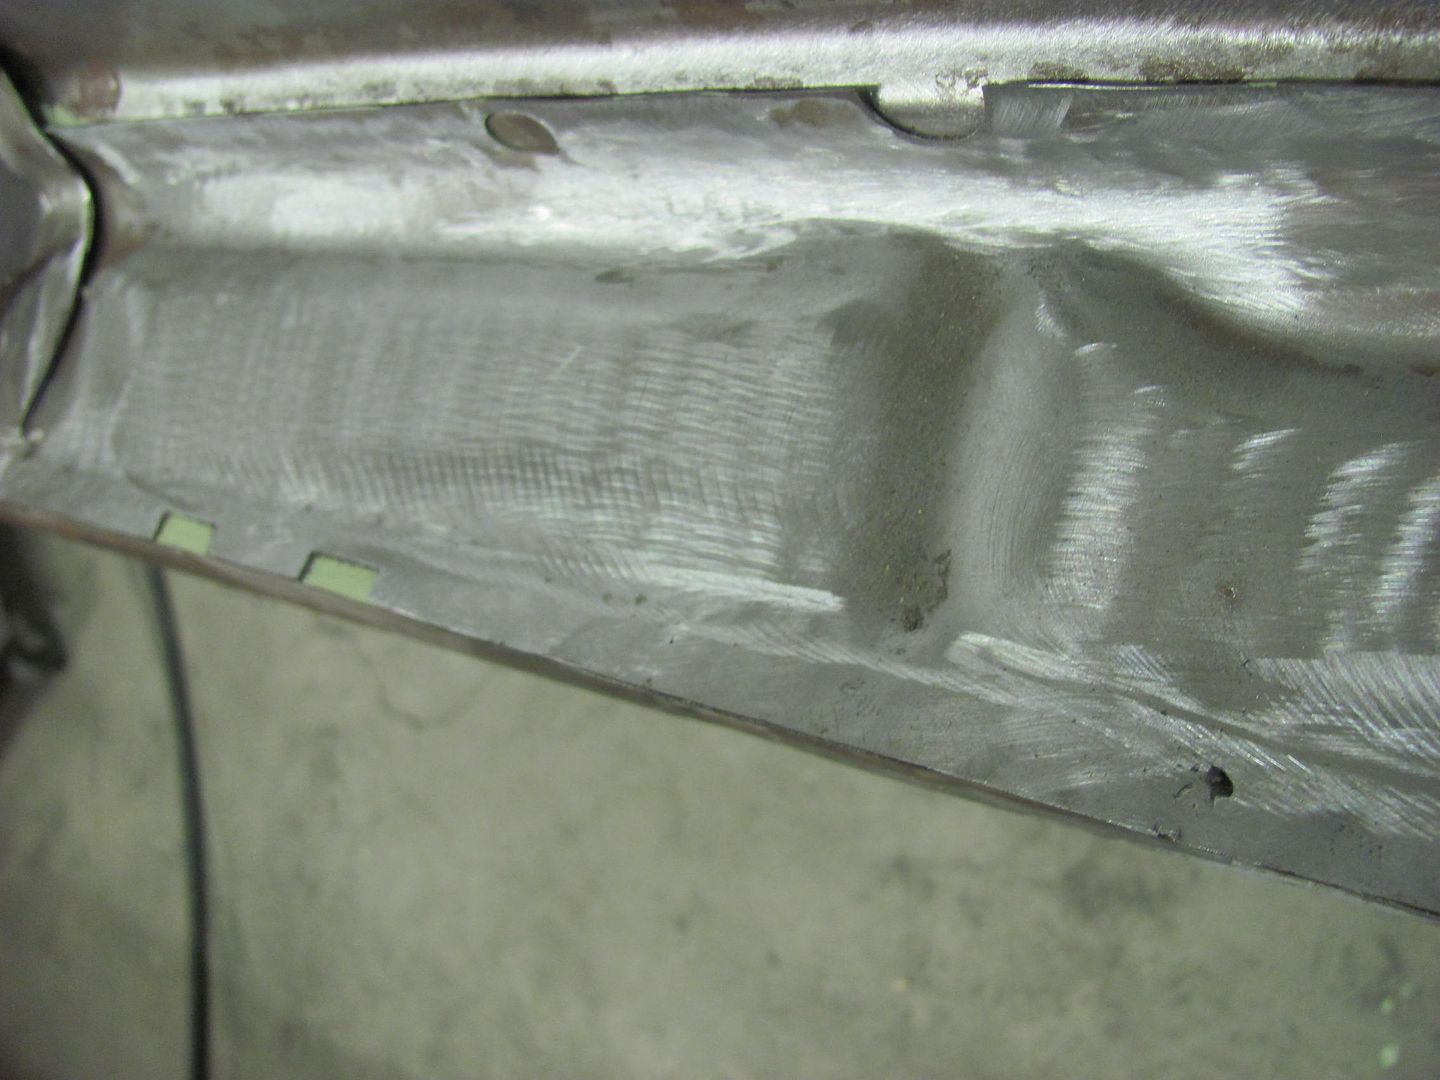
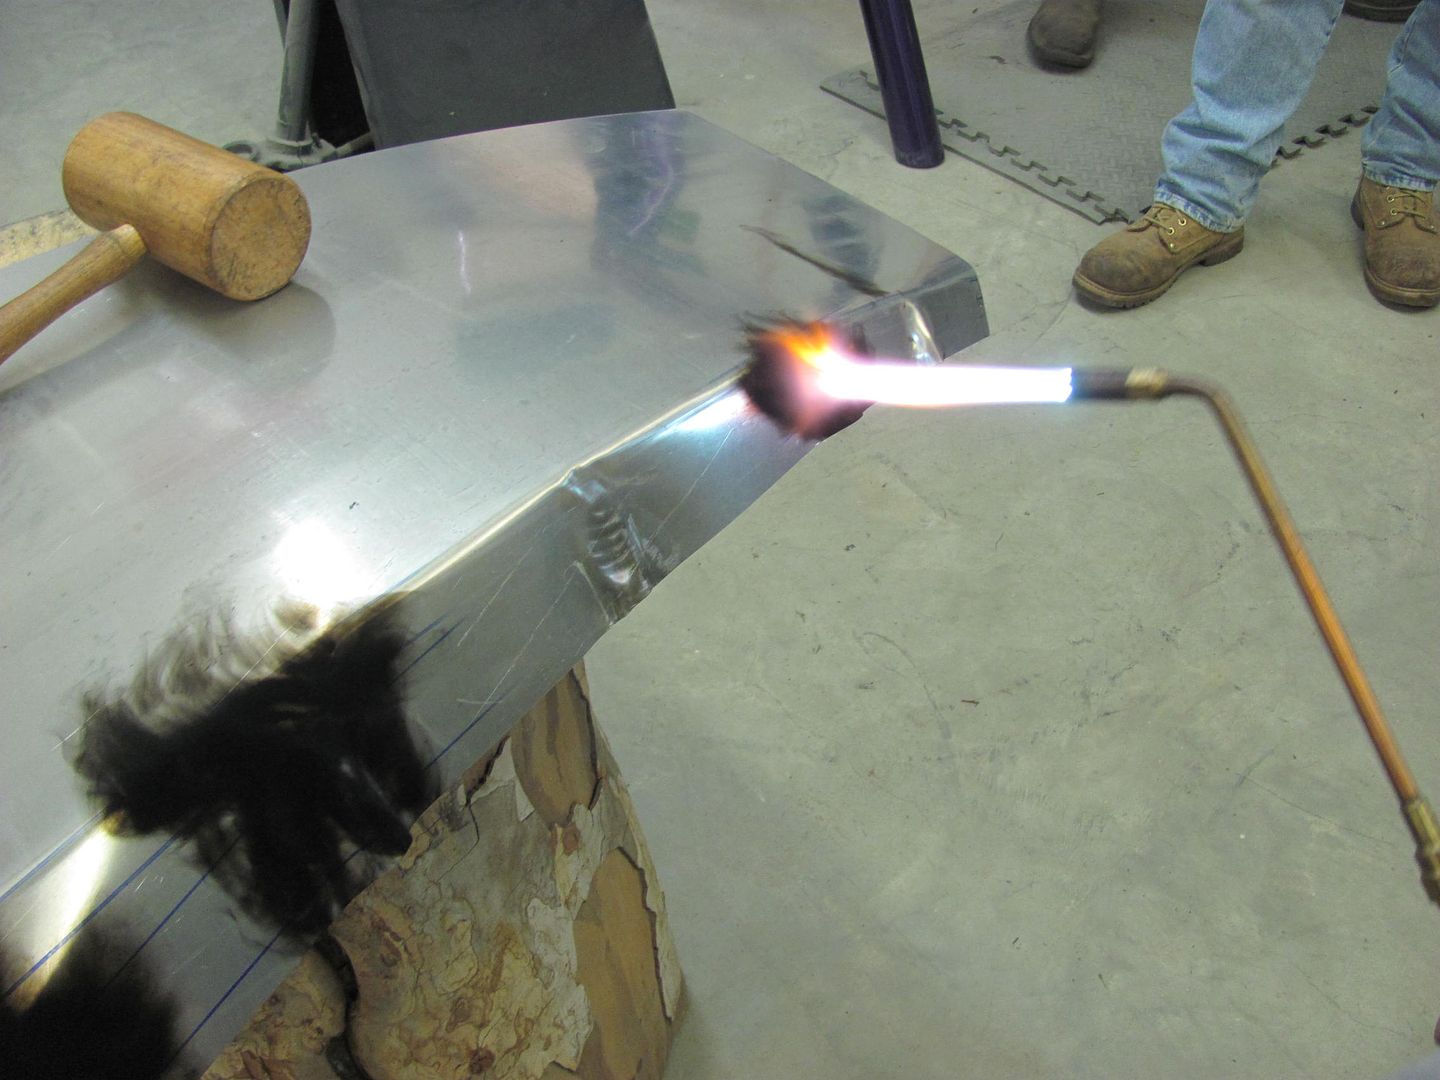
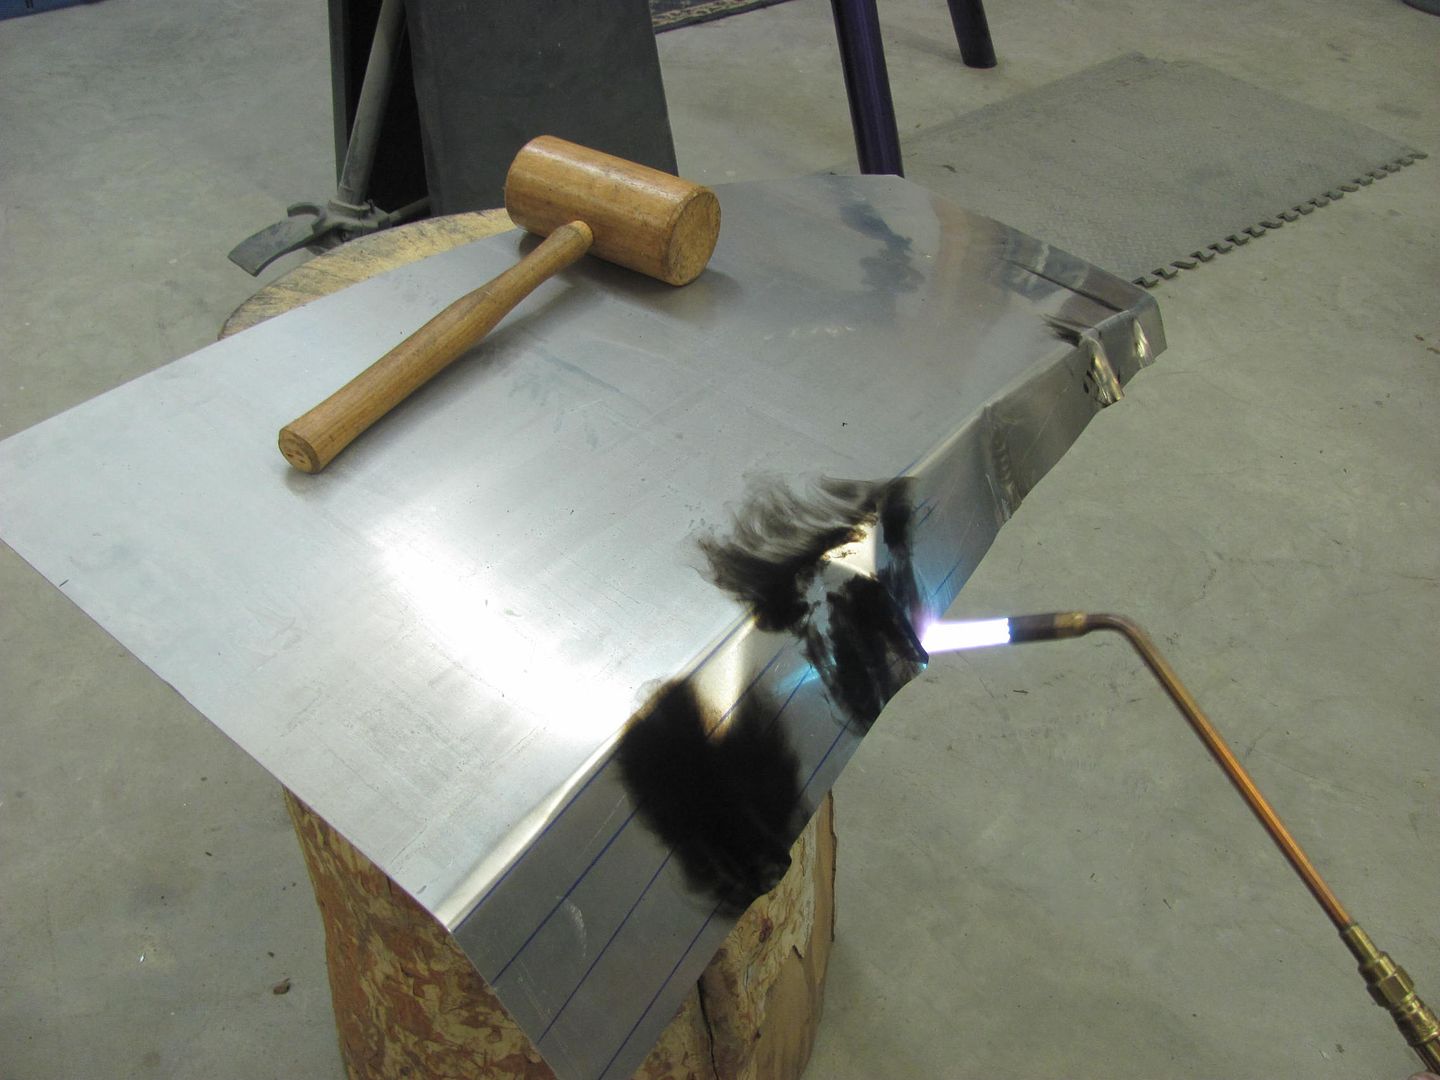
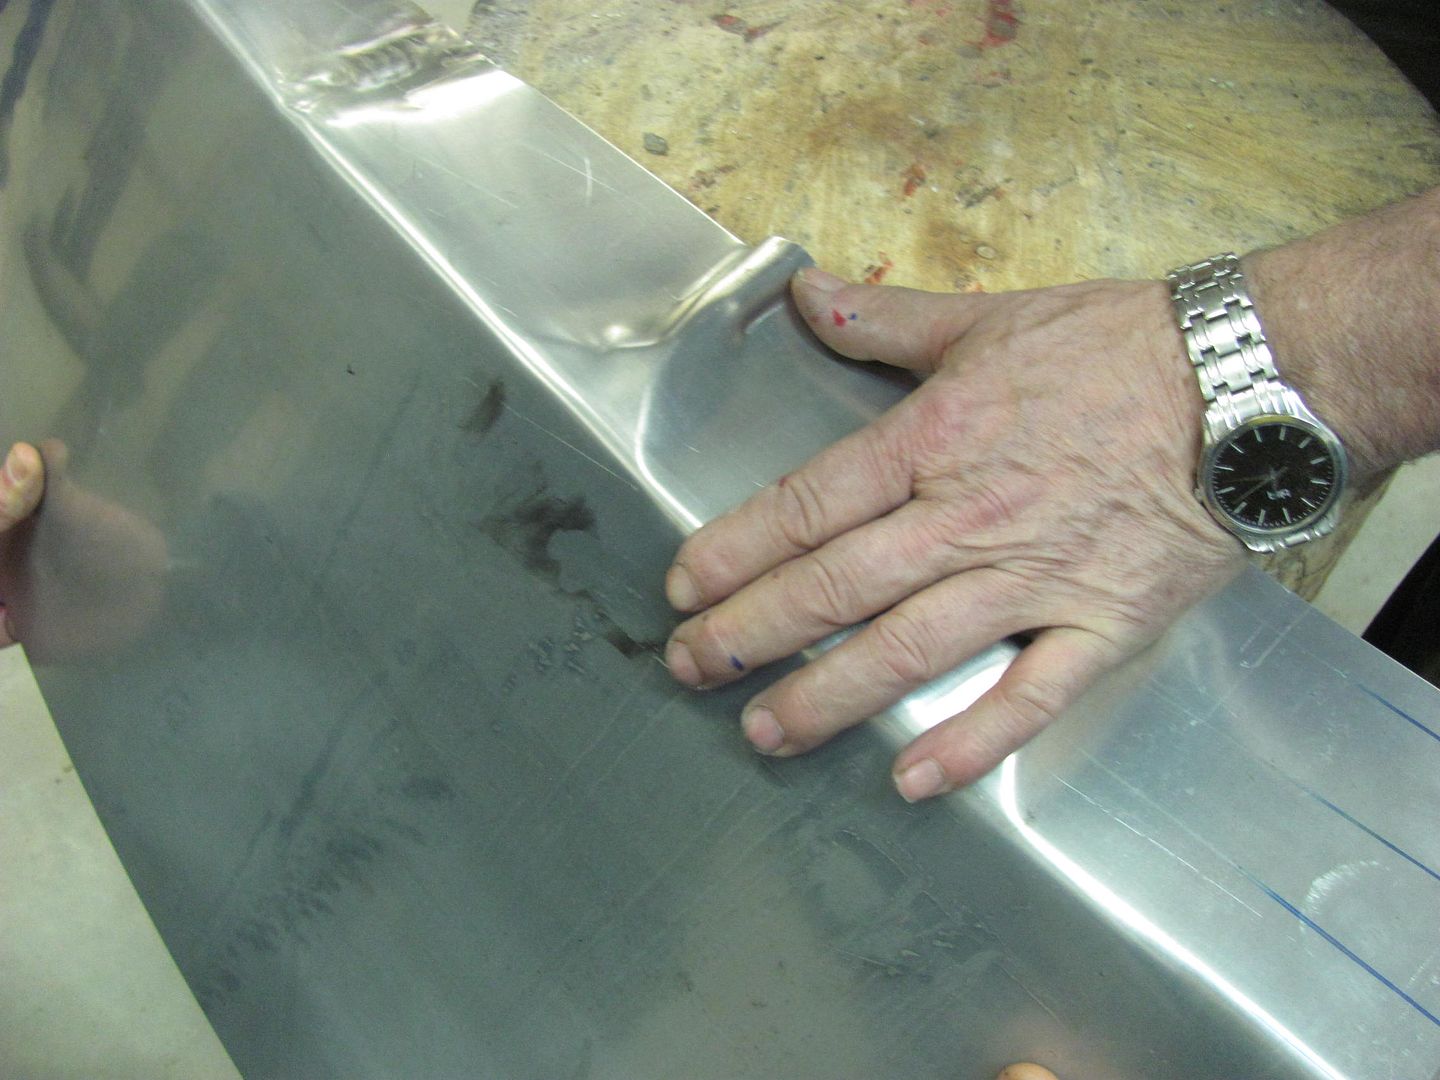
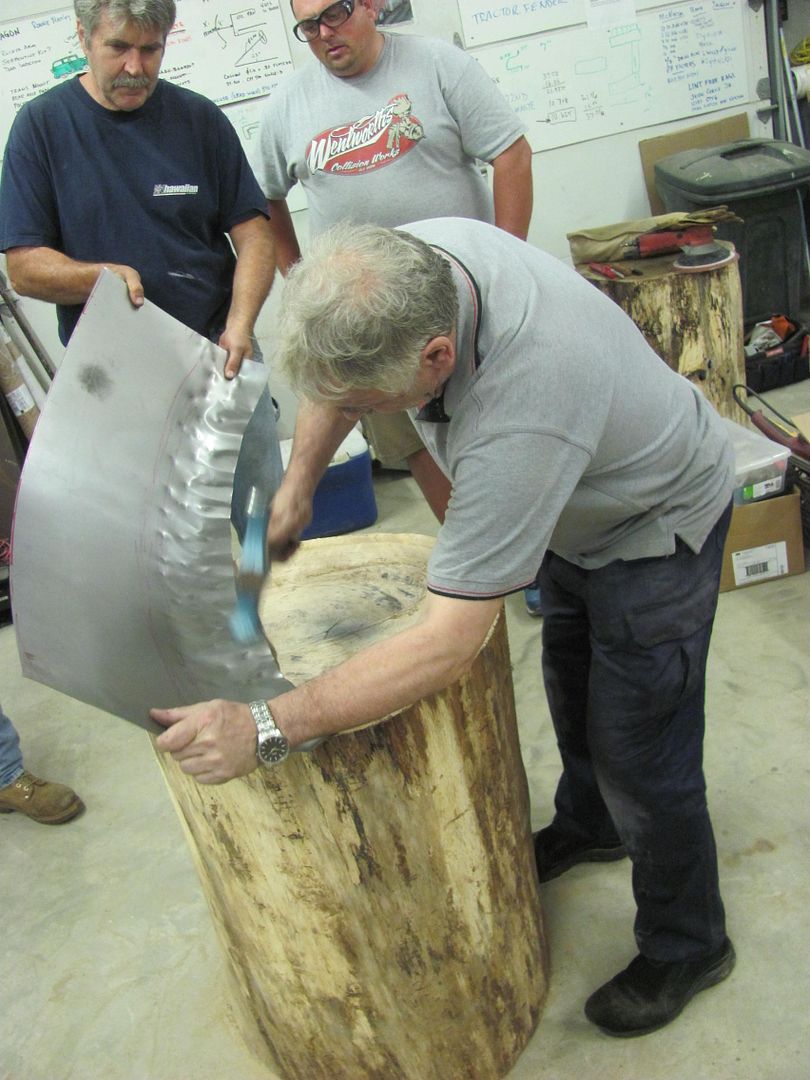
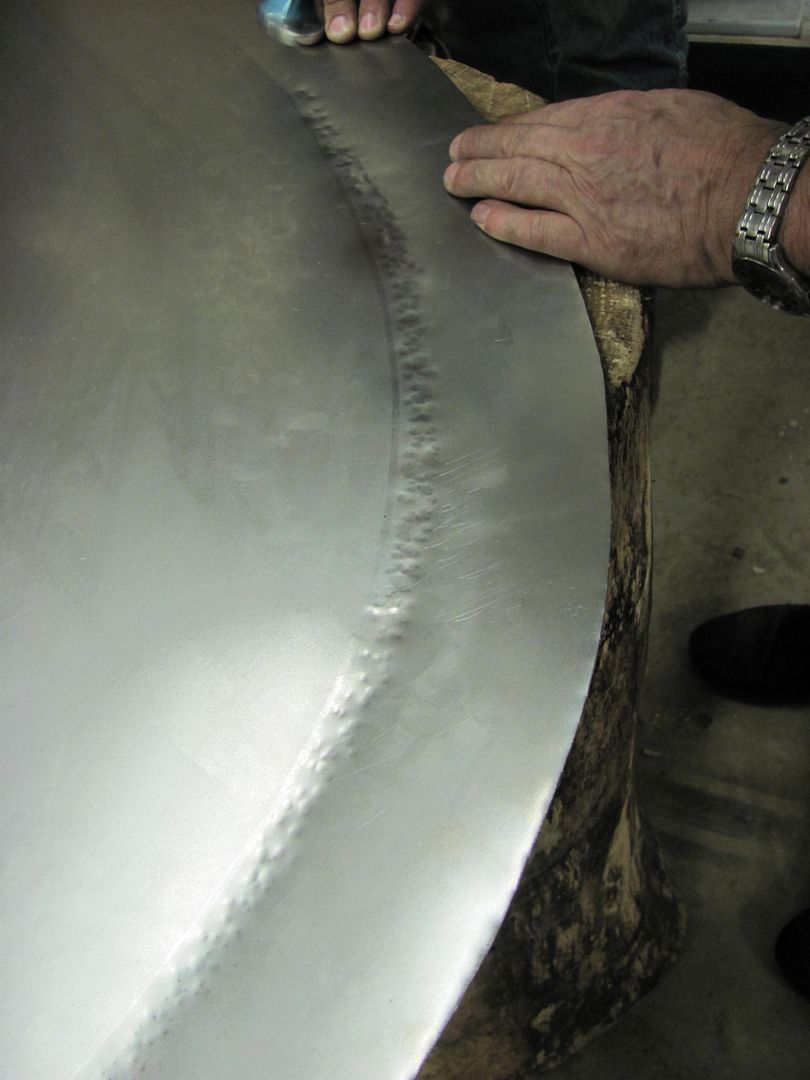
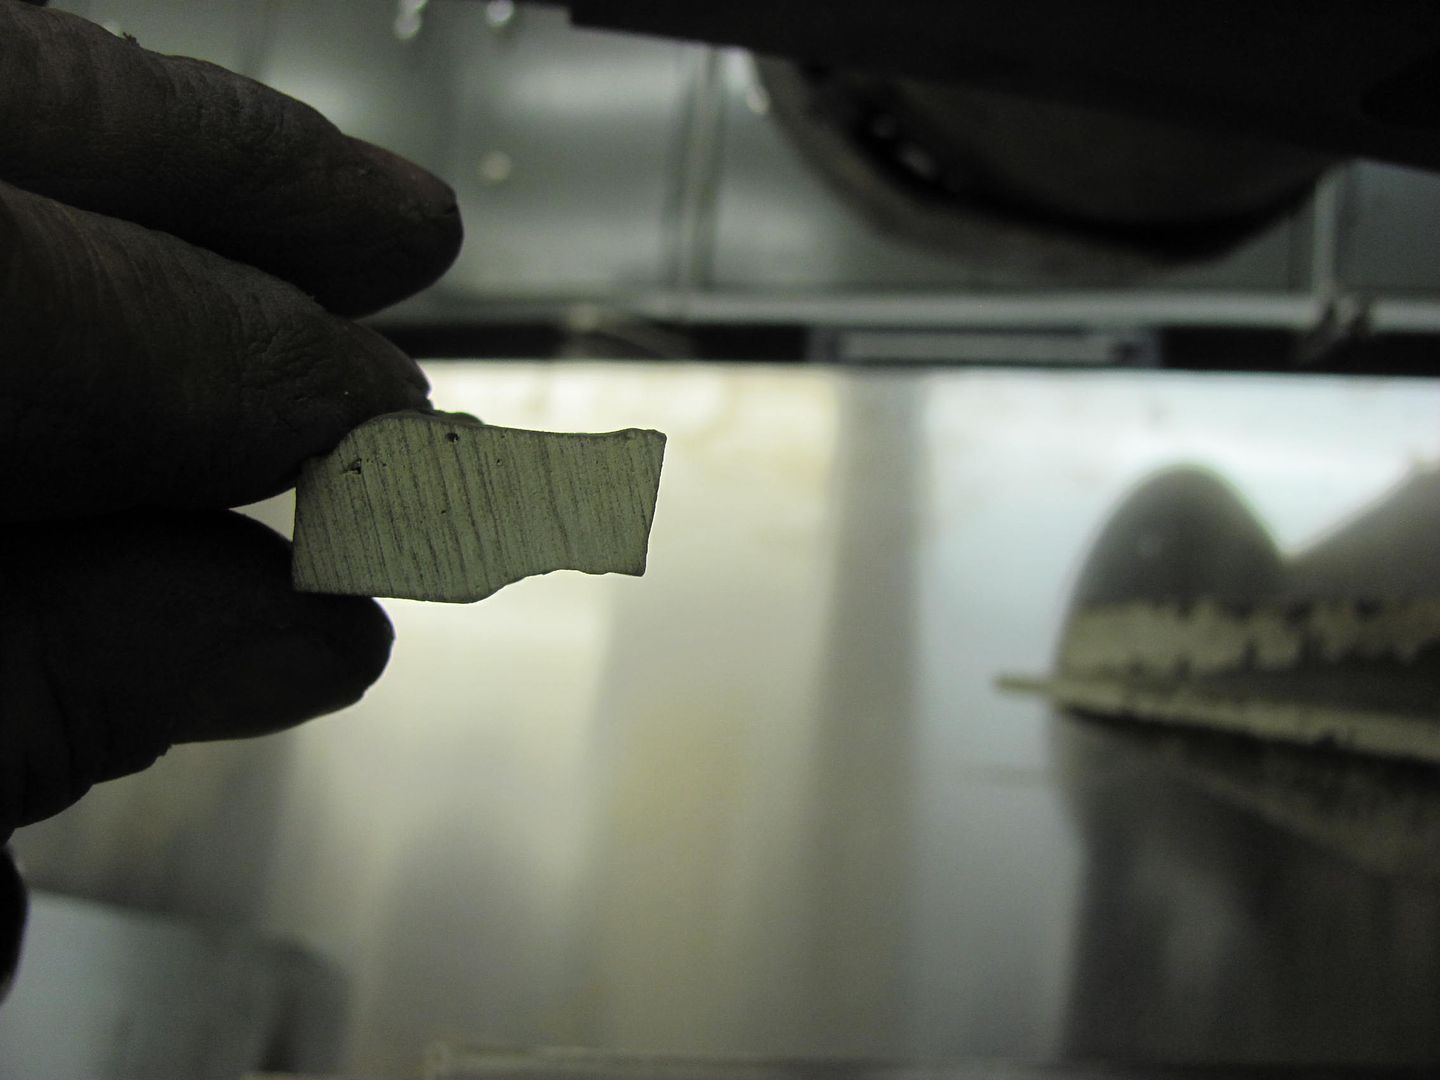
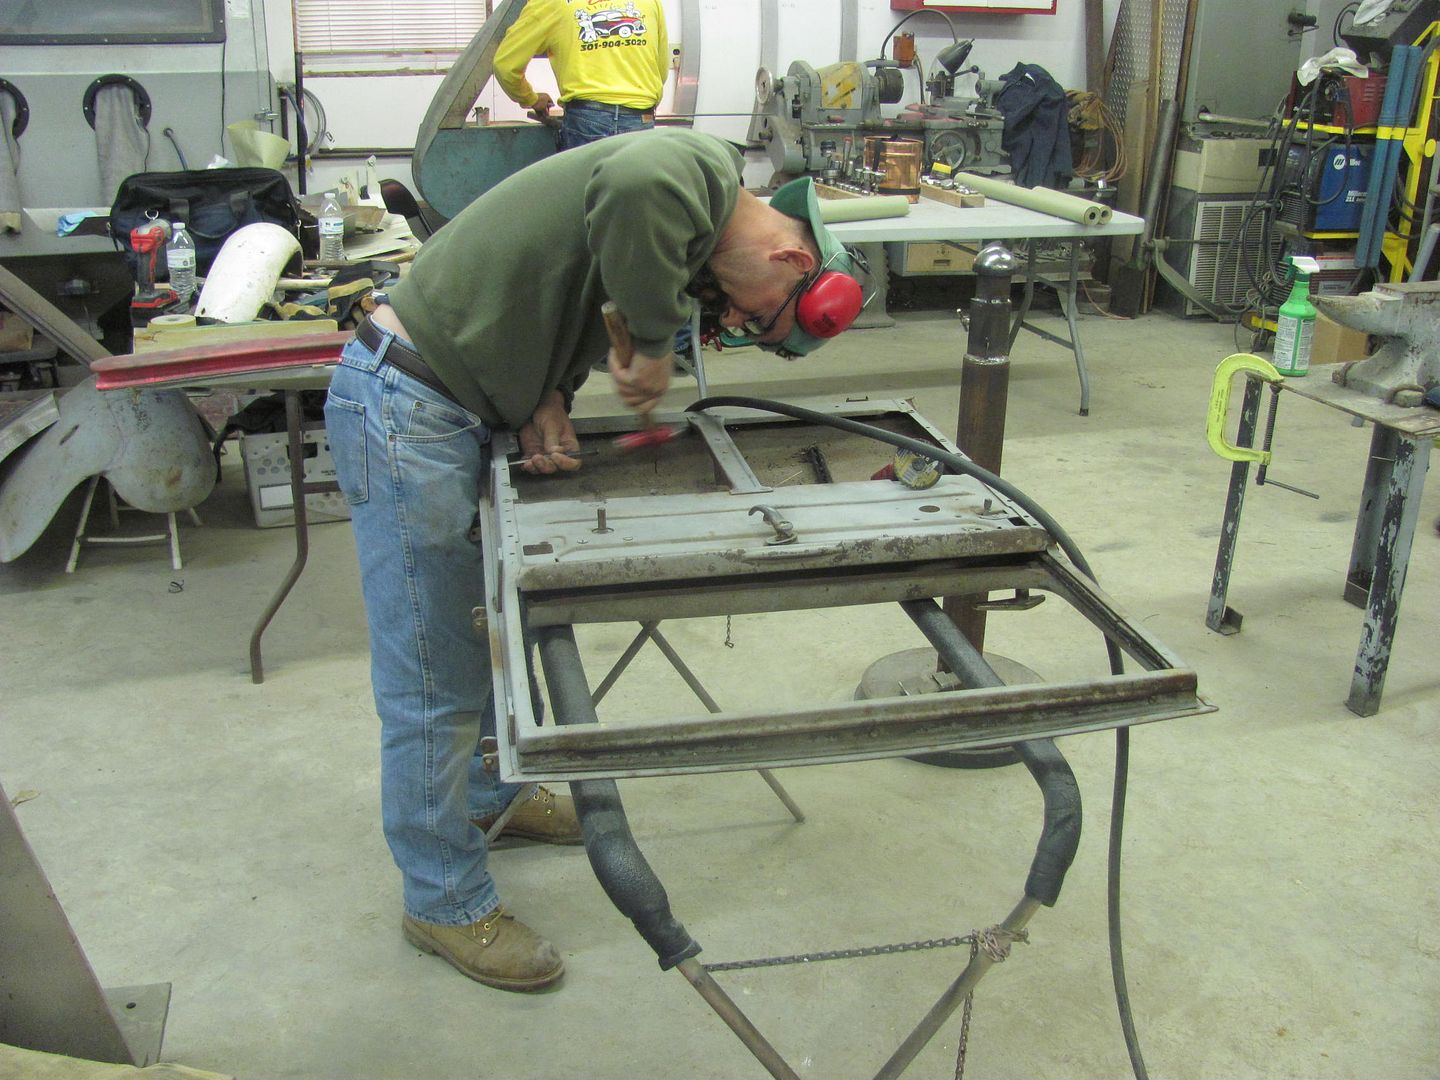
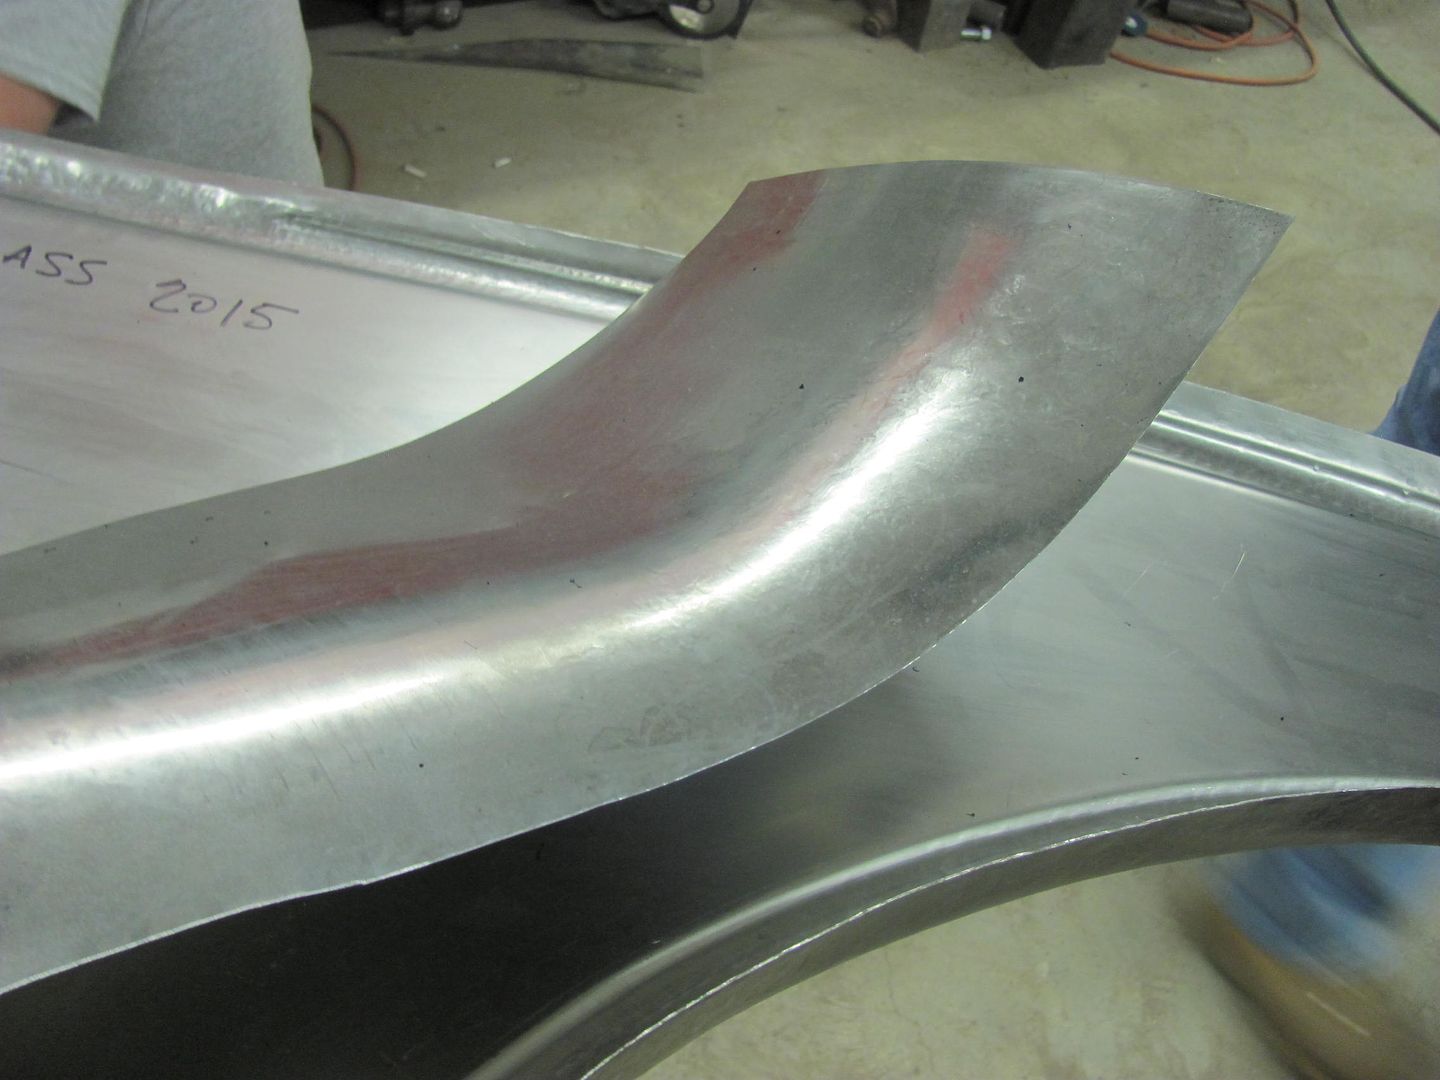
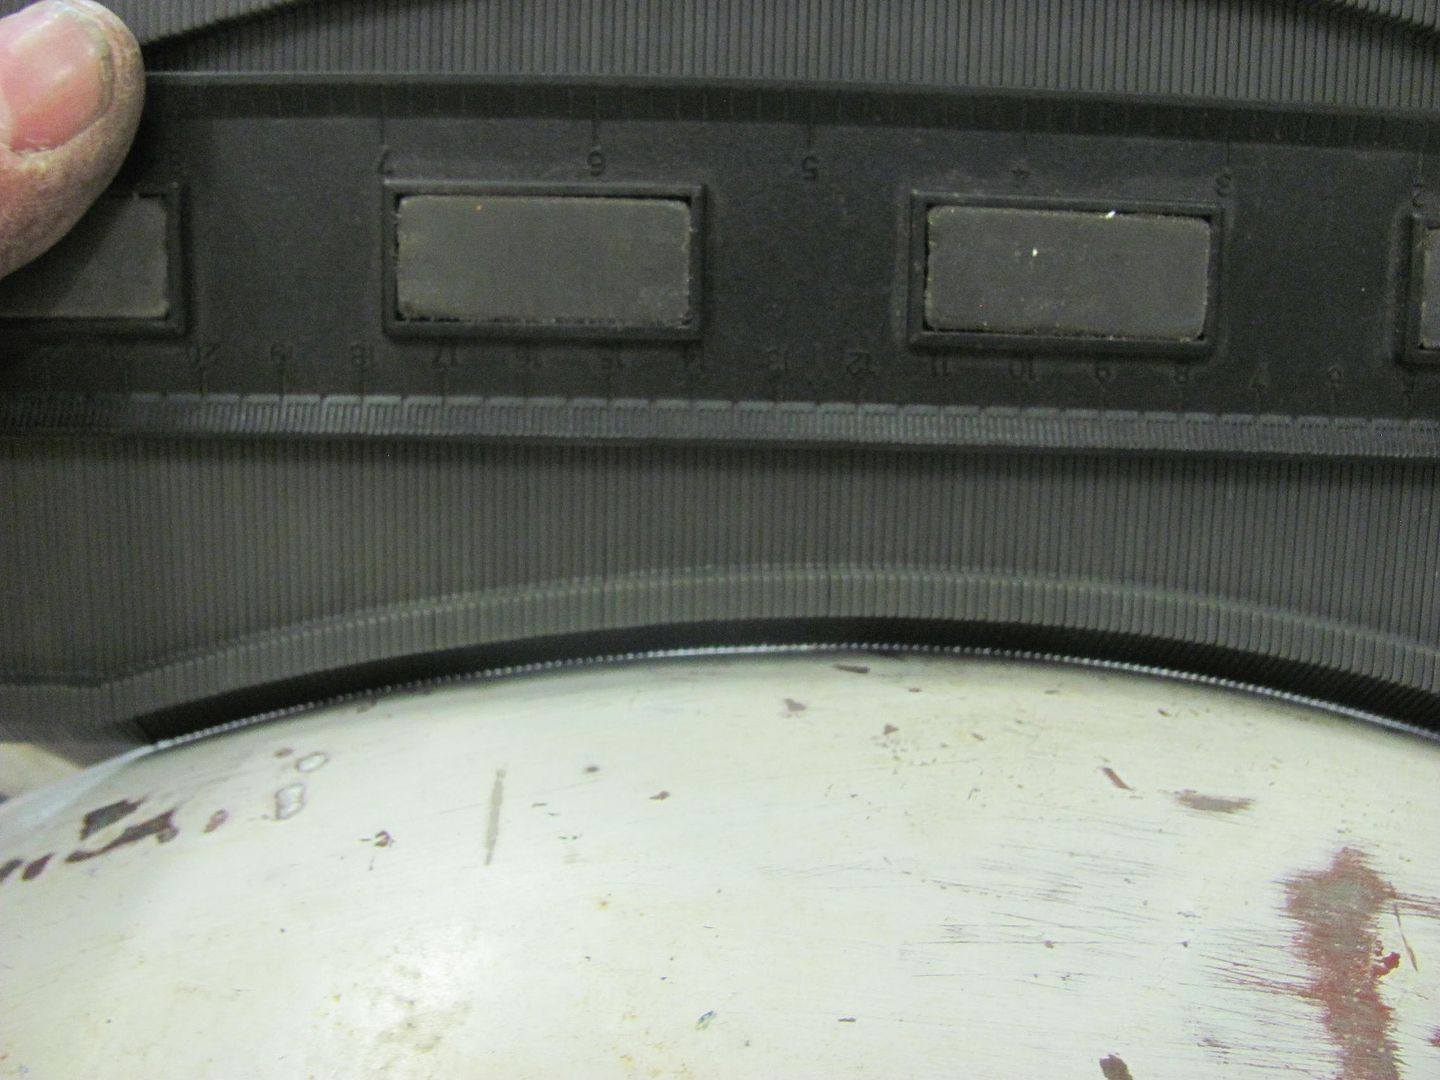
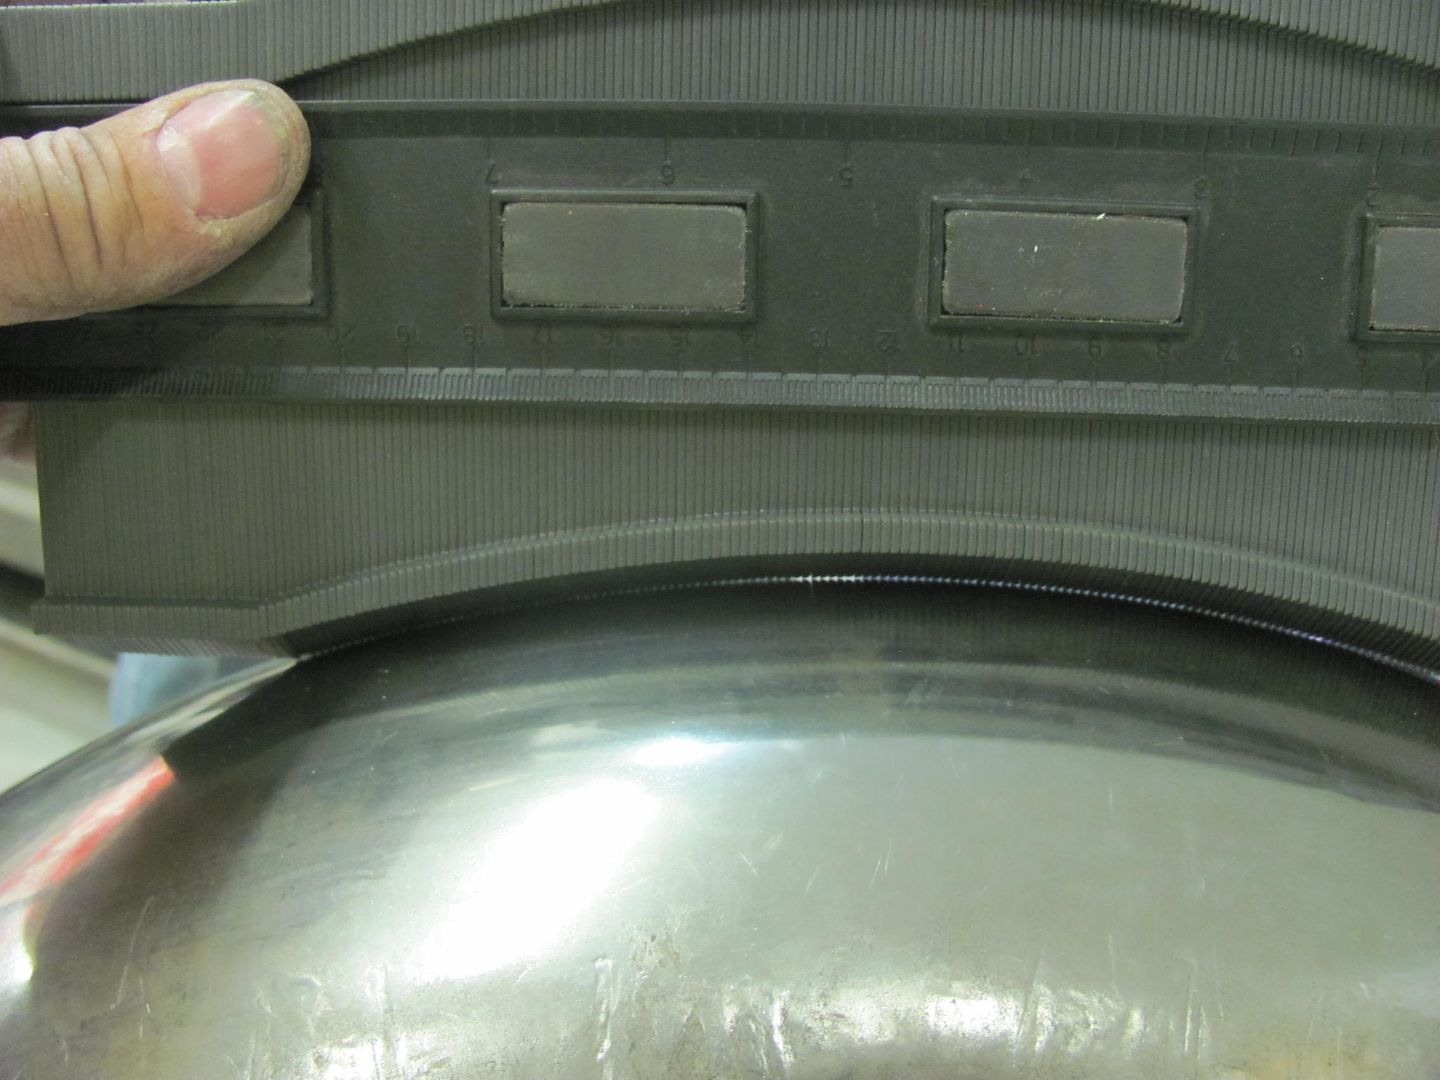
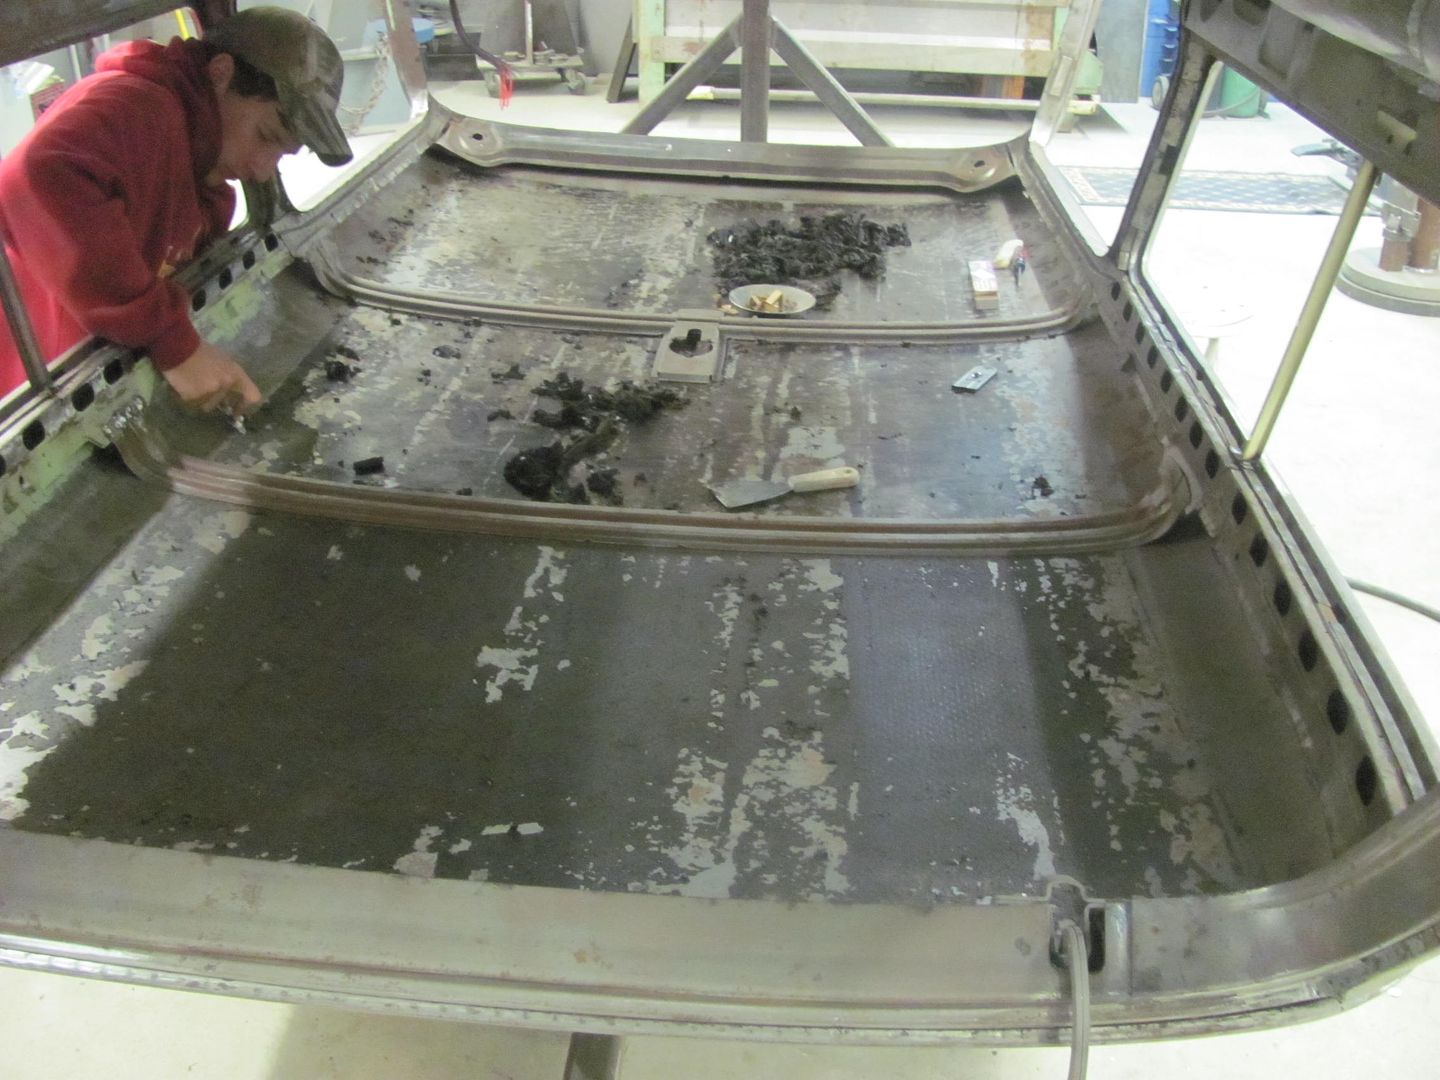
And did get some wet sanding done on a few of the interior trim pieces. Today he started on the rear floor, part of the problem with welding a flat plate is that it doesn't stay flat. The plug welds to secure the floor to the bracing beneath caused some shrinking, which resulted in the metal between bulging outward, some up, some down. Looks about like the Atlantic on a calm day.


Picture%203054.jpg


Picture%203056.jpg


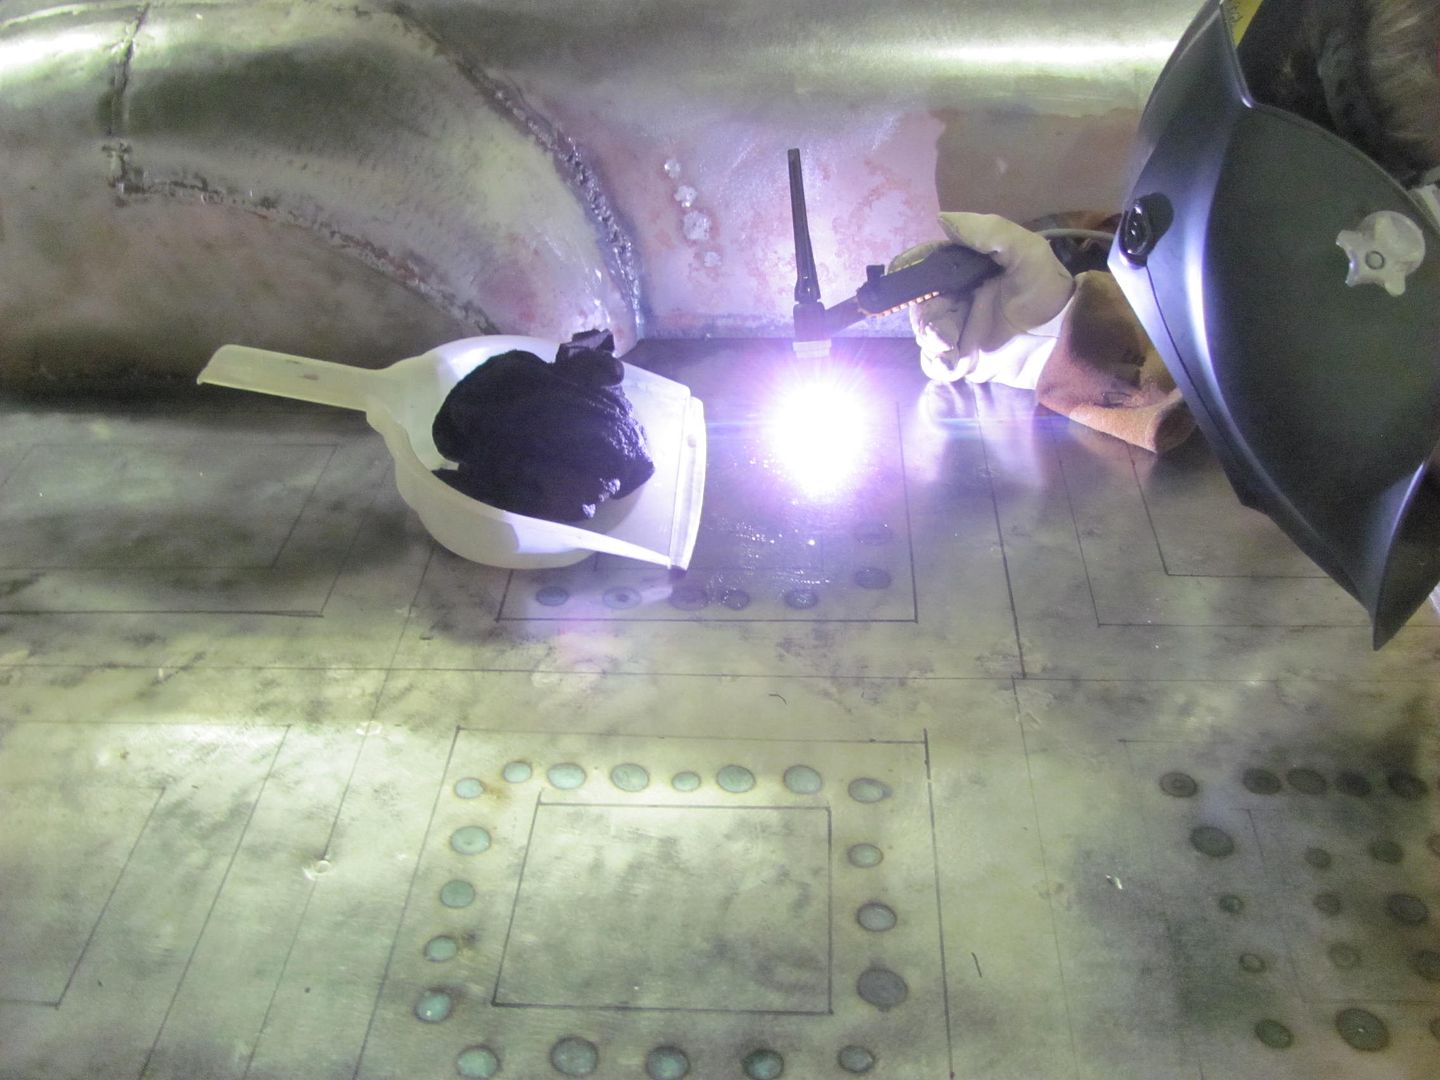
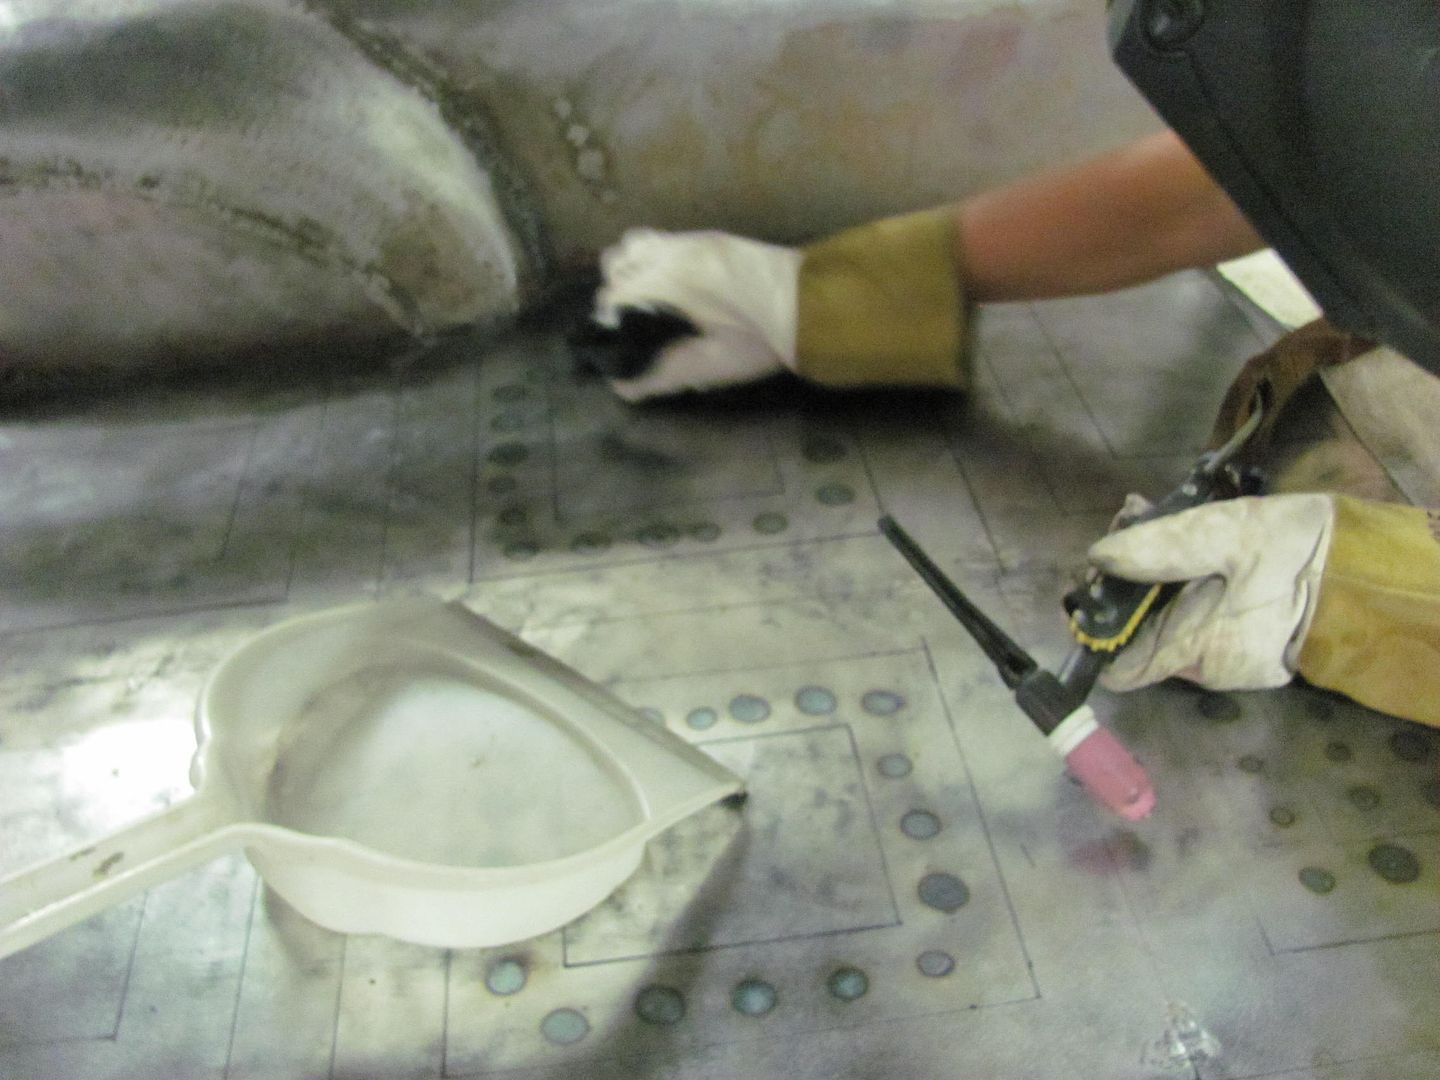
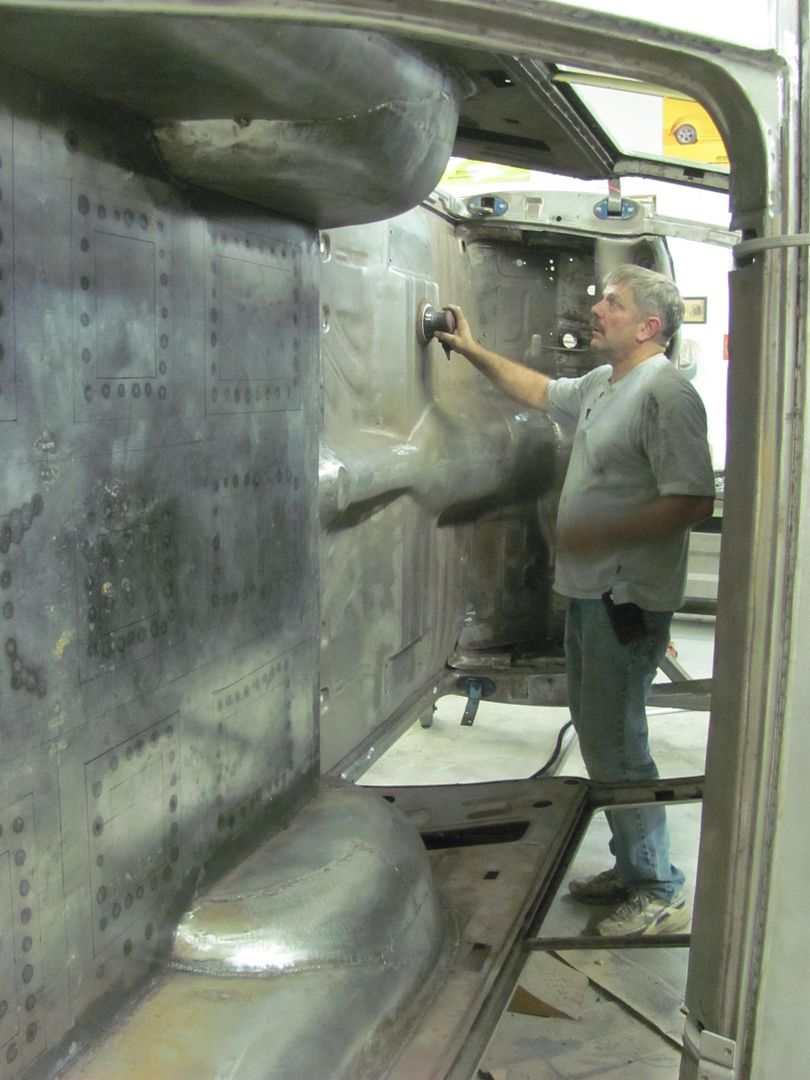
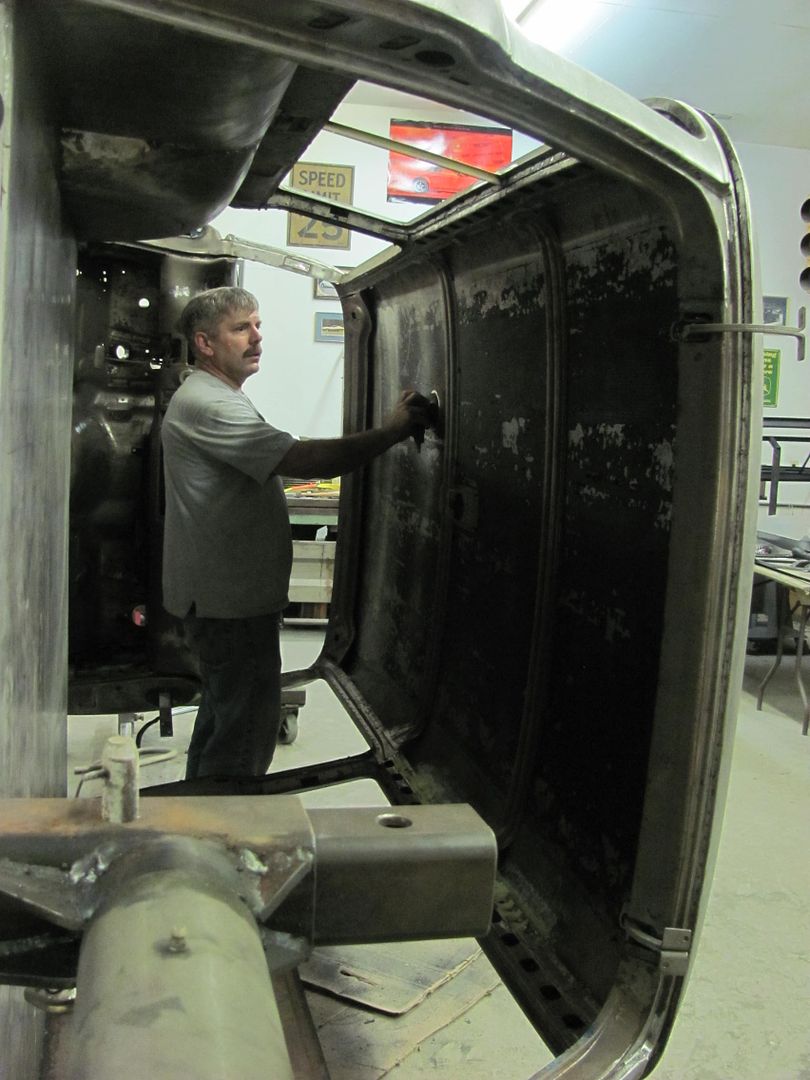
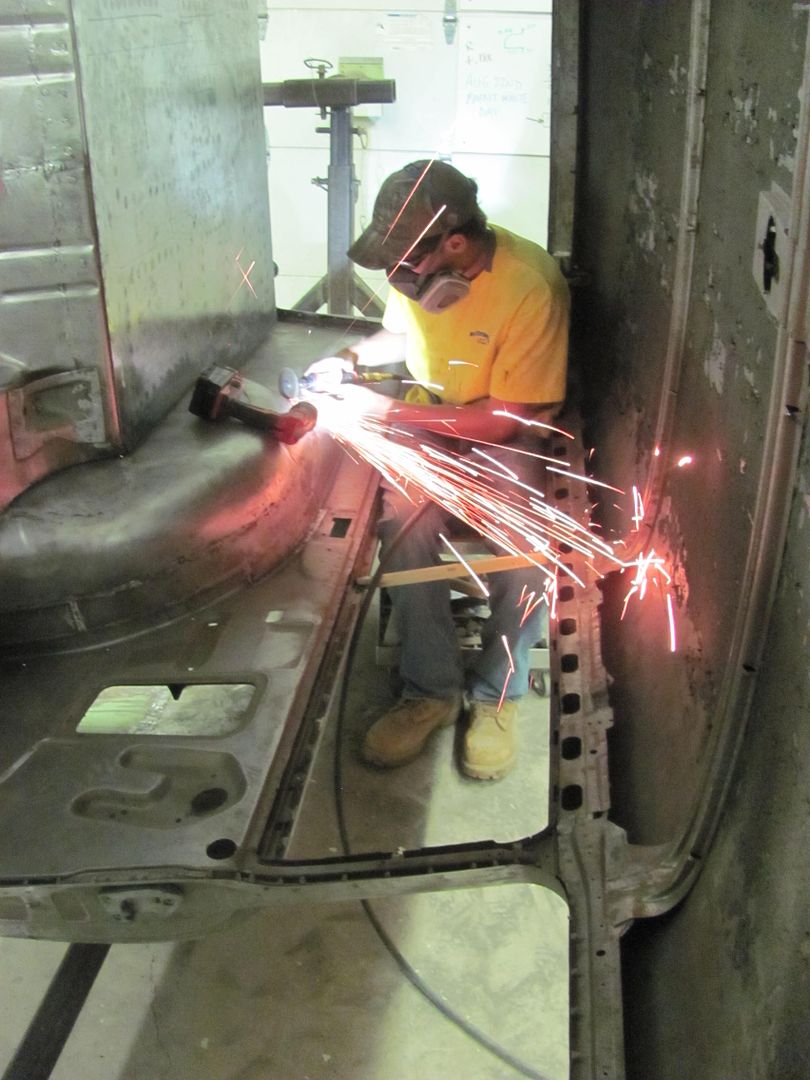
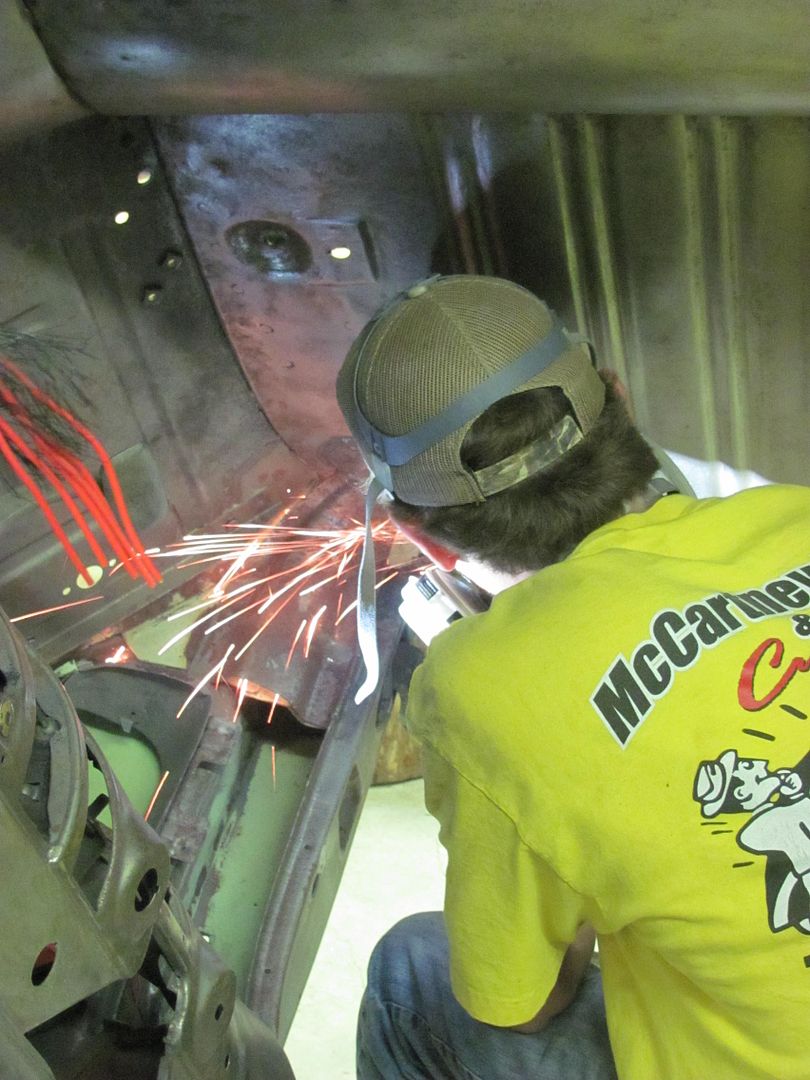
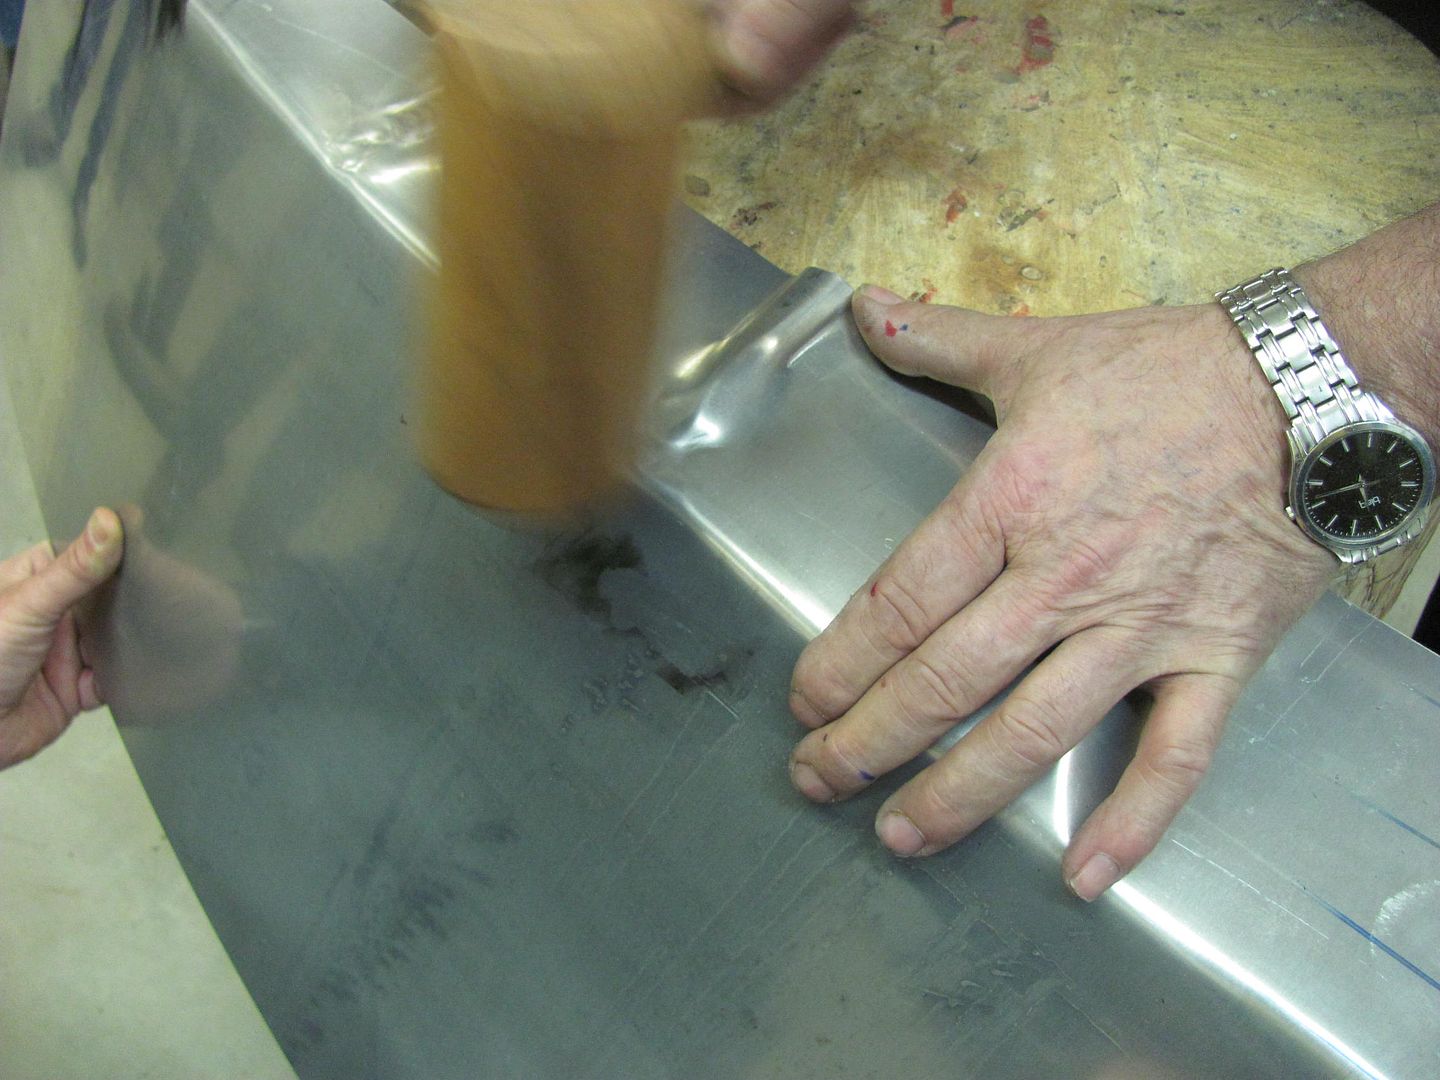
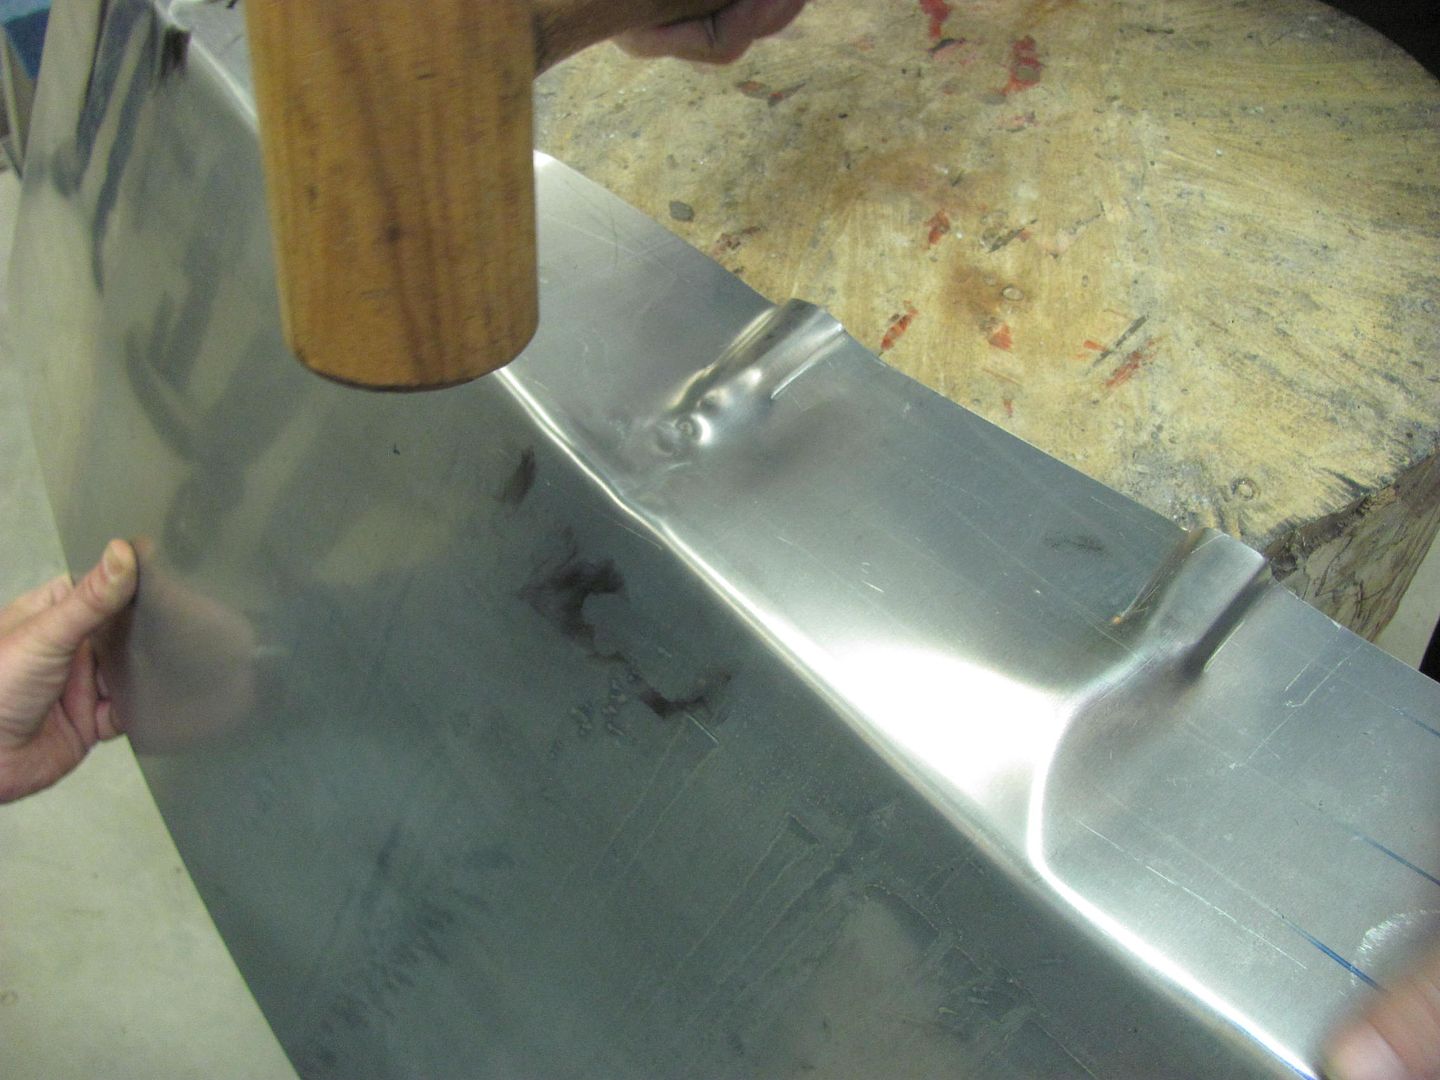
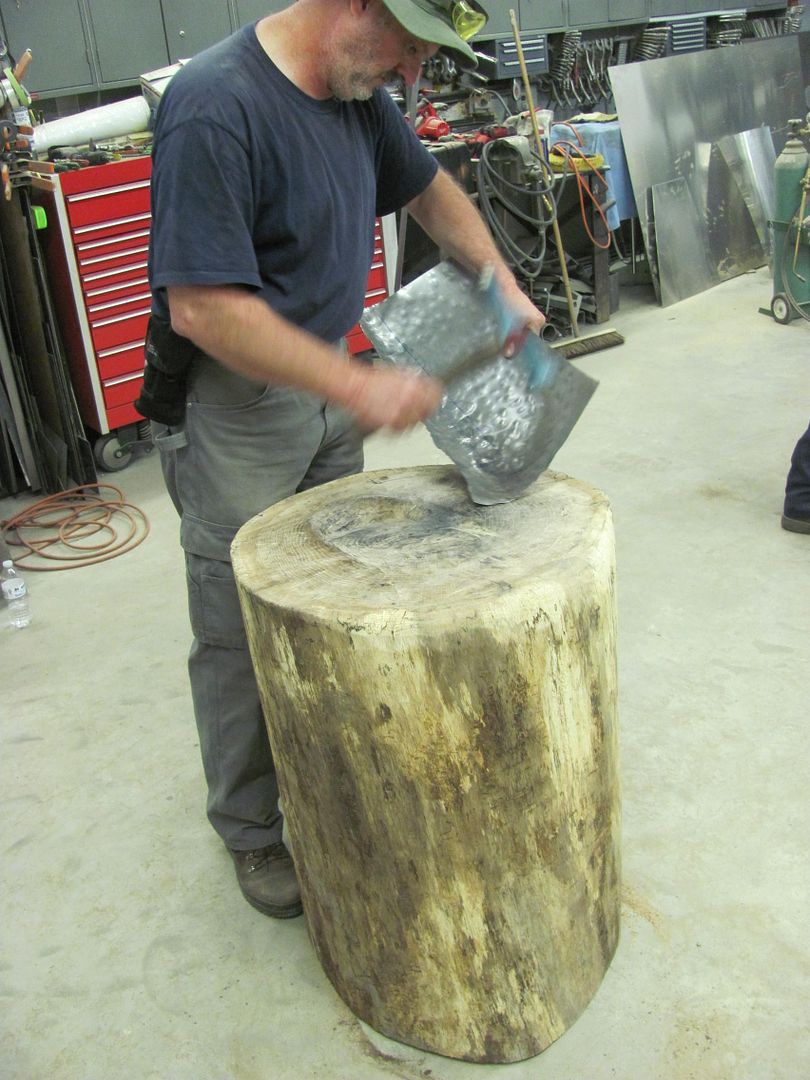
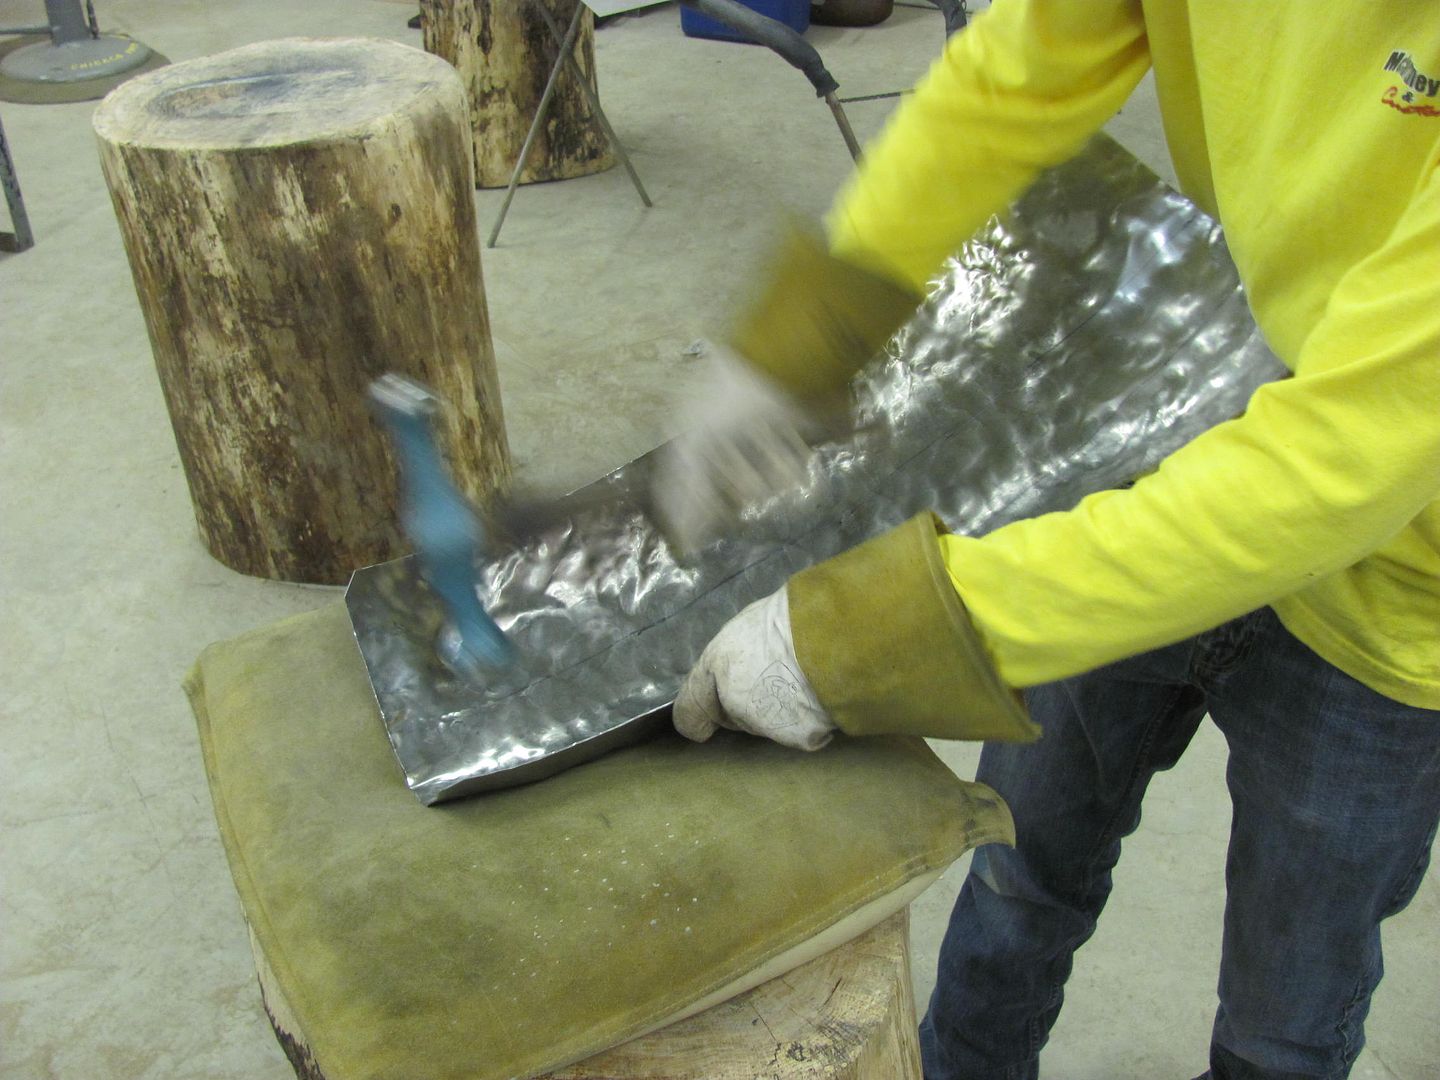
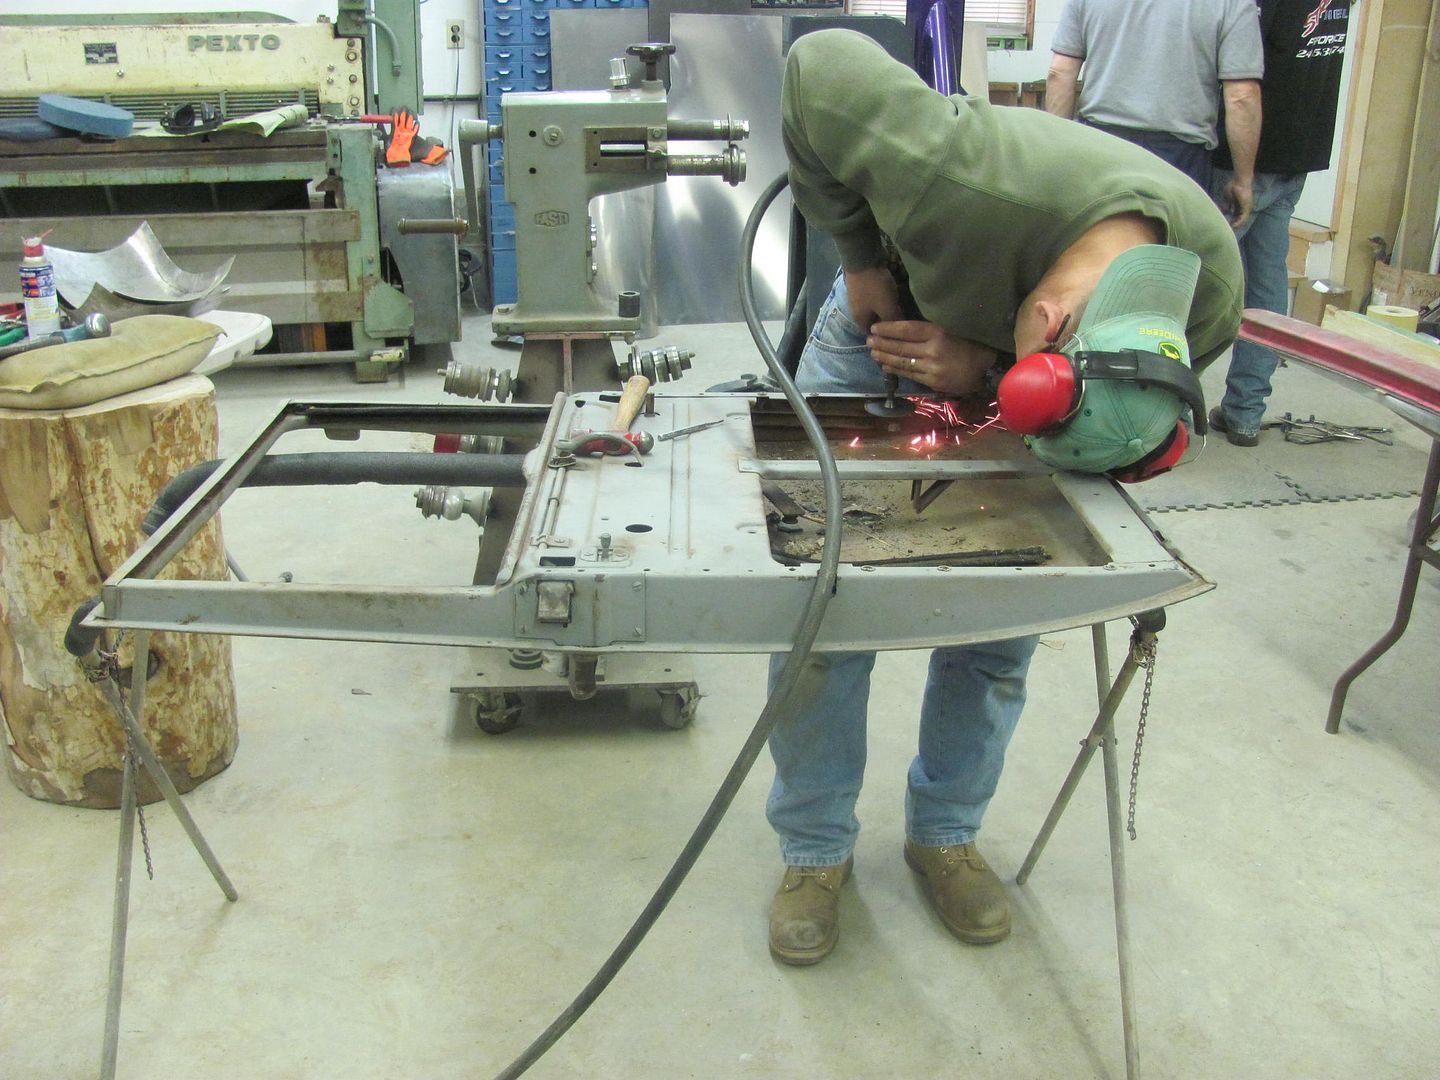
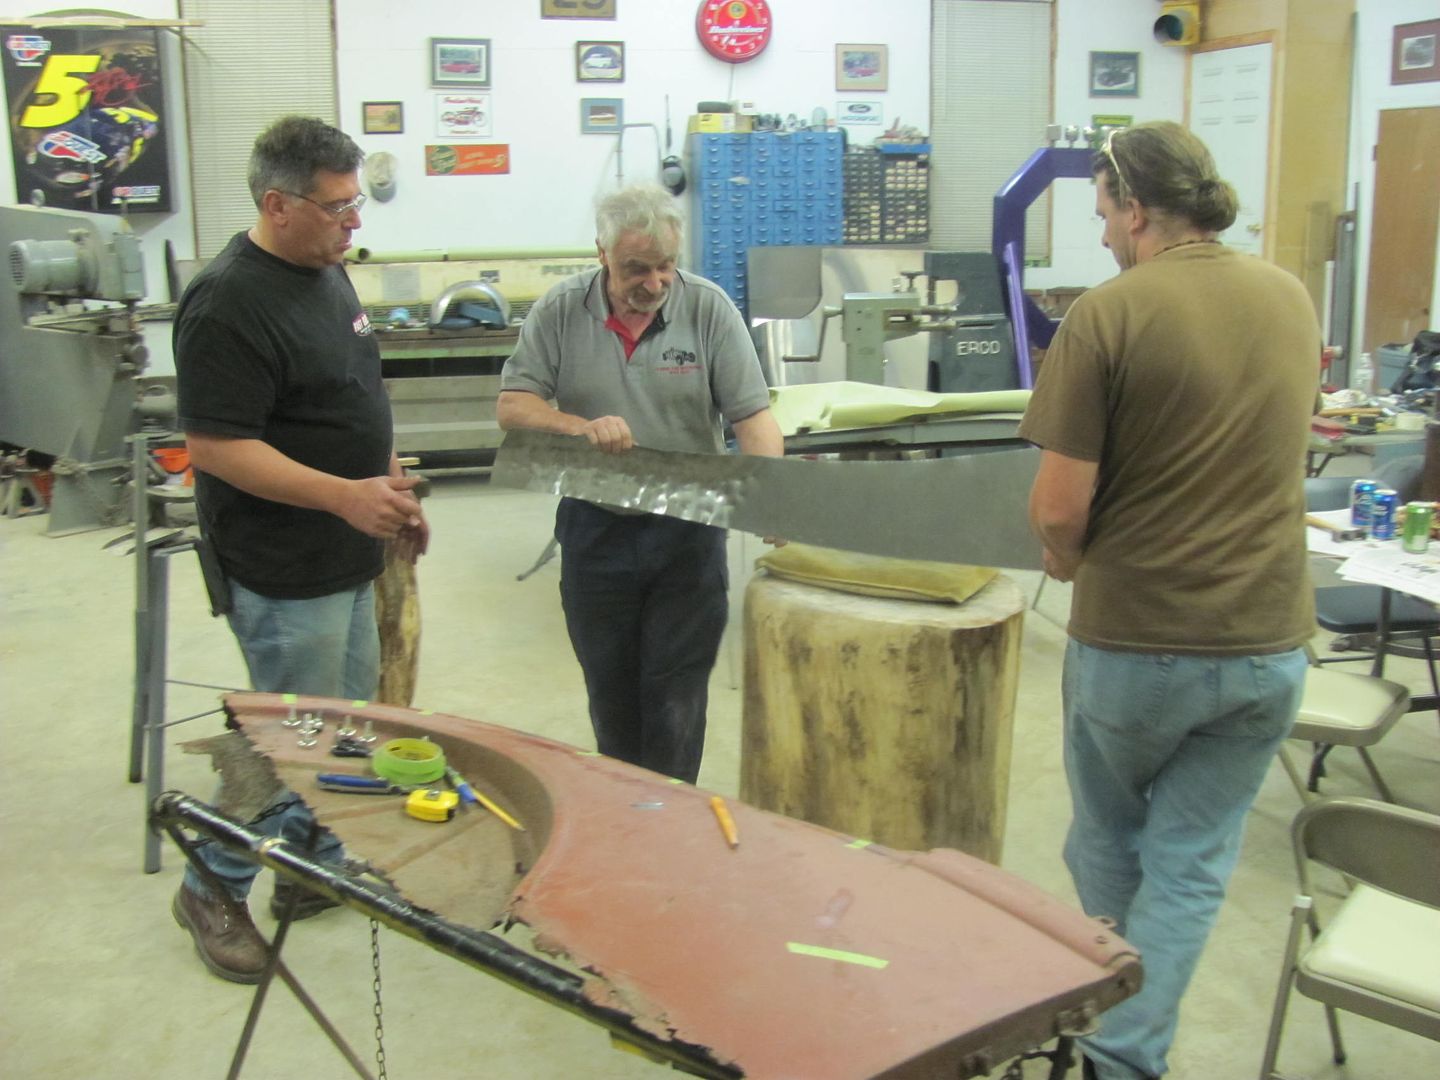
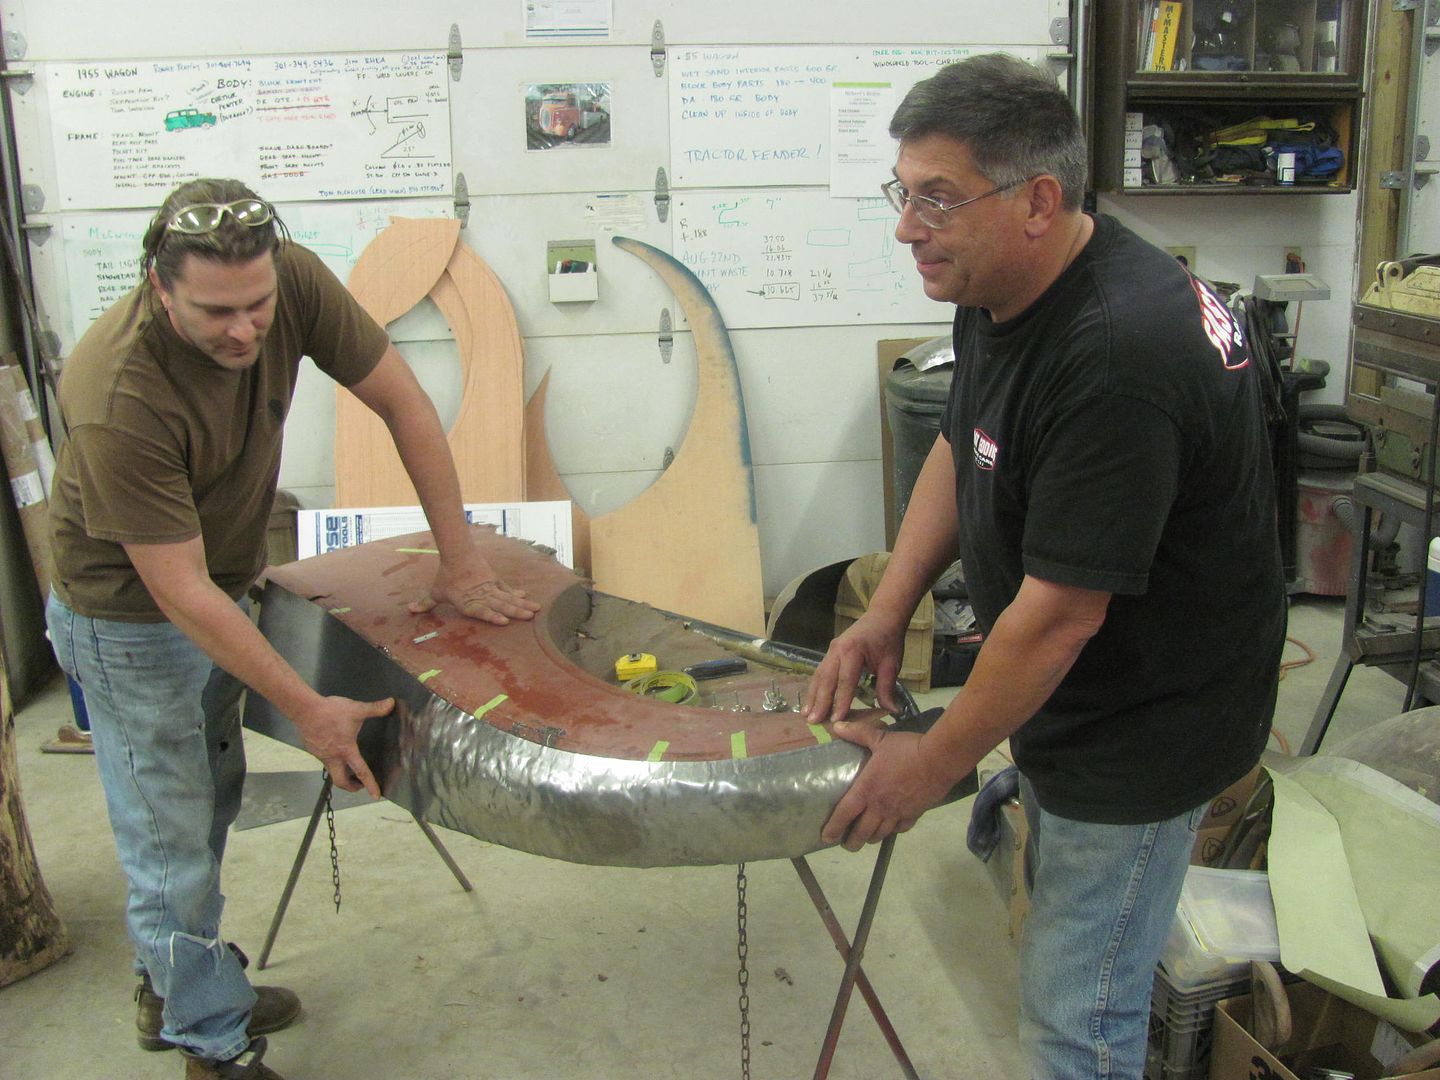
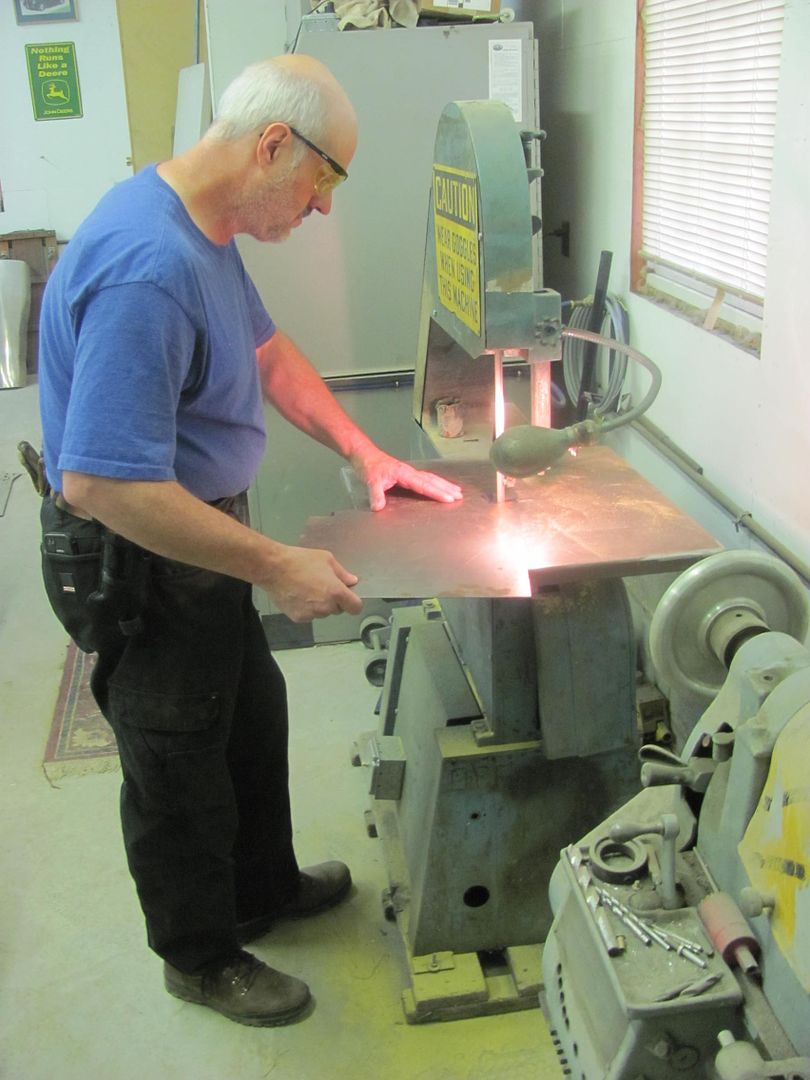
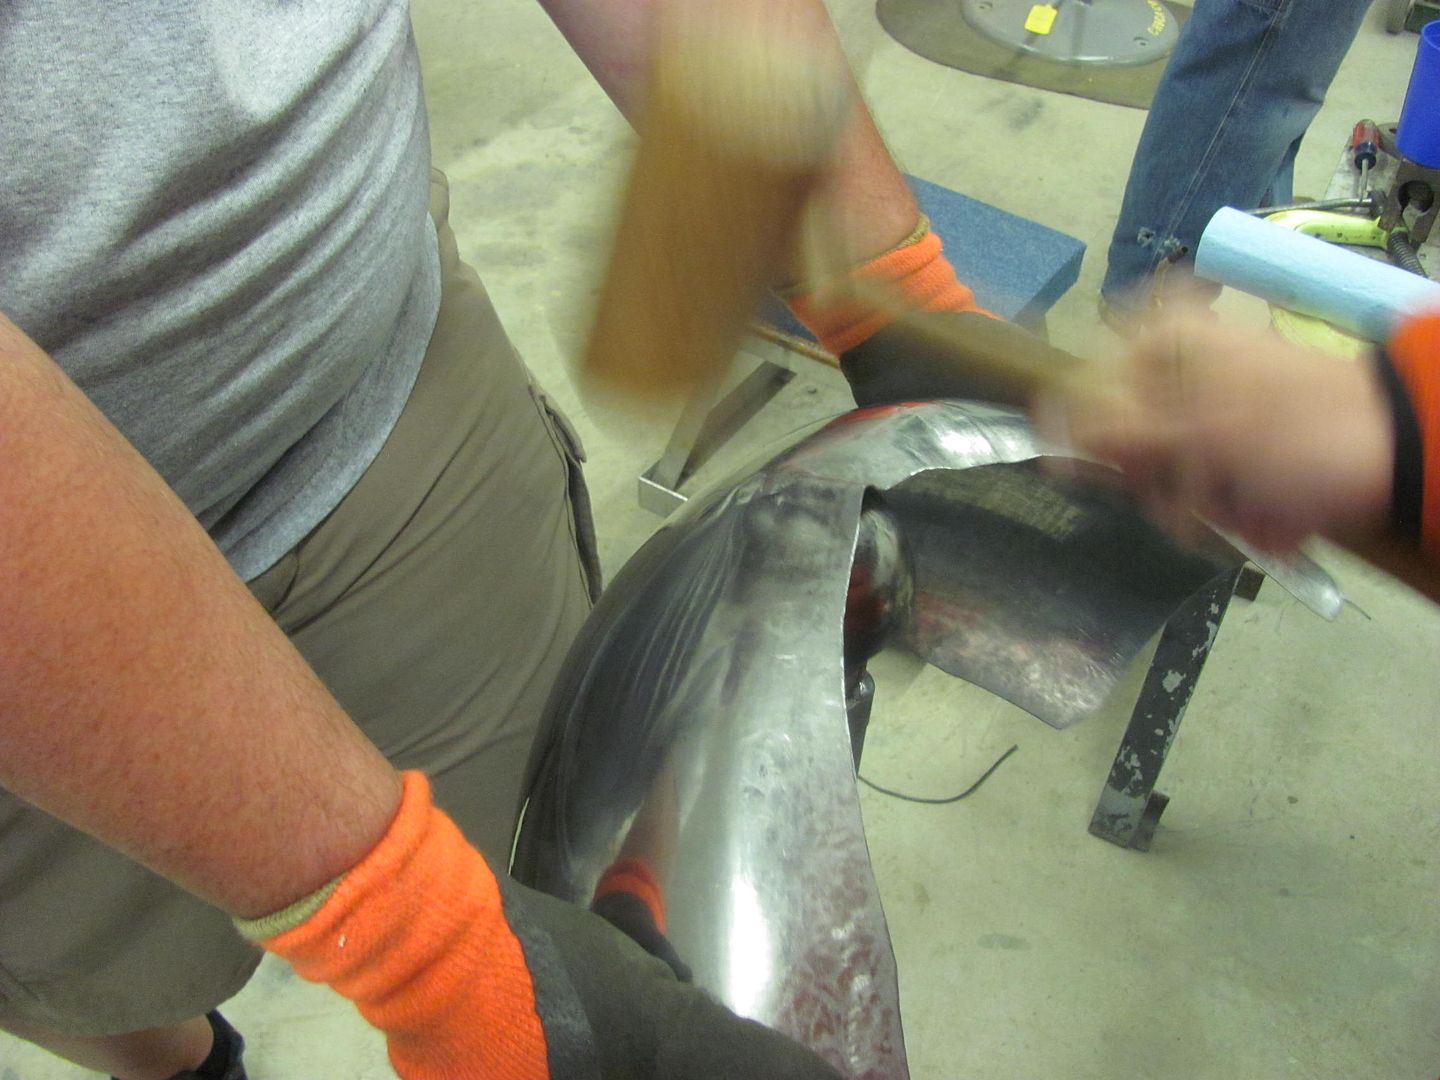
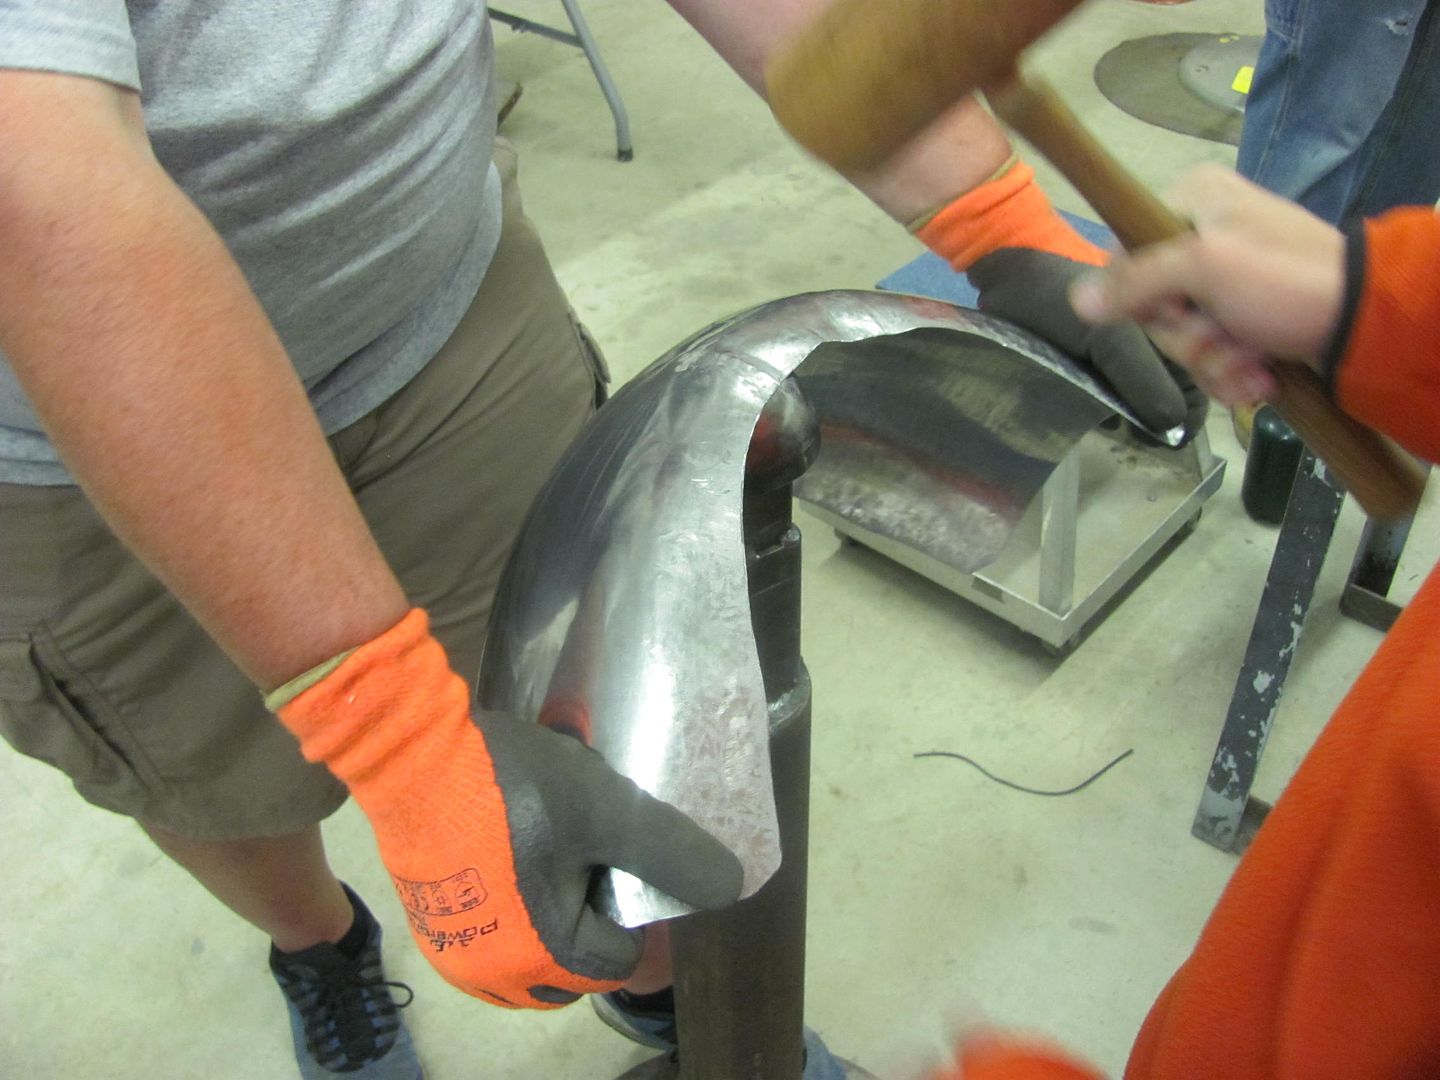
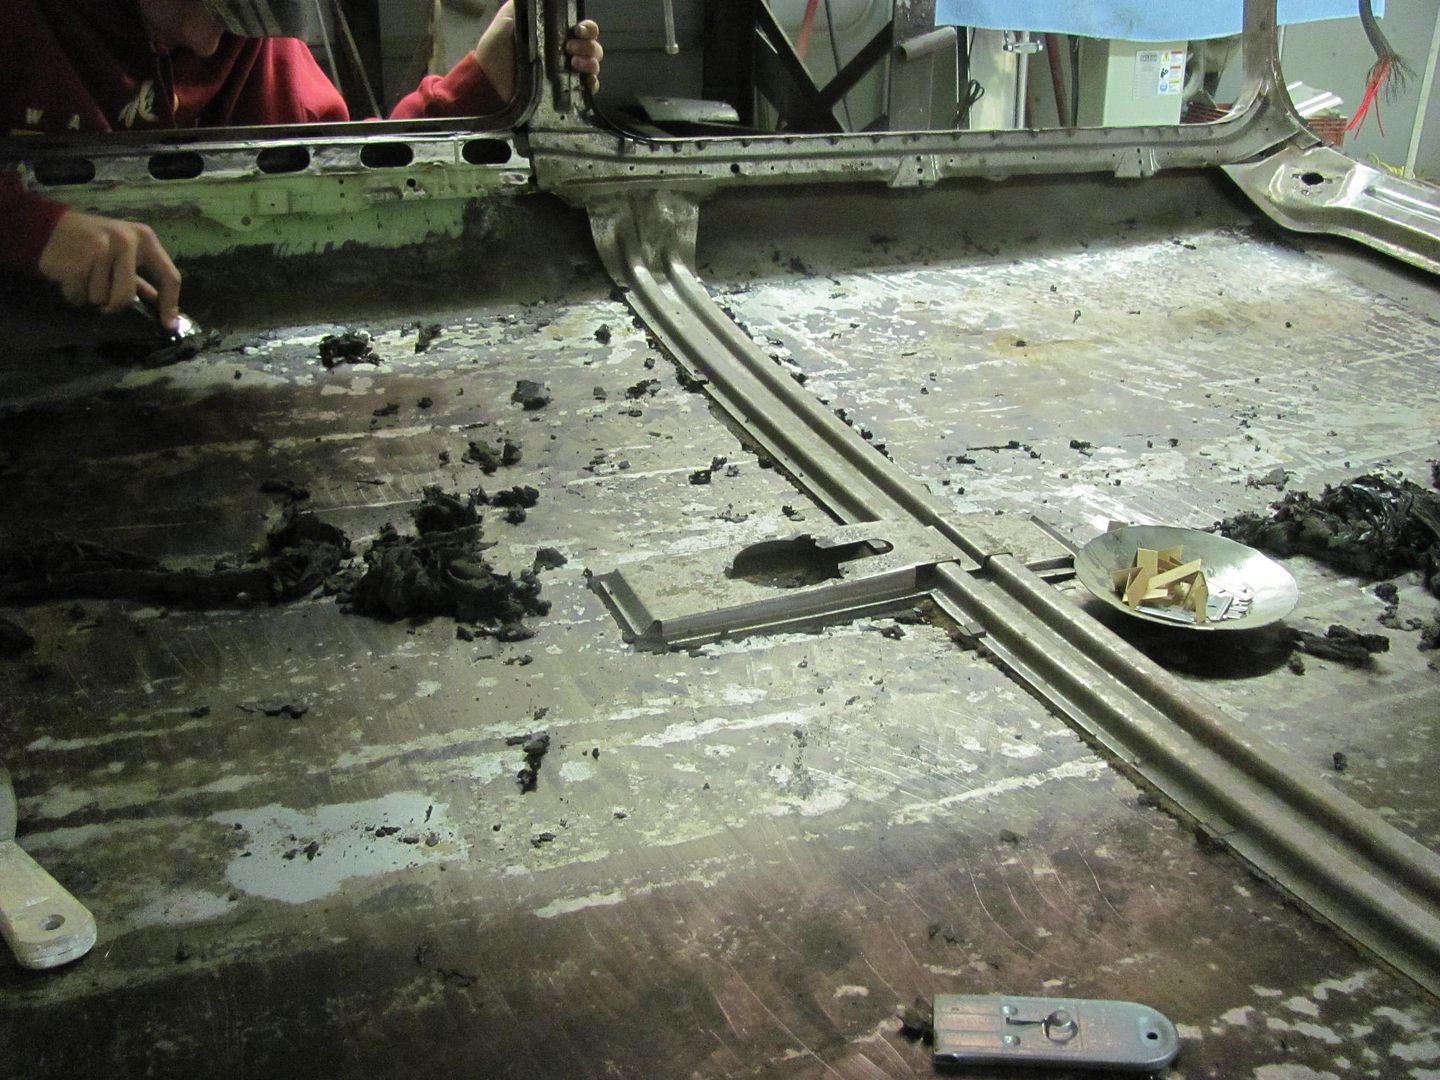
Today, as I was going to be wet sanding, he was going to try some torch shrinking. To better make this a one person job with minimal risk of open flame, we thought to give the "electric" torch a go.


Picture%203063.jpg


Picture%203061.jpg


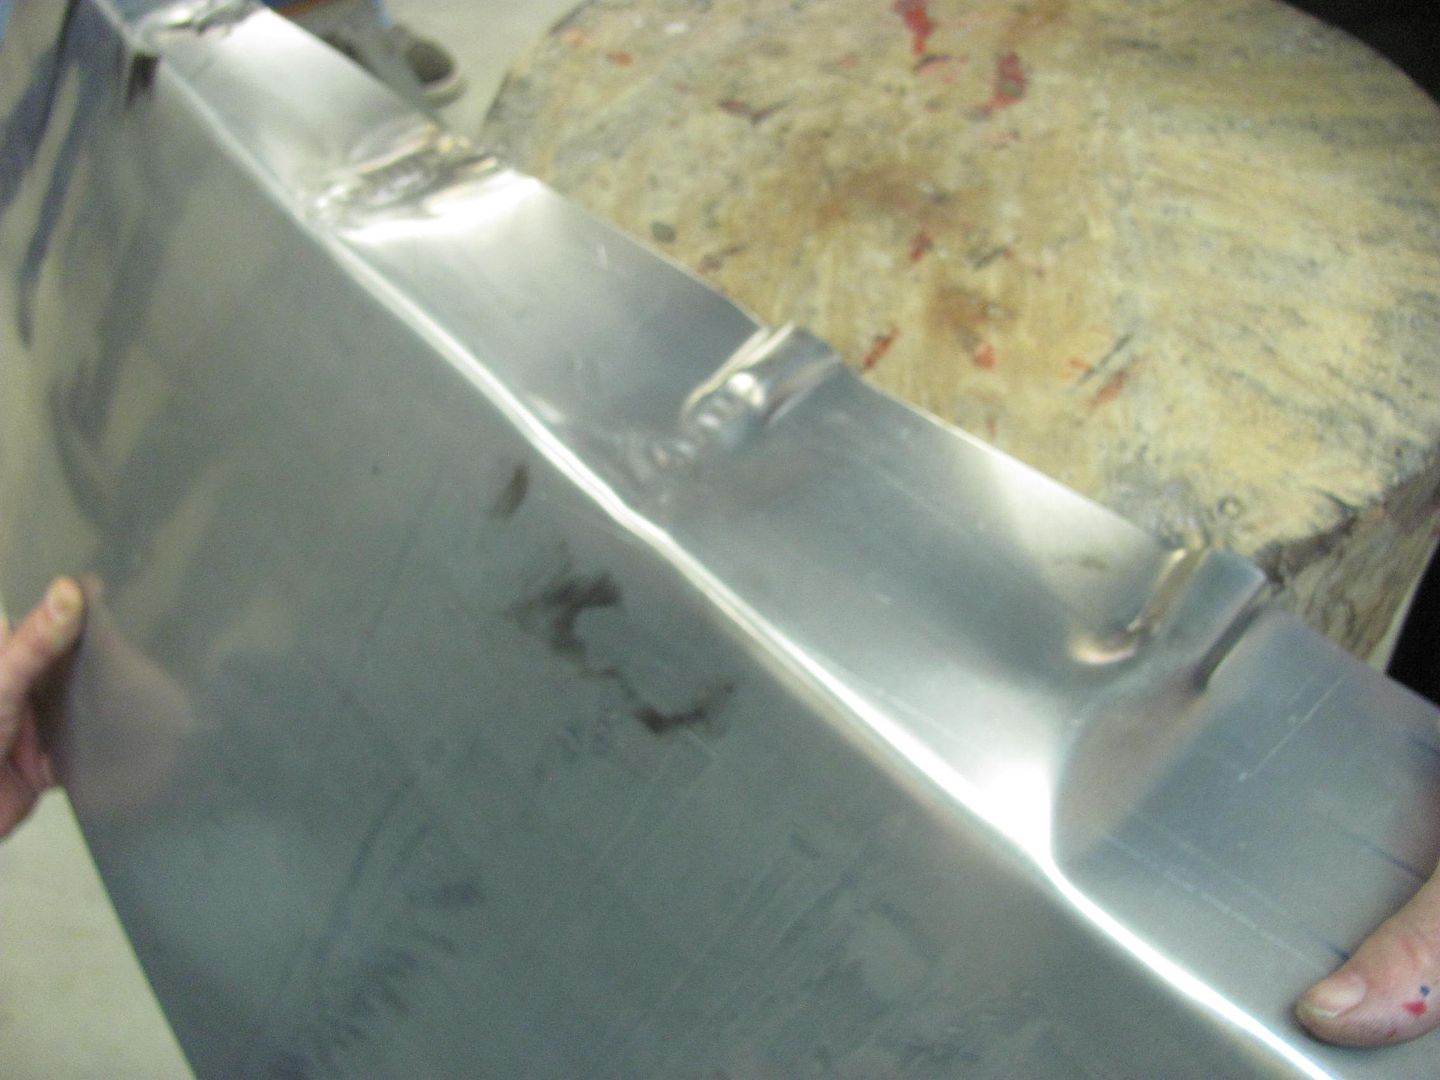
The plastic dust pan served as a tray to hold the wet rag, keeping it in closer proximity to where it was needed and attempt to limit the amount of water elsewhere. The results showed quite an improvement, and it's in need of some bumping at this point..


Picture%203064.jpg


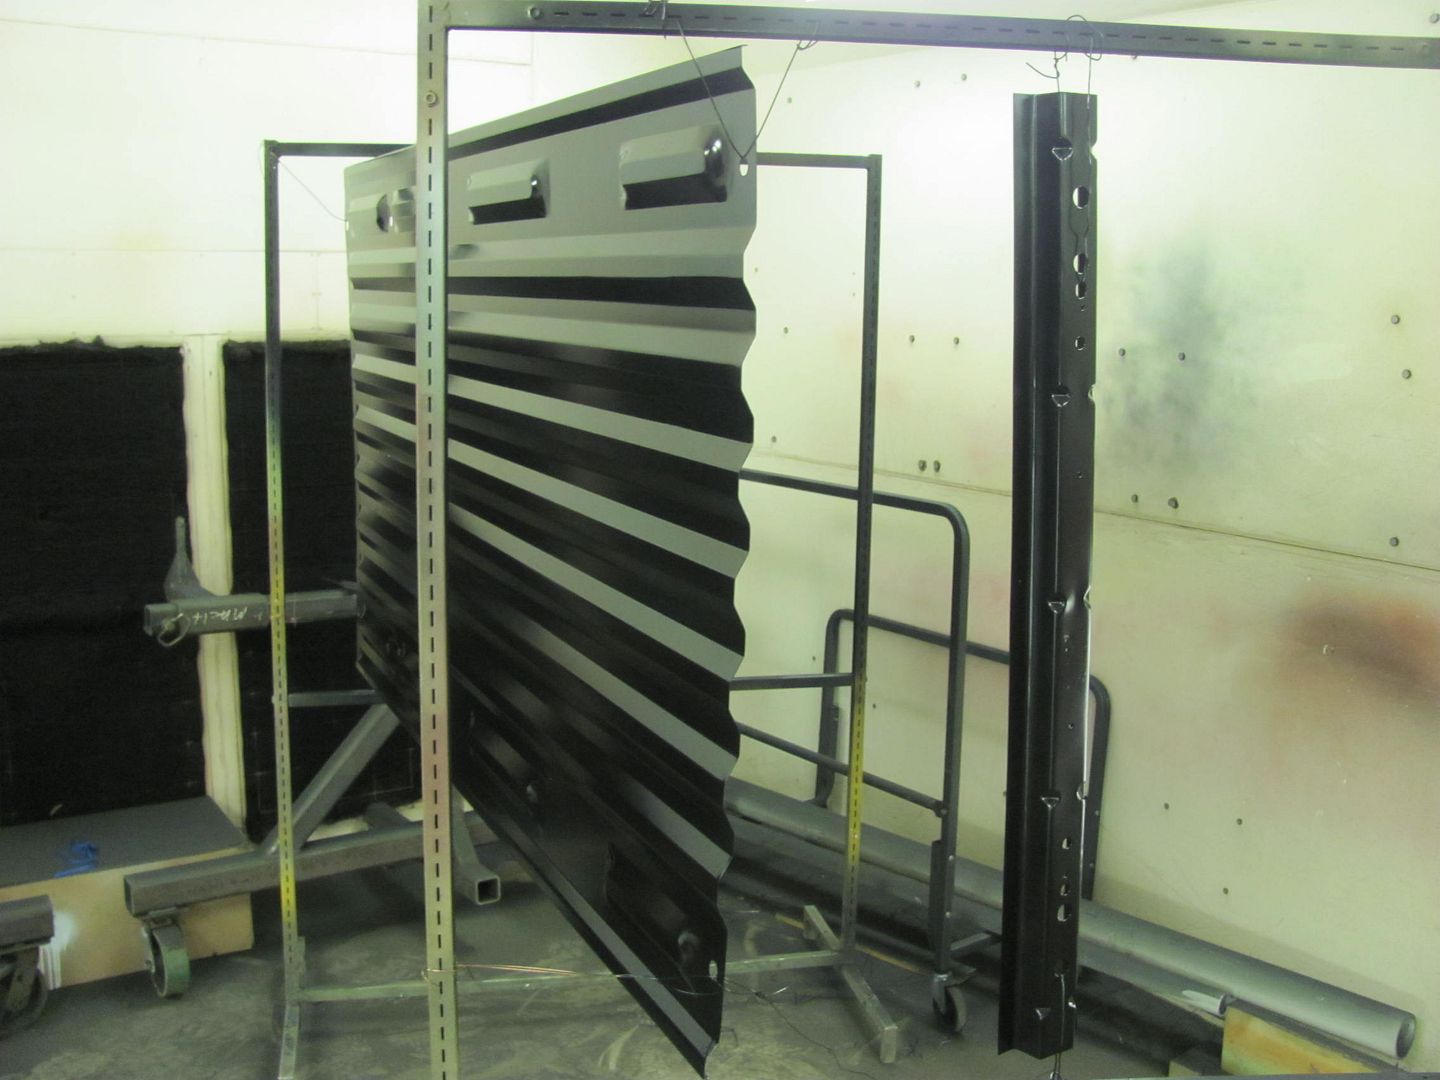
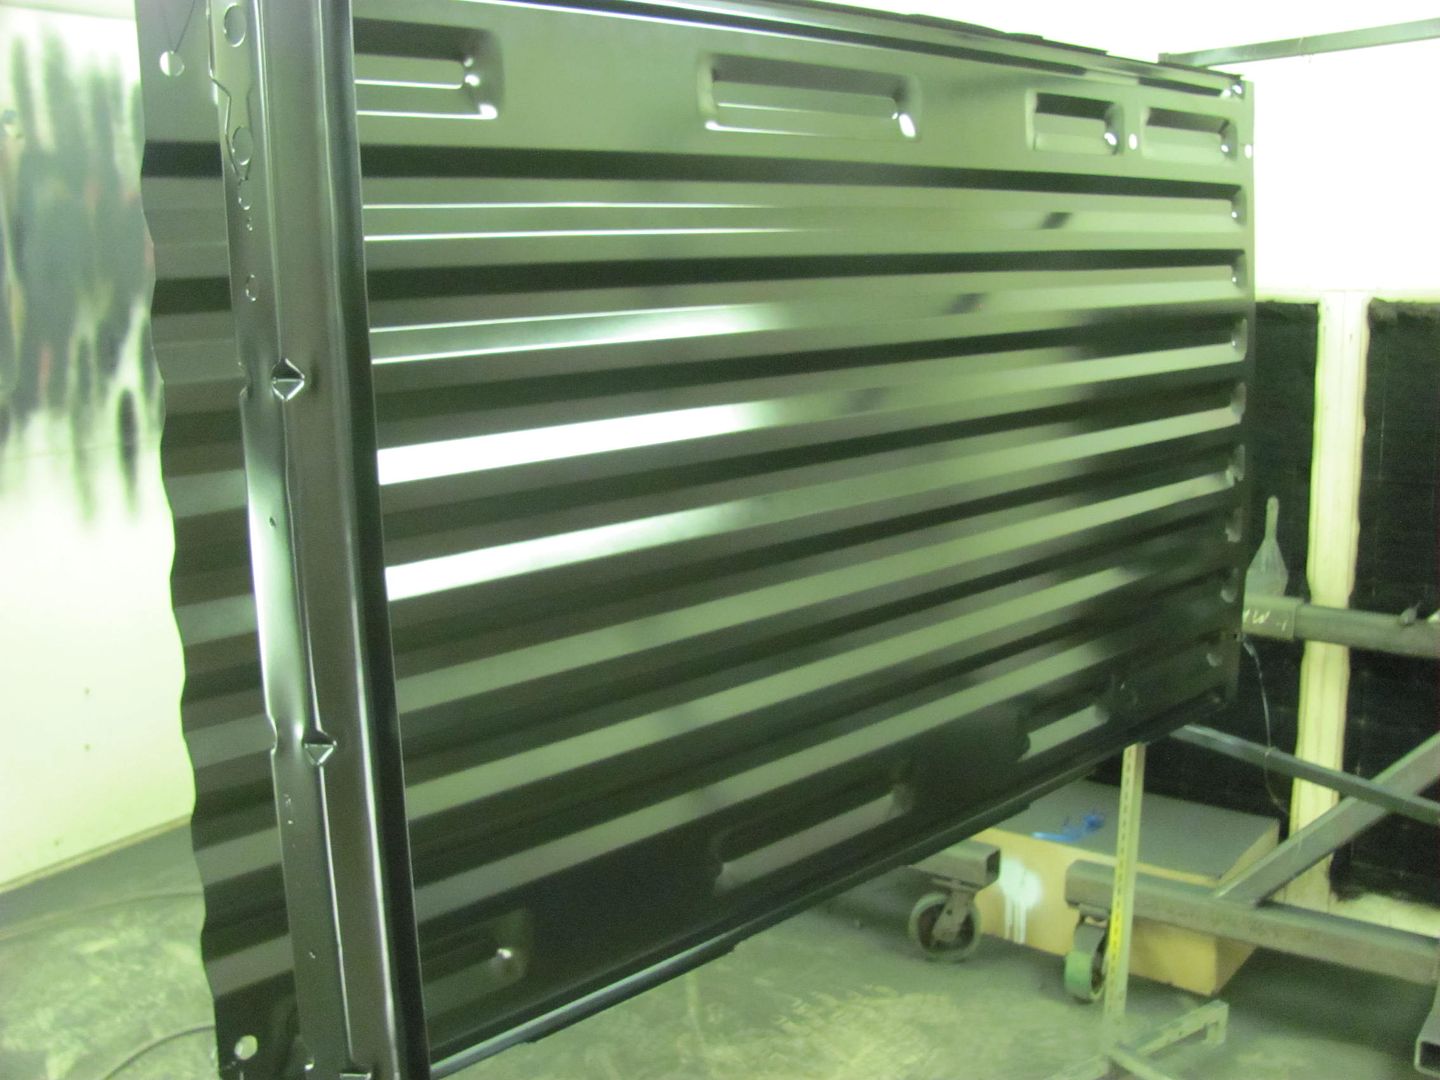
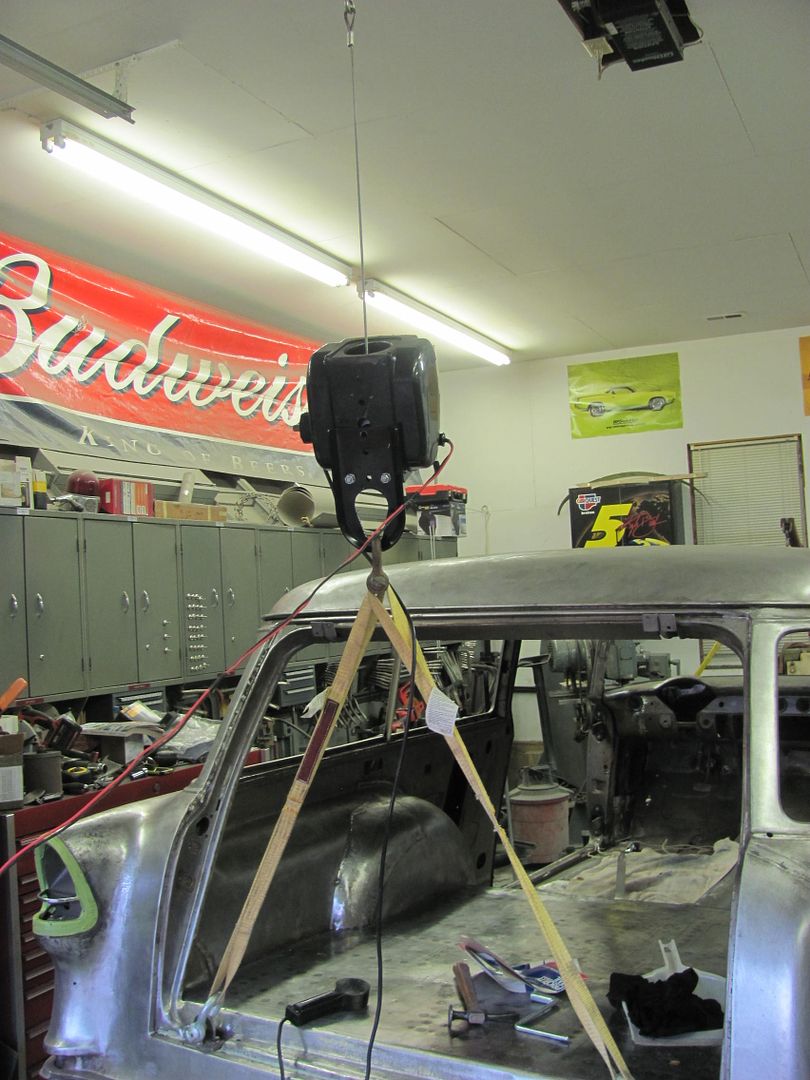
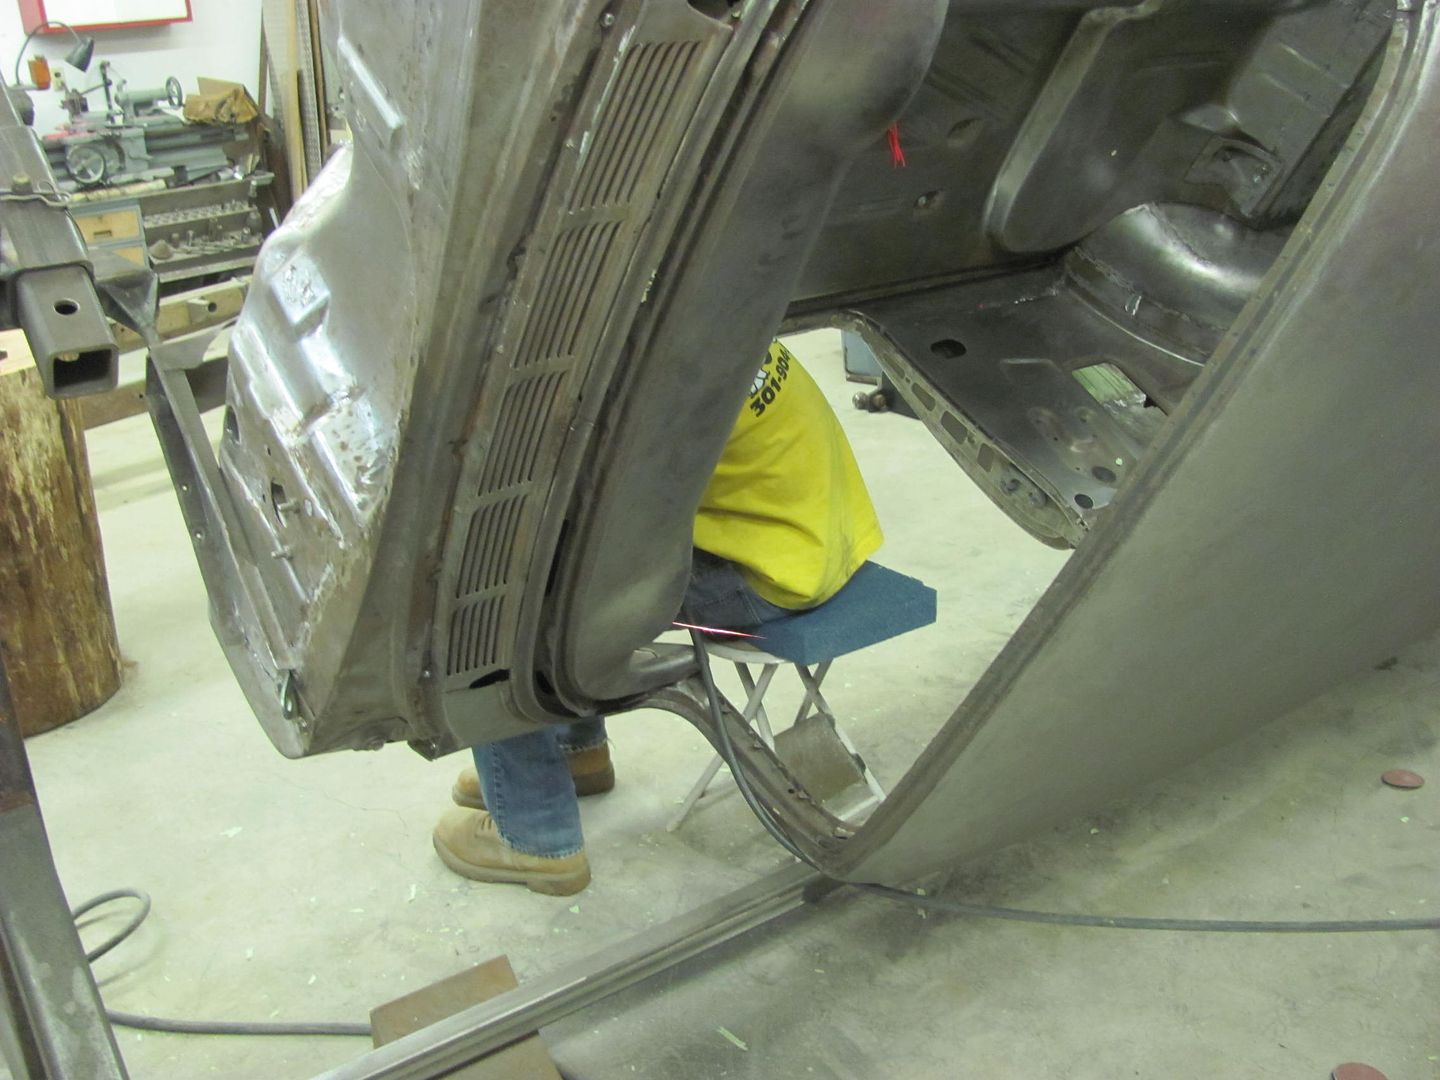
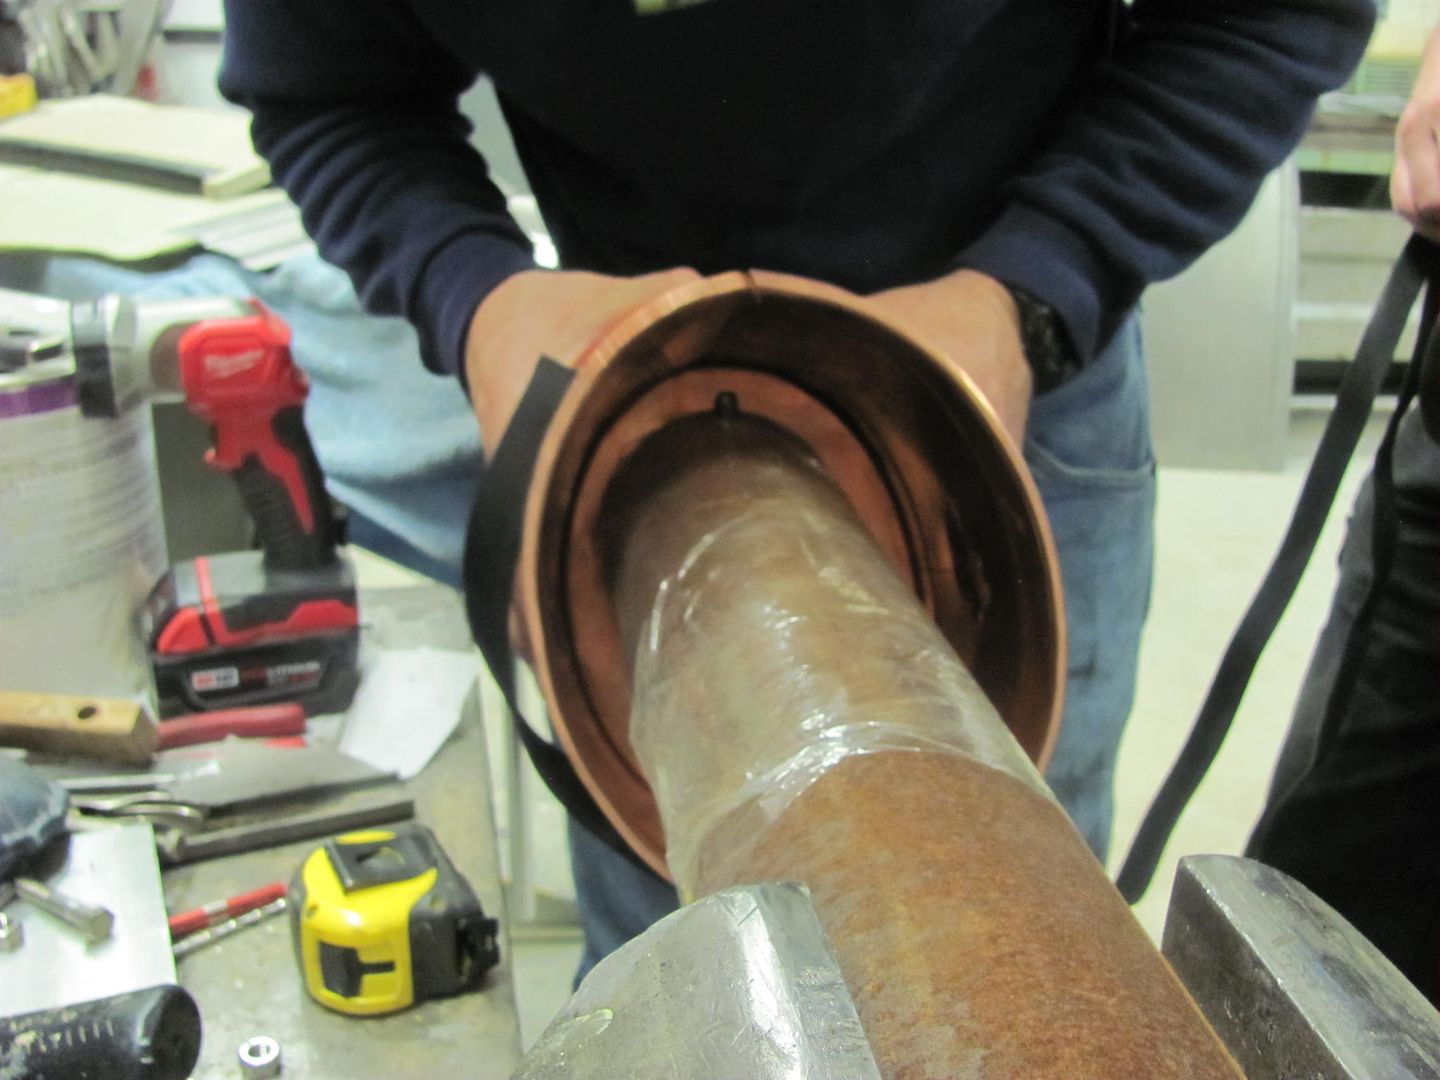
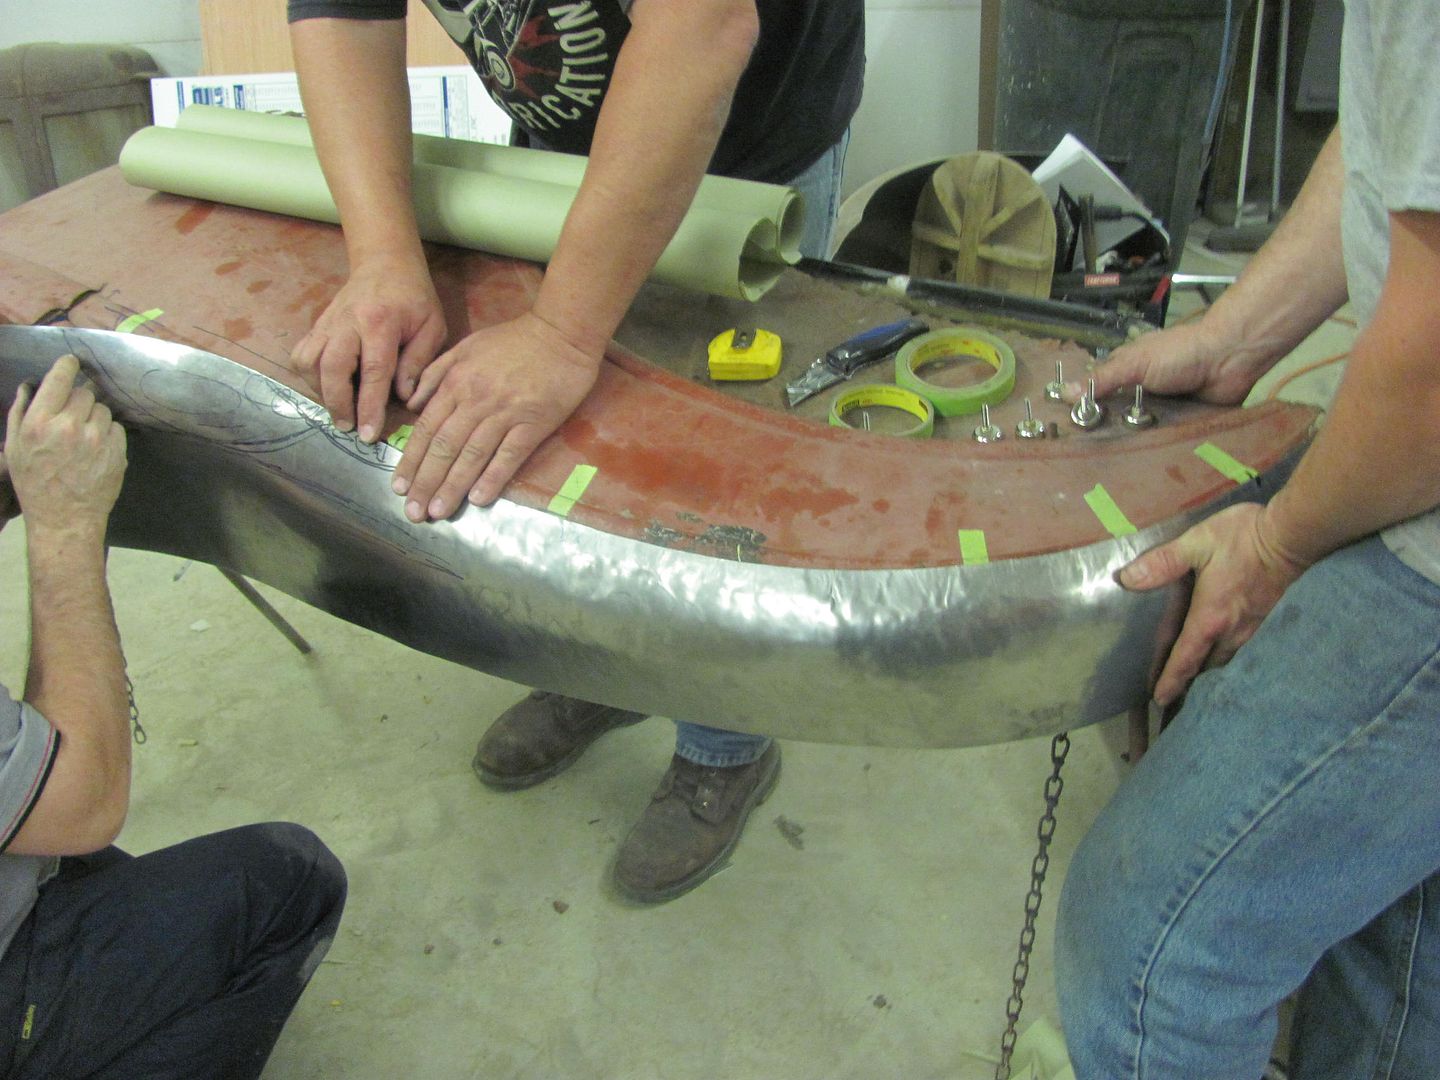
But alas, the gas tank is in the way, so we will likely get the body back on the rotisserie here soon in an effort to get the remaining prep prior to paint completed.

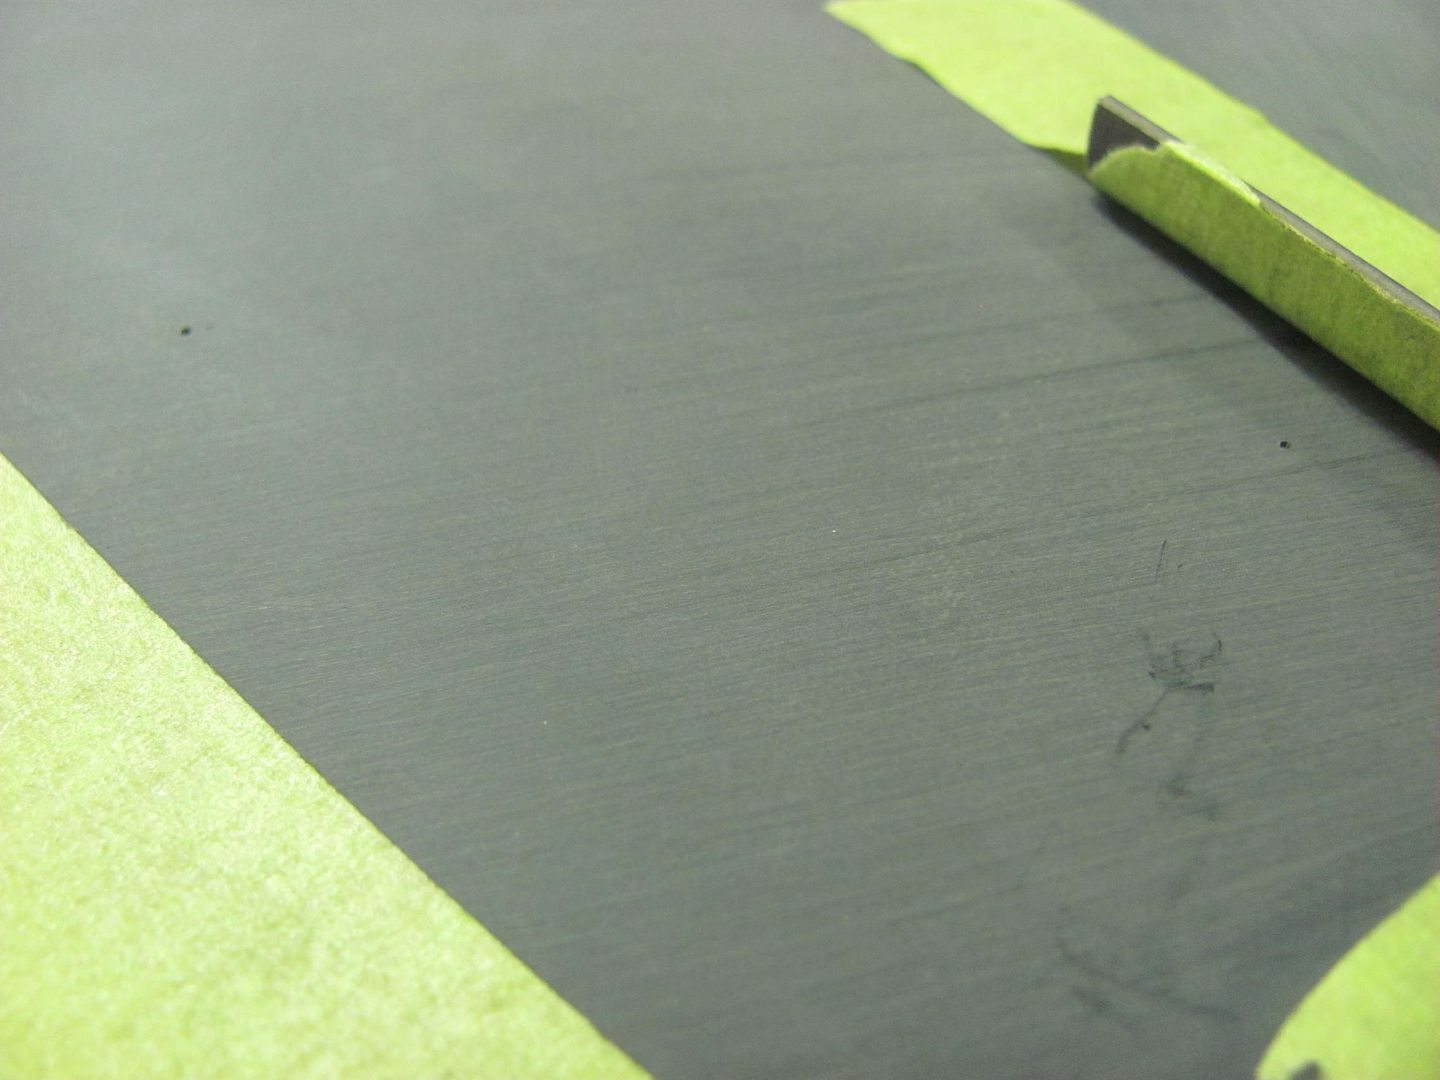
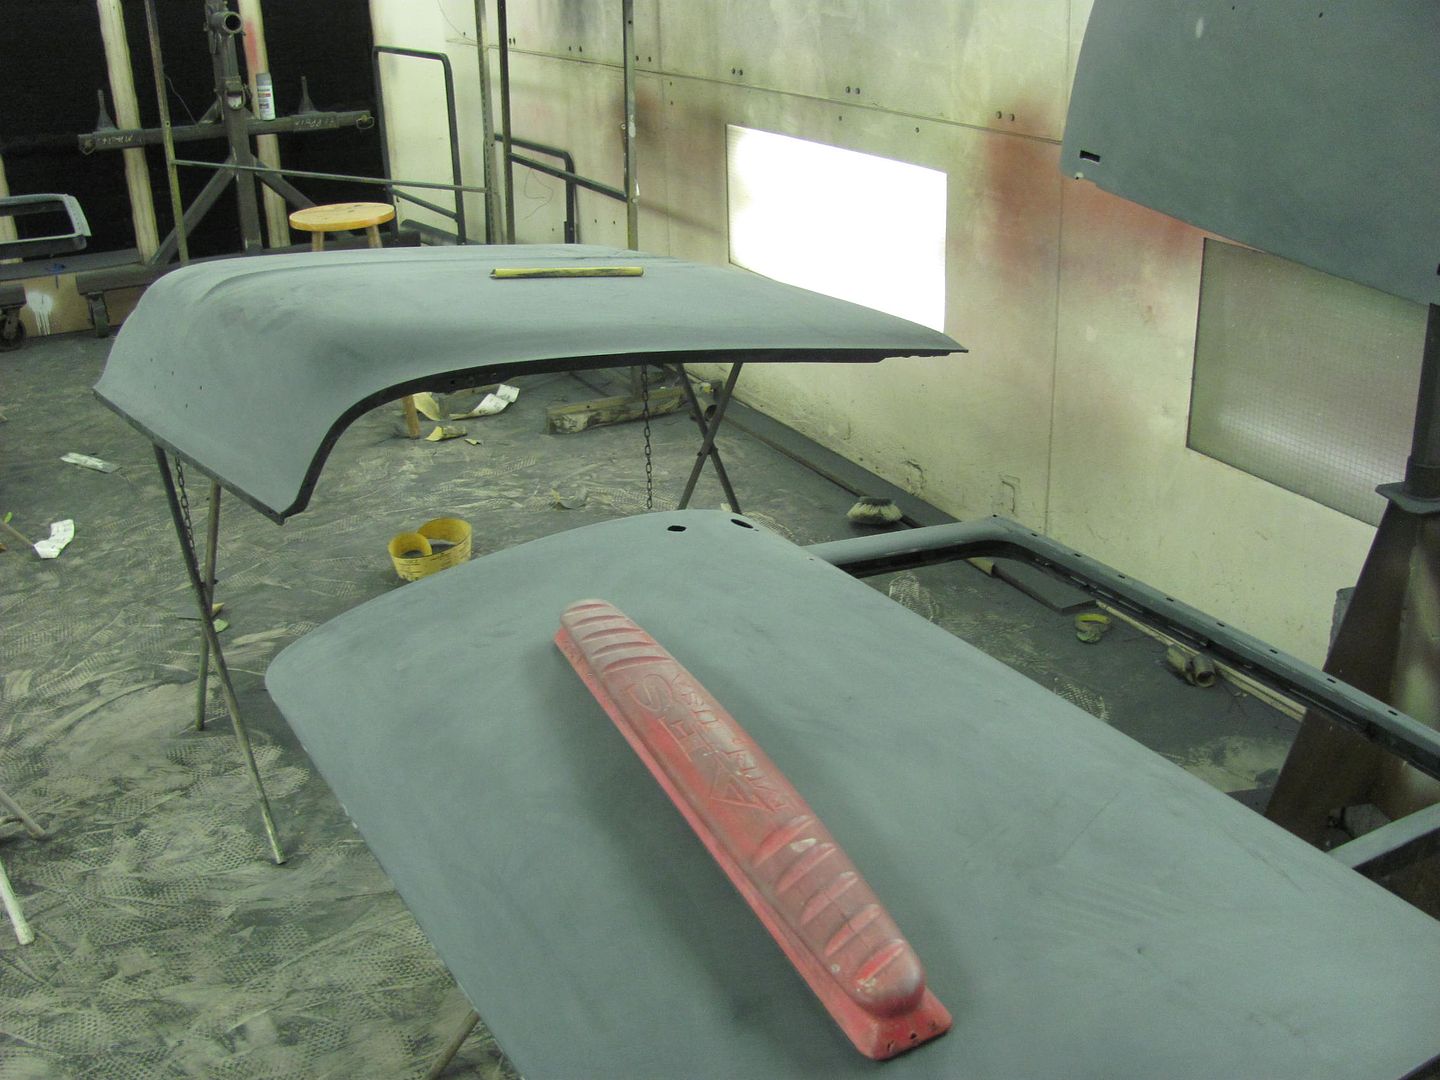
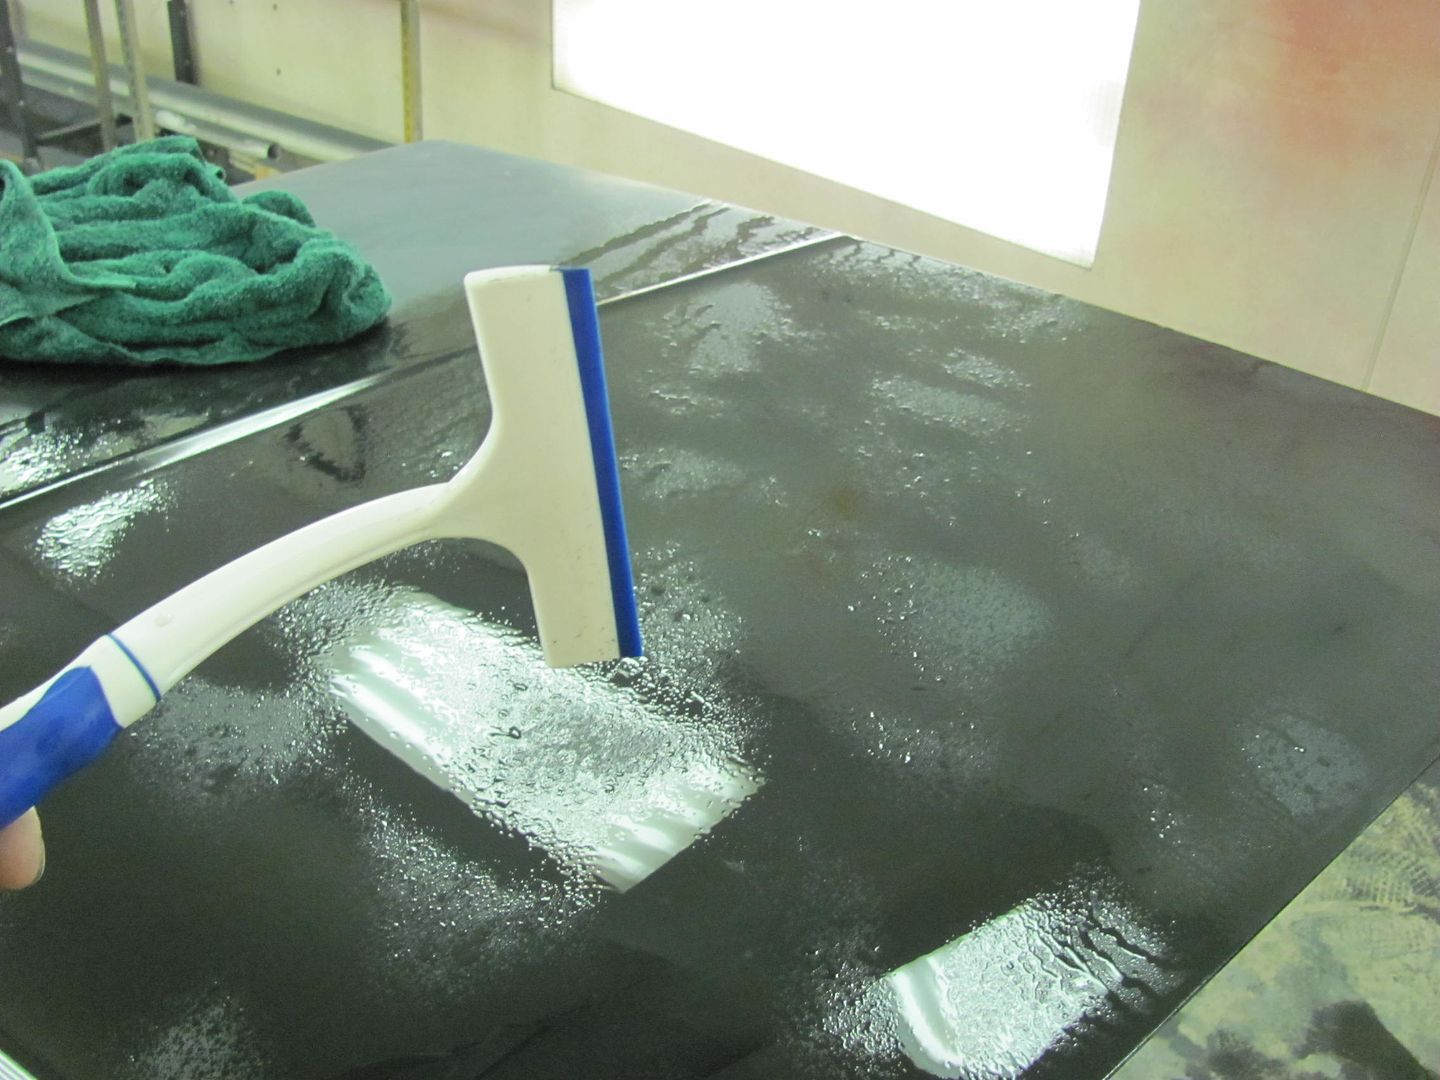
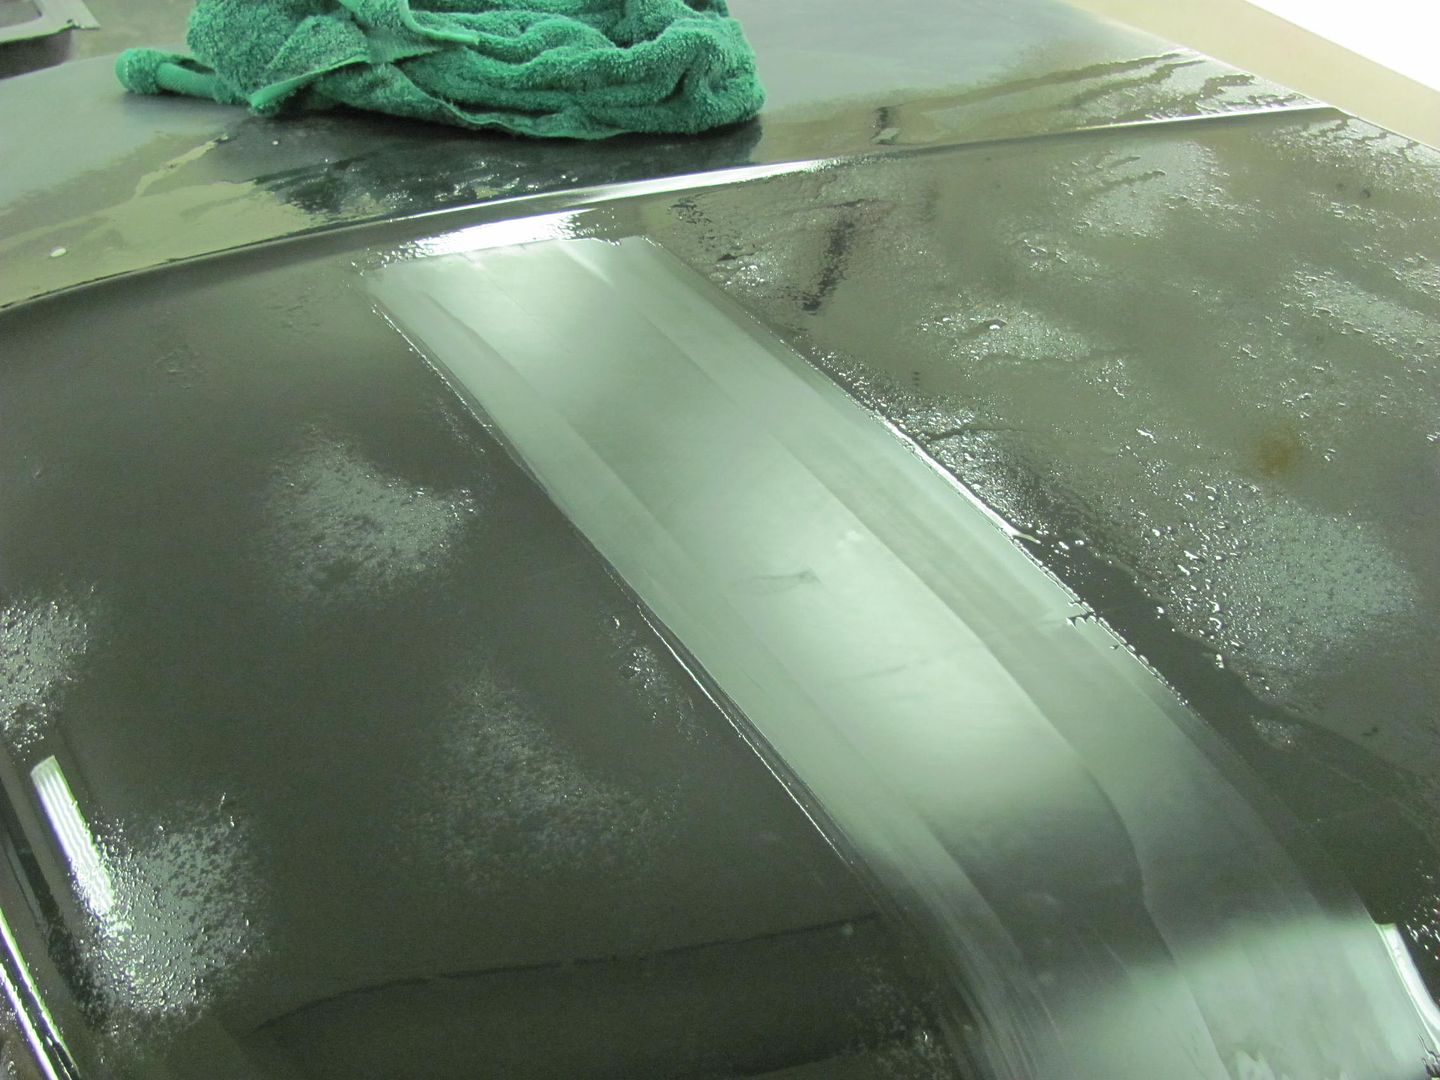
Meanwhile, I was wet sanding and couldn't find the squeegee, so a trip to the local Ace Hardware at lunch, and we had a replacement. Works well, and no metal hardware on this new one to add any scratches....


Picture%203067.jpg


Picture%203068.jpg


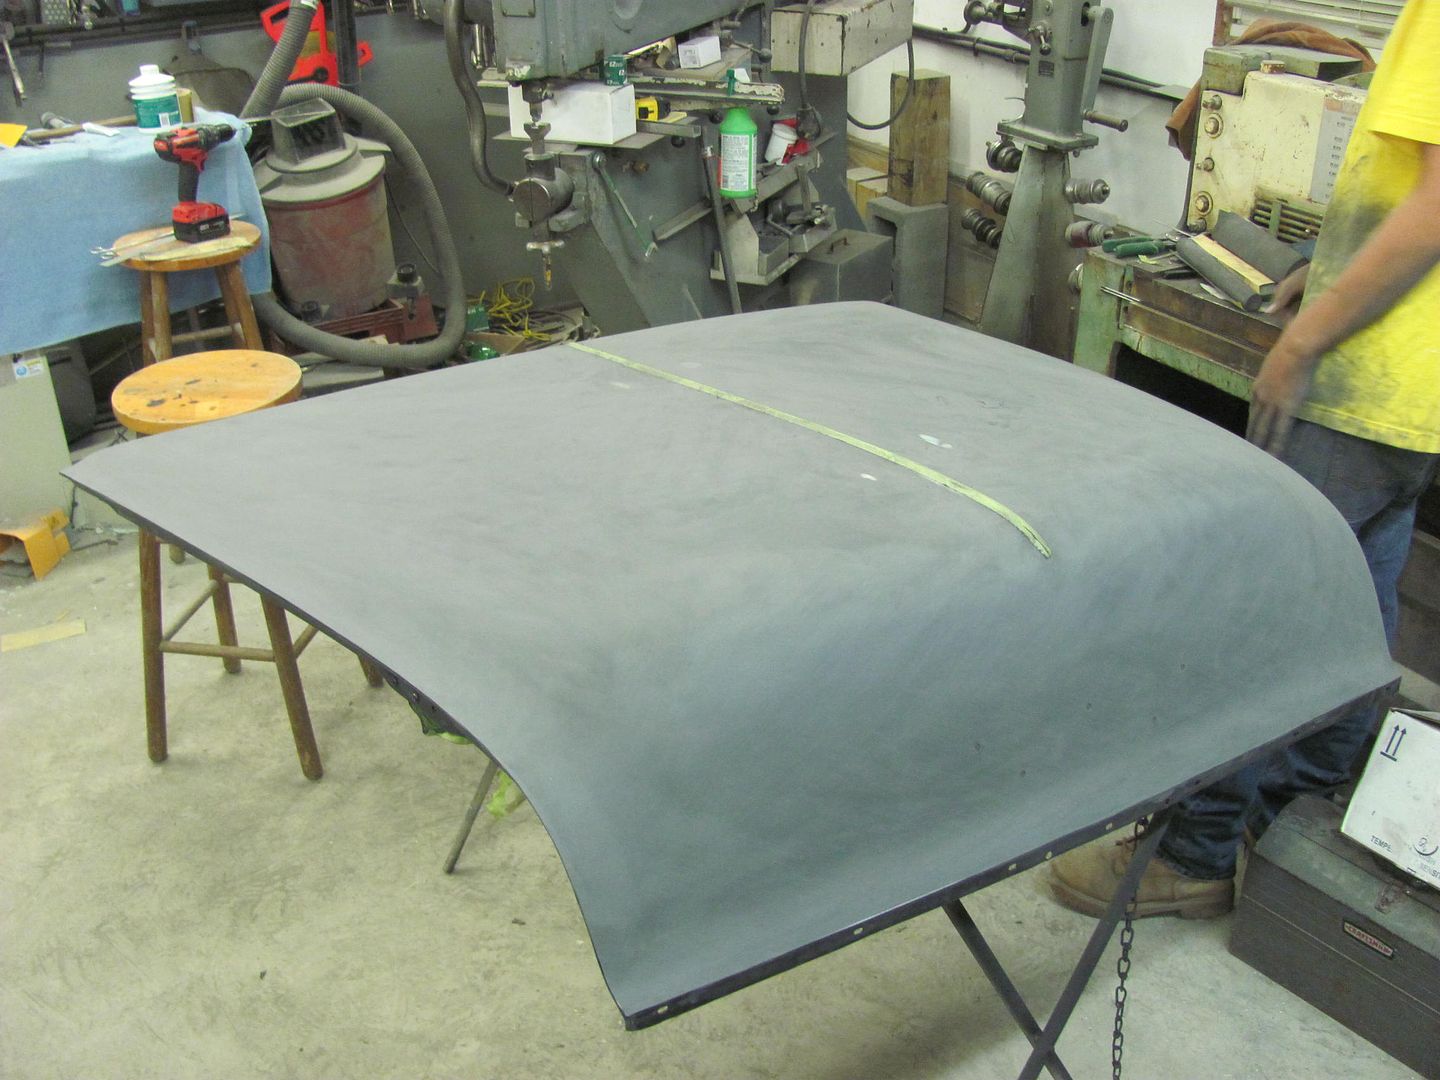
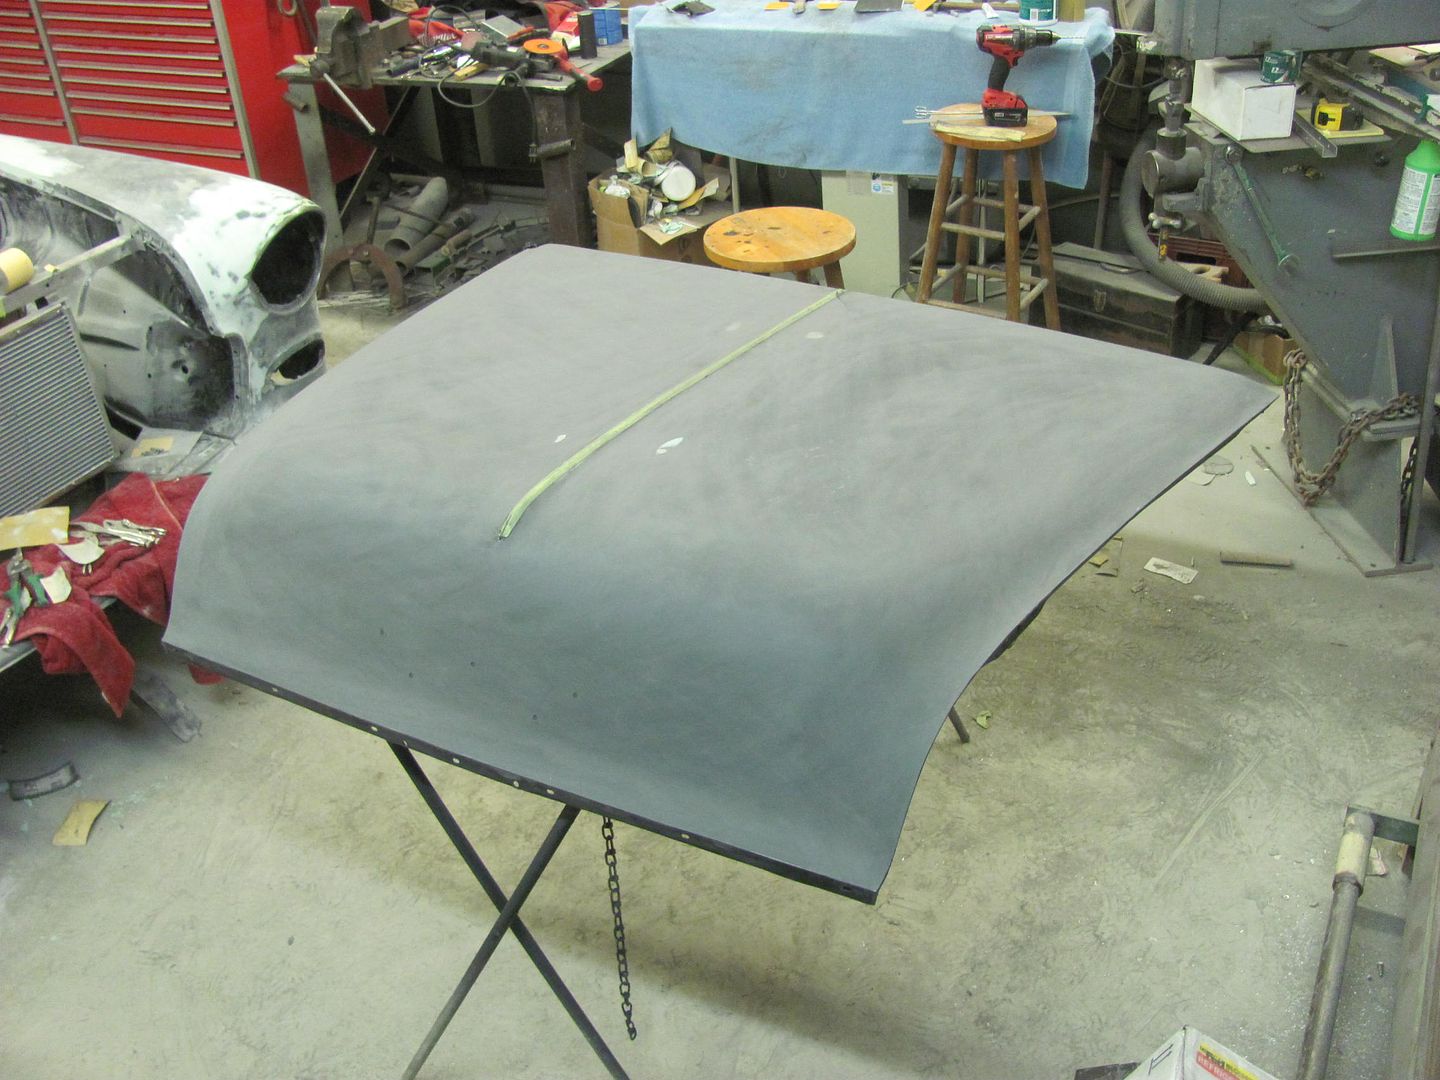
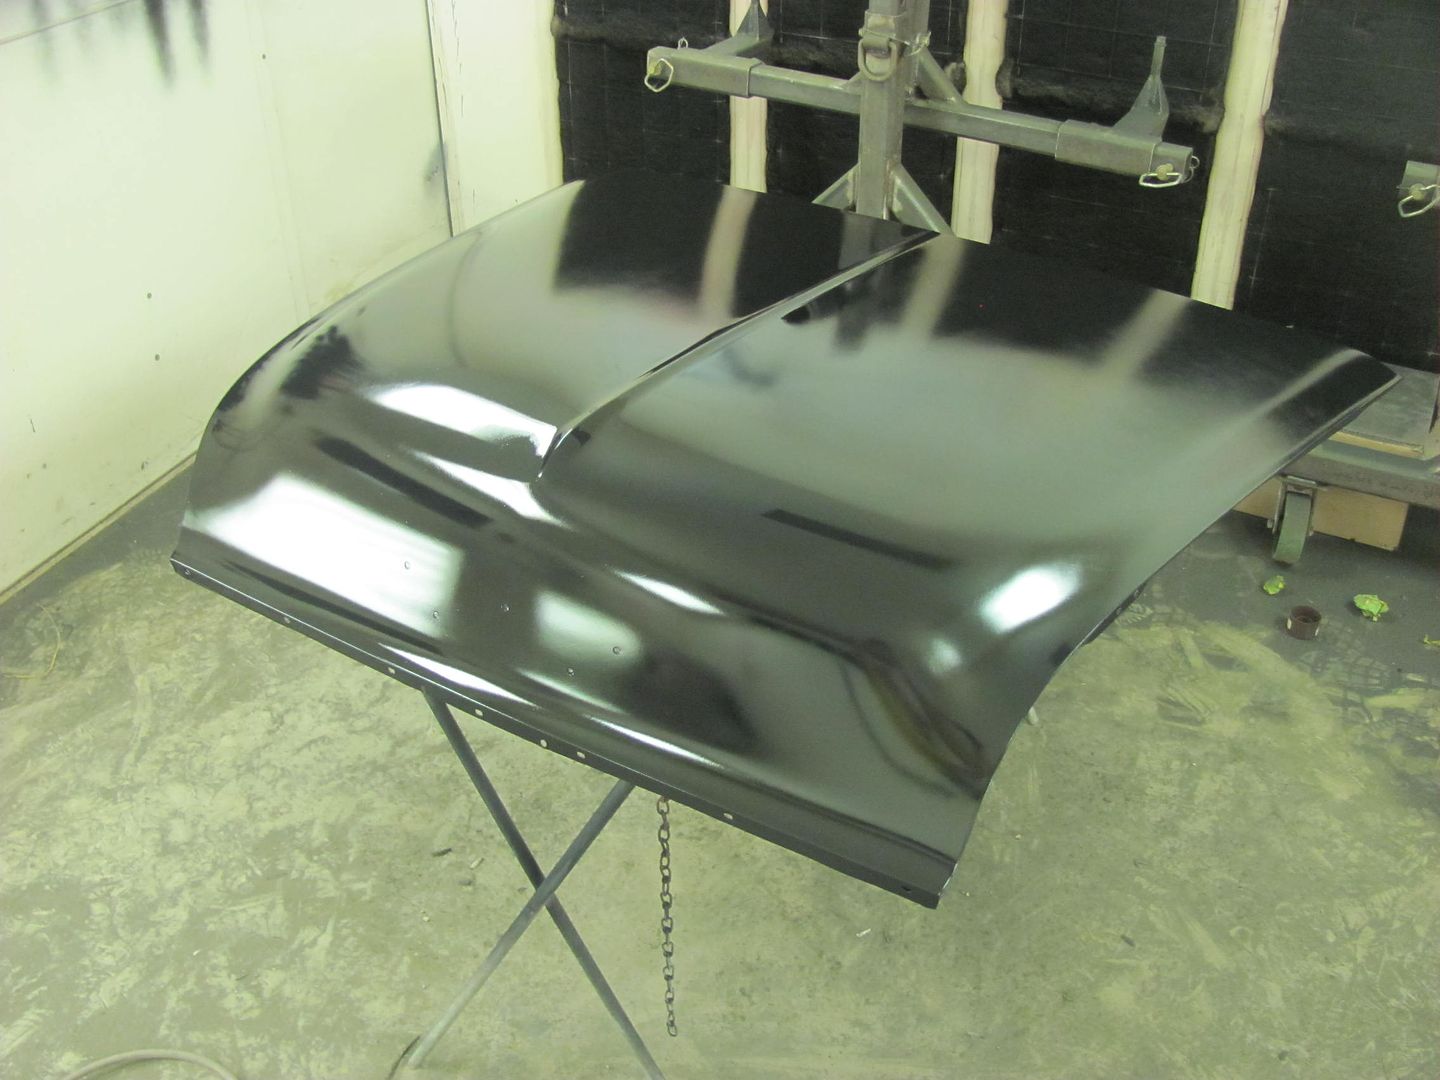
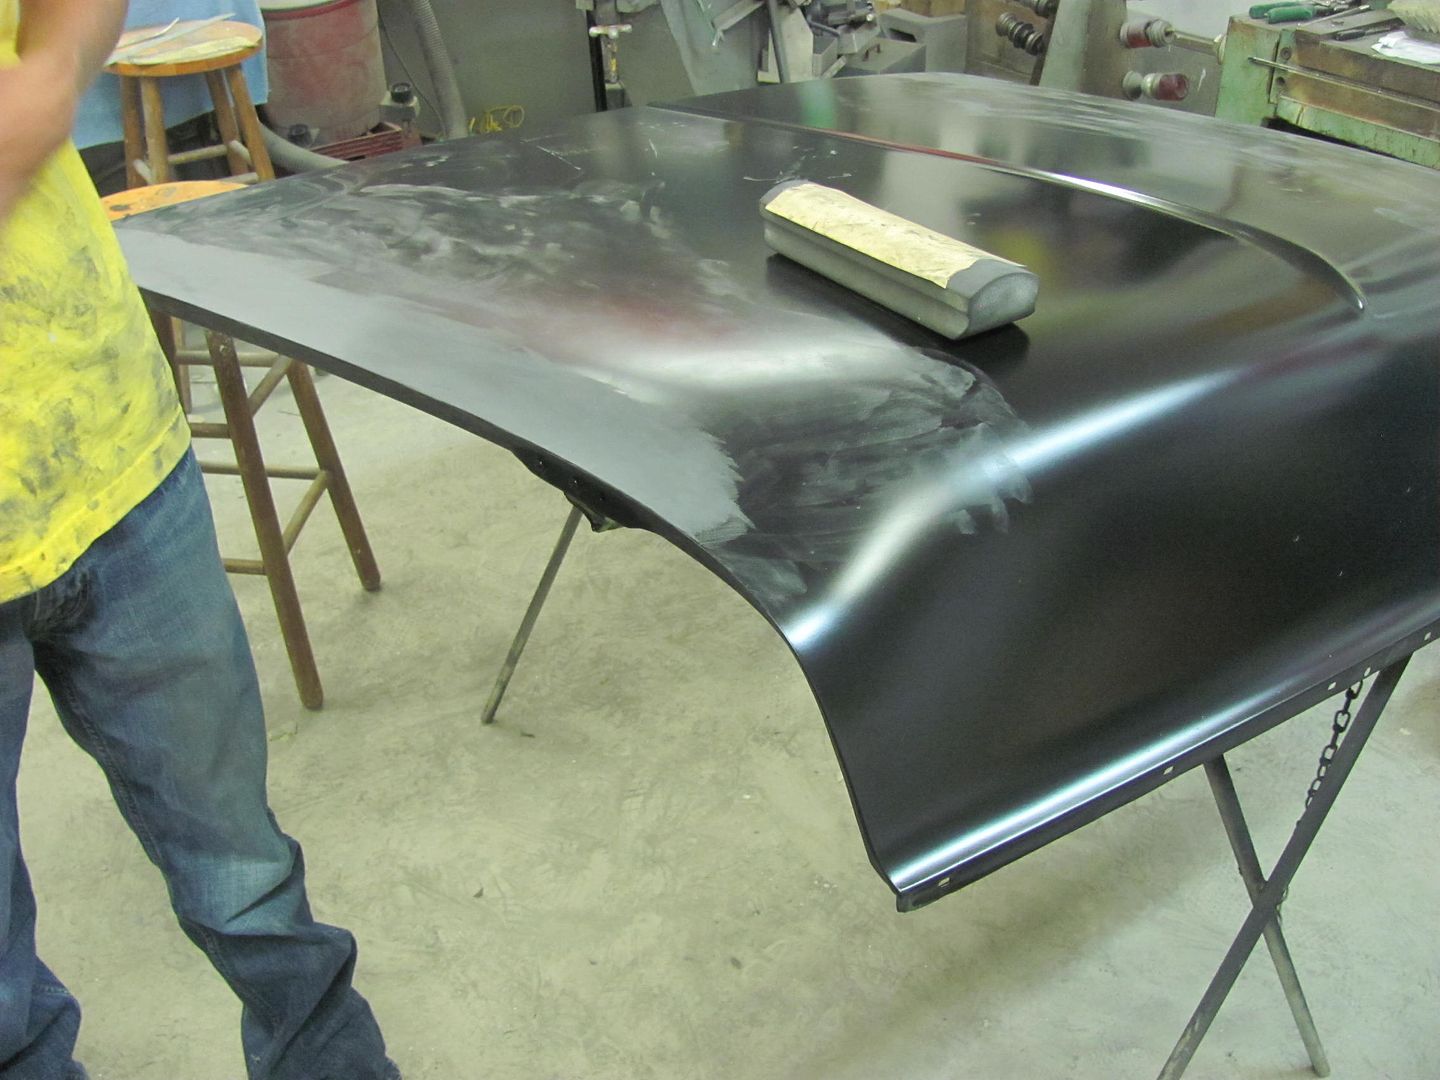
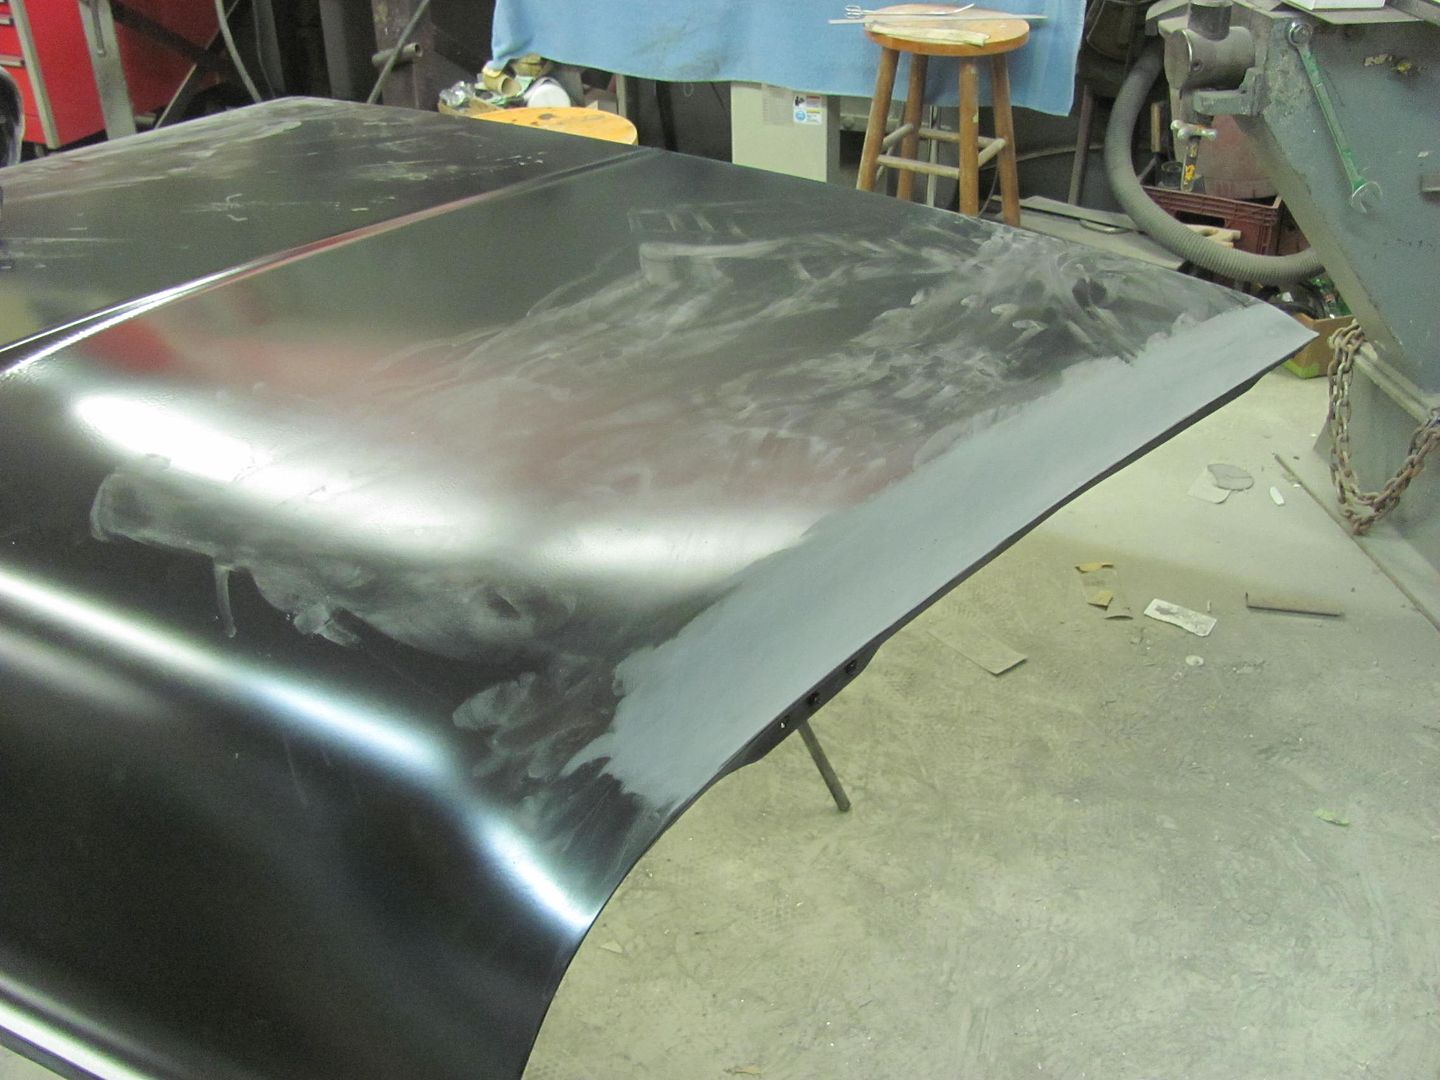
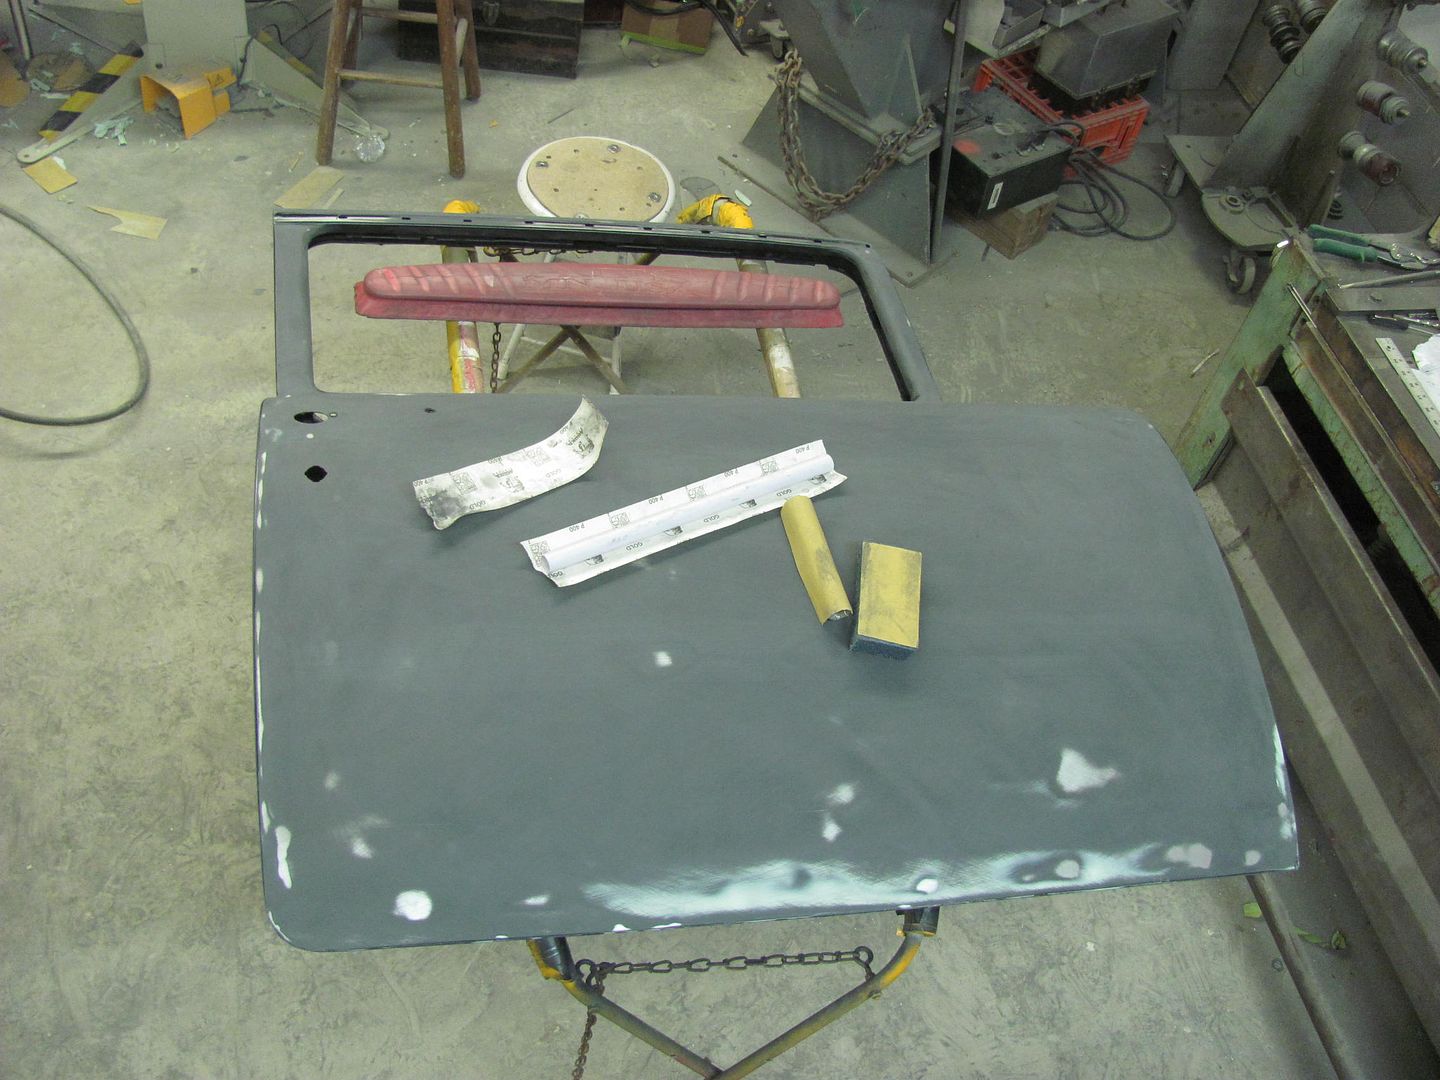
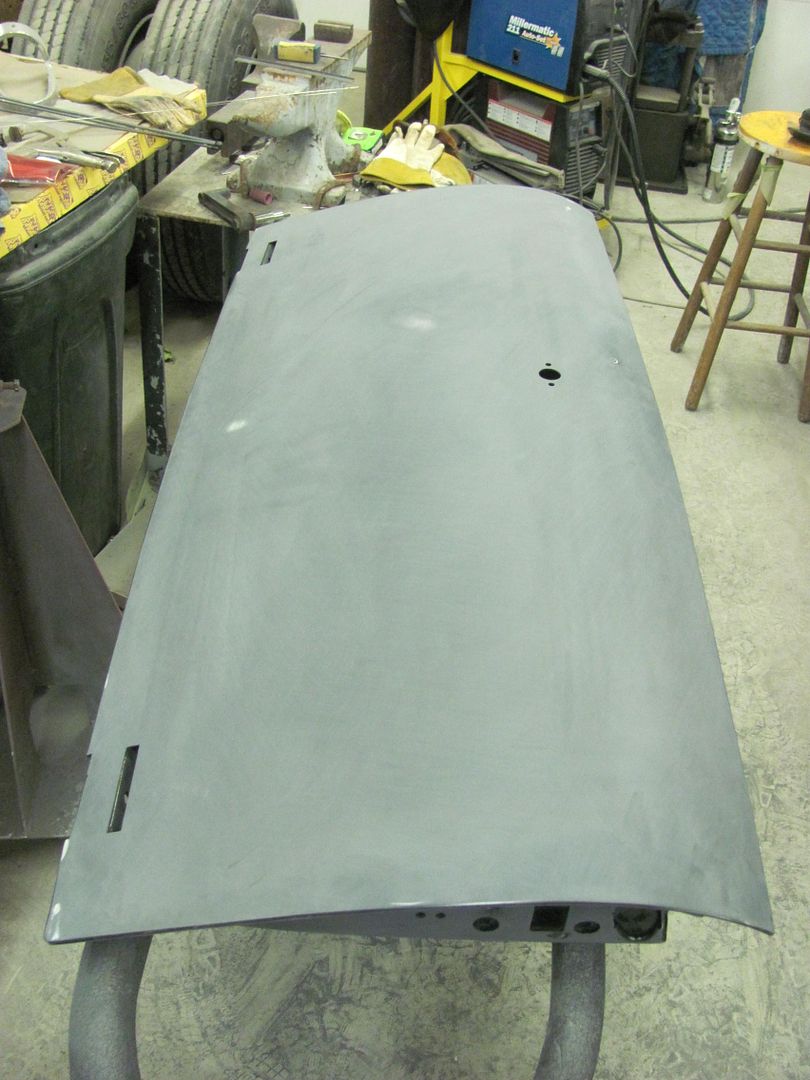
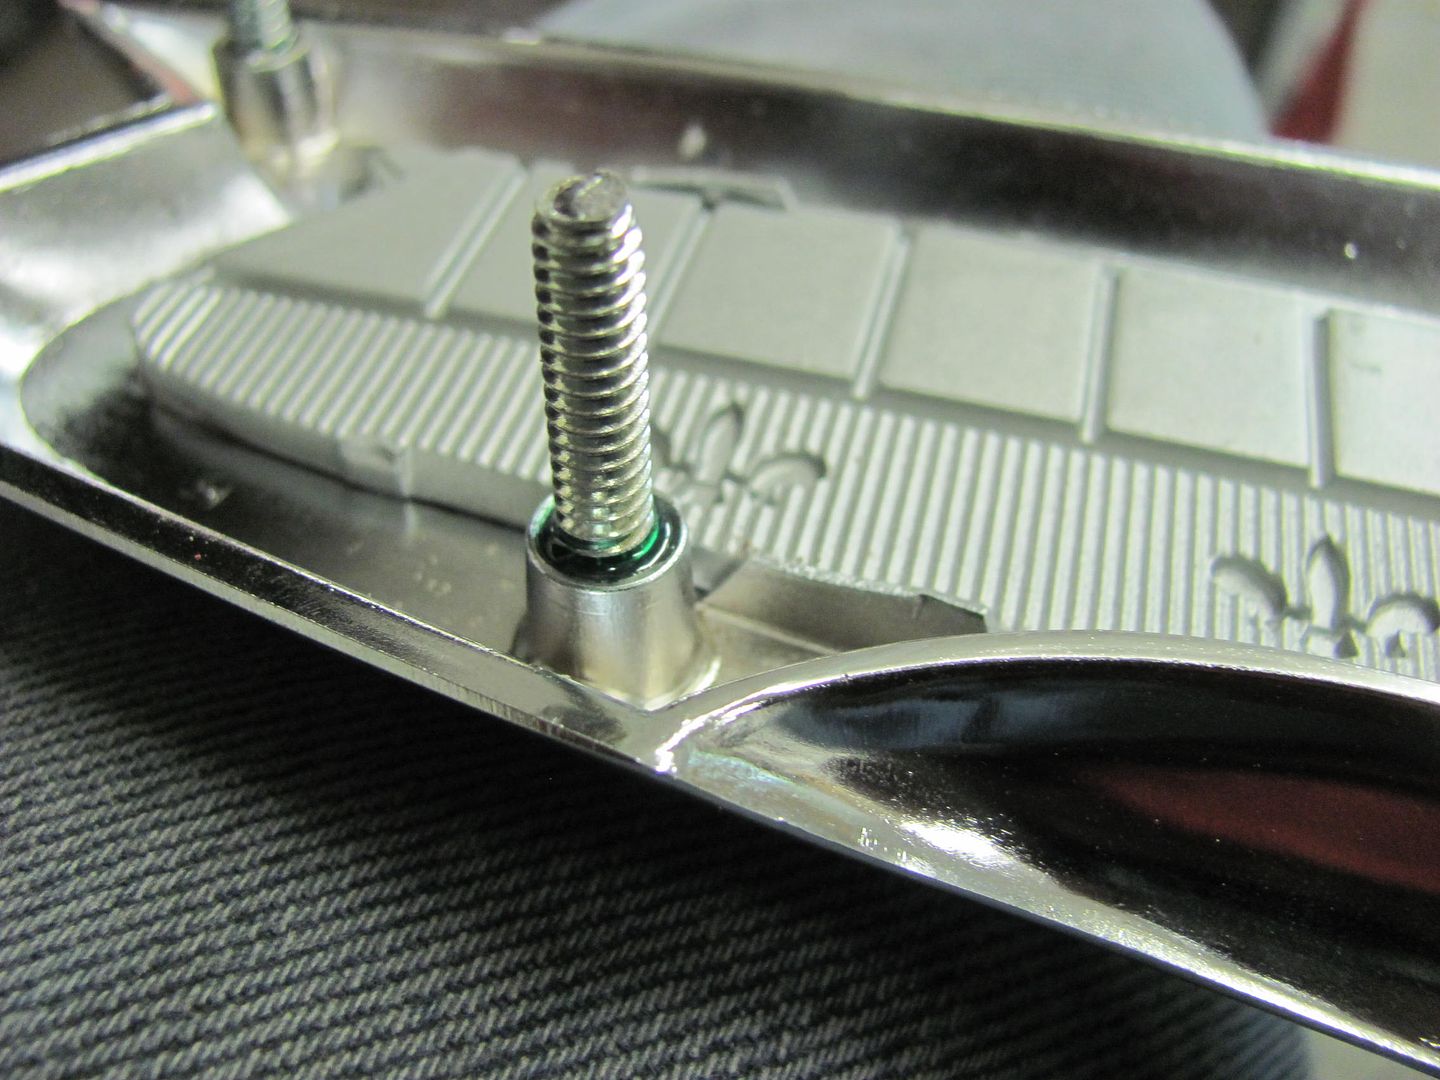
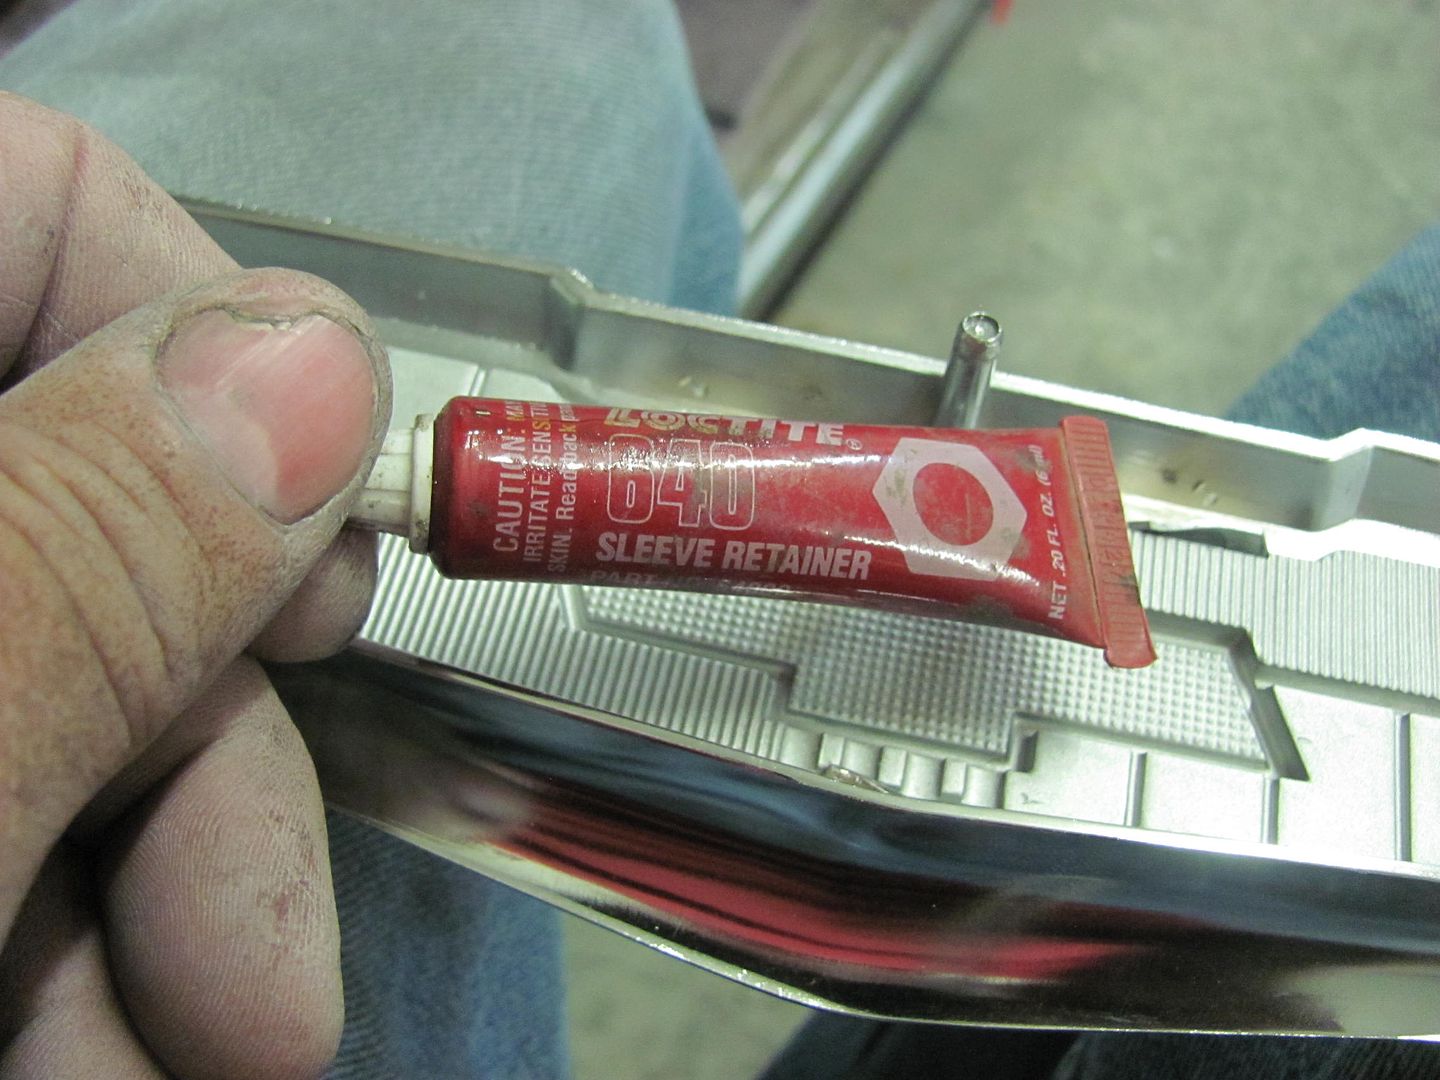
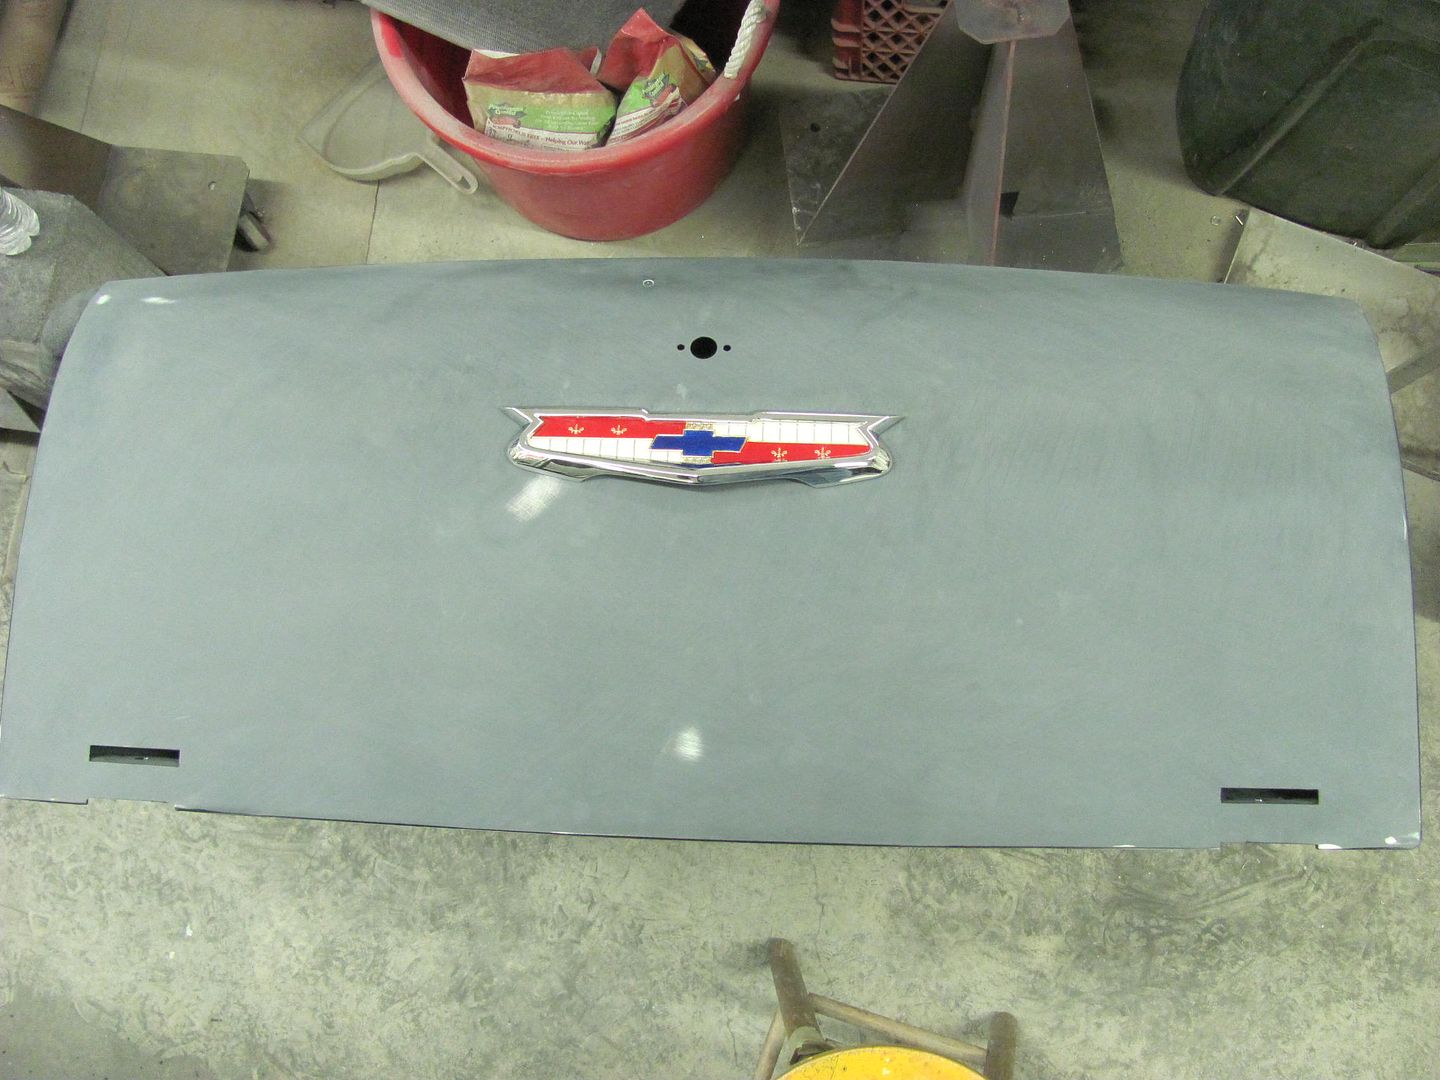
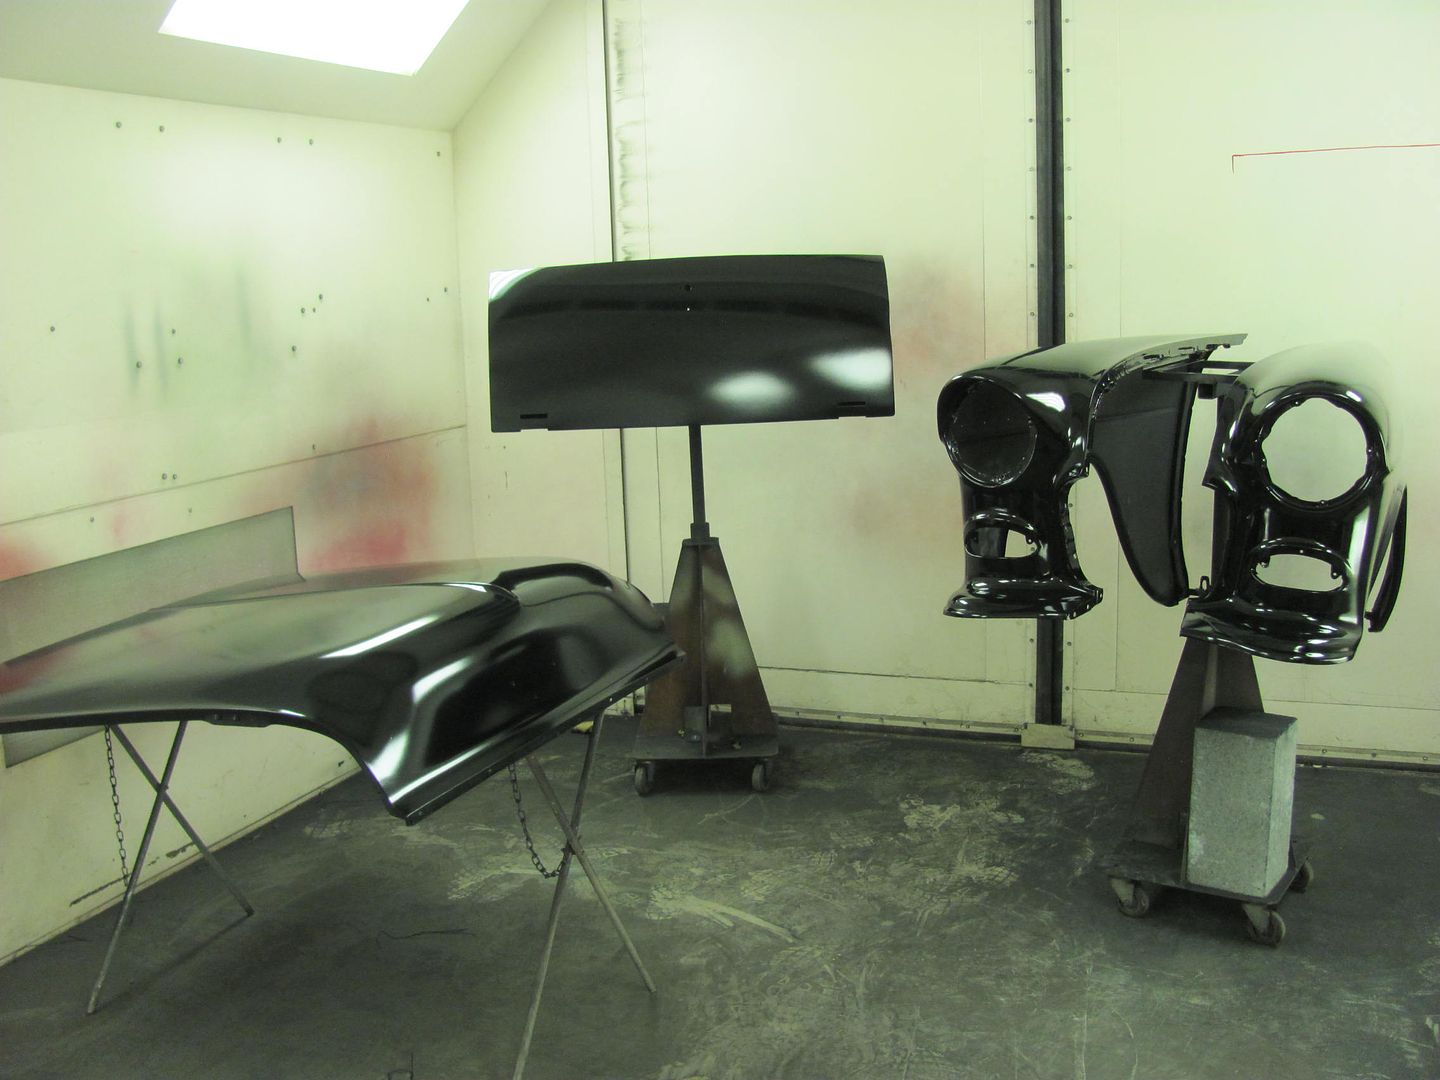
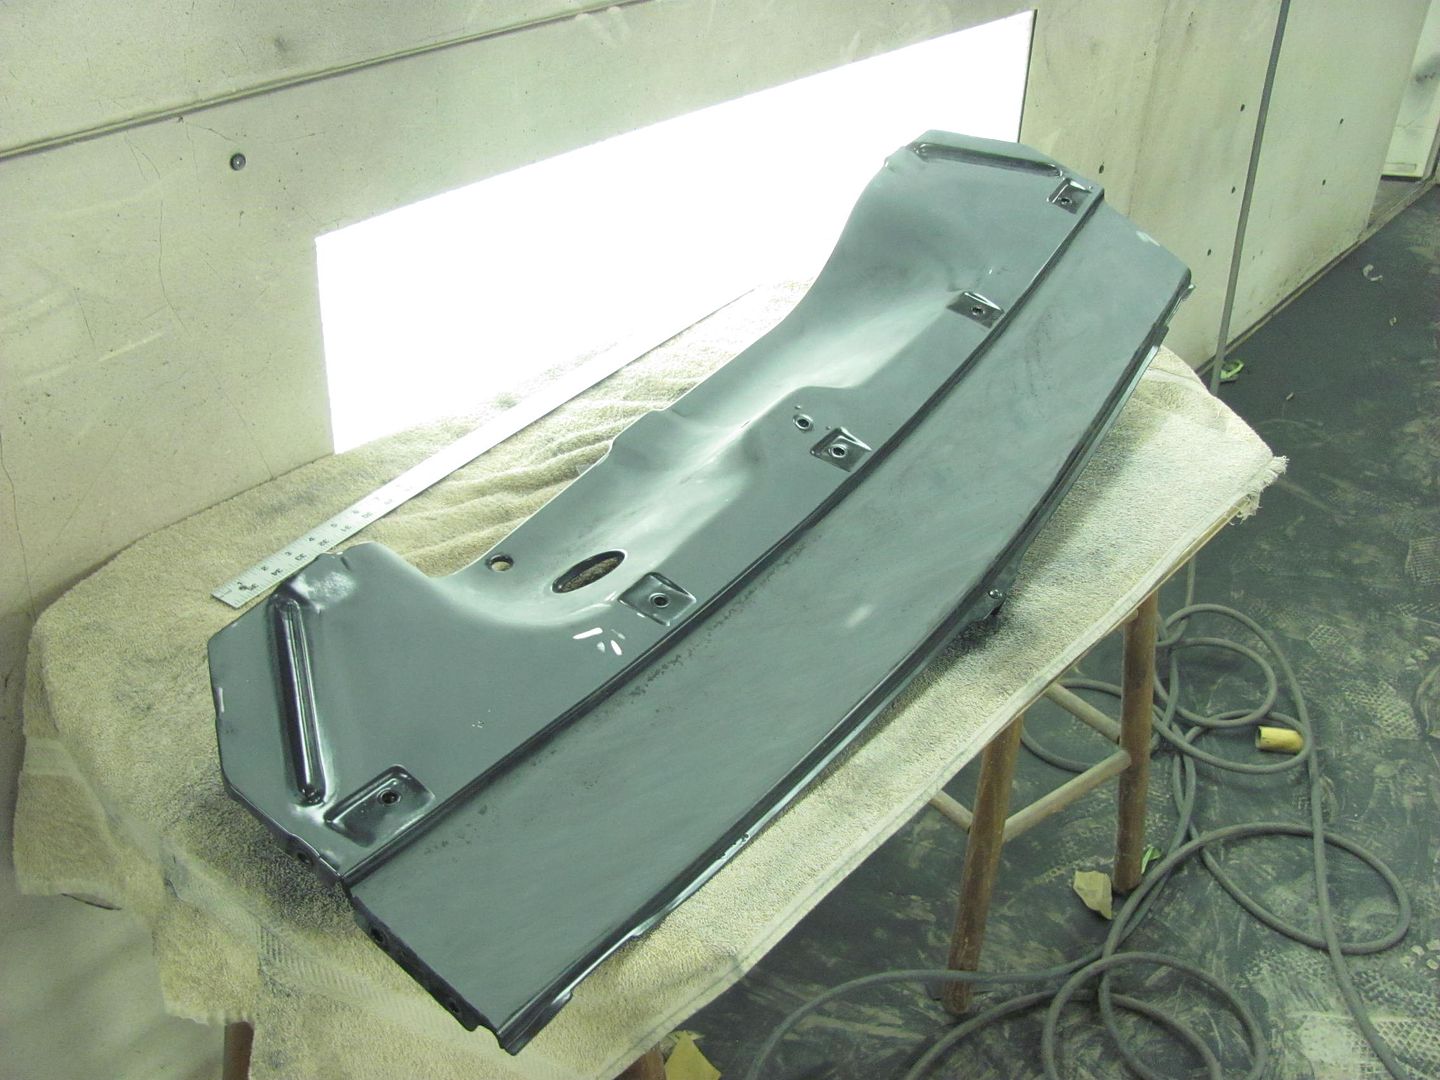
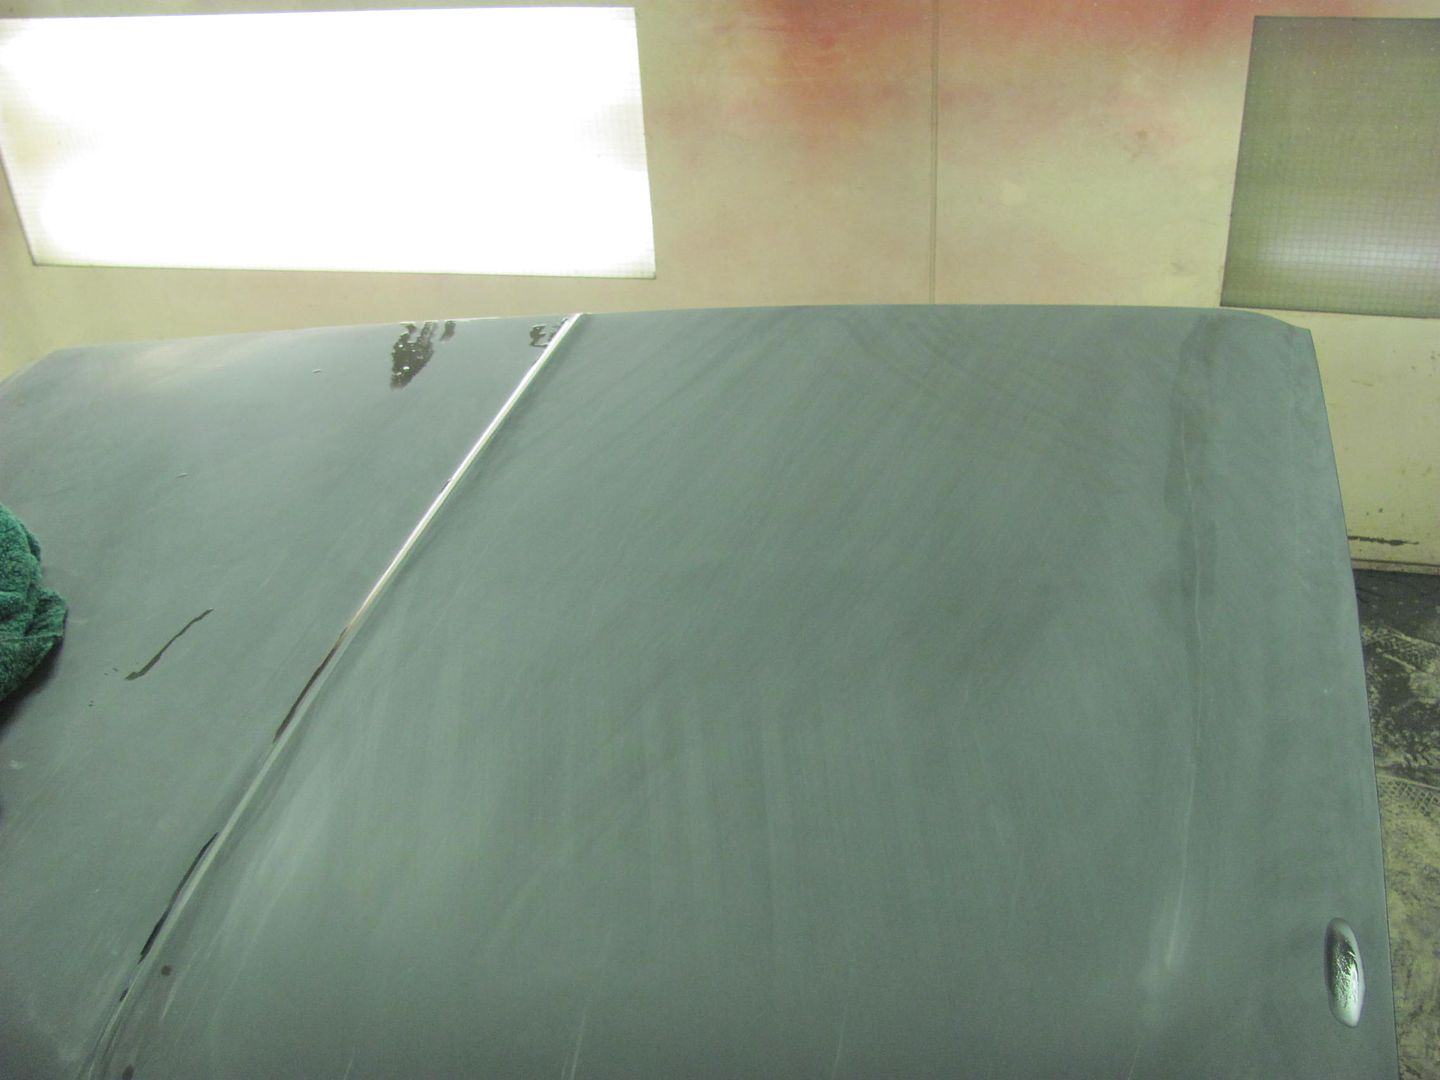
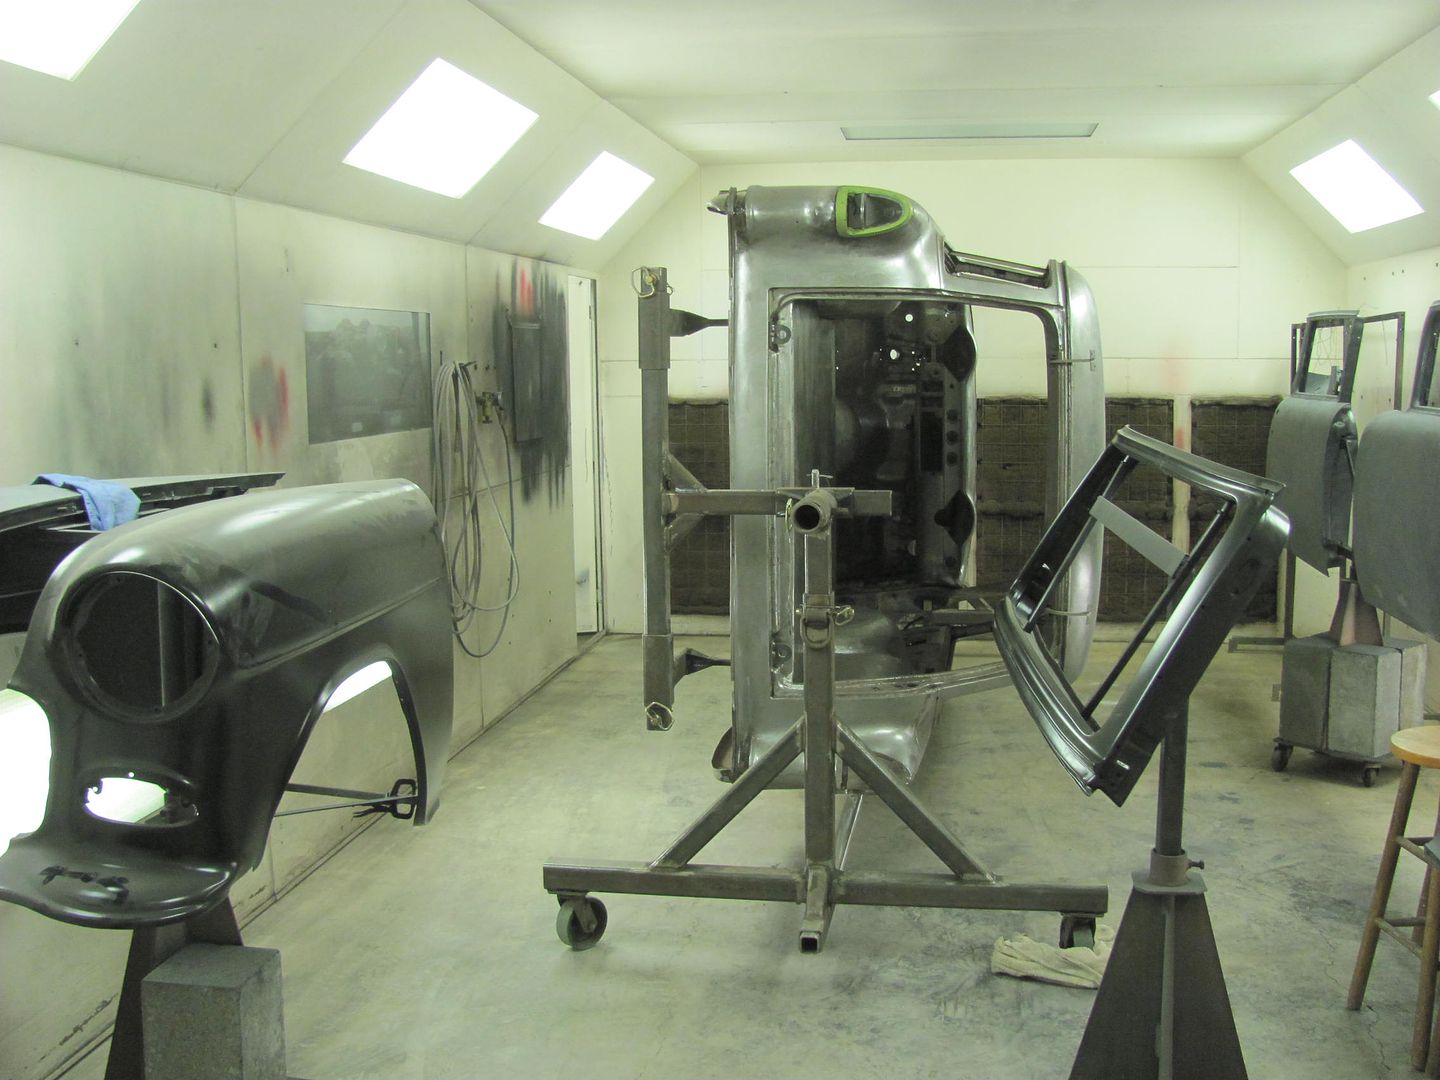
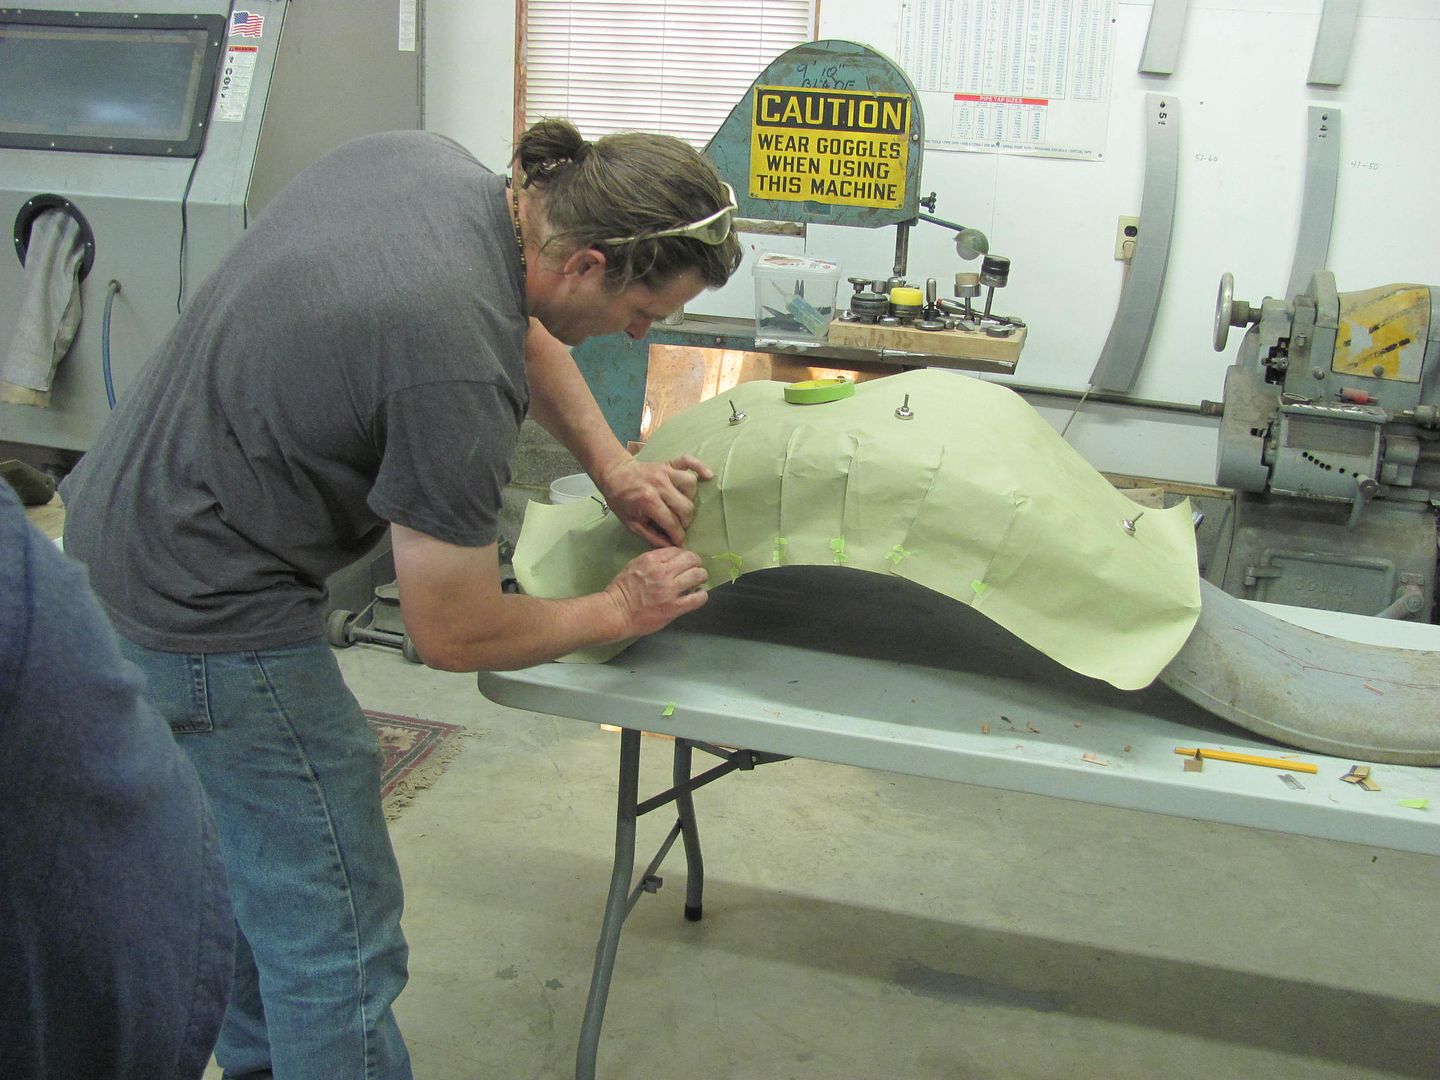
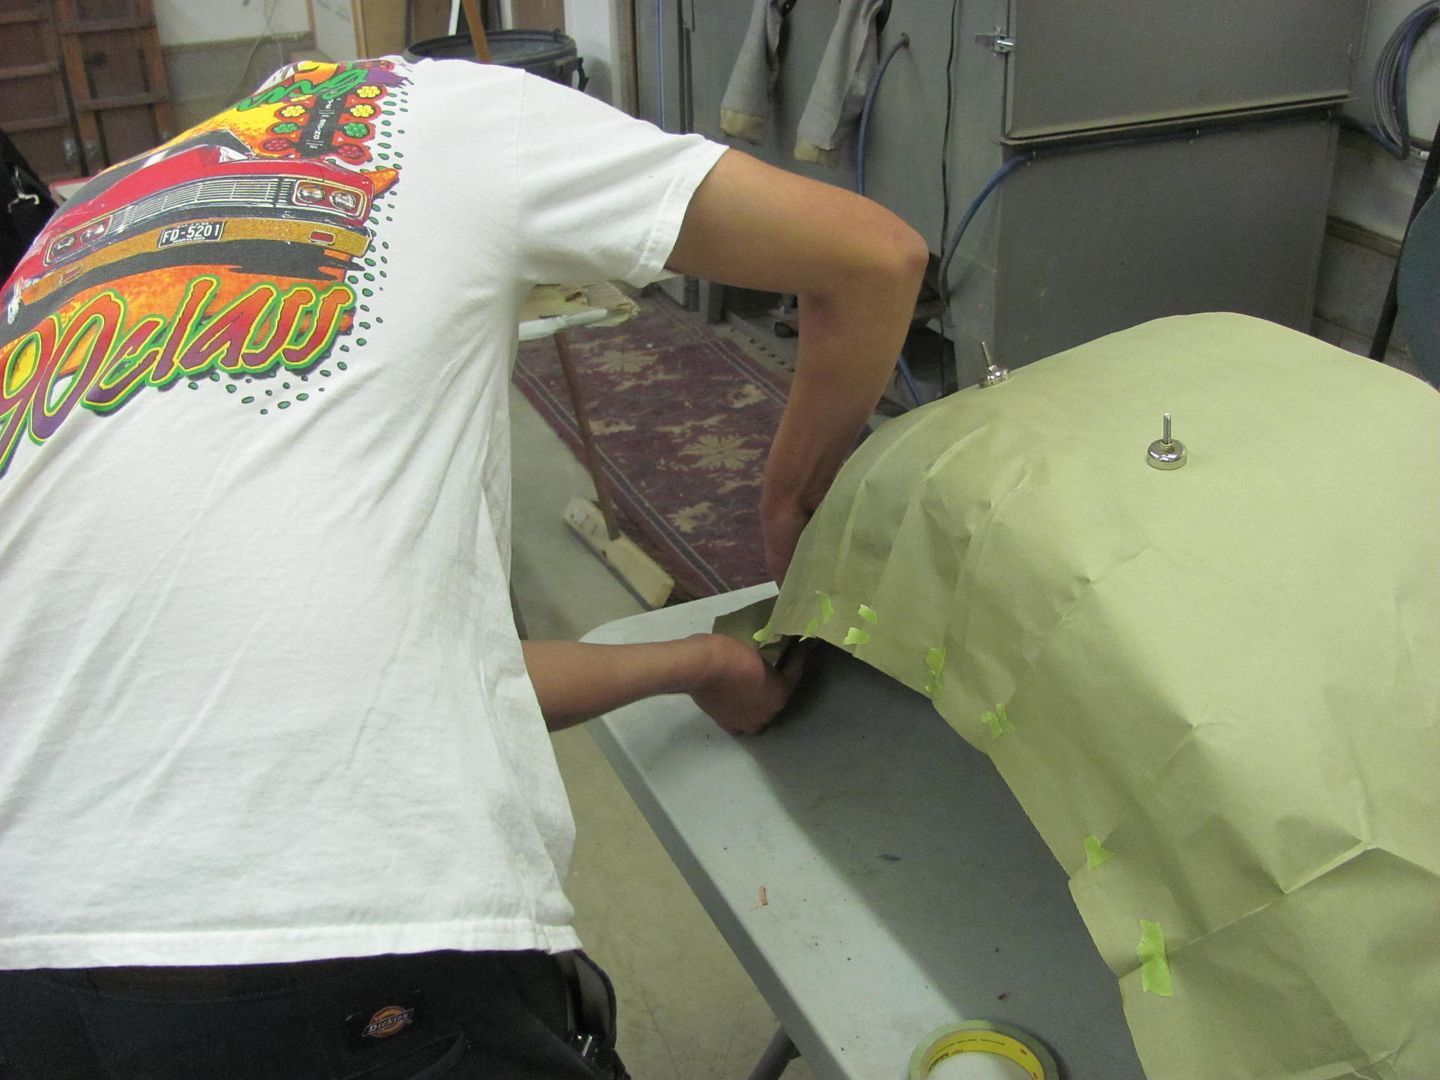
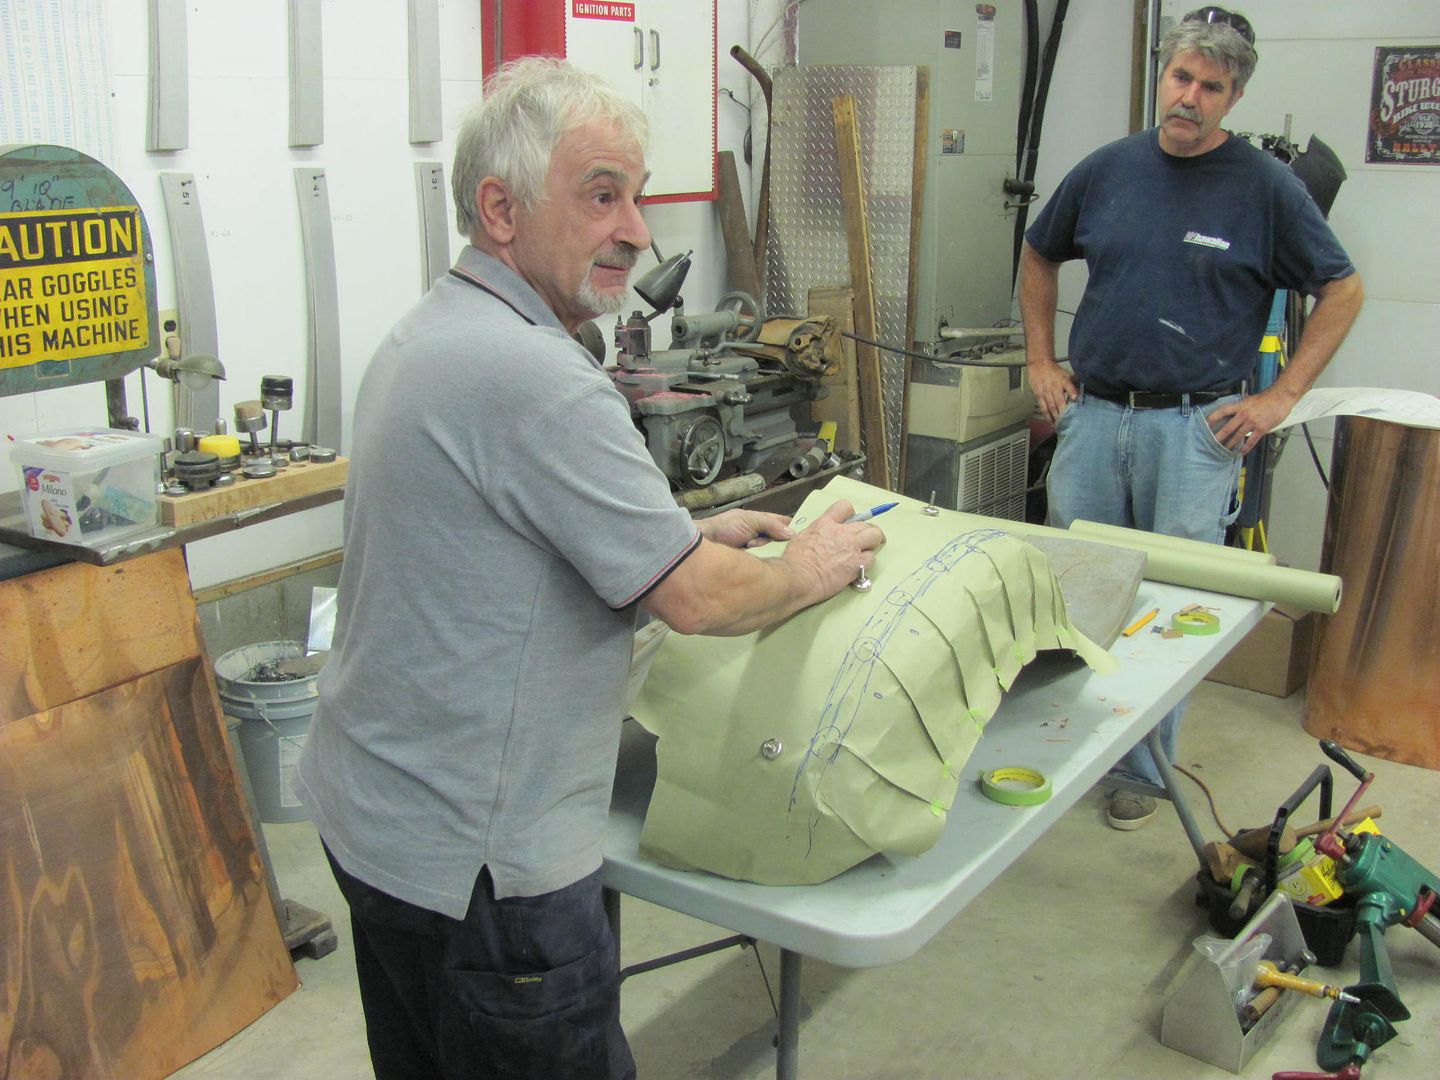
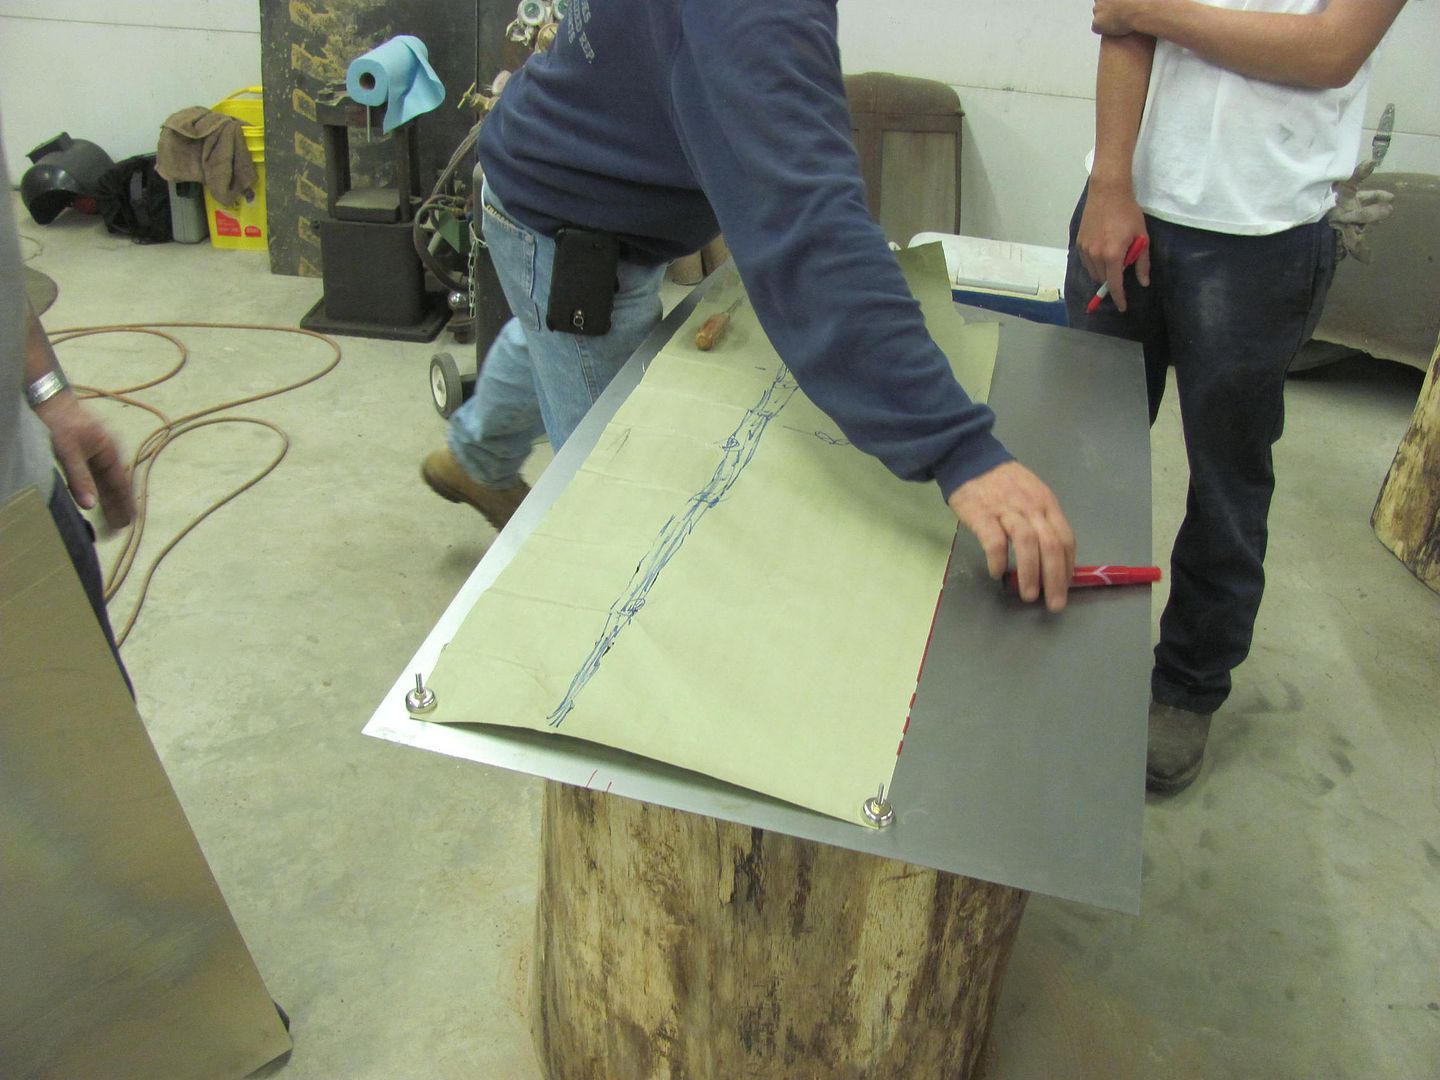
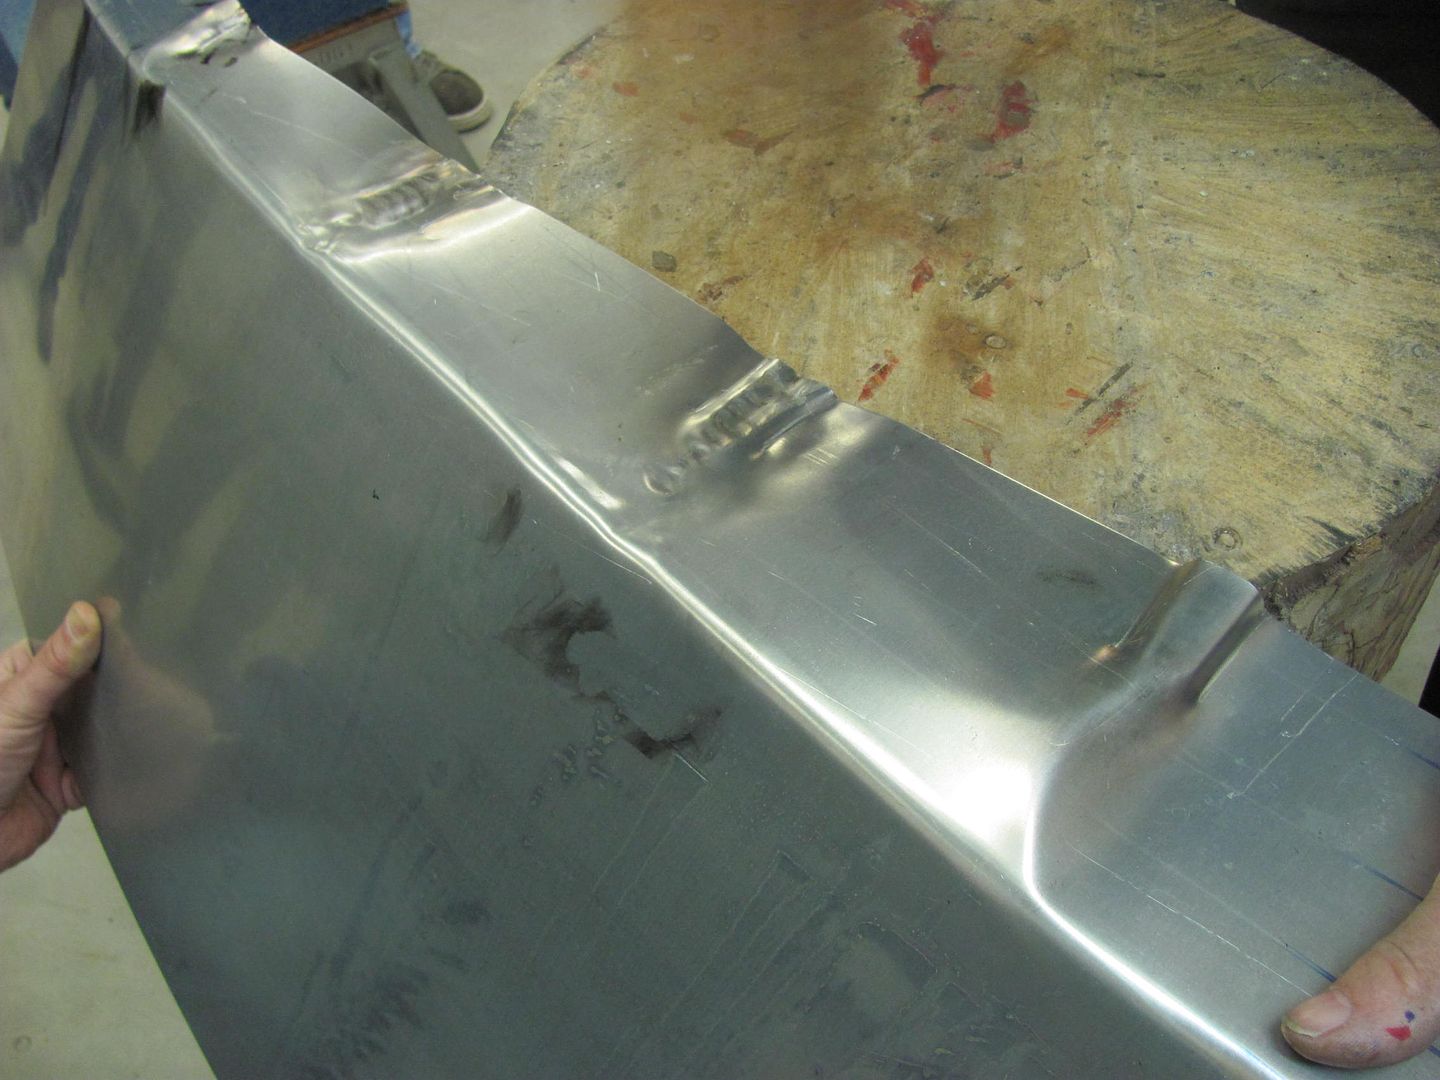
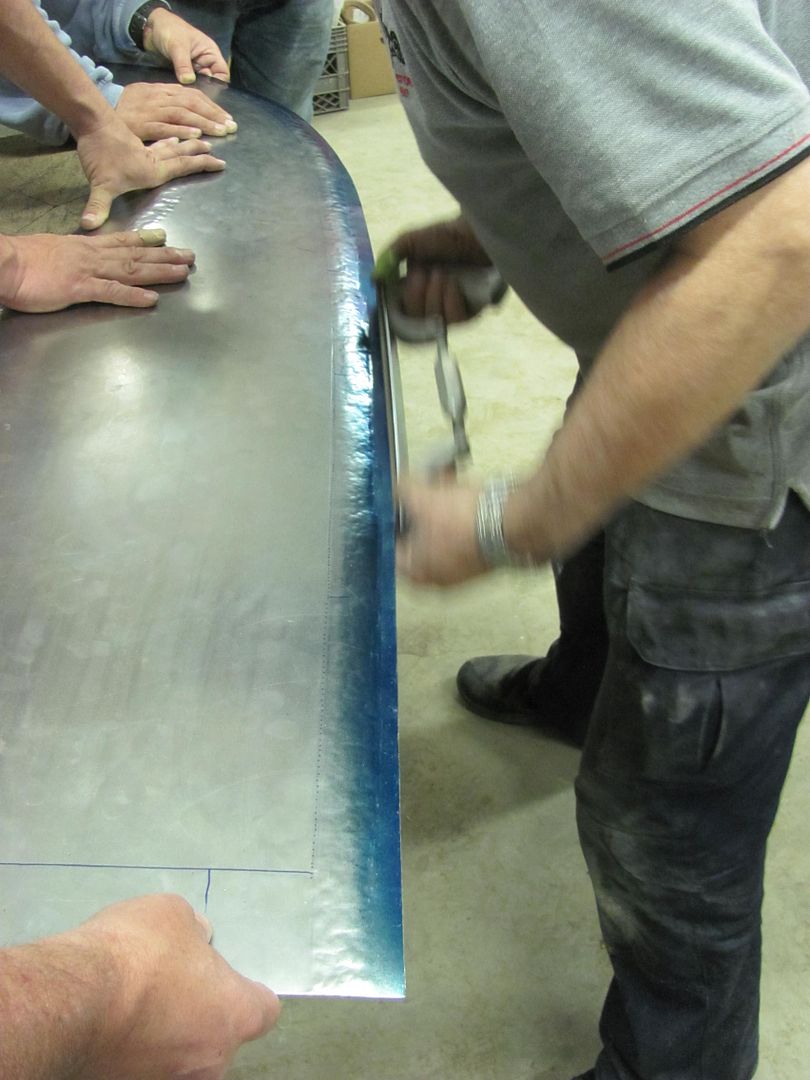
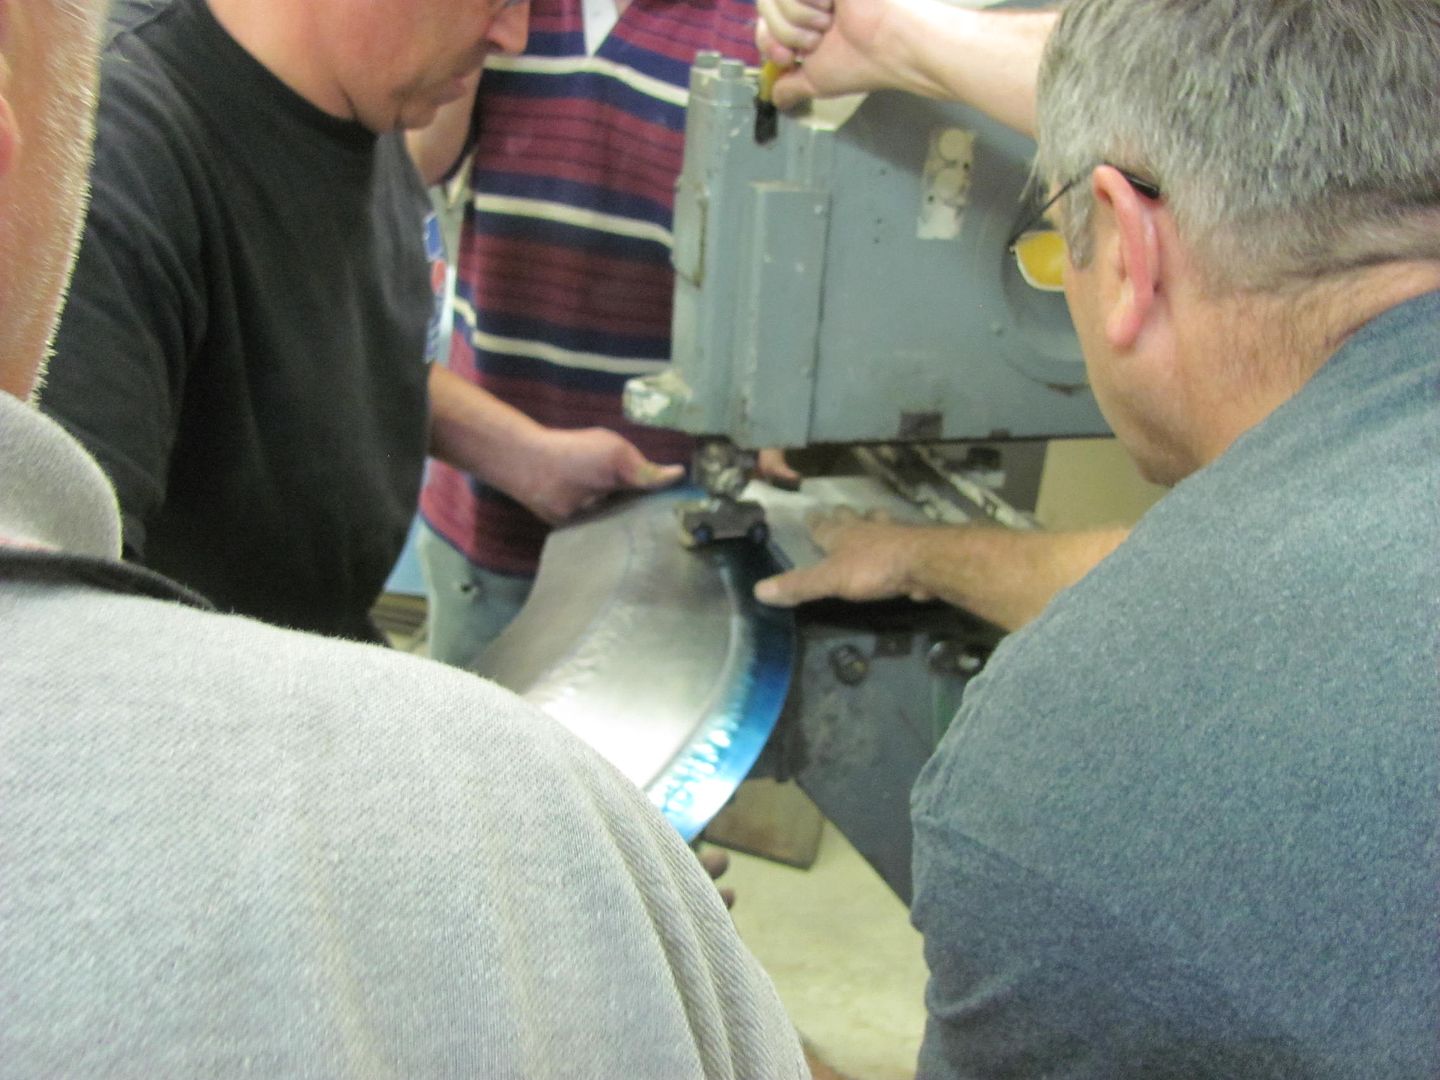
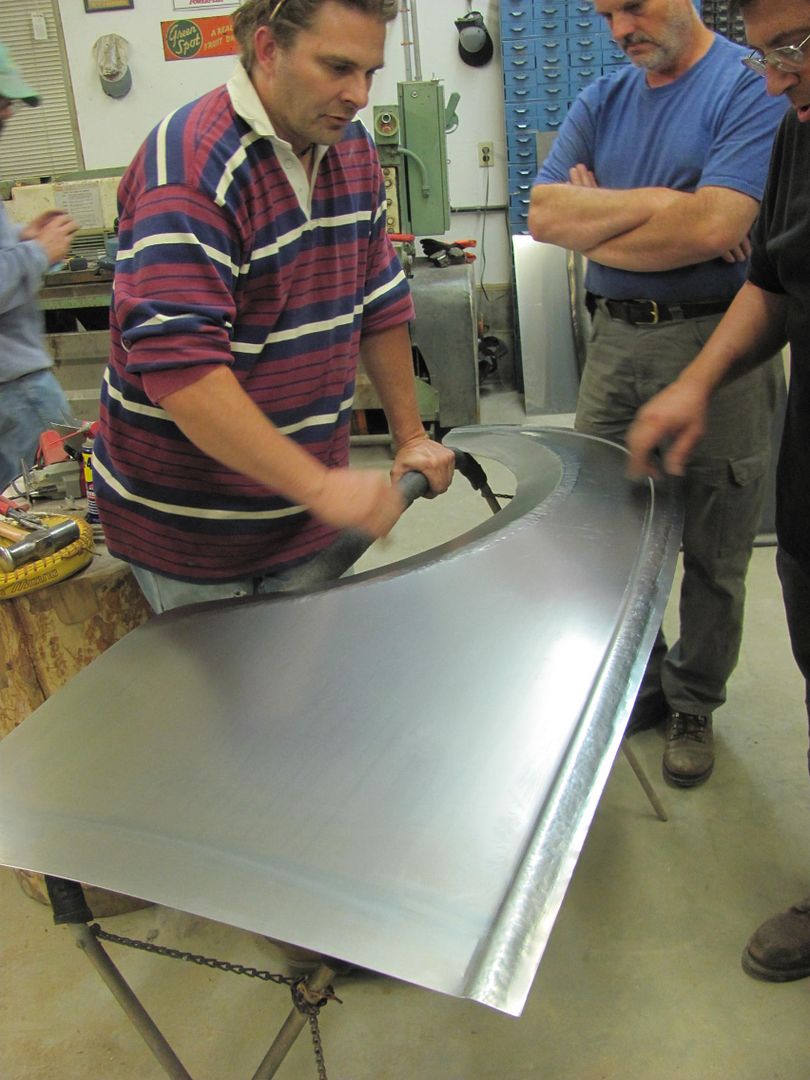
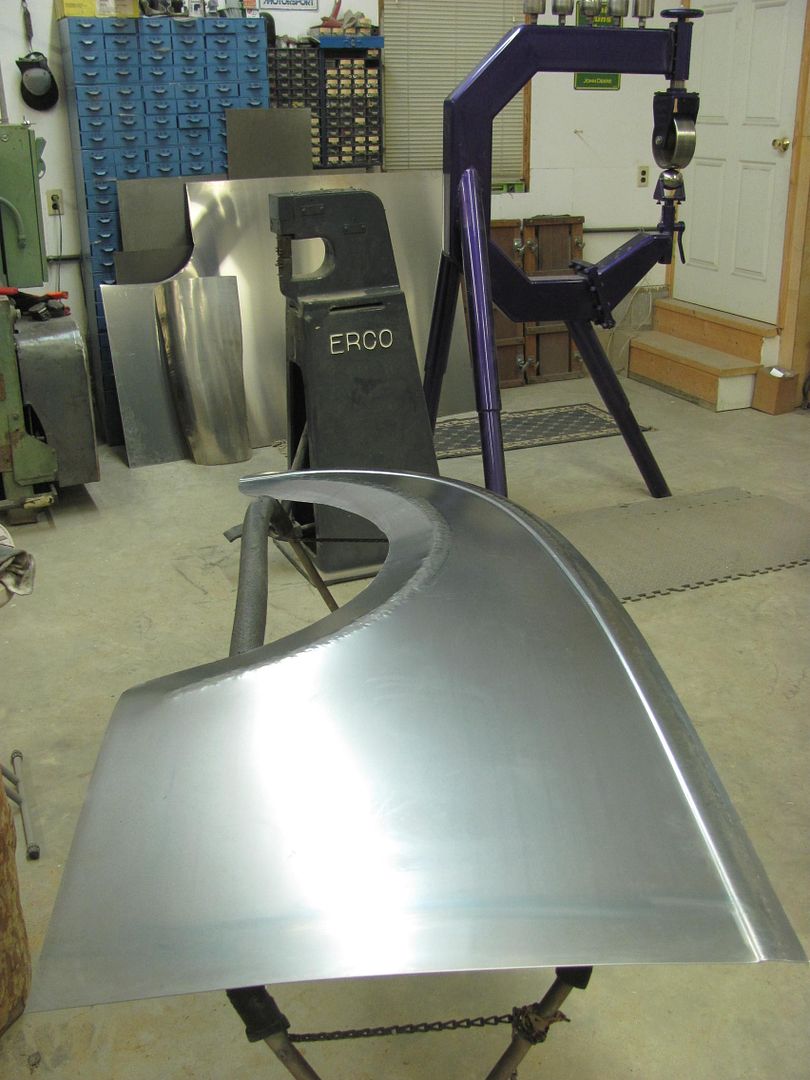
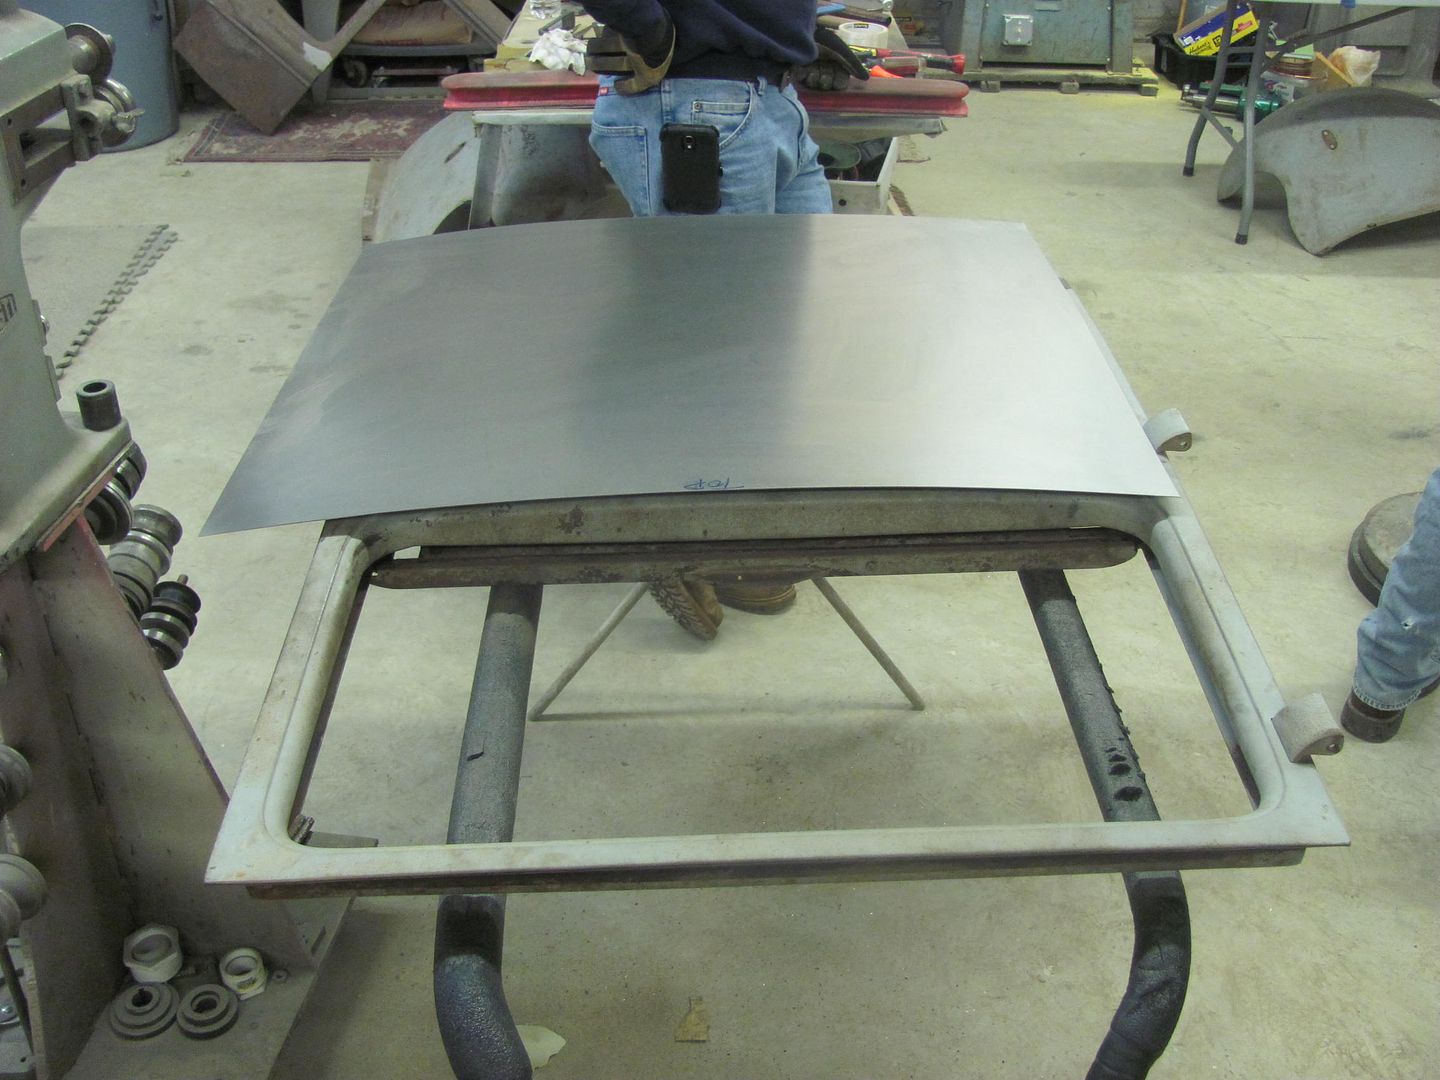
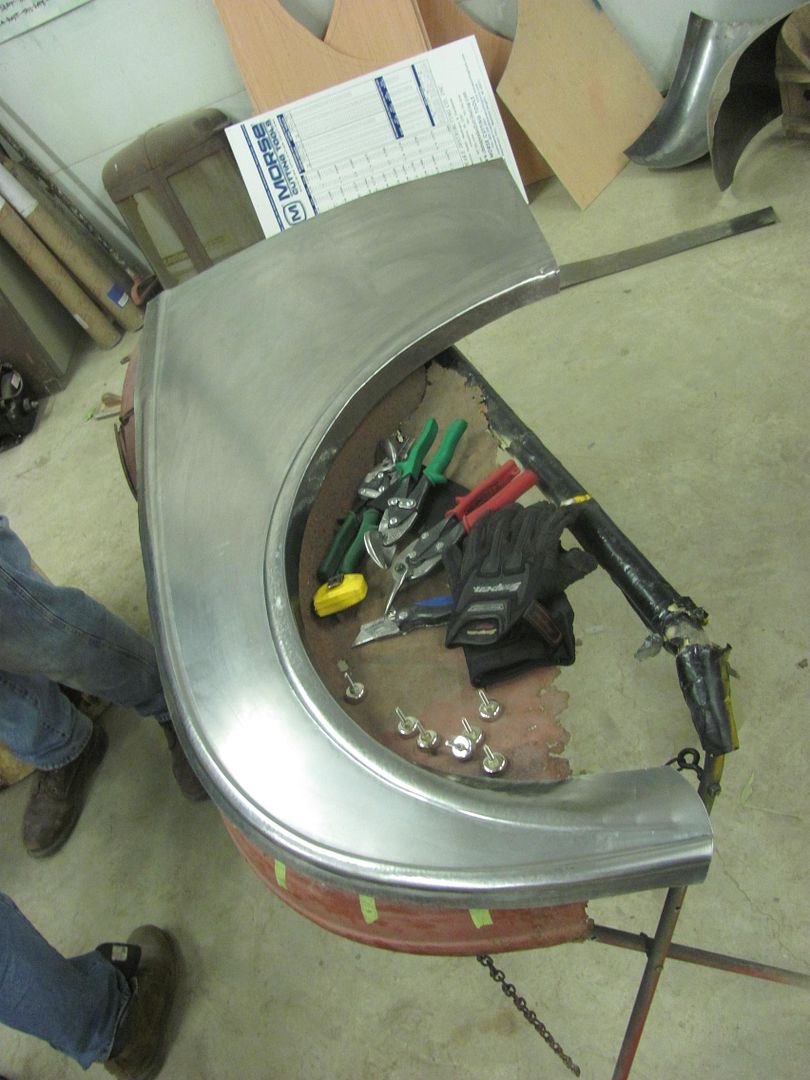
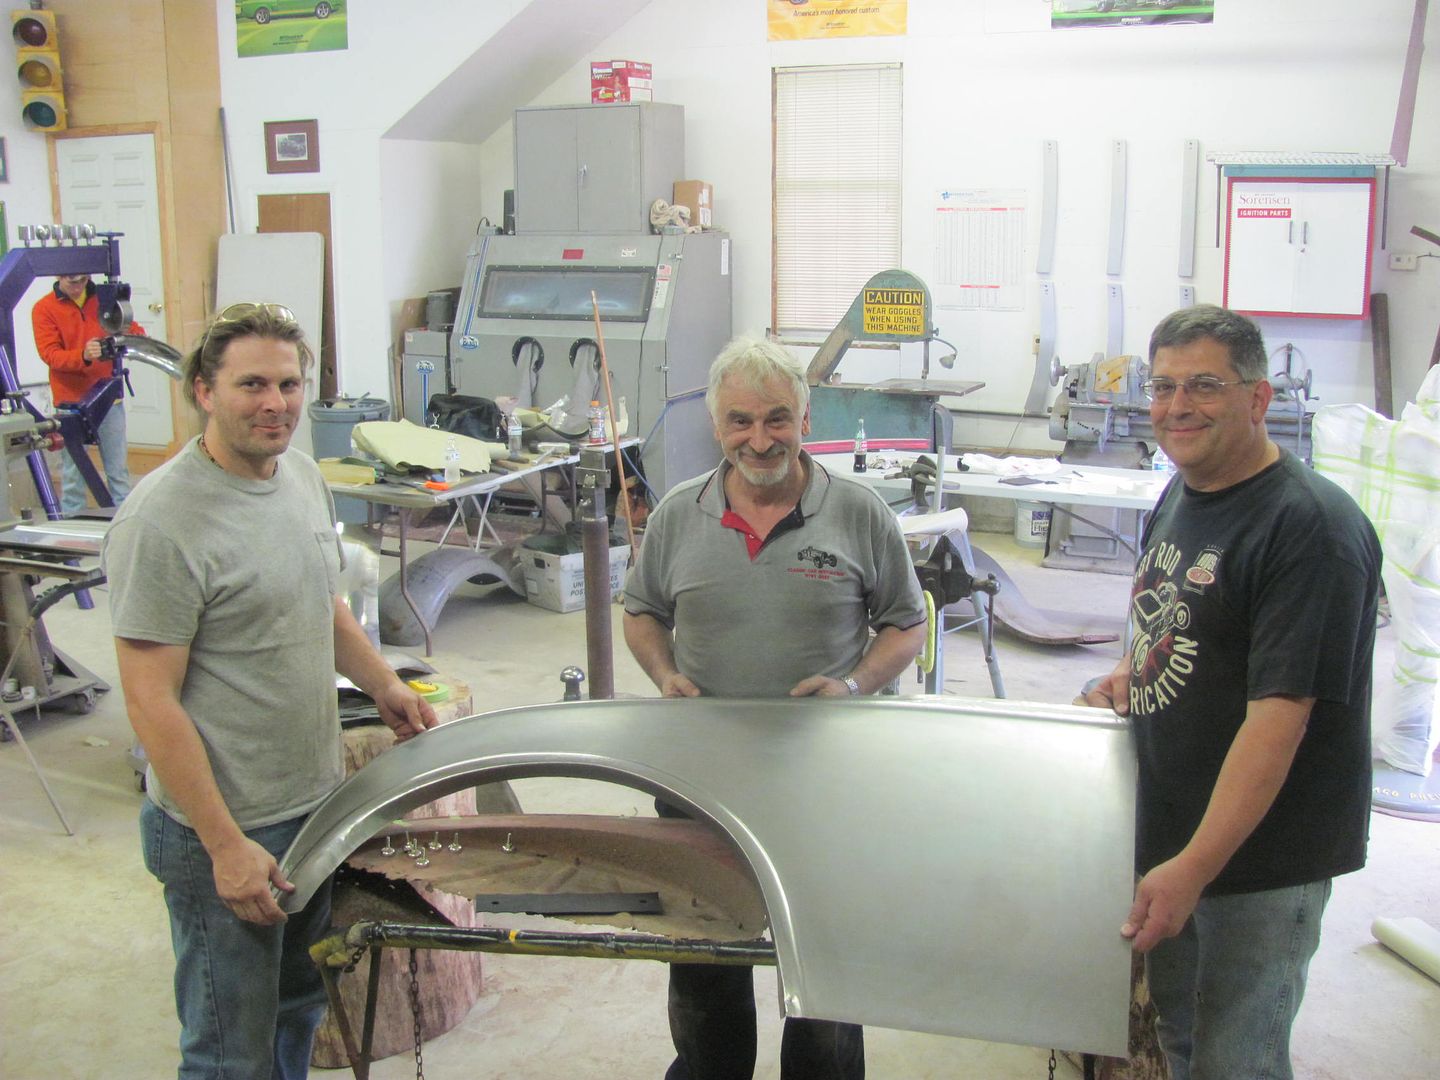
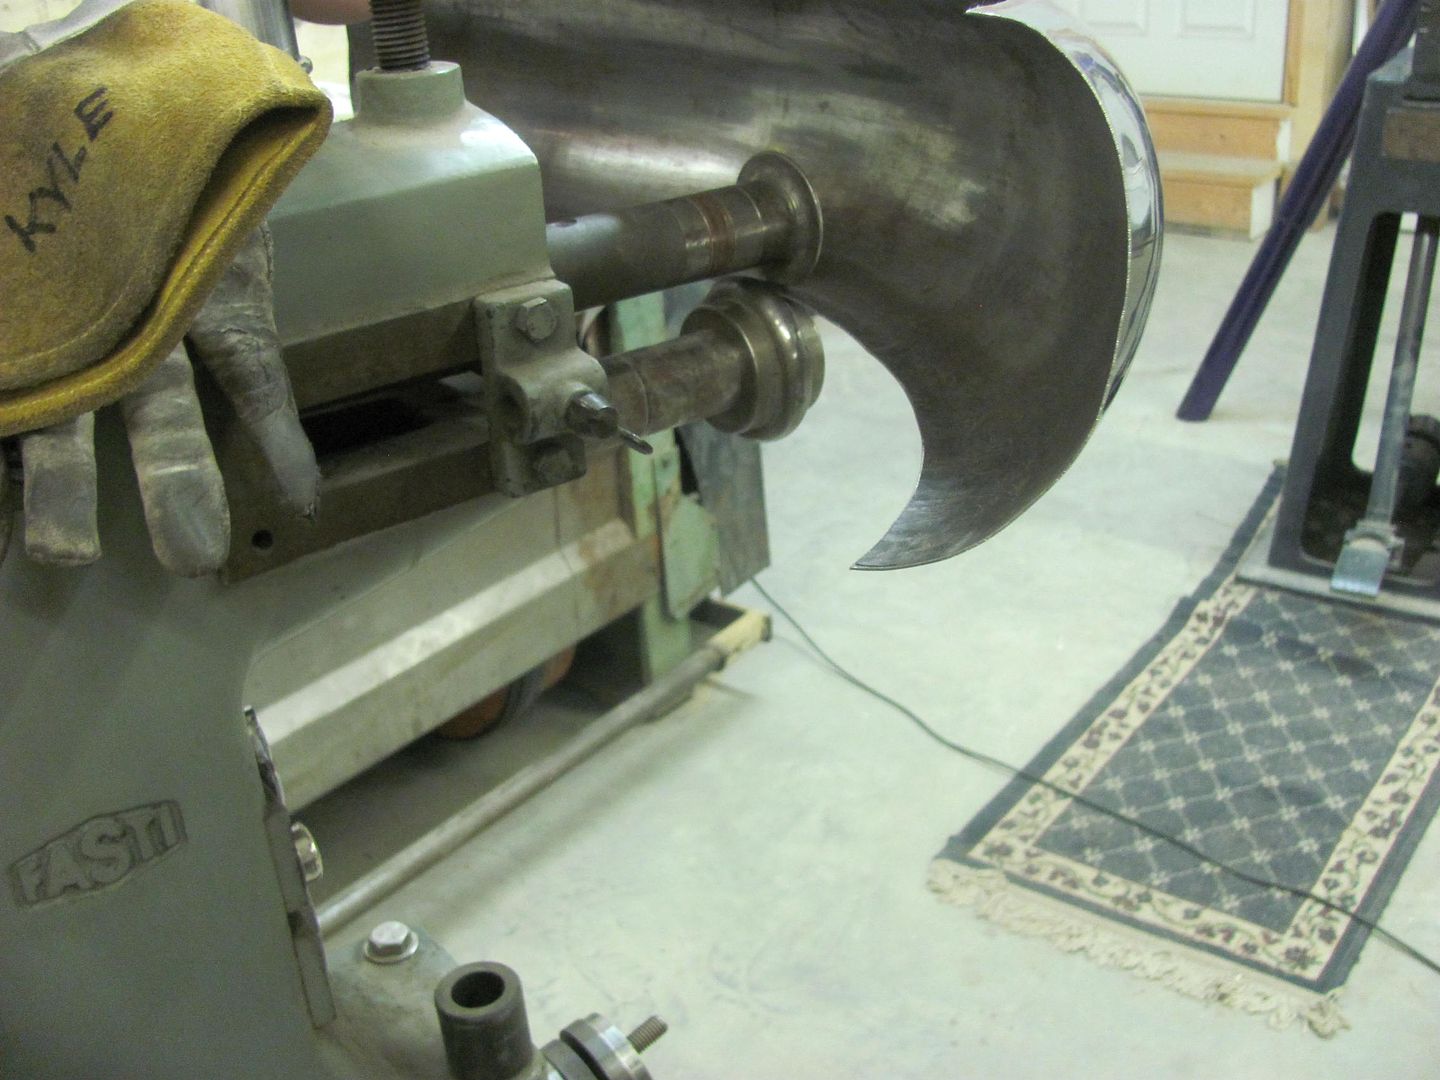
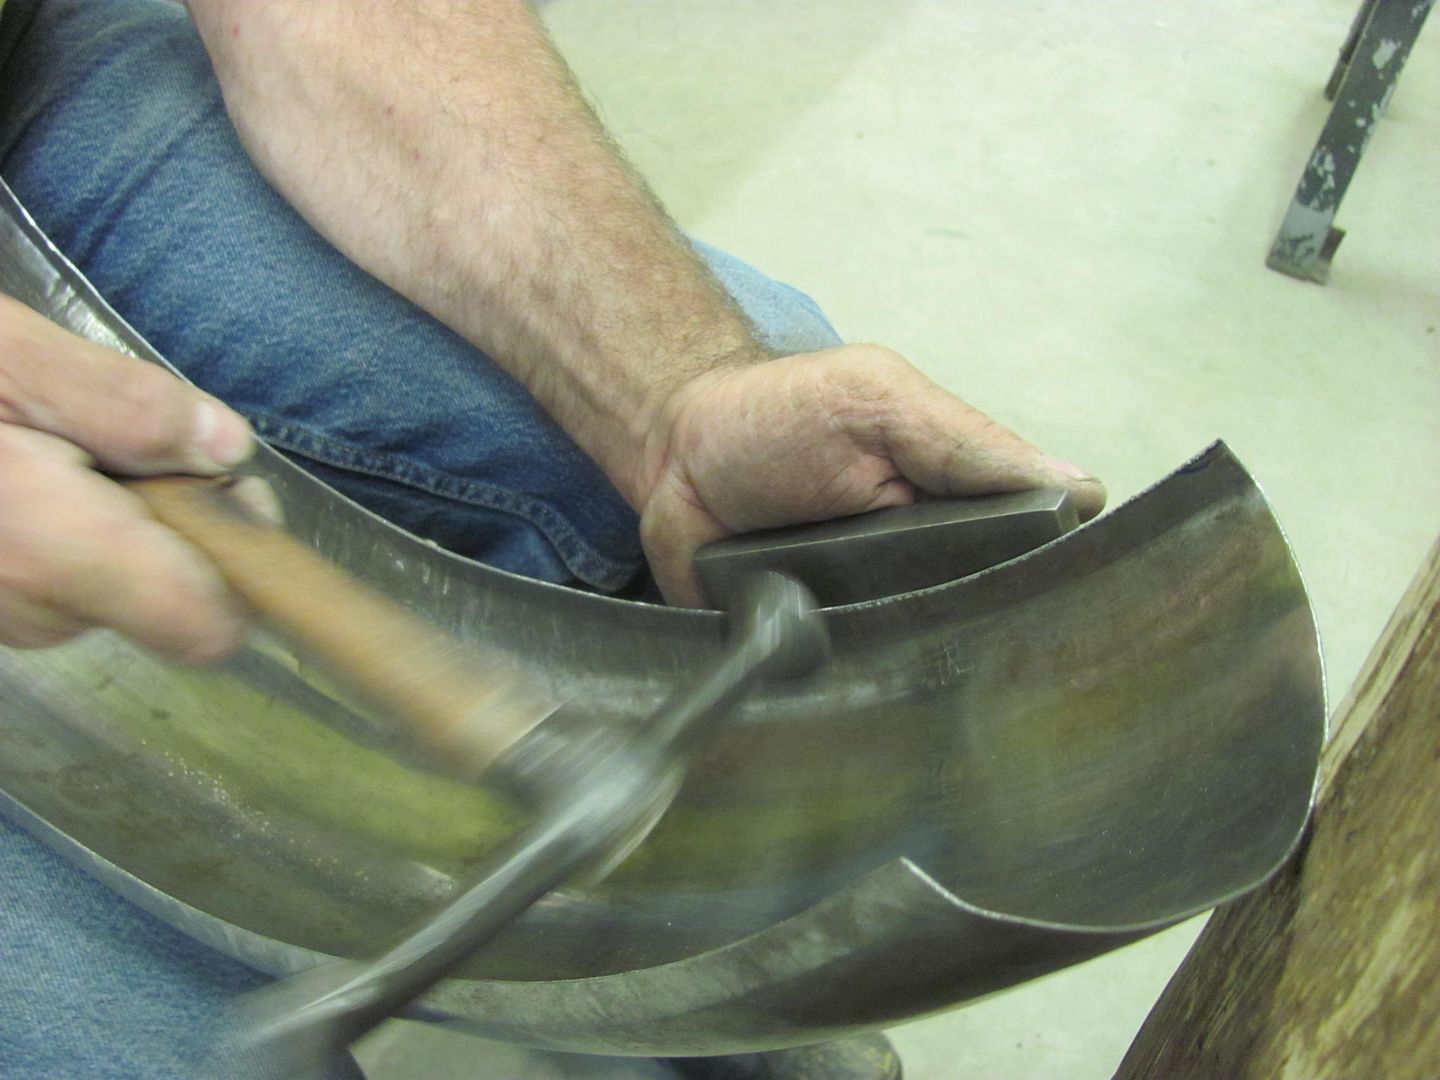
Exterior of the hood is about done...


Picture%203069.jpg


Picture%203070.jpg
 
The flat piece was a section of 16 ga hot rolled that the owner had, hindsight and all that, it would be the last thing I'd use today. Using something that is cheap (paid for) is not always the case by the time you're done. All the extra time to clean off the mill scale, the flat that isn't, I'd say a piece of 18 ga cold rolled with bead details and we'd have been done after welding in place..
 
The last time we removed the car from the frame we used two engine hoists, which proved to be a bit cumbersome and a pain to get the frame rolled out. So I thought to try something different, this time an engine hoist at the front, and a winch in the back. Needing an anchor point for the winch, I welded this up last night to span two of the shop's trusses from overhead....

Picture%203071.jpg


Rear lift eyes use the tailgate hinge nut plates...


Picture%203073.jpg


Picture%203074.jpg


Picture%203075.jpg


Front lifting eyes bolt to the hinge mounts on the firewall...


Picture%203076.jpg


Picture%203077.jpg


Picture%203078.jpg


We have lift-off!


Picture%203080.jpg


Picture%203081.jpg


Picture%203082.jpg


The frame has a bit of welds left to do and we can clean it up and get it to the powder coaters...


Picture%203083.jpg


Picture%203089.jpg


Dana helping out tonight...


Picture%203084.jpg


One way to clean it out...


Picture%203085.jpg


Here's the framework added to support the fuel tank and rear floor..


Picture%203086.jpg


This shows how nice access is for prepping, works equally well in painting..


Picture%203087.jpg


Picture%203088.jpg
 
MP&C;n76424 said:
This shows how nice access is for prepping, works equally well in painting..

Robert, I'm no expert but that DA might work better hooked up to an air line....JK

Wagon is really coming along.
 
Bob, we're trying to save wear and tear on the compressor! :p


We're checking this week with a local machine shop to see if we can get the body media blasted... should be a much quicker prep for the epoxy..


In the meantime, the downside to plug welds and mig welds.... cleaning up all those welds..


Picture%203132.jpg


Picture%203133.jpg


Picture%203134.jpg


Picture%203135.jpg


Kyle working on more welds..


Picture%203136.jpg


Picture%203138.jpg


Picture%203139.jpg


...and to get ready for the Tommasini class next week, we put all the 55 parts away in the paint booth...


Picture%203140.jpg


Picture%203141.jpg
 
Getting ready for the metal shaping class at the shop this week, picked up Peter today from the airport.

Last night Kyle and I made a pedestal for some home-made stake anvils using a couple 45 lb dumbbells and some pipe/tubing, tonight made the round-head anvil and another with a holder for press brake dies....


Picture%203142.jpg


Picture%203143.jpg


Picture%203144.jpg


Picture%203145.jpg


.....and stopped by the upholstery shop this morning to get another shot bag stitched up...


Picture%203147.jpg


Counting the hours!
 
Here are some of the highlights of today's class....

Peter shows how to prepare a stump for shrinking....


Picture%203164.jpg


Picture%203167.jpg


Picture%203168.jpg


Picture%203169.jpg


Discussing weld location in panel forming....


Picture%203170.jpg


Picture%203172.jpg


Using magnets to hold a paper pattern for layout....


Picture%203177.jpg


Picture%203180.jpg


Picture%203181.jpg


Picture%203183.jpg


Picture%203185.jpg


Wheeling, tuck shrinking and annealing aluminum sheet...


Picture%203190.jpg


Picture%203192.jpg


Picture%203196.jpg


Picture%203197.jpg


Capturing the tuck and shrinking on aluminum sheet


Picture%203201.jpg


Picture%203202.jpg


Picture%203203.jpg


Picture%203204.jpg


Picture%203205.jpg


Picture%203206.jpg


Blocking and wheeling our 19 gauge steel fender panel...


Picture%203208.jpg


Picture%203209.jpg


Forming the rear corner for a Model A..


Picture%203222.jpg


Picture%203226.jpg


Picture%203231.jpg


Picture%203232.jpg


Blocking on the sand bags and shrinking on the stump....


Picture%203224.jpg


Picture%203225.jpg


Picture%203229.jpg


Picture%203223.jpg


Wheeling....


Picture%203230.jpg
 
Here's some of today's class projects.


The start of a scooter fender...


Picture%203264.jpg


Test fit of a fender panel...


Picture%203267.jpg


Copper work, trash can taking shape...


Picture%203235.jpg


Picture%203237.jpg


Picture%203265.jpg


Picture%203272.jpg


Picture%203277.jpg


Picture%203285.jpg


Paper pattern on a roadster quarter panel....


Picture%203234.jpg


Picture%203240.jpg


Picture%203246.jpg


Using the blocking hammer to pre-stretch


Picture%203253.jpg


Making a pattern for the dies


Picture%203257.jpg


Picture%203260.jpg


Picture%203261.jpg


Picture%203263.jpg


Picture%203273.jpg


Picture%203274.jpg


Making a pattern of luan board for a divider offset in trimming the top edge..


Picture%203286.jpg


What happens when a metal shaper gets around wood products...


Picture%203287.jpg


Picture%203288.jpg


Trimming and filing up the top edge....


Picture%203293.jpg


On to the Lennox....


Picture%203300.jpg


Picture%203311.jpg


Picture%203312.jpg
 
Project updates for todays class:


Wiring top edge of the copper trash can..


Picture%203314.jpg


Picture%203315.jpg


Picture%203316.jpg


Picture%203329.jpg


Picture%203331.jpg


Picture%203346.jpg


Picture%203327.jpg


Roadster quarter, making dies for the upper bead detail....


Picture%203317.jpg


Picture%203318.jpg


Picture%203319.jpg


Picture%203320.jpg


Sharpening the crease


Picture%203324.jpg


Picture%203338.jpg


A bit of shrinking....


Picture%203360.jpg


Test fit...


Picture%203366.jpg


Picture%203384.jpg


Marking for trimming the wheel opening...


Picture%203406.jpg


Picture%203408.jpg


Inside radius backstop


Picture%203417.jpg


Picture%203418.jpg


Scooter fender...


Picture%203328.jpg


Trimming...


Picture%203395.jpg


Picture%203399.jpg


Picture%203402.jpg


Prepping for Sport Coupe door skin removal


Picture%203410.jpg


Picture%203412.jpg


Picture%203416.jpg


We took a short break for a Maryland treat...


Picture%203419.jpg


Picture%203421.jpg


of course, using only the correct utensils....


Picture%203423.jpg


Picture%203424.jpg


Blocking the top section of the roadster quarter.....


Picture%203428.jpg


Picture%203437.jpg


Picture%203438.jpg
 
Final update of the class, pictures from yesterday.

Wheeling door skin for a sport coupe:

Picture%203442.jpg


Picture%203443.jpg


Picture%203449.jpg


Annealing copper wire to use as rivets:


Picture%203451.jpg


Picture%203466.jpg


Picture%203467.jpg


Picture%203465.jpg


Cover plate for military vehicle:


Picture%203474.jpg


Paper pattern


Picture%203475.jpg


Picture%203494.jpg


Picture%203517.jpg


Tuck shrinking on post dolly


Picture%203452.jpg


Picture%203453.jpg


Forming upper quarter reverse


Picture%203457.jpg


Picture%203458.jpg


Picture%203461.jpg


Picture%203462.jpg


Wheel opening bead detail added


Picture%203478.jpg


Picture%203479.jpg


Picture%203481.jpg


Tipping flange with vise grips with jaws that have been smoothed...


Picture%203482.jpg


Stretching


Picture%203484.jpg


Picture%203485.jpg


Picture%203495.jpg


Picture%203496.jpg


Picture%203497.jpg


Picture%203498.jpg


Picture%203501.jpg


Picture%203510.jpg


Picture%203511.jpg


Here's a video of Peter demonstrating lead loading aluminum:


https://youtu.be/MSfK9XhnLeM


Loading stumps for the journey to their new home..


Picture%203512.jpg


Picture%203513.jpg


Picture%203514.jpg


This class has been a blast, Peter is a wealth of knowledge and experience, and we are honored to have him share and pass this on to others. Anxiously looking forward to next year!
 
Finishing up the scooter fender..,


IMG_20151007_191425724.jpg


Marked for trimming...


Picture%203522.jpg


Picture%203523.jpg


Picture%203524.jpg


Tipping wheel to set the side flange....


Picture%203525.jpg


Picture%203526.jpg


Picture%203527.jpg


Profile comparison, front to rear...


Picture%203530.jpg


Picture%203529.jpg


.....and side to side...


Picture%203531.jpg


Picture%203532.jpg


about ready for shipping to AZ.....


Picture%203534.jpg


.... and Kyle is dressing some welds and weld touch up to get the body ready for media blasting...


Picture%203519.jpg


Picture%203521.jpg


Hey. you can still walk in this place...


Picture%203520.jpg
 
Well, more welding, grinding, and then we decided to give the roof insulation removal a try. Picked a spot and dumped on some lacquer thinner, which softened it up nicely and then made a sticky mess. So we put the putty knives aside and tried the paint scrapers..... without solvents. Dry removal was definitely better...


Picture%203539.jpg


Picture%203541.jpg


Picture%203543.jpg


Picture%203542.jpg


Also got another shipment of shirts in from Bonehead Graphics...


Picture%203547.jpg


and promised the owner a modified set of spot welder tips to tackle his own wagon roof repairs...


Picture%203545.jpg


Picture%203546.jpg


Picture%203548.jpg
 
Back
Top