MP&C
Member
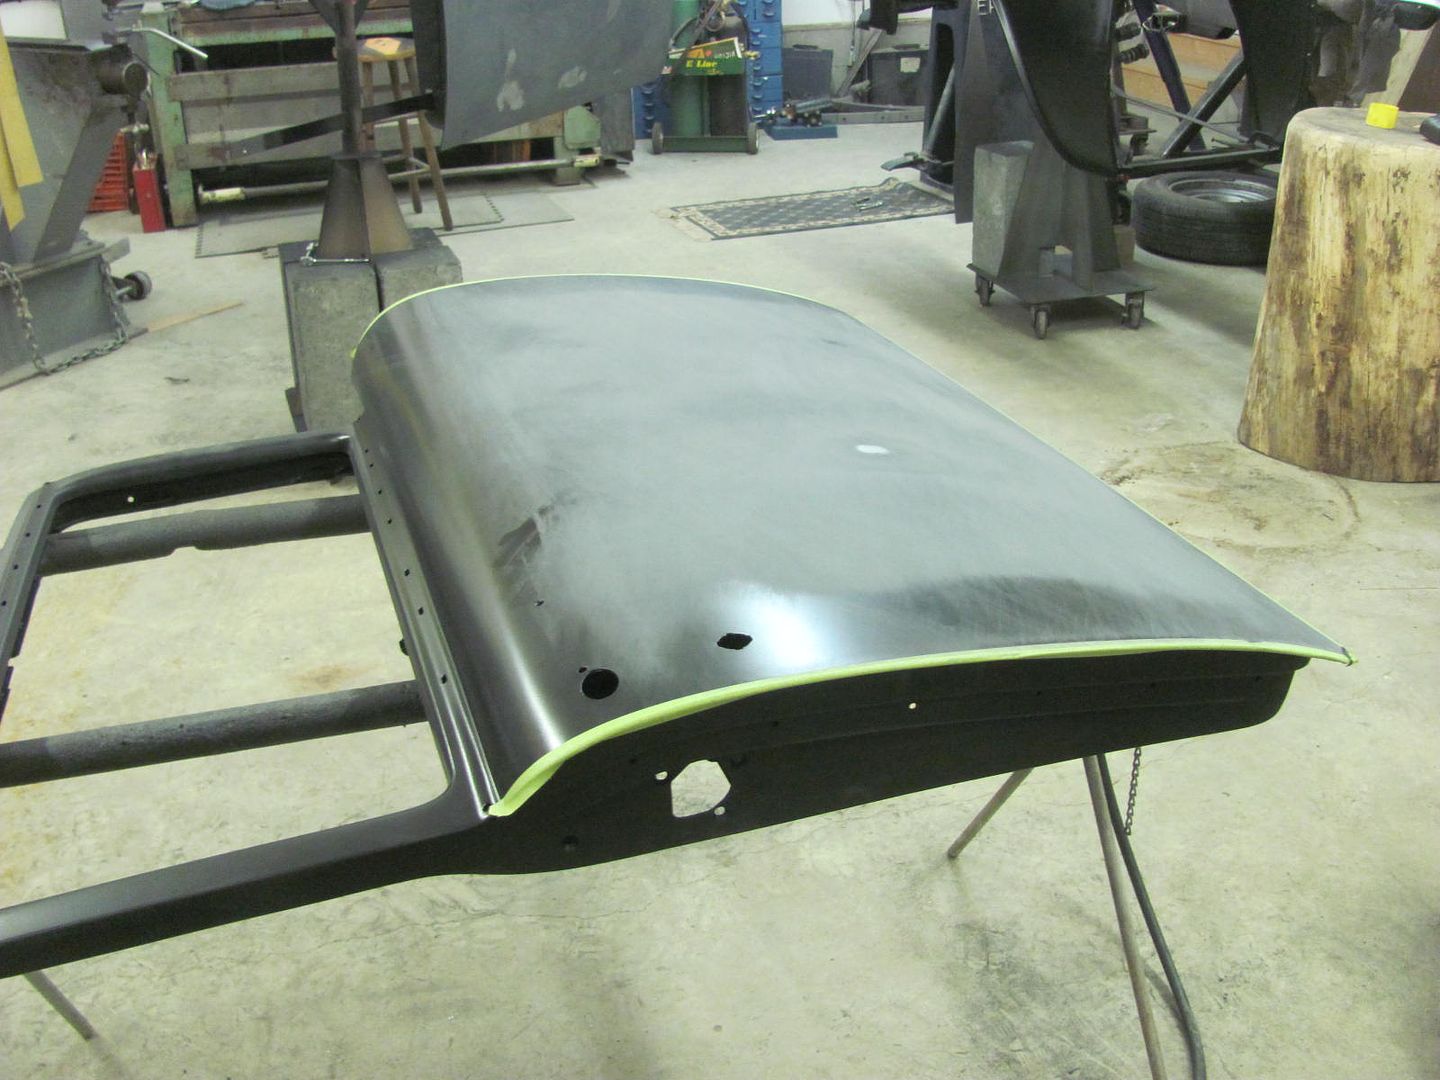
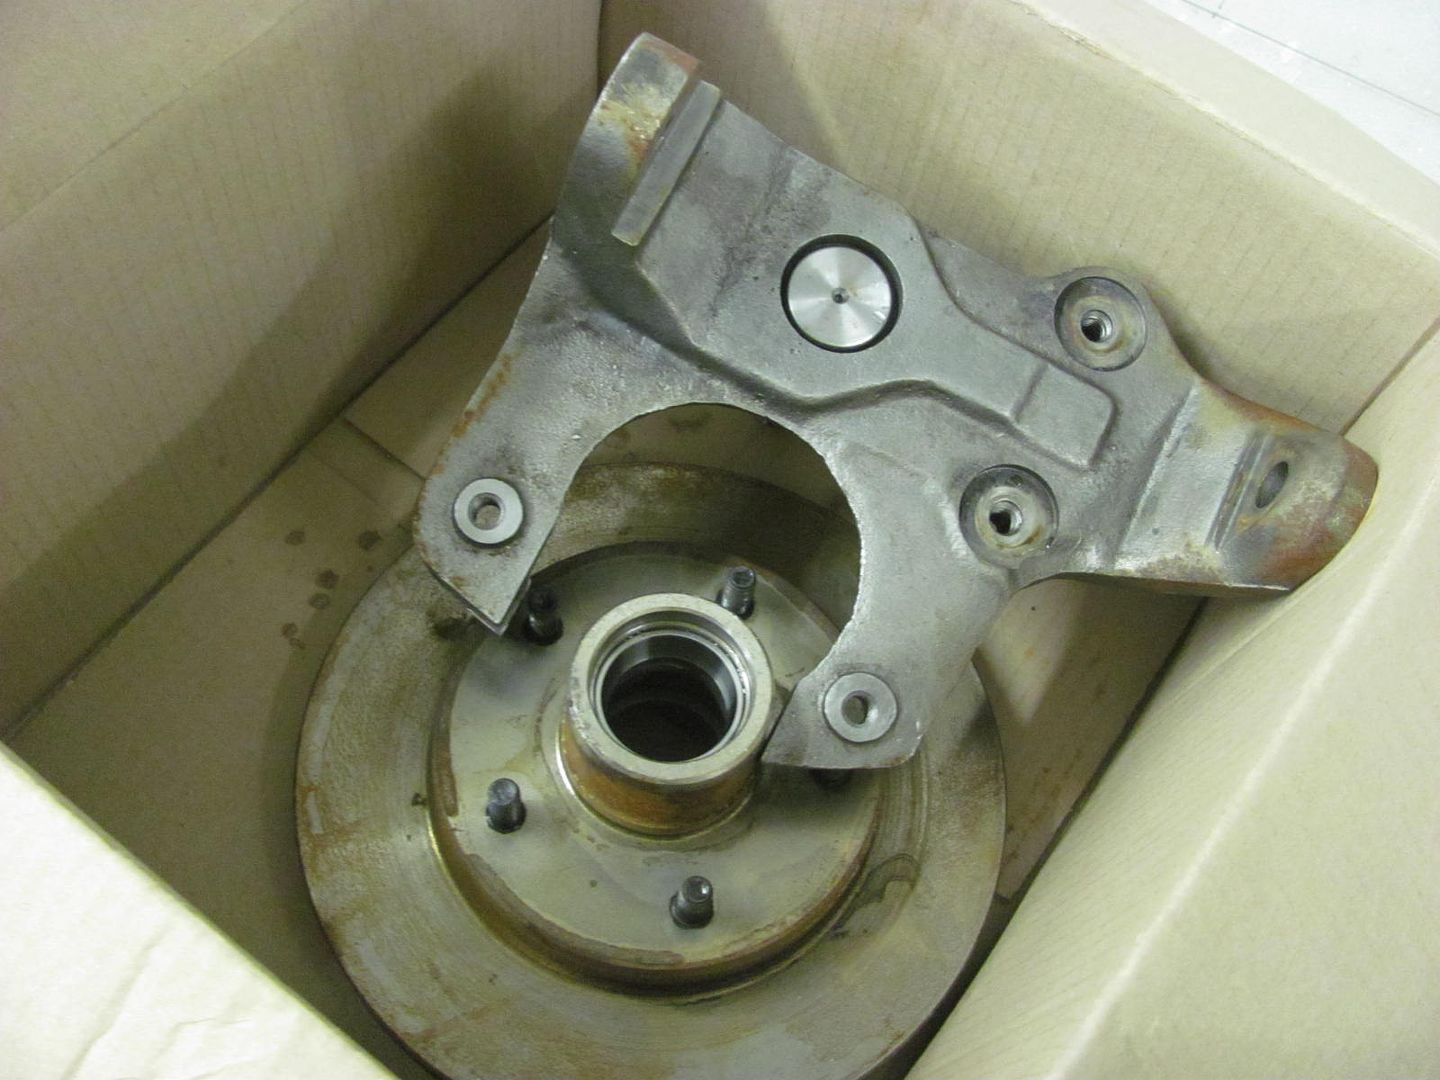
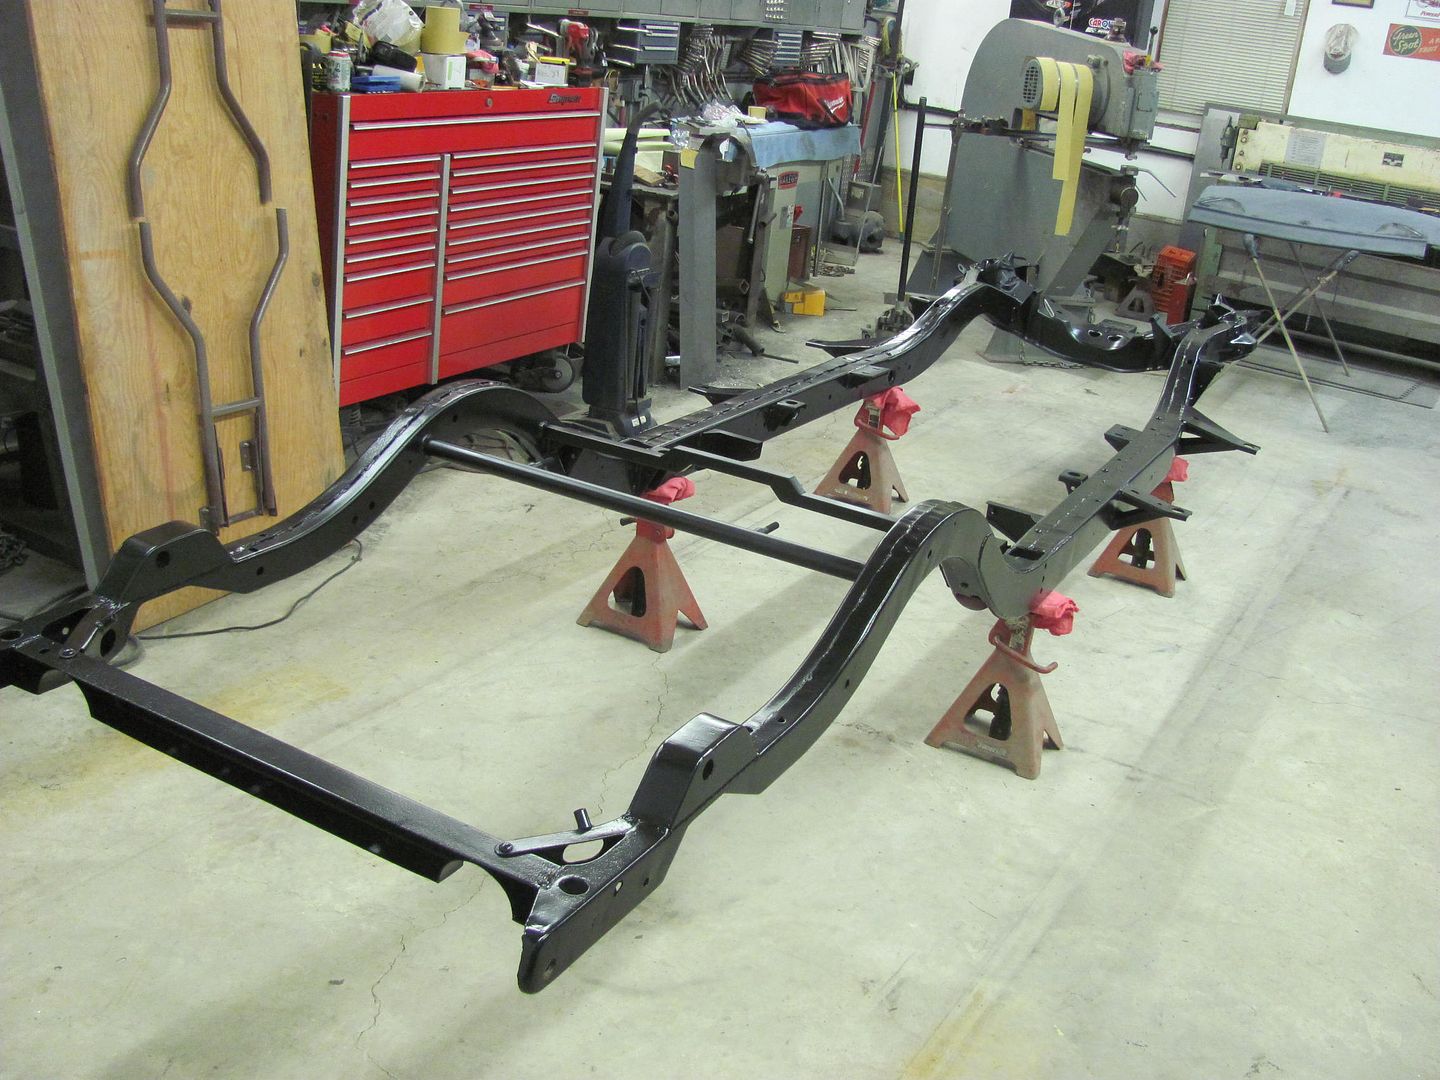
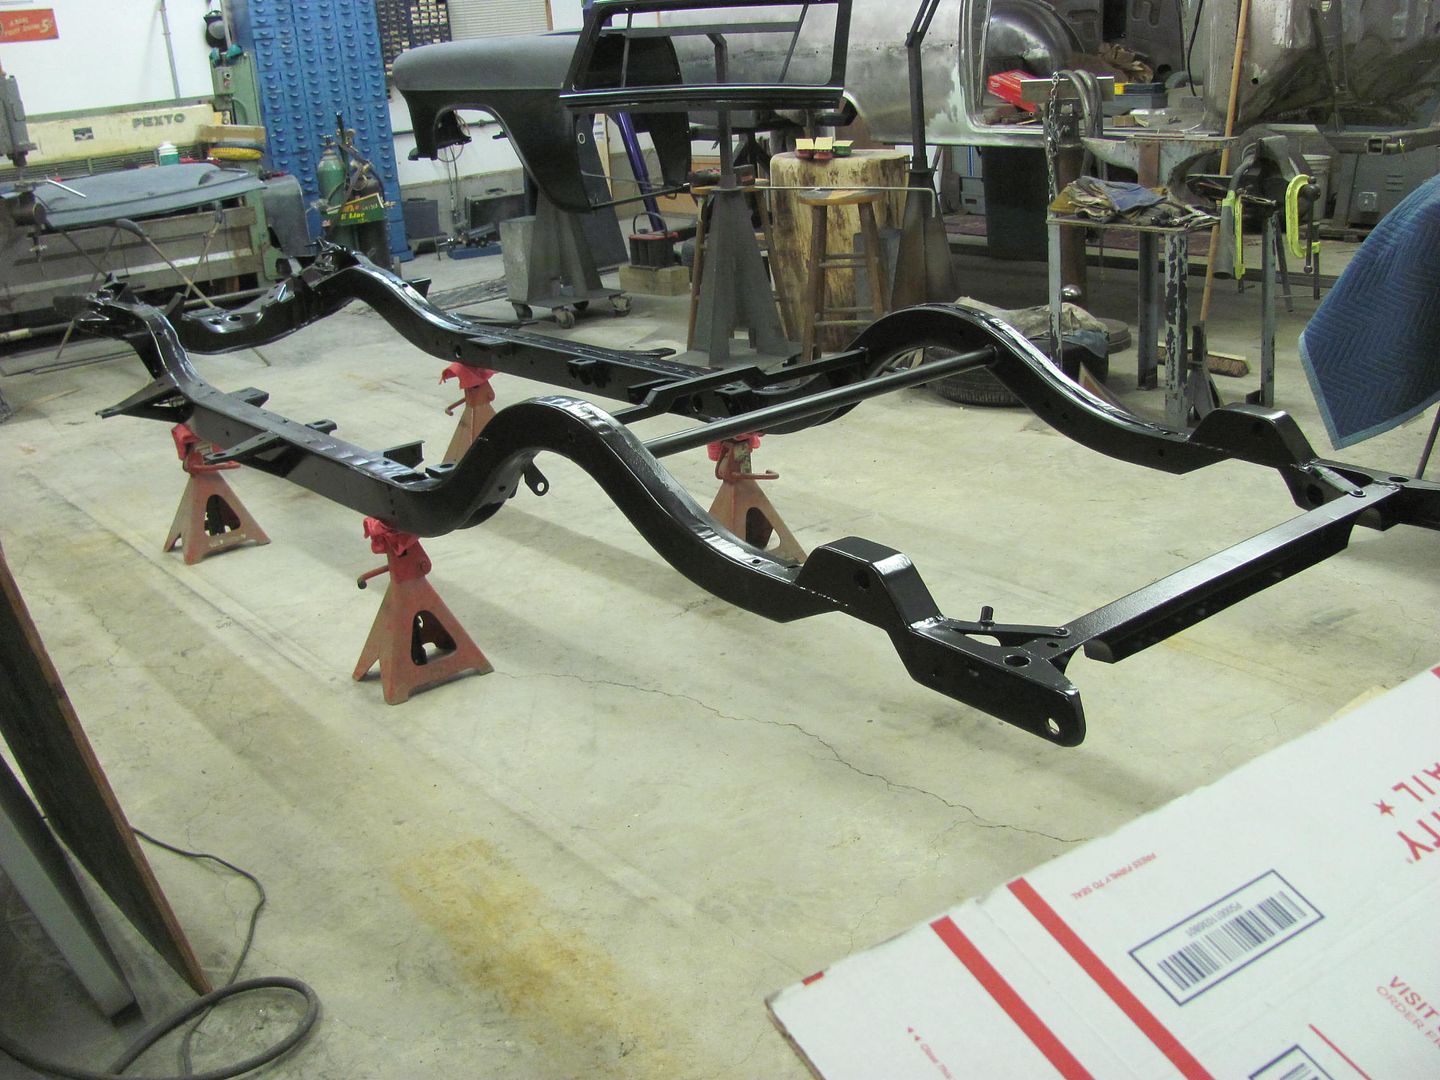
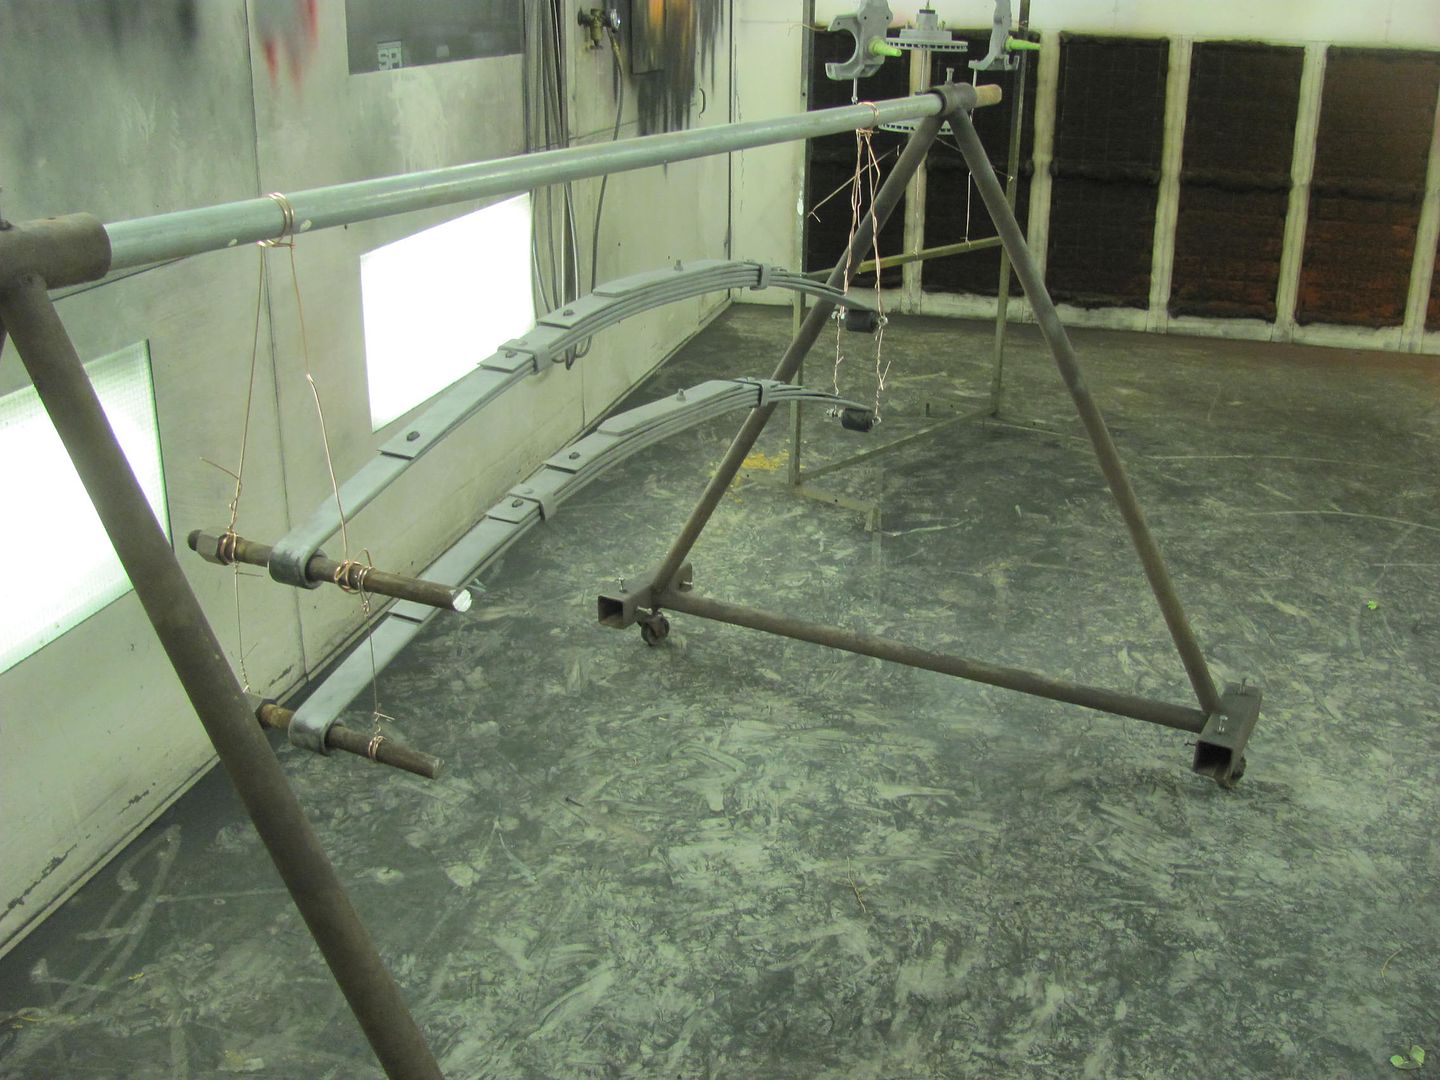
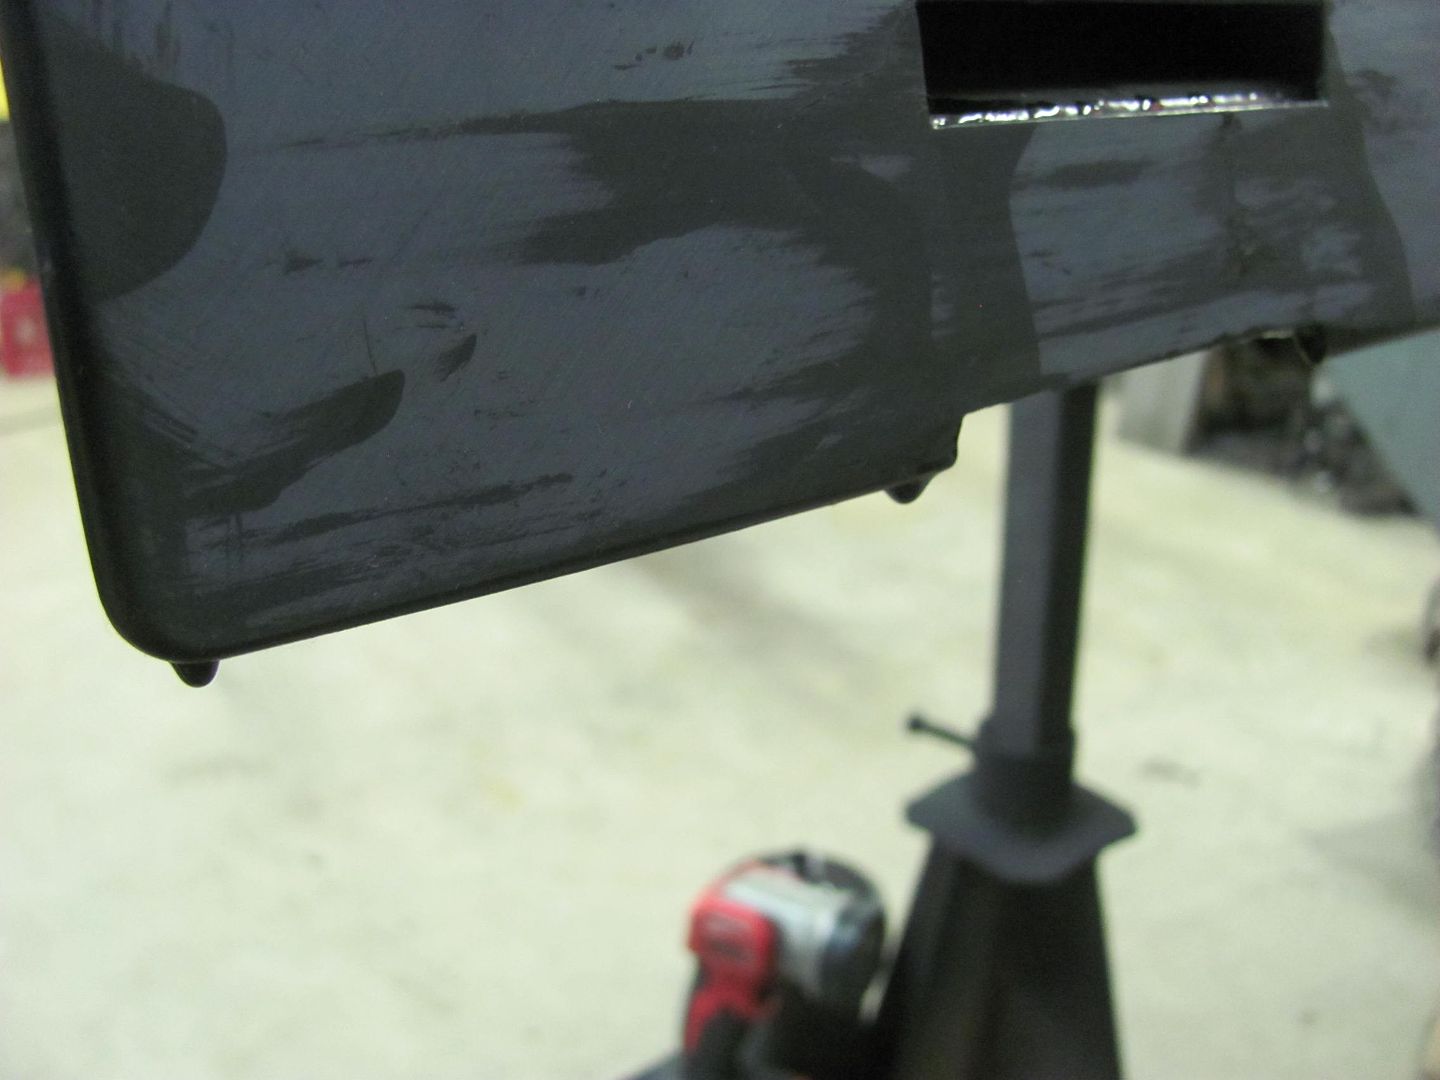
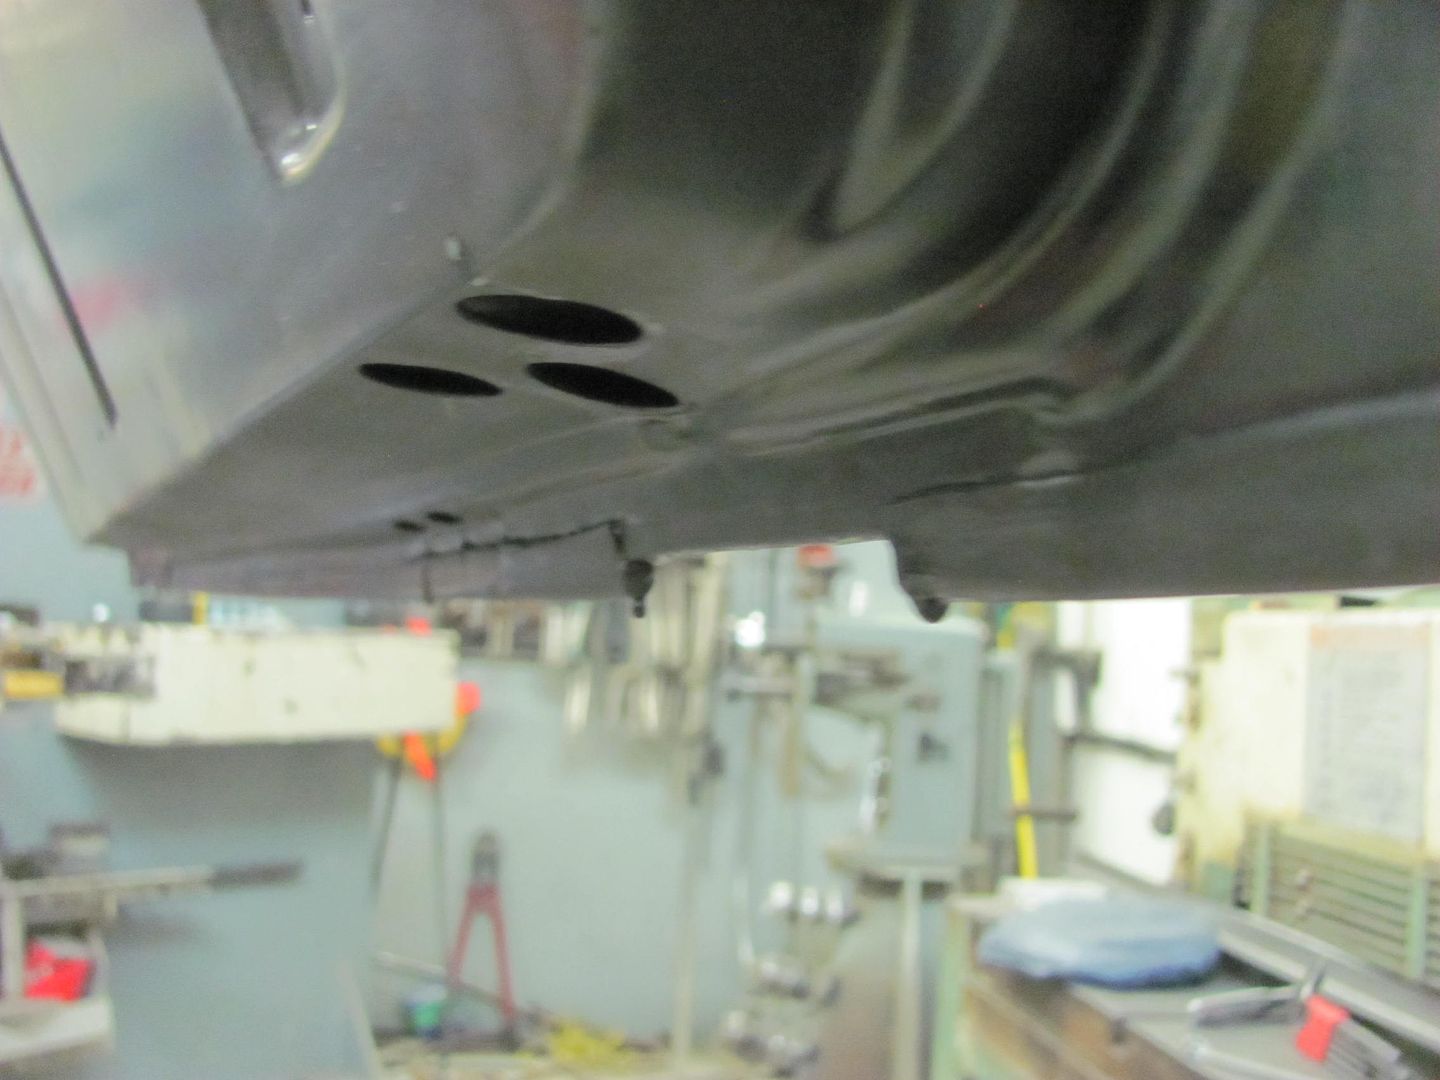
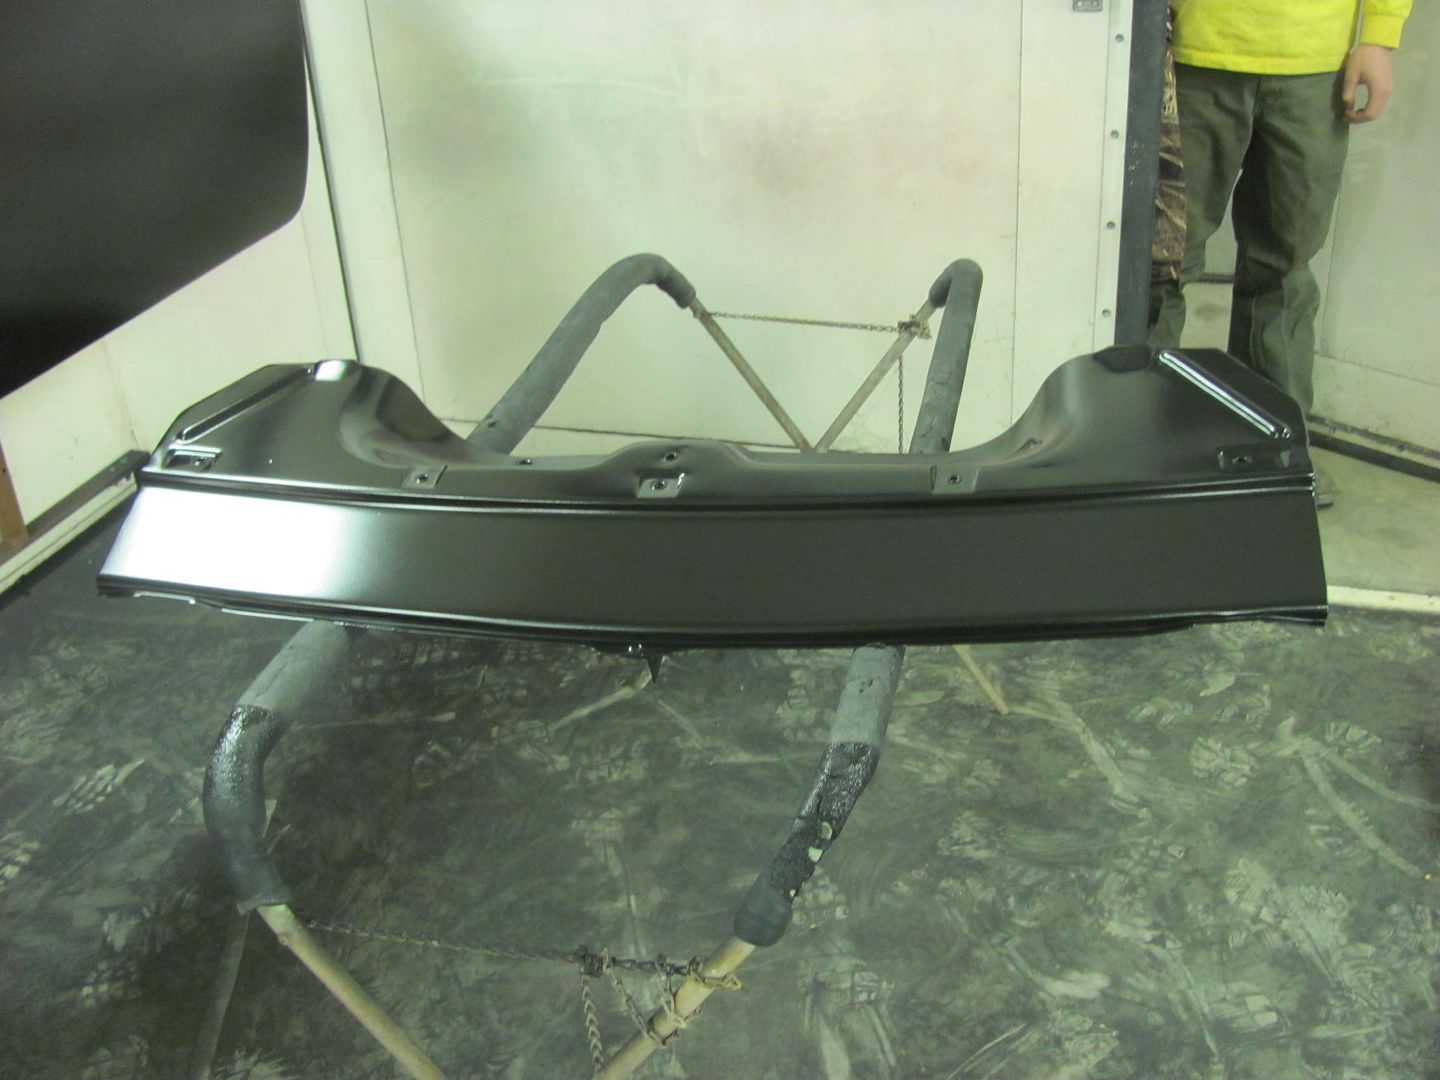
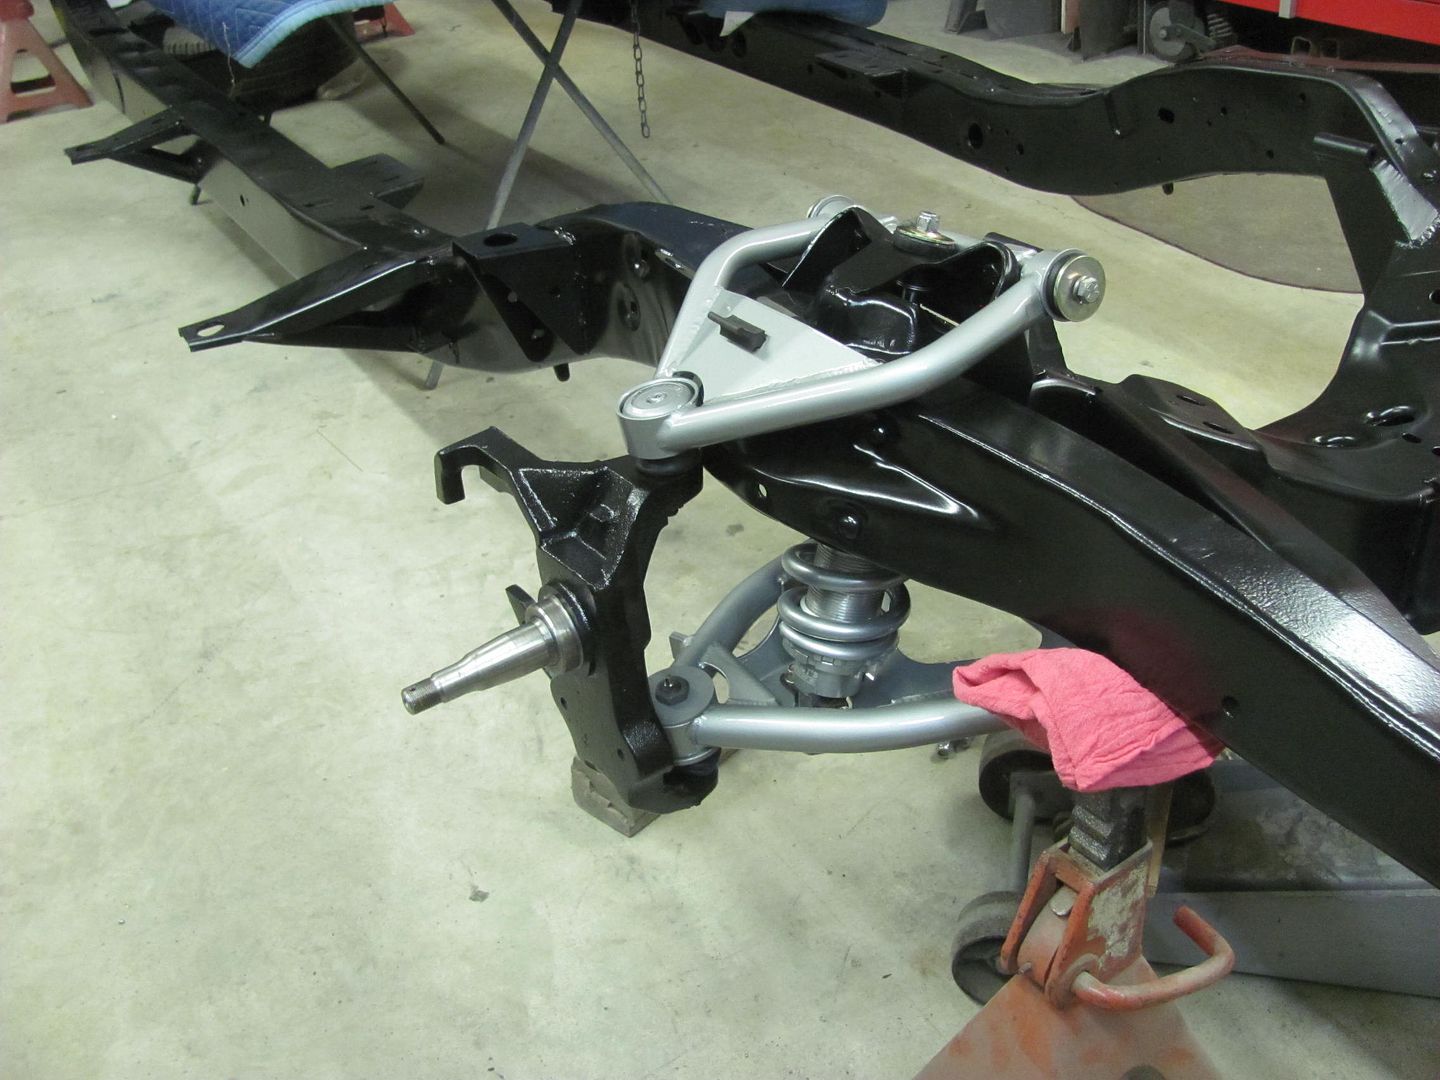
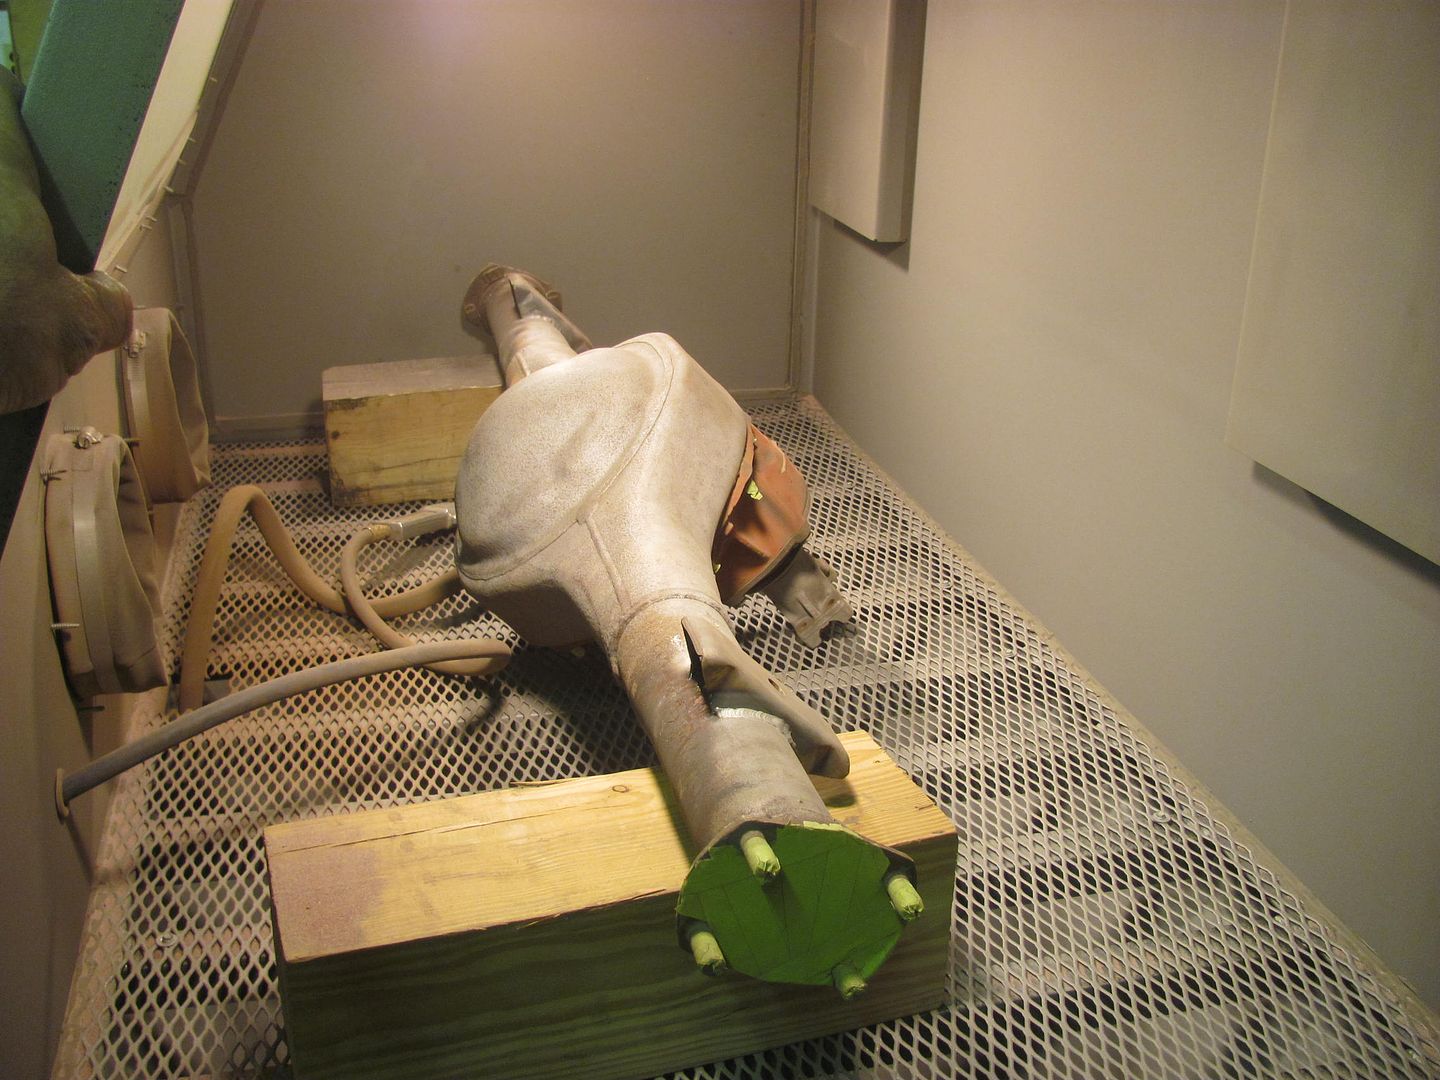
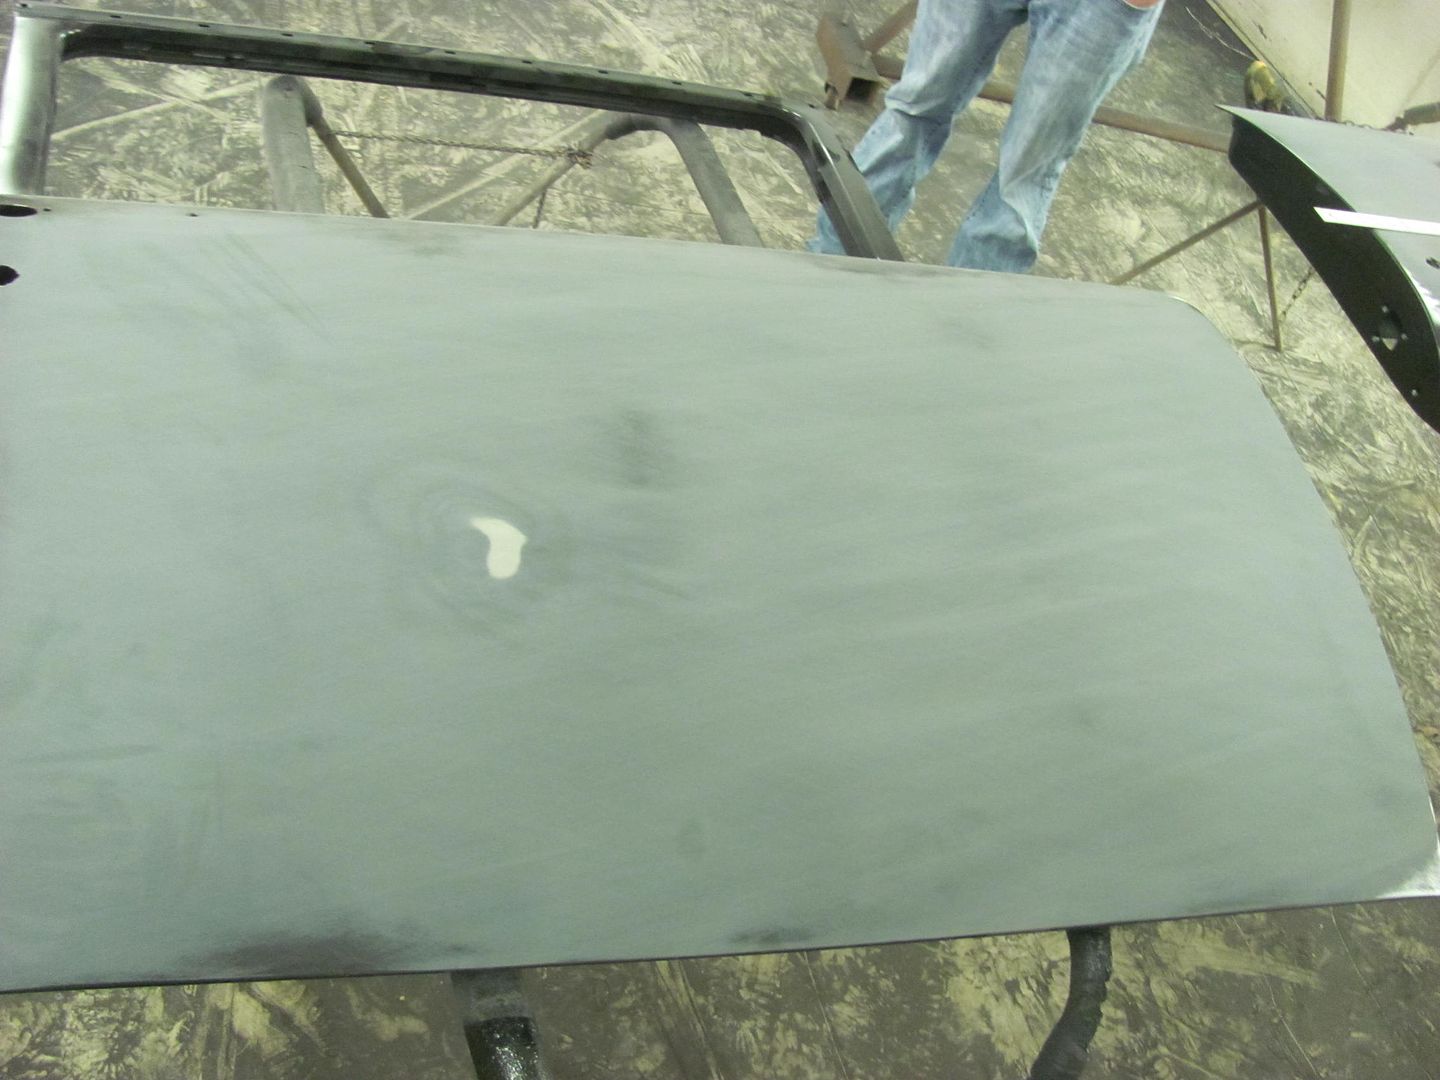
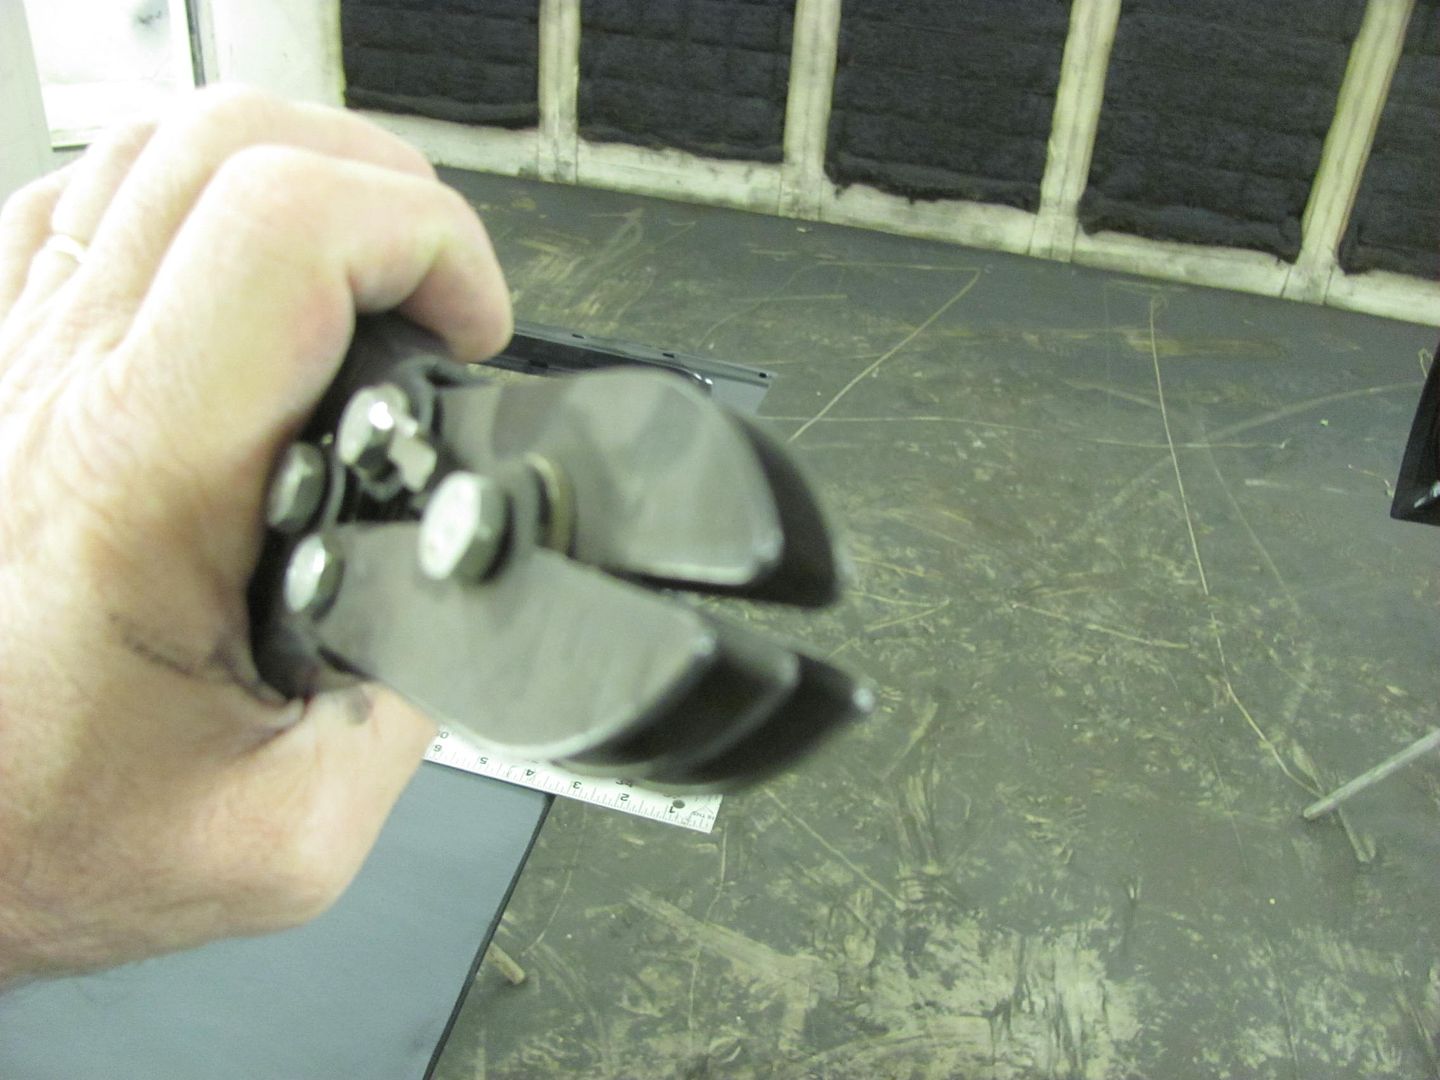
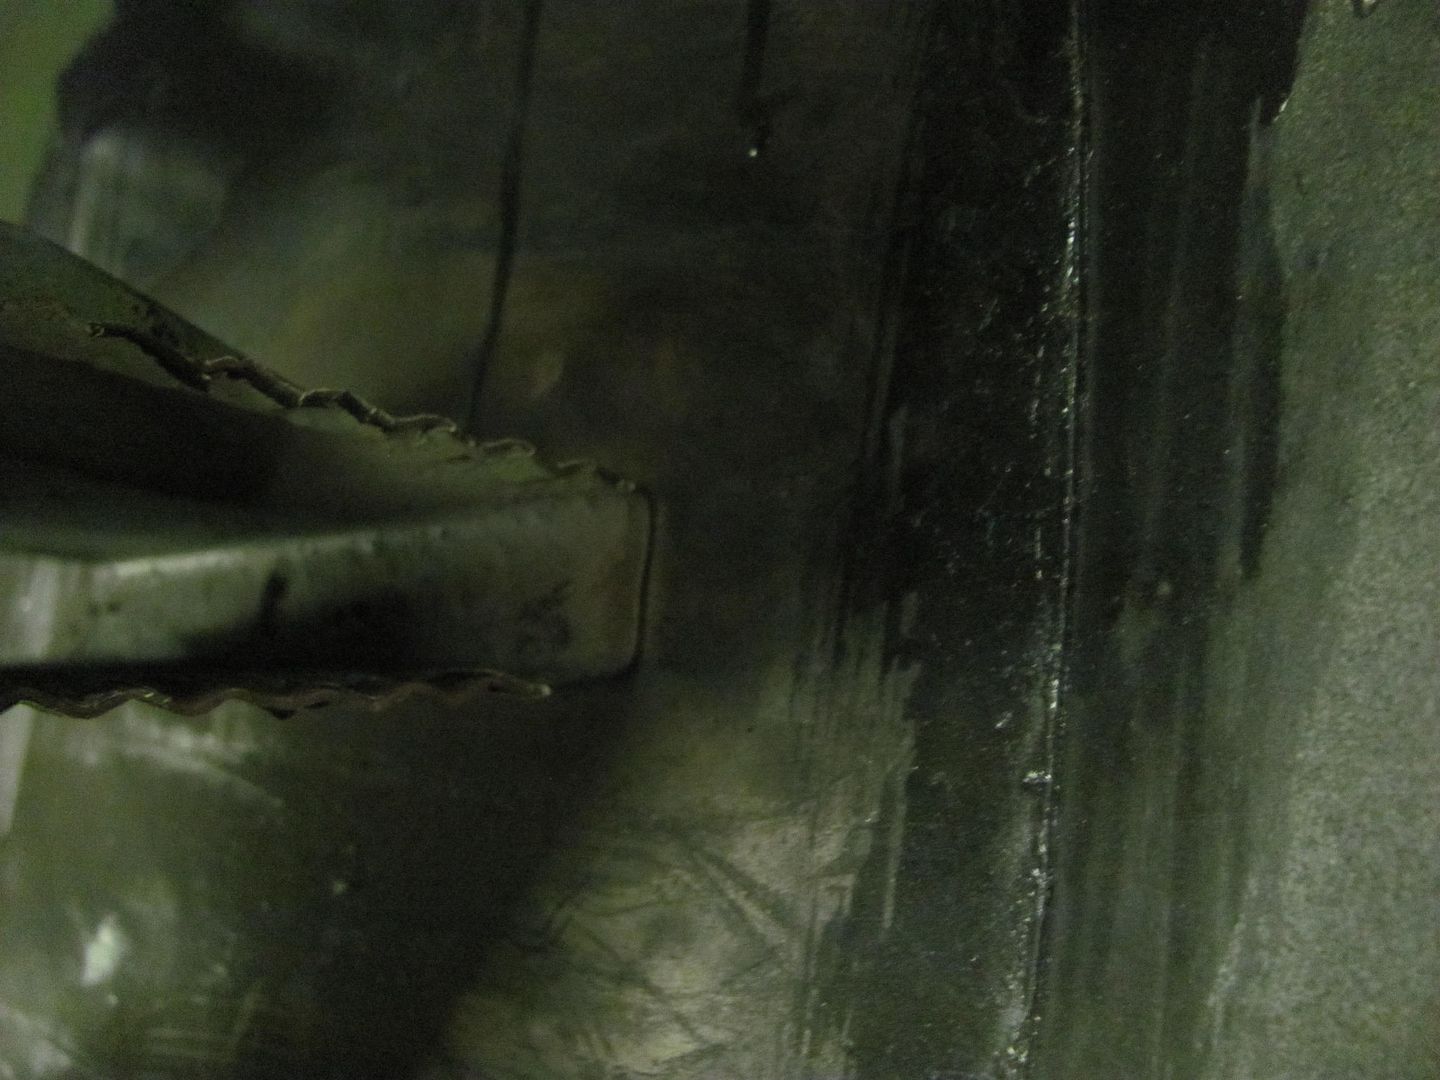
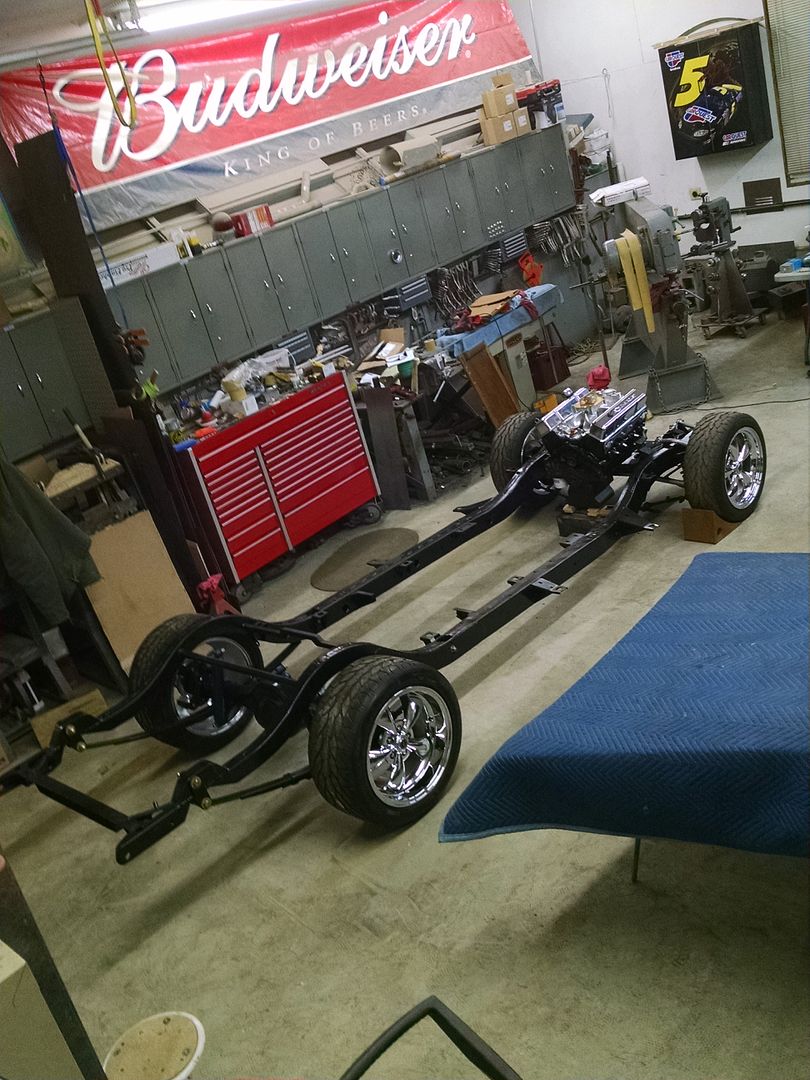
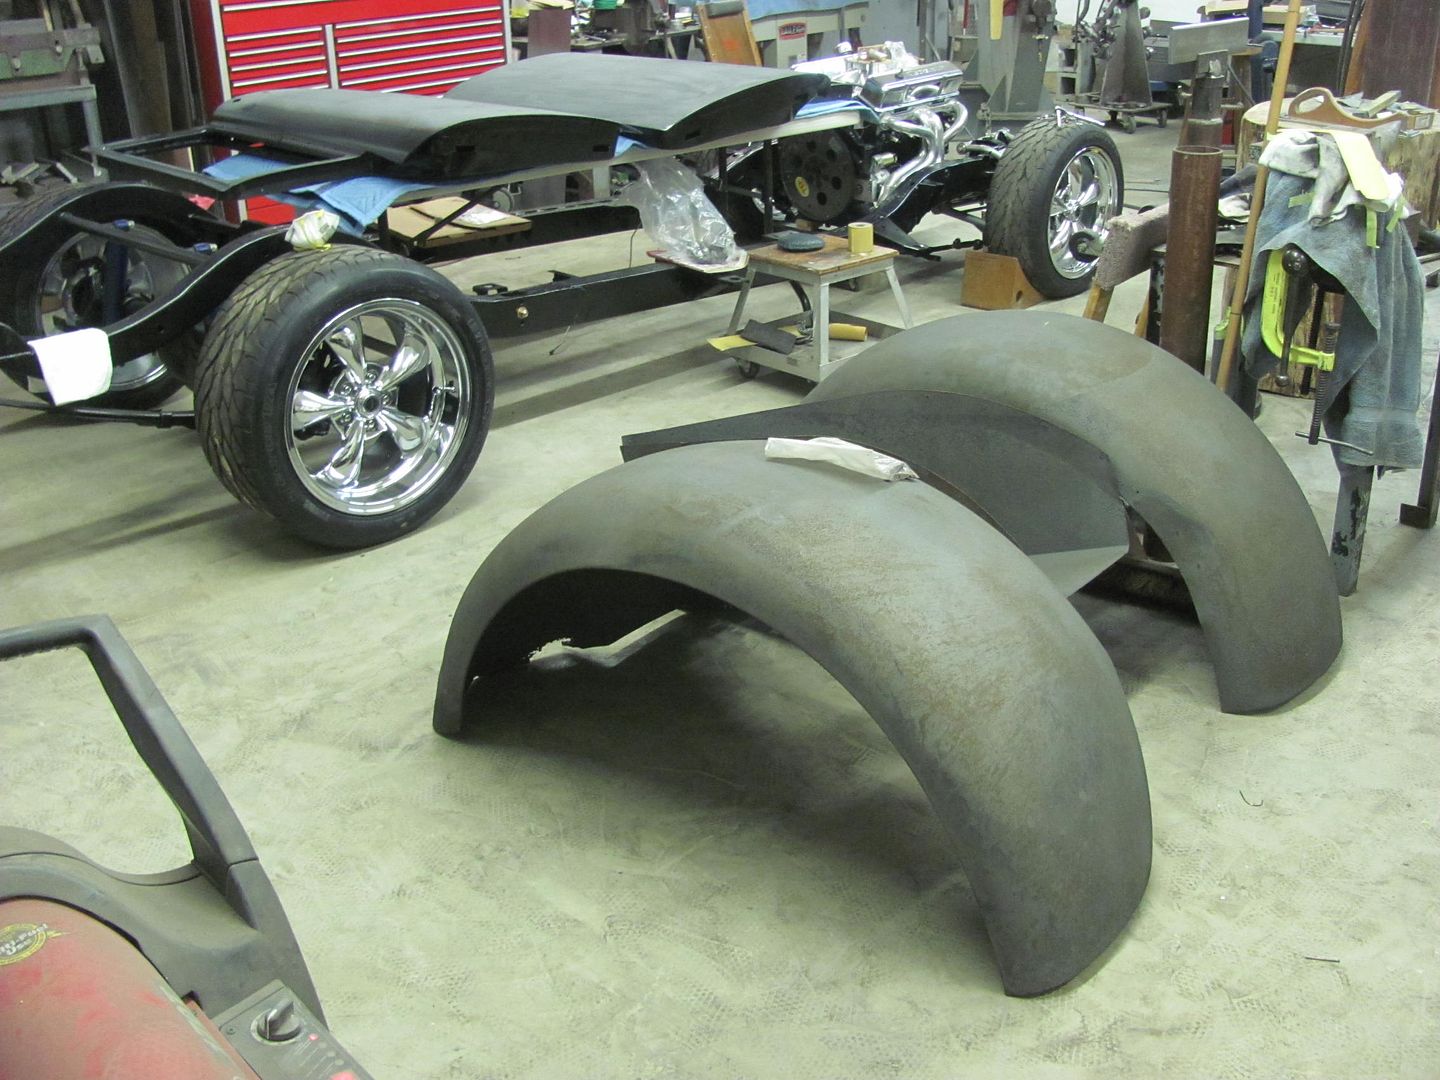
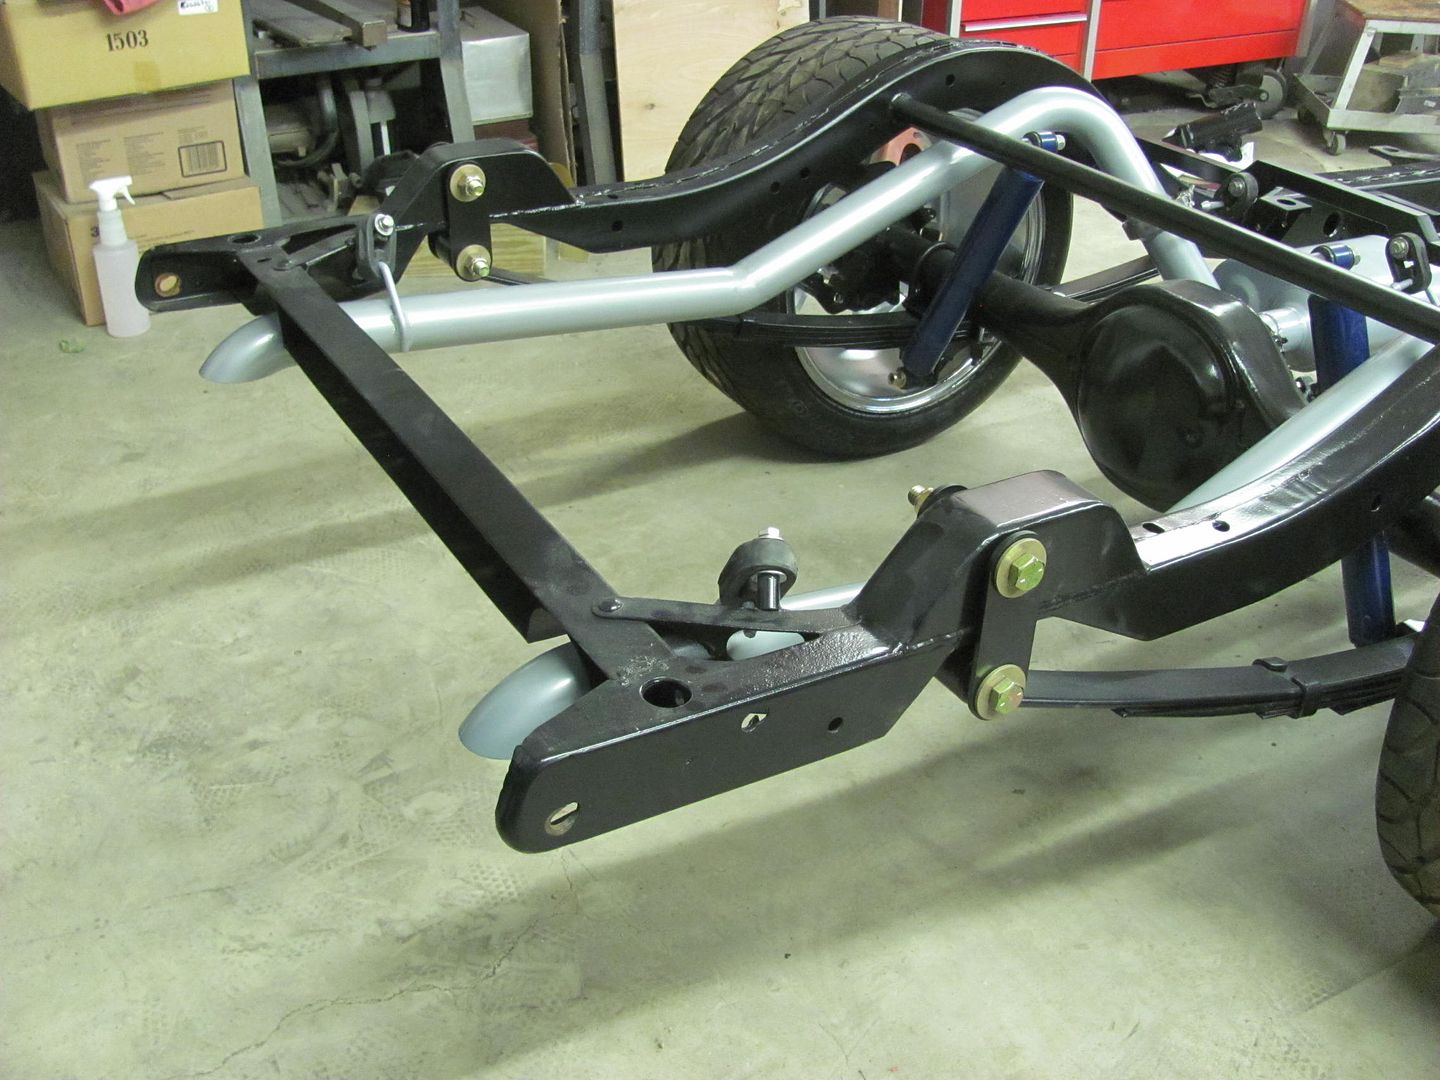
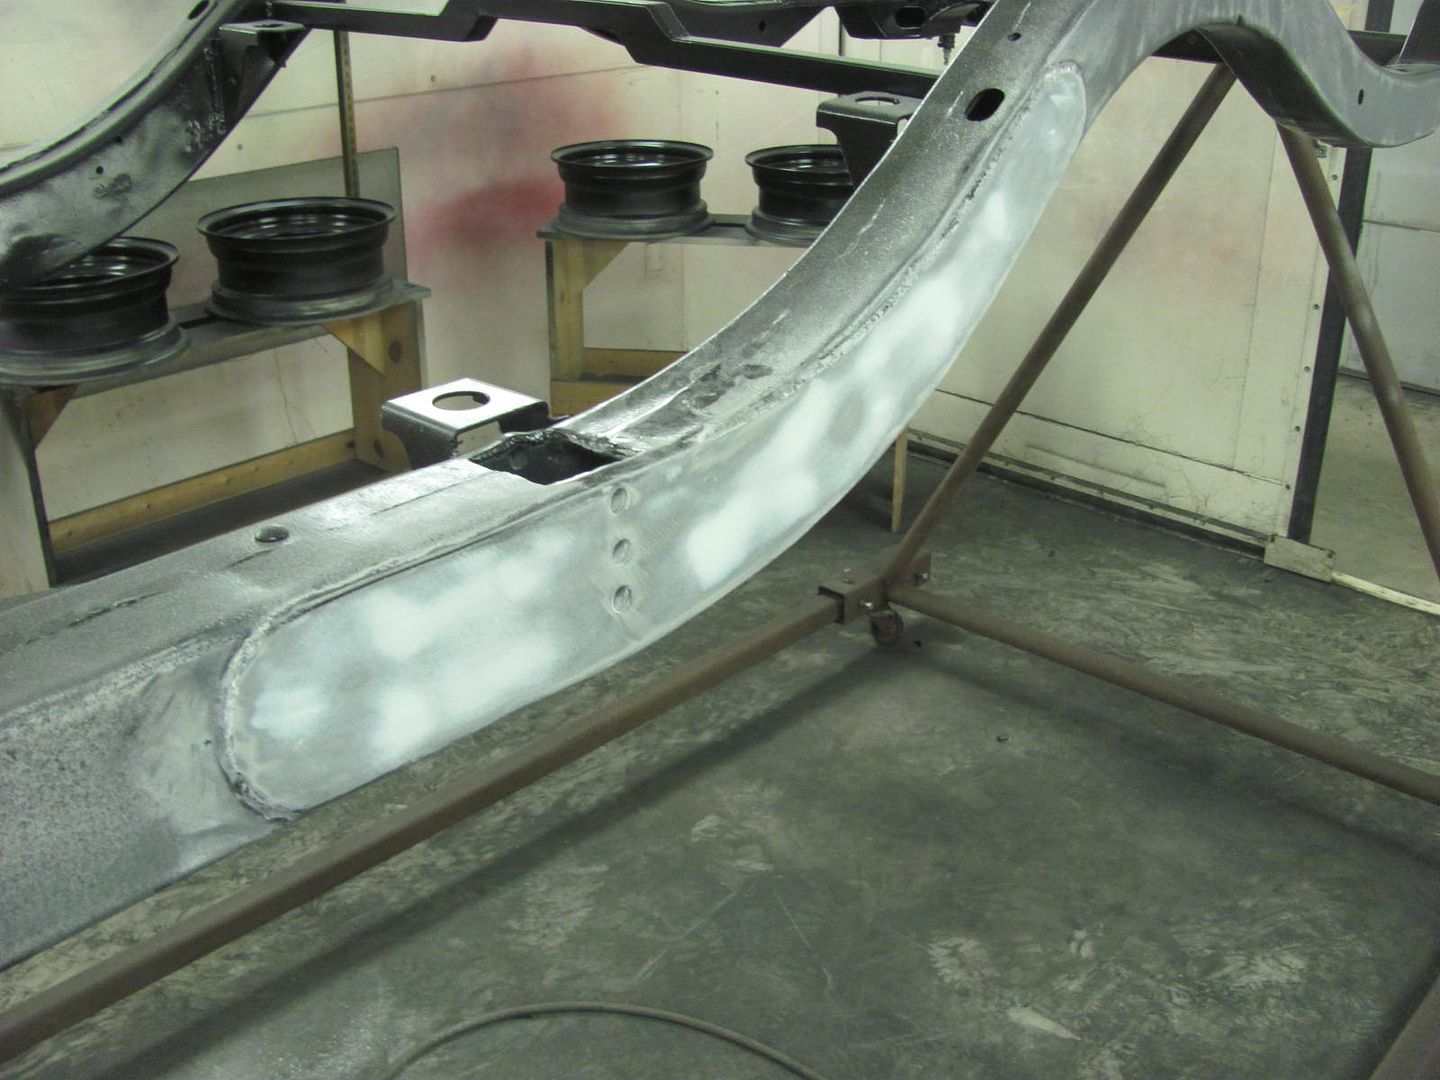
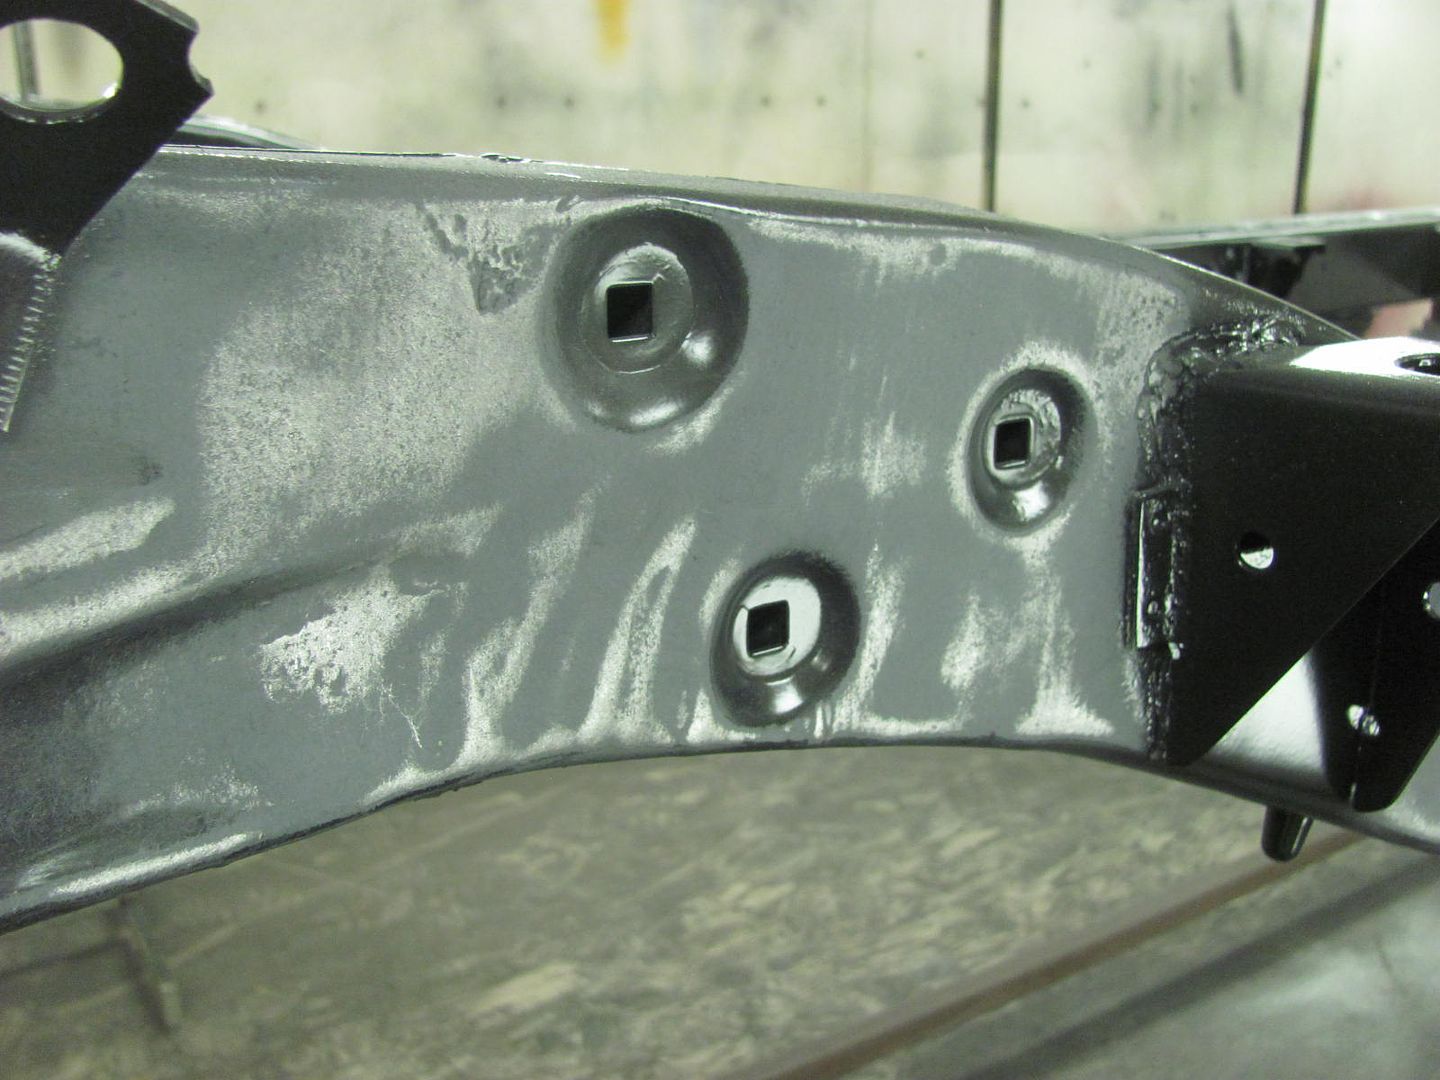
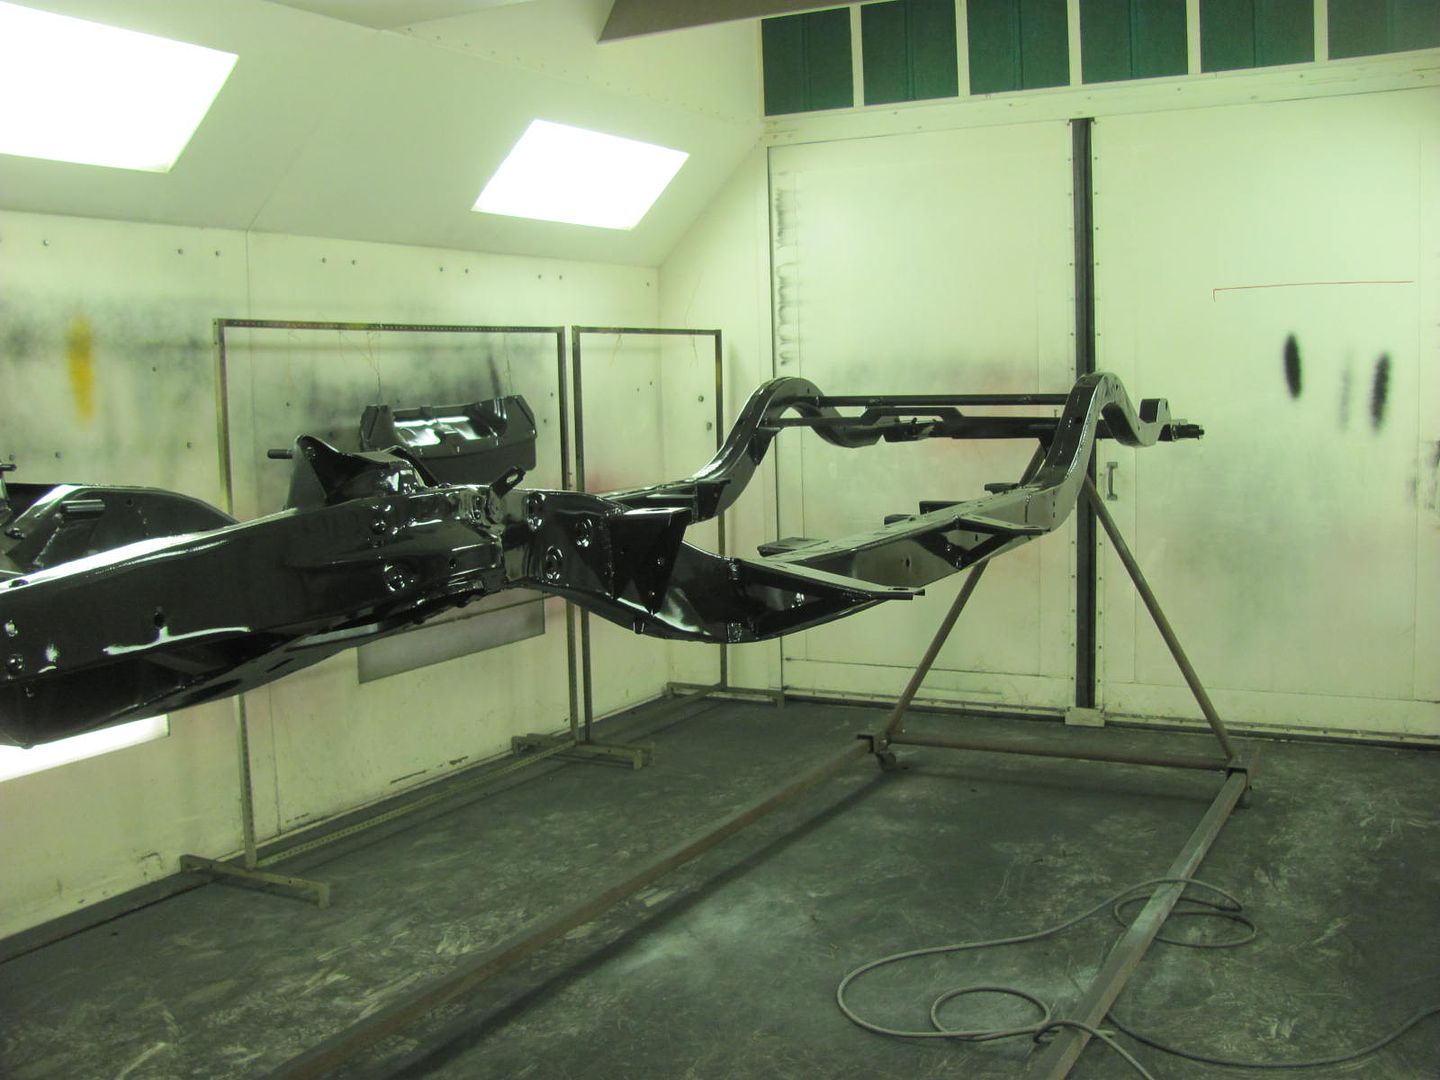
The frame had some slight pitting so the sides were hit with the DA to flatten things out a bit, and some Evercoat 416 used to address some of our plug weld grinding marks on the frame plates...
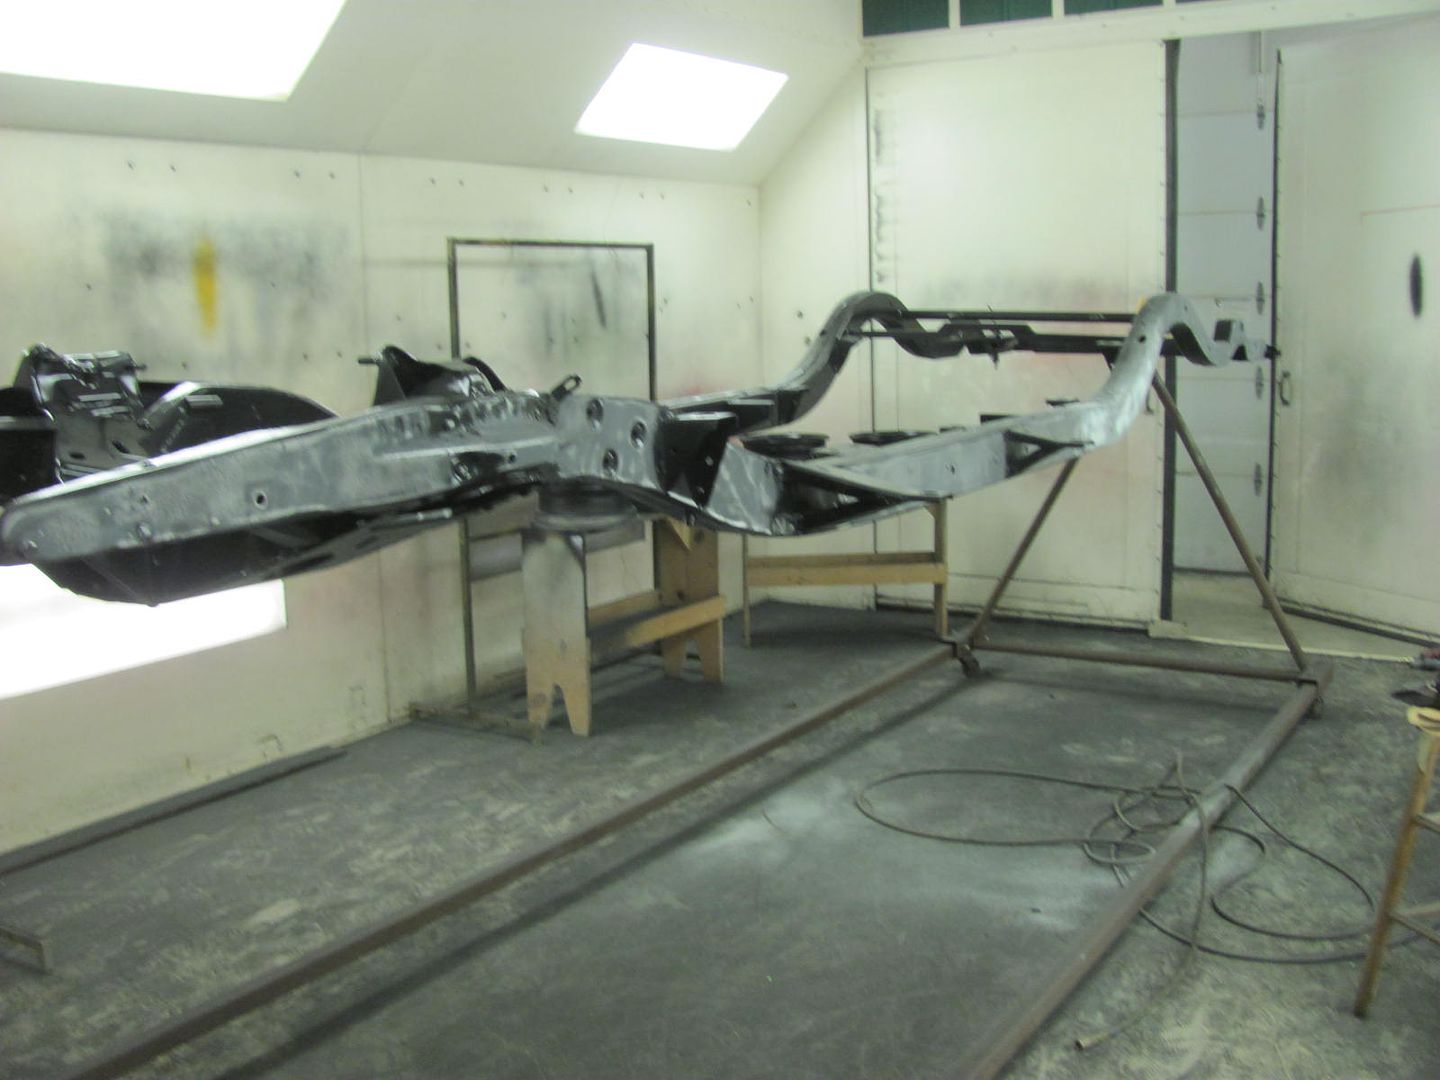
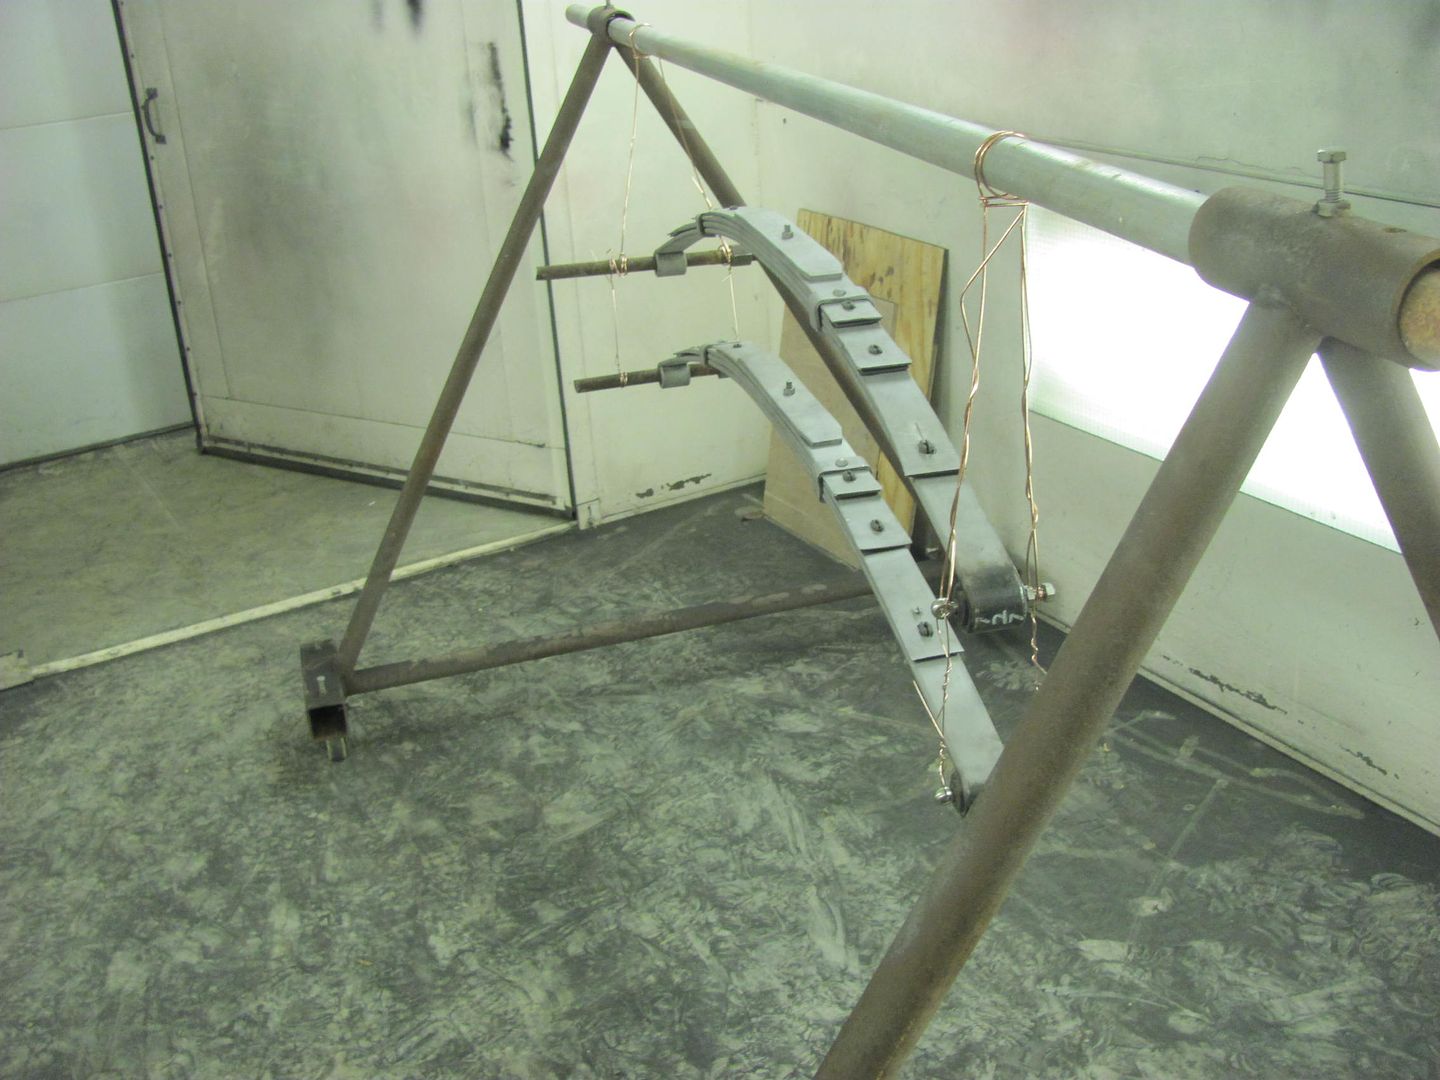
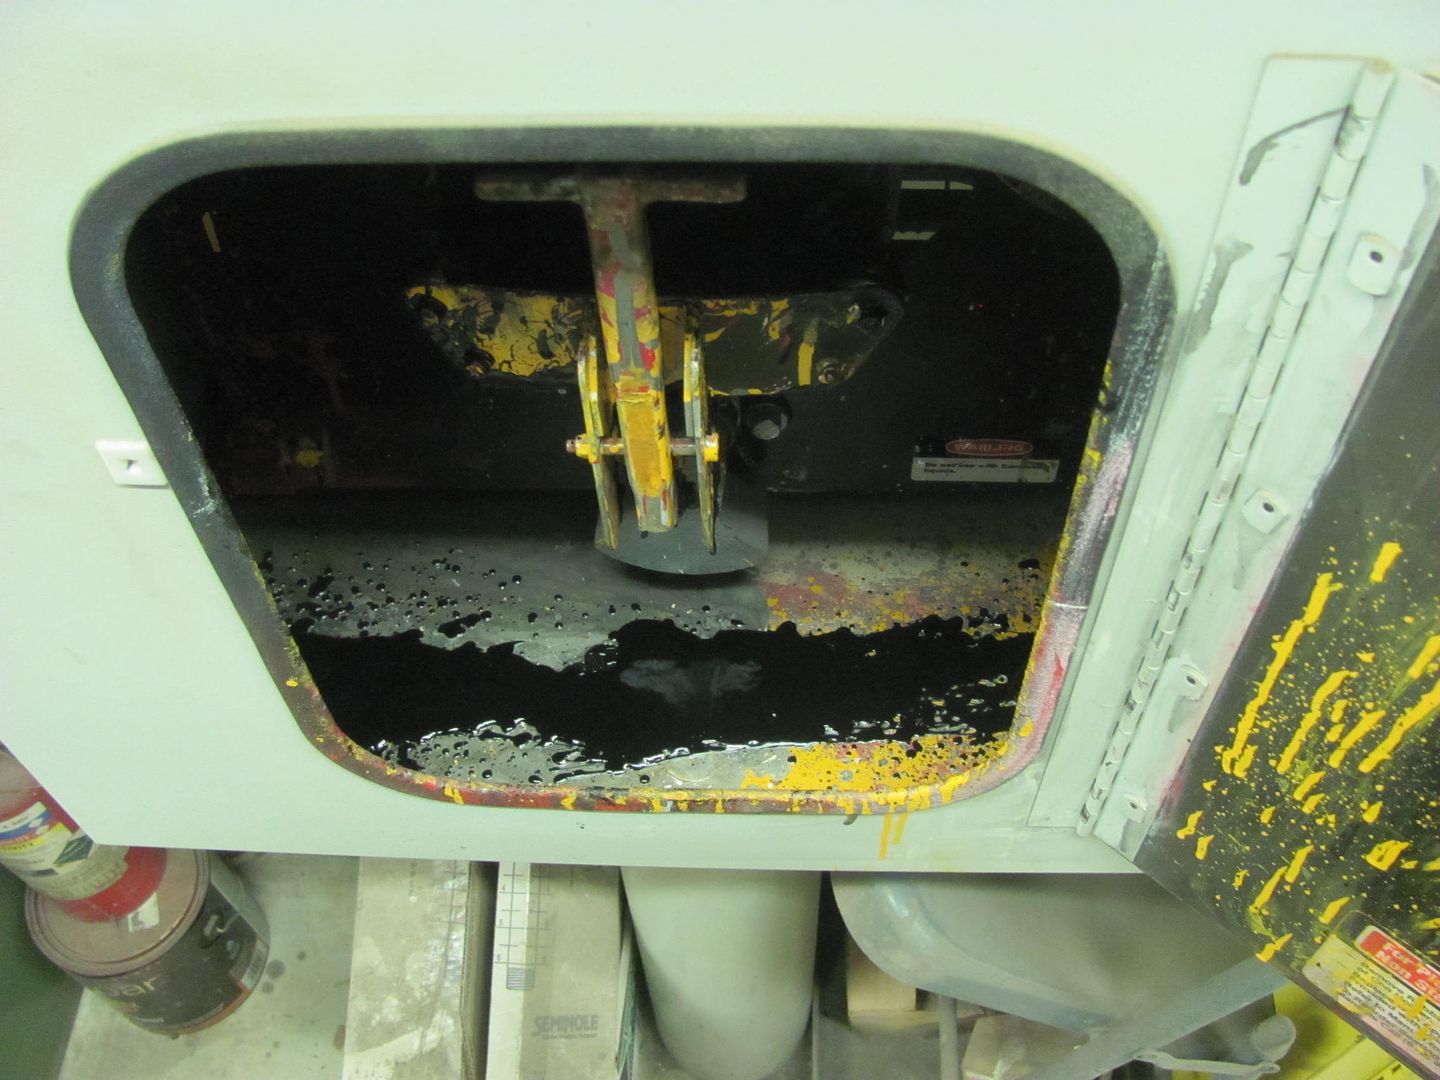
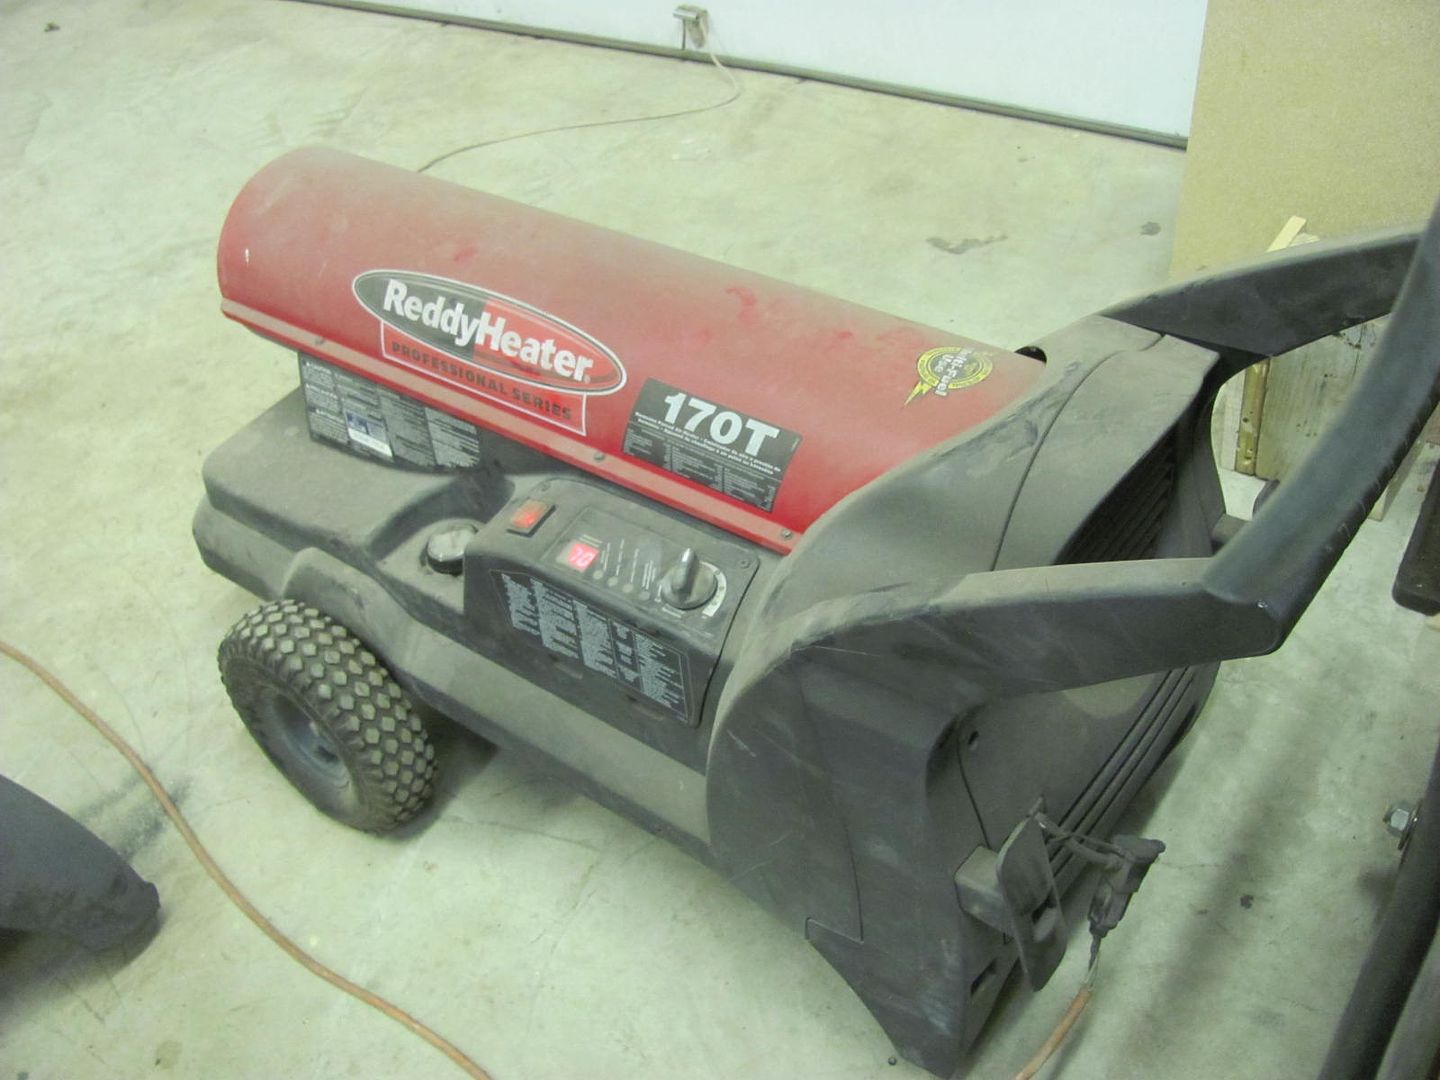
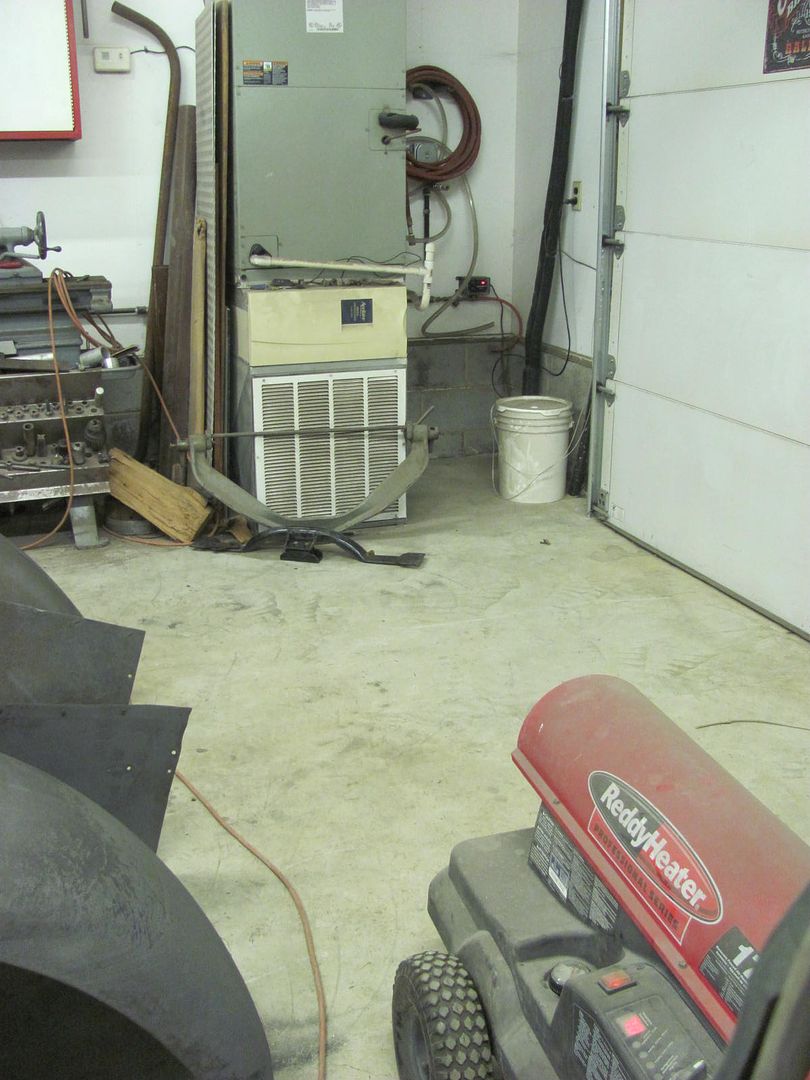
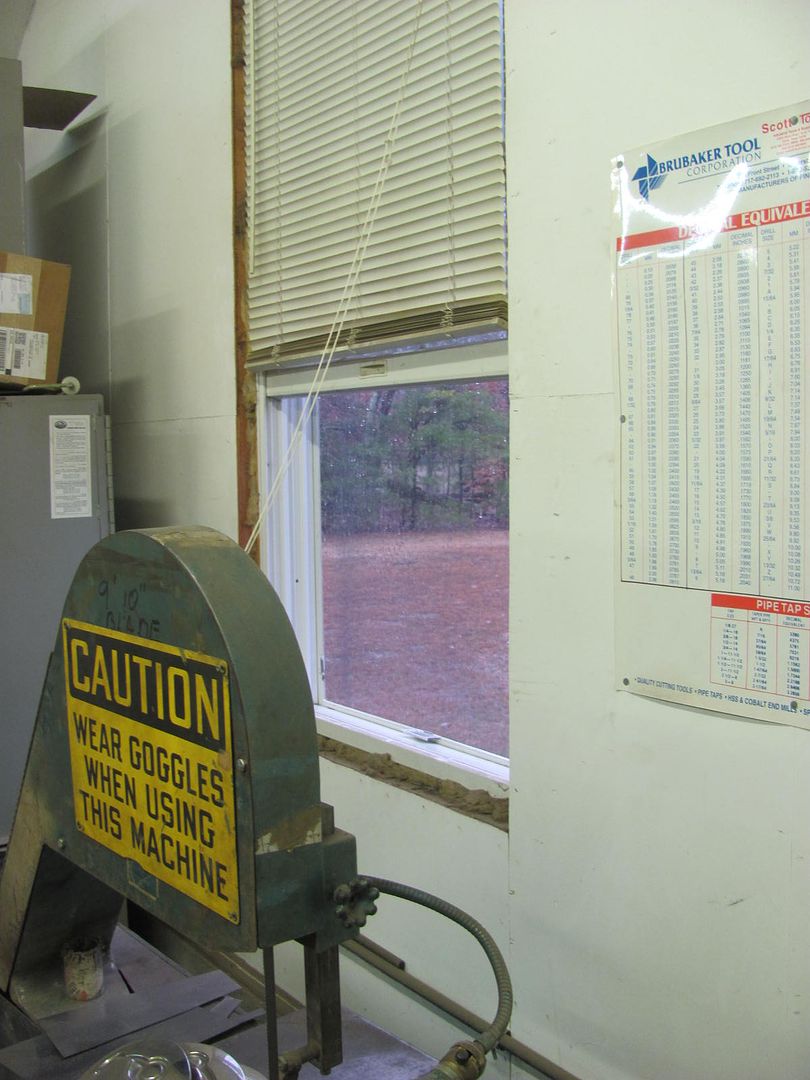
Here's the "winter" heating method for spraying in cold temps. 170,000 BTU aimed at the air return, and the air handler fan turned on constant to circulate the heat. Open window for air intake..
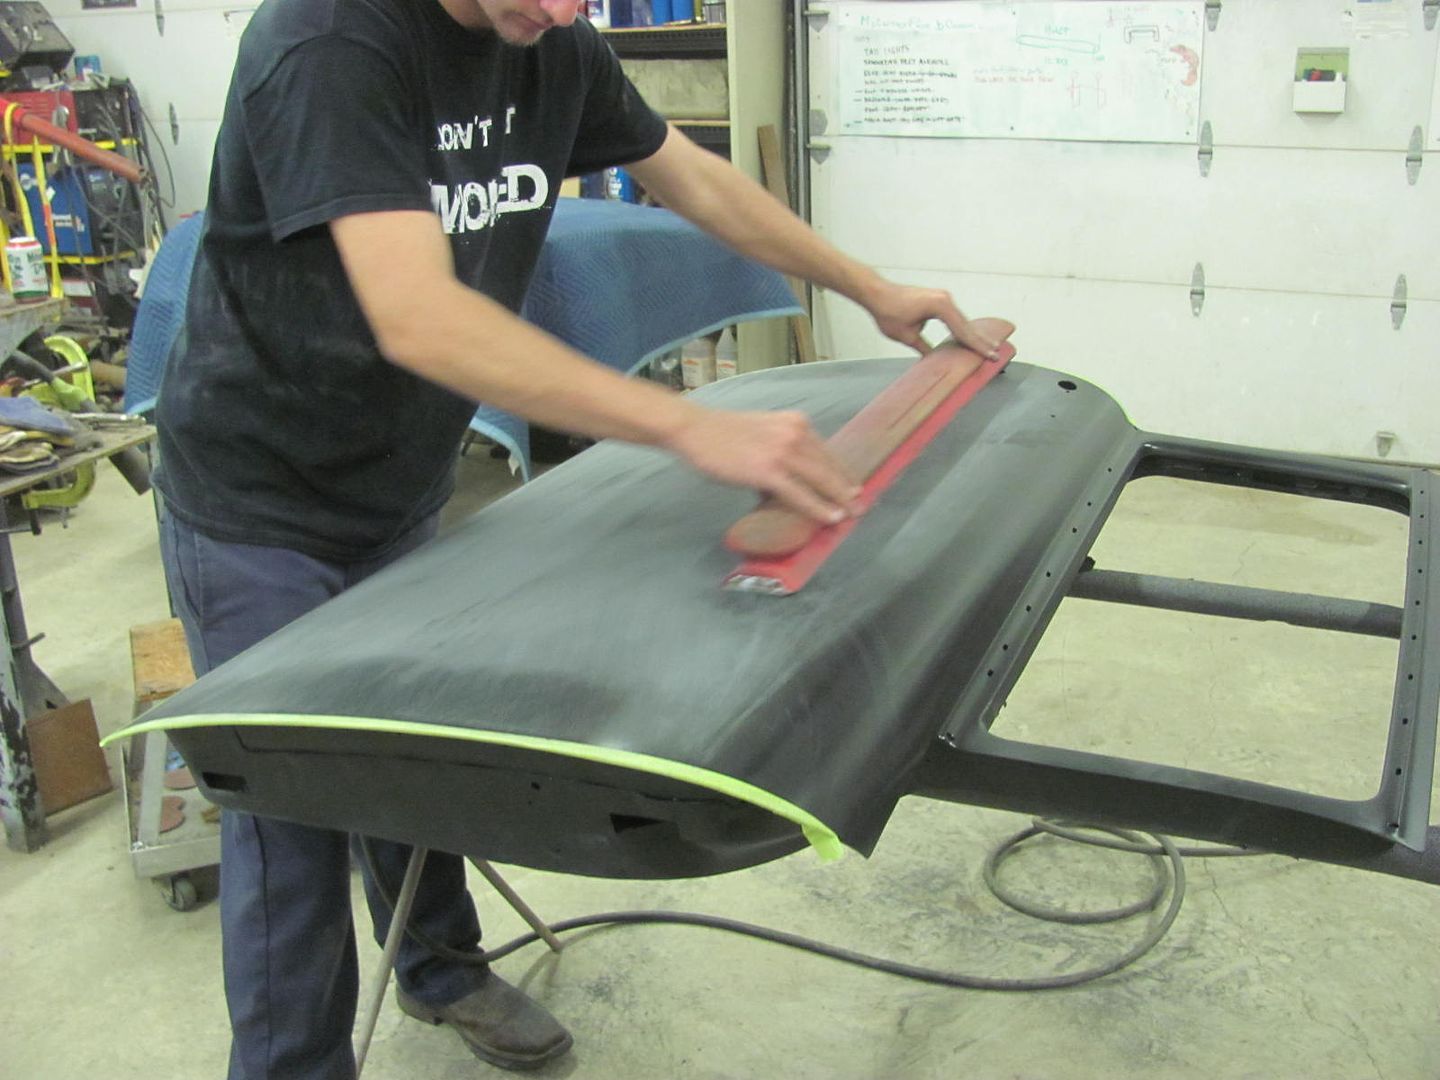
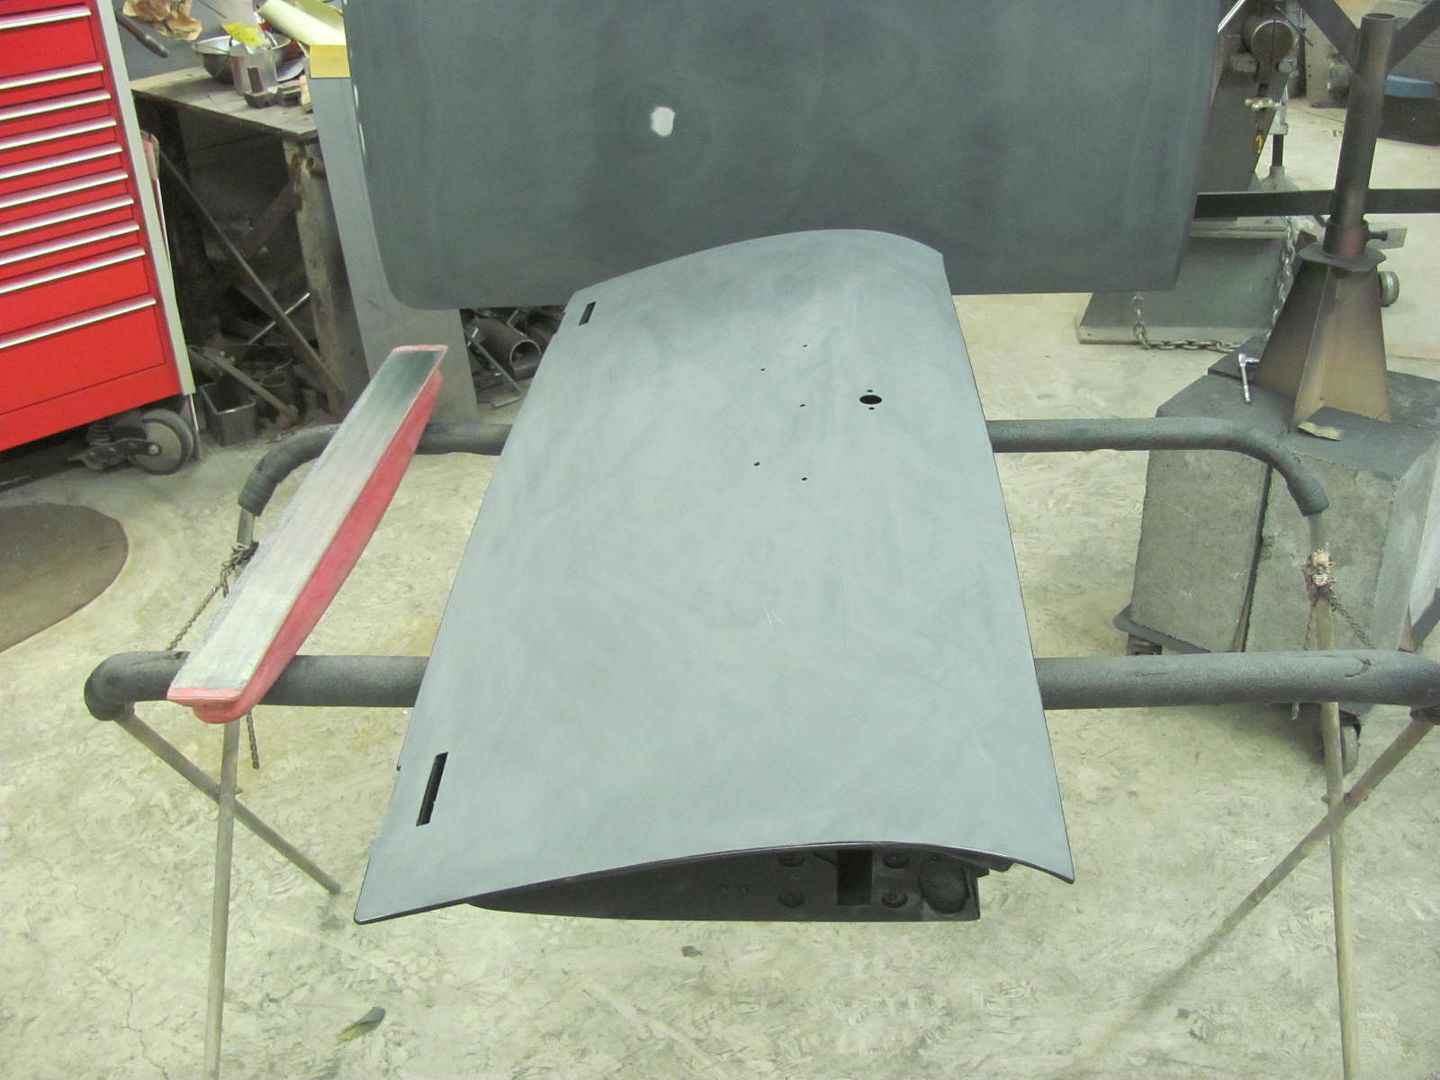
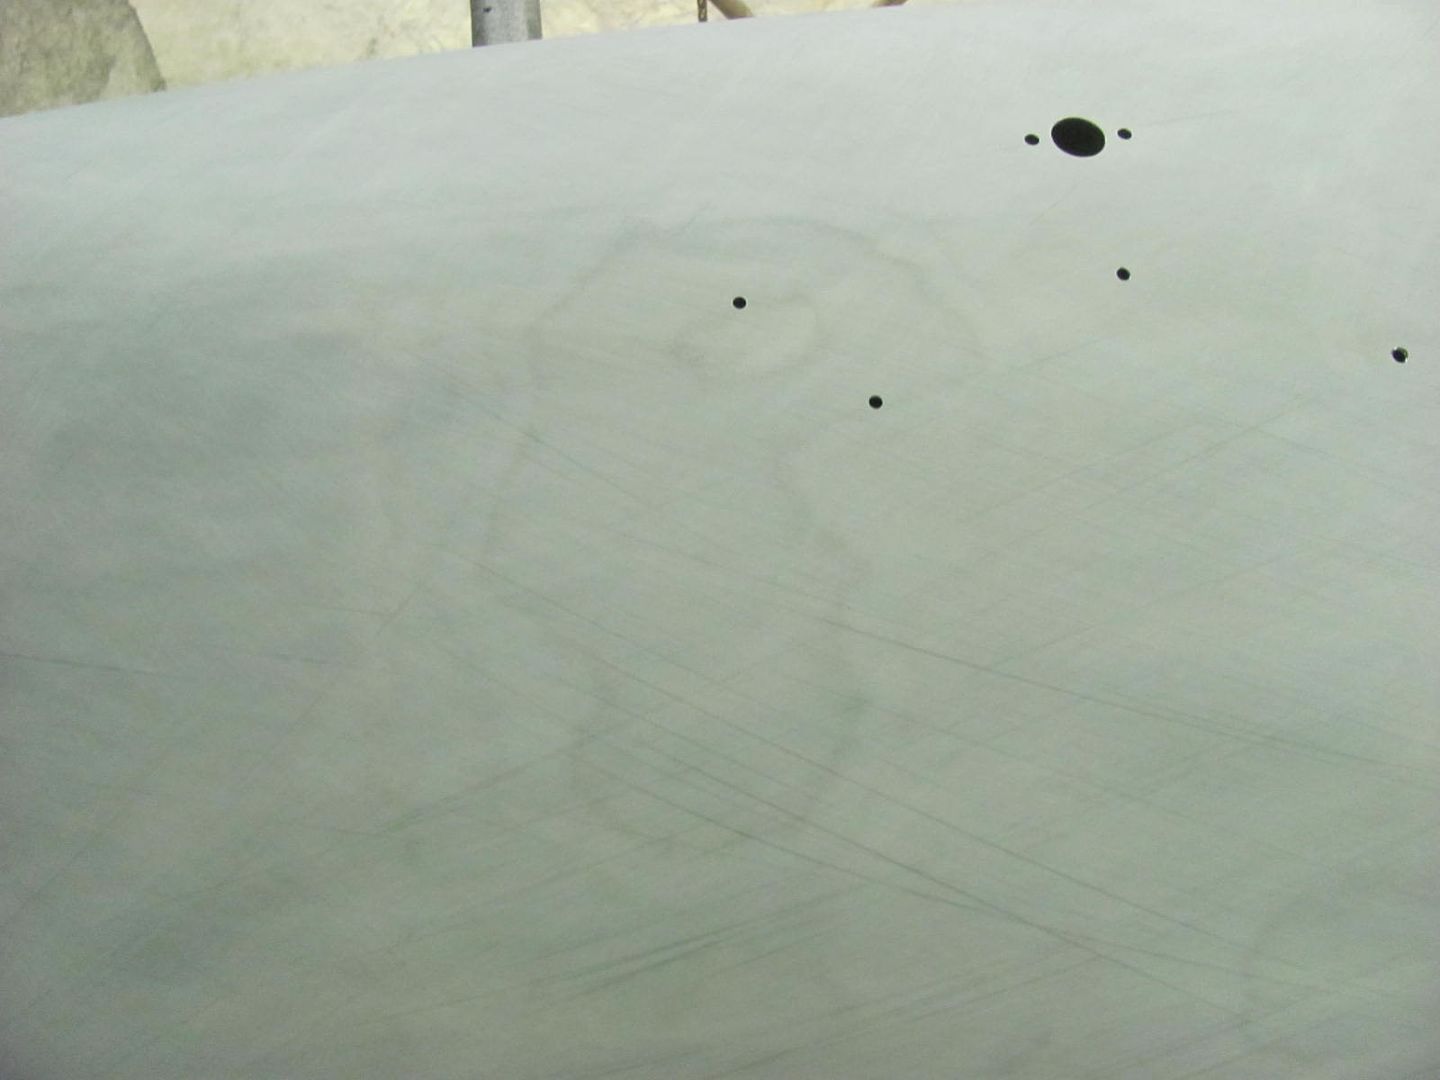
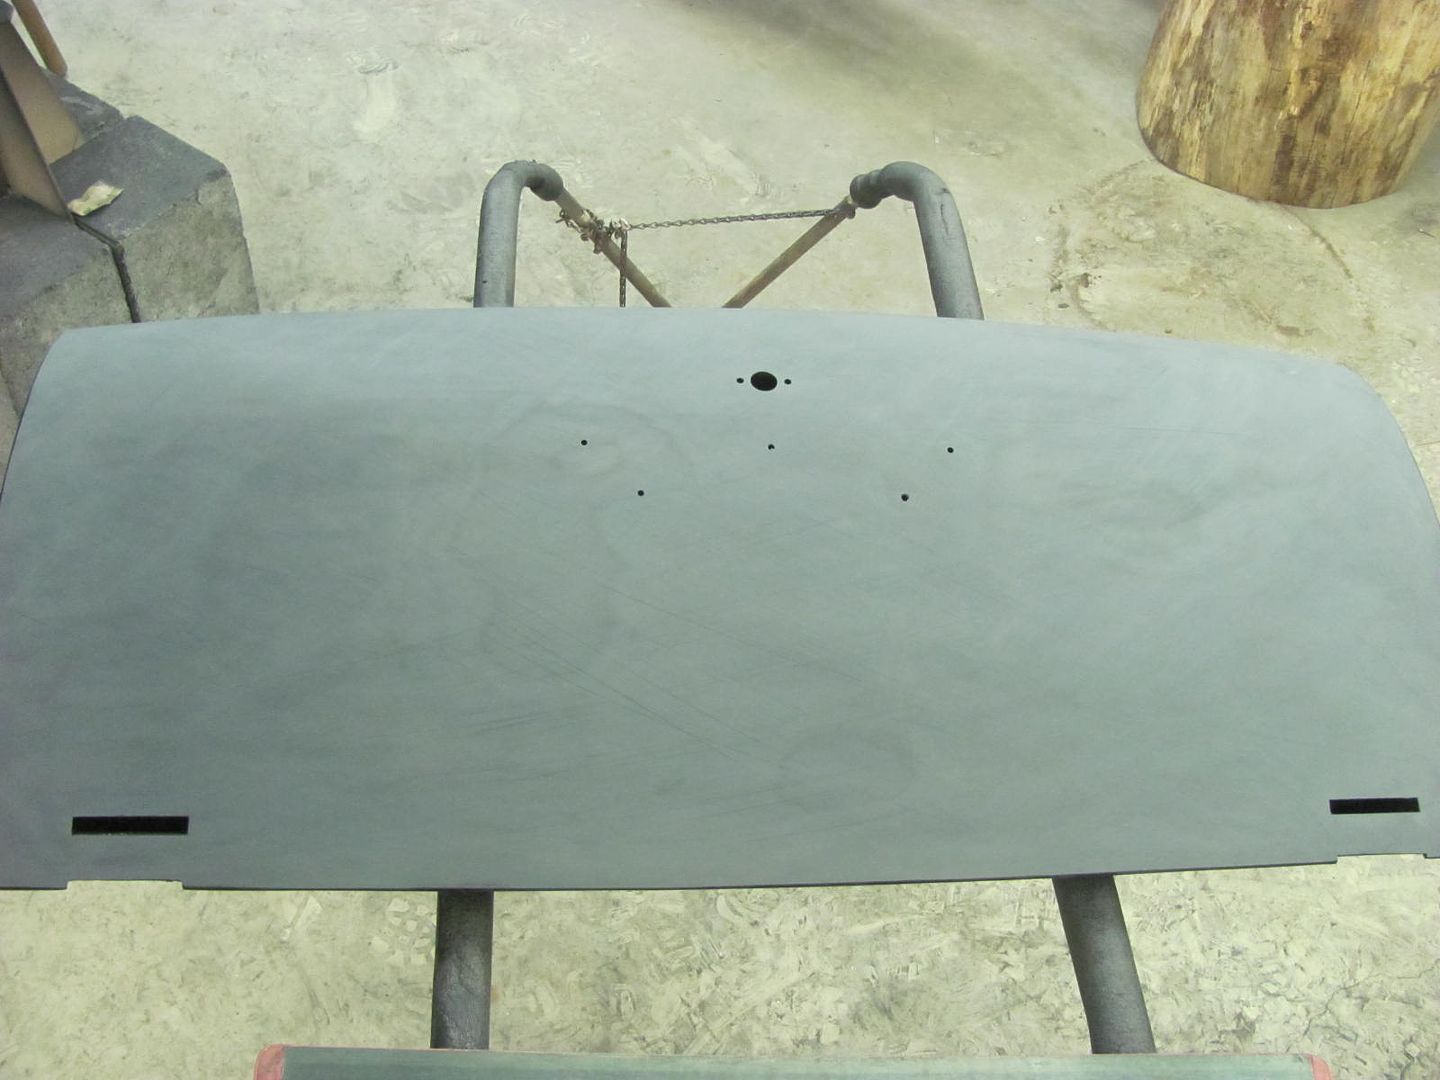
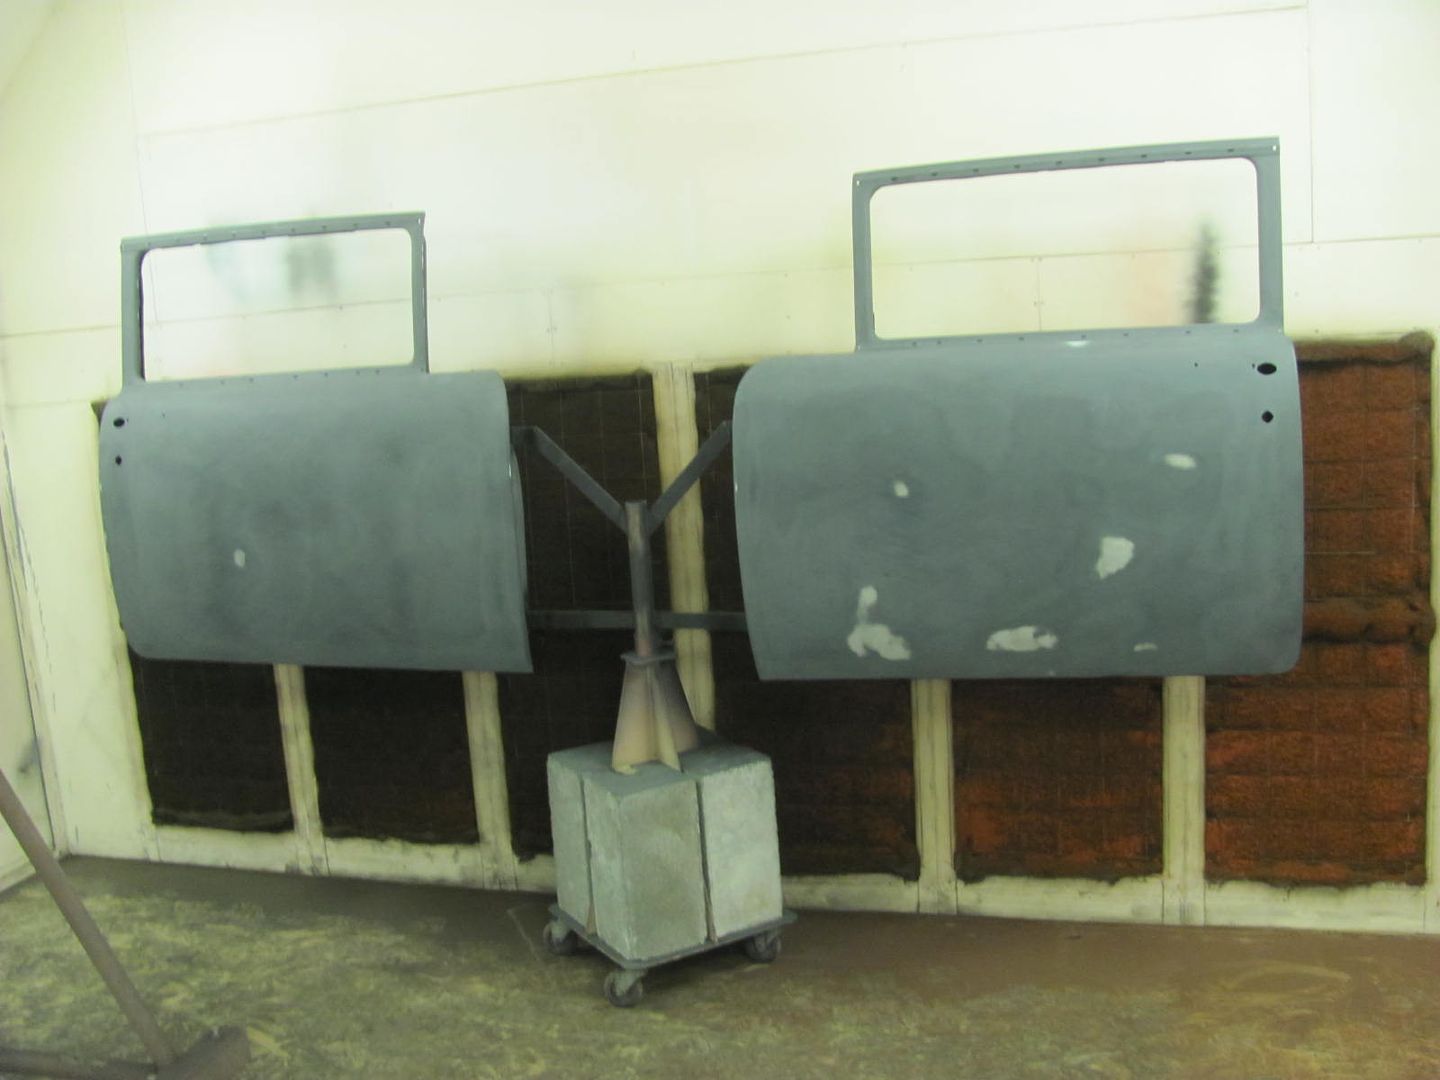
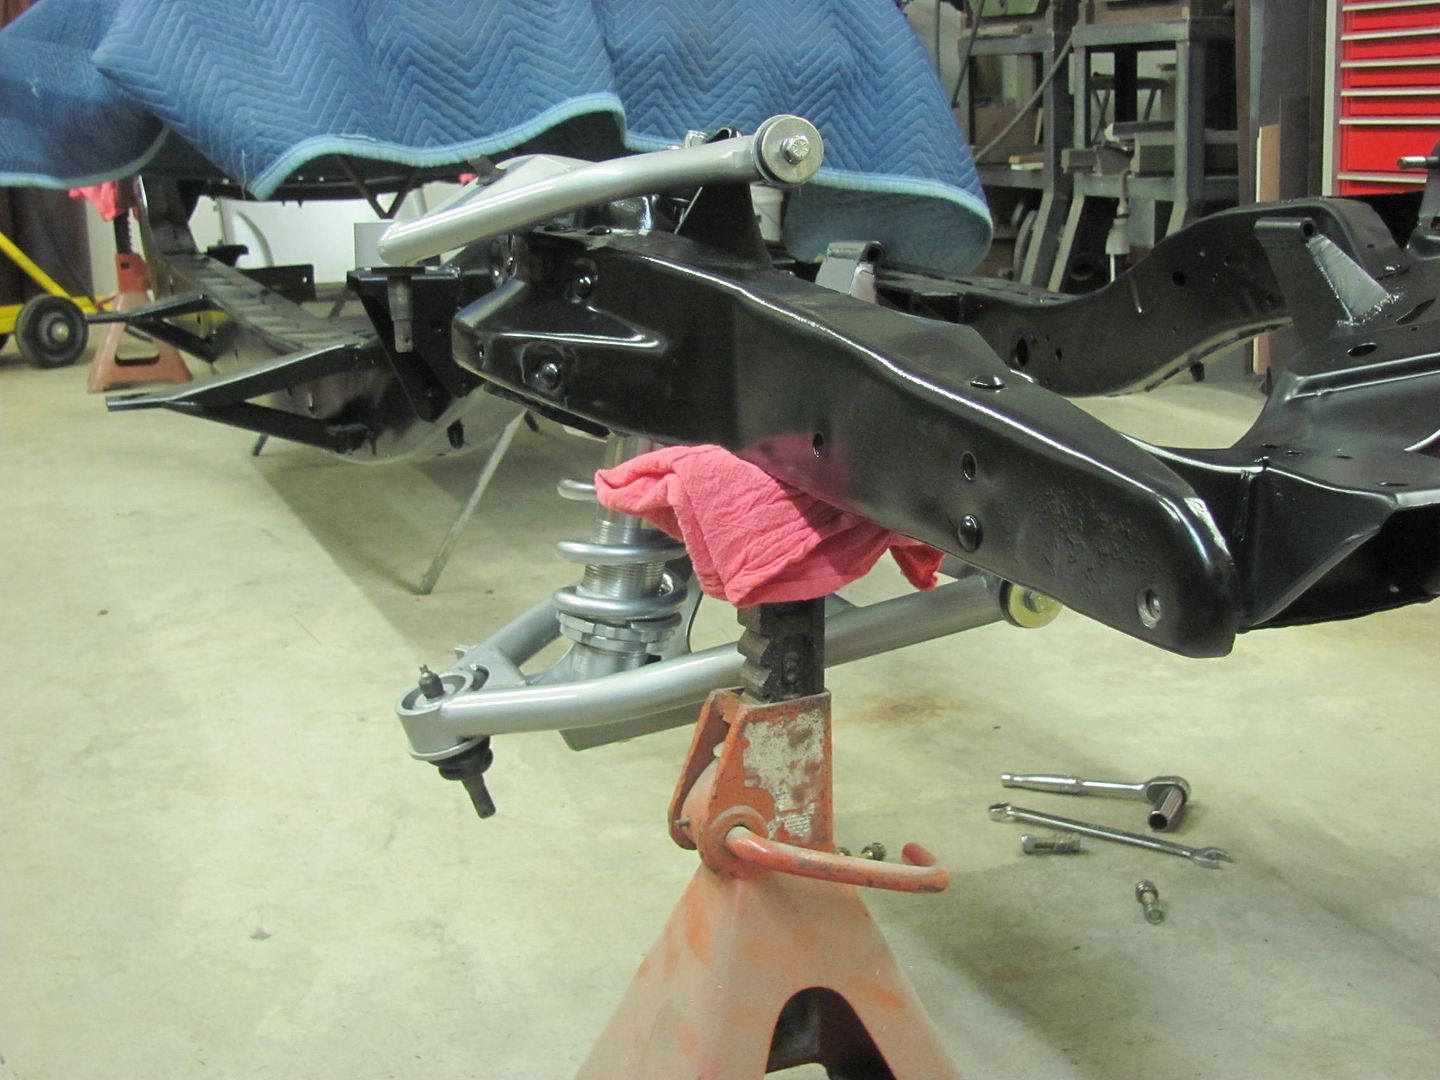
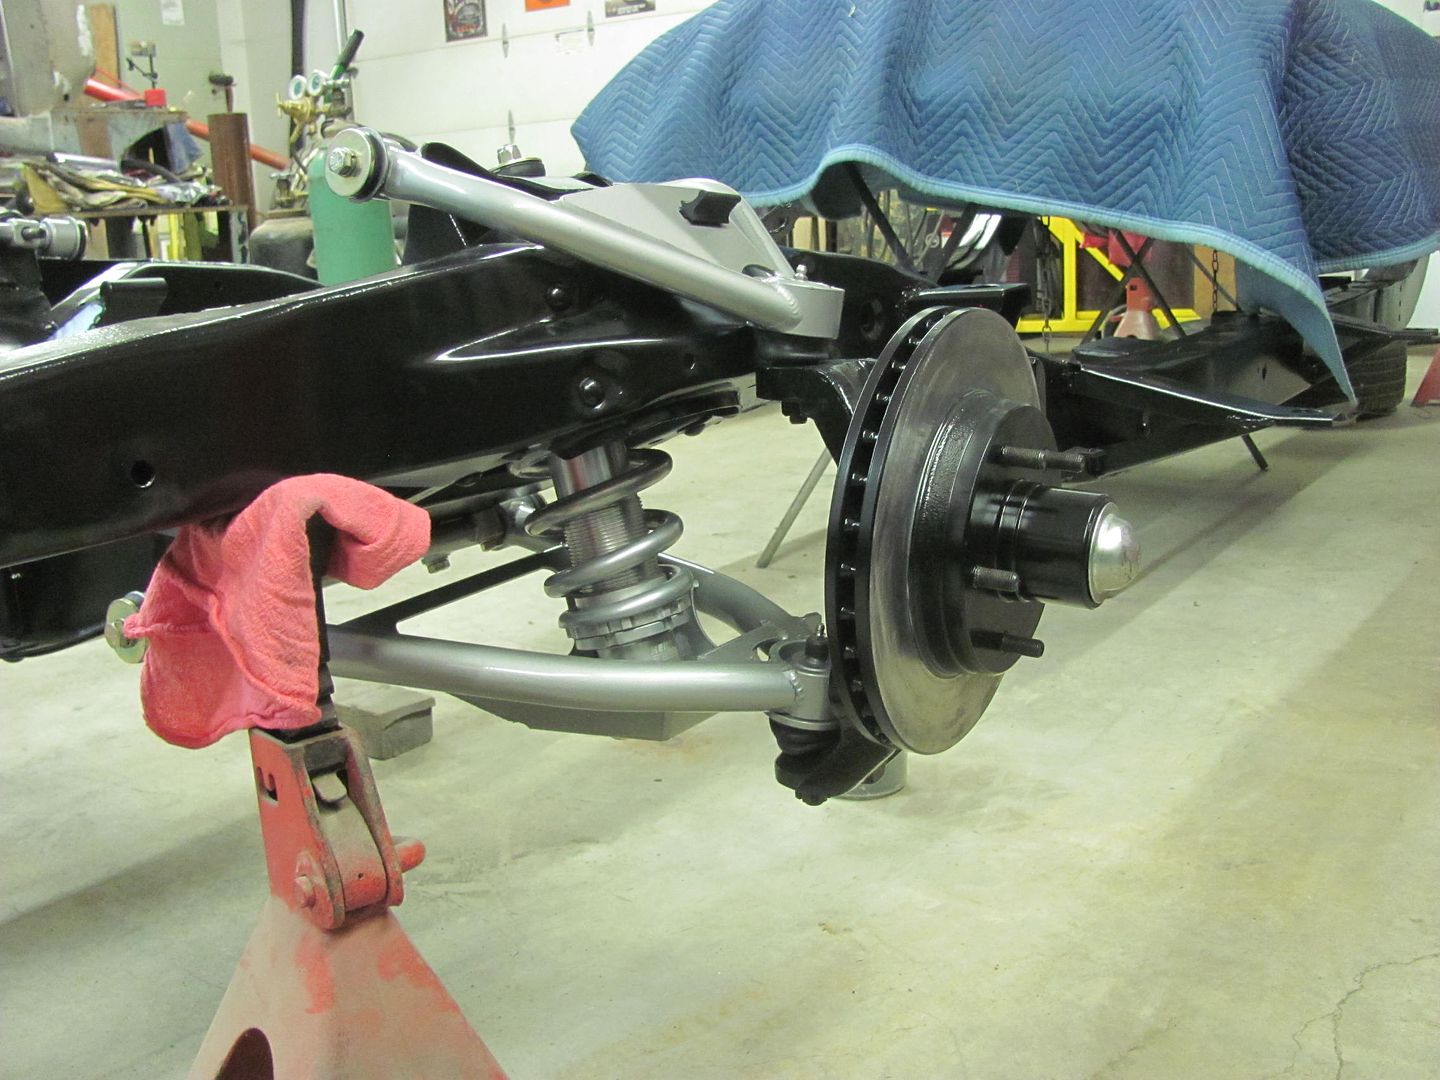
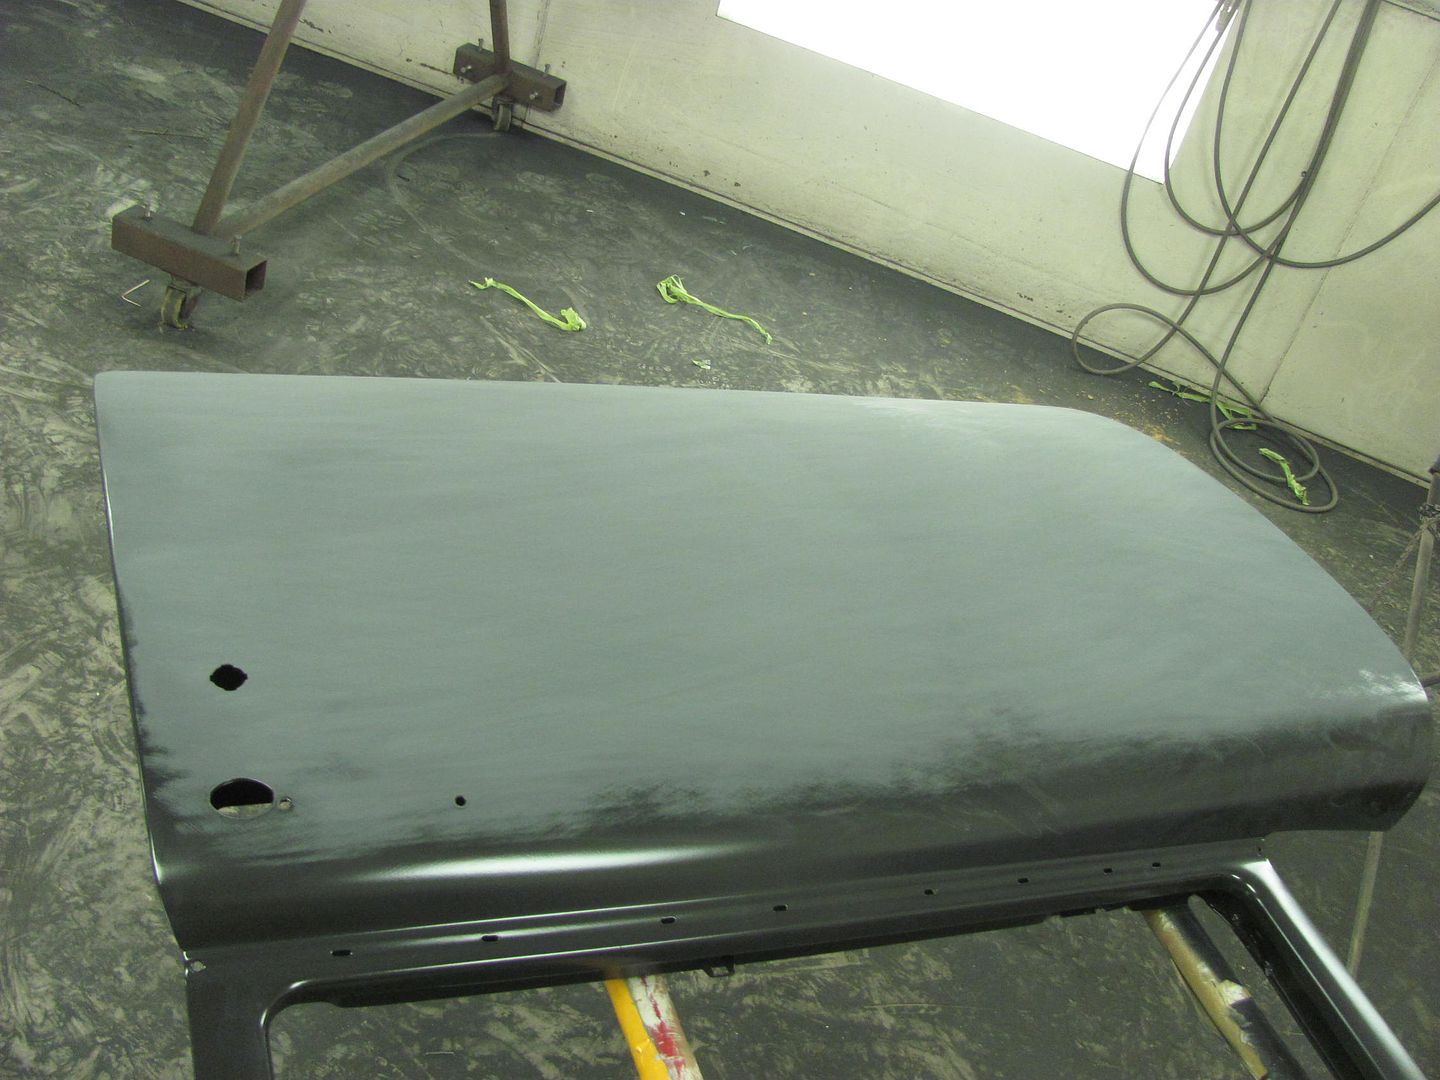
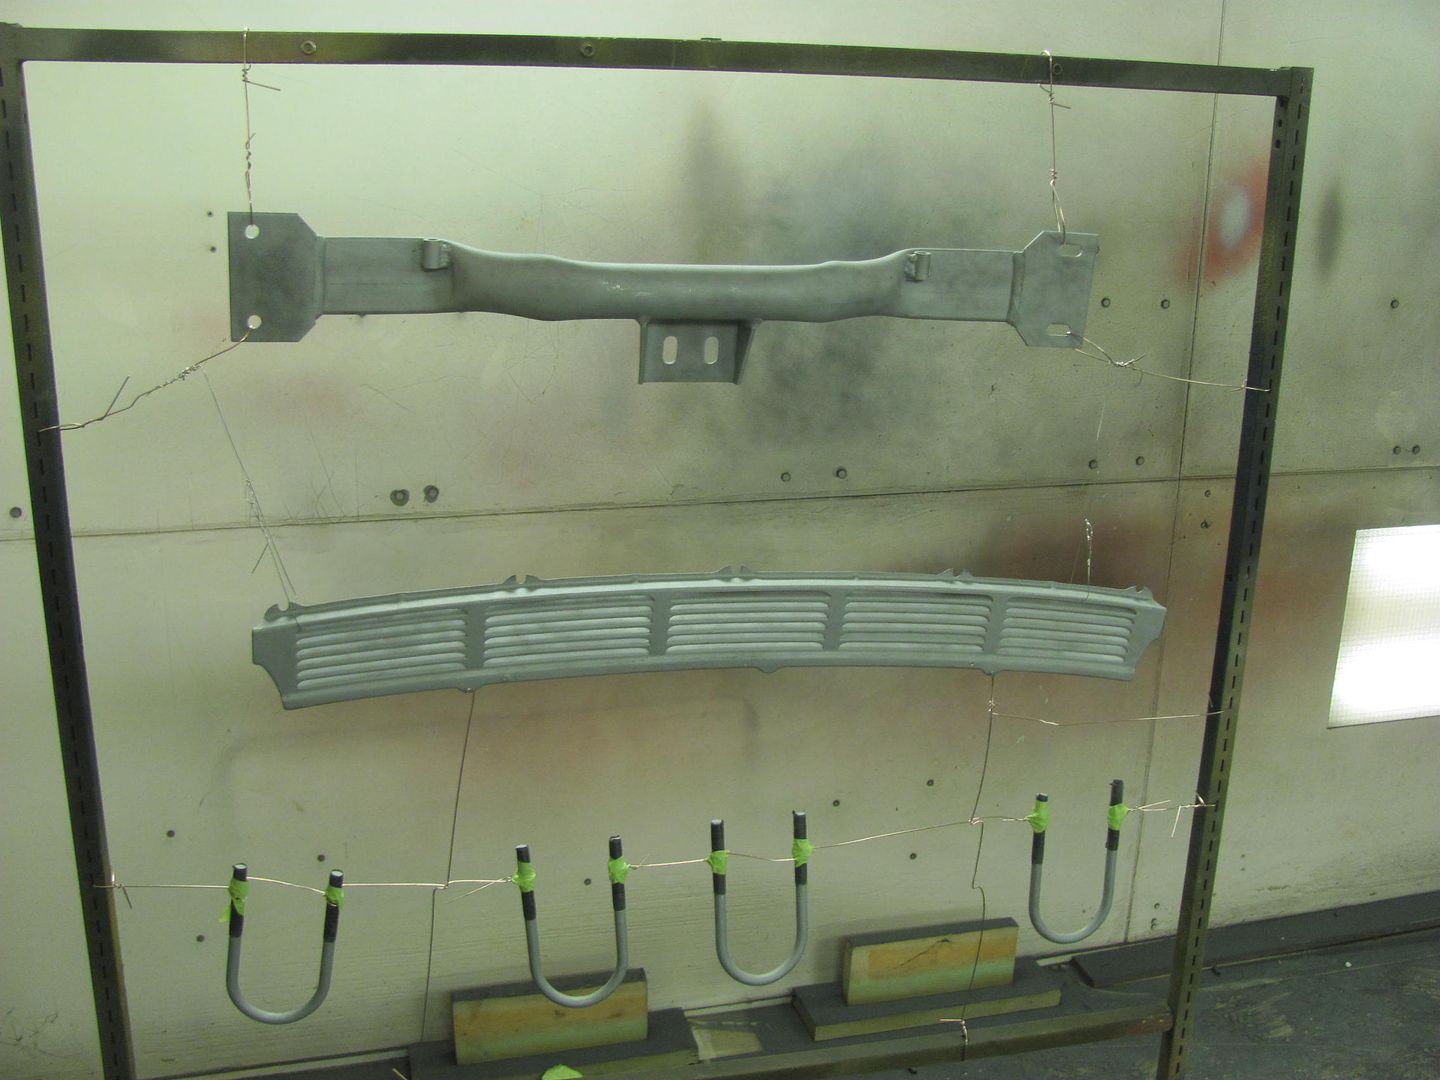
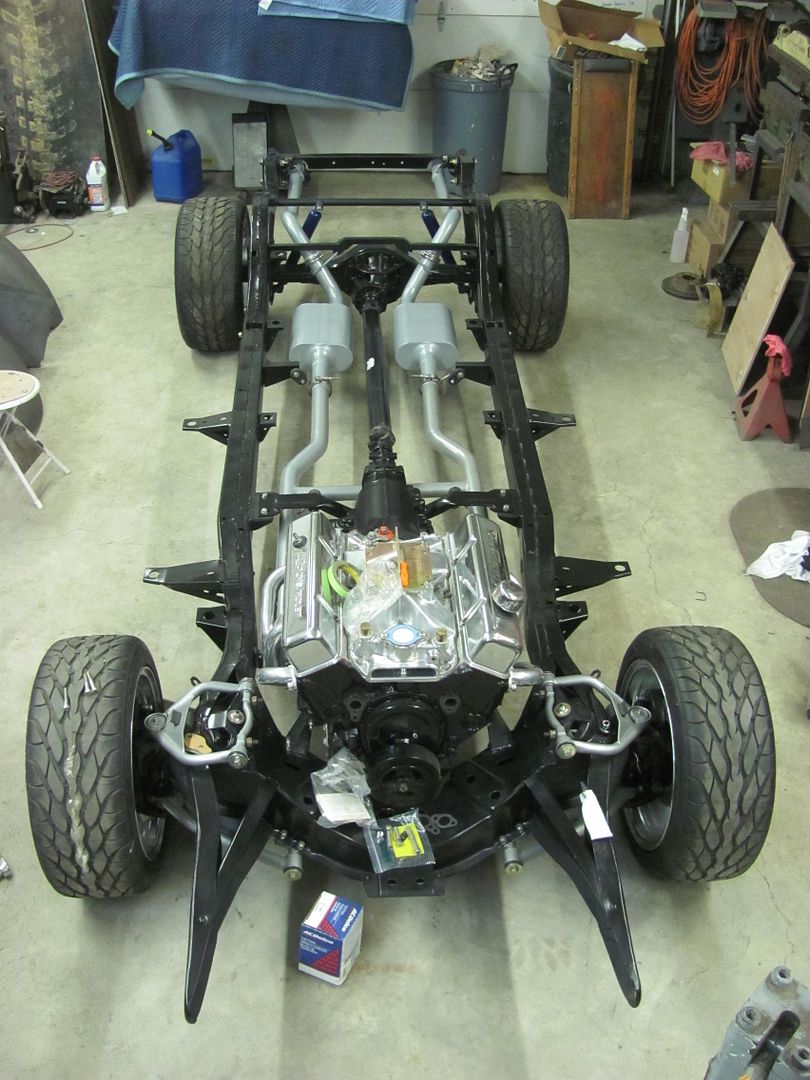
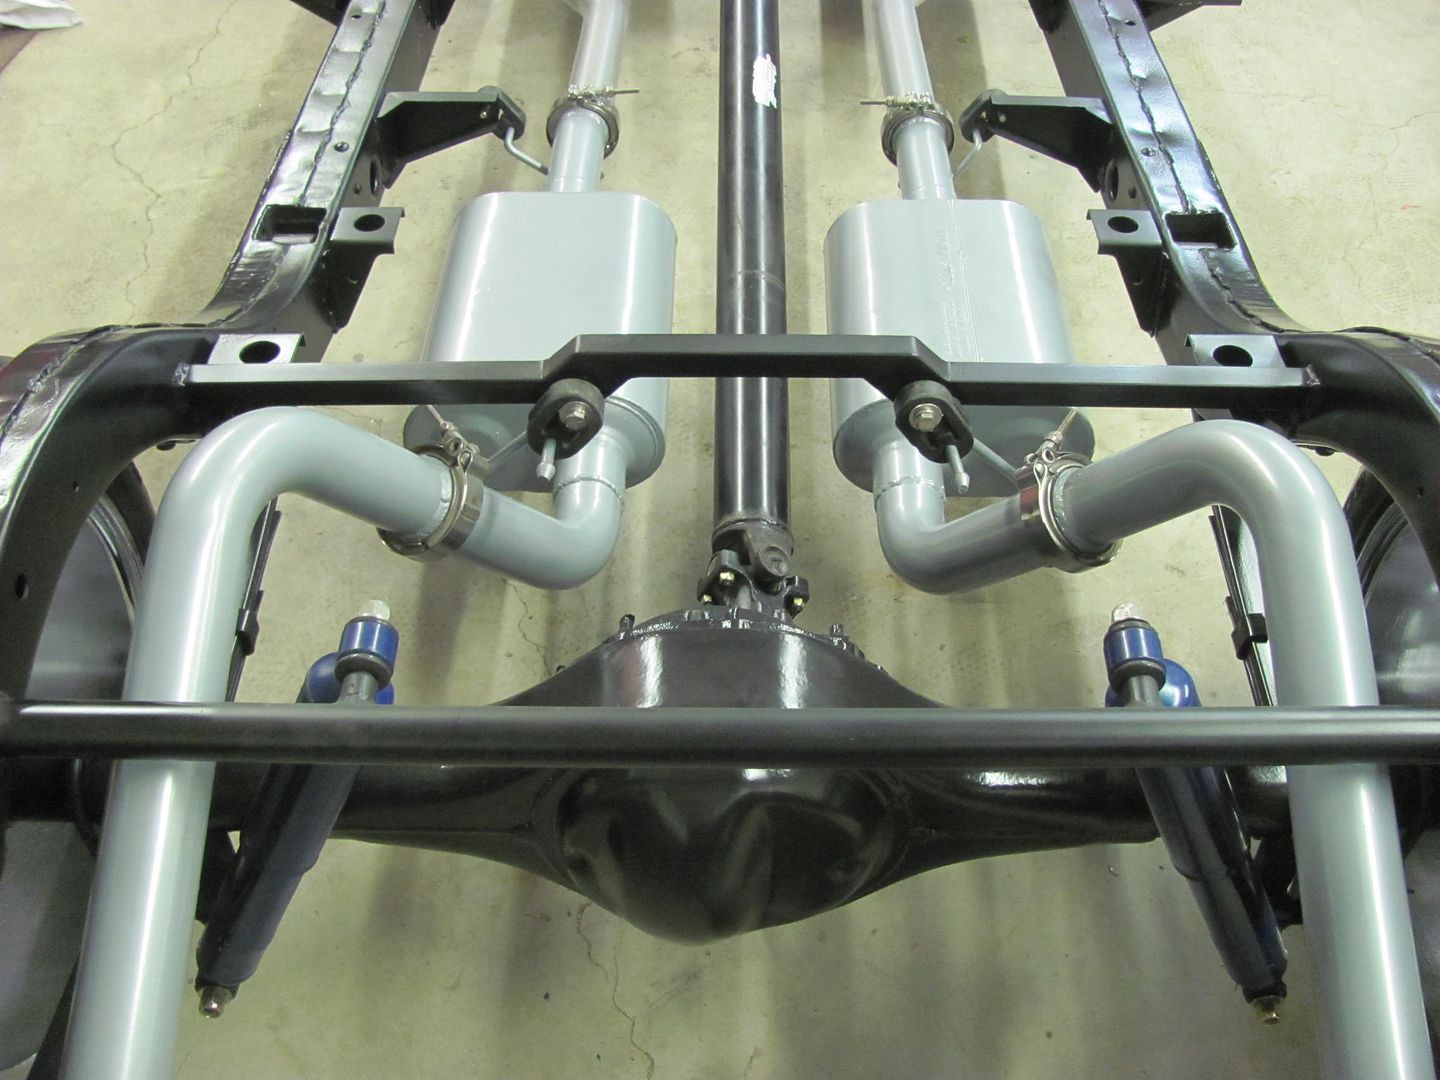
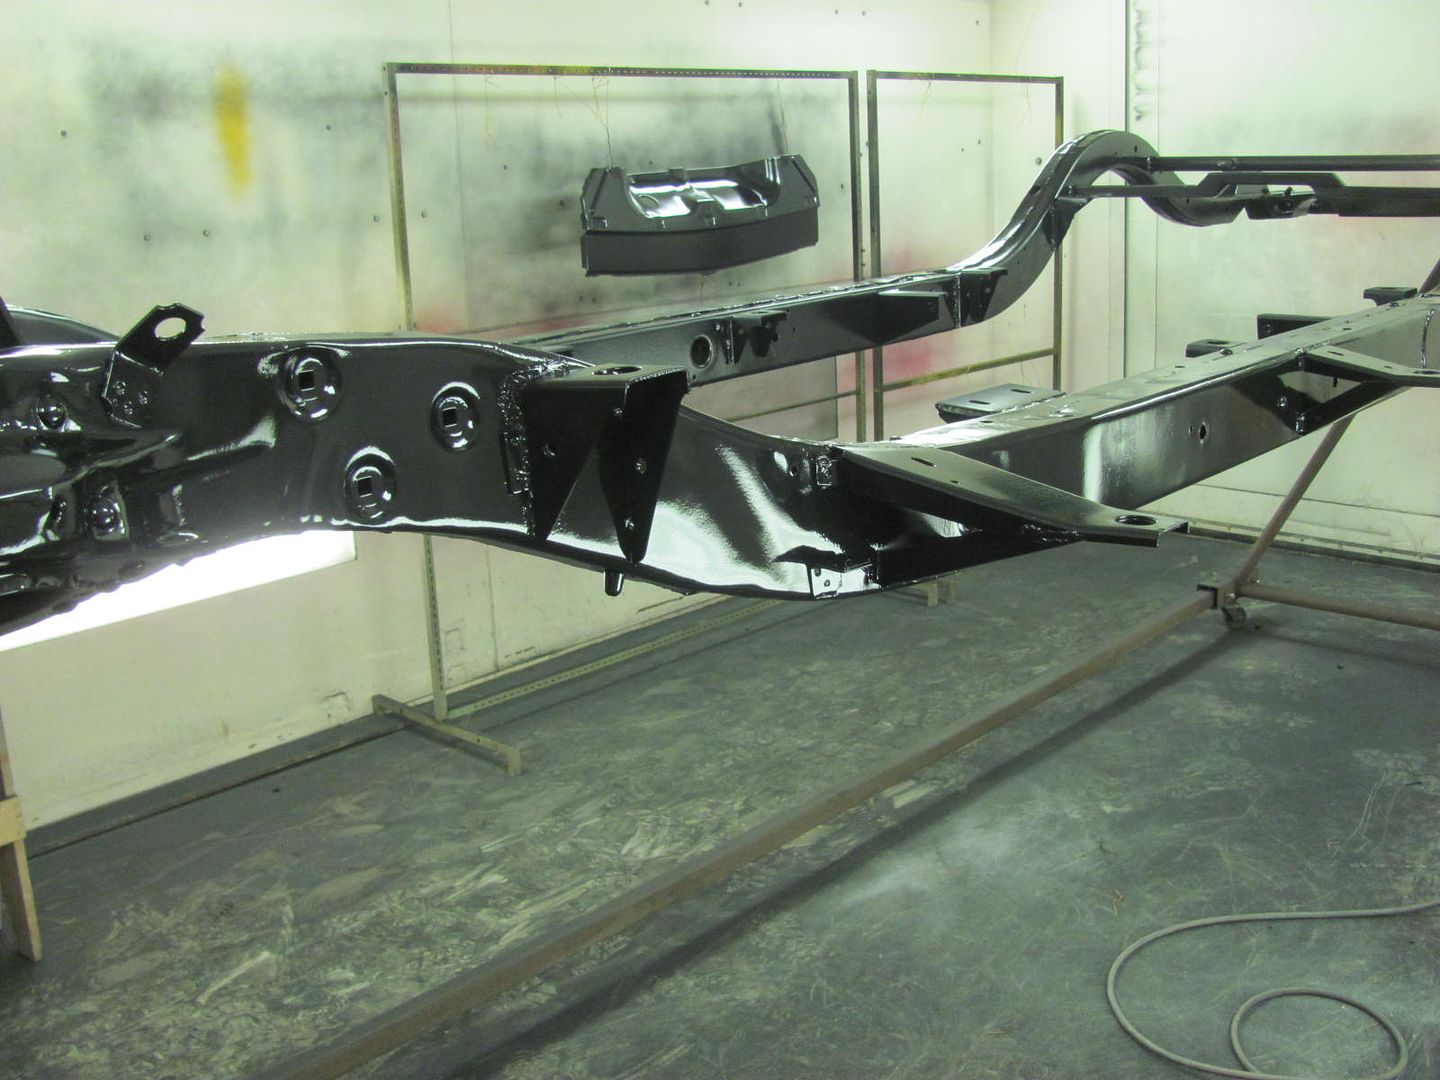
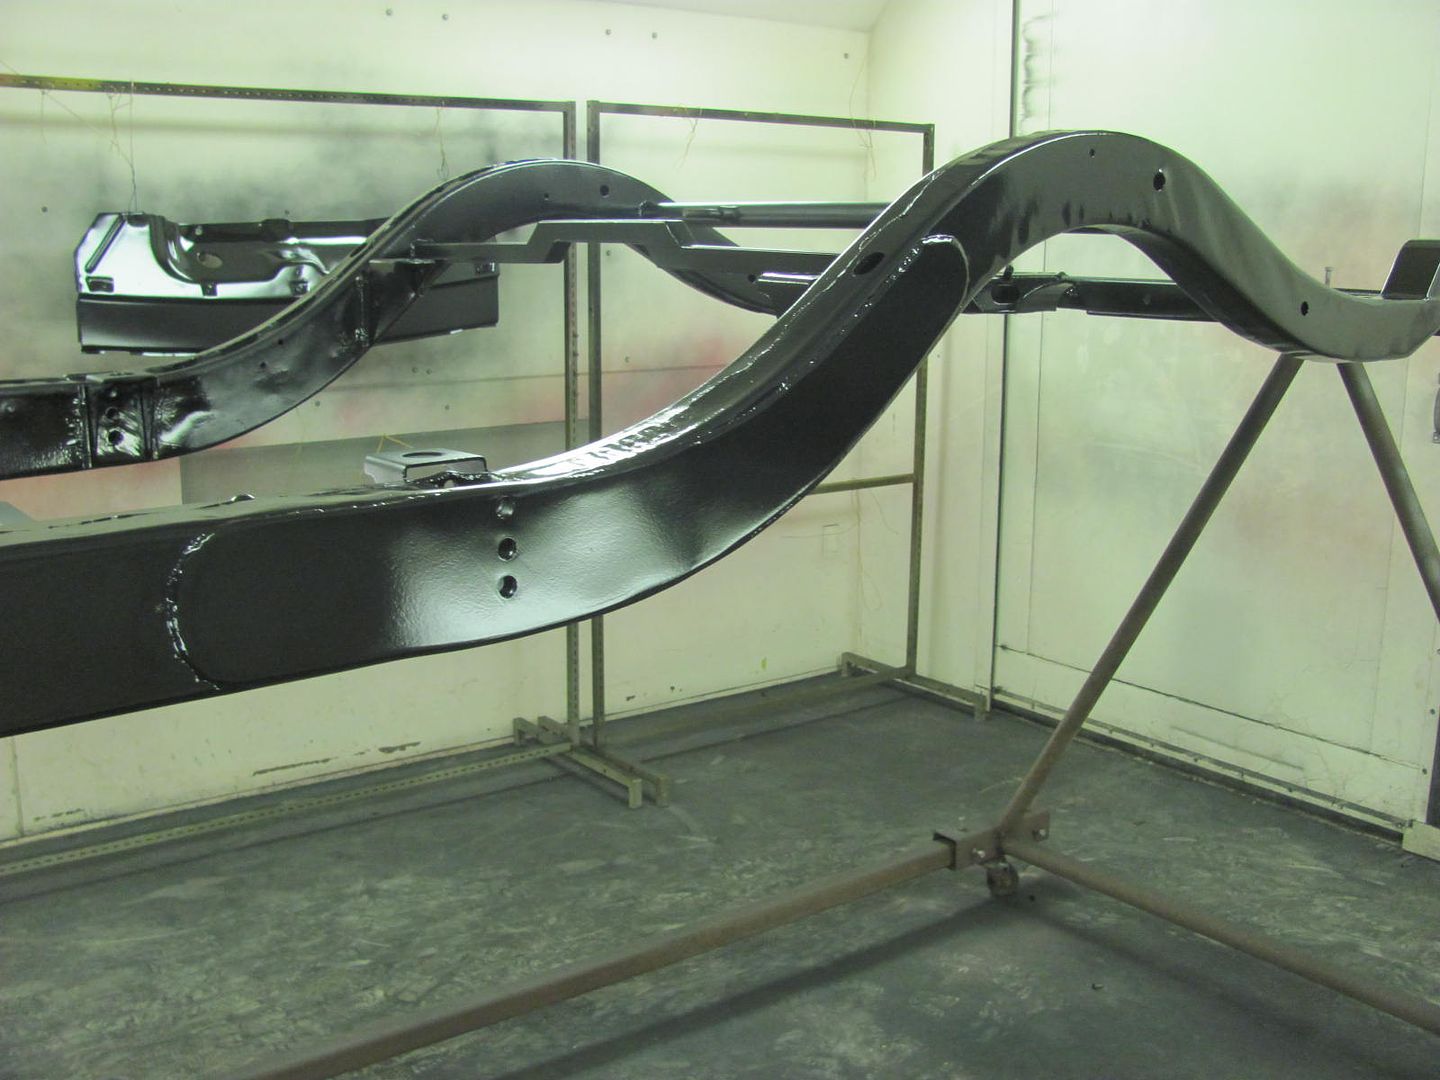
After three coats of primer, the sides of the frame are looking much better than before...
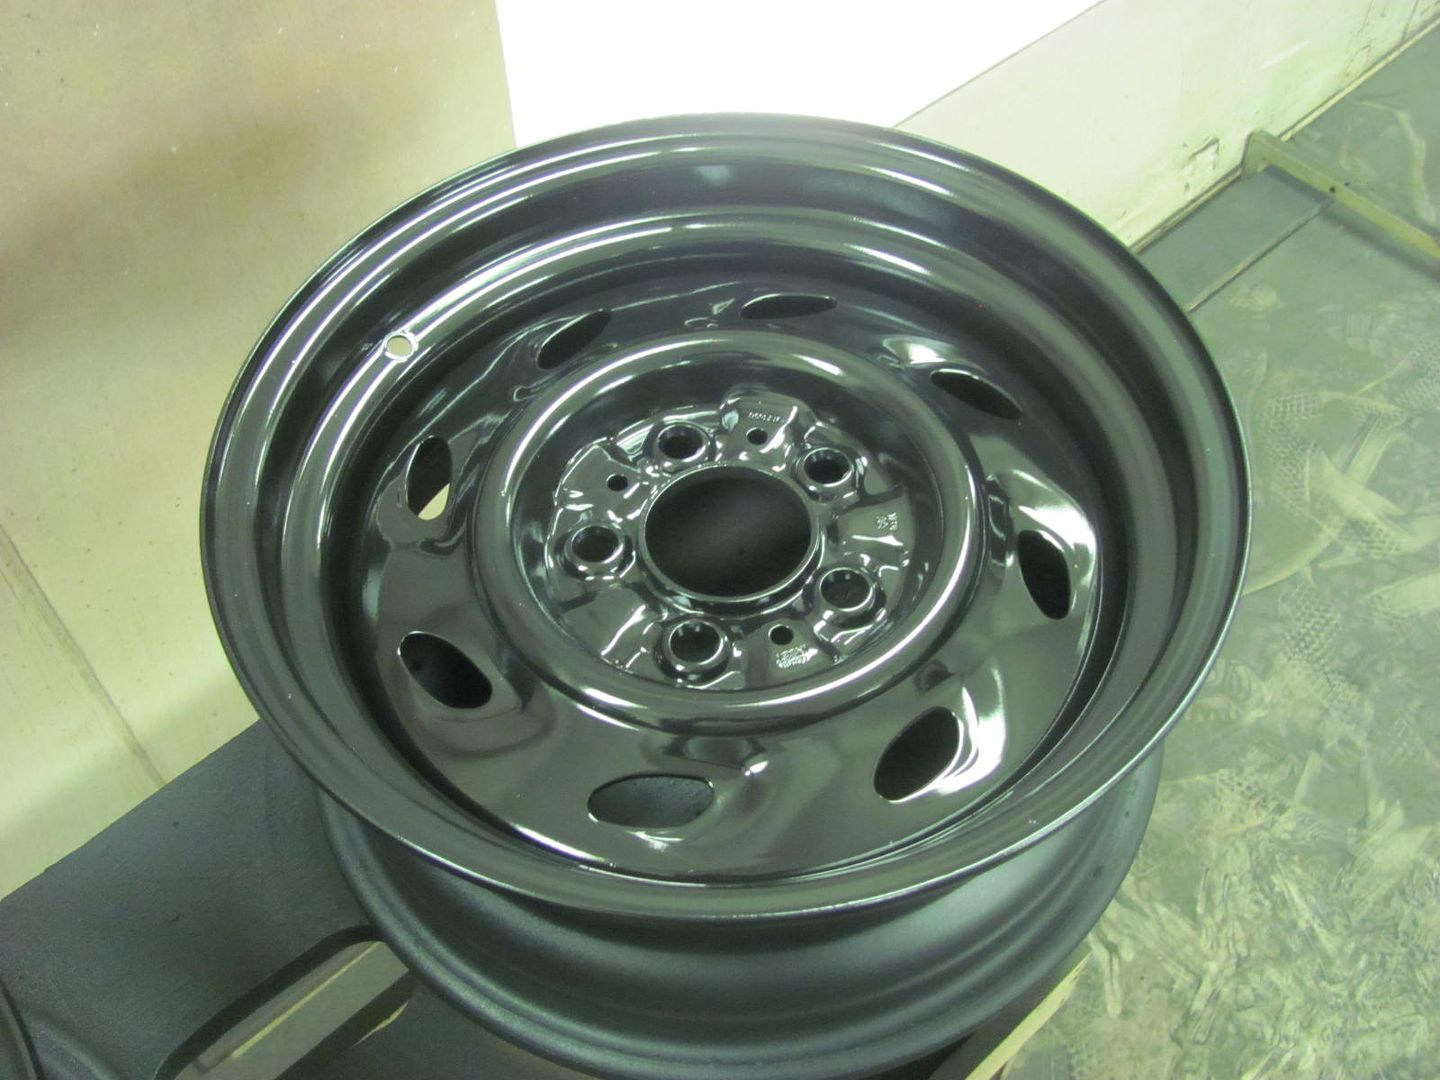
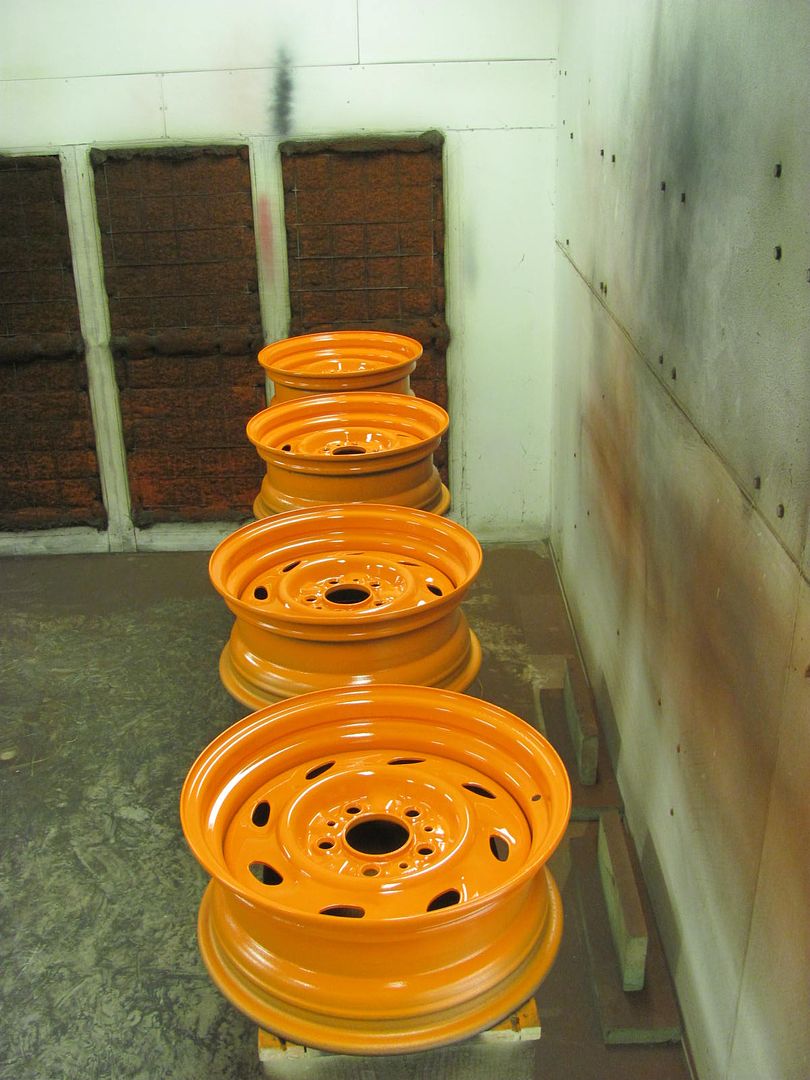
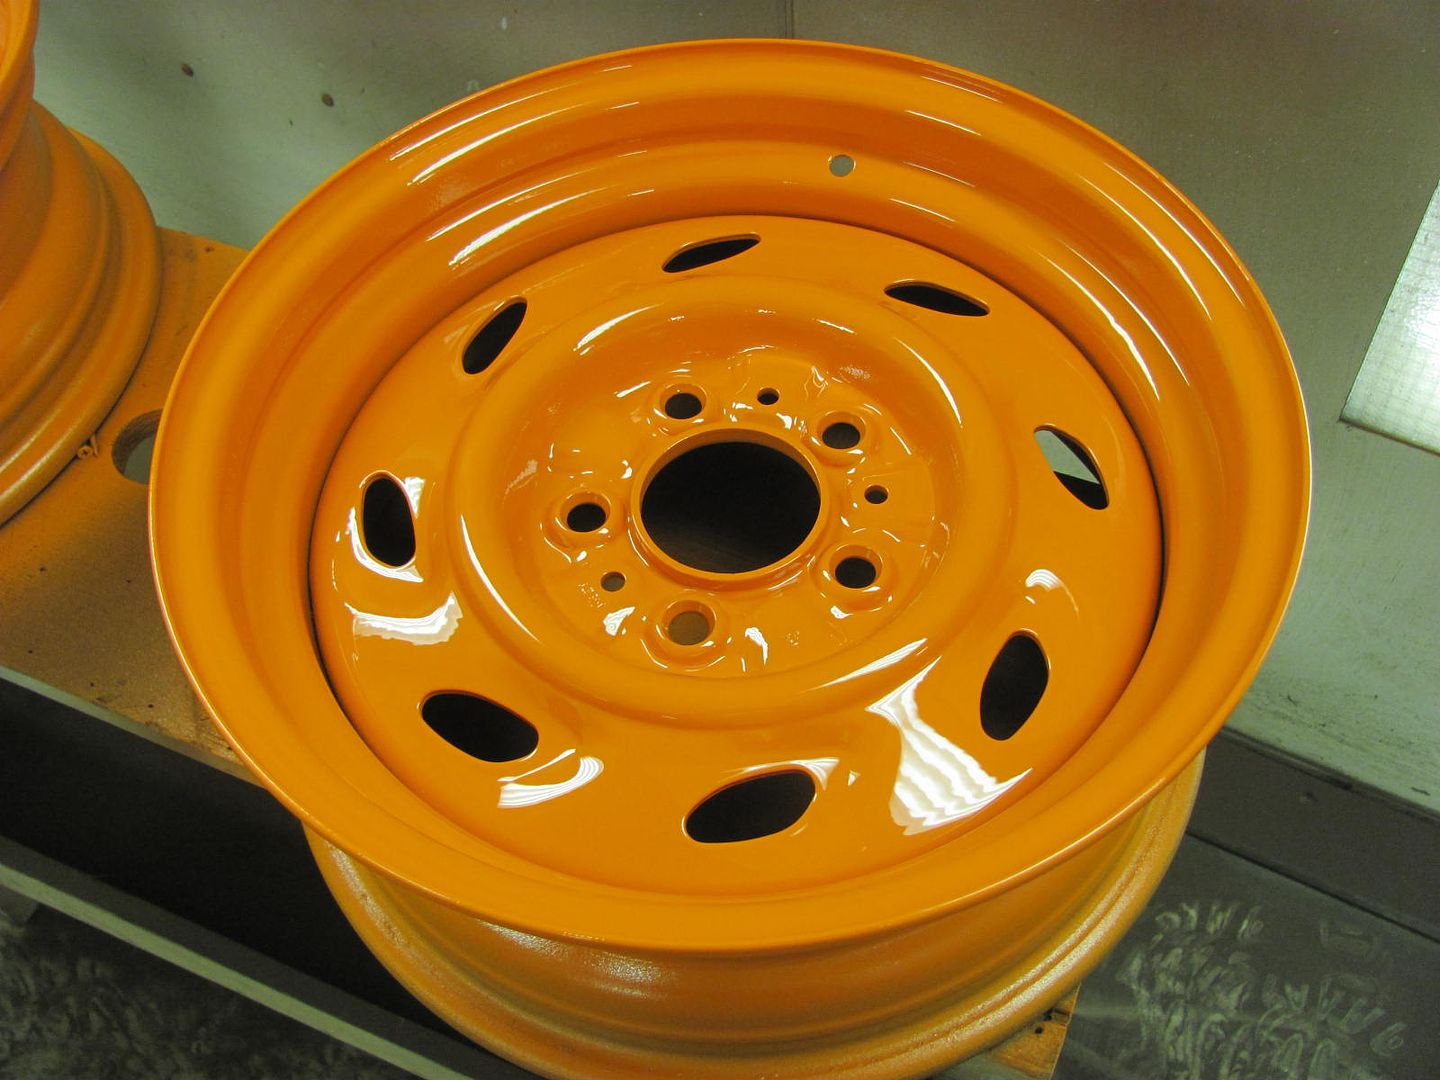
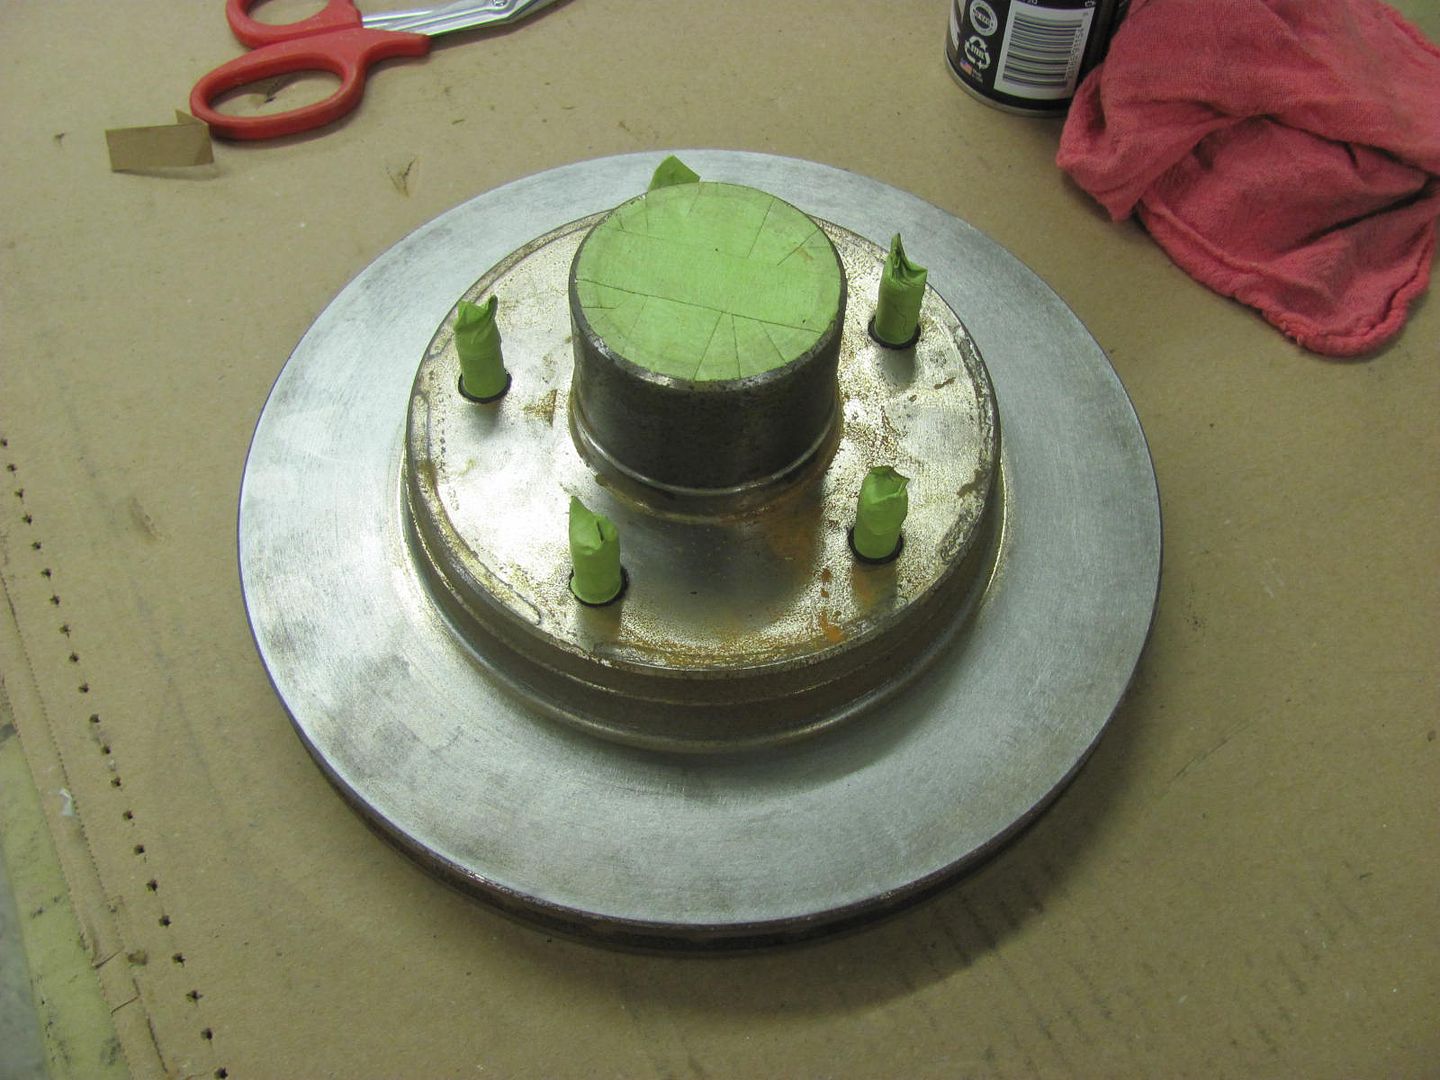
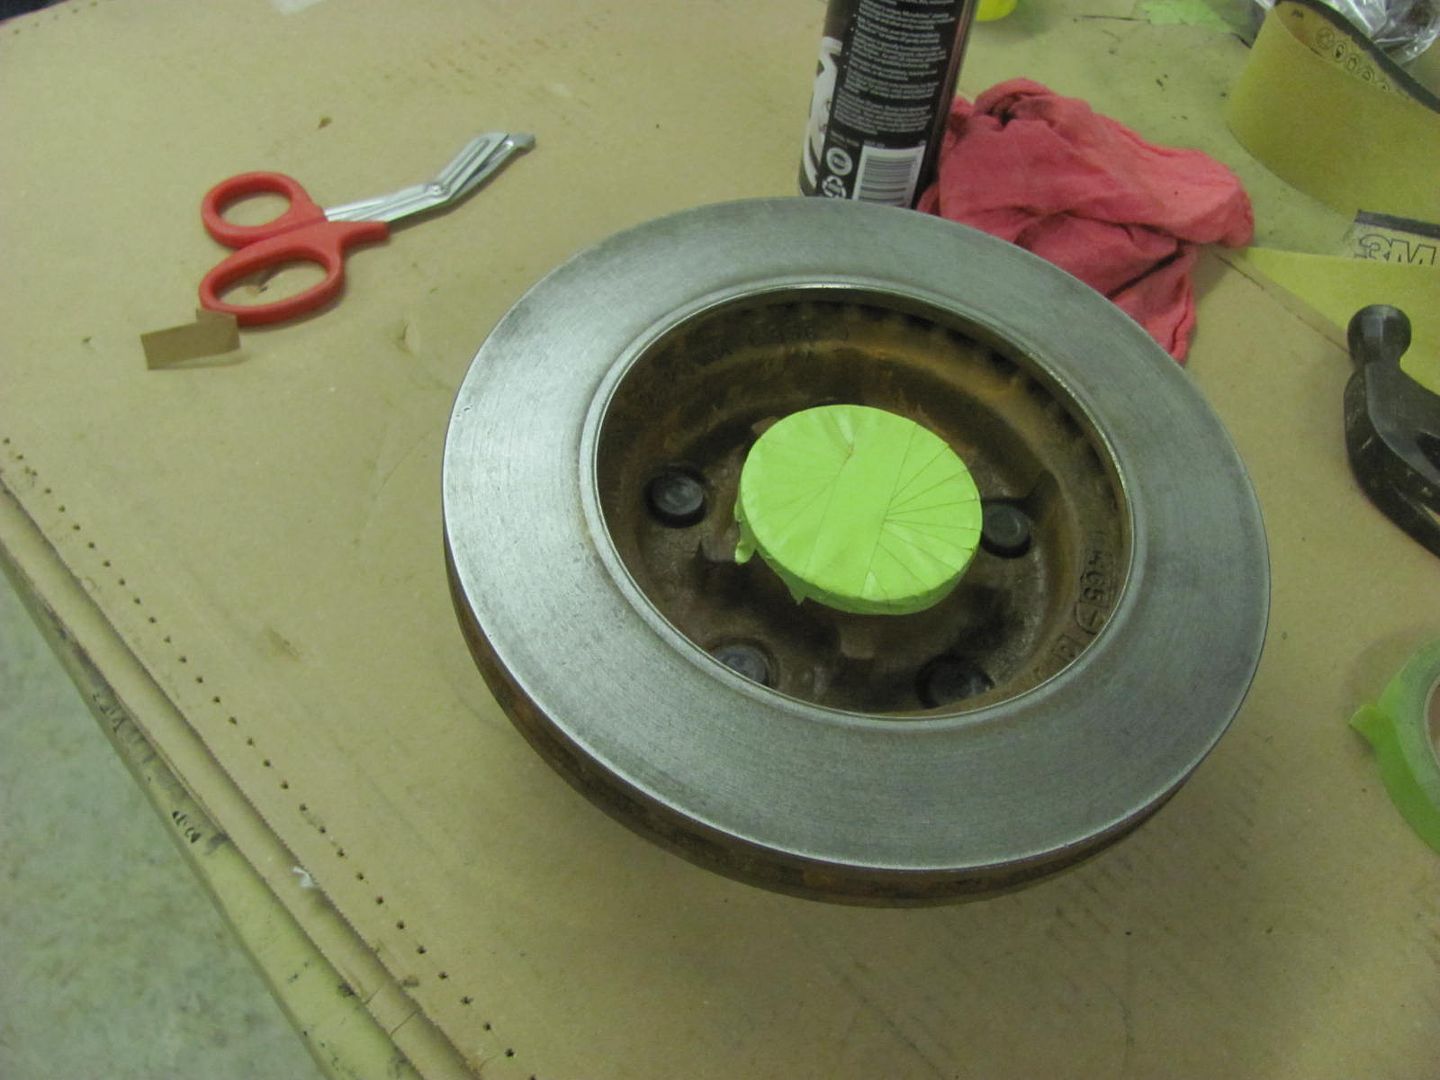
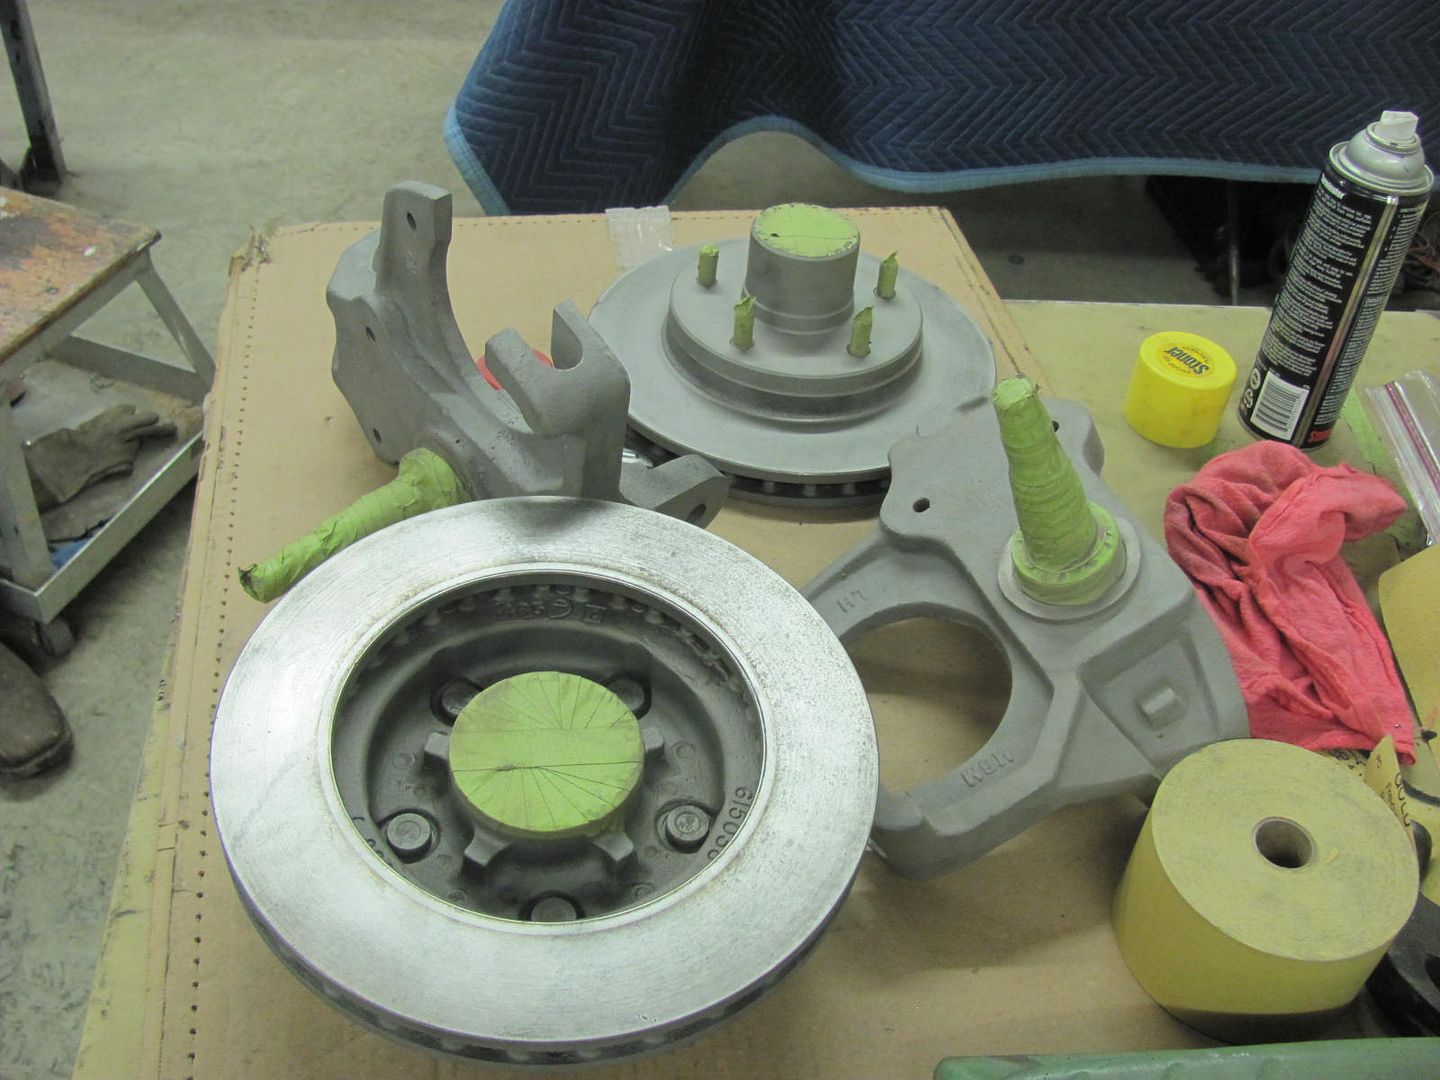
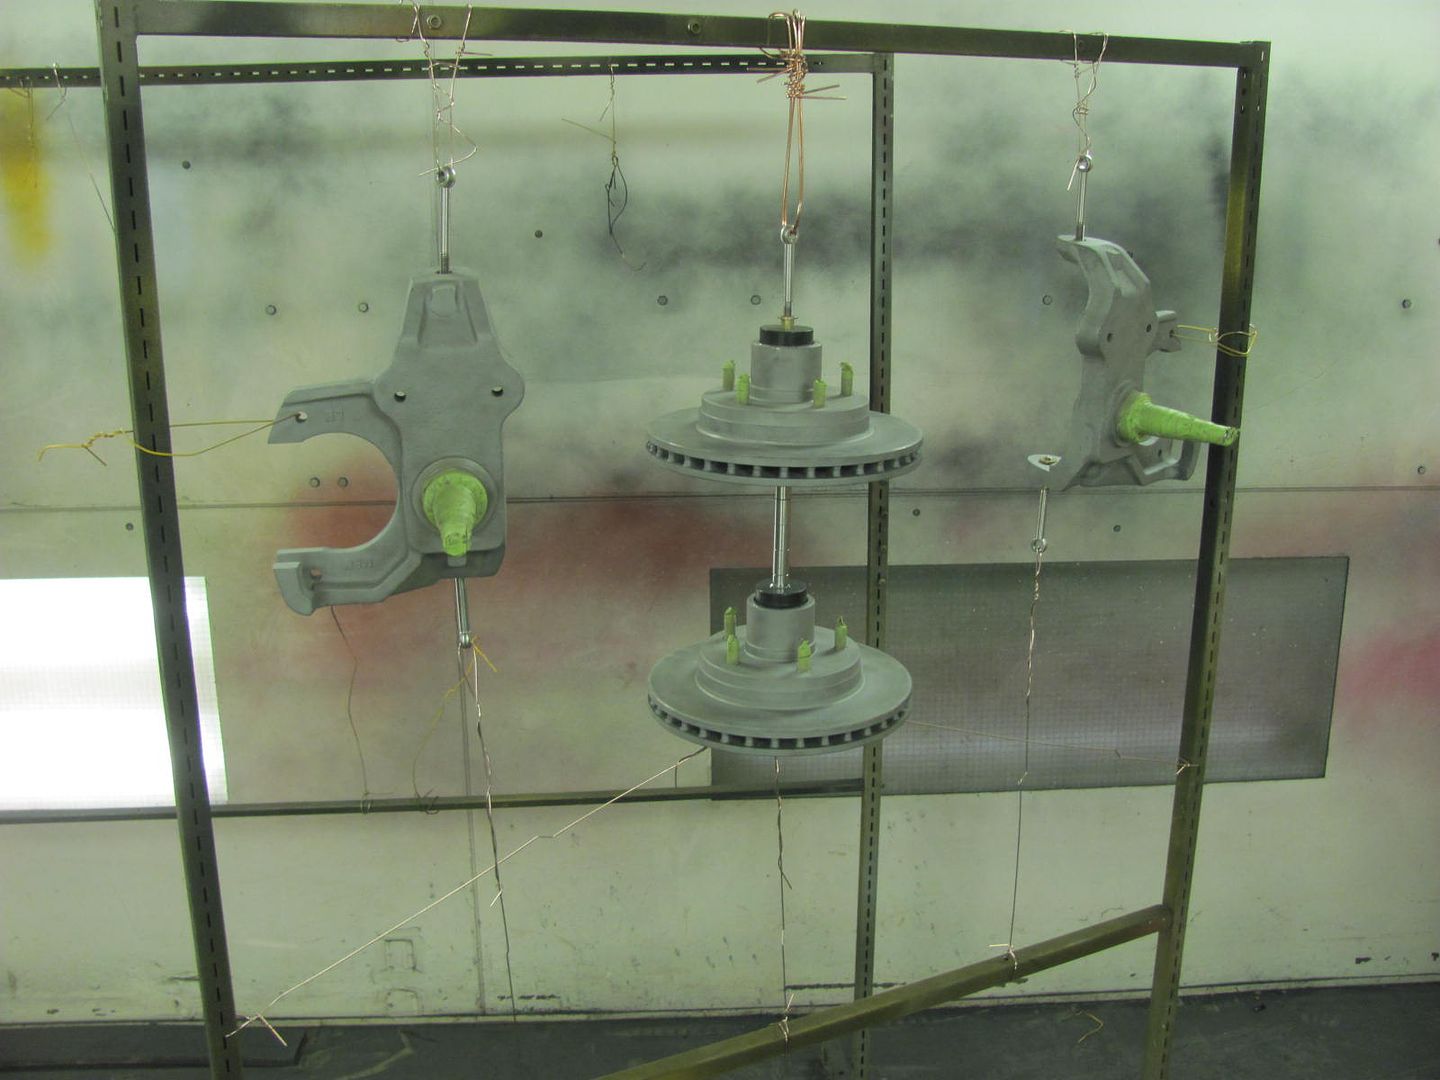
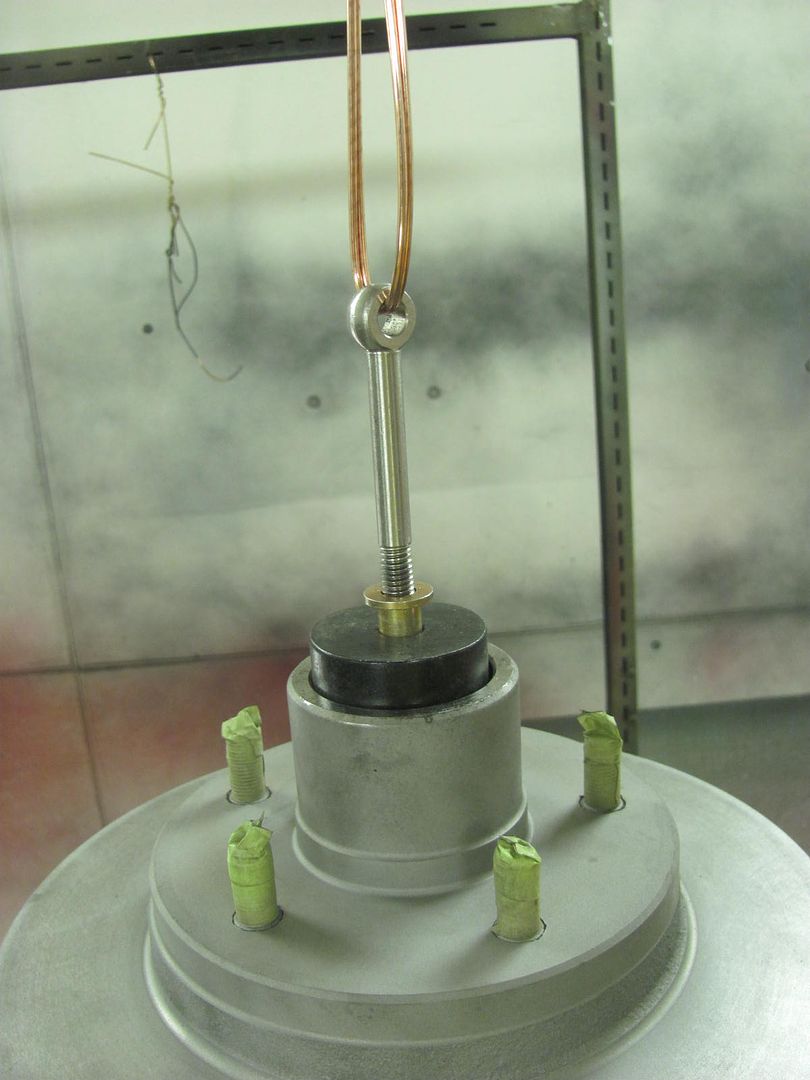
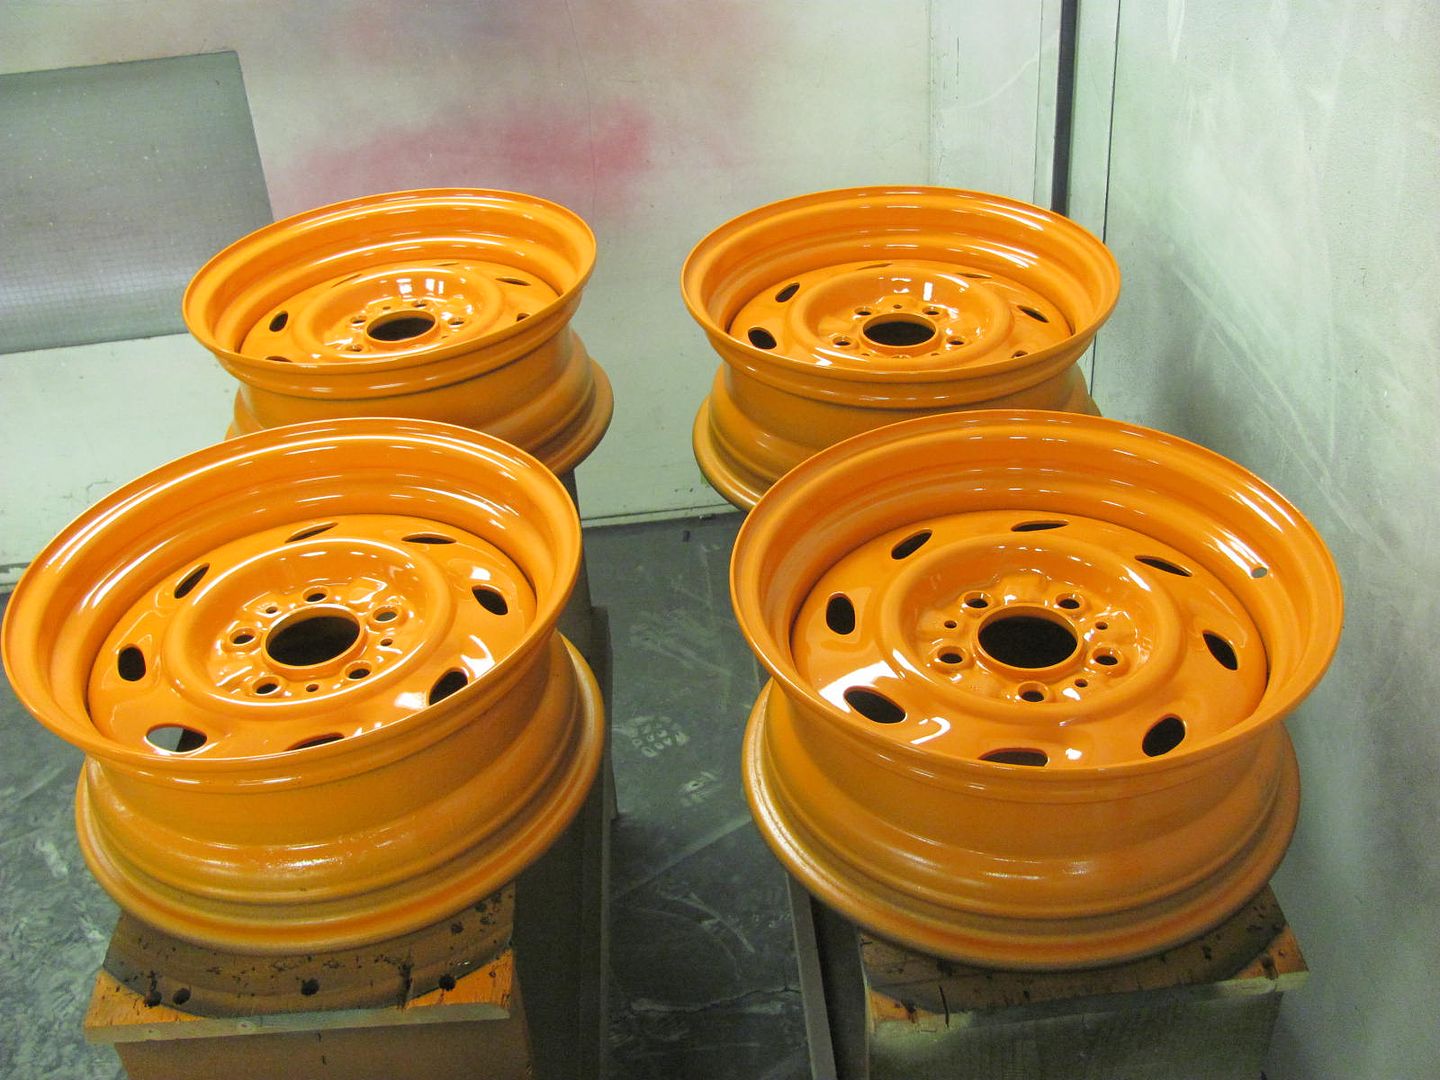
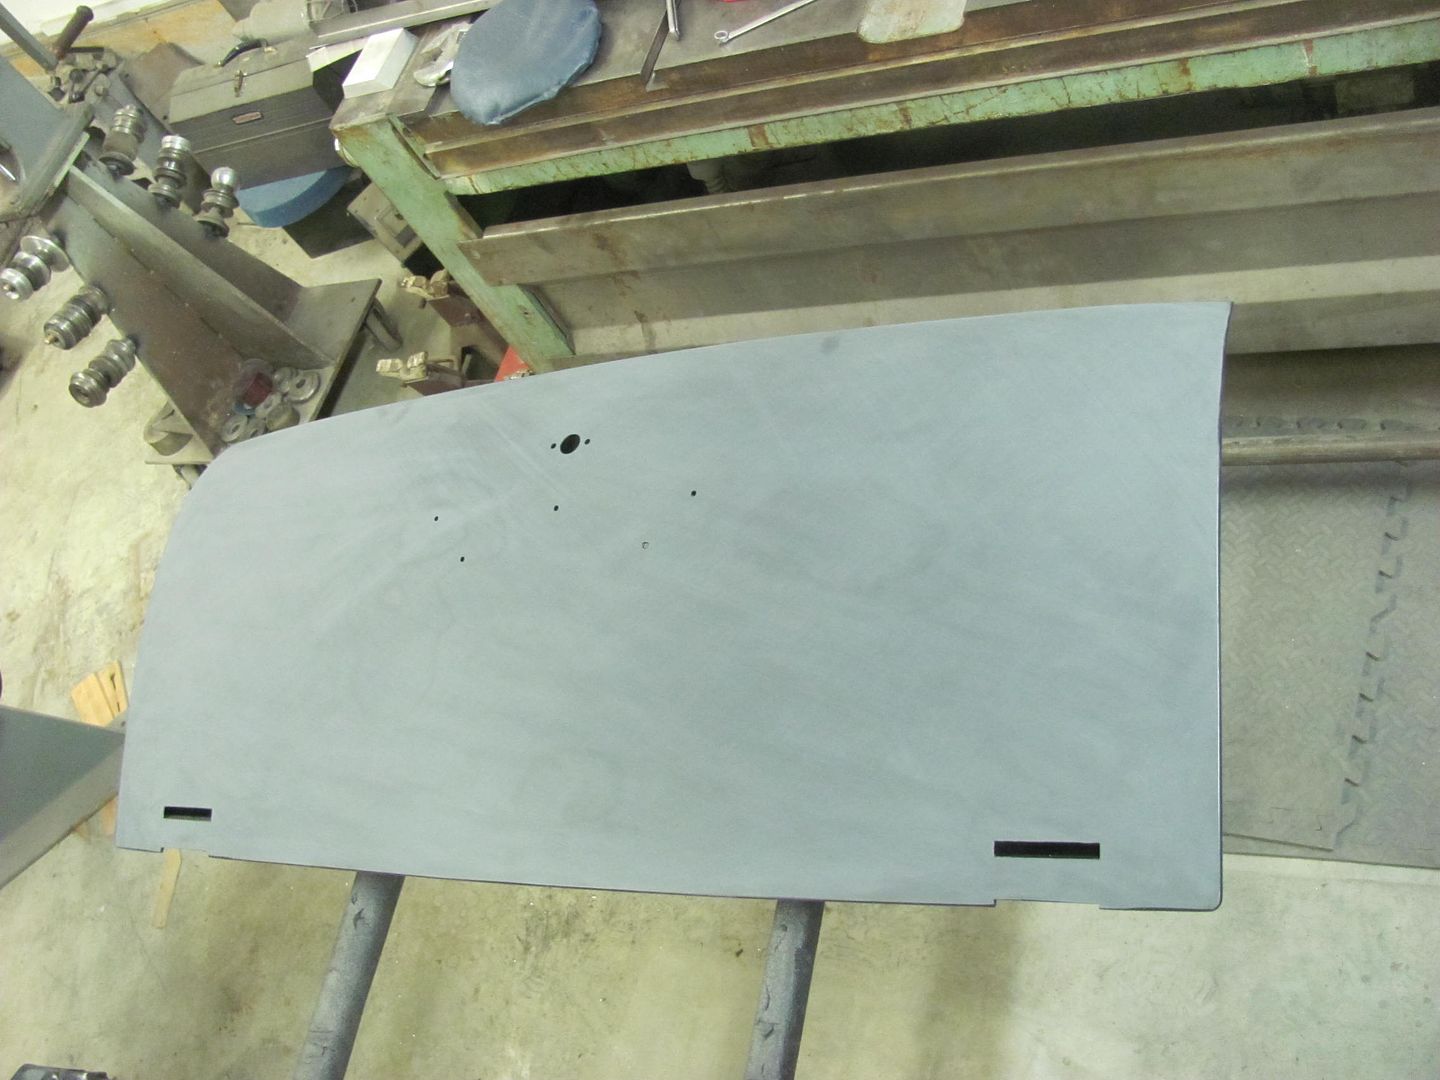
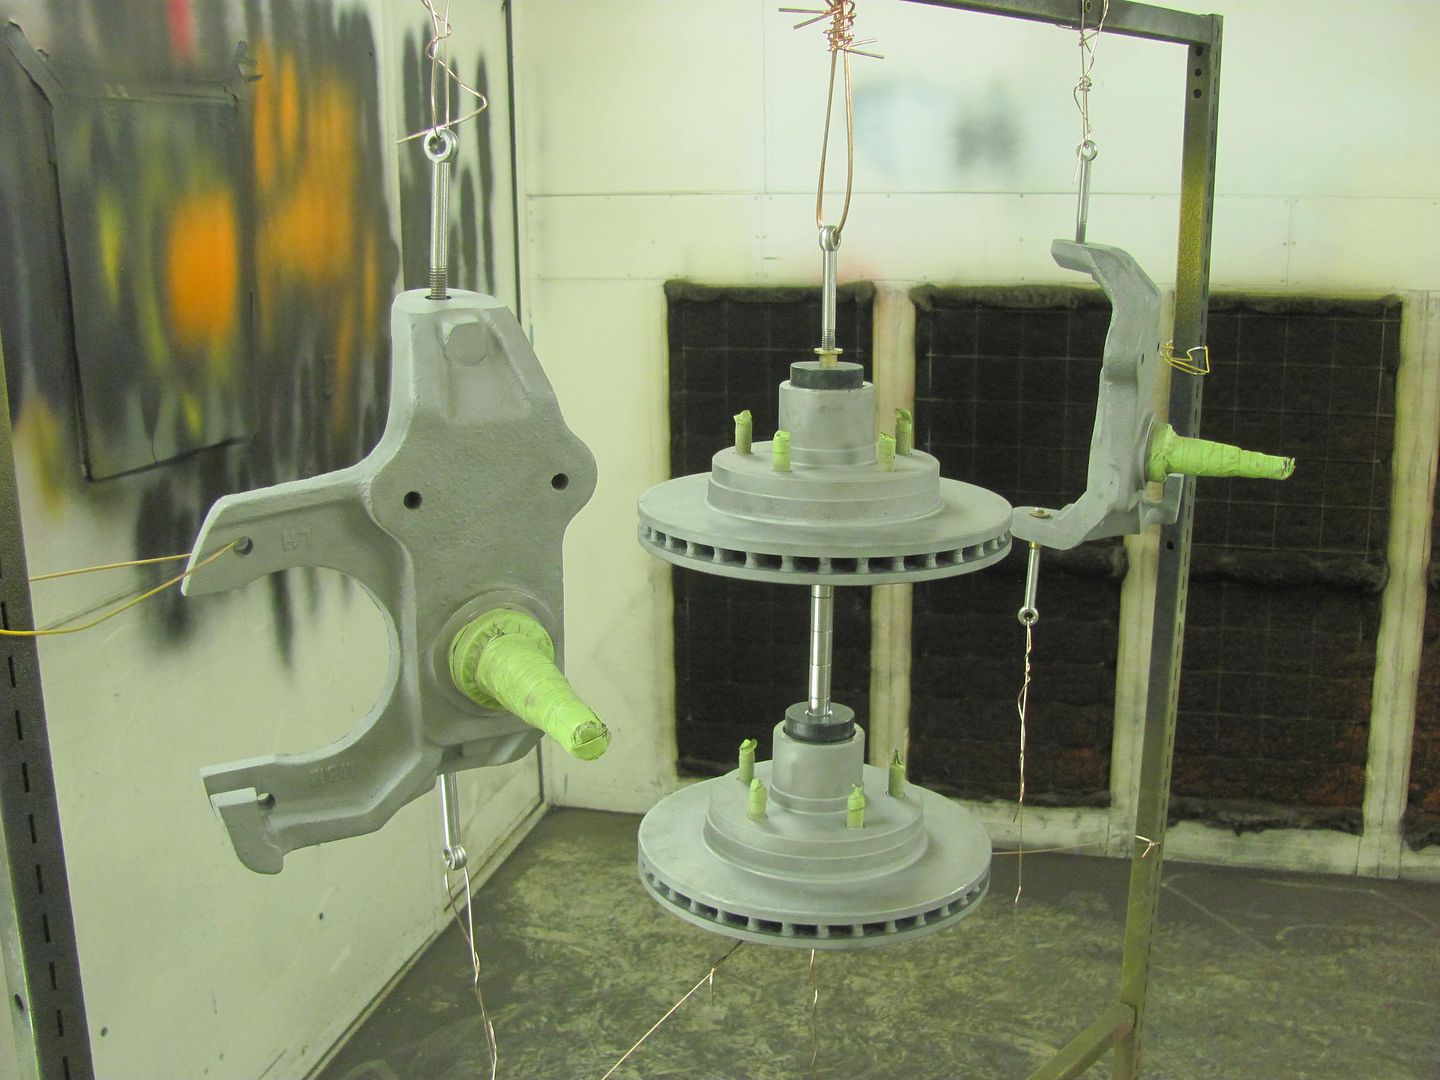
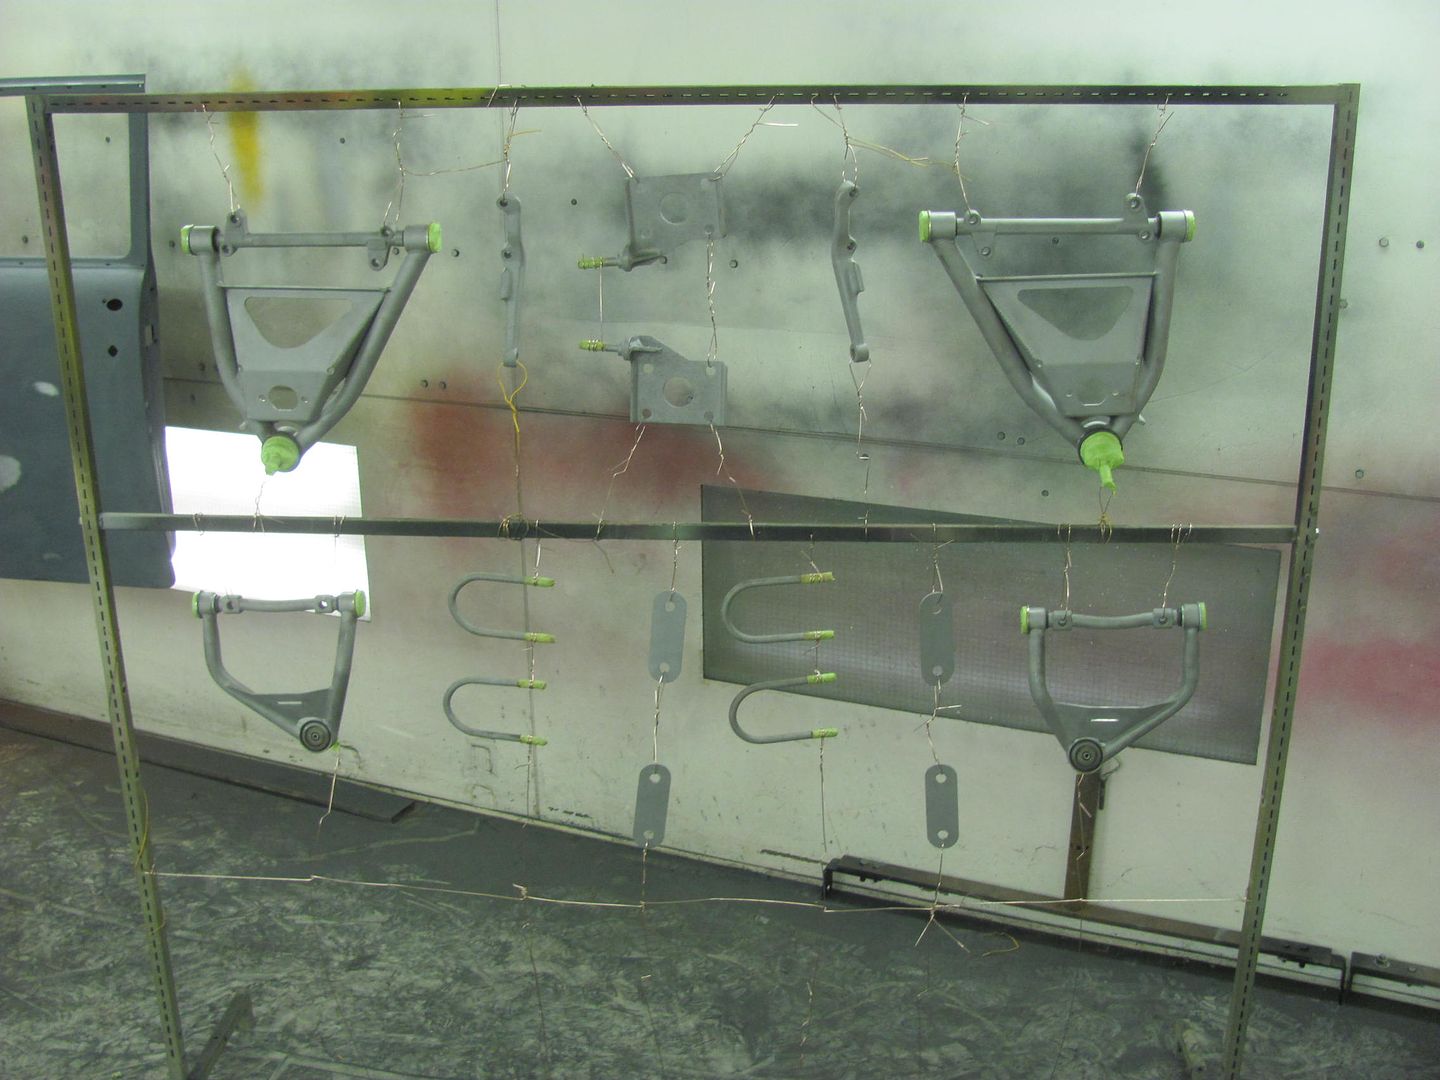
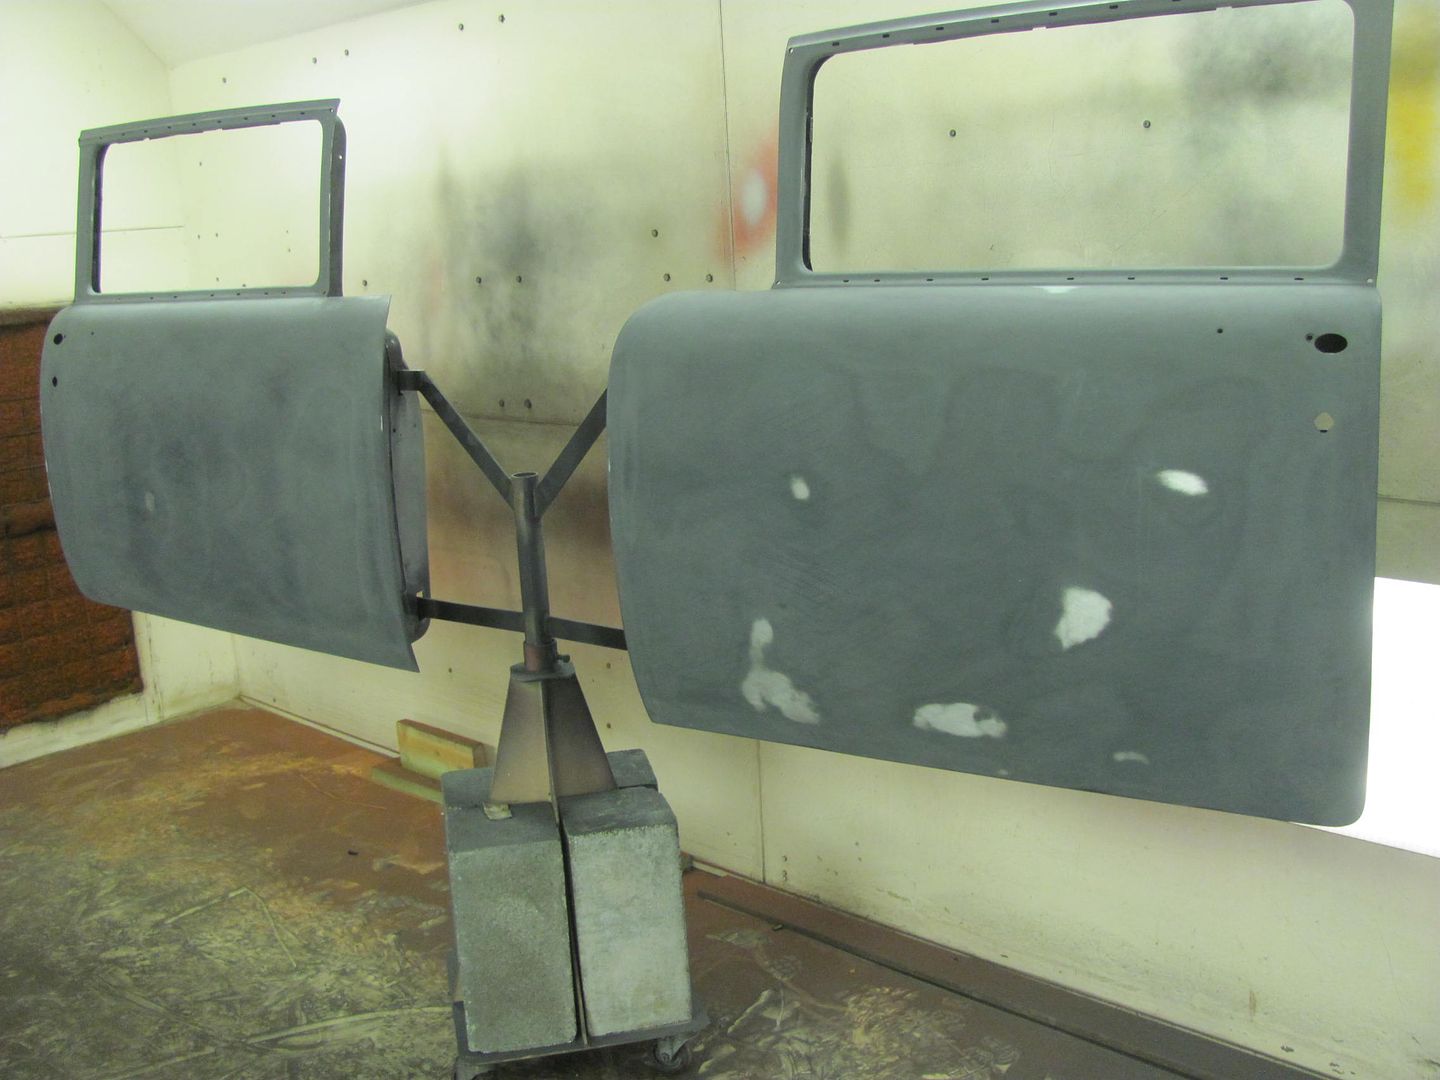
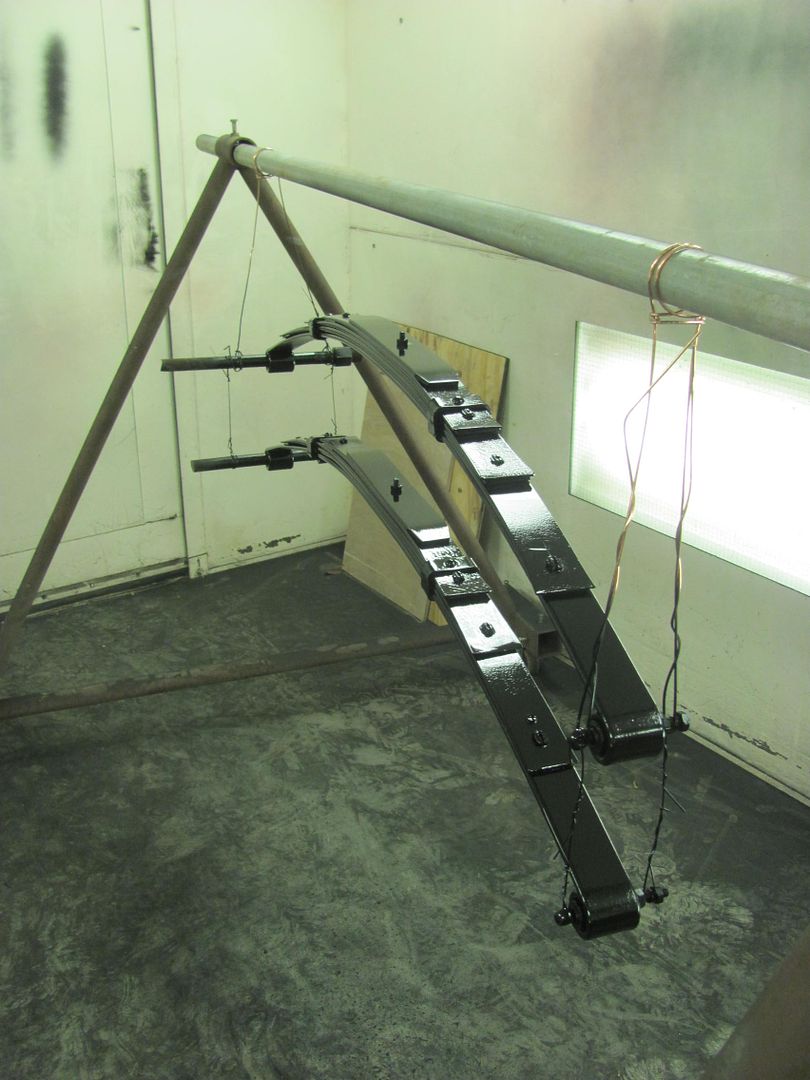
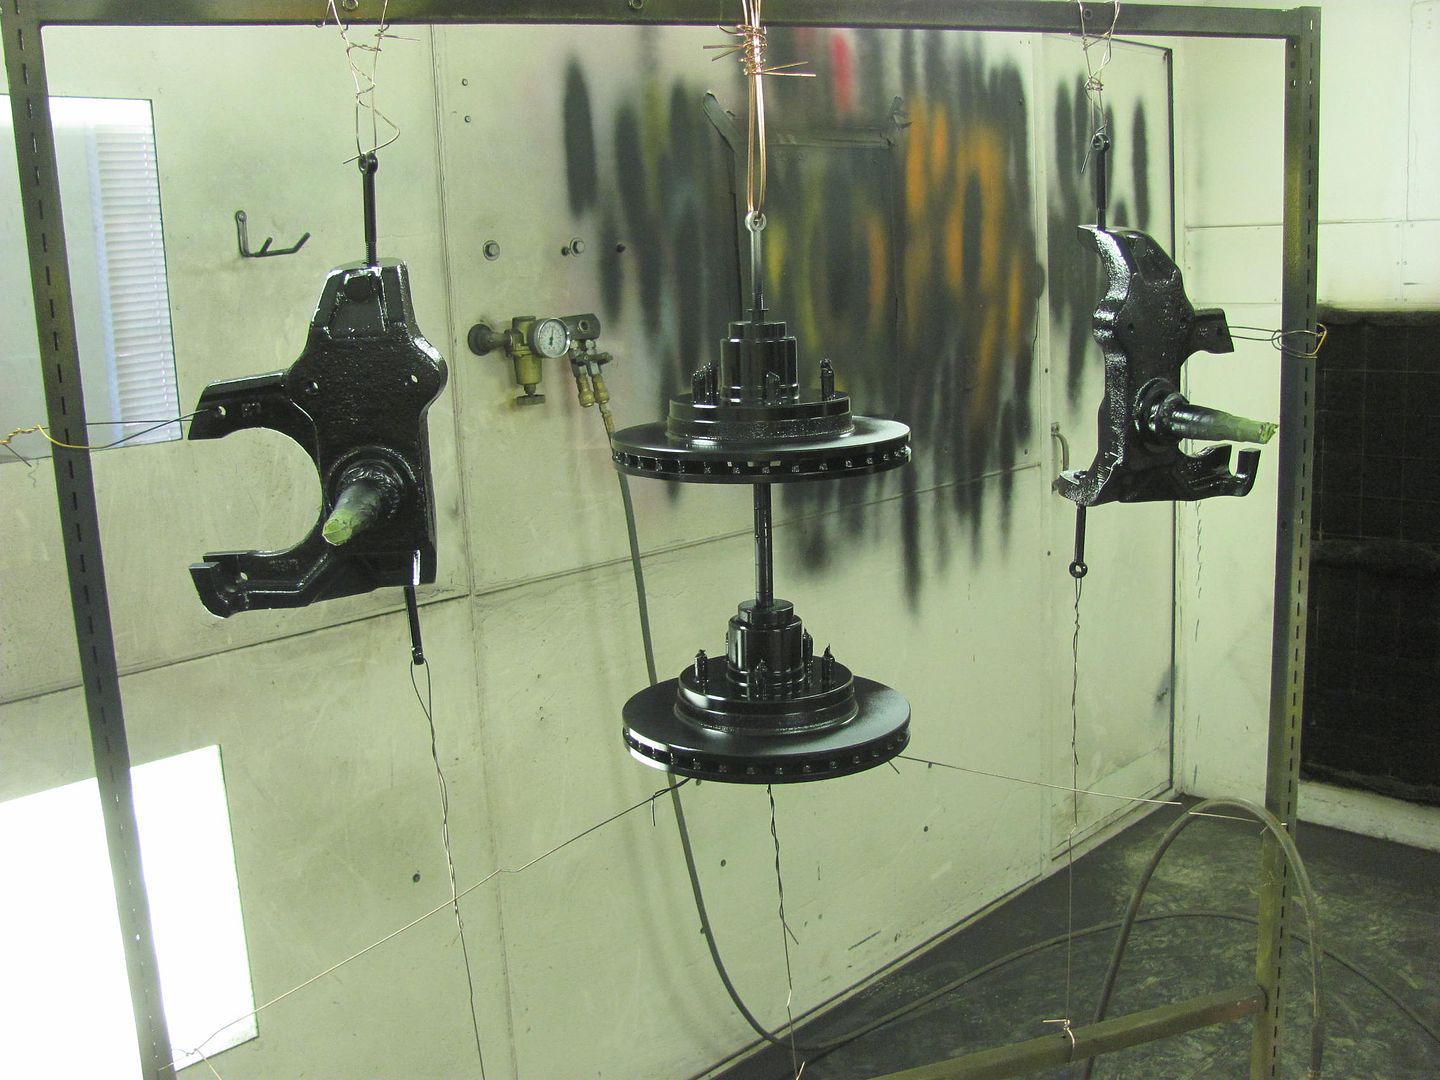
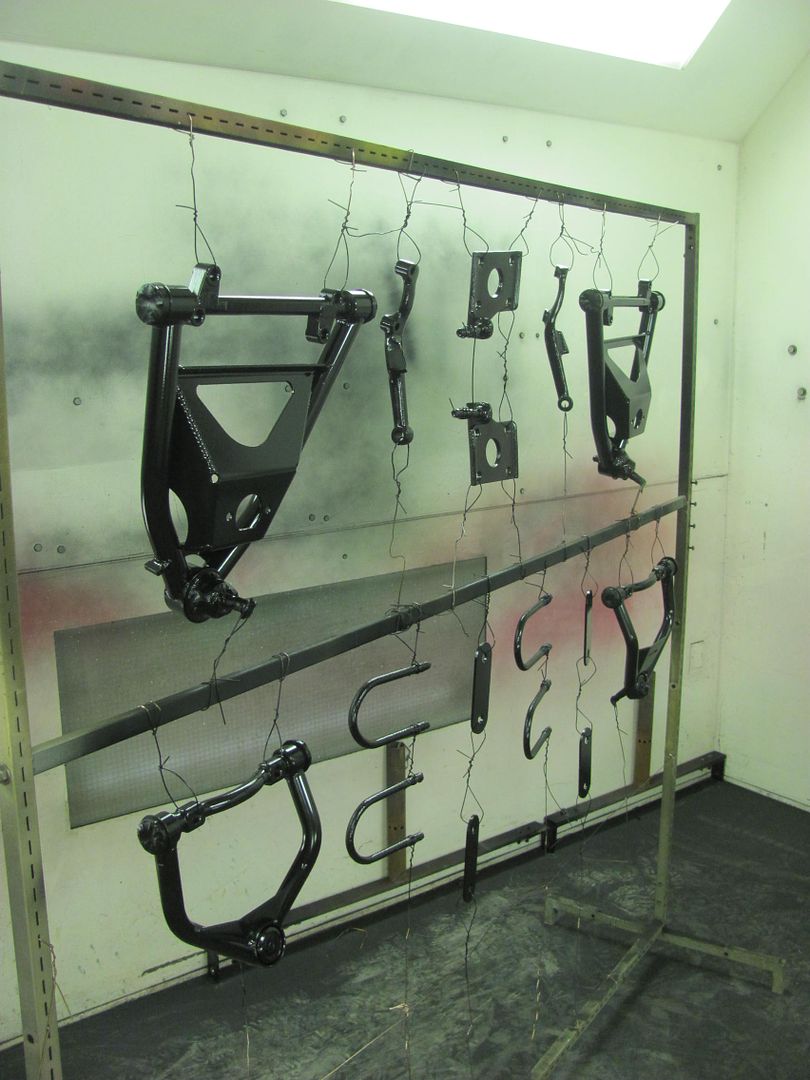
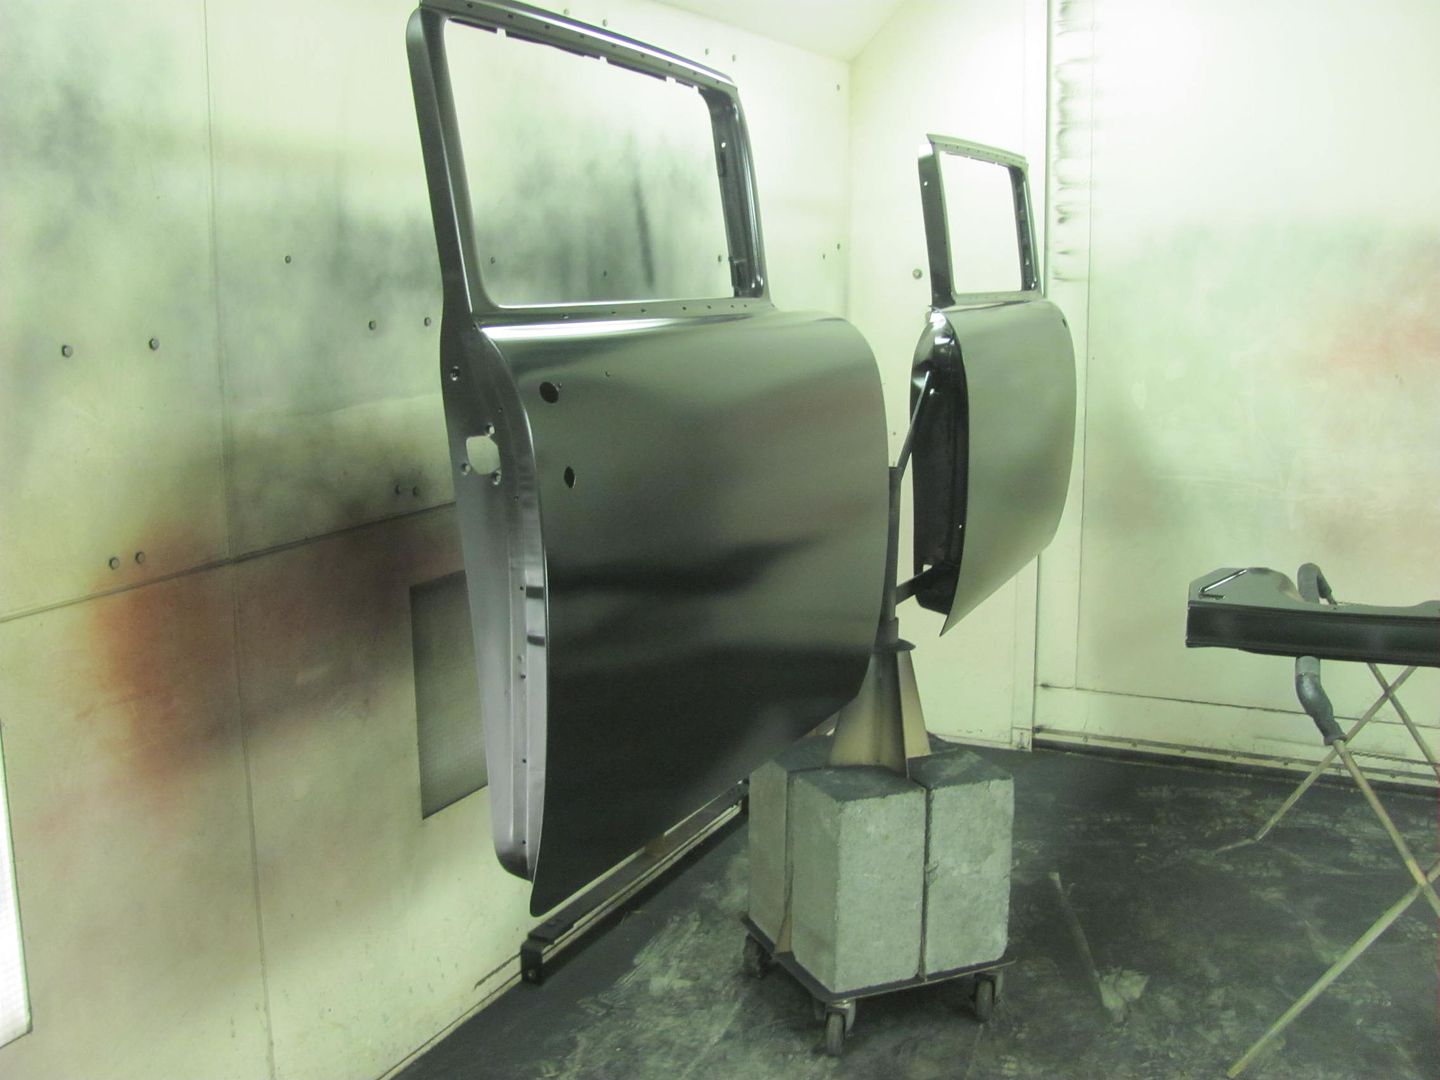
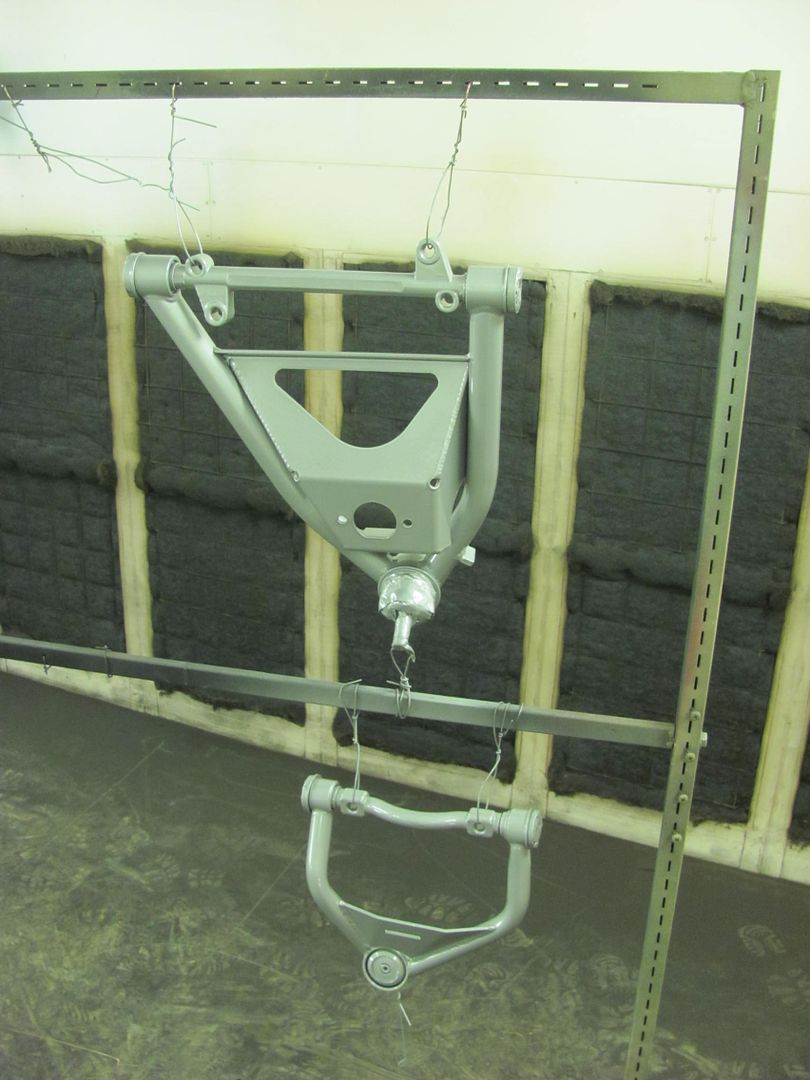
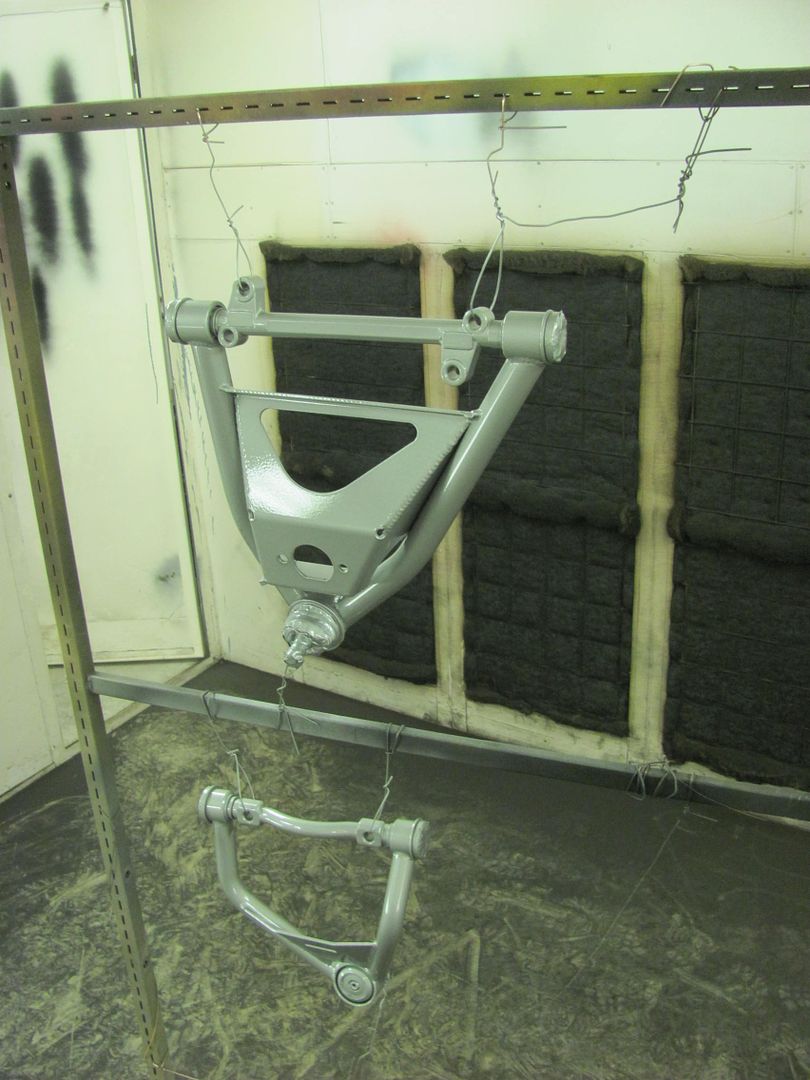
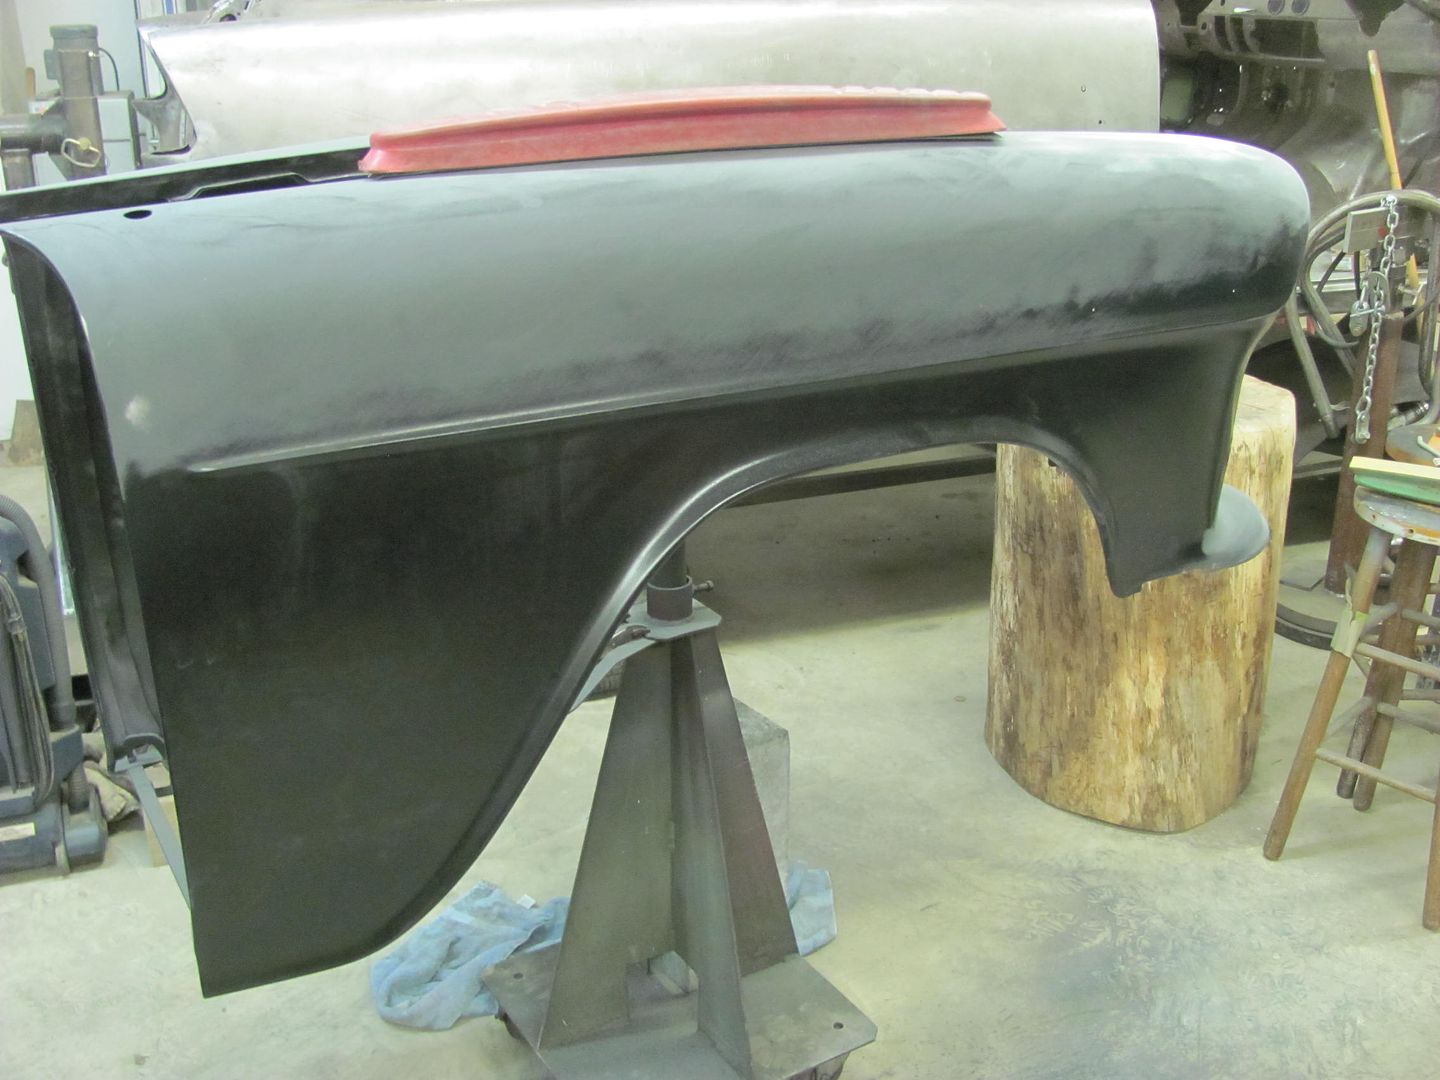
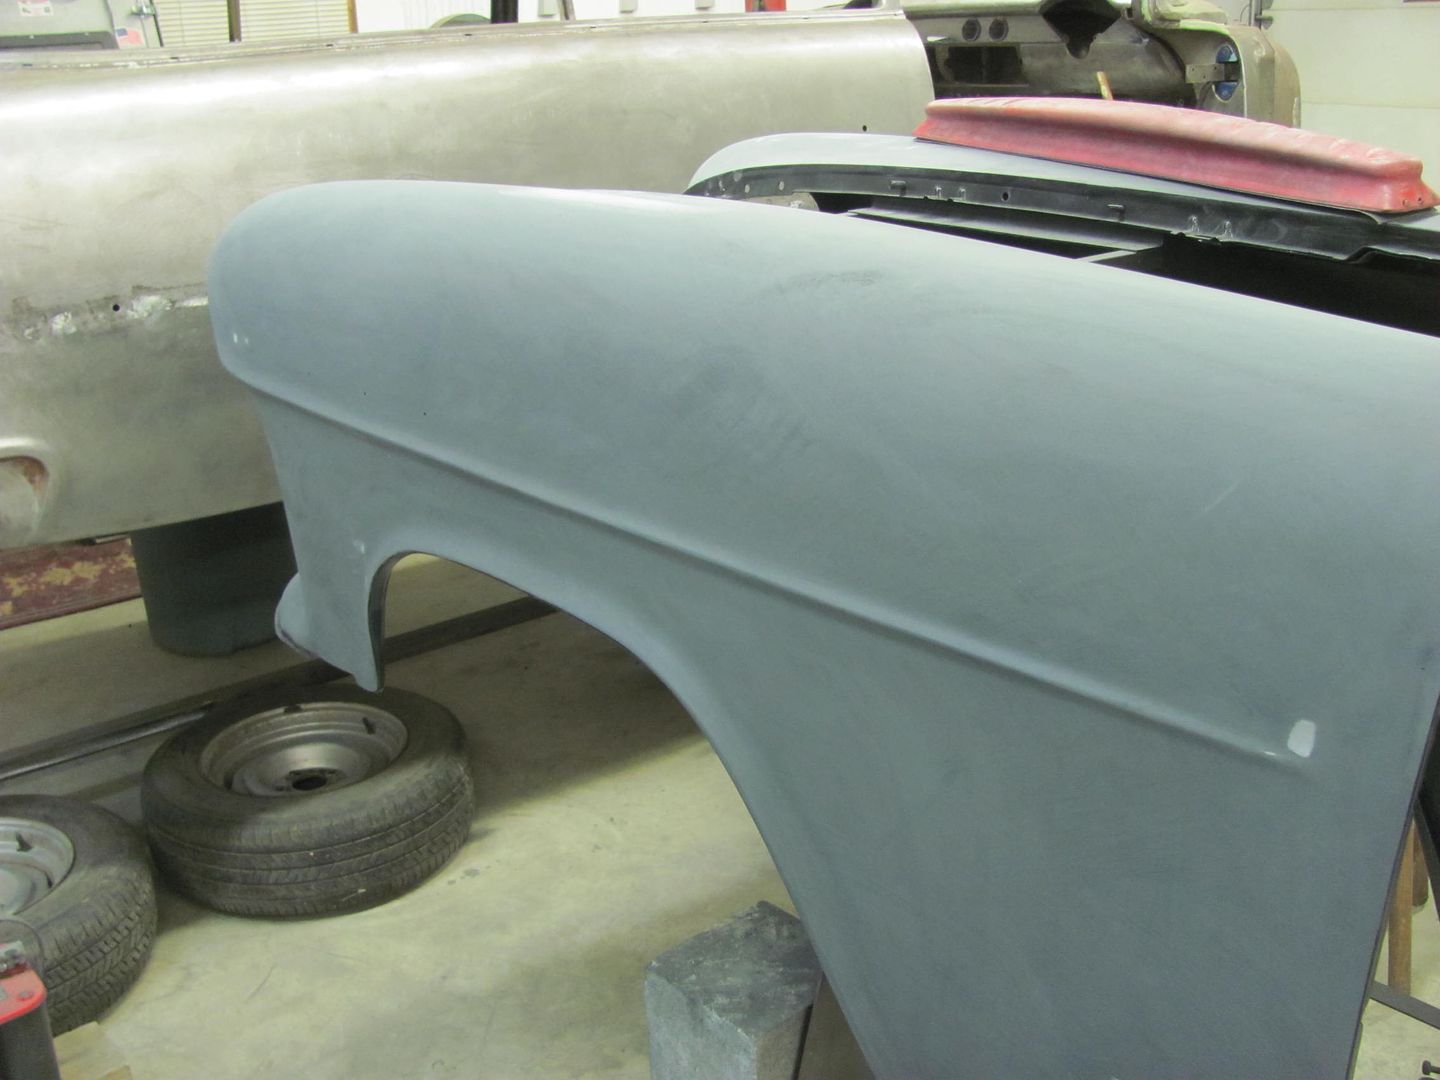
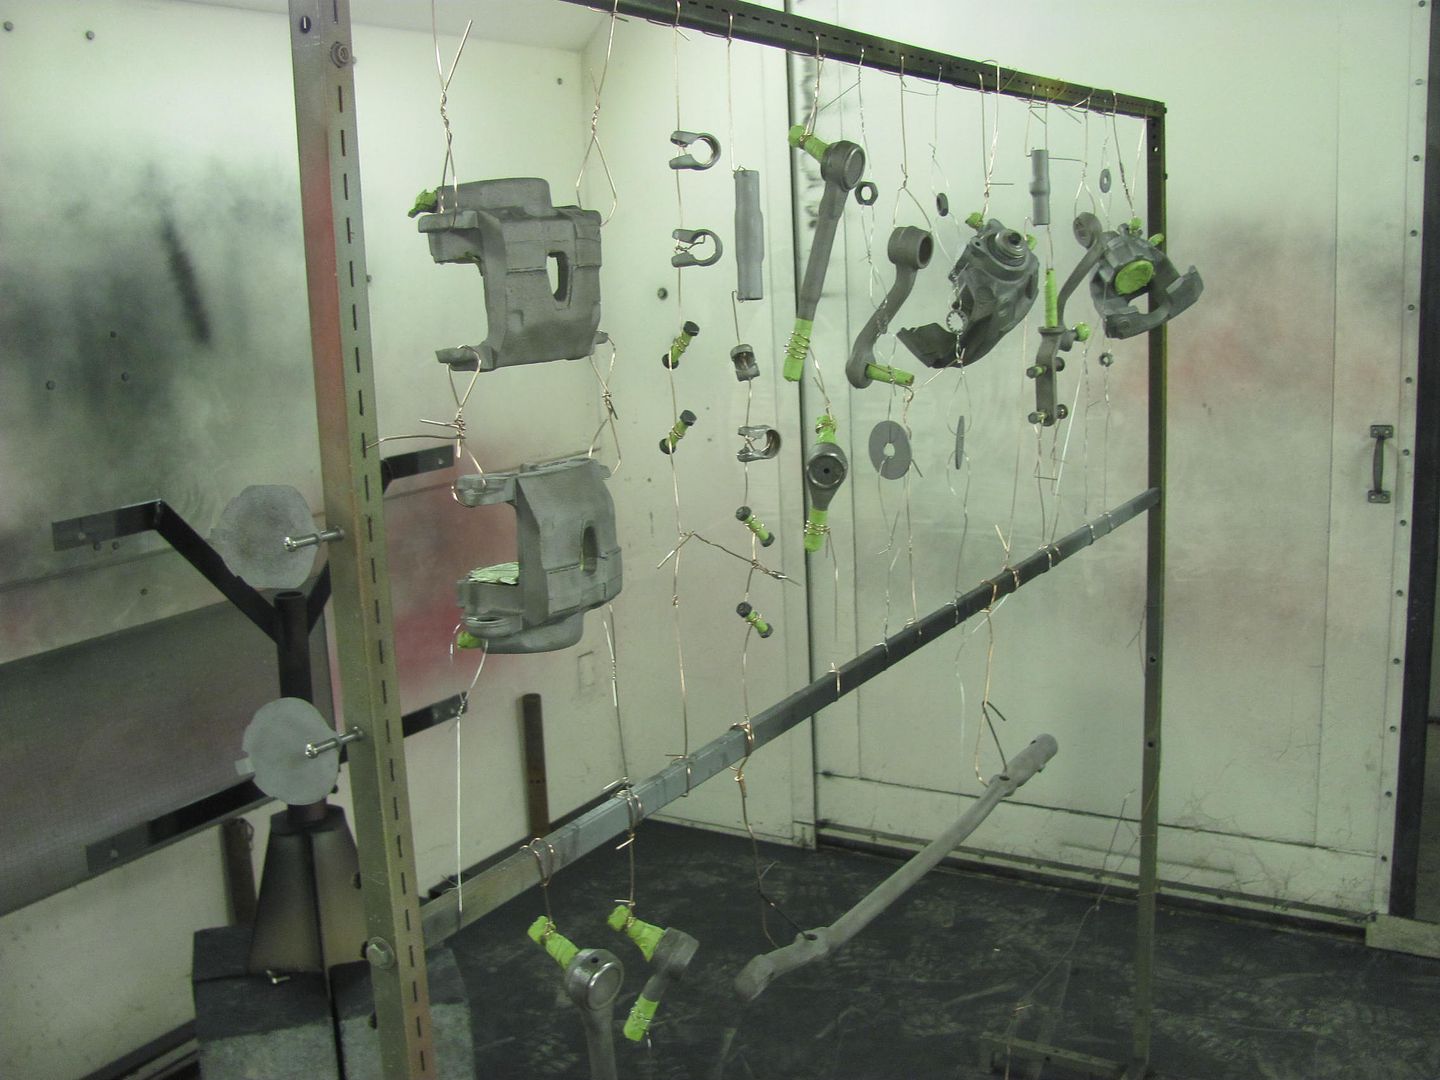
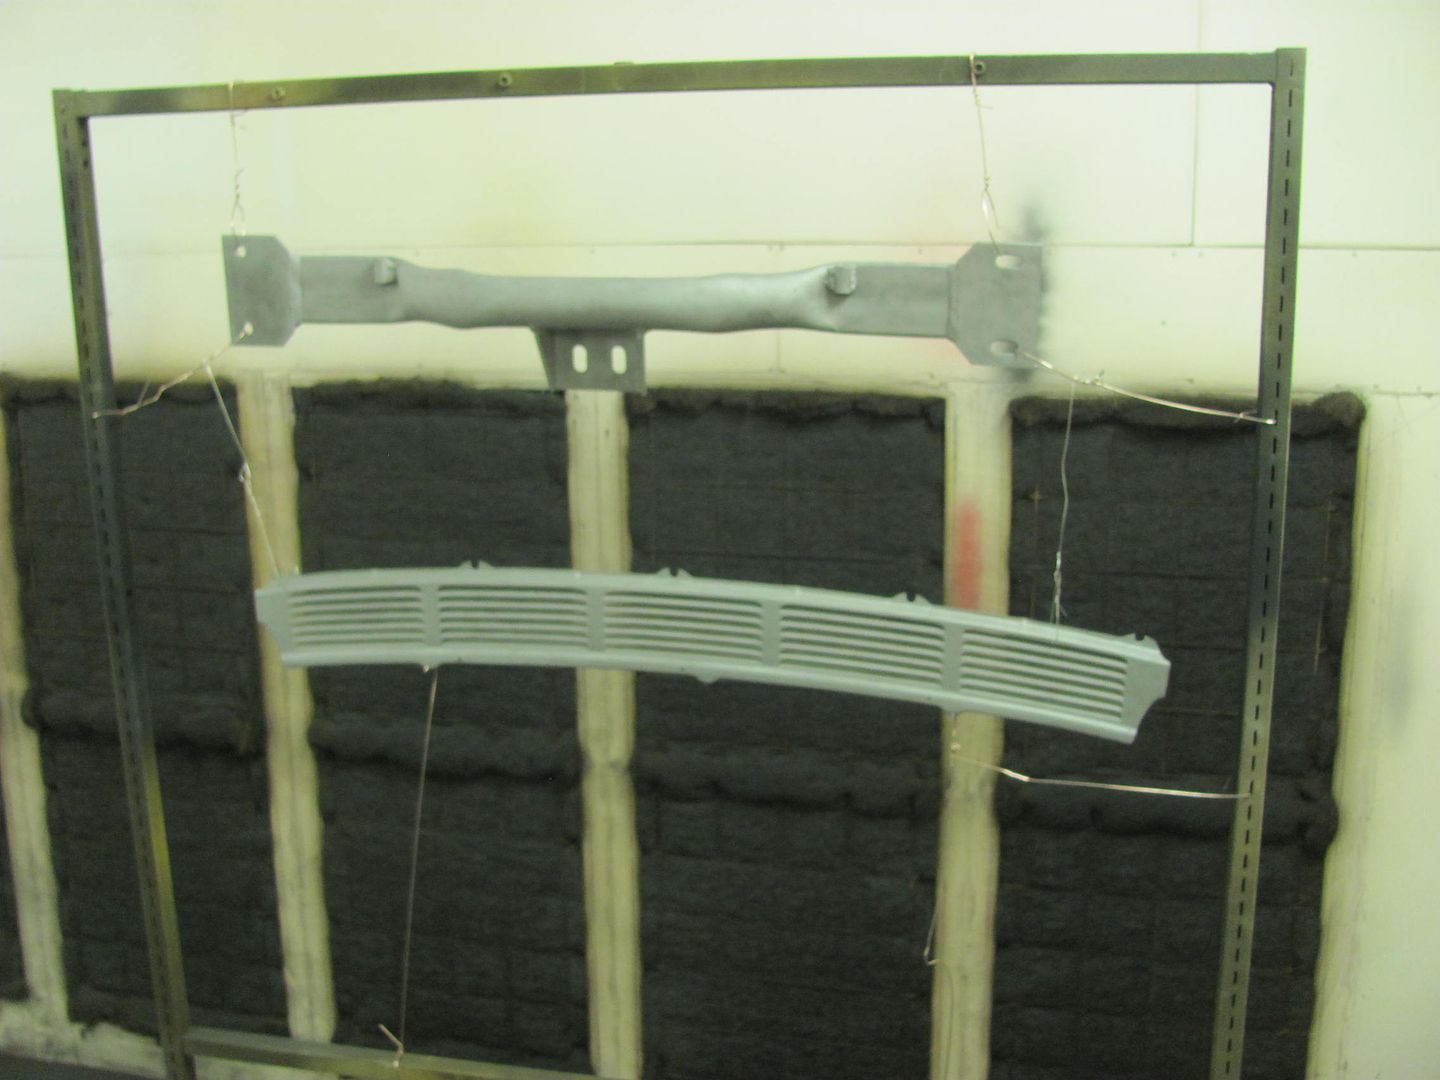
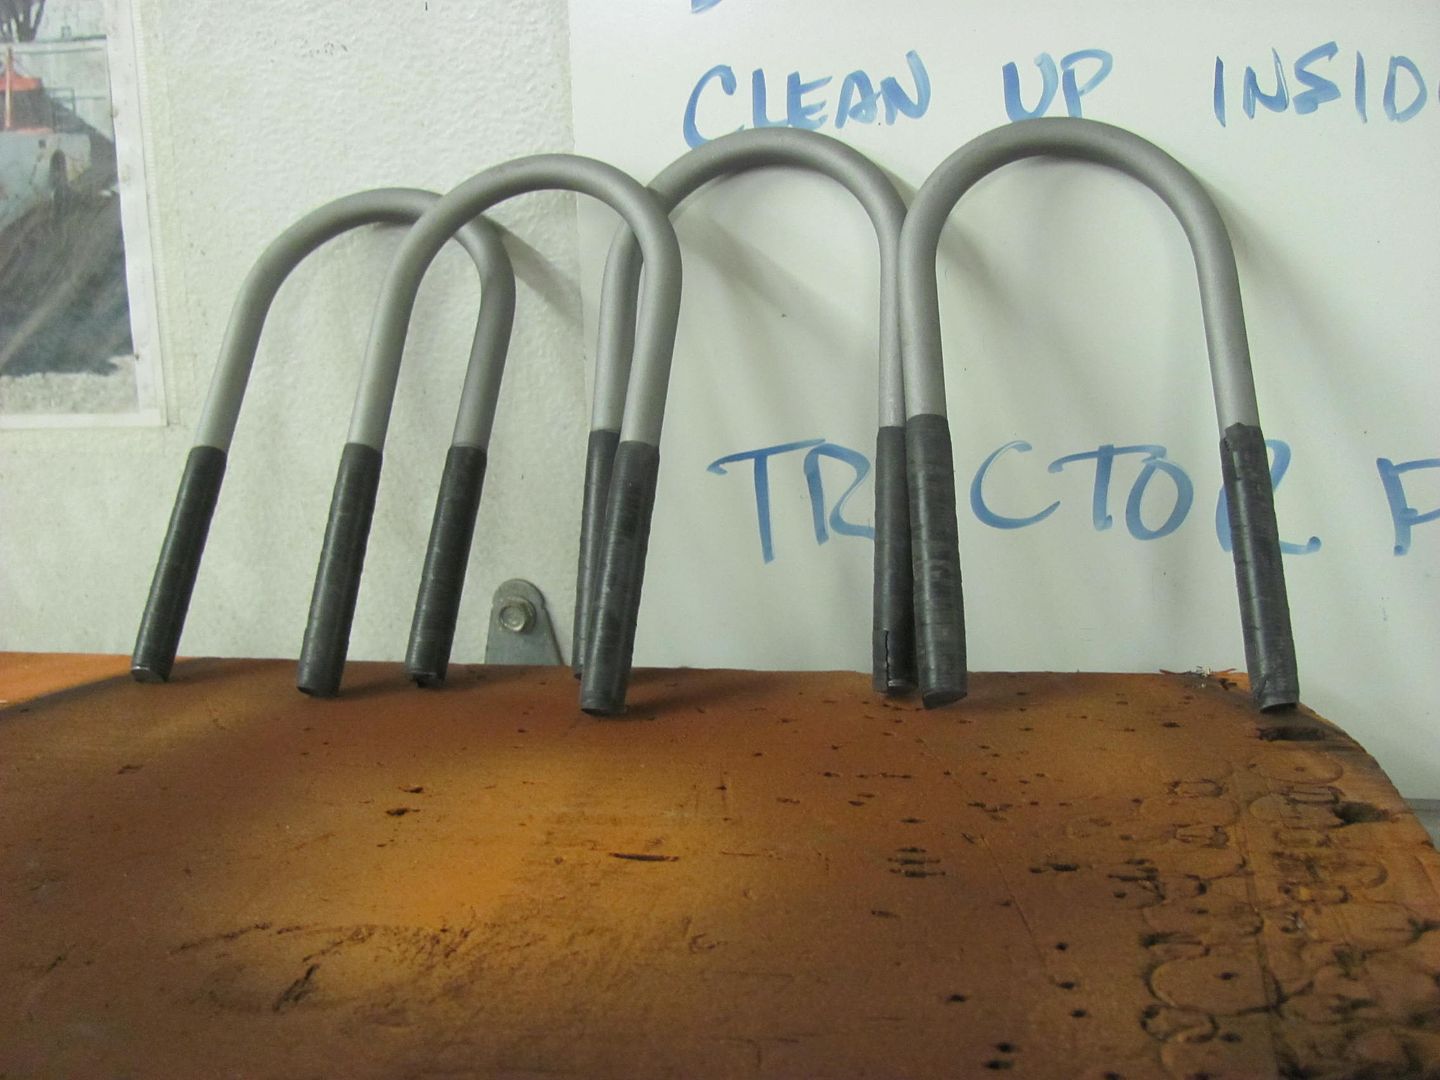
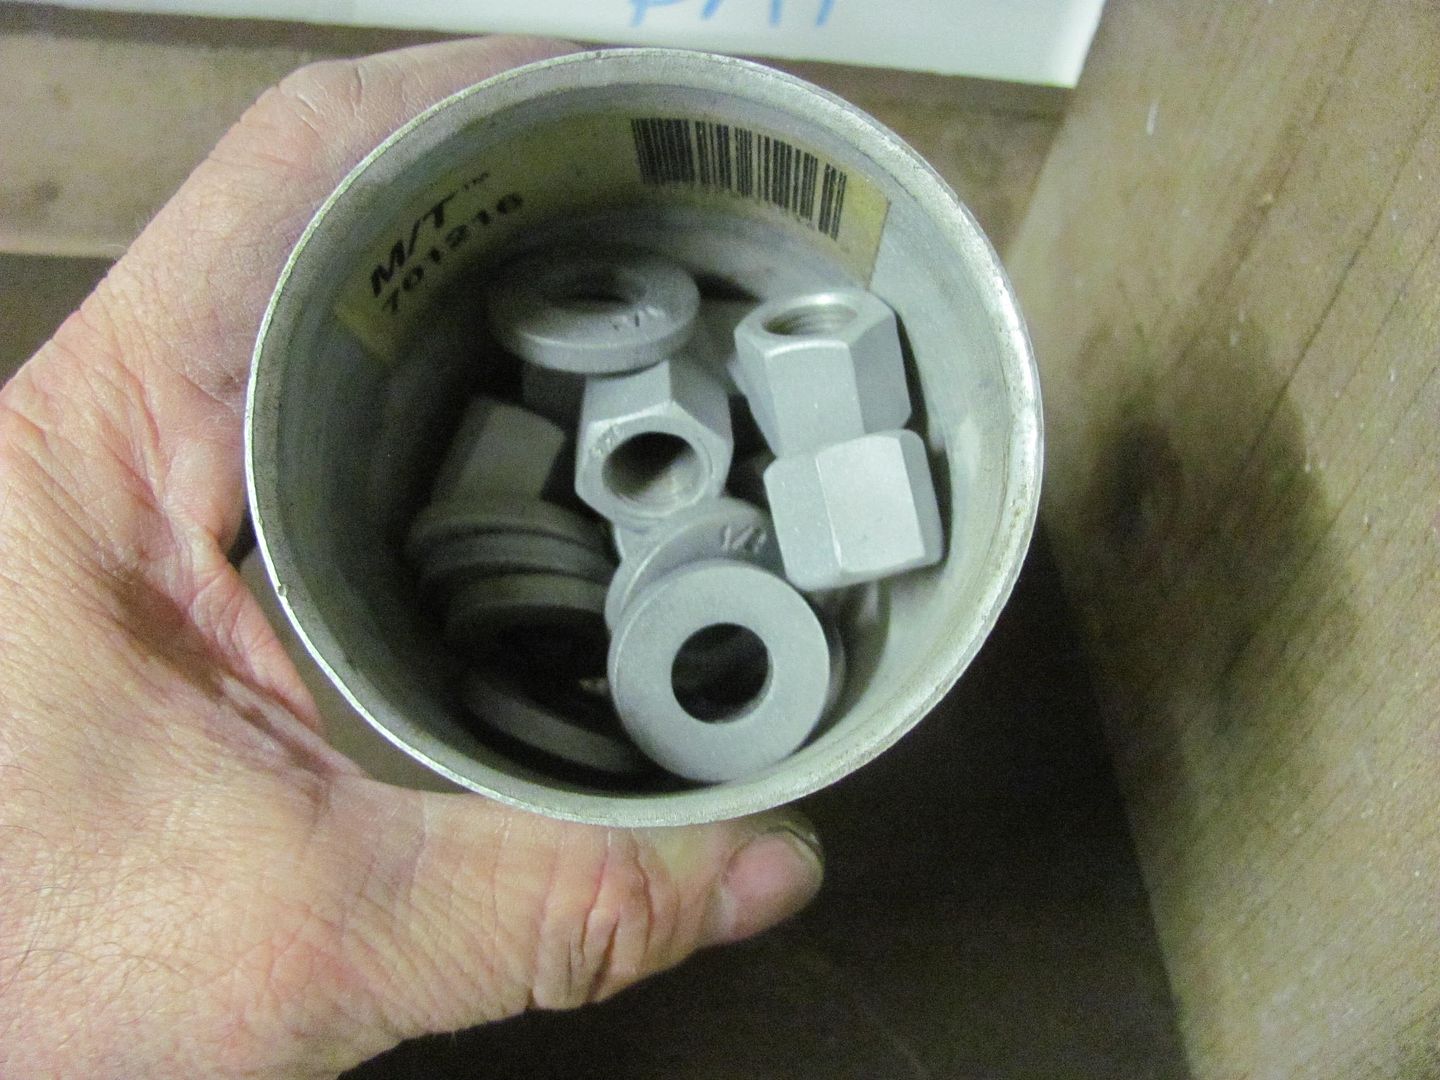
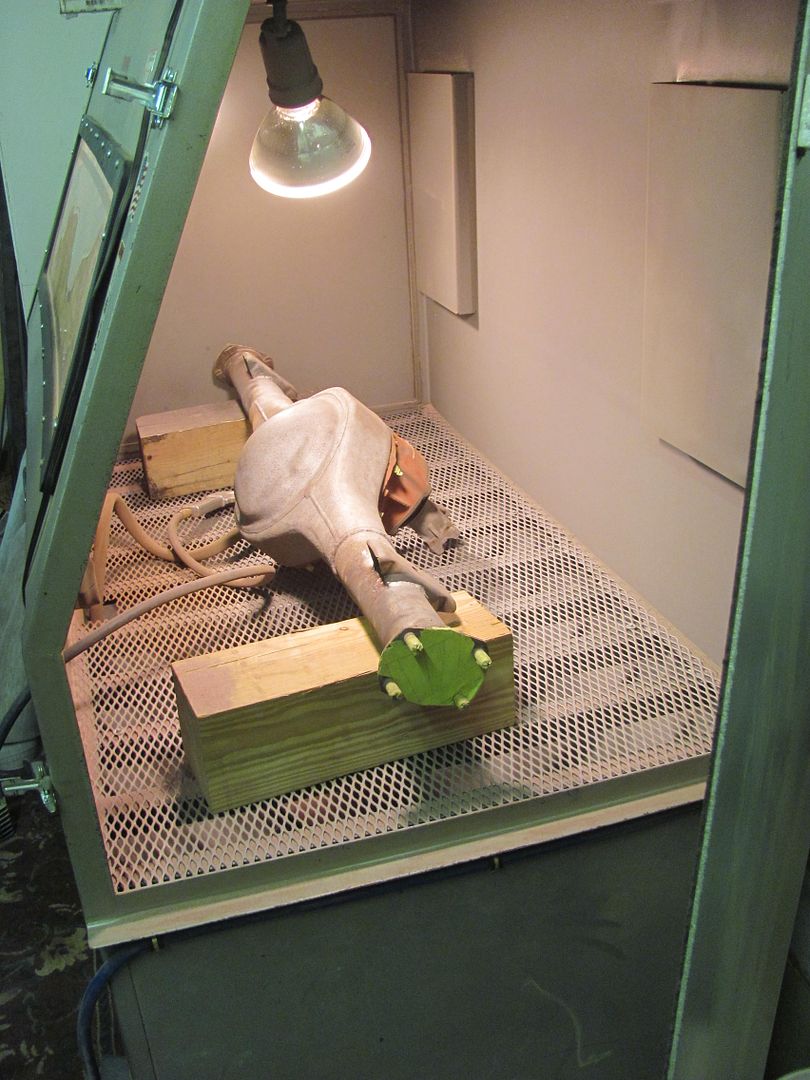
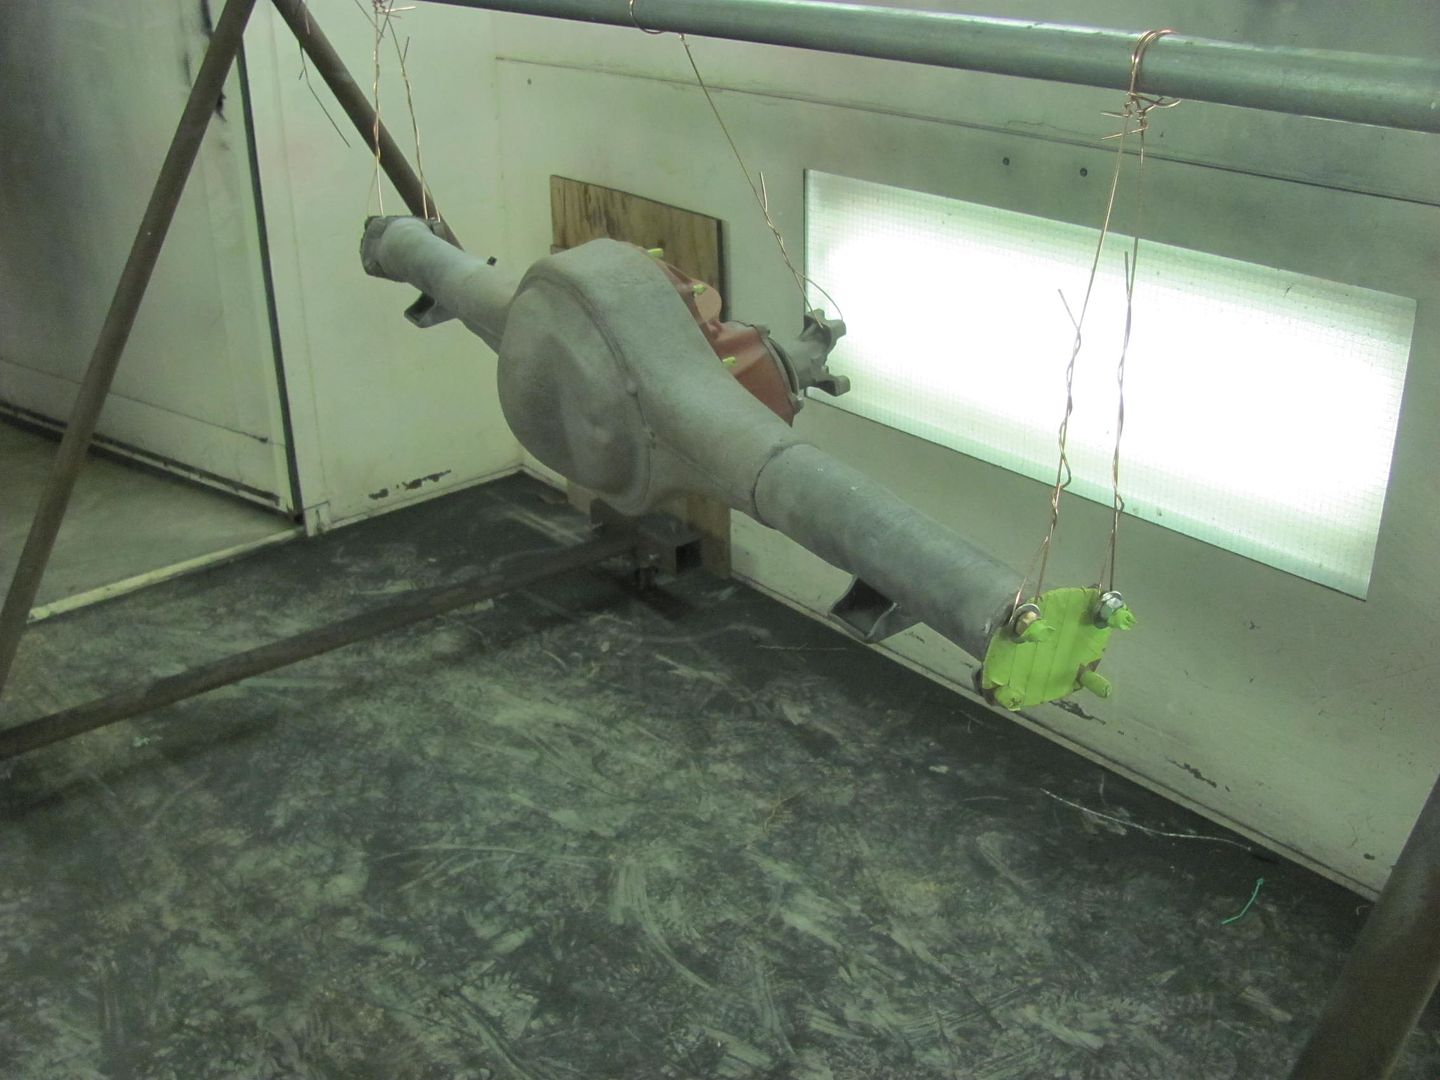
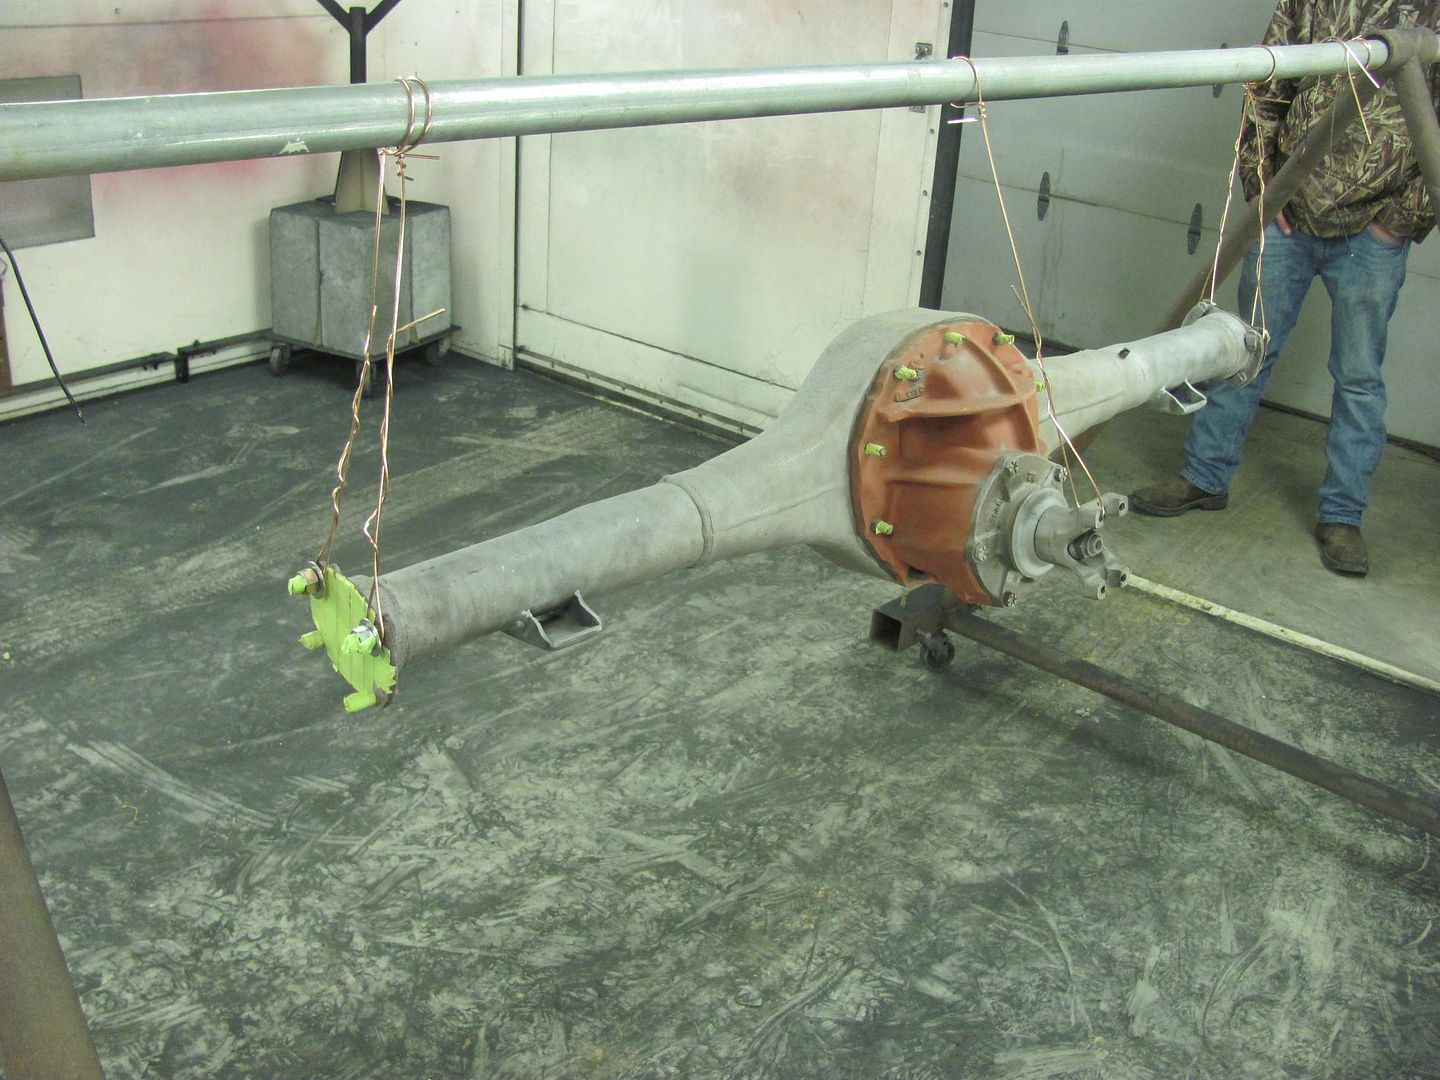
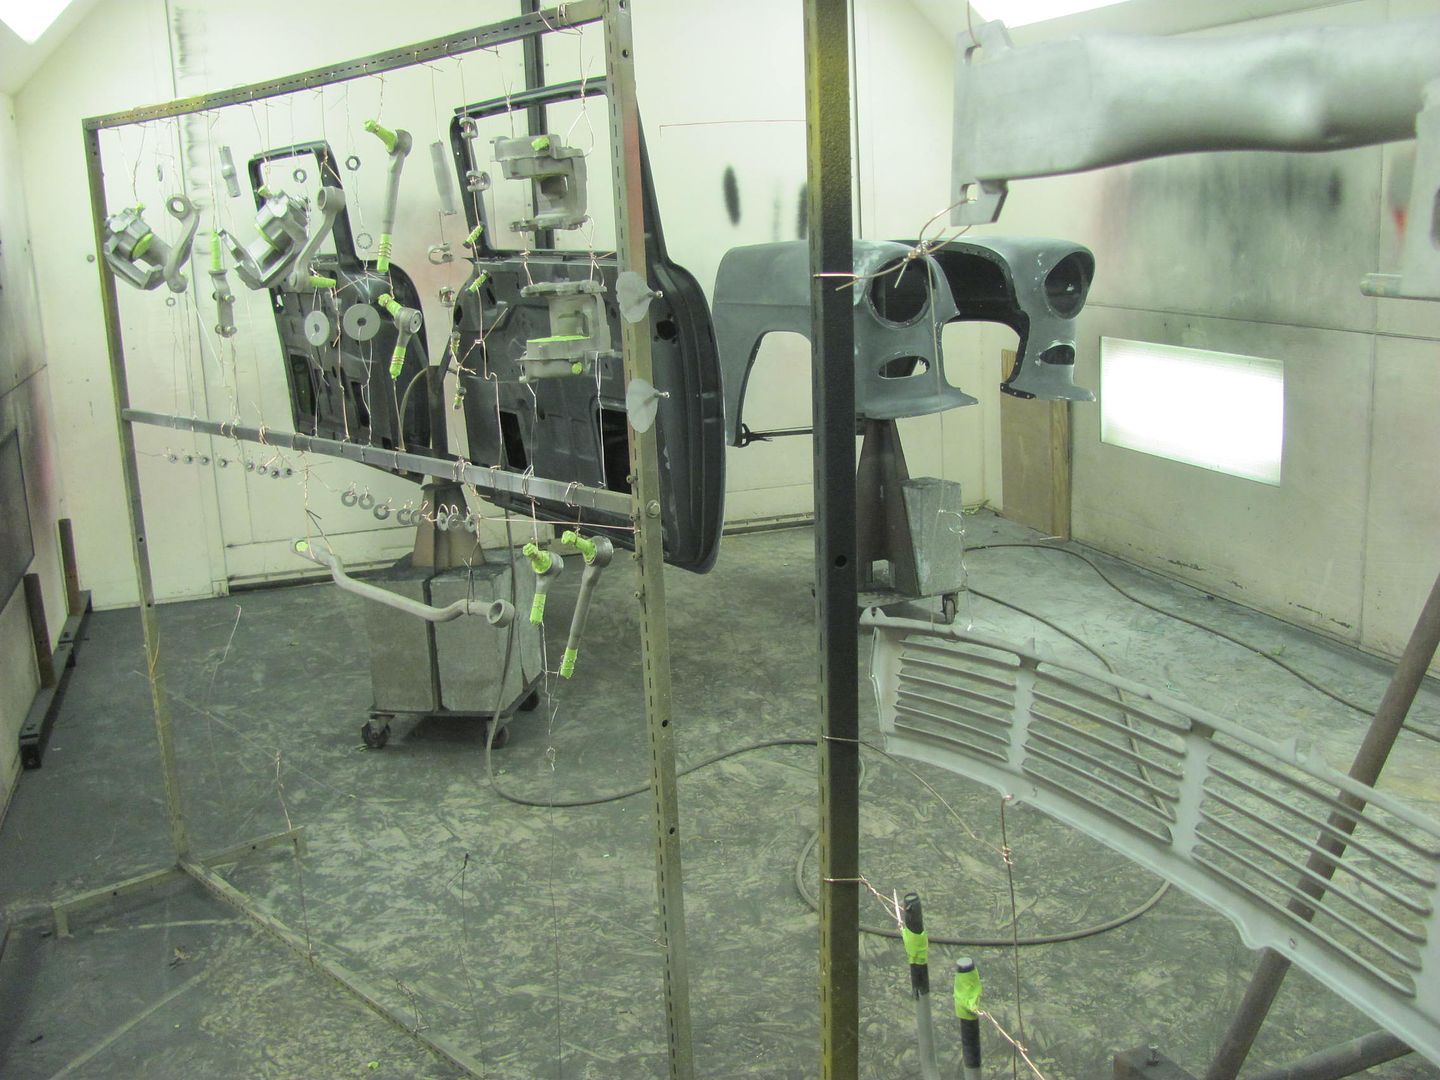
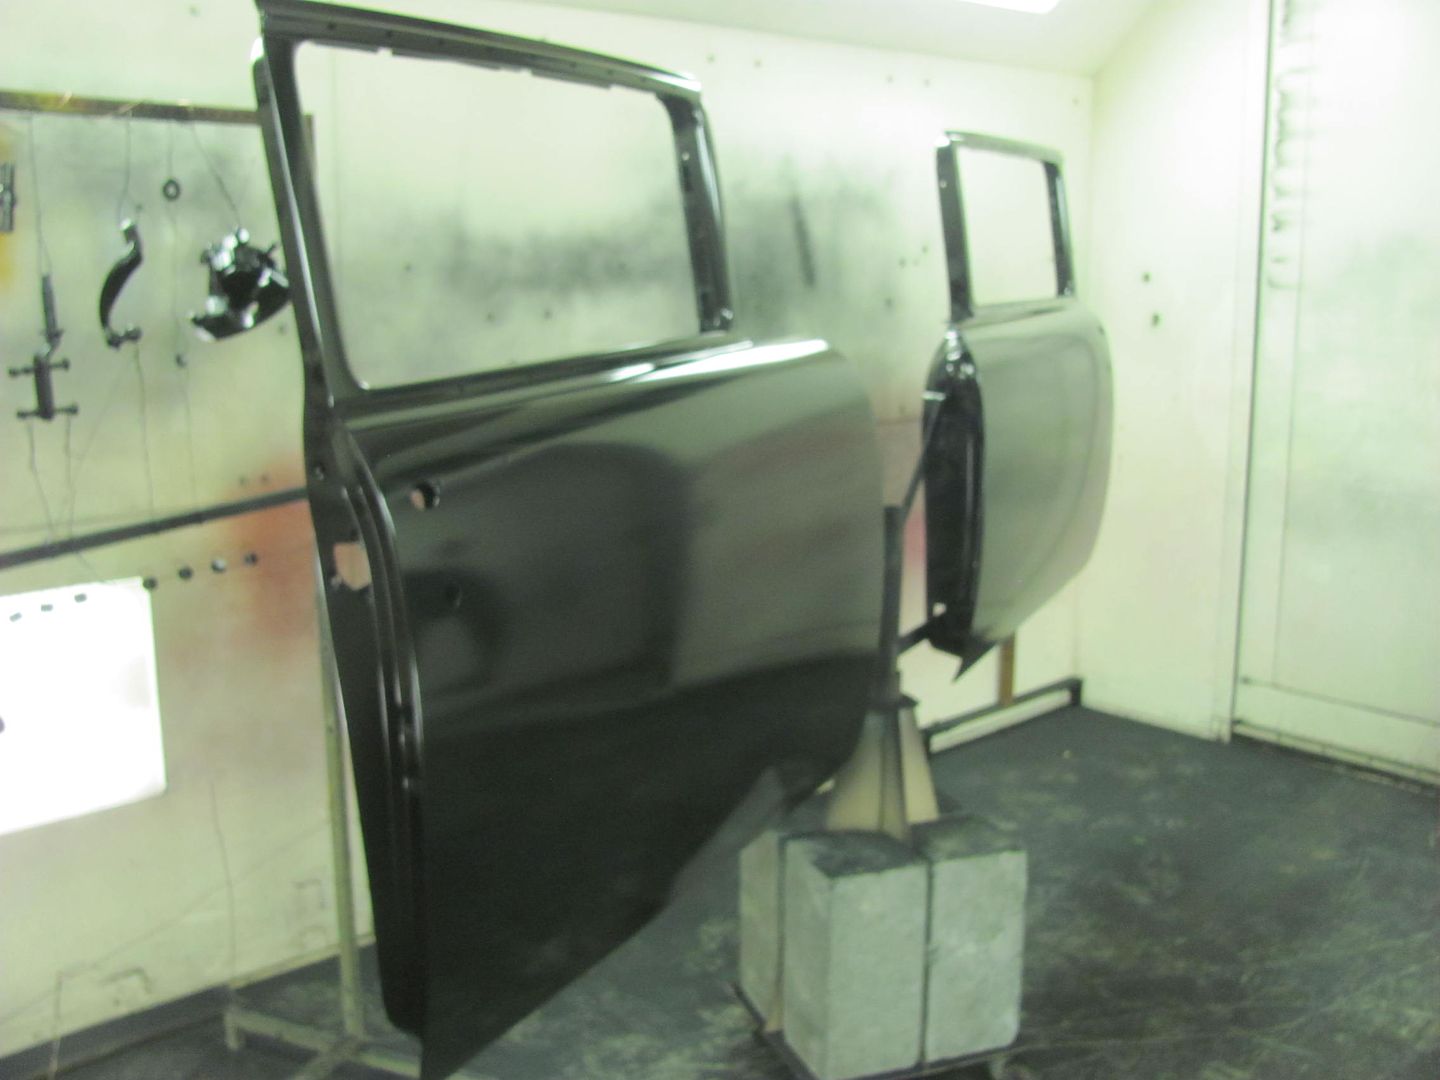
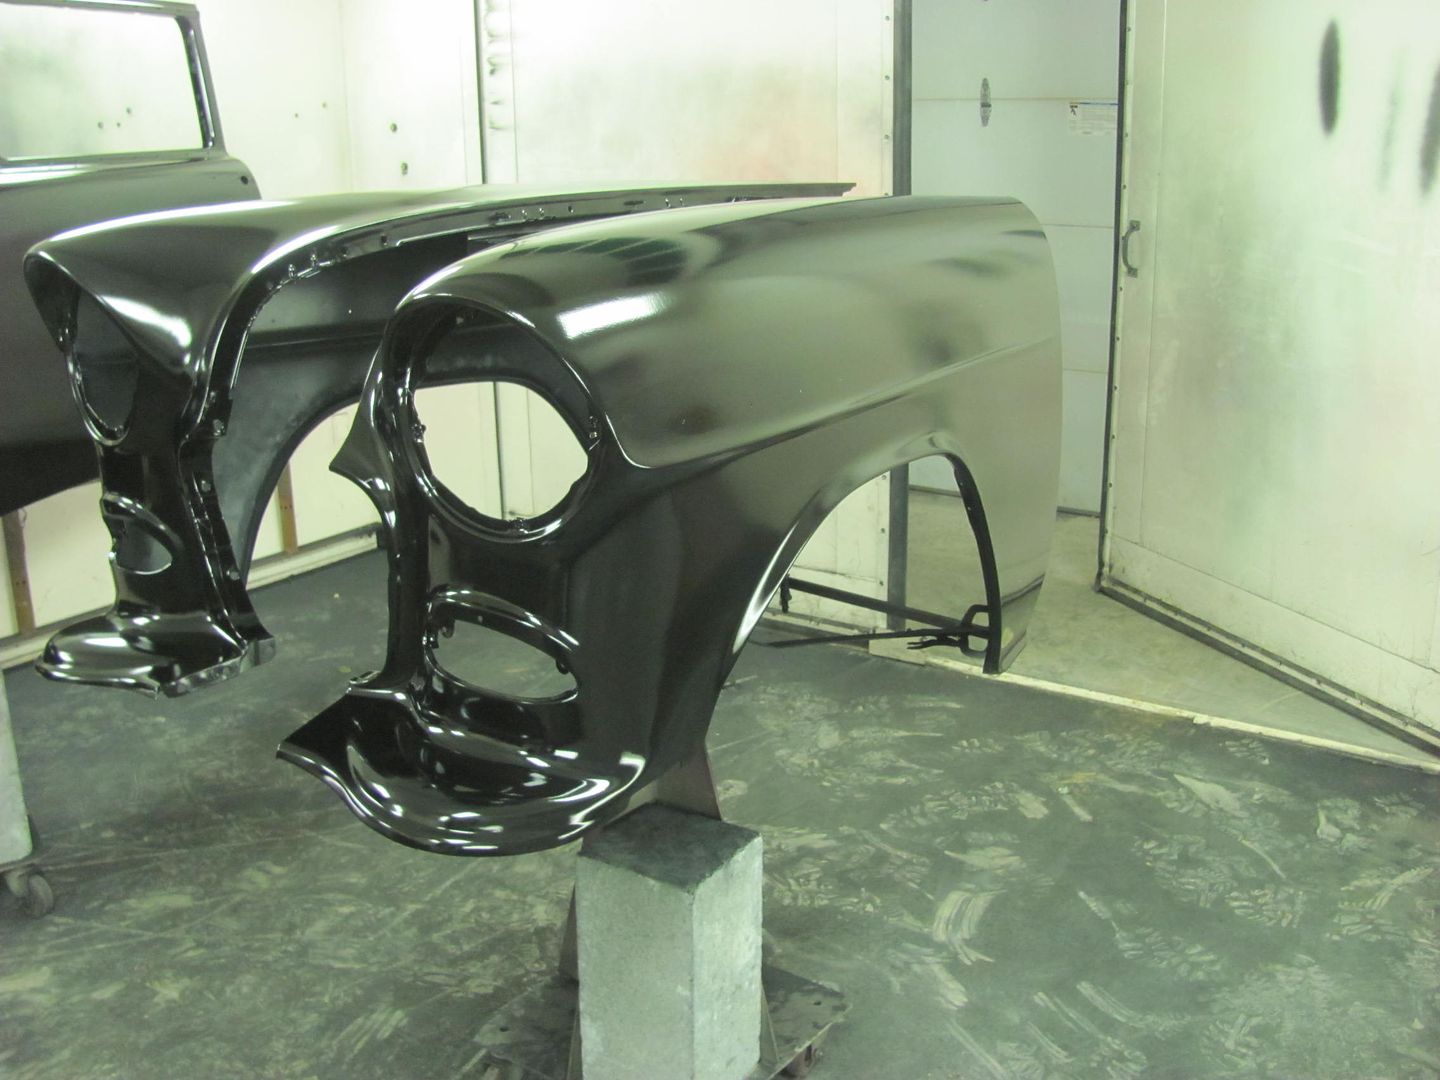
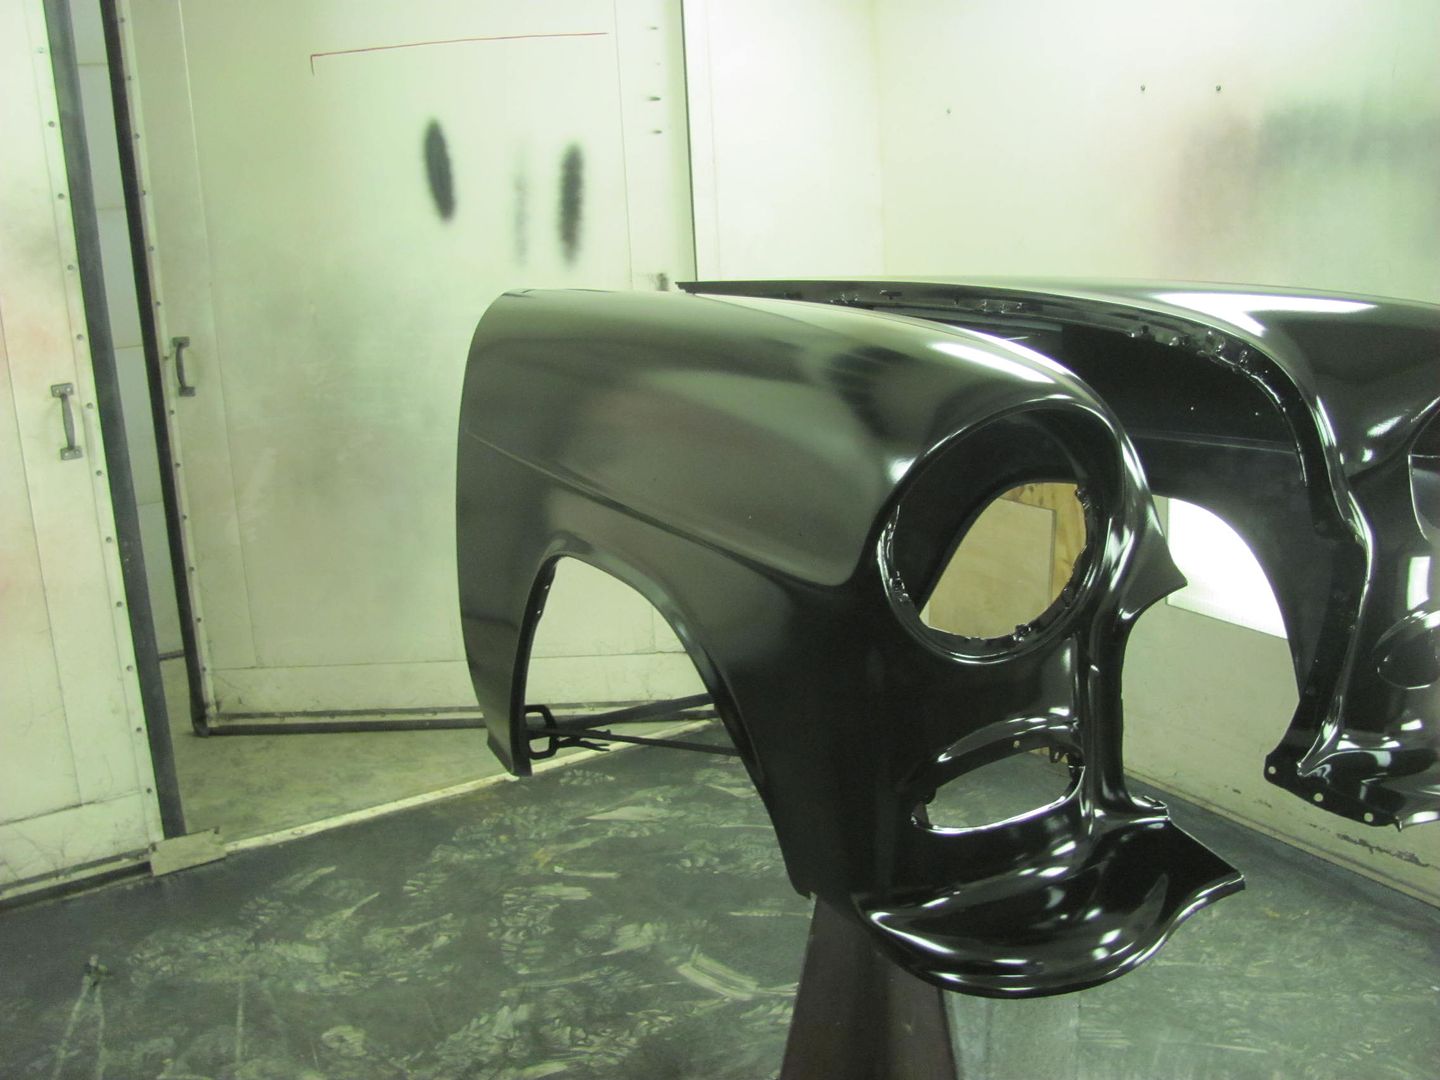
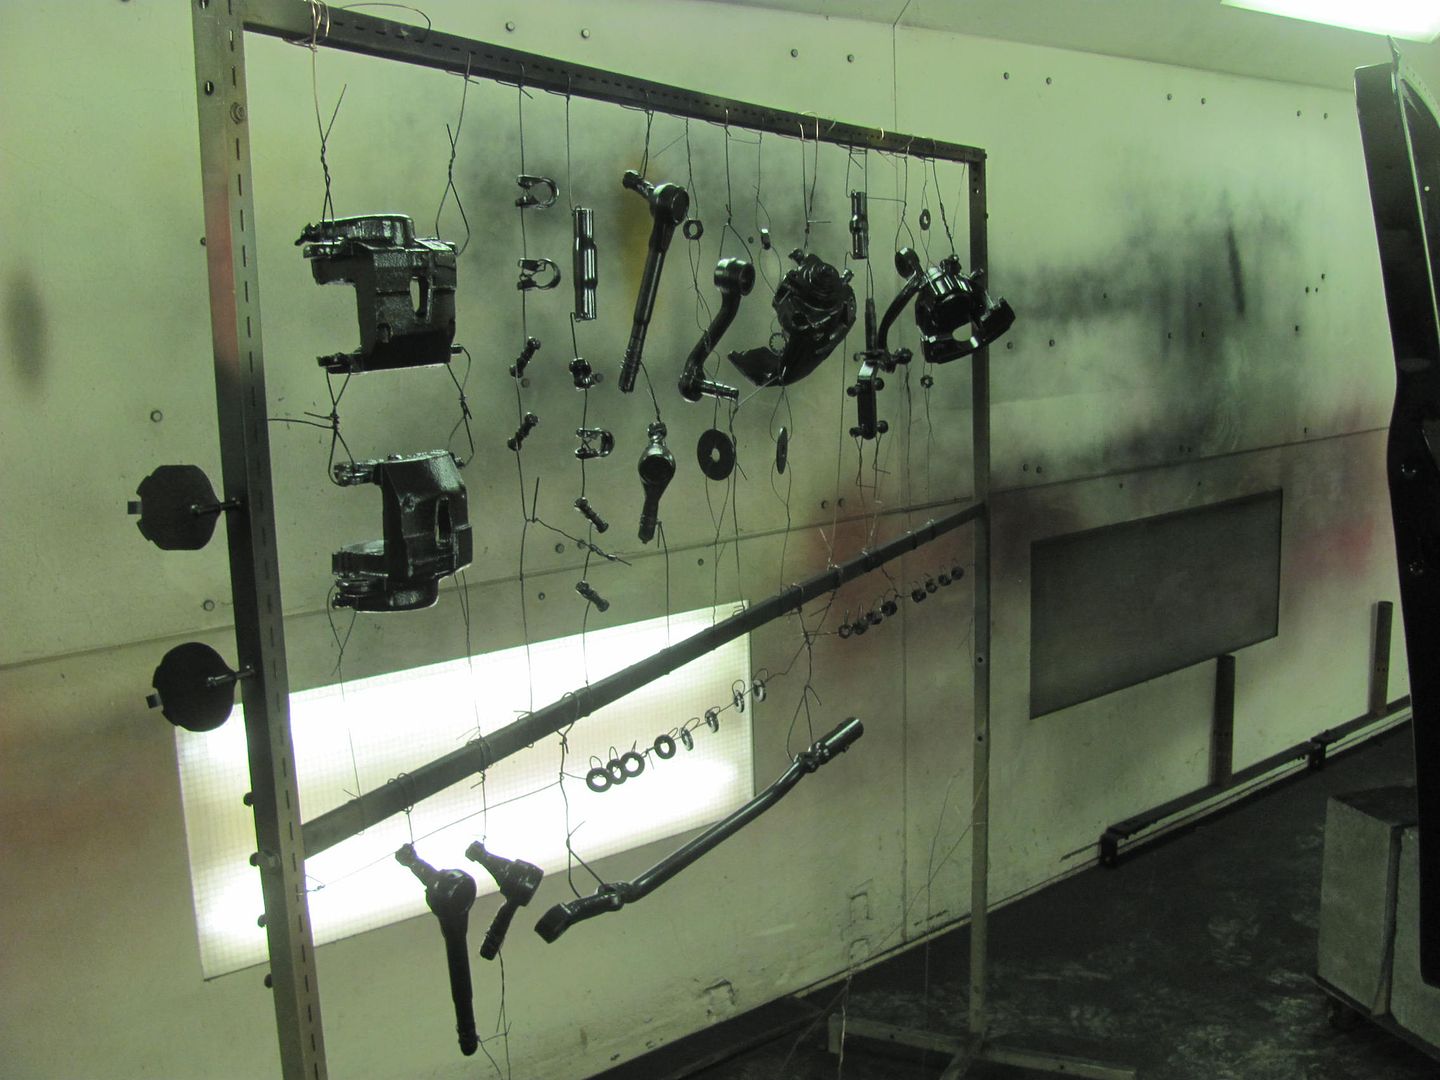
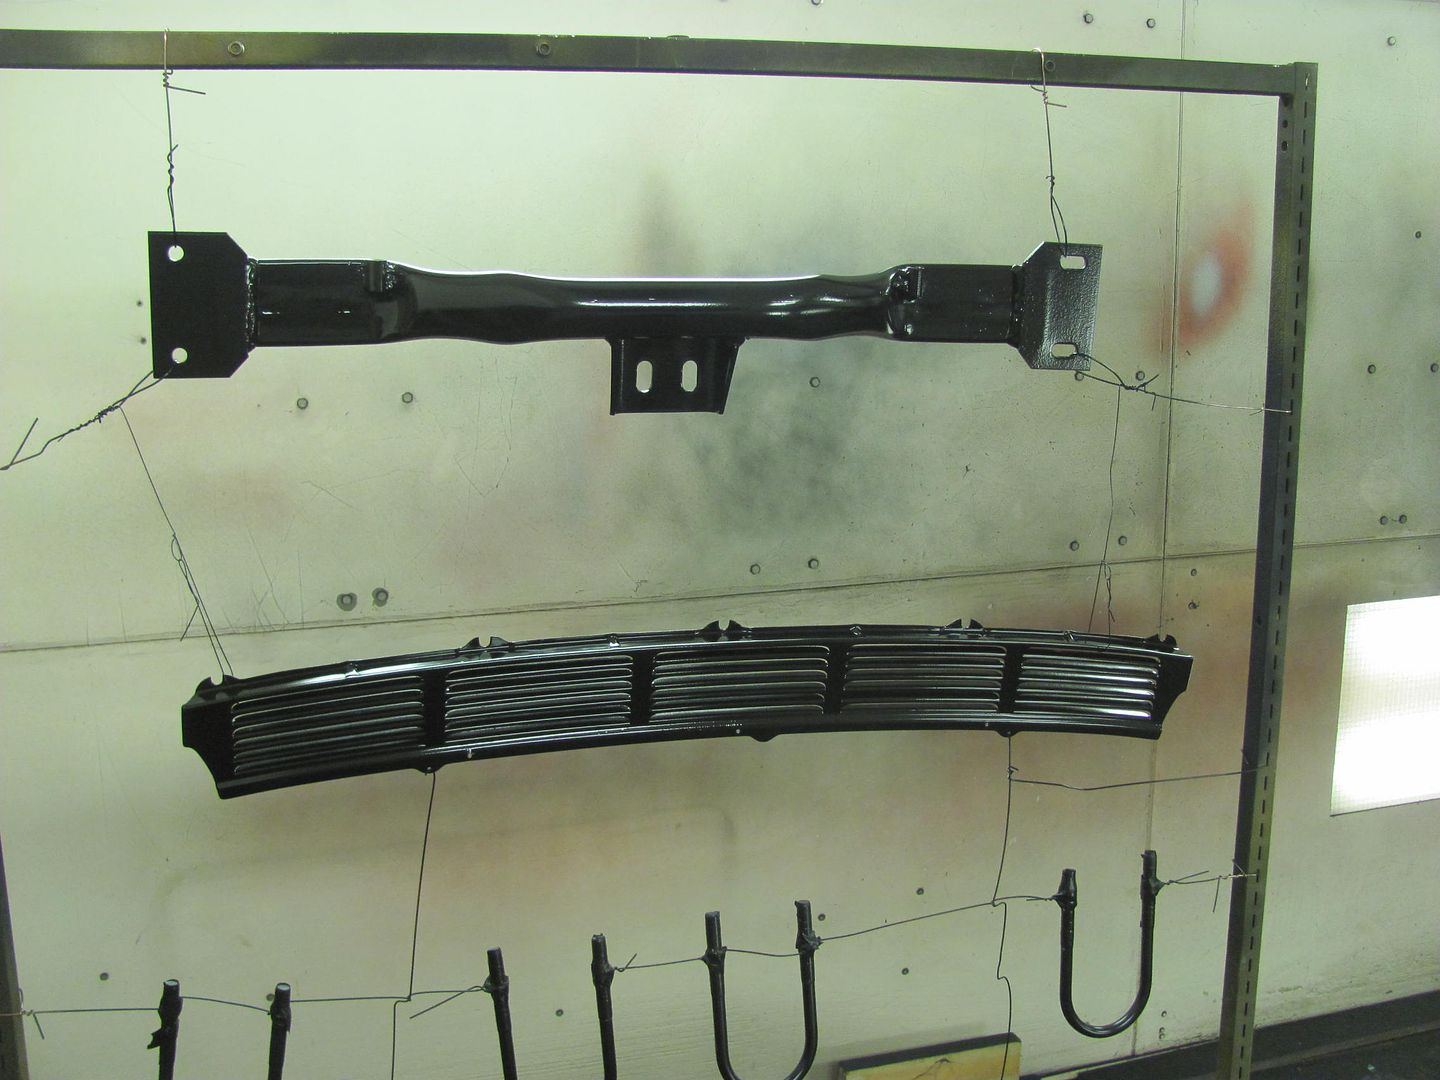
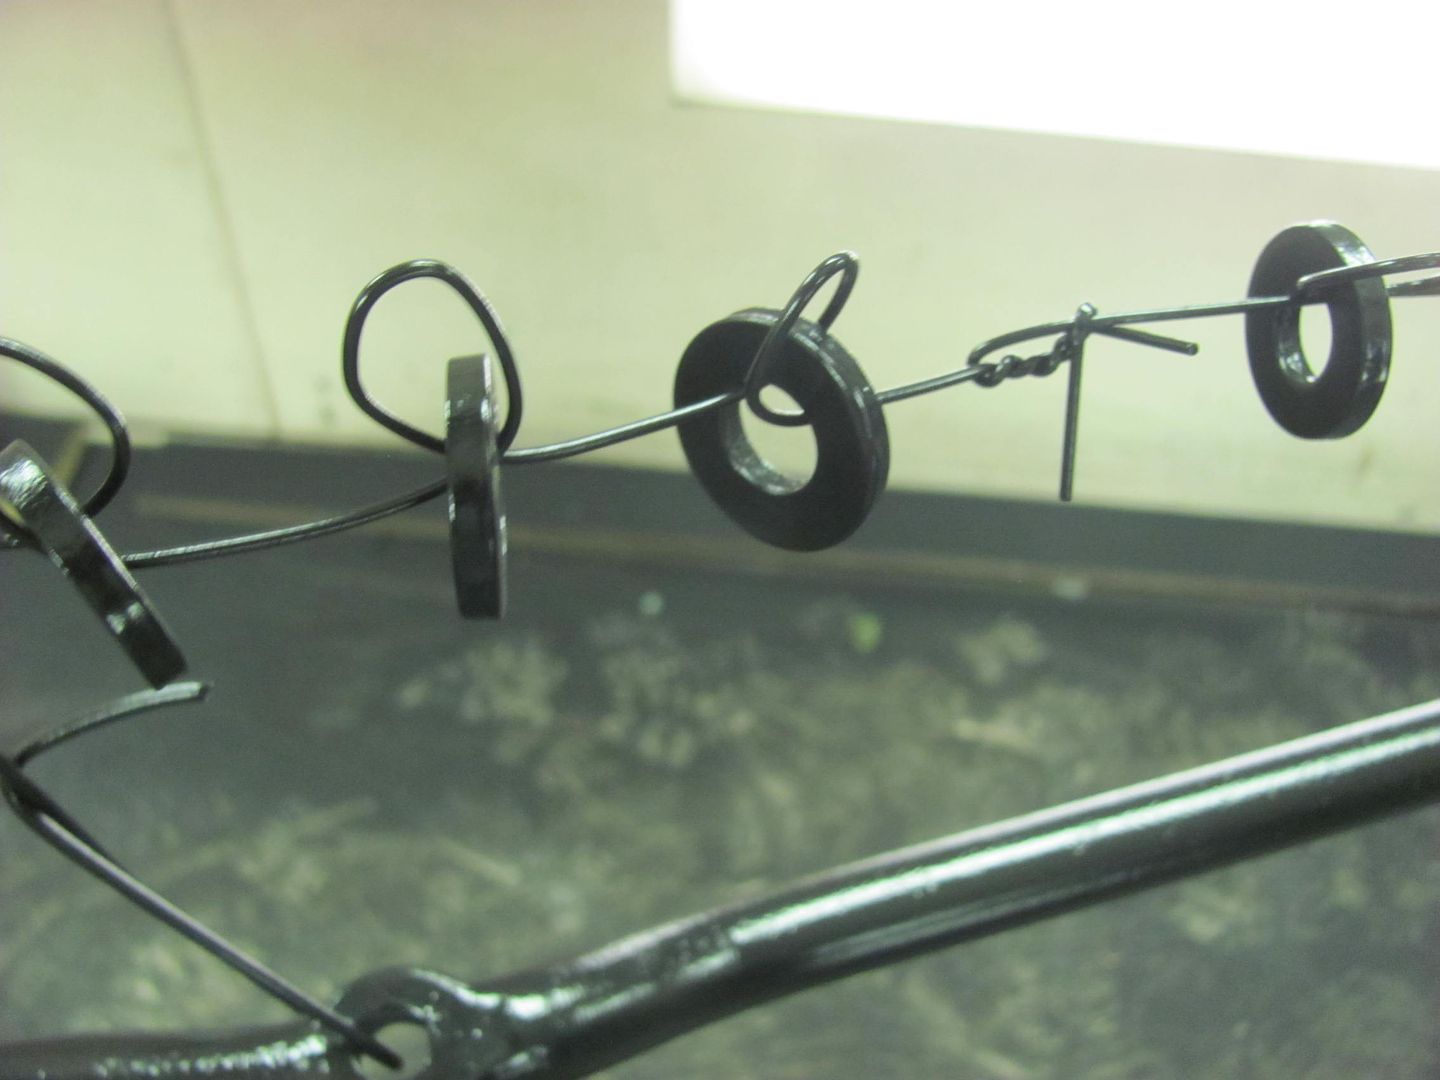
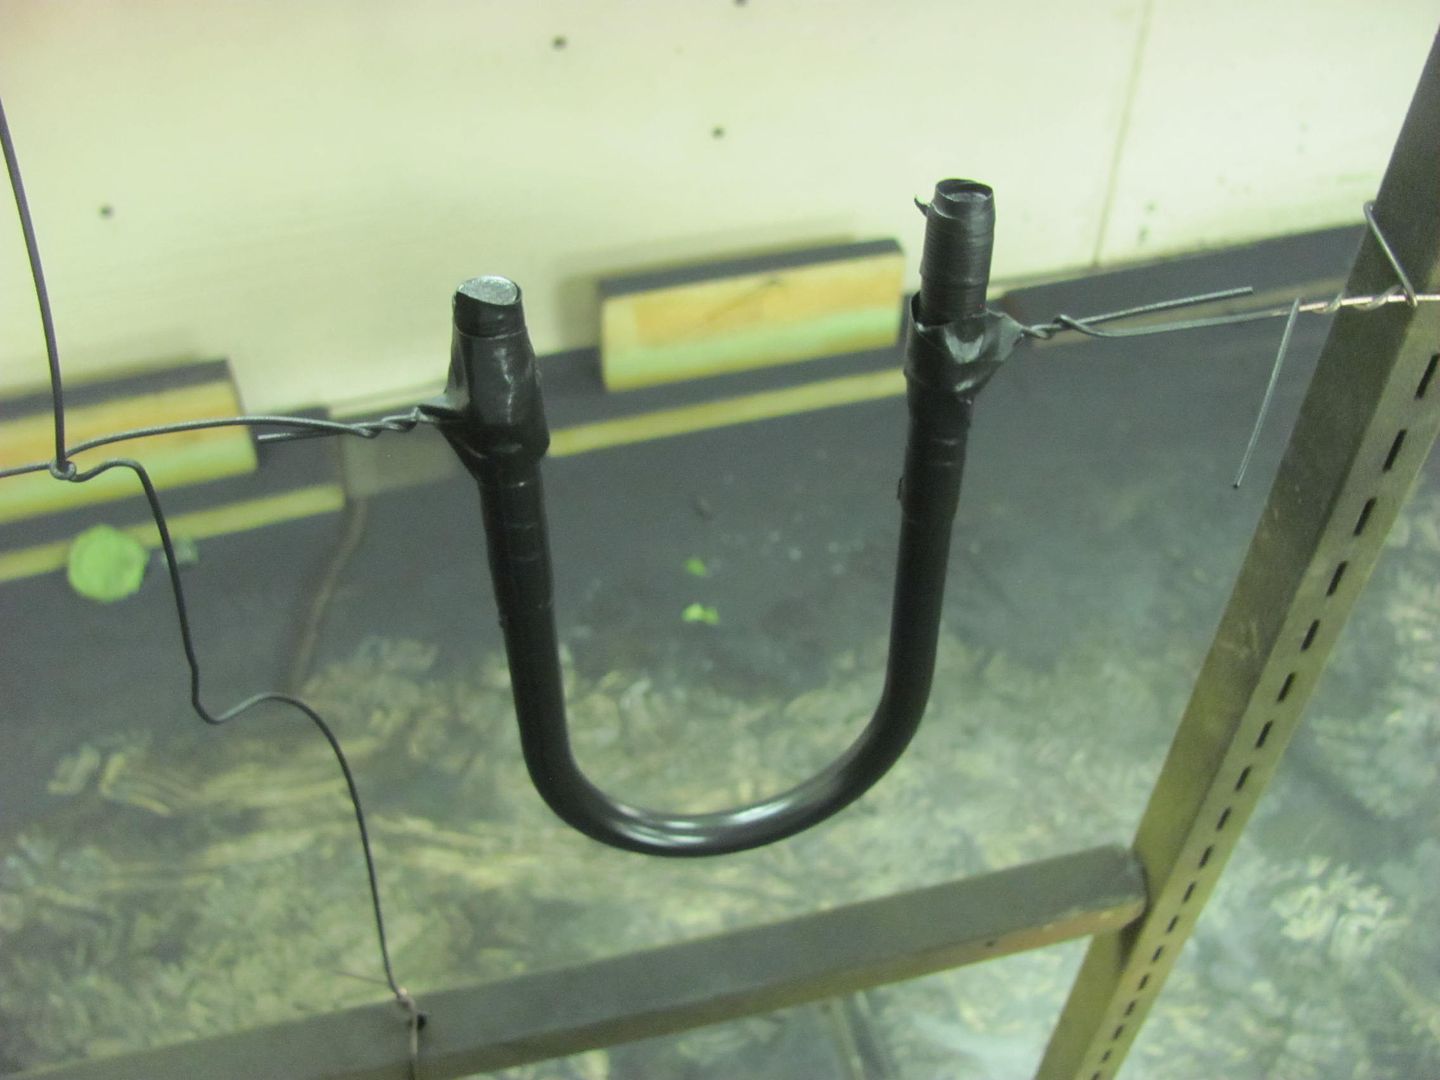
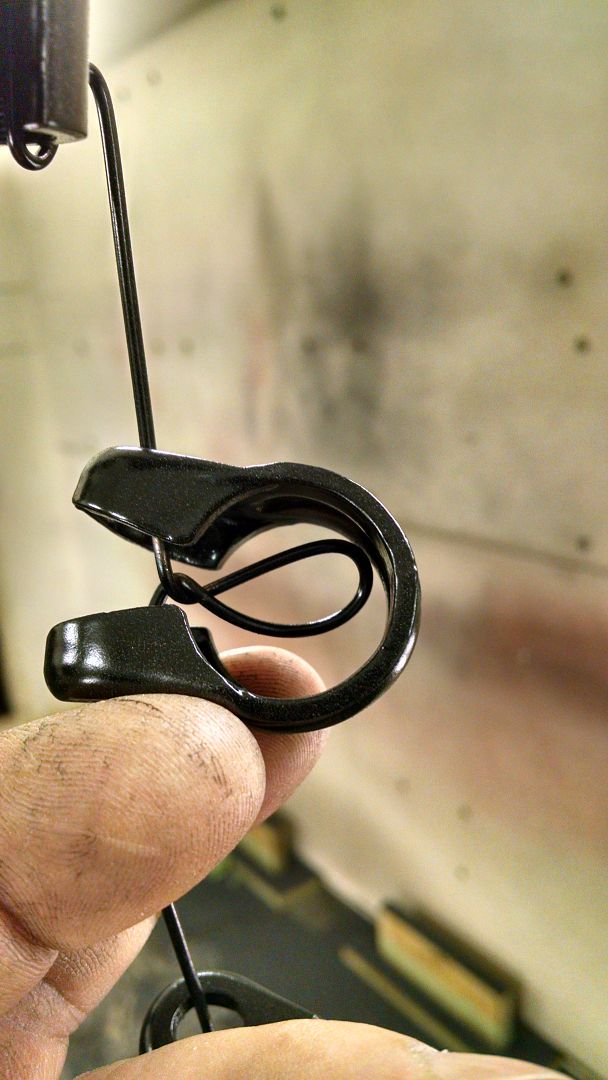
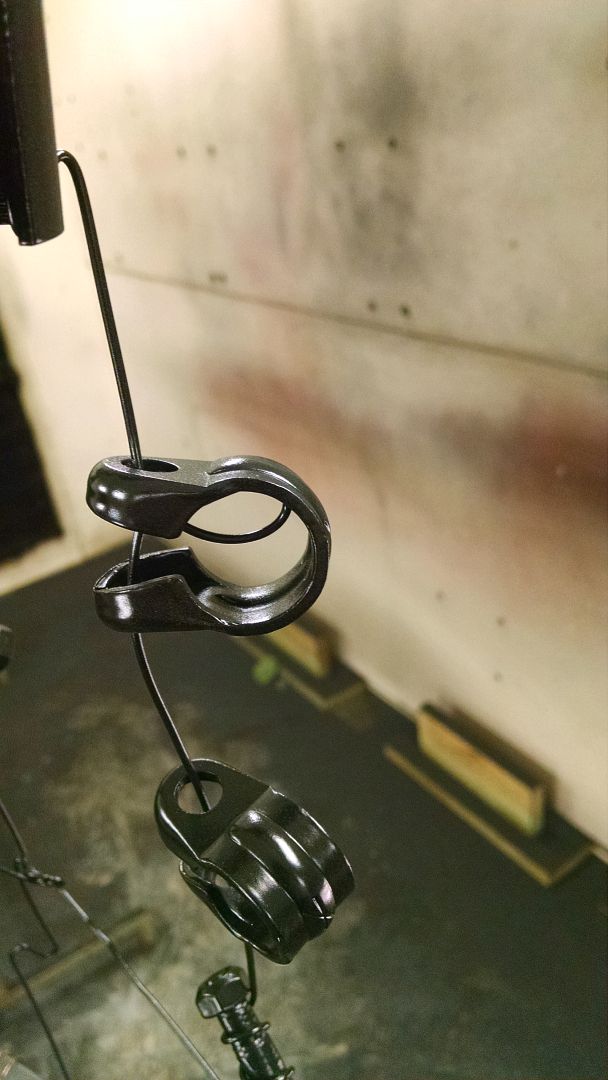
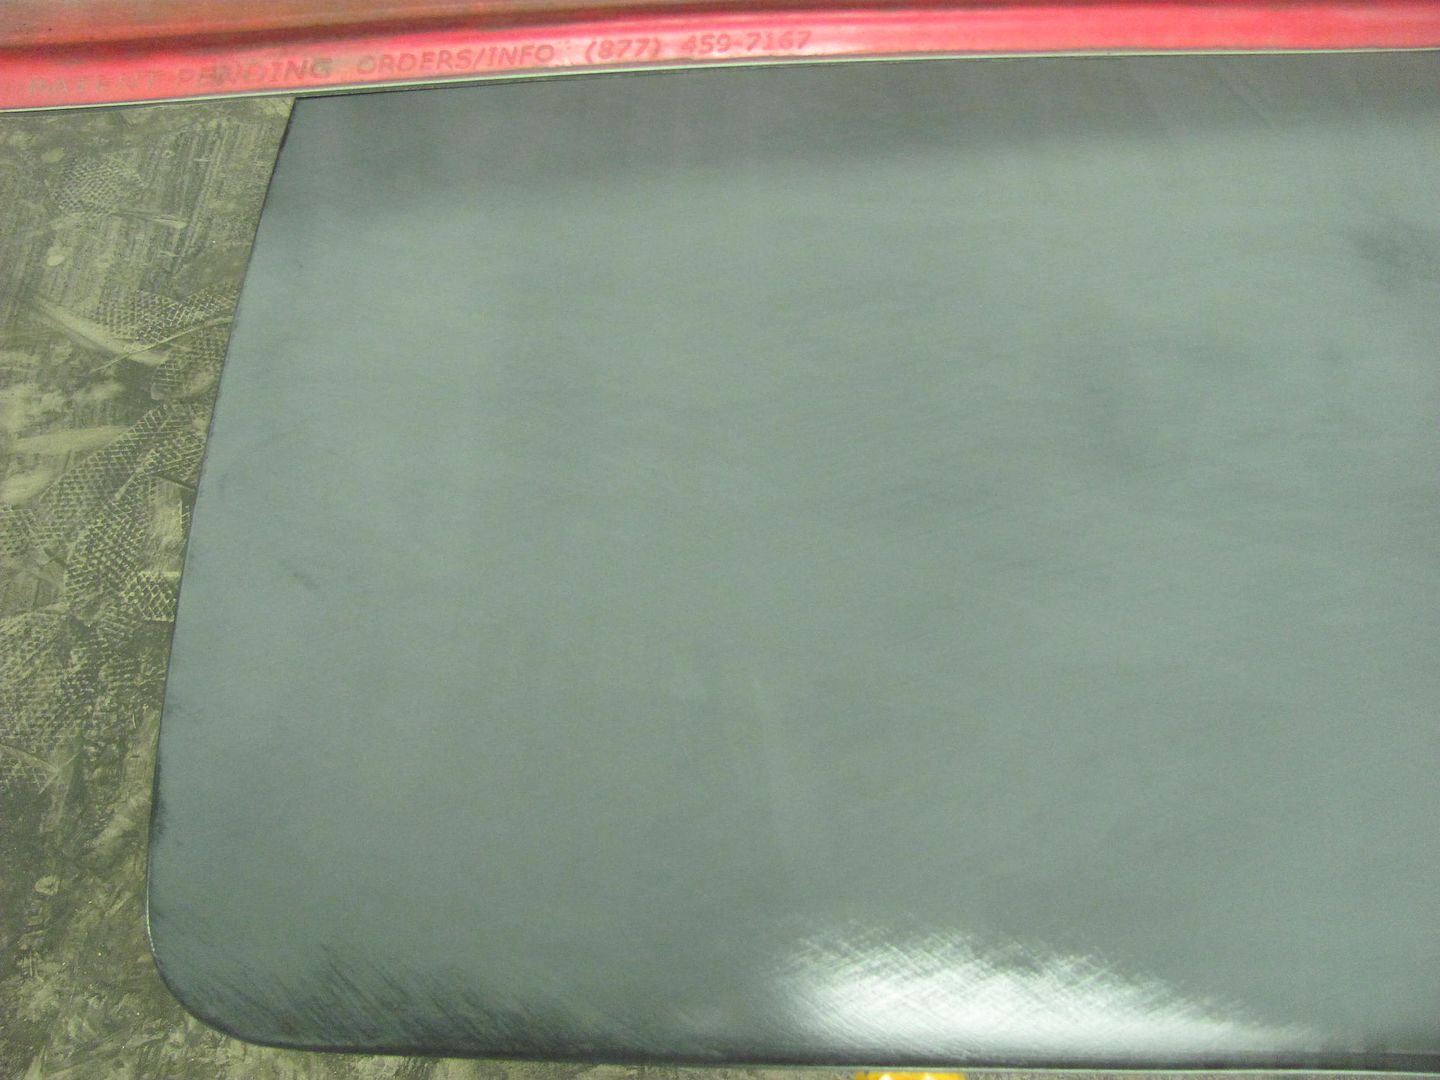
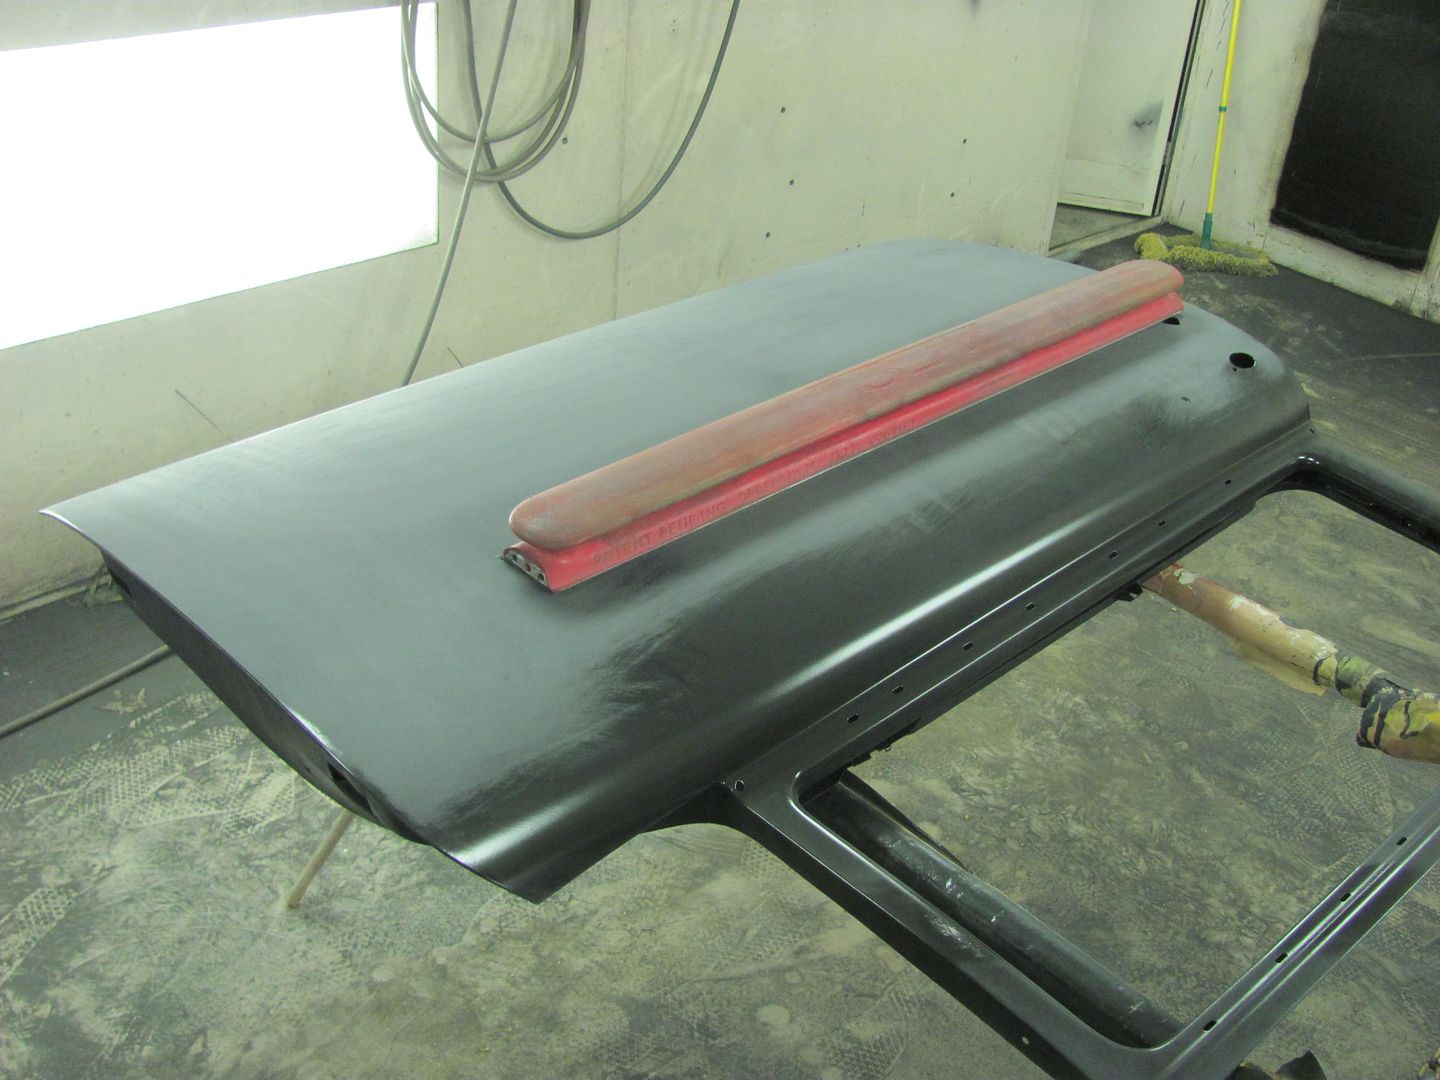
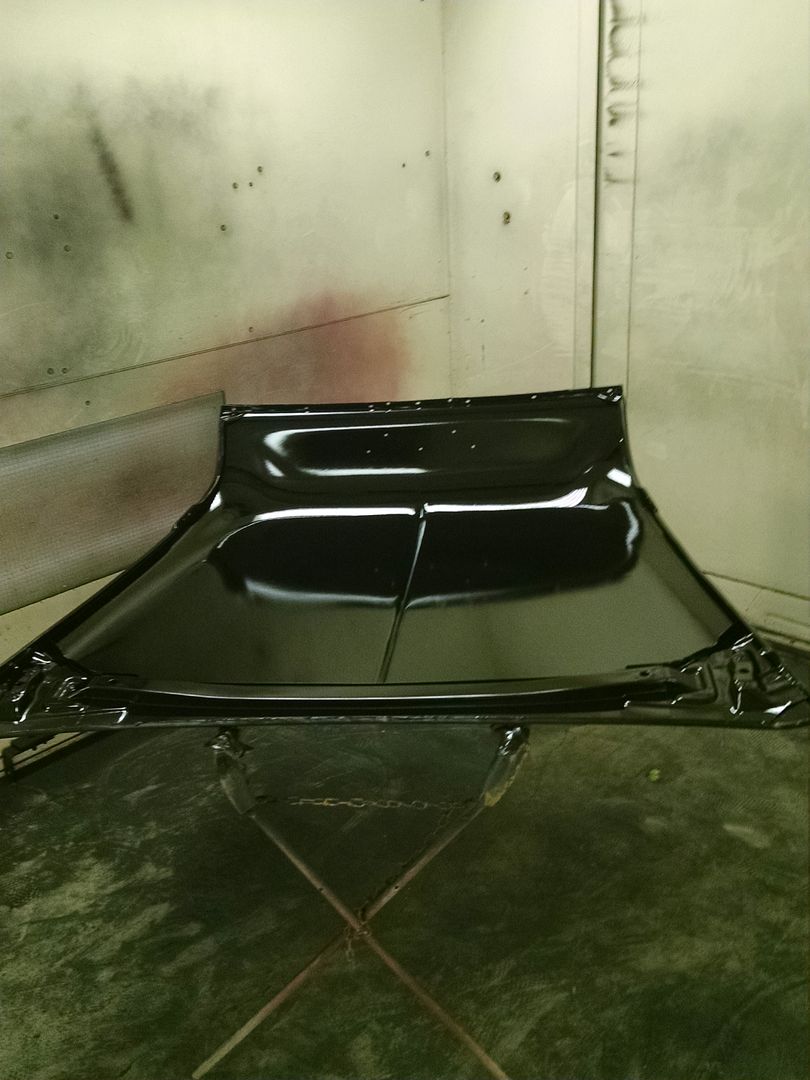
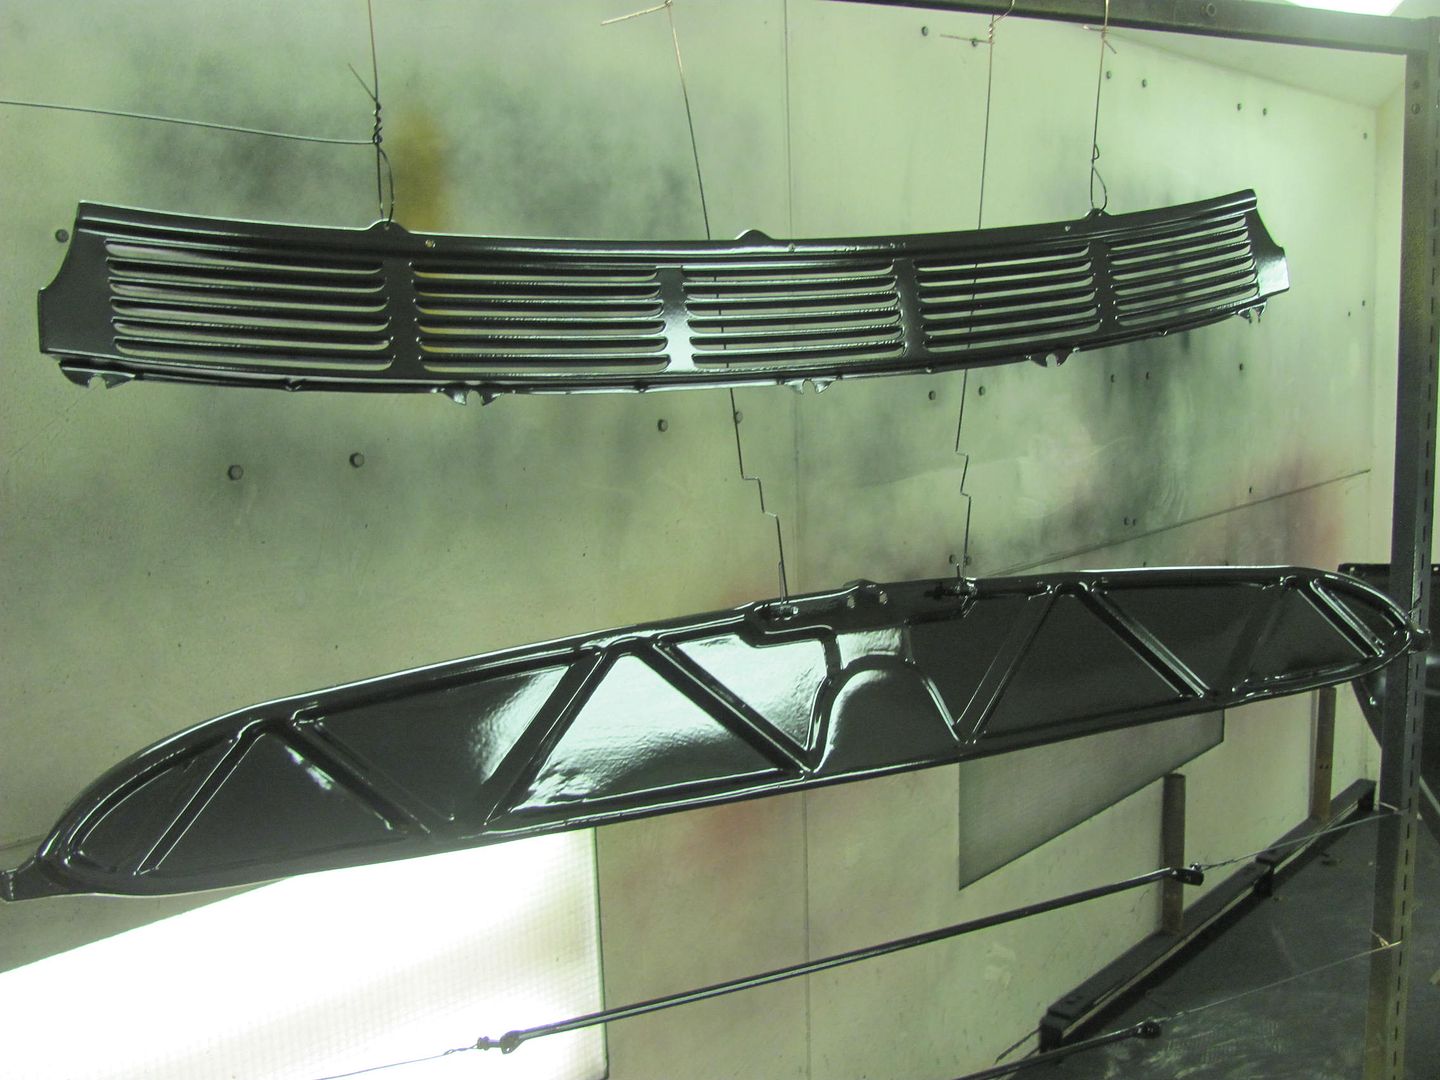
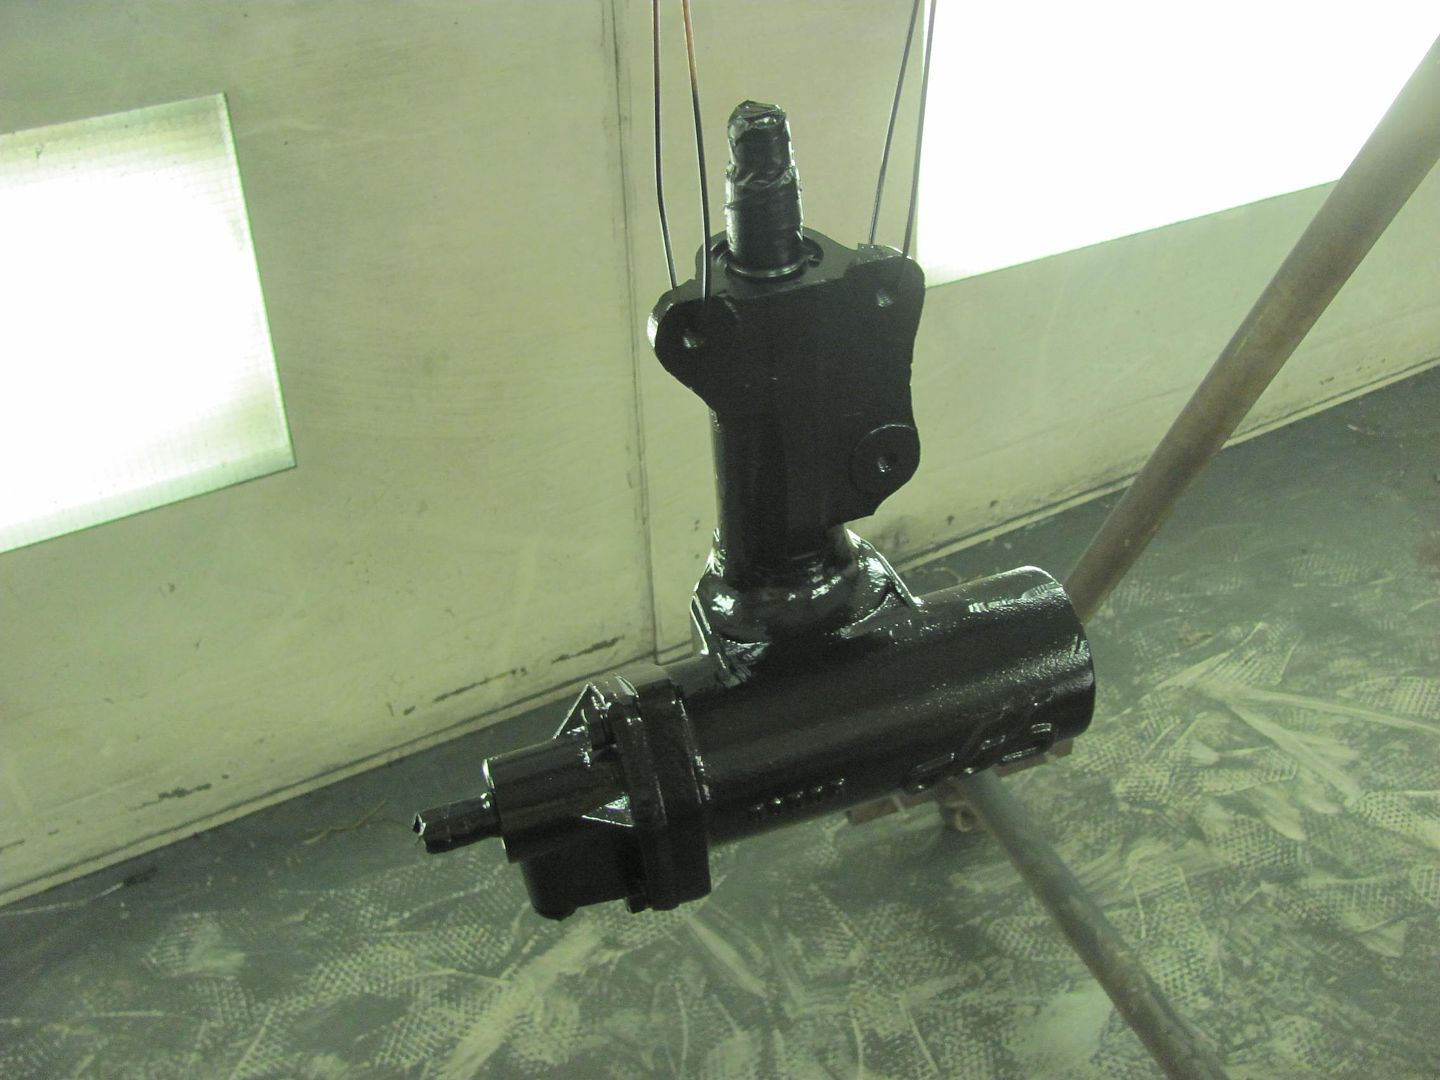
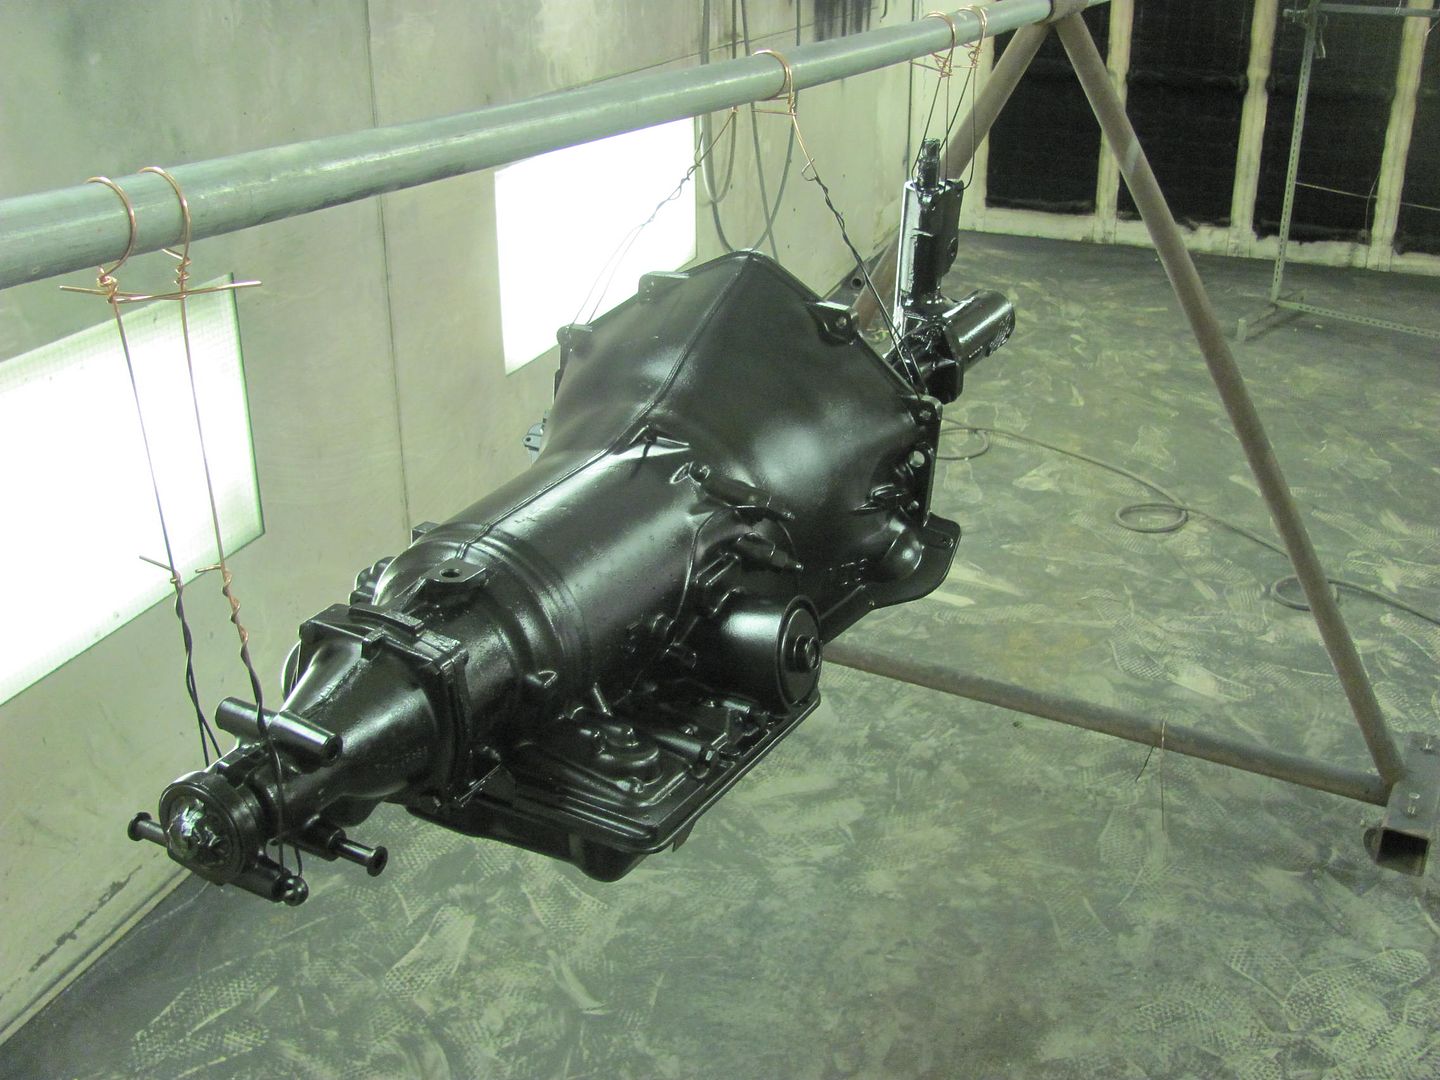
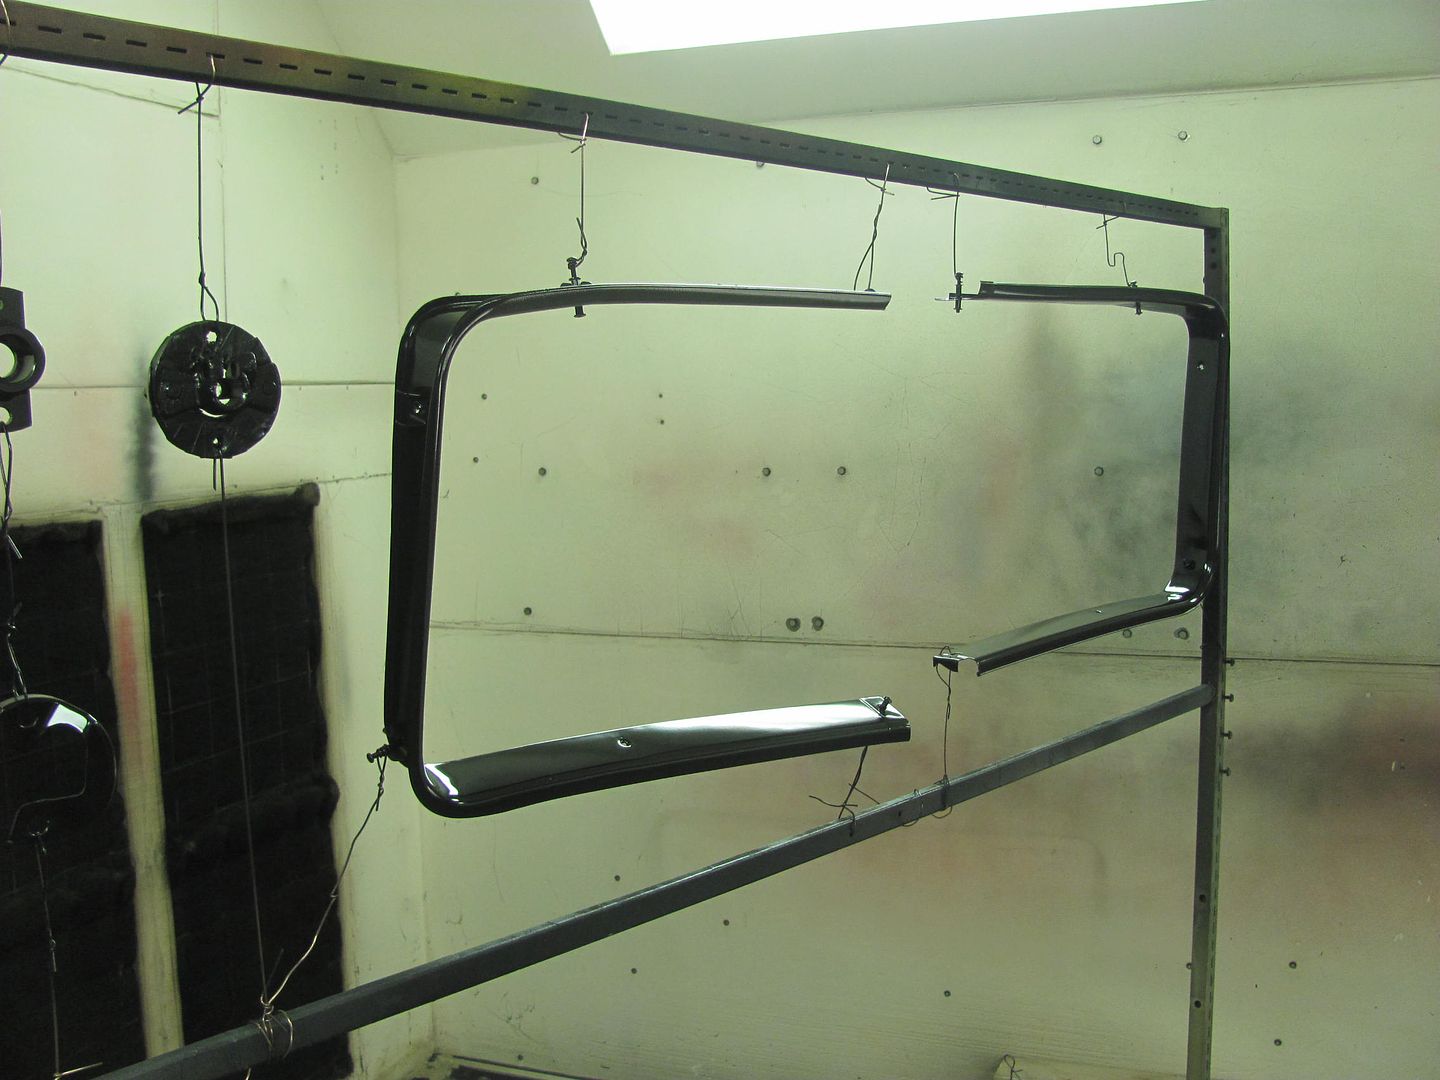
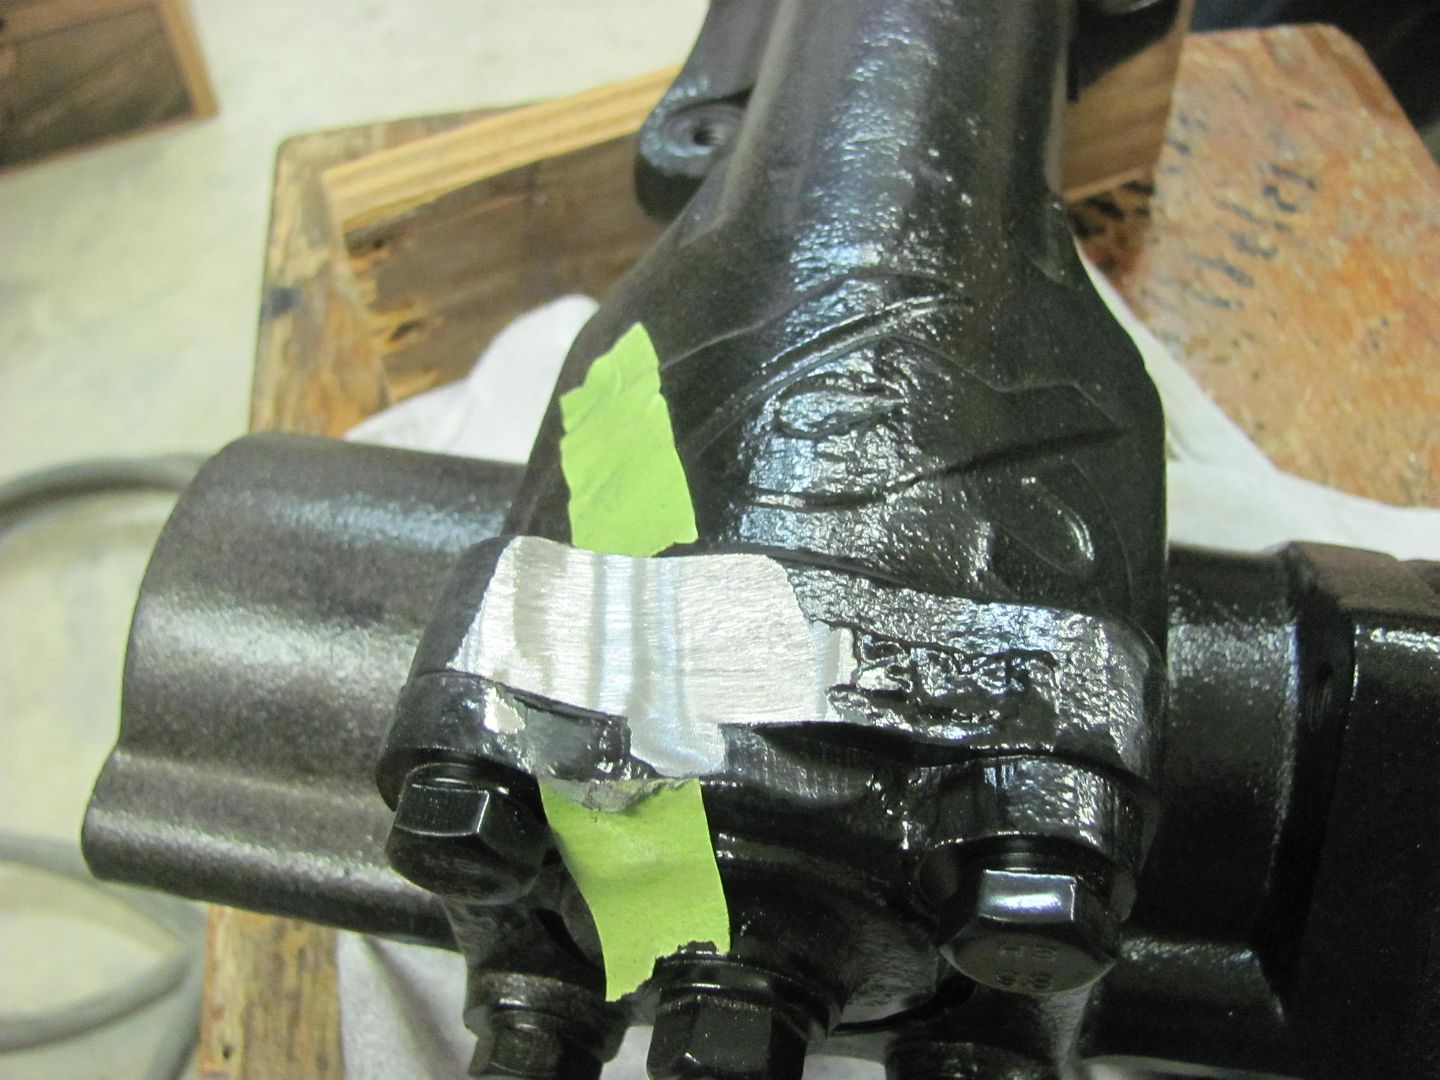
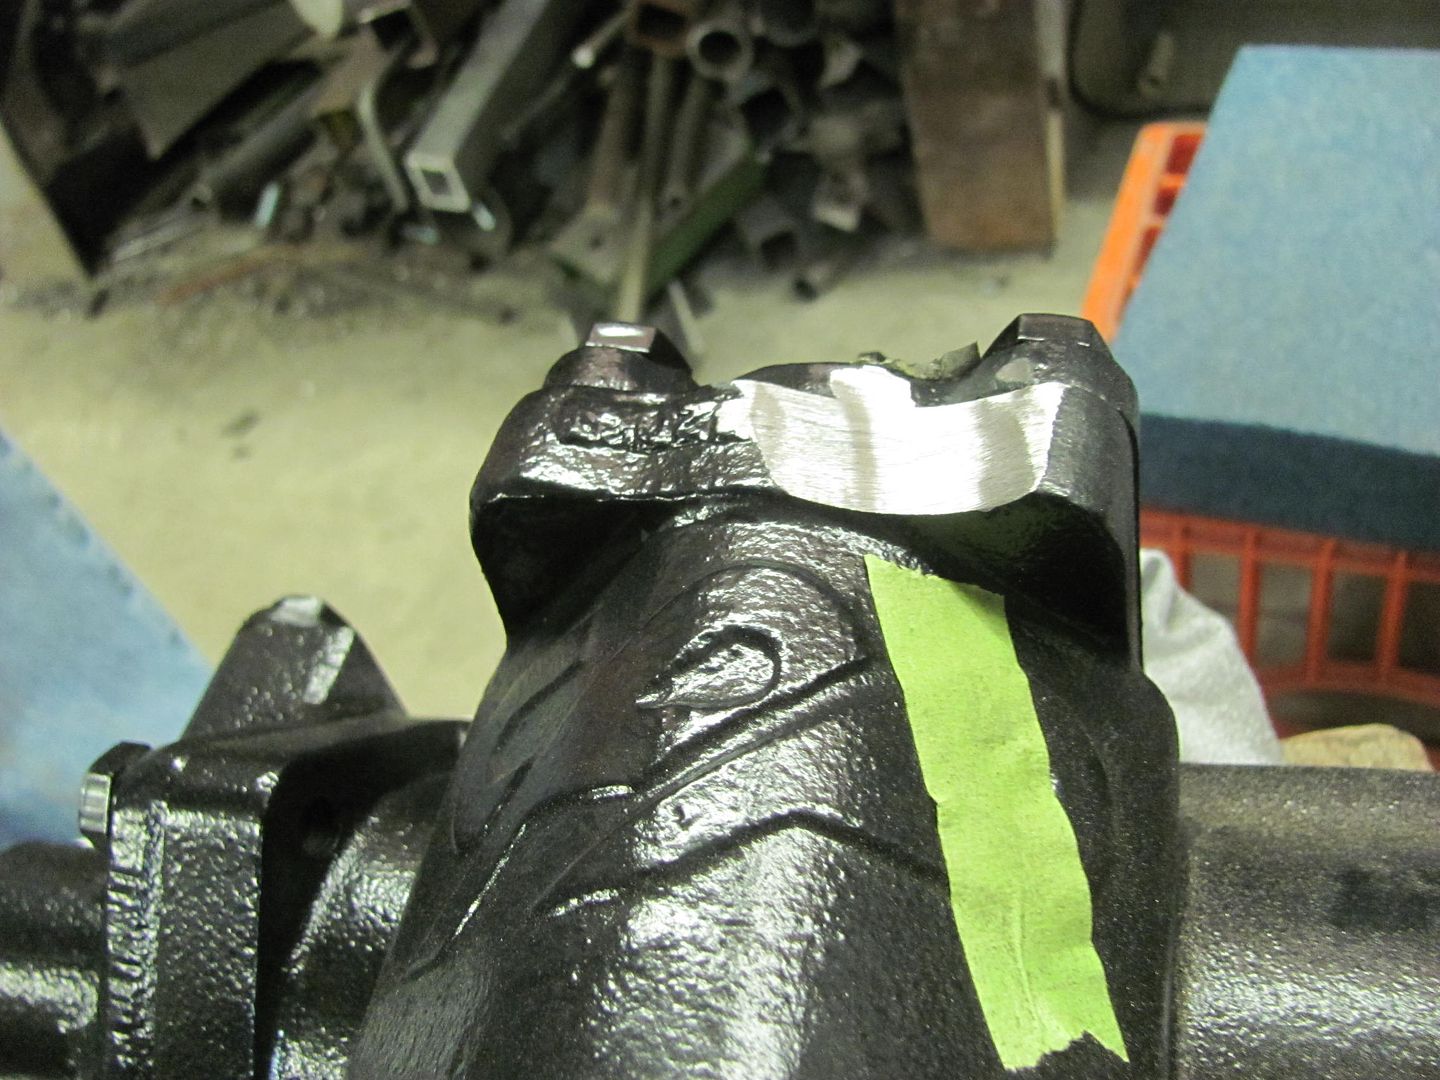
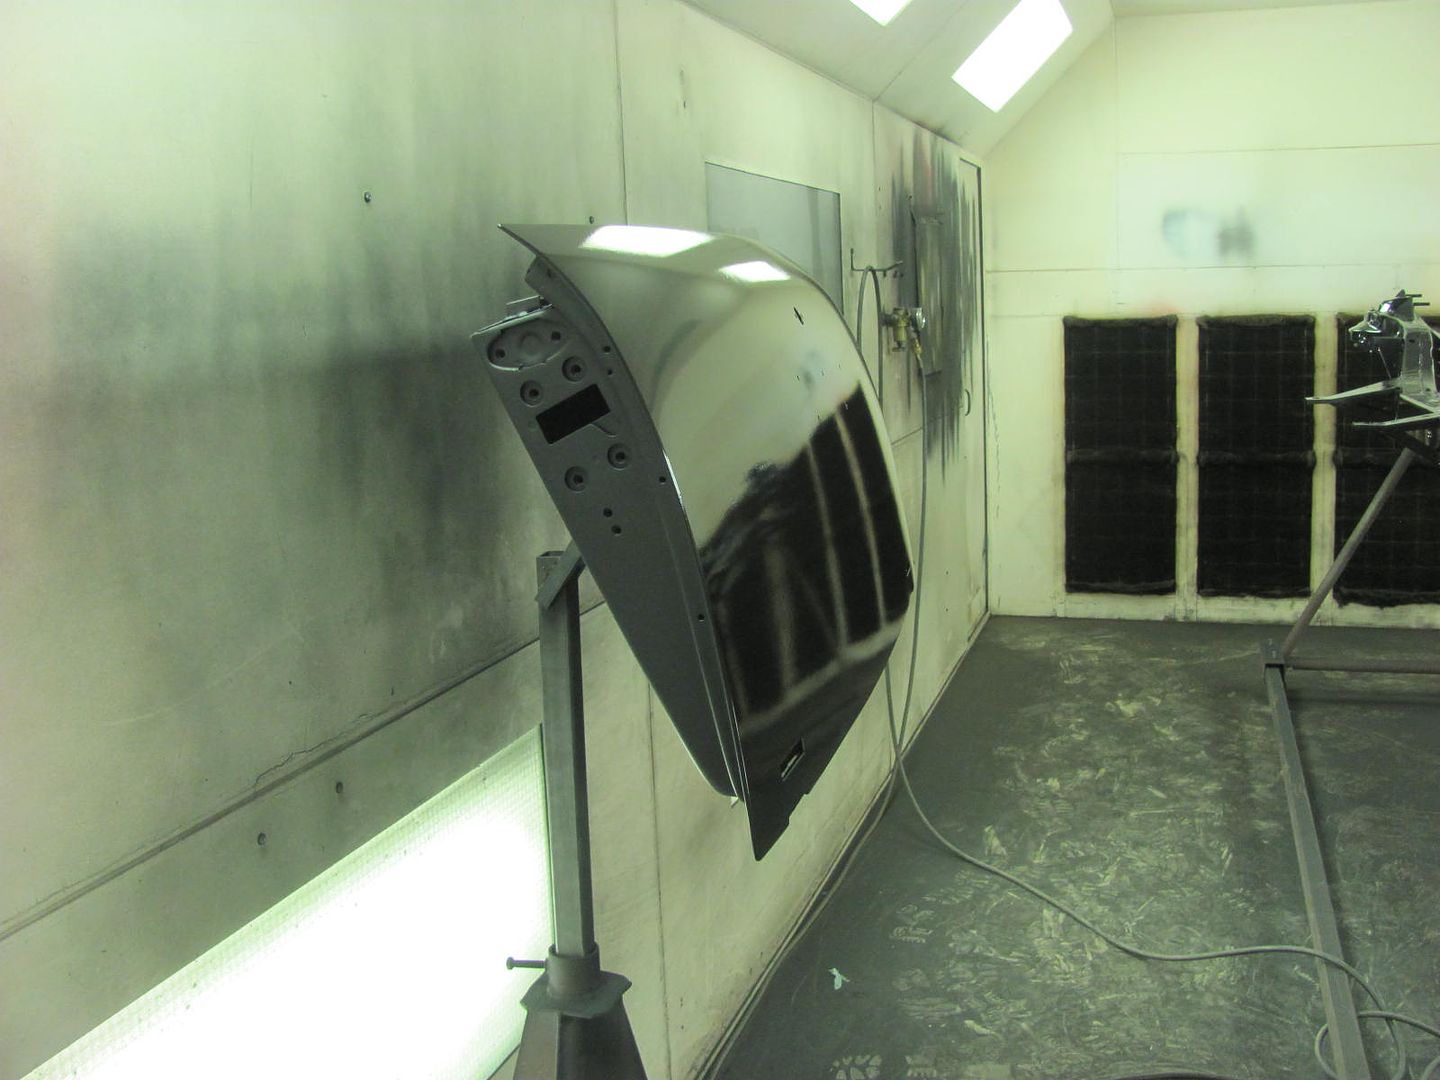
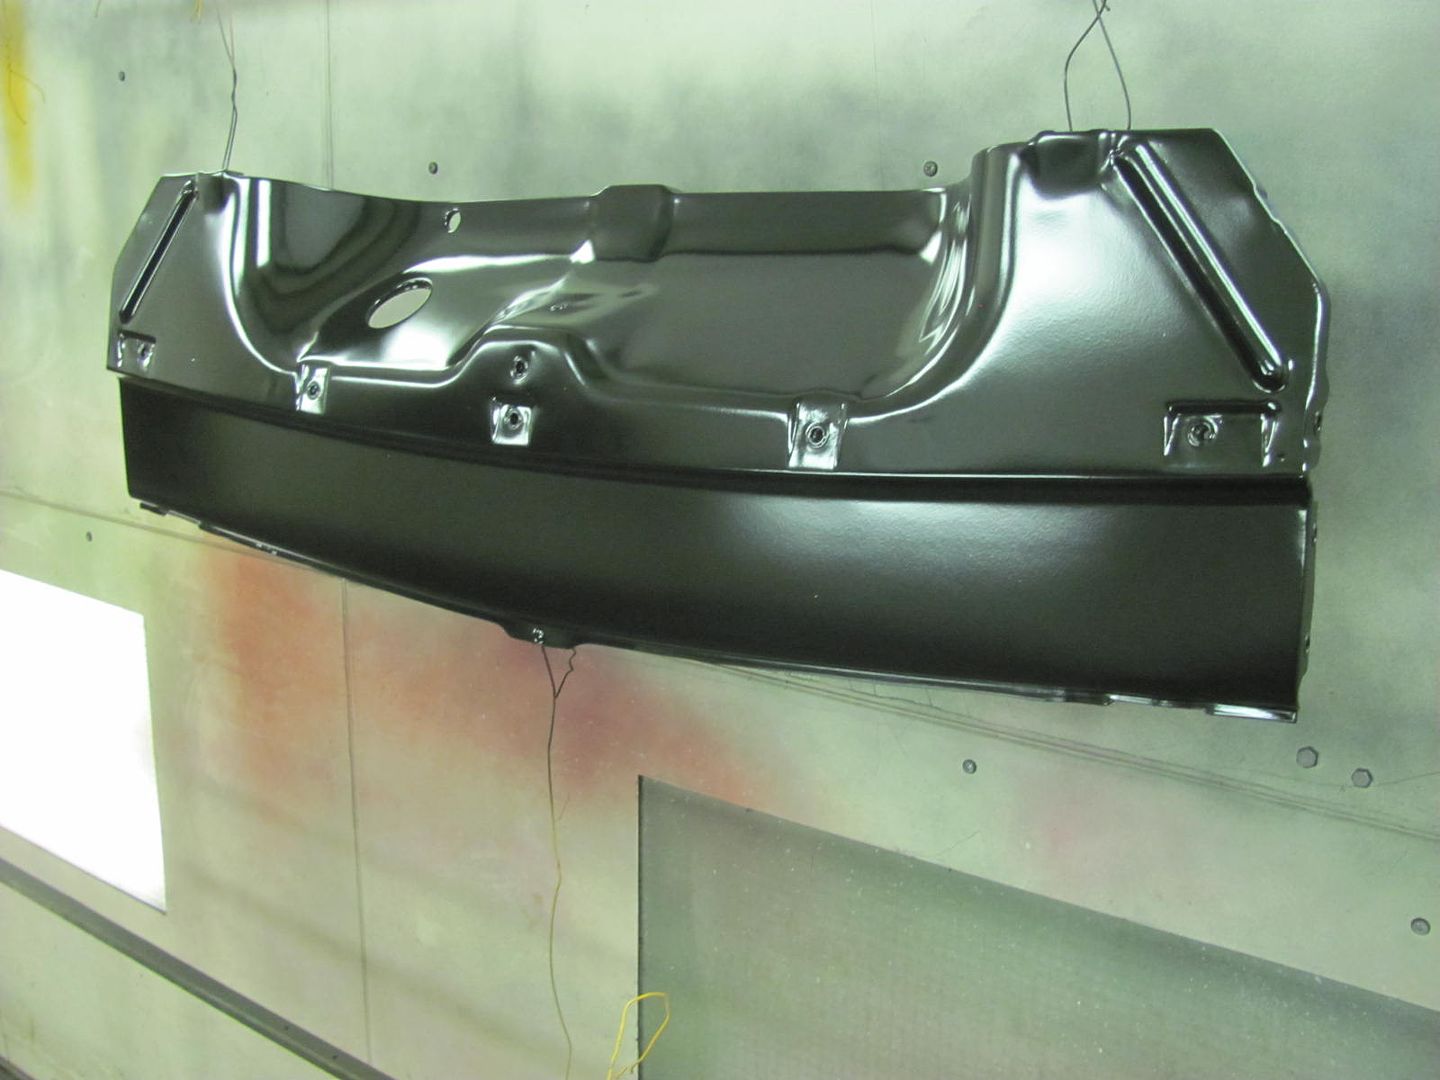
Also got some more primer on these parts as well, should be ready for blocking in a few days.
Here's the "winter" heating method for spraying in cold temps. 170,000 BTU aimed at the air return, and the air handler fan turned on constant to circulate the heat. Open window for air intake..
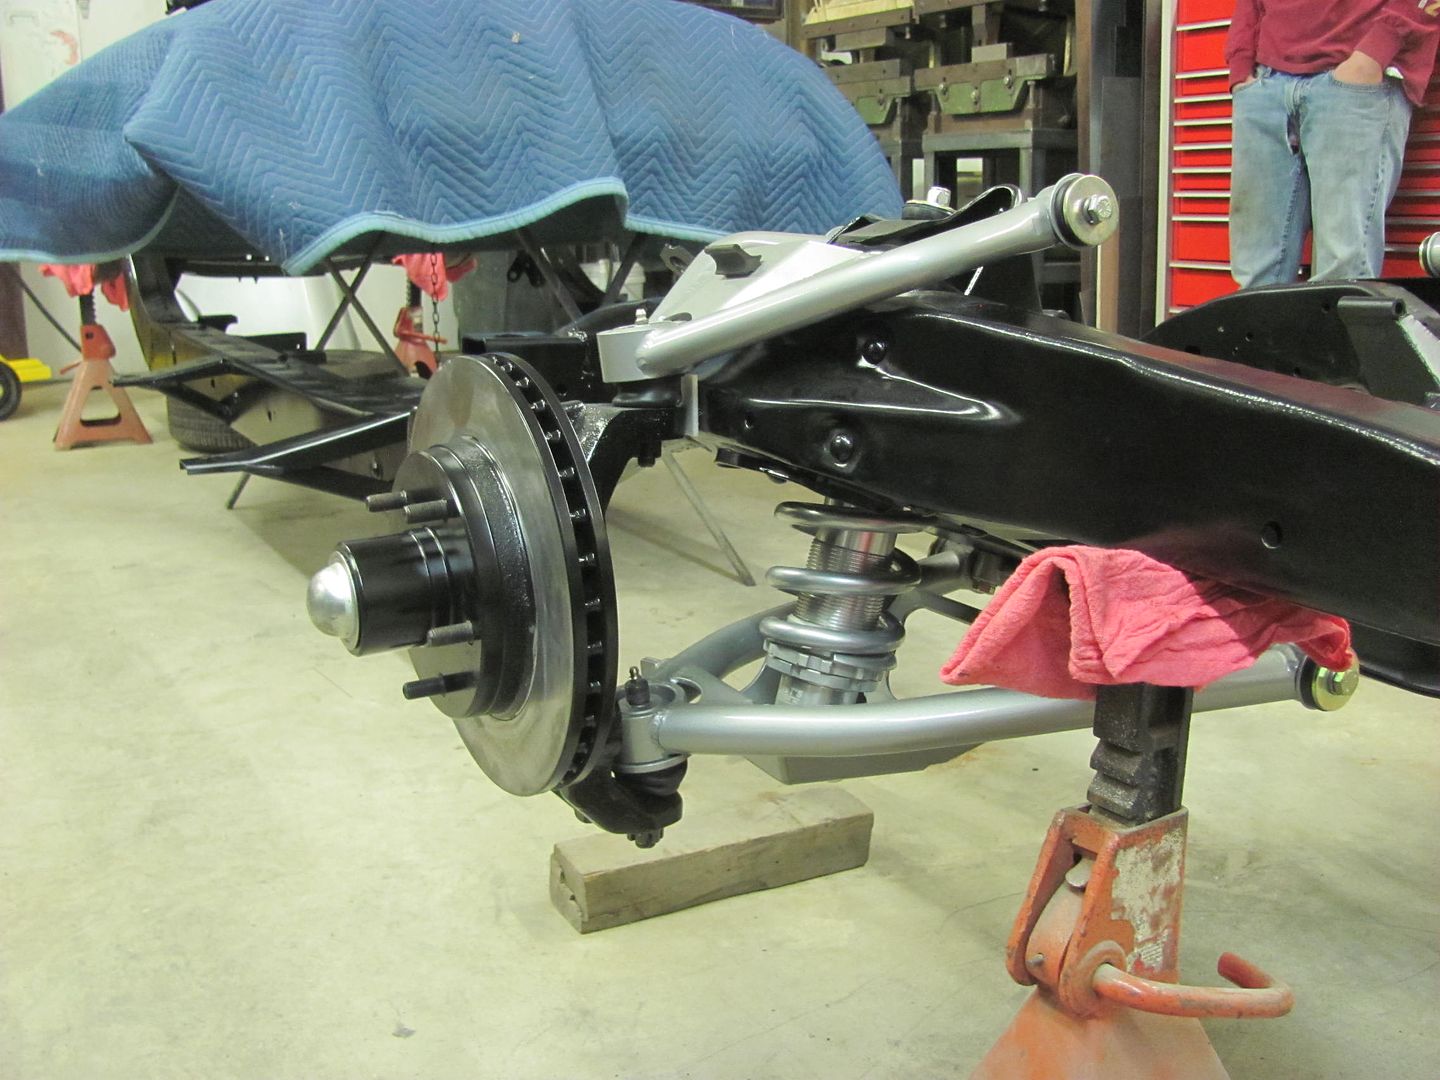
After three coats of primer, the sides of the frame are looking much better than before...
Also got some more primer on these parts as well, should be ready for blocking in a few days.