The table inside your welder is generally for full pass welds, and typically with sheet metal you are welding one weld dot at a time or a limited pass. Higher heat setting is required to get full penetration welds and the "heat realized" is controlled by amount of time on the trigger pull. As far as feed rate, I set up machine first to get your full penetration weld and adjust feed rate faster (if needed) to prevent any blowout. If there's a higher amount of heat and not enough filler going in for said amount, the weld is going to melt something in it's way, hence a blowout. So yes, add more feed speed here.
As far as other comments I'd have to agree. Porosity in your welds is a weld problem, fix it in the weld stage. If it's that bad grind it out and re-weld. Yes we are here to learn and share methods with others, but continuing to perform a weld operation incorrectly gives you a bad weld subject to failure. Relying on a bandaid of fiberglass filler or all-metal over welds is not the correct way to get better at welding, it only makes you more likely to perform sub-standard work in the future. So for whatever process you use, if you're not getting the expected results, fix the issue at that stage. I highly recommend using test coupons to set up your welder's heat settings, feed speed, and also OPERATOR TECHNIQUE. Working on your good panels on your project car is not the time to find out these parameters. Then if you run into any issue on the car, you can eliminate/limit some of the trouble areas and better figure out what is happening..
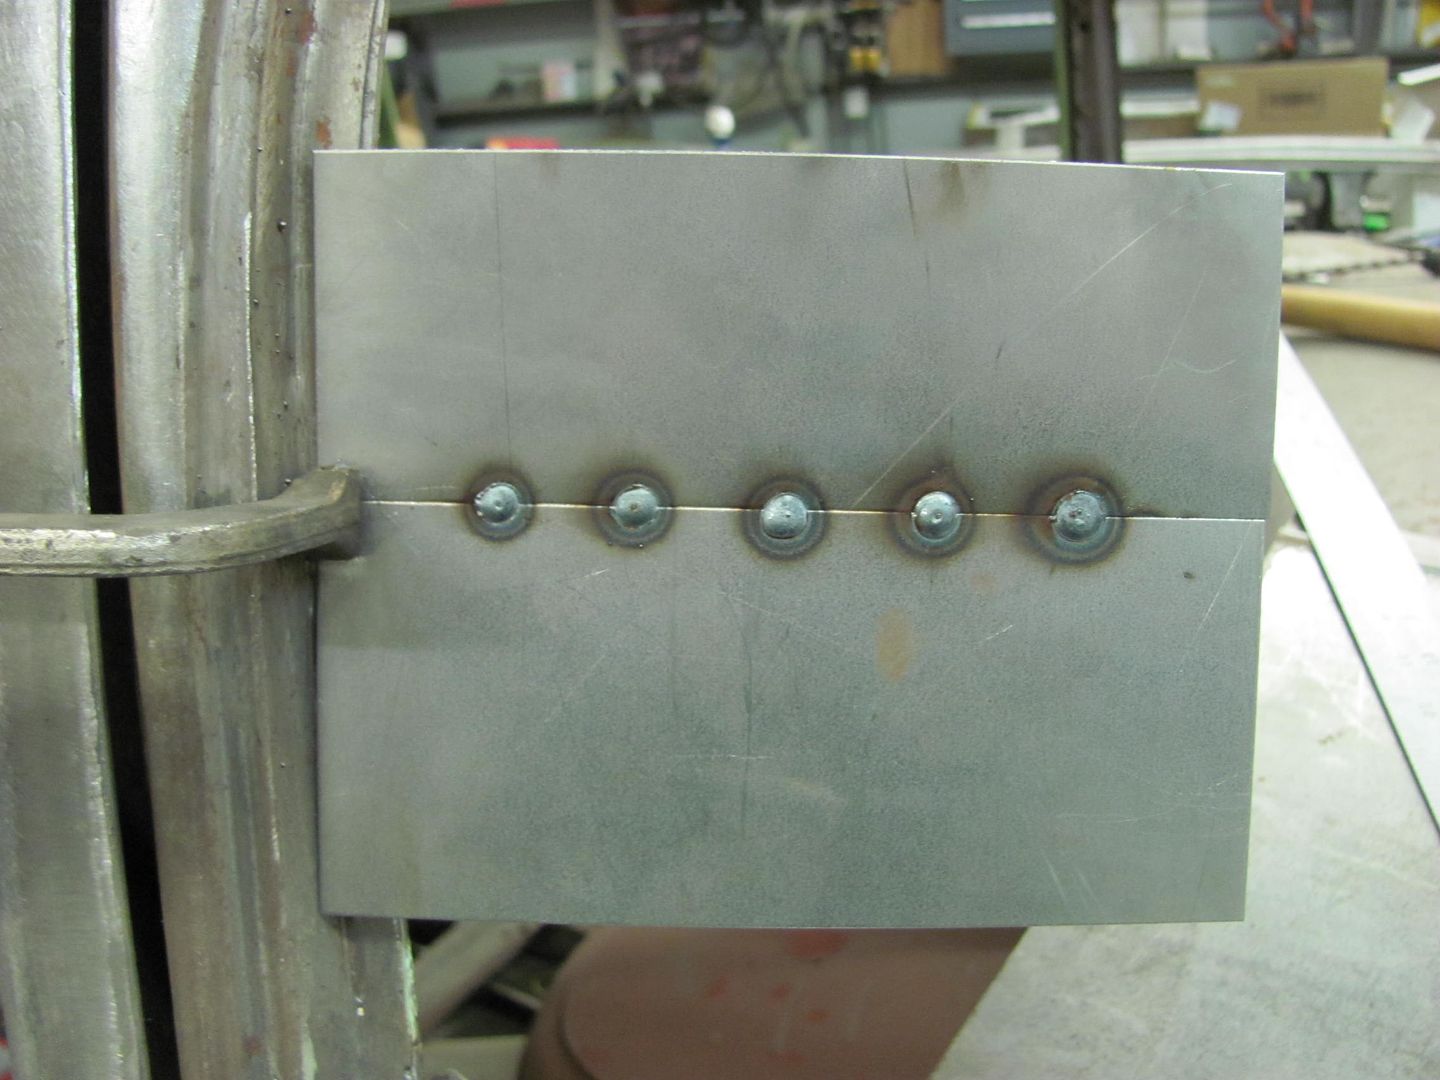
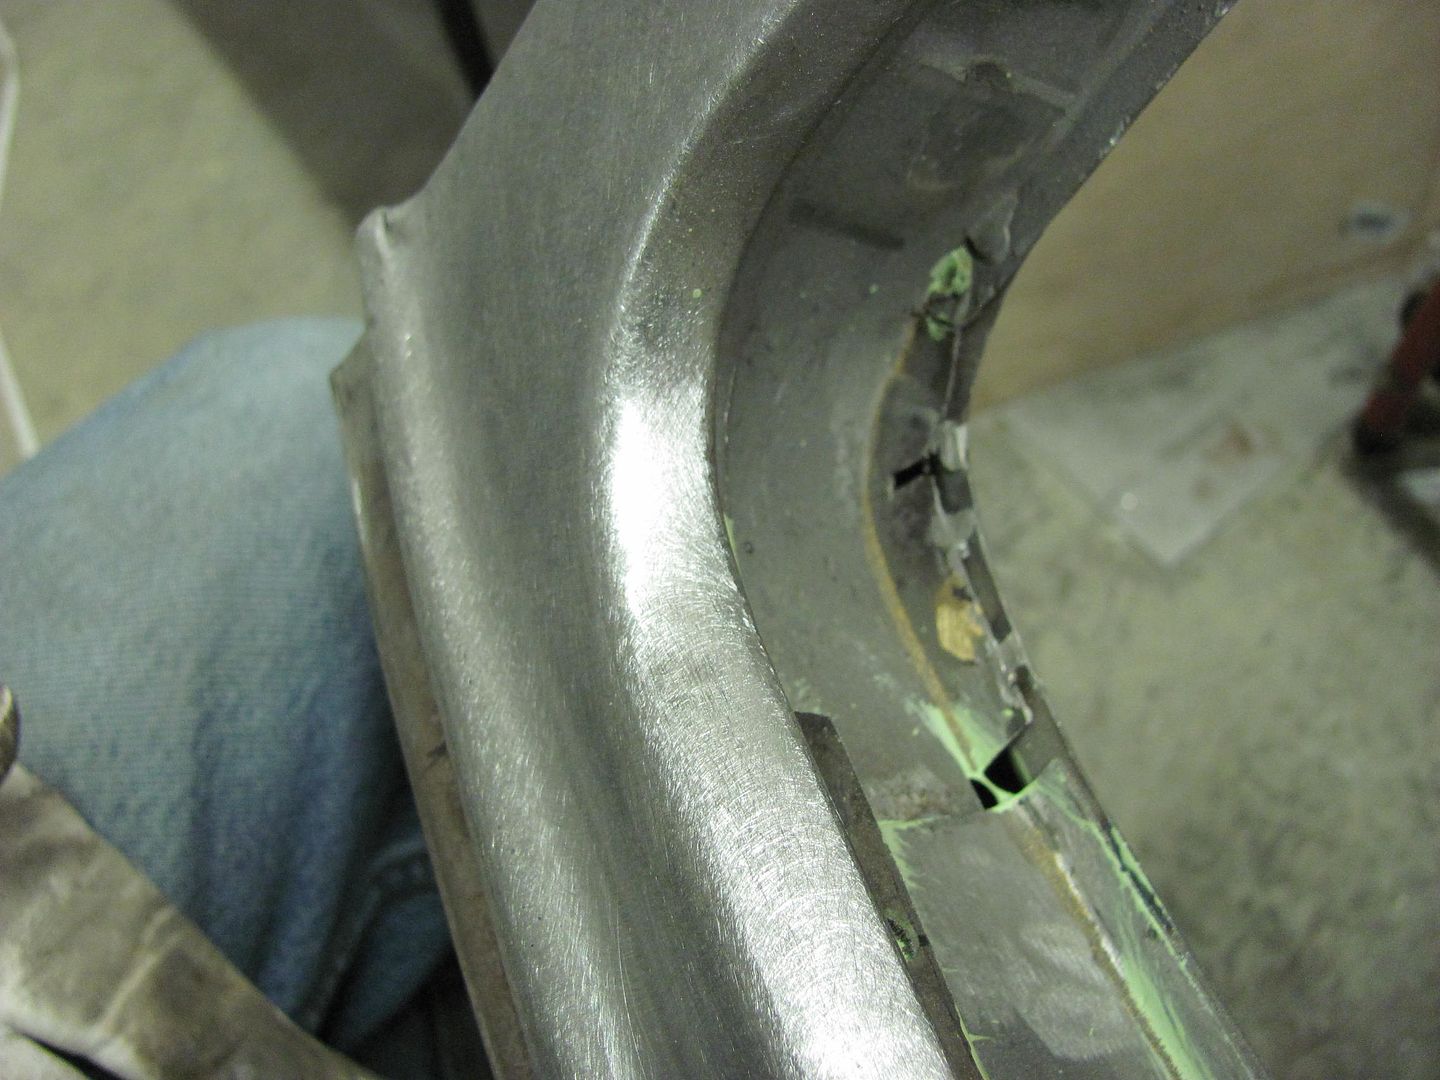
Back to Marty's comment of controlling the heat with the trigger, I did a test weld about a year or so ago using .035 wire, and dialed in the settings for
3/16 thick steel (per the settings chart in the machine) bumped up the feed speed slightly, and ran some test welds in
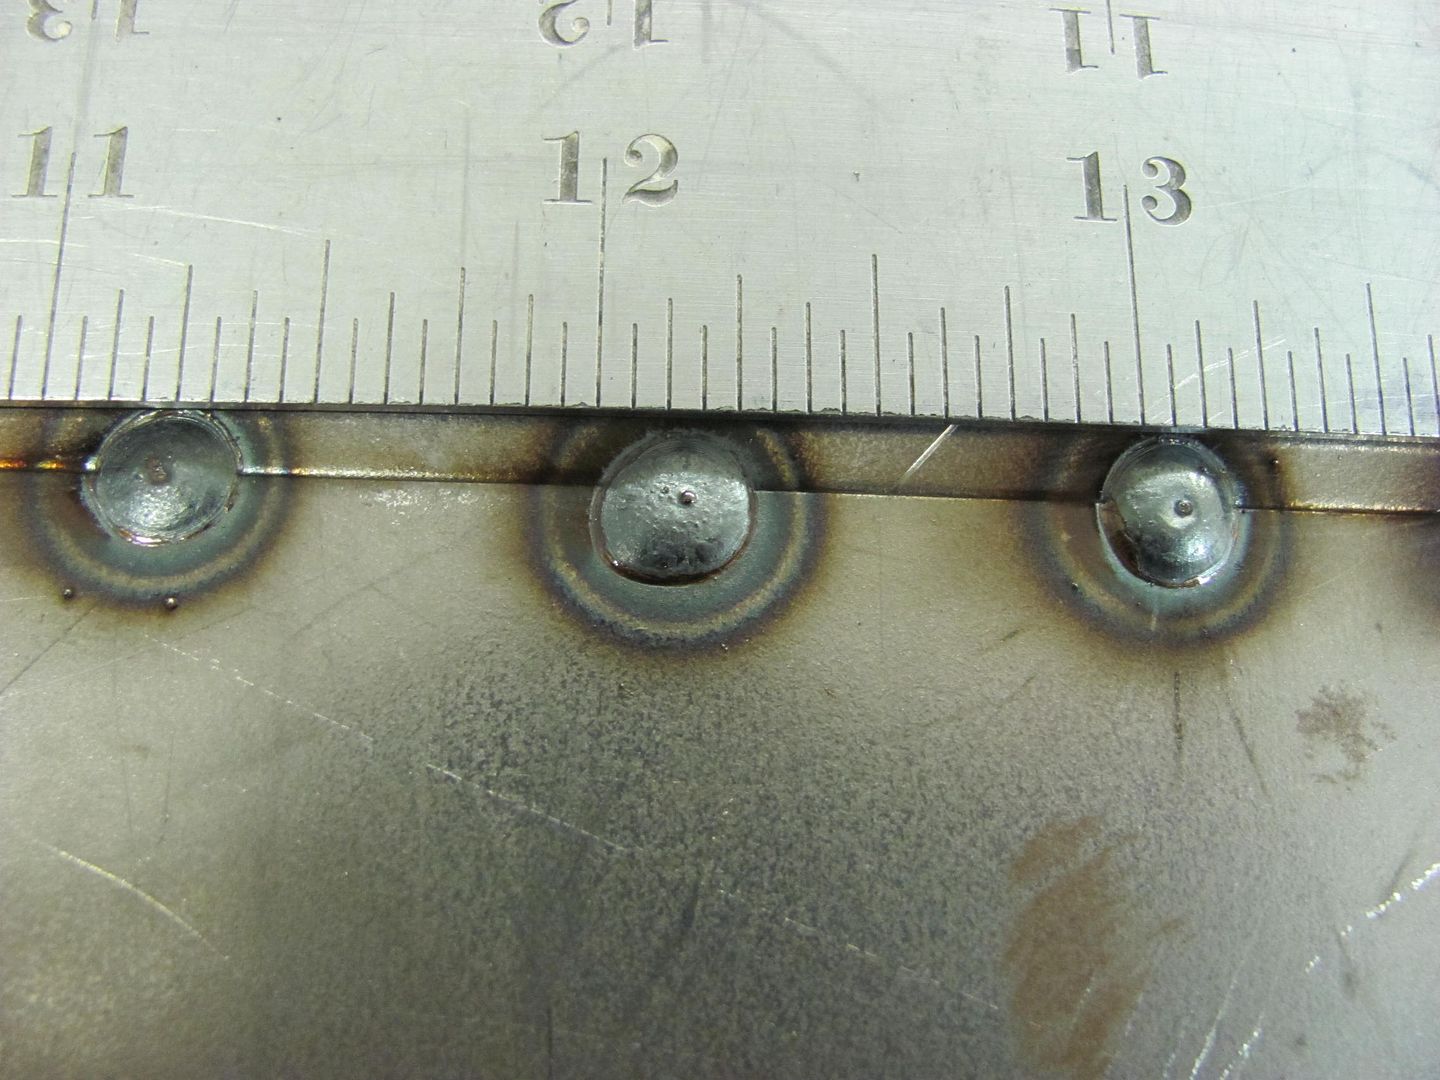
19 gauge steel... The trigger pulls here are all of about 1/2 seconds or less. Note the test panel is clamped in free air to simulate butt welding on your car's panels. Note there are absolutely ZERO blowouts.
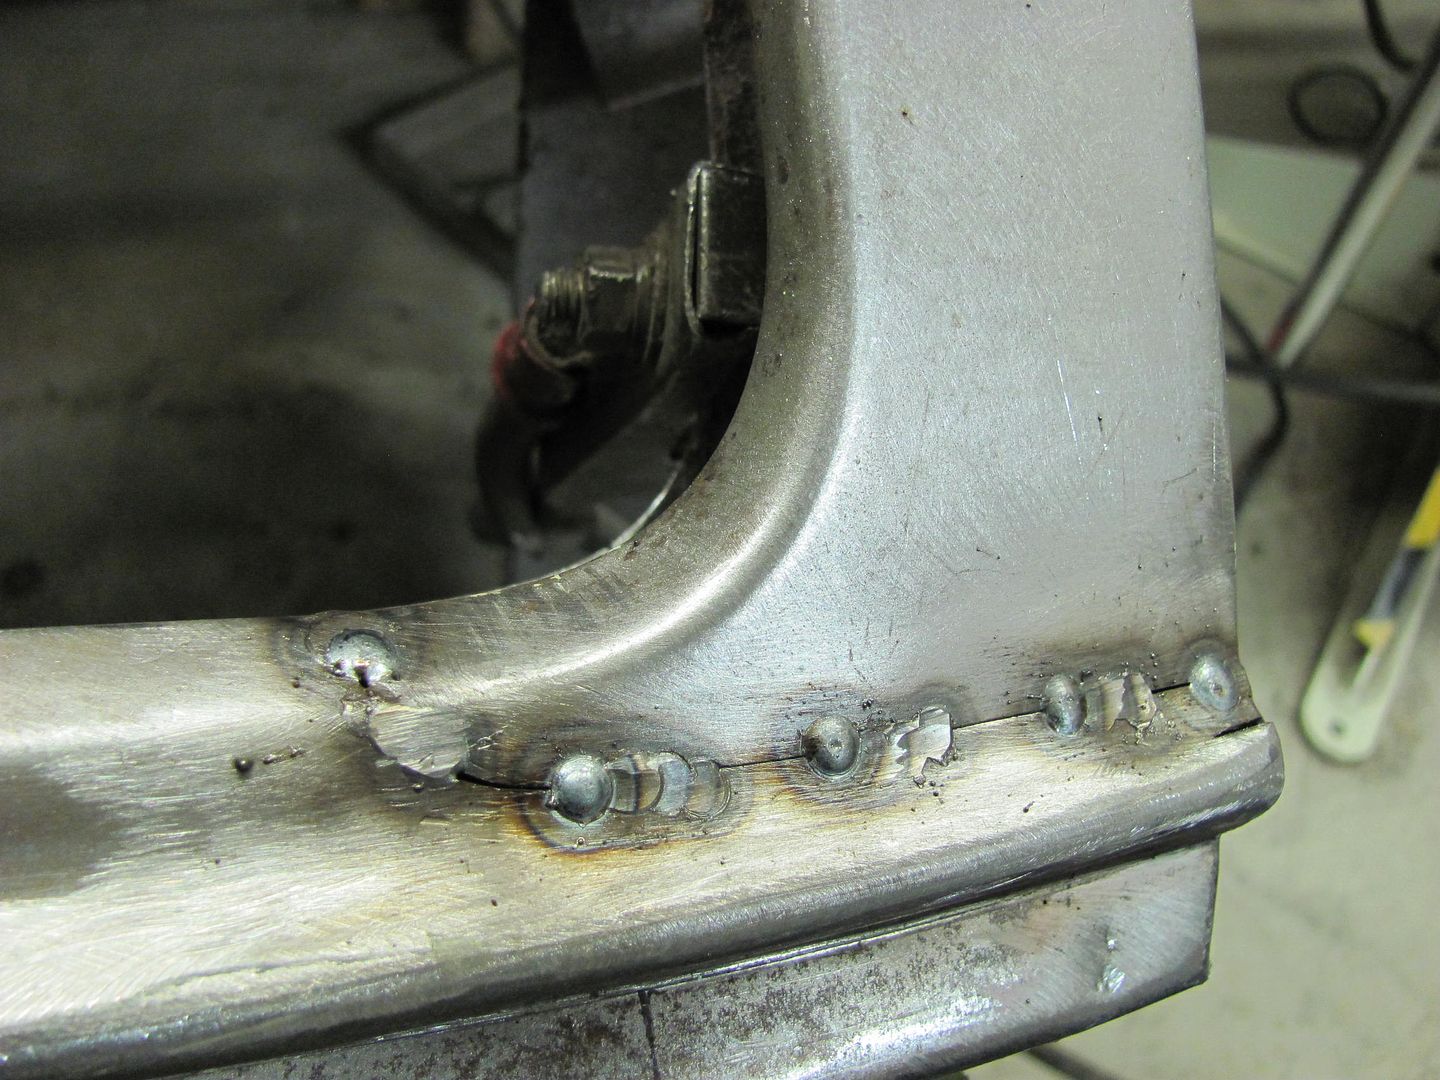
Front side....
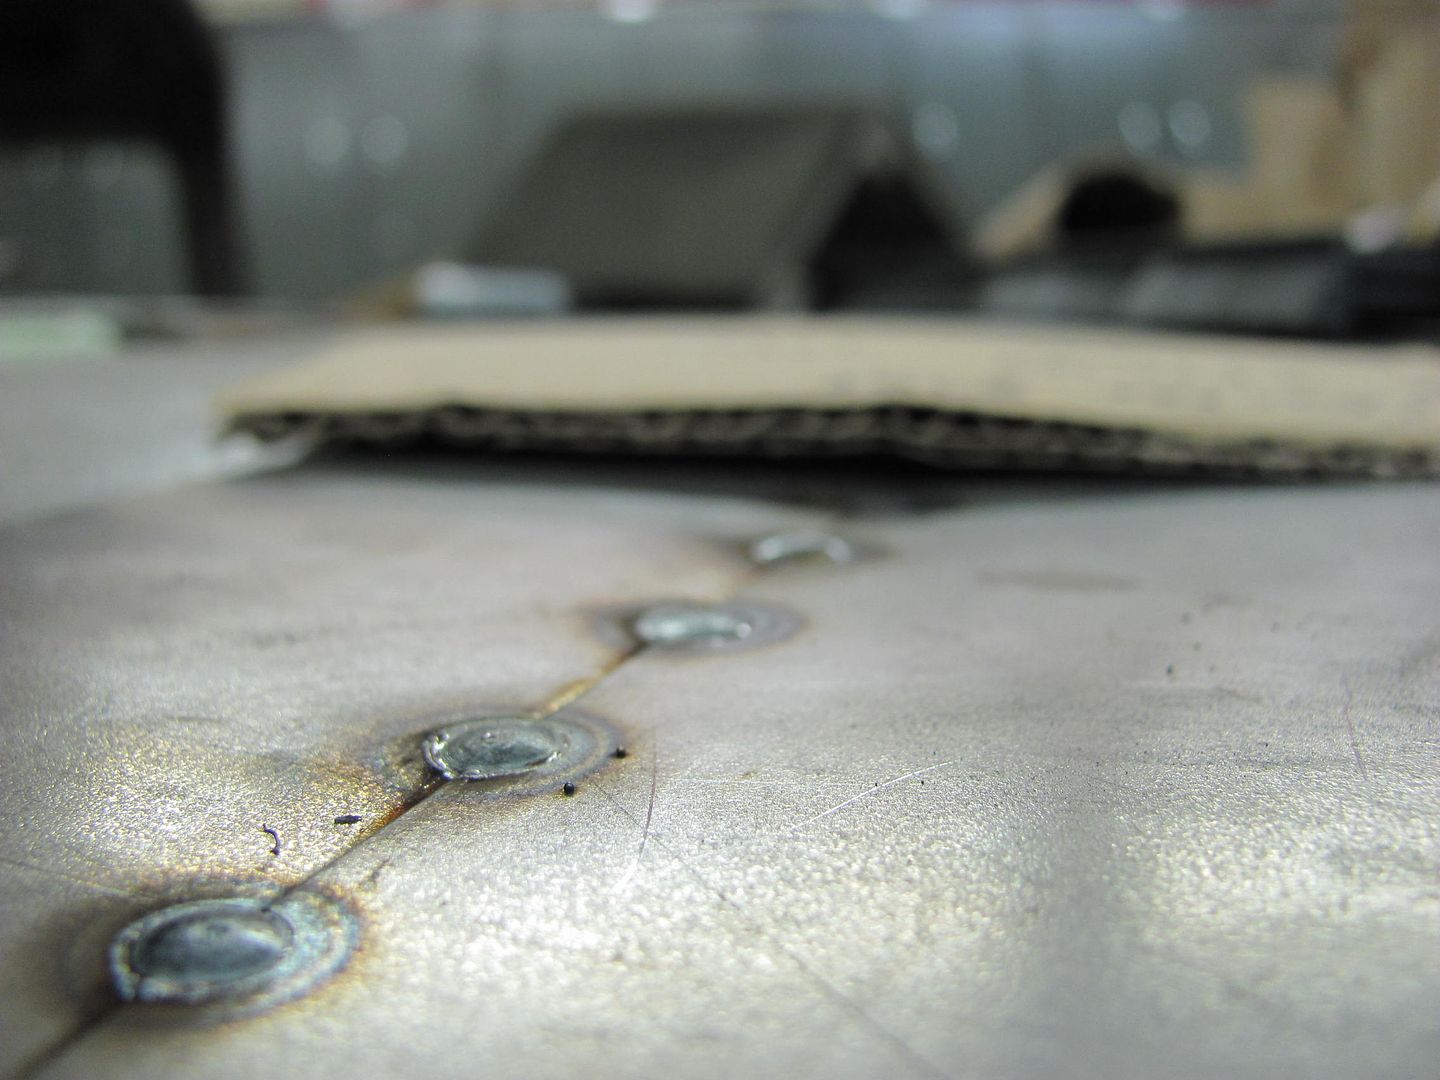
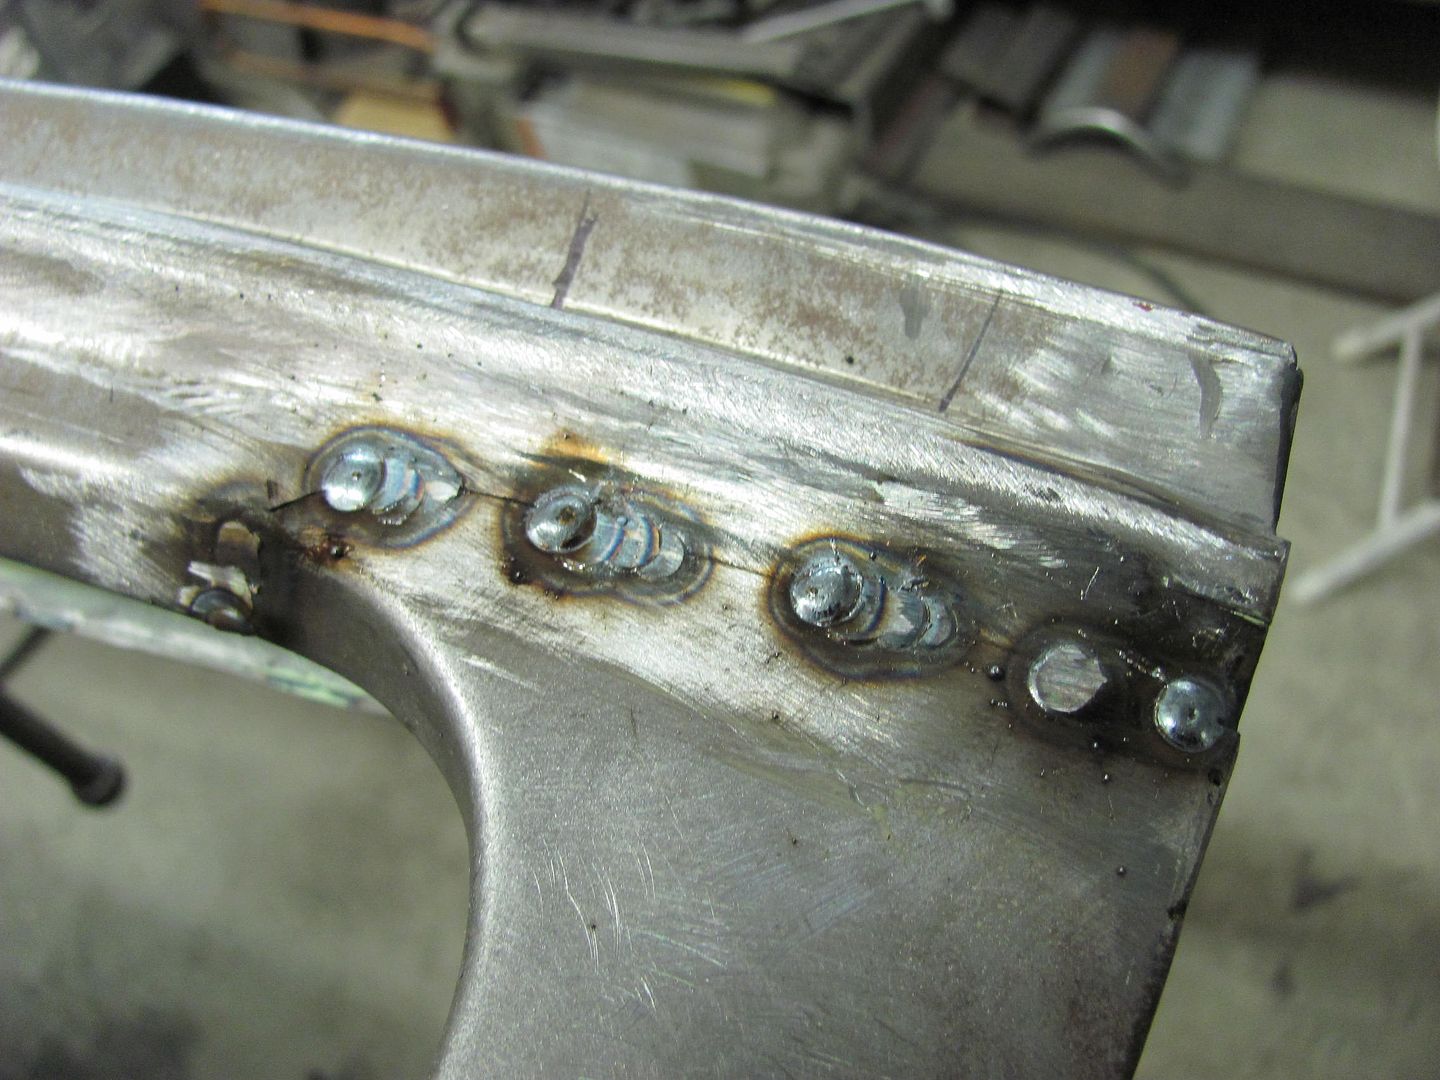
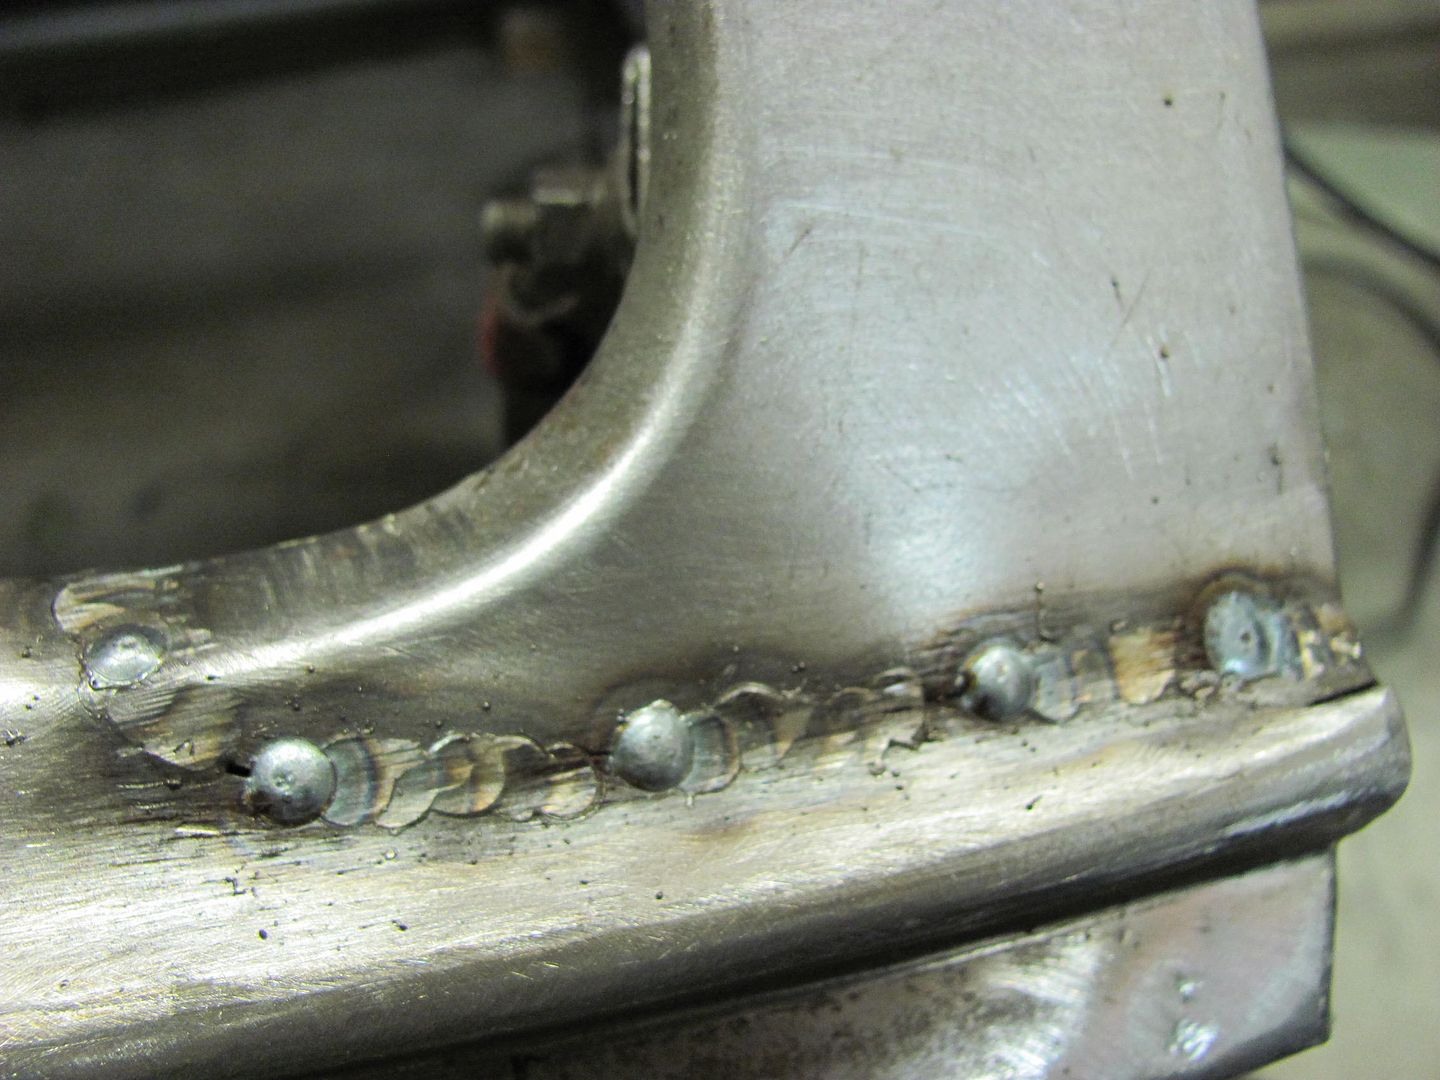
Rear side....
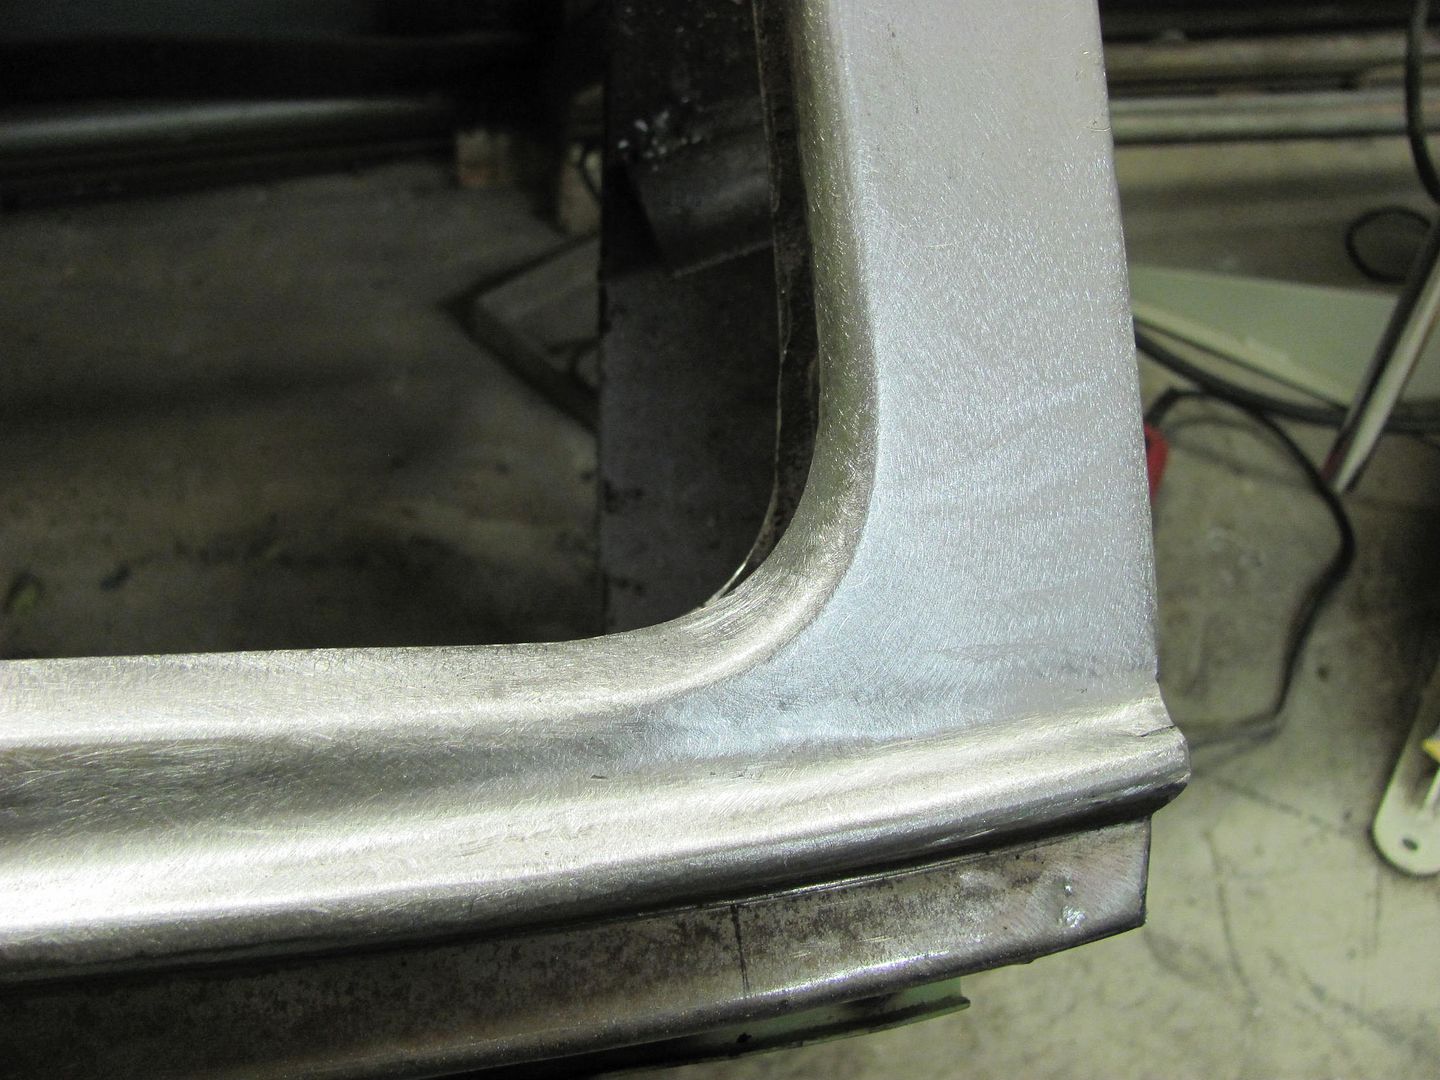
Now this experiment is less about telling you to use setting XYZ on your machine and more about showing you that higher heat settings can be used to provide a full penetration weld, and can also be controlled by technique (minimal amount of trigger pull) It helps to get your welder problems figured out with a little bit of practice / experimentation, it will make you better at figuring out any issues that do pop up, and help to eliminate those crutches.....including fiberglass filler over welds. So practice to see what your machine is capable of, and fine tune your TECHNIQUE in the process. You'll start to see your efforts pay off in the results.