Chad.S
Oldtimer
Decided to post a project thread for all of our shop projects. I tend to slack on updates to individual albums and sometimes work on little projects that I wouldn't mind posting but I feel like they don't deserve a full album. Or such items as different tools we have come up with to help us get a project done..
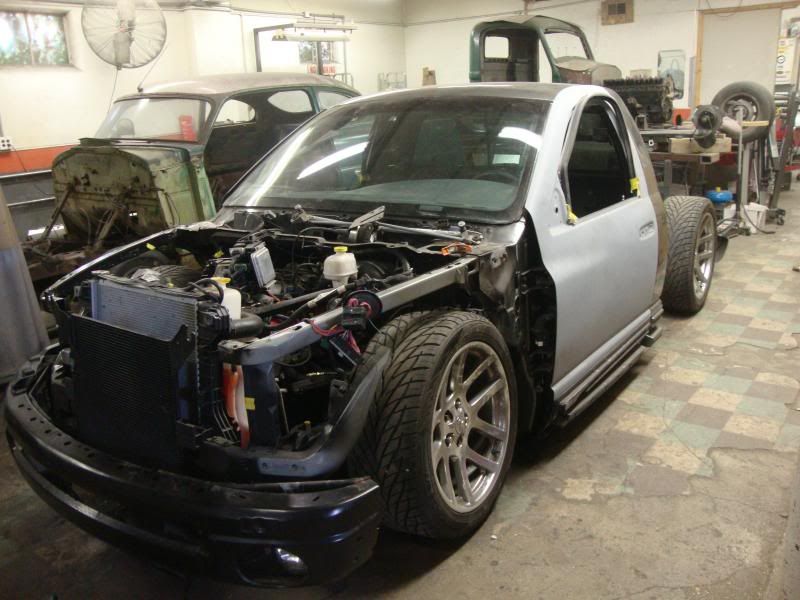
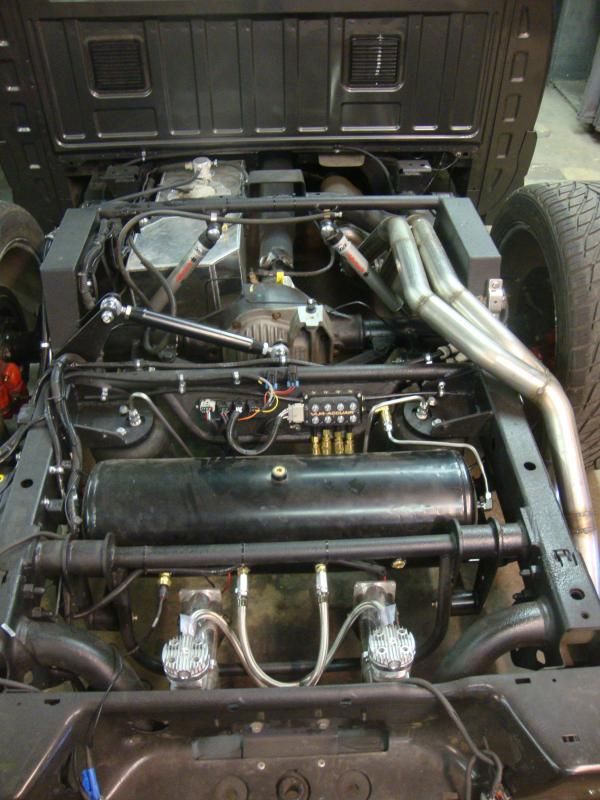
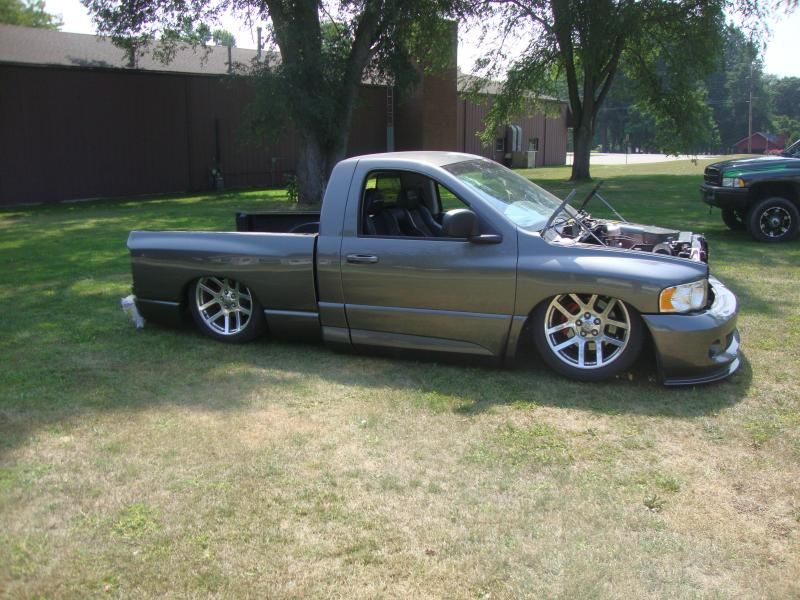
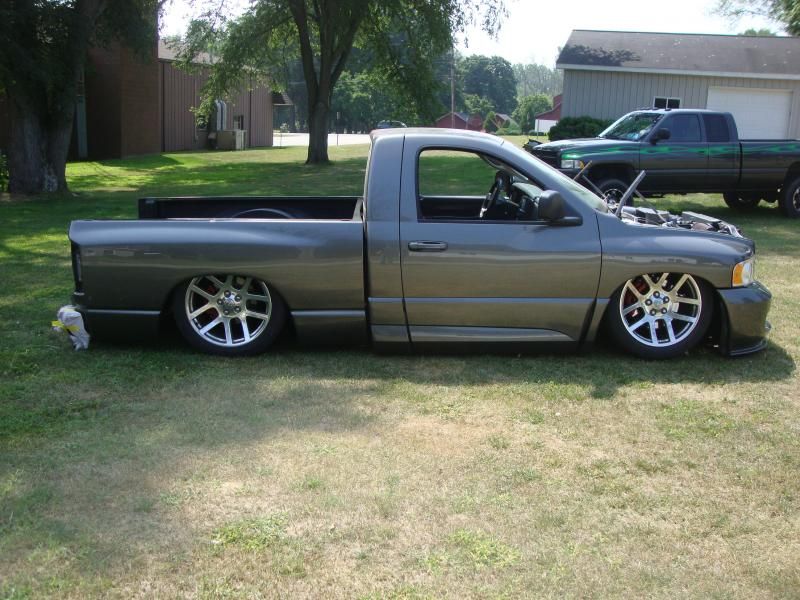
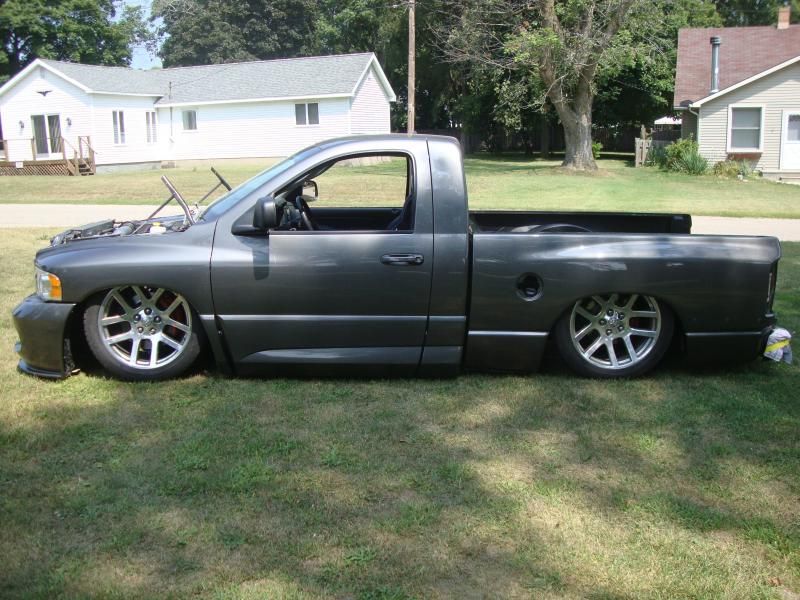
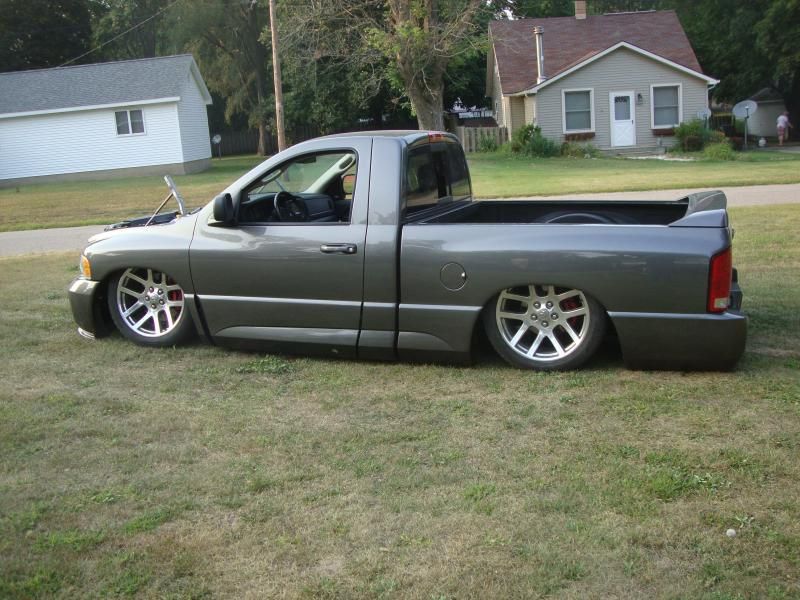
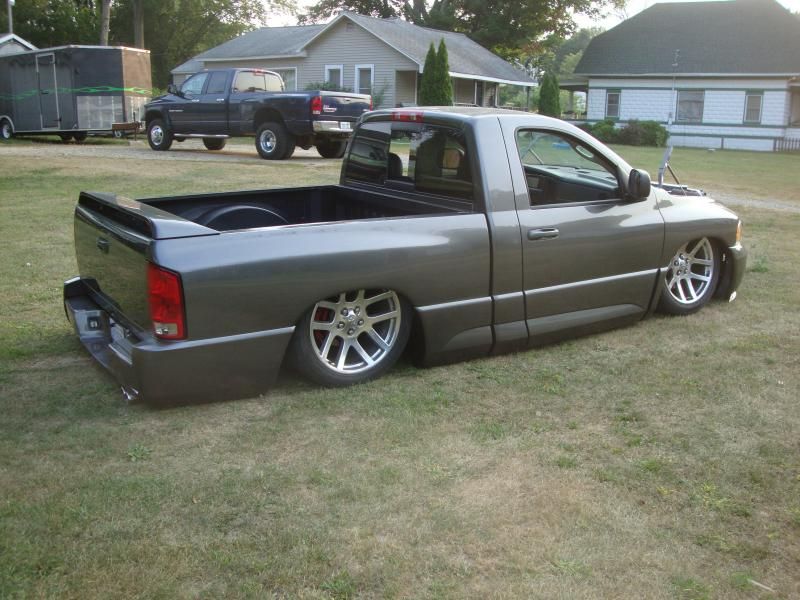
Going to start out with a truck I decided to build for myself to both use as a driver and something to take to shows.
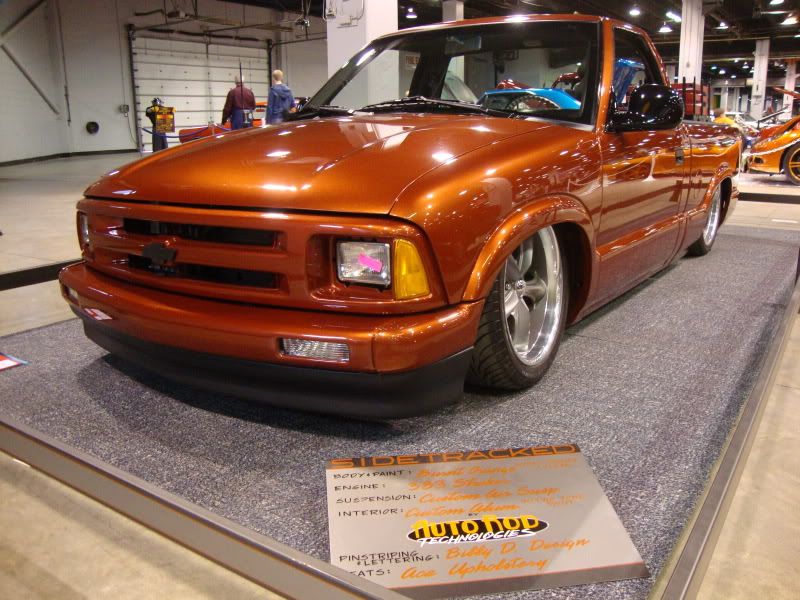
The S-10 I built took something like 5 years to build as I was building it between all of the other things I was working on.. I didn't want to let that happen again for something that I was wanting to get on the streets, so I sold the S-10 to fund the project and make things happen quicker..
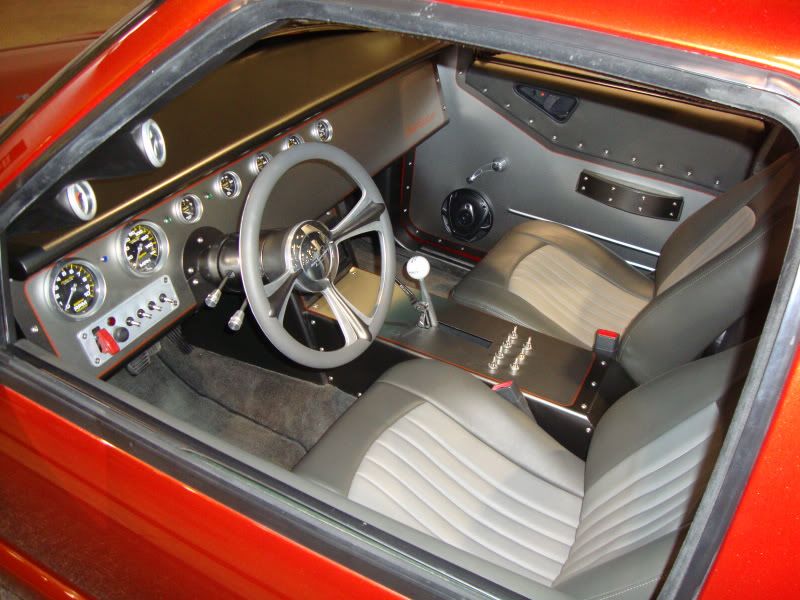
Here's the S-10 we sacrificed for parts funding.. lol. There is a build thread on the forum somewhere..
- - - Updated - - -
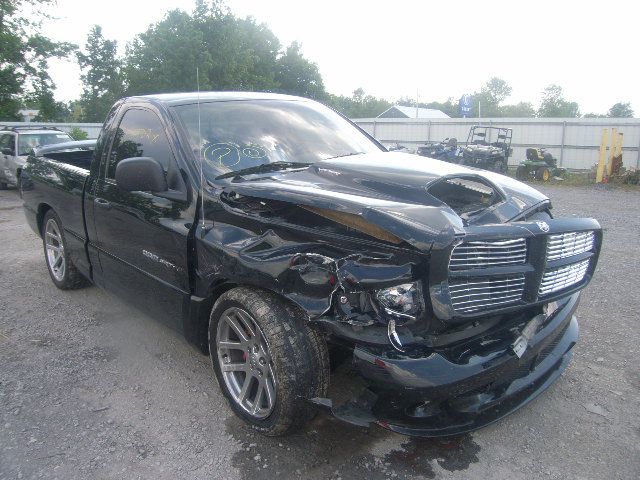
Here's what was the beginning of the new project.. It was previously wrecked and then re-paired.. In the process of the build someone that tracks these trucks had pictures of the truck from when it was wrecked and matched it to my vin and sent me this picture and a few others.
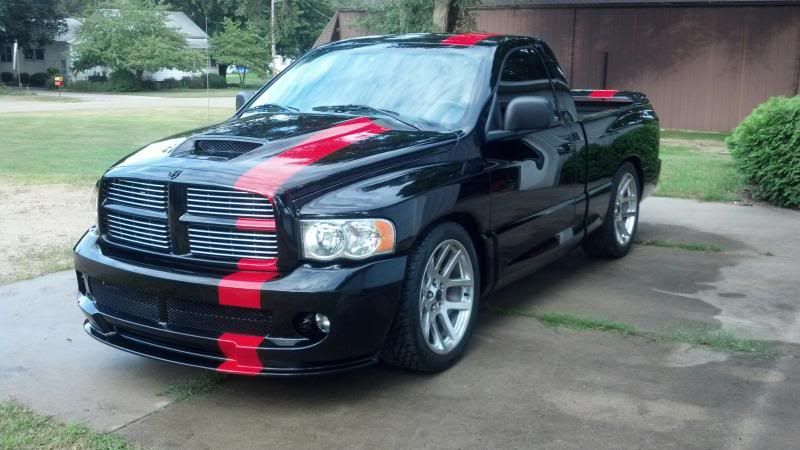
Here is how it looked when I picked it up.
- - - Updated - - -
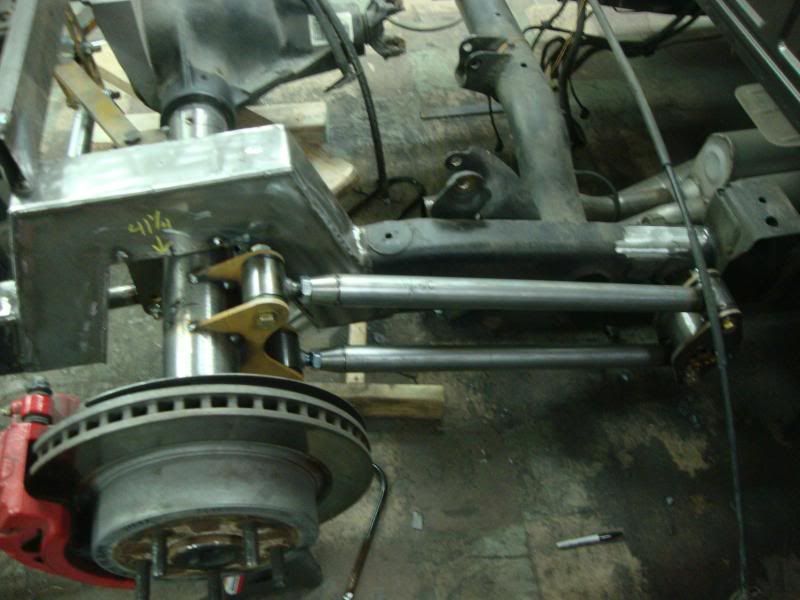
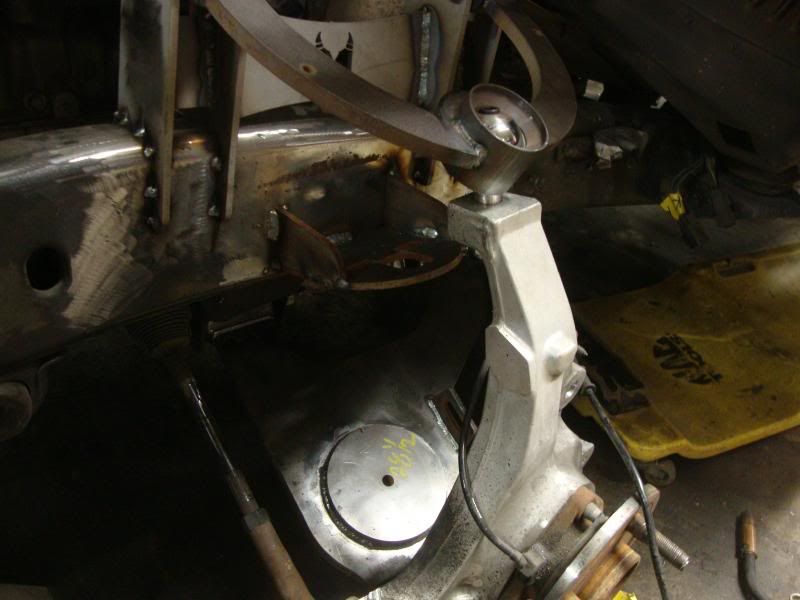
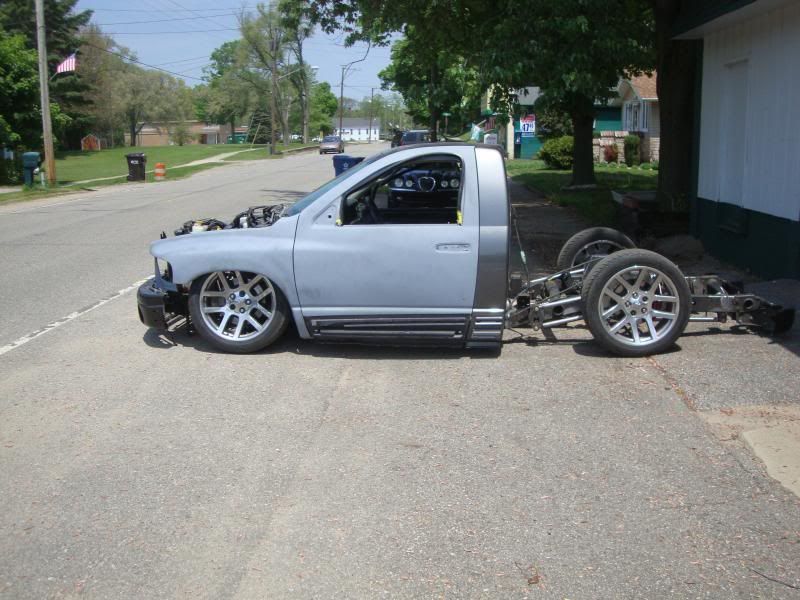
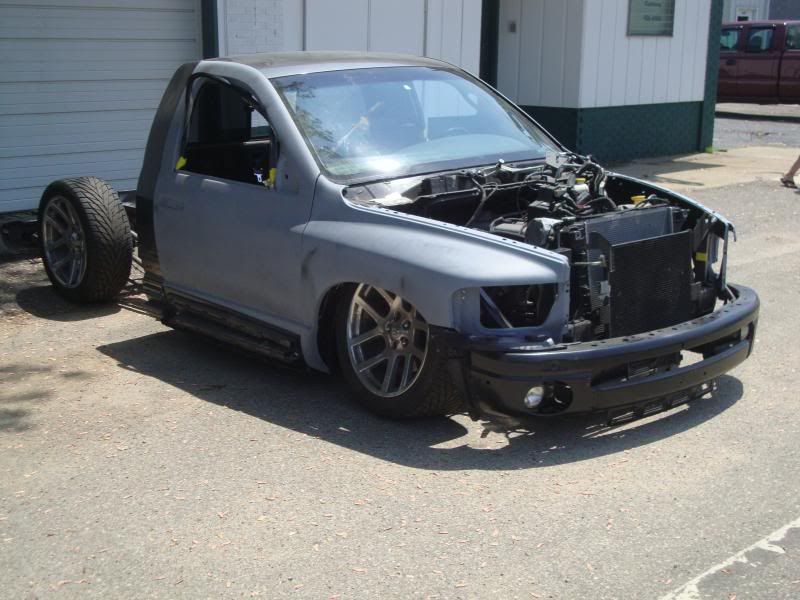
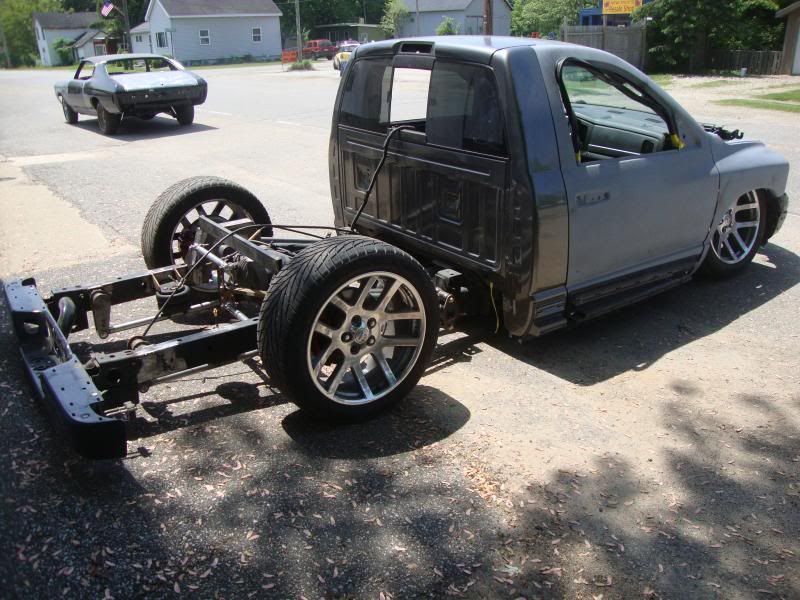
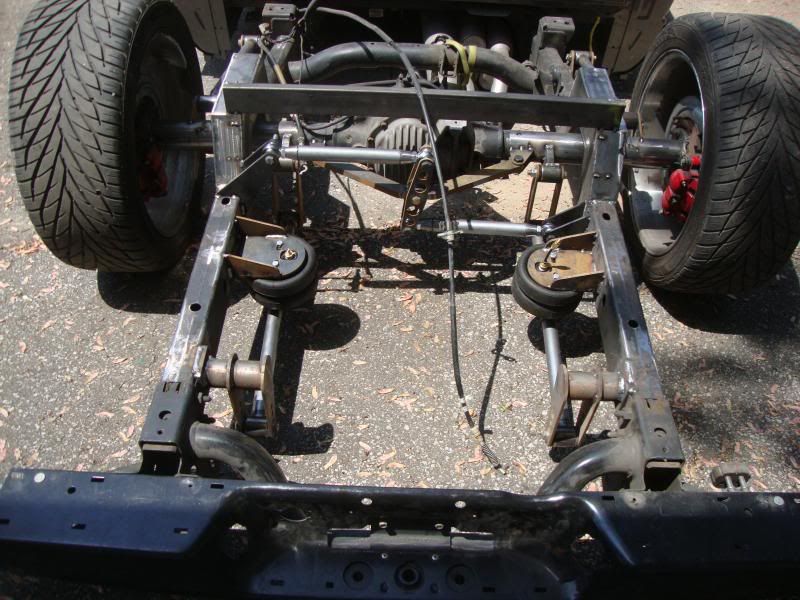
The paint job was pretty rough and it rode really bad.. It was very improperly lowered, it had some severe camber issues, cut coil springs, bottomed out on small pebbles both front and rear so some repairs or a sale was in order.. The truck was a blast to drive so we decided to tear into it and build it right.. And in typical fashion.. it snowballed into a bit of a project.
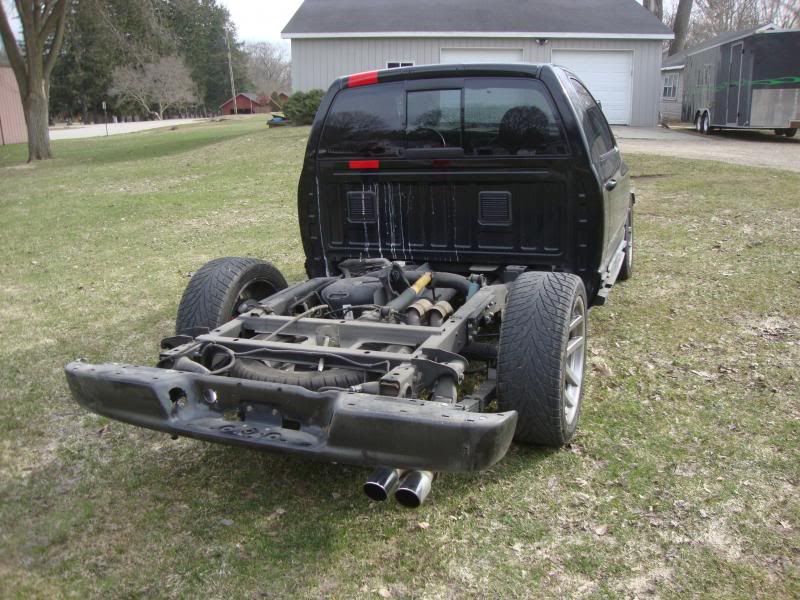
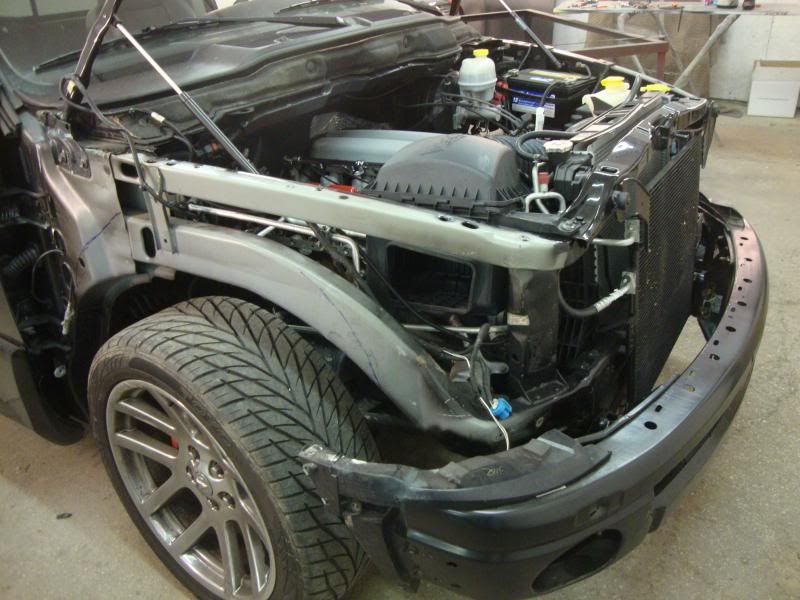
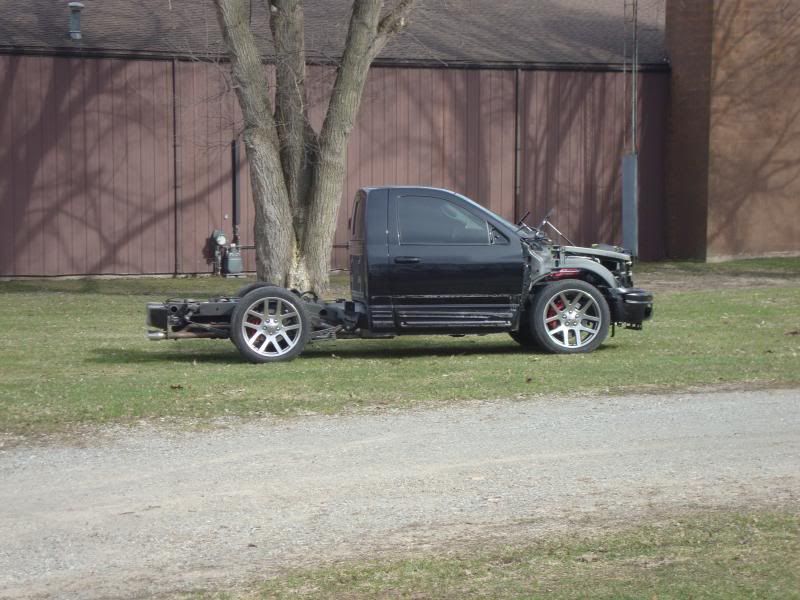
a few tear down pics
- - - Updated - - -
Onto the build!!!
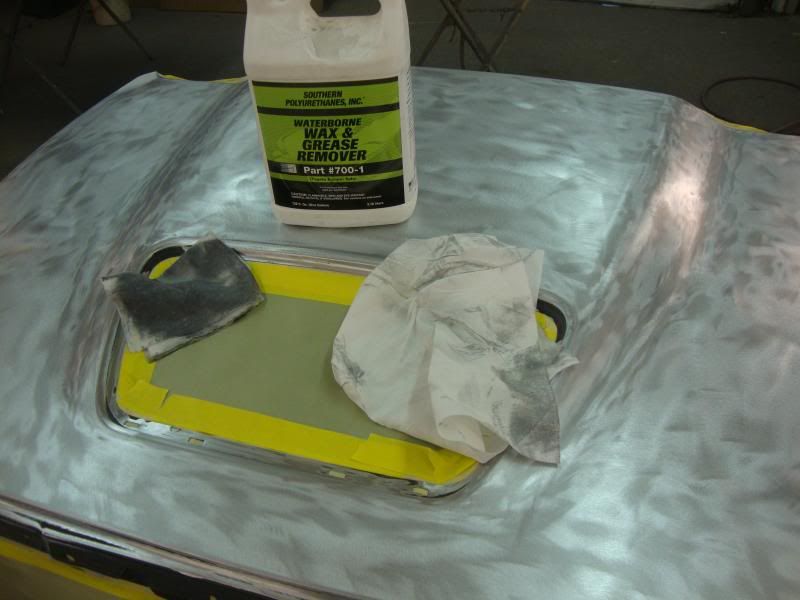
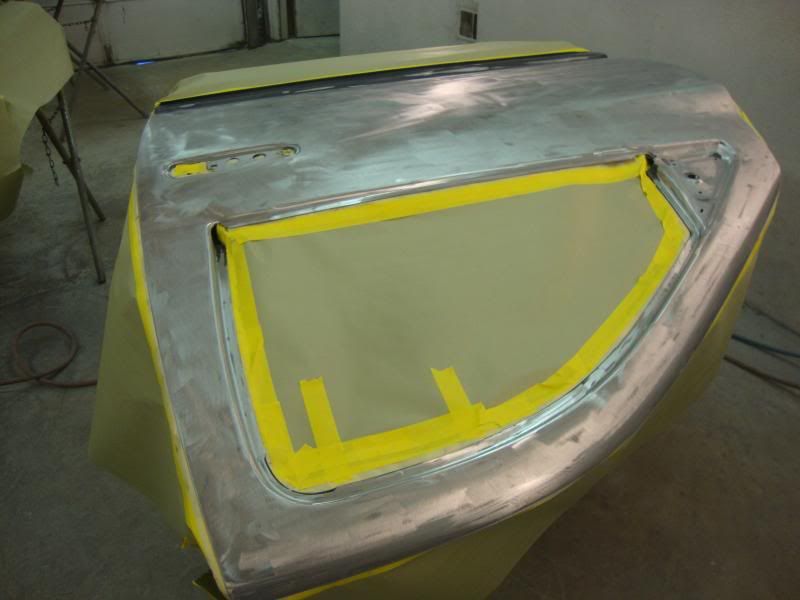
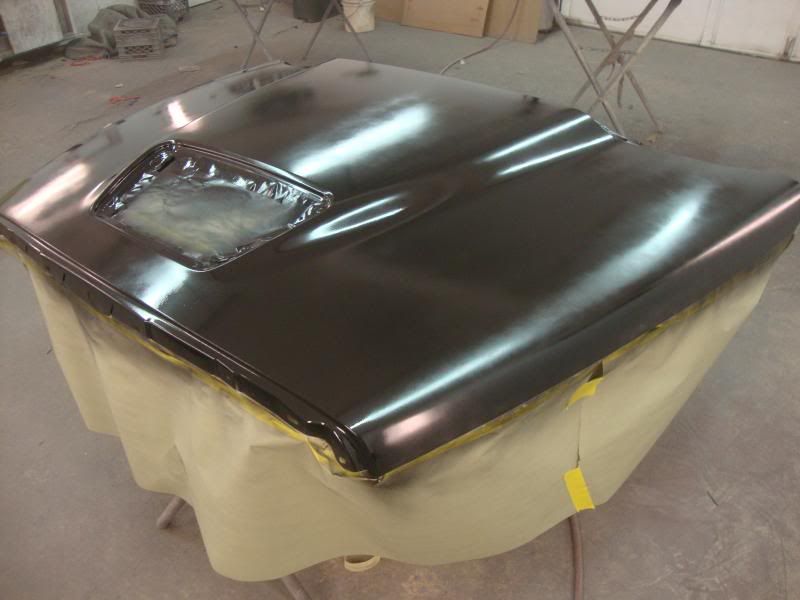
Always use waterborne on bare metal before epoxy!!! Luckily beneath the paint damages were very minimal.
://s44.photobucket.com/user/projectpages001/media/Parts%20Runner%20SRT%20Ram/DSC05309_zpse574f316.jpg.html]
 [/URL]
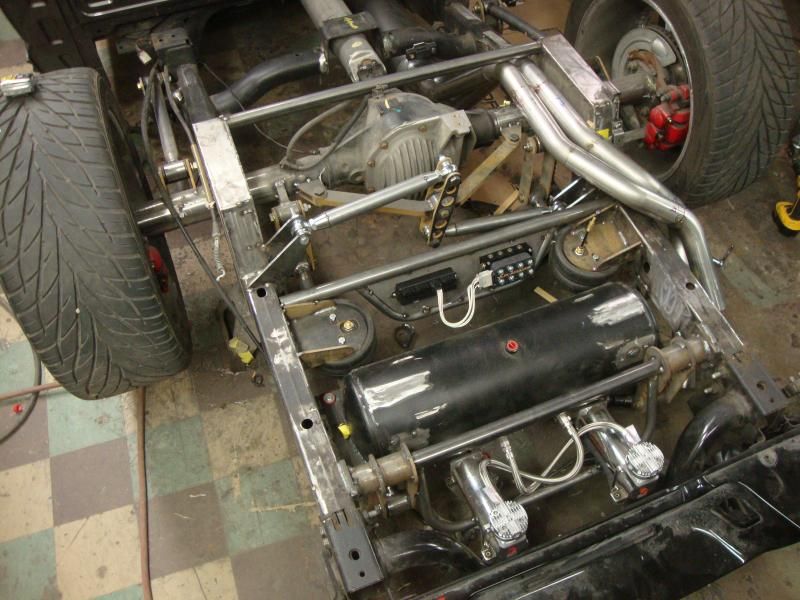
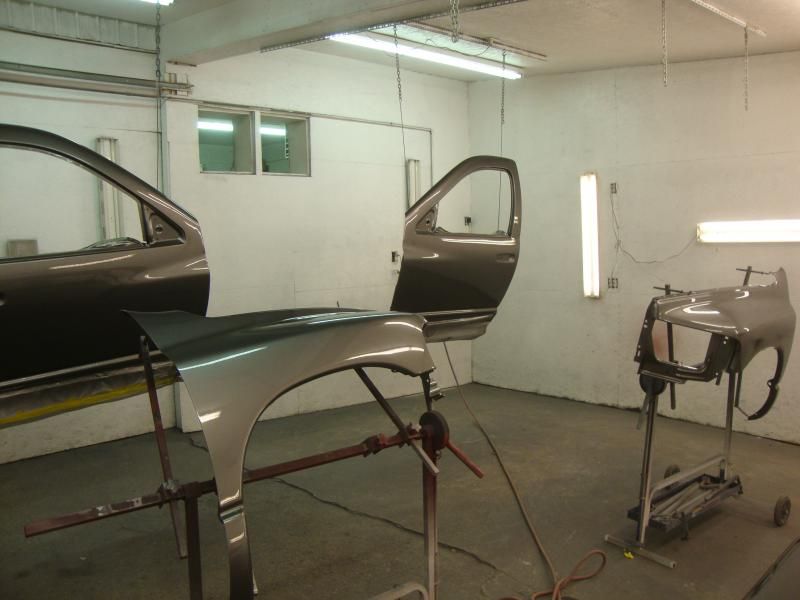
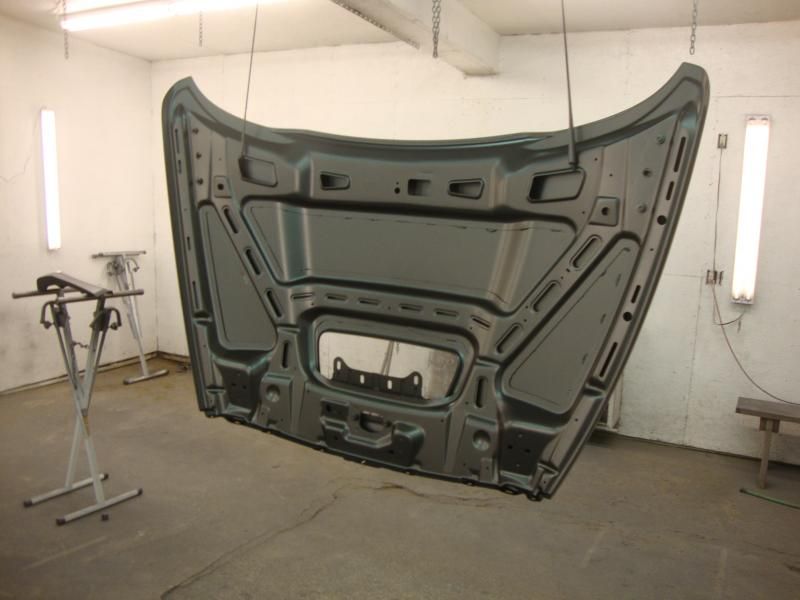
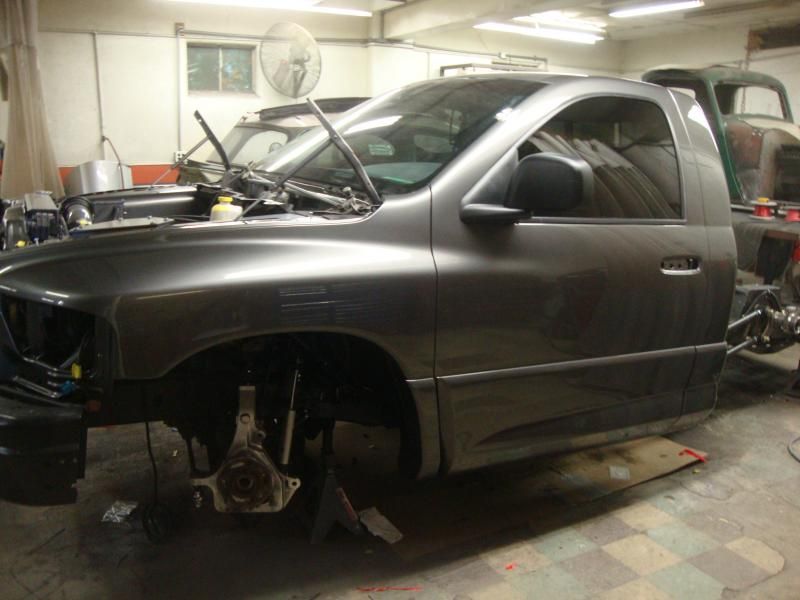
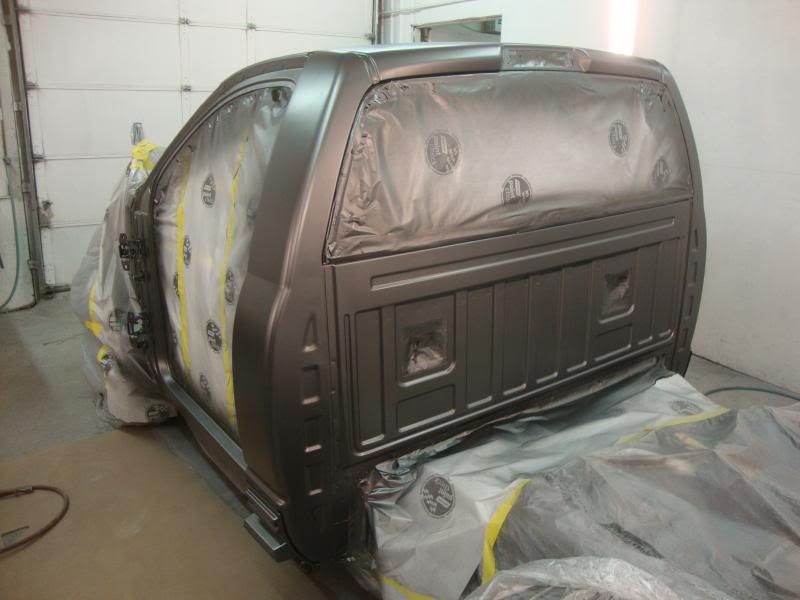
Started spraying paint a little early in the build process. But It needed to go into my front room for fab work which meant the suspension had to go..
- - - Updated - - -
- - - Updated - - -
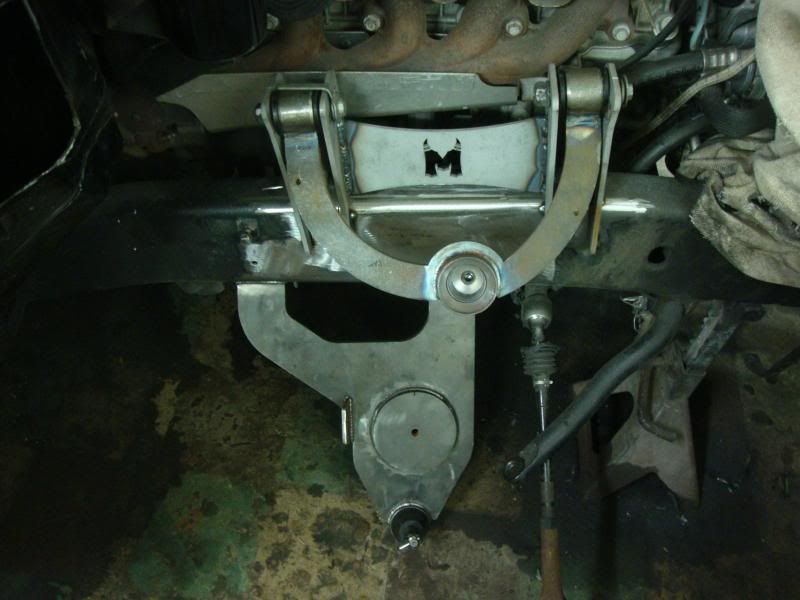
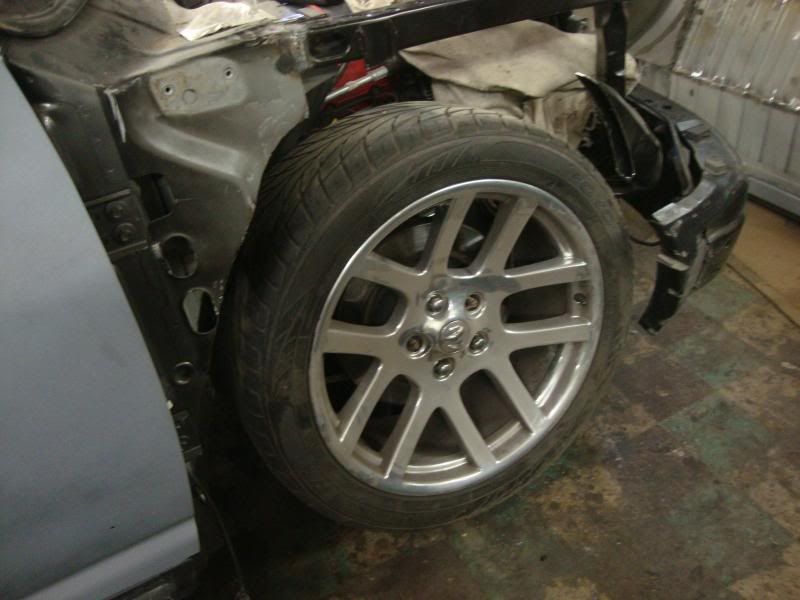
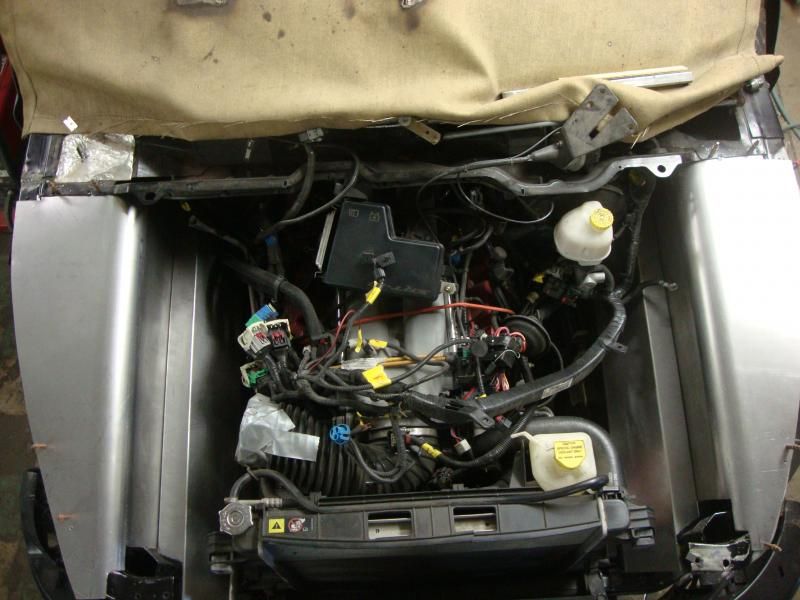
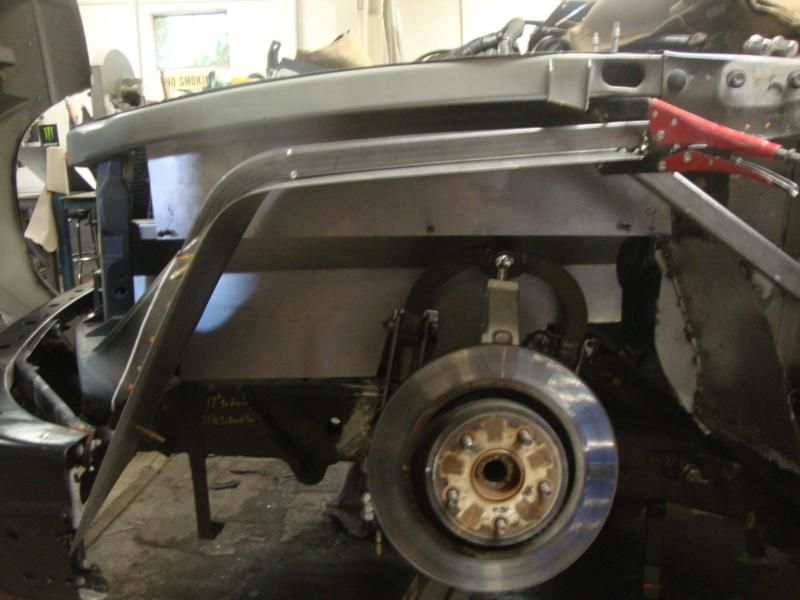
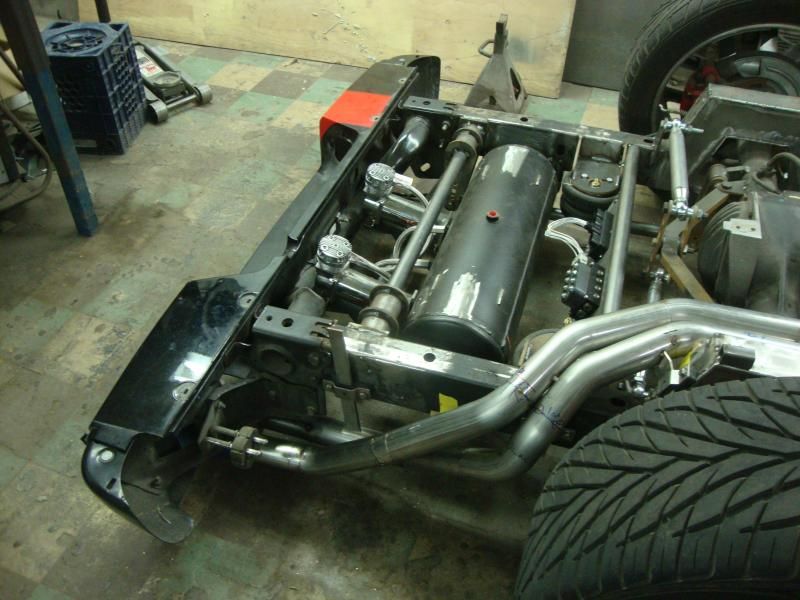
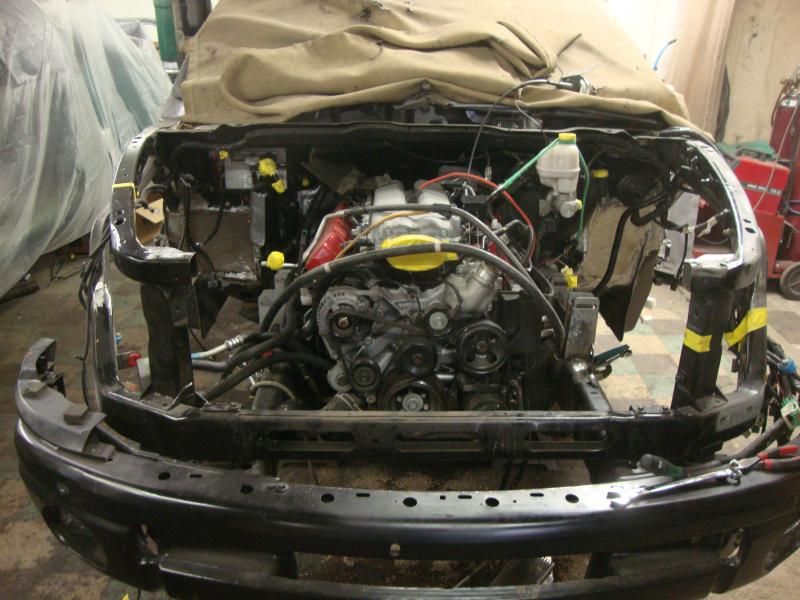
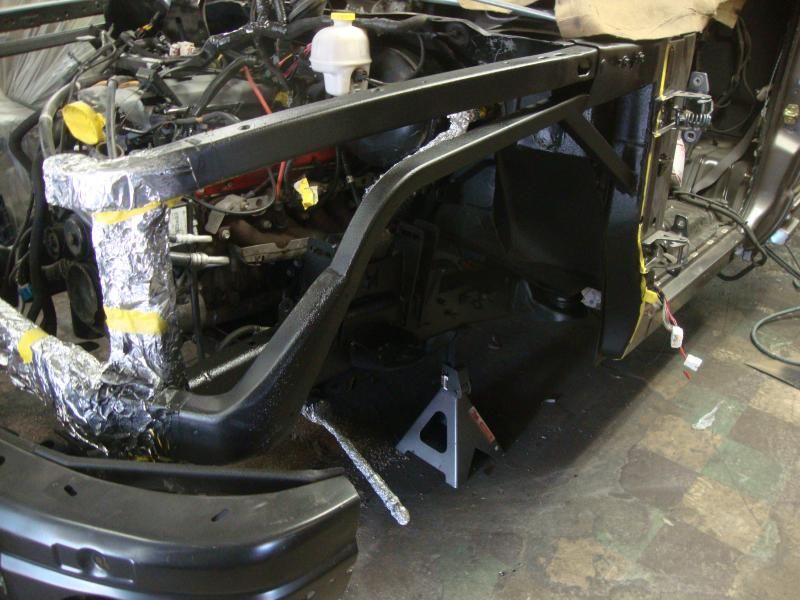
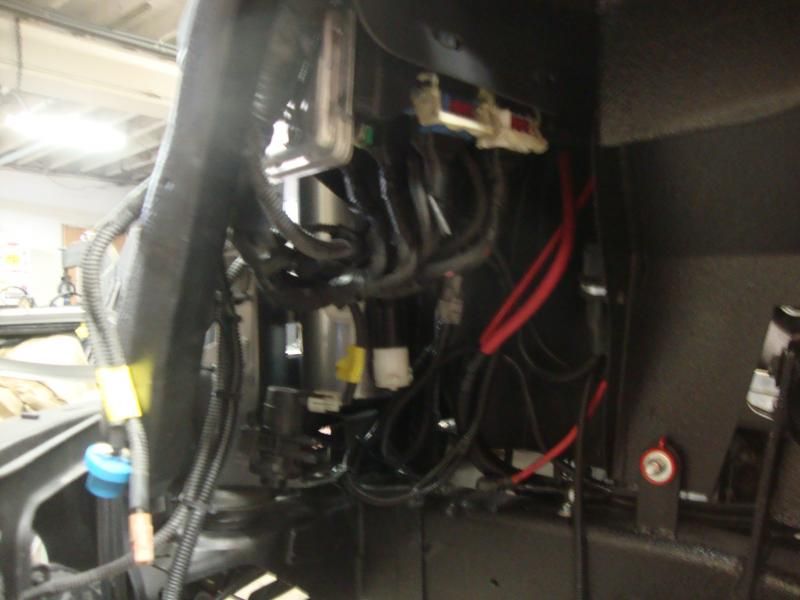
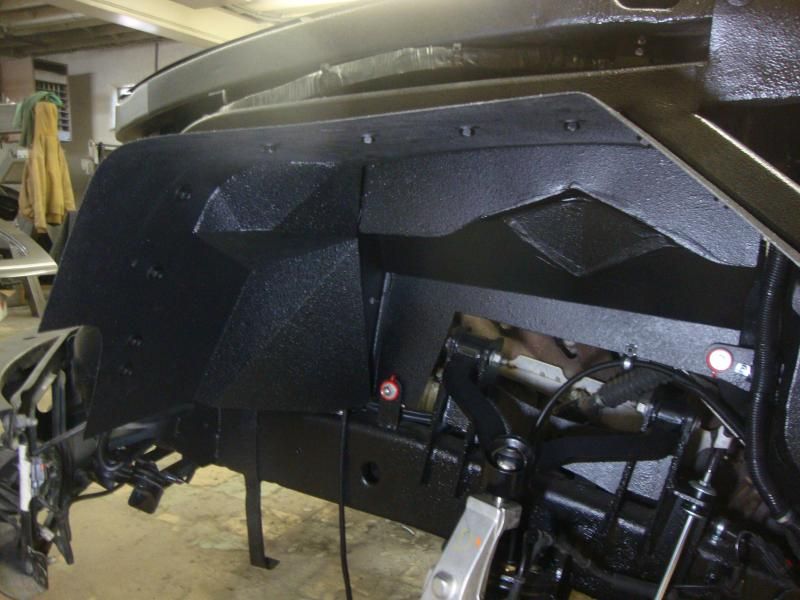
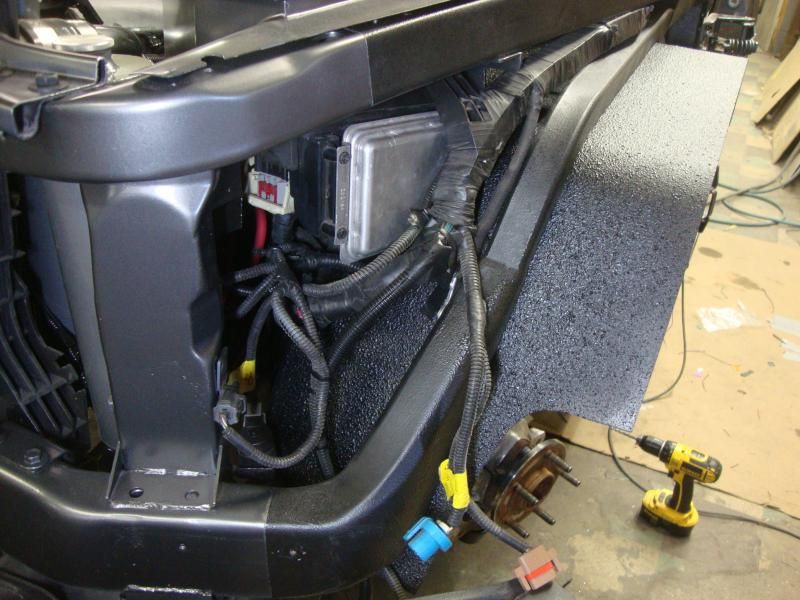
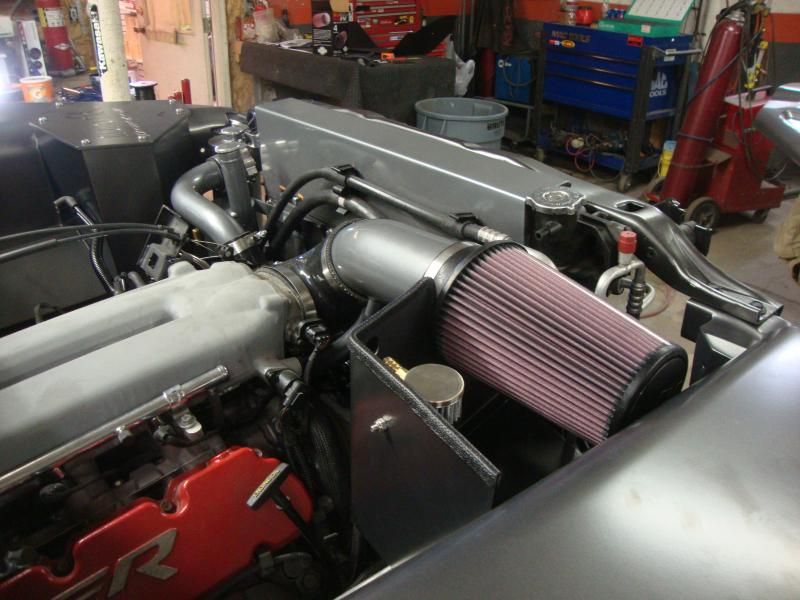
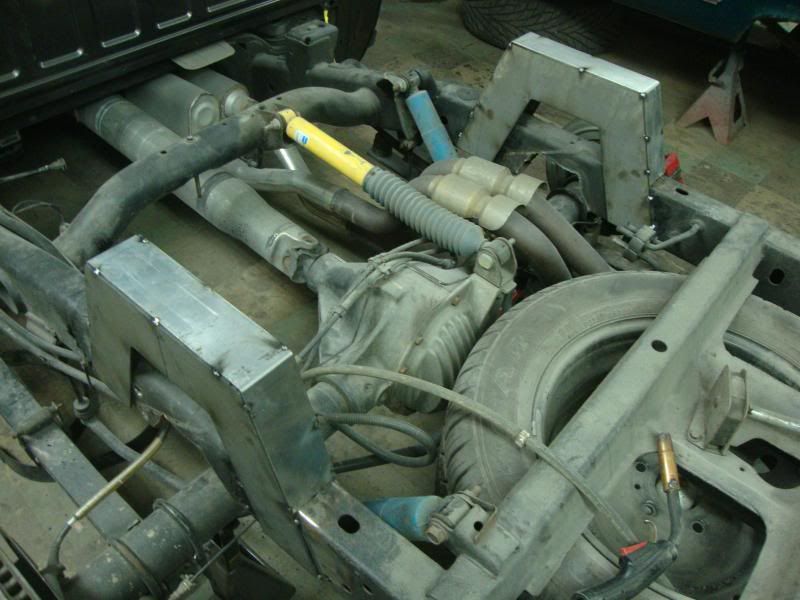
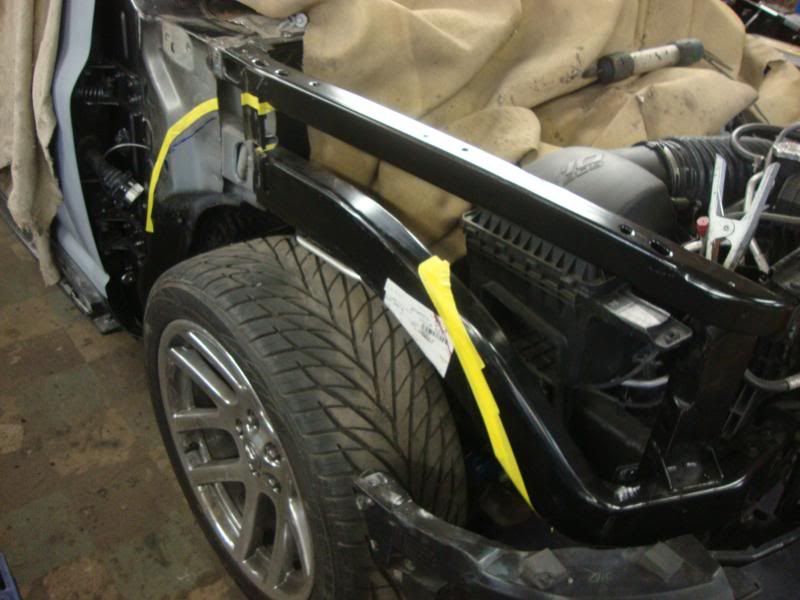
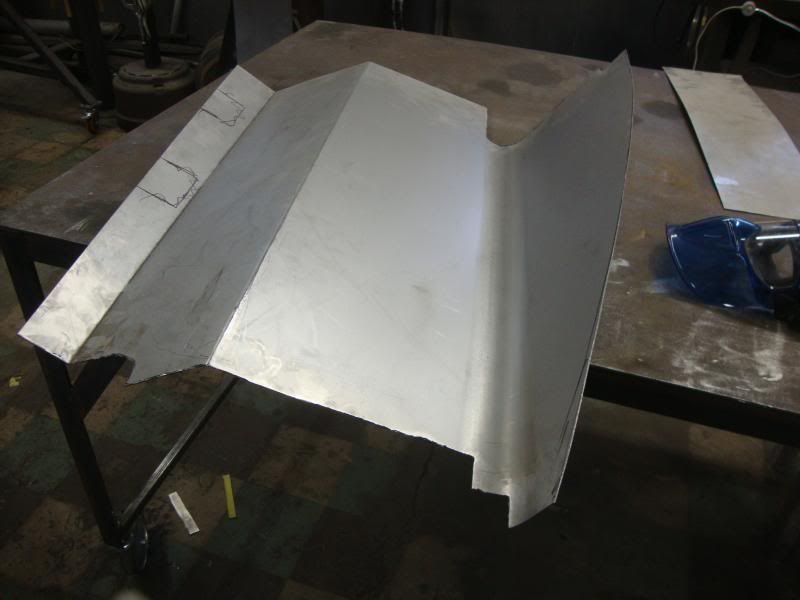
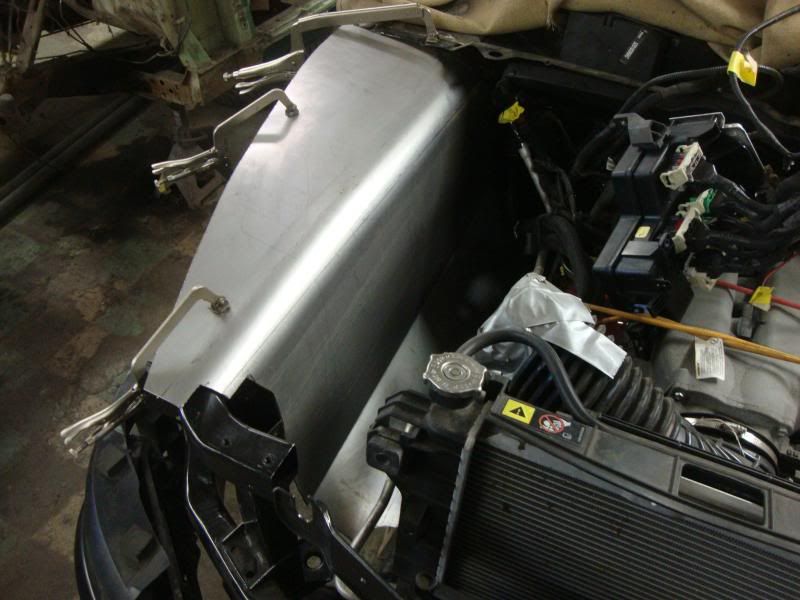
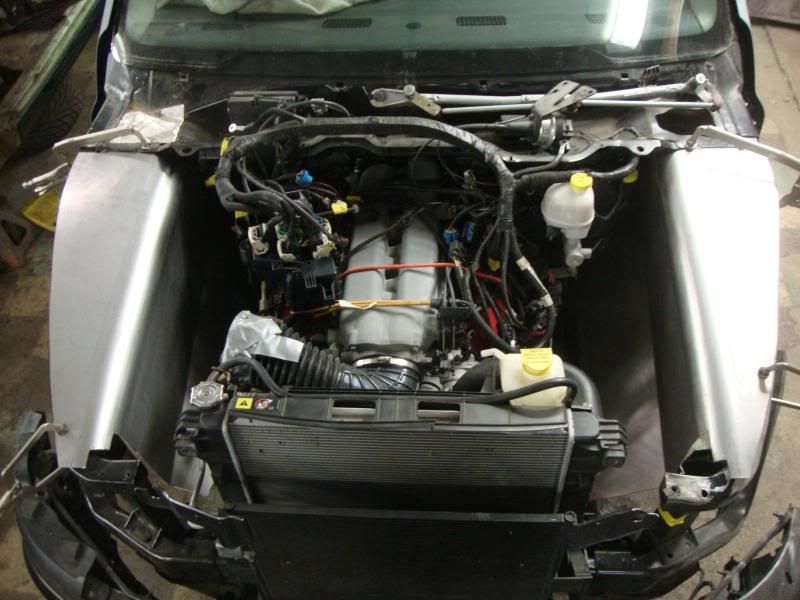
This is pretty early stages of the underhood metal work.. Wasn't to sure how I was going to cram everything into such a small space.. With doing the suspension work I had to make room for the tires, abs module, fuse box, cruise control and be able to have it look cleaner than what it did originally. This turned out to be a MUCH bigger task than I had originally hoped..
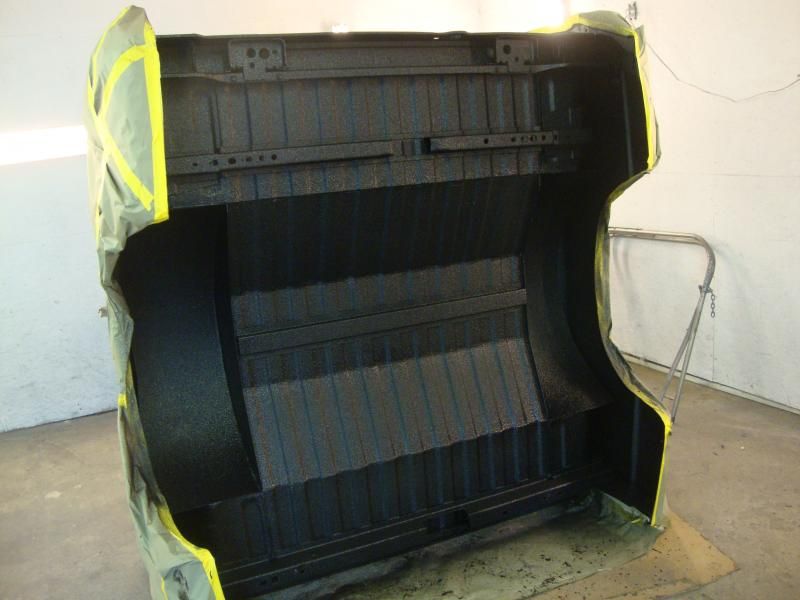
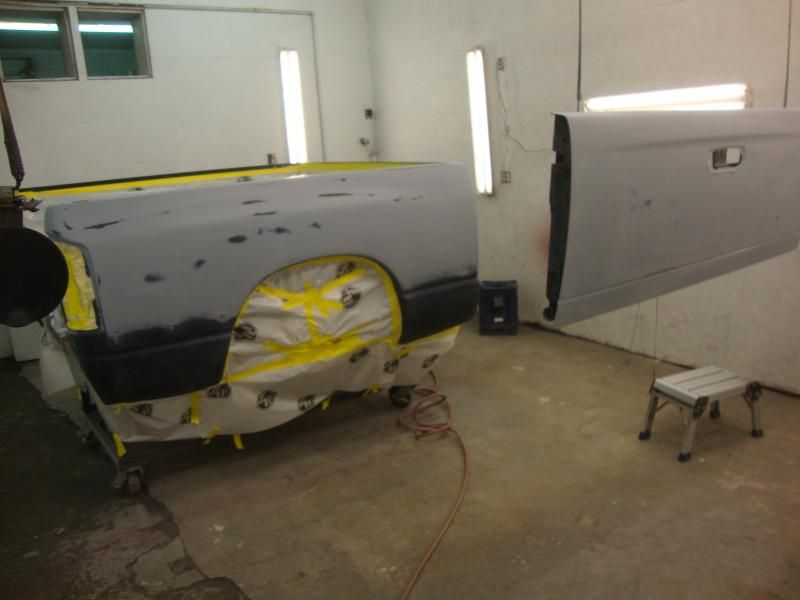
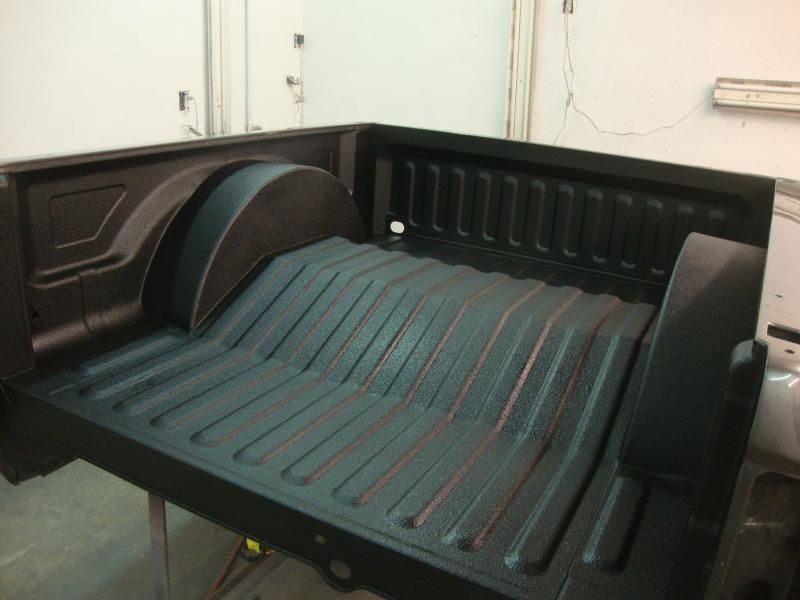
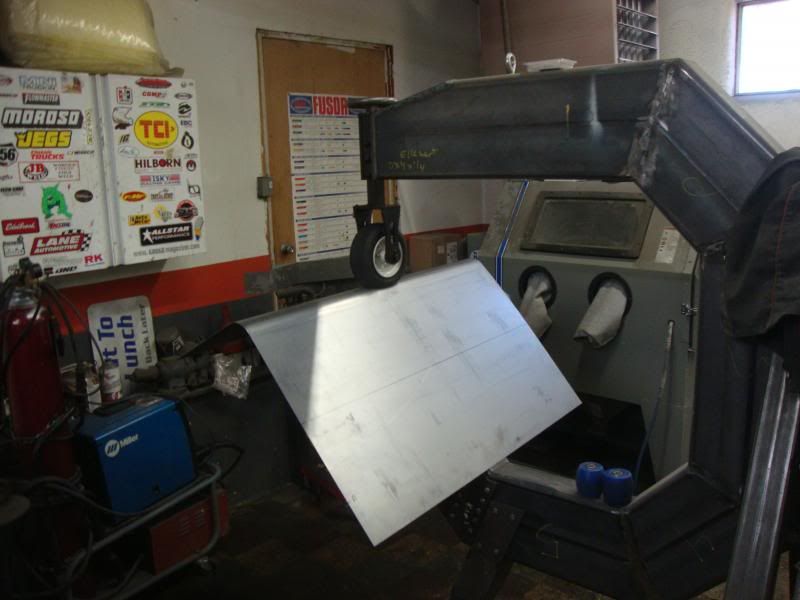
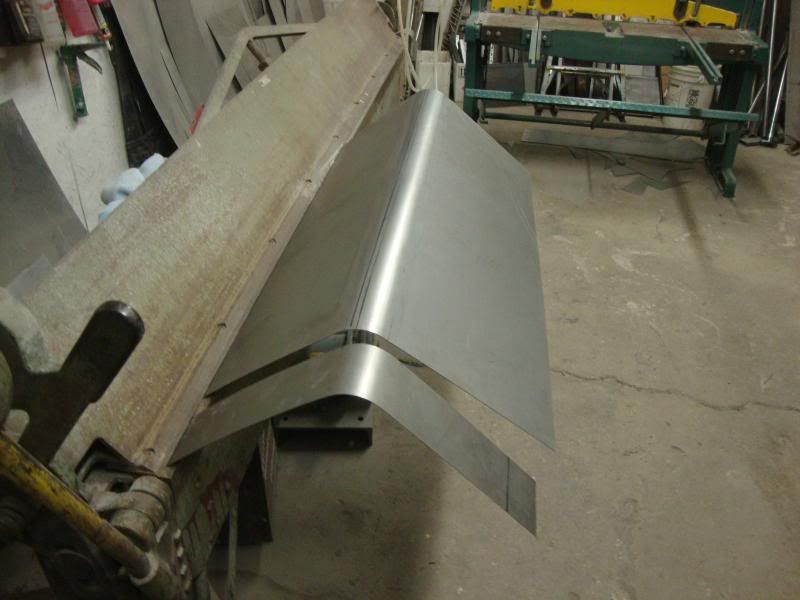
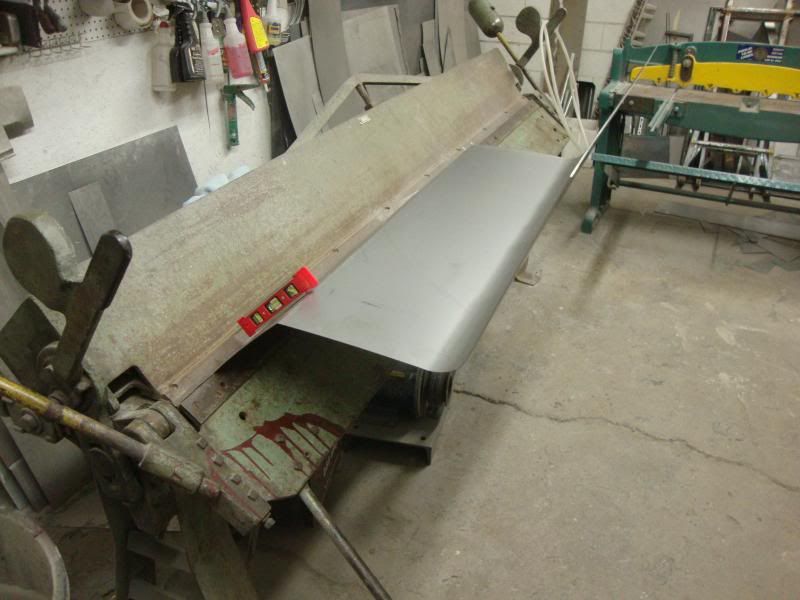
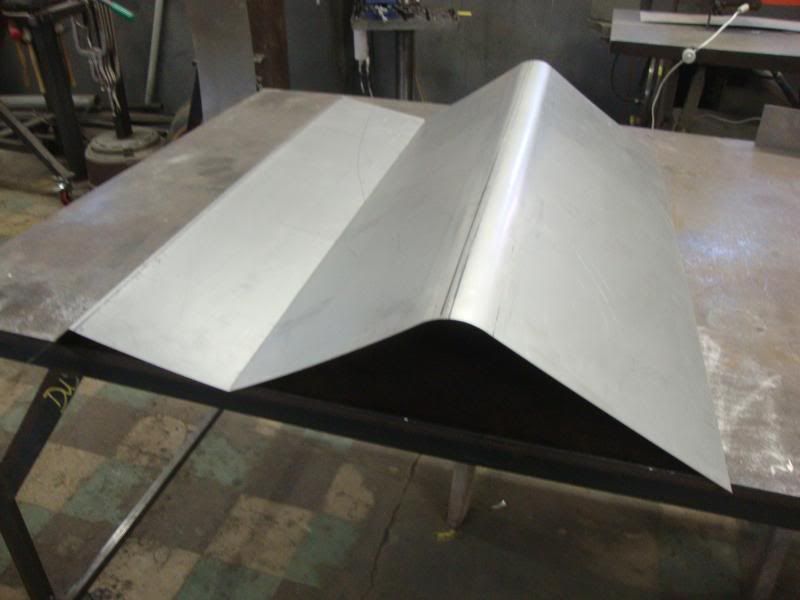
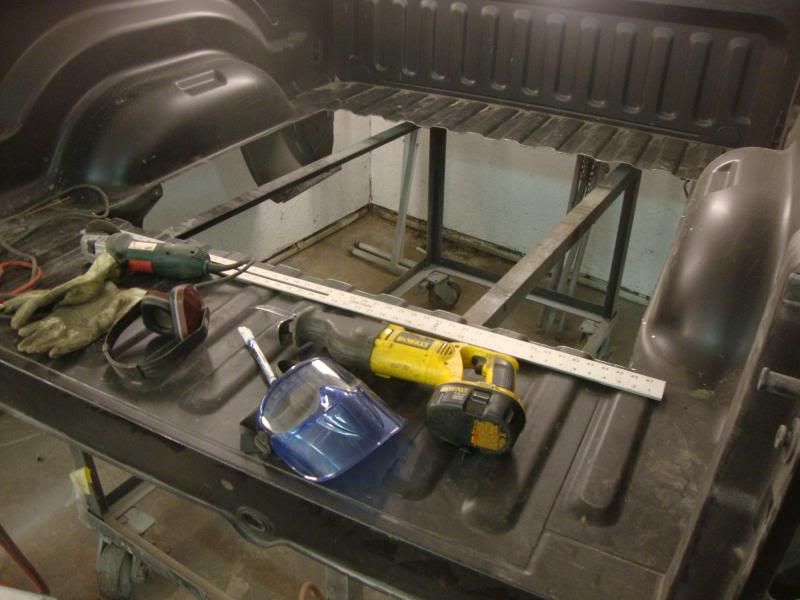
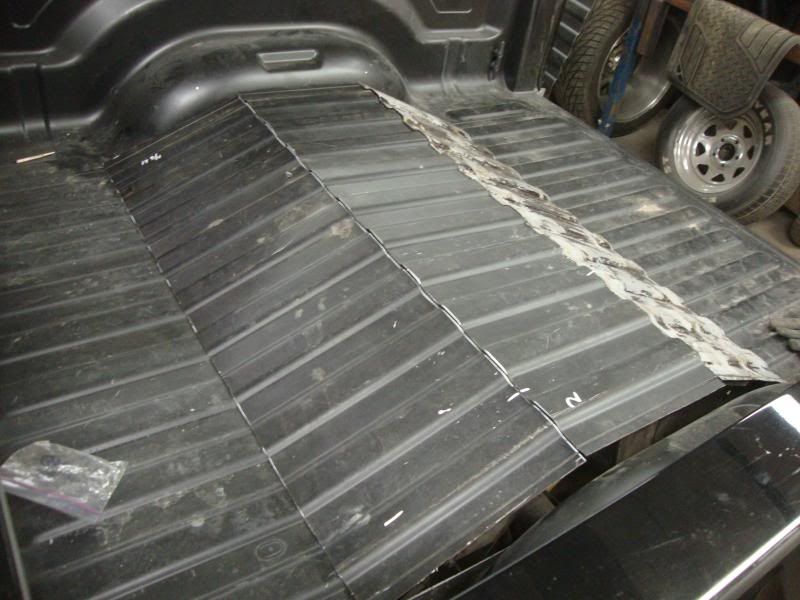
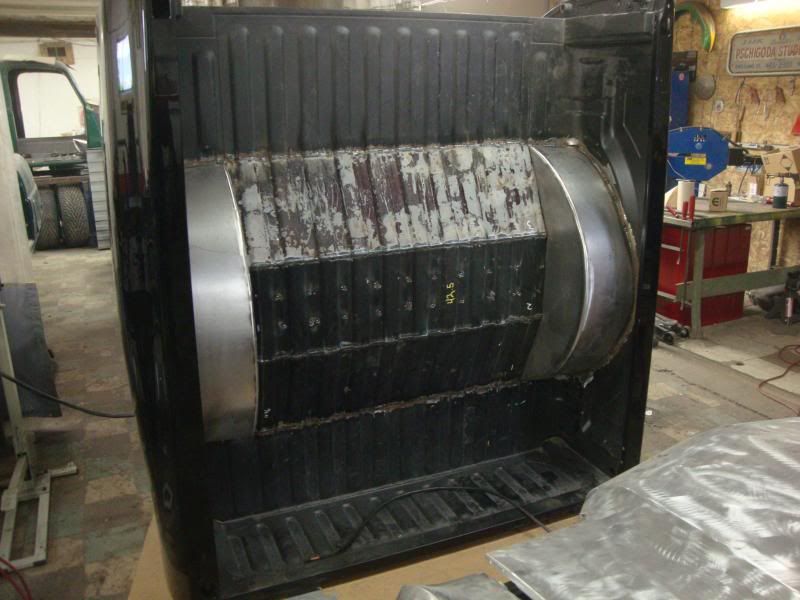
I wanted to retain a somewhat stock feel in the bed, so I wanted to keep the bed ribs going through the bed.
- - - Updated - - -
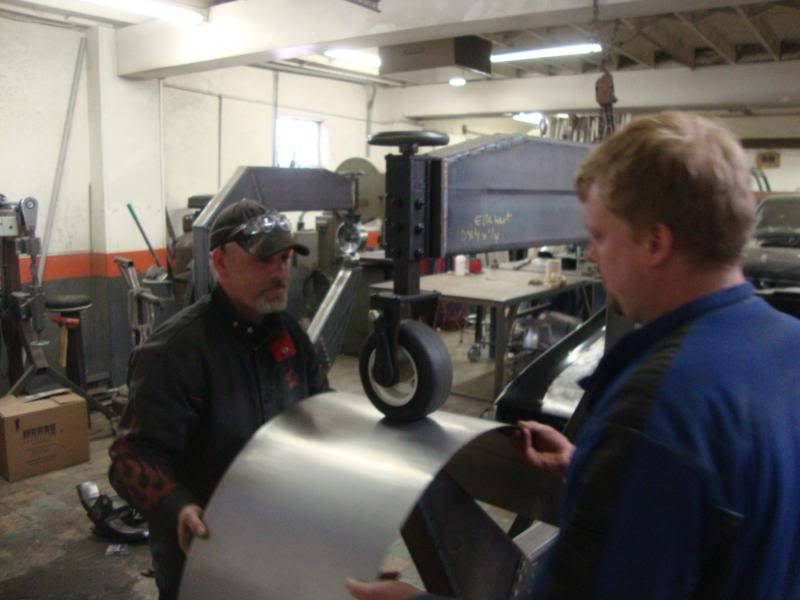
I didn't have a slip roller at the time so we went with the E-Wheel to roll the rear wheel tubs..
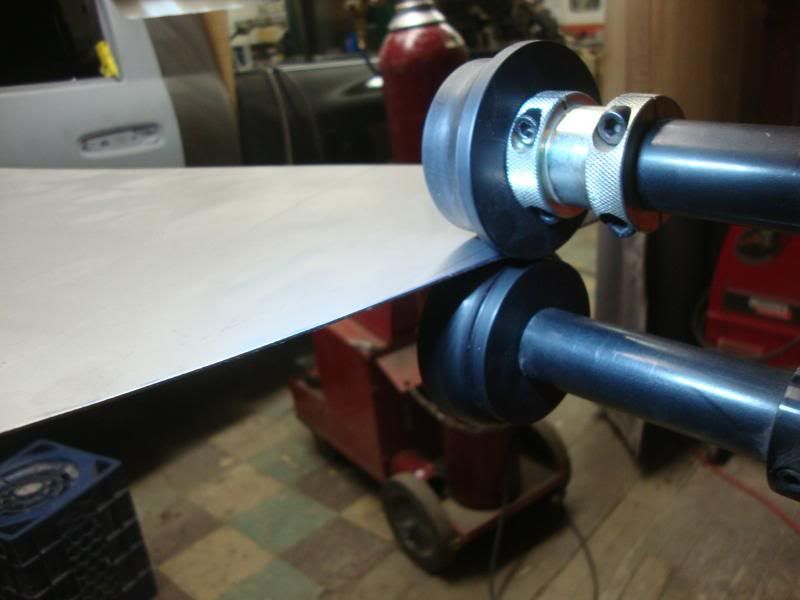
Then the bead roller to roll the edges to get a radius'd edge.
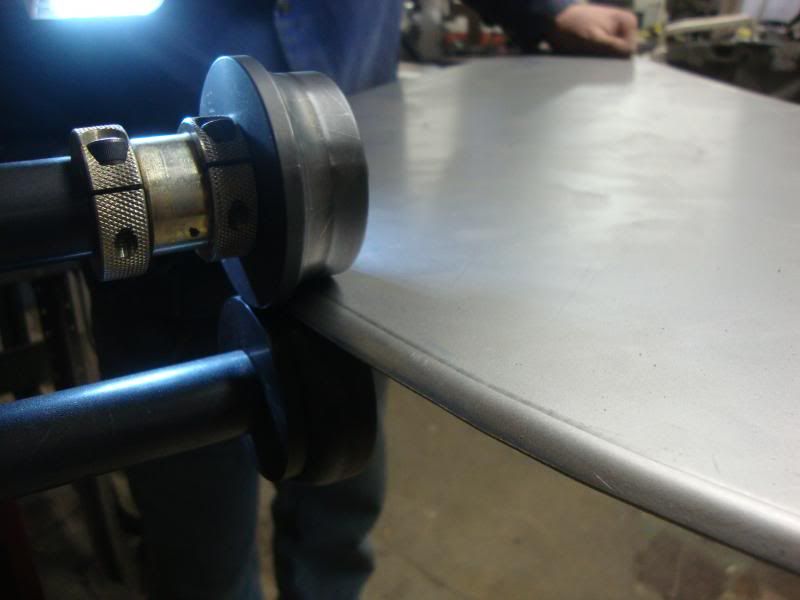
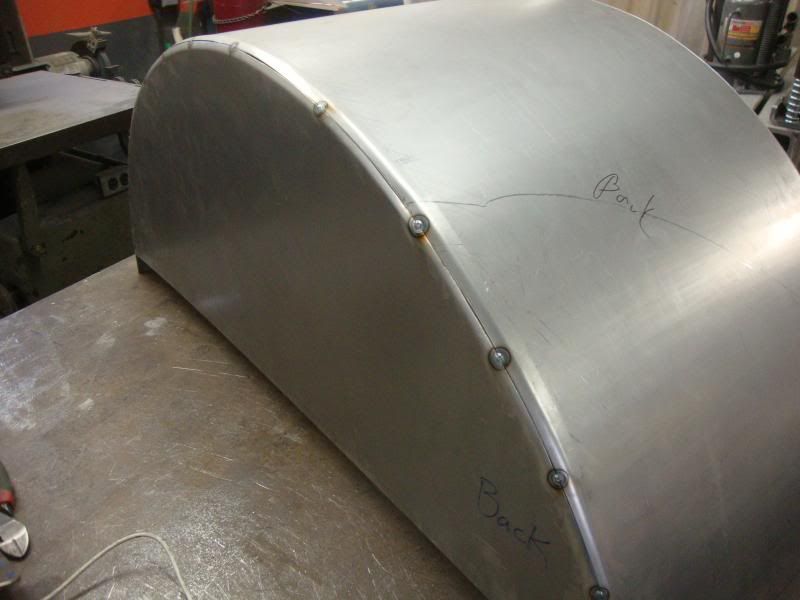
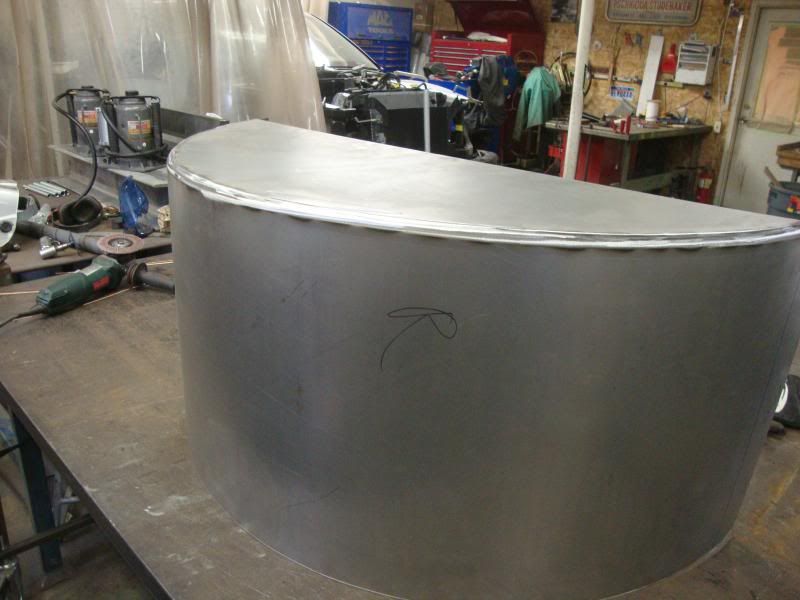
Finished product.
Going to start out with a truck I decided to build for myself to both use as a driver and something to take to shows.
The S-10 I built took something like 5 years to build as I was building it between all of the other things I was working on.. I didn't want to let that happen again for something that I was wanting to get on the streets, so I sold the S-10 to fund the project and make things happen quicker..
Here's the S-10 we sacrificed for parts funding.. lol. There is a build thread on the forum somewhere..


- - - Updated - - -
Here's what was the beginning of the new project.. It was previously wrecked and then re-paired.. In the process of the build someone that tracks these trucks had pictures of the truck from when it was wrecked and matched it to my vin and sent me this picture and a few others.

Here is how it looked when I picked it up.

- - - Updated - - -
The paint job was pretty rough and it rode really bad.. It was very improperly lowered, it had some severe camber issues, cut coil springs, bottomed out on small pebbles both front and rear so some repairs or a sale was in order.. The truck was a blast to drive so we decided to tear into it and build it right.. And in typical fashion.. it snowballed into a bit of a project.
a few tear down pics


- - - Updated - - -
Onto the build!!!
Always use waterborne on bare metal before epoxy!!! Luckily beneath the paint damages were very minimal.


://s44.photobucket.com/user/projectpages001/media/Parts%20Runner%20SRT%20Ram/DSC05309_zpse574f316.jpg.html]

Started spraying paint a little early in the build process. But It needed to go into my front room for fab work which meant the suspension had to go..

- - - Updated - - -


- - - Updated - - -
This is pretty early stages of the underhood metal work.. Wasn't to sure how I was going to cram everything into such a small space.. With doing the suspension work I had to make room for the tires, abs module, fuse box, cruise control and be able to have it look cleaner than what it did originally. This turned out to be a MUCH bigger task than I had originally hoped..


I wanted to retain a somewhat stock feel in the bed, so I wanted to keep the bed ribs going through the bed.


- - - Updated - - -
I didn't have a slip roller at the time so we went with the E-Wheel to roll the rear wheel tubs..

Then the bead roller to roll the edges to get a radius'd edge.


Finished product.


