MP&C
Member
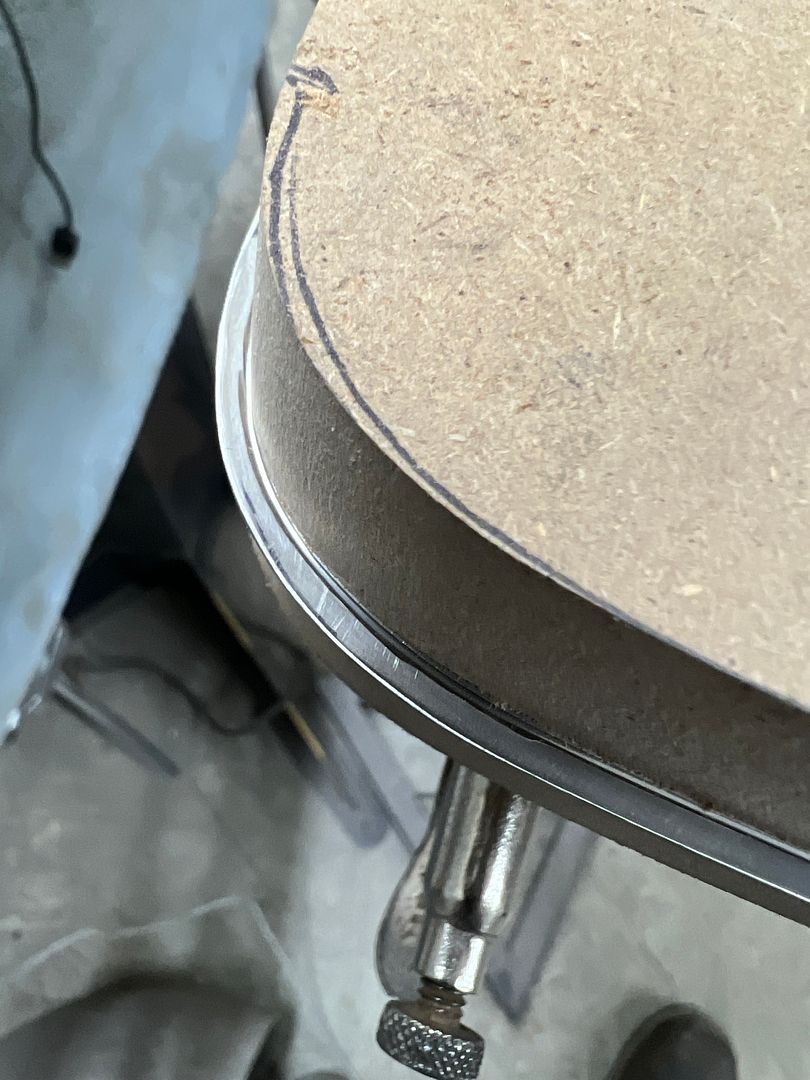
We got the other side trim done for the tailgate and I had been asked to show the hammer form in more detail, so here's another go.. We actually started by pulling a paper pattern of the profile, some autobody masking paper is taped to hang over the edge, and the tracing done to show where to trim. Although we didn't have the plastic in the way at the time, here the pattern is after trimming.
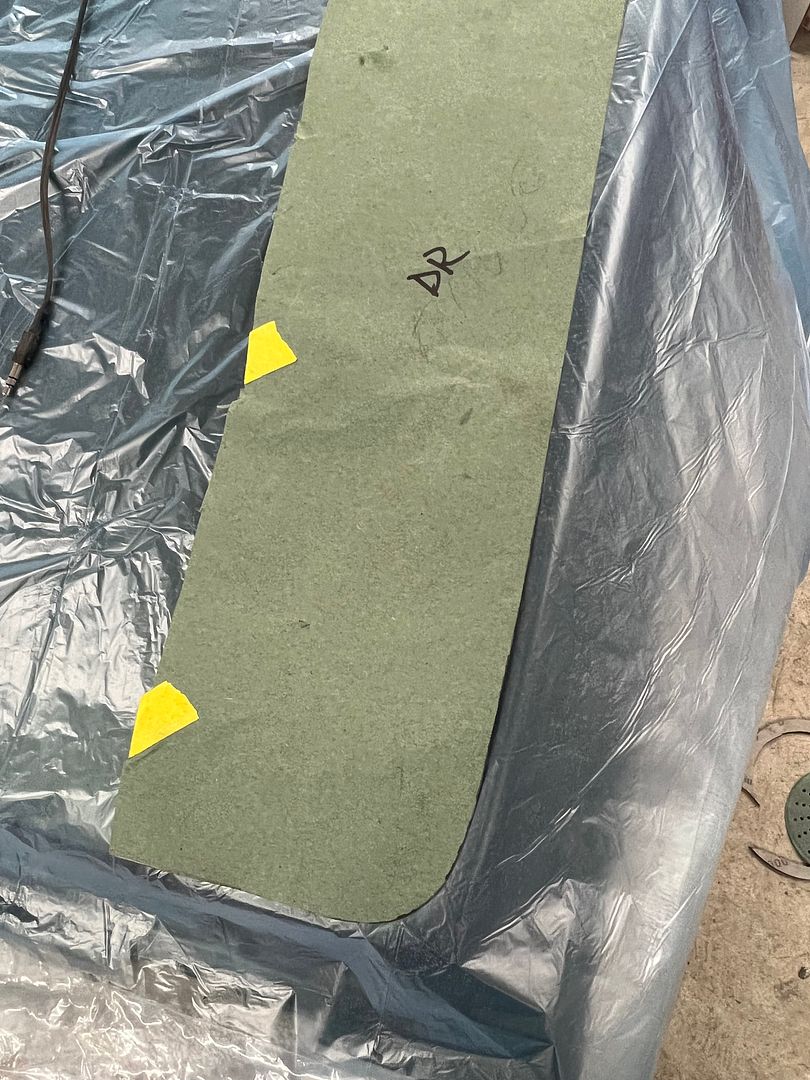
This is the pattern we use for the overall of the stainless, so that once the flange has been folded we will have a border of paint surrounding the trim (set in somewhat). Once the 19 gauge stainless has been trimmed to match our pattern, we use the tipping die in the Lennox to thin the "bend line", this gives the metal a suggestion of where it needs to bend so we should have a somewhat sharper crease given how the MDF tends to compress under a hammer blow. Where I would normally use one of our round backstops on the lower die, this shows to leave us without contact with the backstop at the initial entry and final exit from the machine, as the backstop is centered on the die. To correct that, we opted for 3/4 flat stock that gives us contact the entire width of the die set.
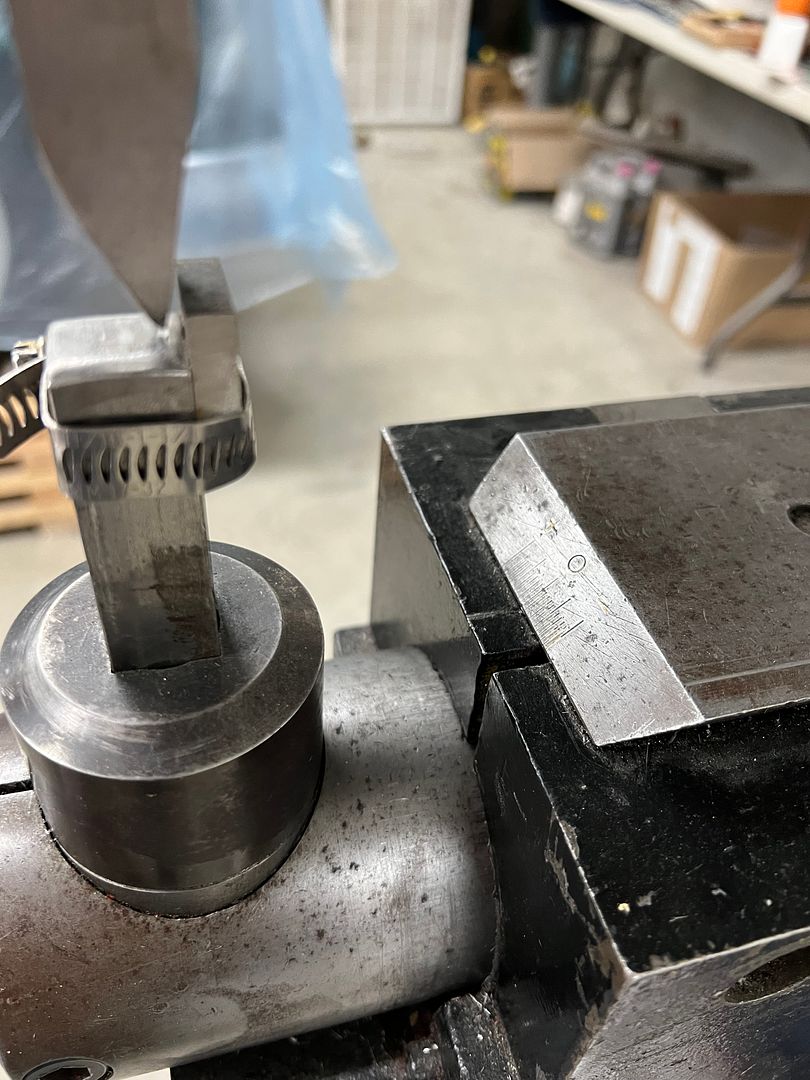
The backstop distance sets the height of the side flange of the trim, and here is the stainless after running through the tipping die for thinning the bend line.
Then the stainless is clamped between our MDF hammer form, note the outer portion of the hammer form matches the thinned bend line exactly.
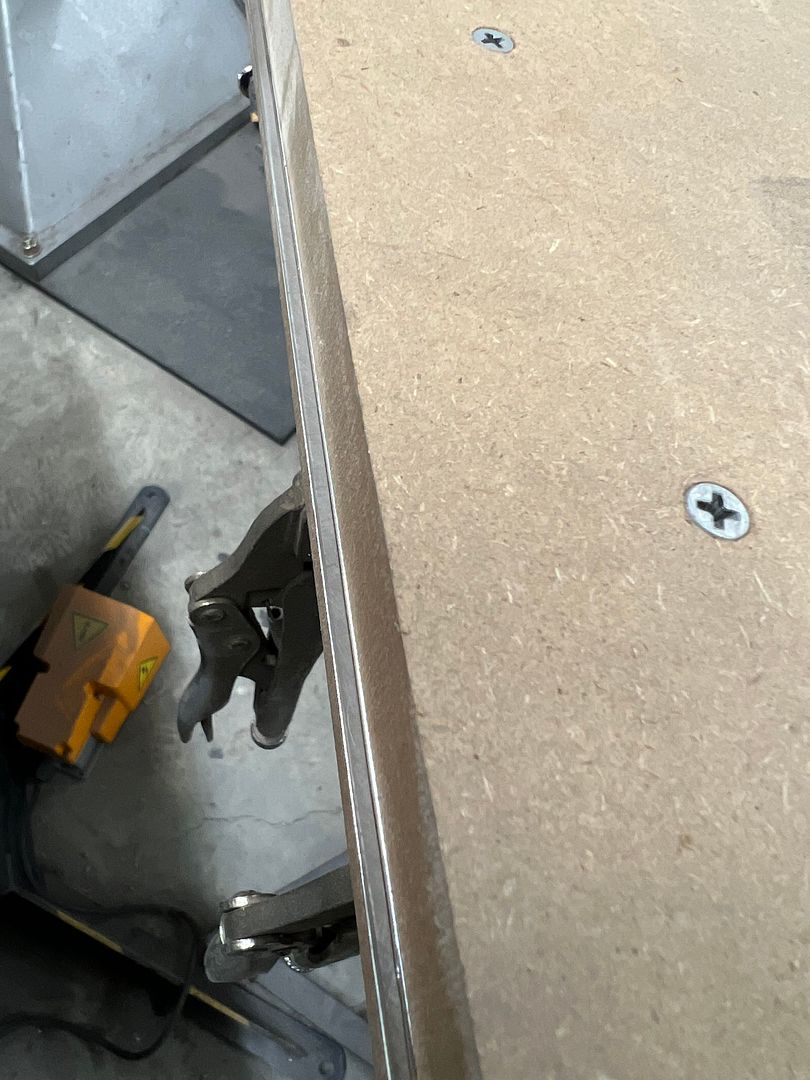
The Sandwich is held together with screws and then clamped in the vise for the hammering operation...
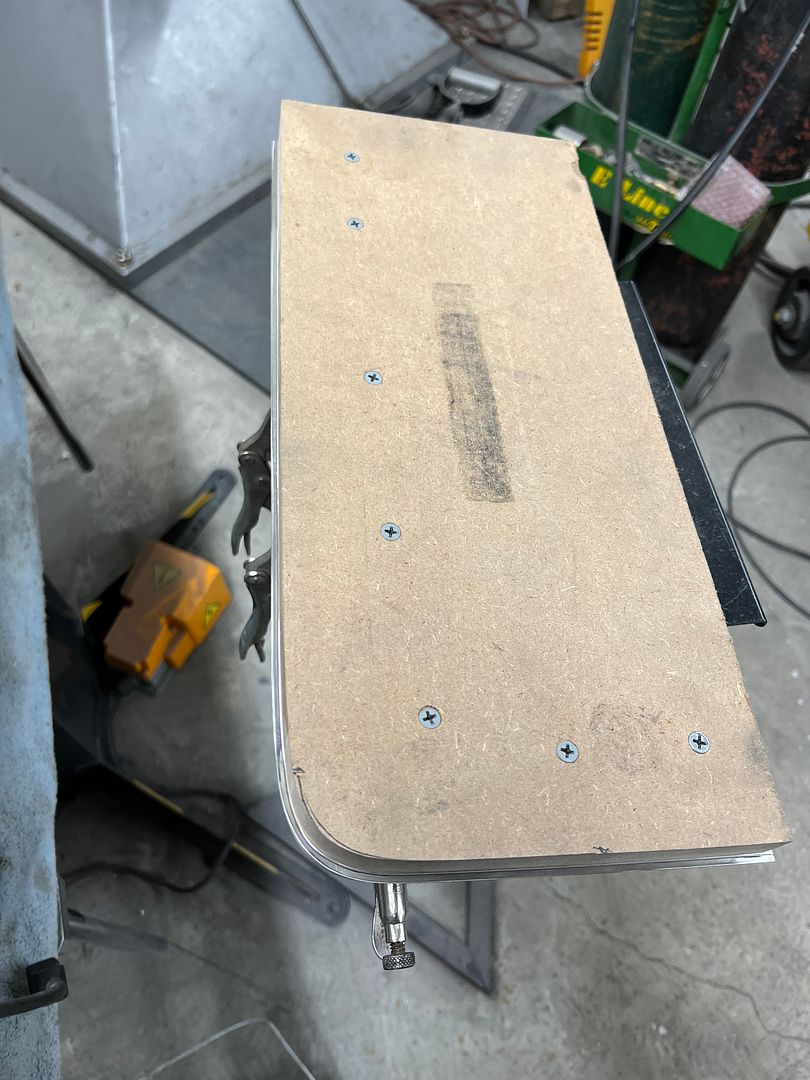
Once complete the bottom half of the hammer form becomes a stable base for pre-polishing, and some shorter screws are used to keep thing in unison. We use our typical polishing sequence of 400, 800, 1500, and then polishing on the buffer using green compound for a darker hue.
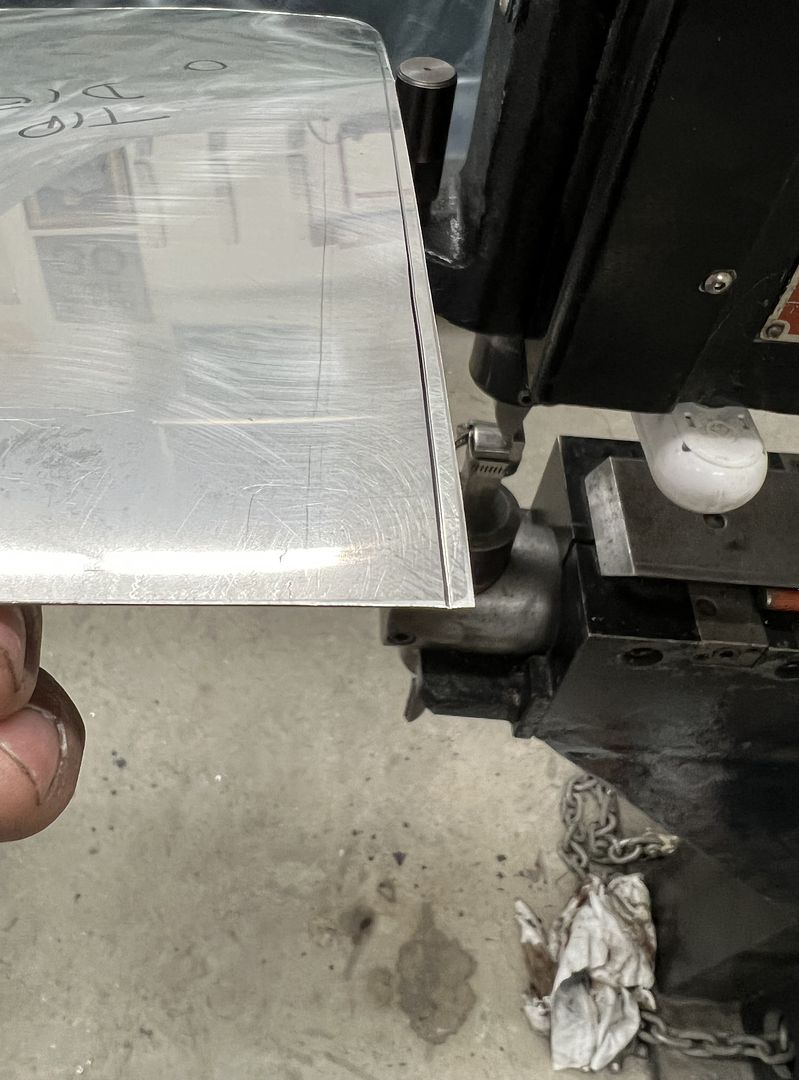
After the initial polish, the outer flange is covered with masking tape (to protect from scratching at this next step) and calipers are used to set the width and mark the cut line, like shown here..
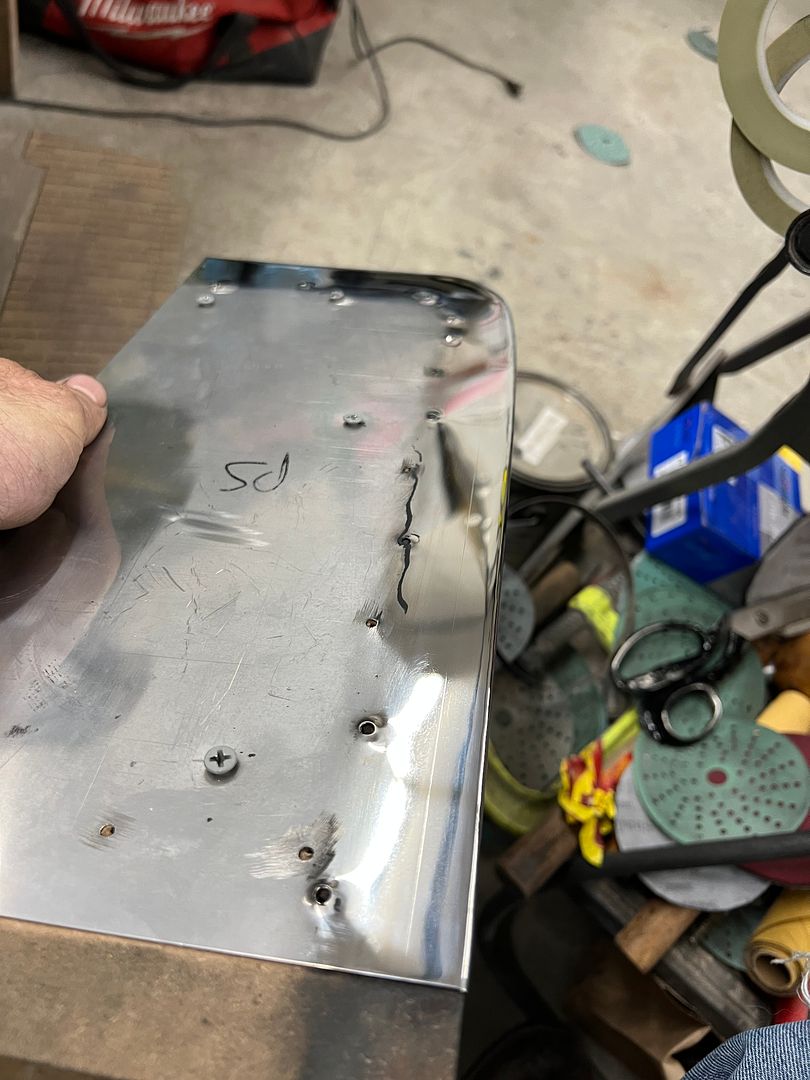
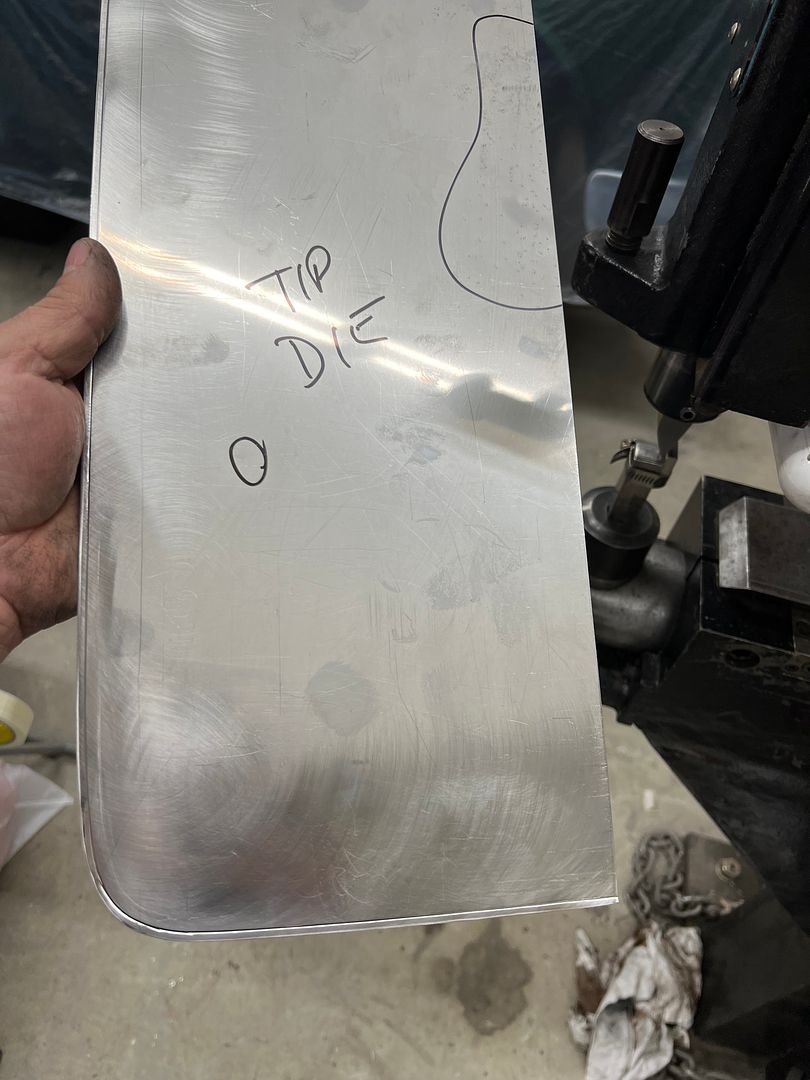
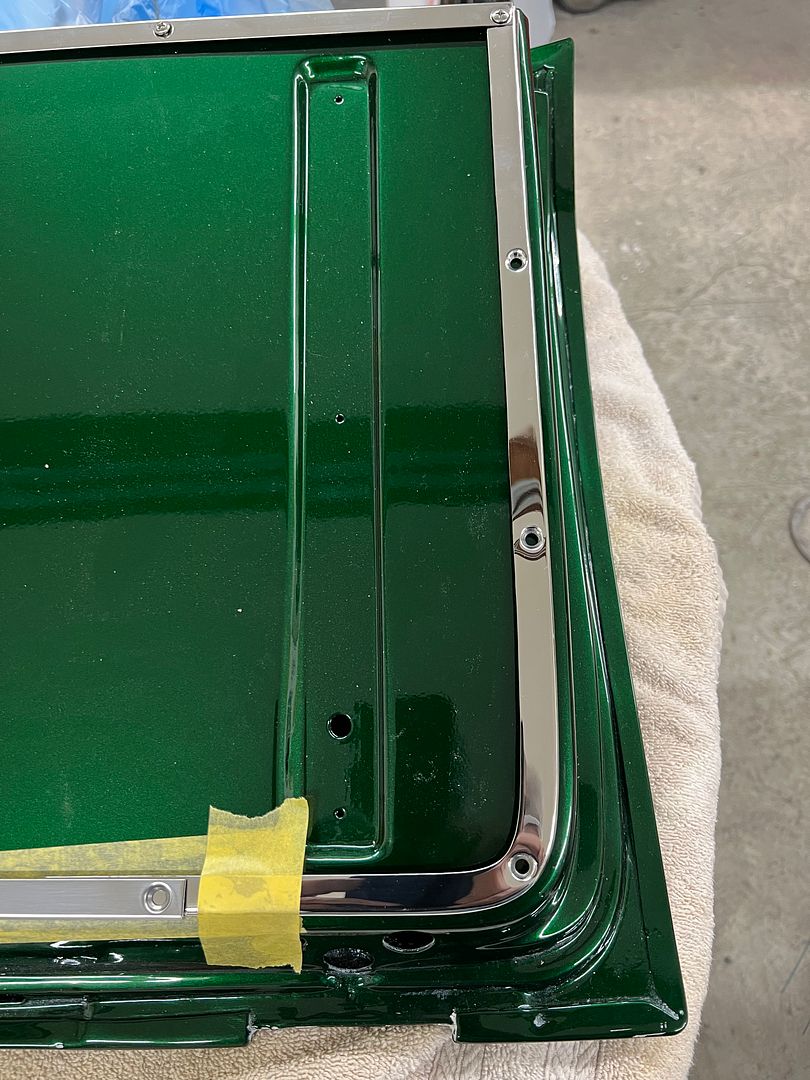
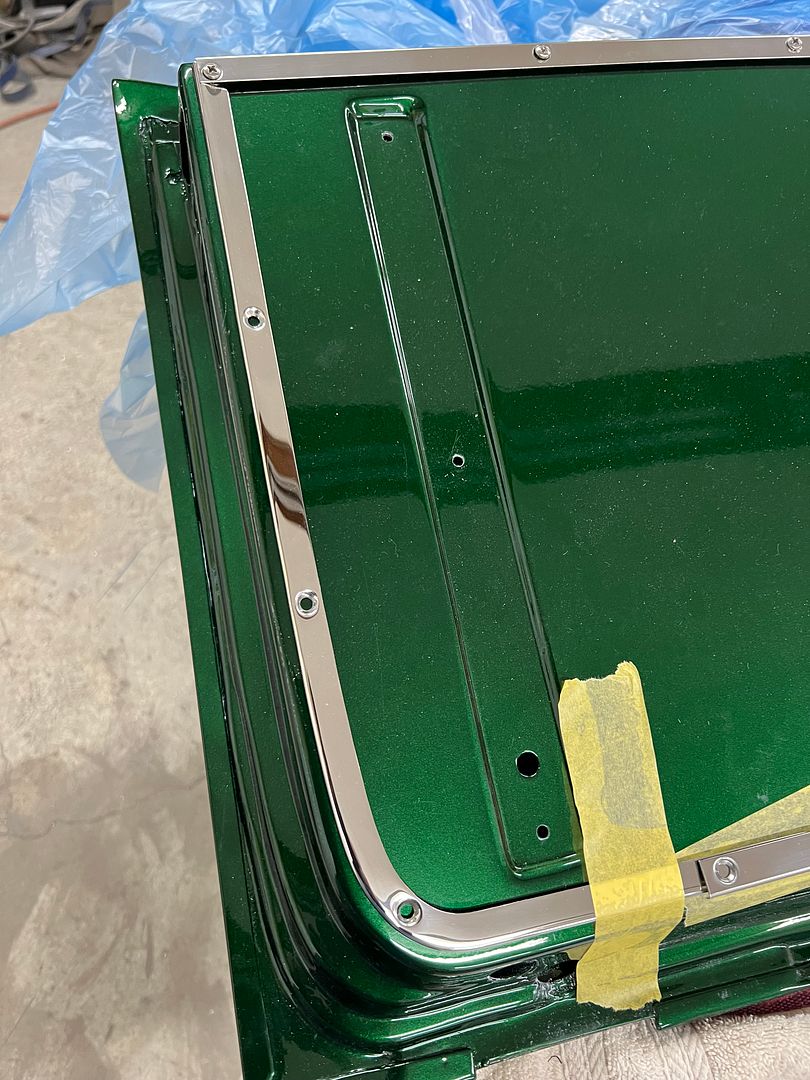
The bulk is trimmed away using our Milwaukee M18 shears, and final done using Wurth snips. The edge is fine tuned with our Dynabrade belt file, and then the holes are located and dimple countersunk. Then another polish job, and all the parts are located in prep for drilling the screw holes into the tailgate. Really happy with the nice parallel setback from the edge with these new trim pieces to match my patch panels.
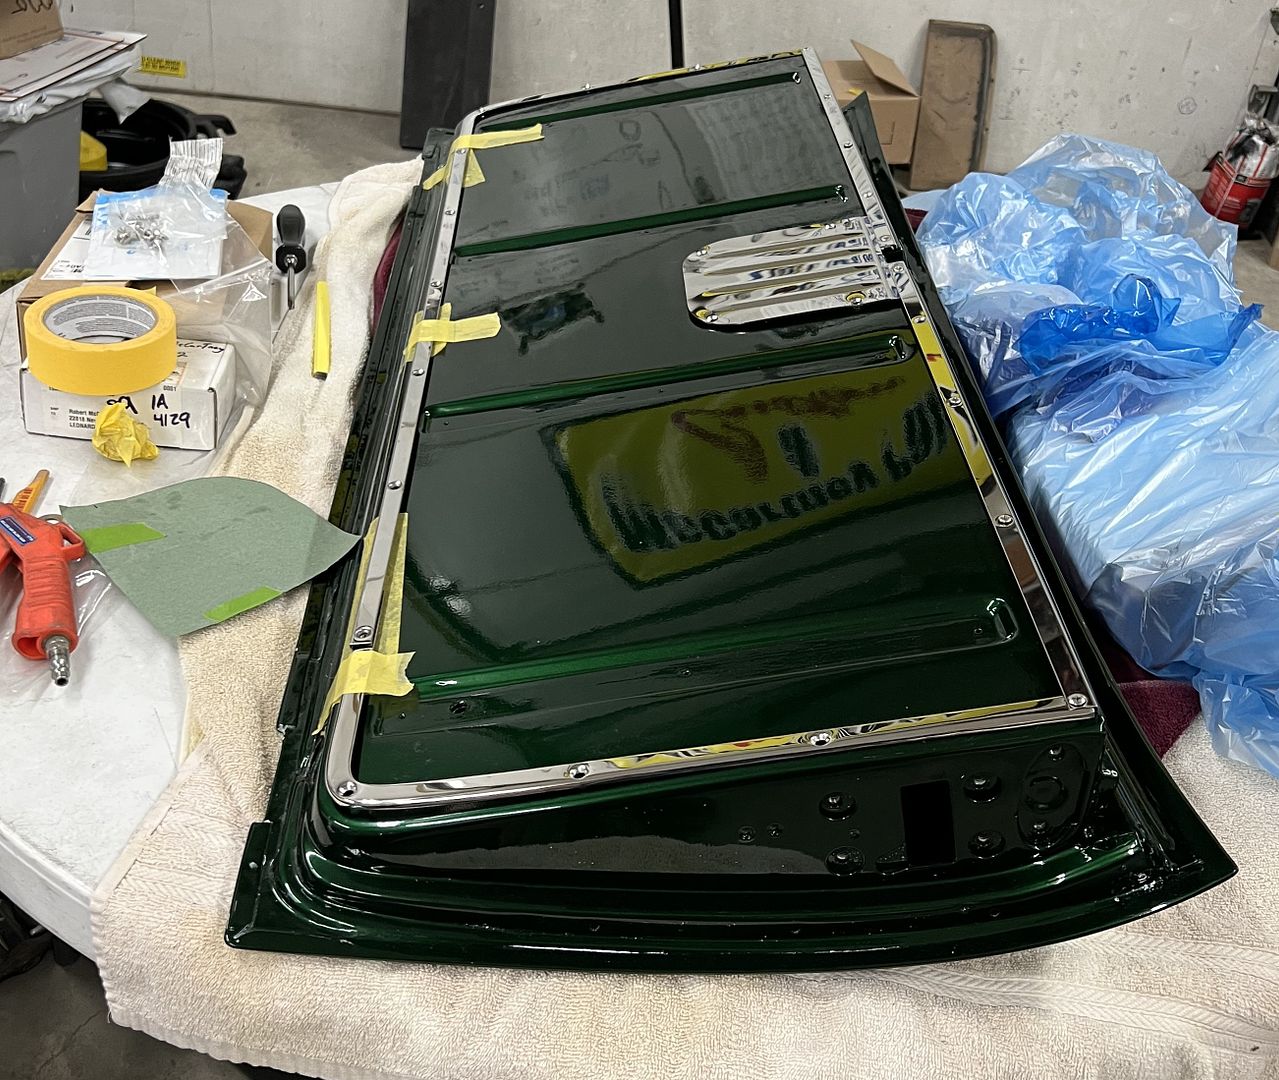
Next we'll get all the holes drilled and our upholstery added in the center...
This is the pattern we use for the overall of the stainless, so that once the flange has been folded we will have a border of paint surrounding the trim (set in somewhat). Once the 19 gauge stainless has been trimmed to match our pattern, we use the tipping die in the Lennox to thin the "bend line", this gives the metal a suggestion of where it needs to bend so we should have a somewhat sharper crease given how the MDF tends to compress under a hammer blow. Where I would normally use one of our round backstops on the lower die, this shows to leave us without contact with the backstop at the initial entry and final exit from the machine, as the backstop is centered on the die. To correct that, we opted for 3/4 flat stock that gives us contact the entire width of the die set.
The backstop distance sets the height of the side flange of the trim, and here is the stainless after running through the tipping die for thinning the bend line.
Then the stainless is clamped between our MDF hammer form, note the outer portion of the hammer form matches the thinned bend line exactly.
The Sandwich is held together with screws and then clamped in the vise for the hammering operation...
Once complete the bottom half of the hammer form becomes a stable base for pre-polishing, and some shorter screws are used to keep thing in unison. We use our typical polishing sequence of 400, 800, 1500, and then polishing on the buffer using green compound for a darker hue.
After the initial polish, the outer flange is covered with masking tape (to protect from scratching at this next step) and calipers are used to set the width and mark the cut line, like shown here..
The bulk is trimmed away using our Milwaukee M18 shears, and final done using Wurth snips. The edge is fine tuned with our Dynabrade belt file, and then the holes are located and dimple countersunk. Then another polish job, and all the parts are located in prep for drilling the screw holes into the tailgate. Really happy with the nice parallel setback from the edge with these new trim pieces to match my patch panels.
Next we'll get all the holes drilled and our upholstery added in the center...
 Florida would be a hell of a commute...