Rebuilding Compressor

R

Rustbuster77

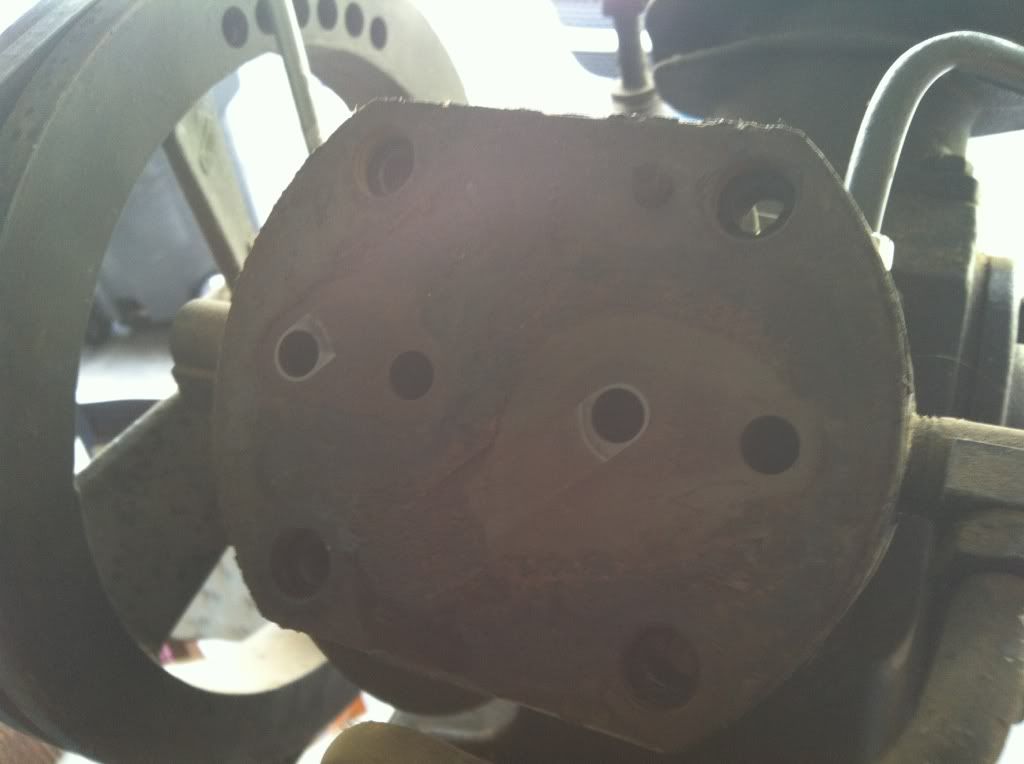
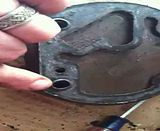
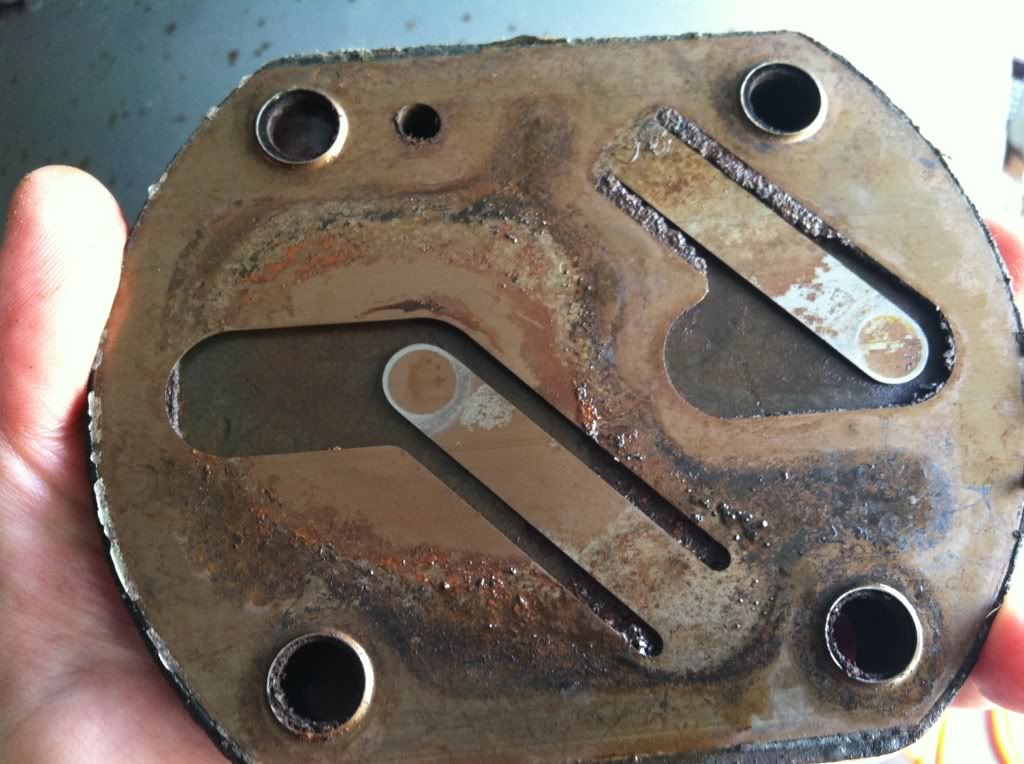
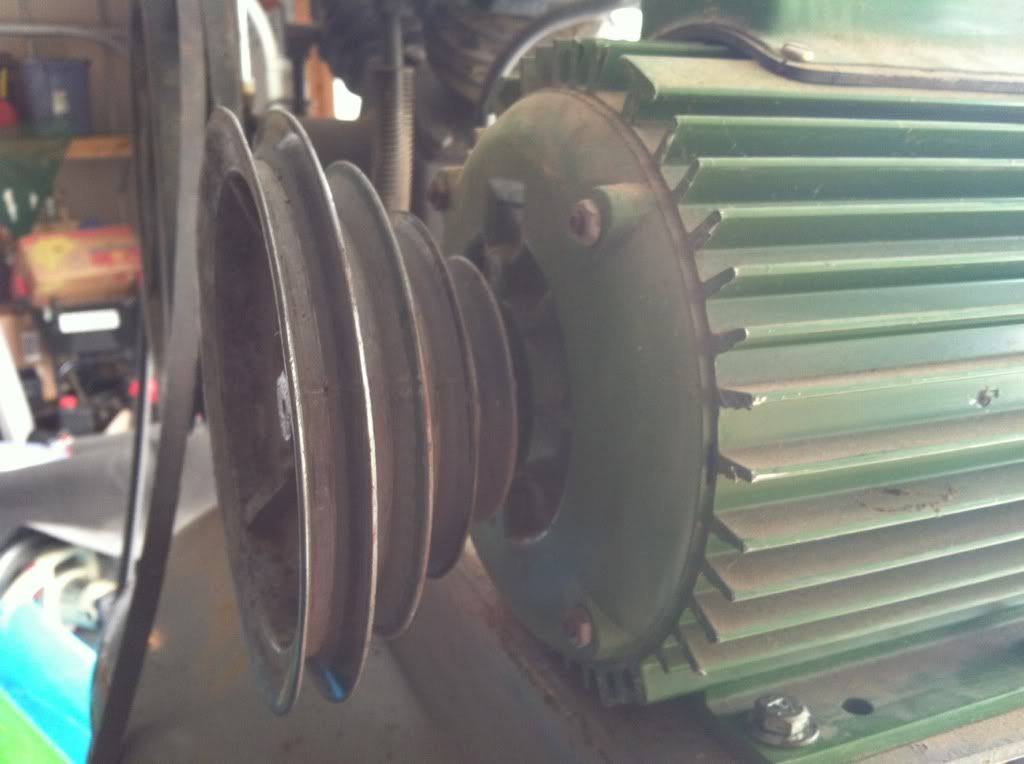
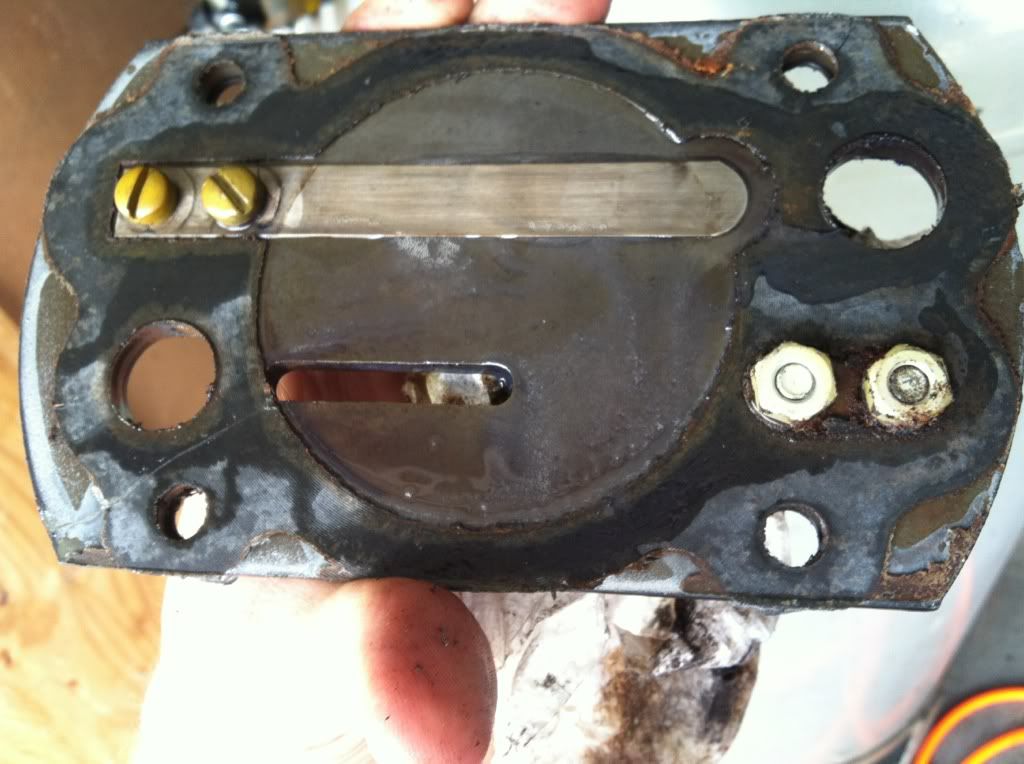
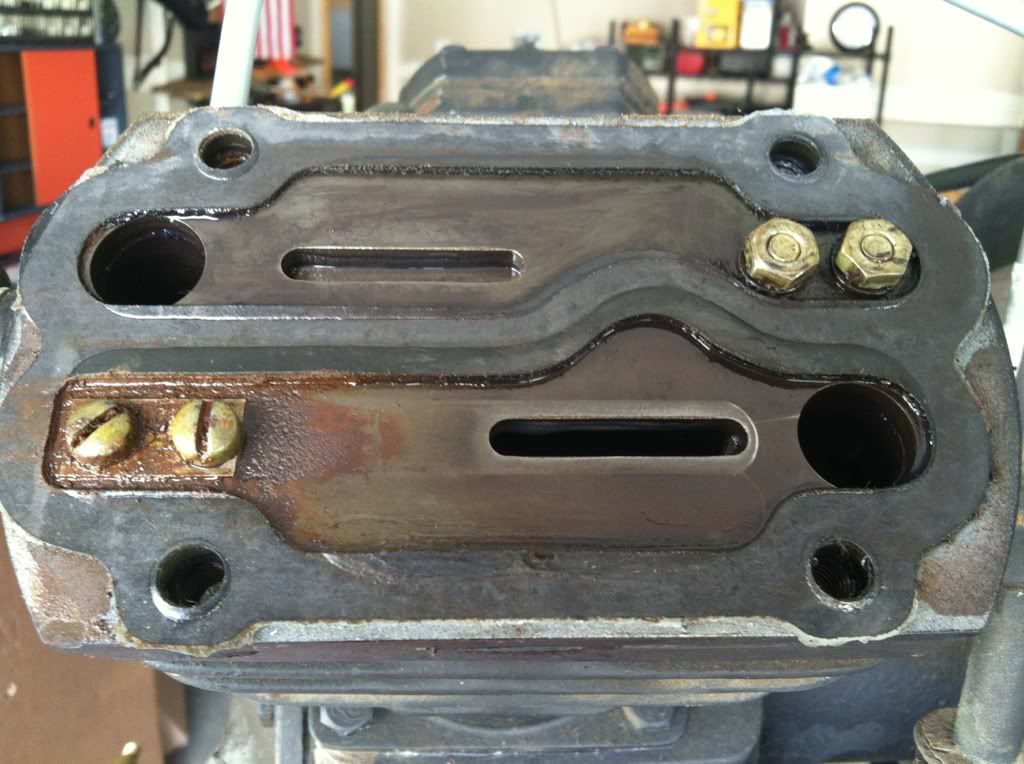
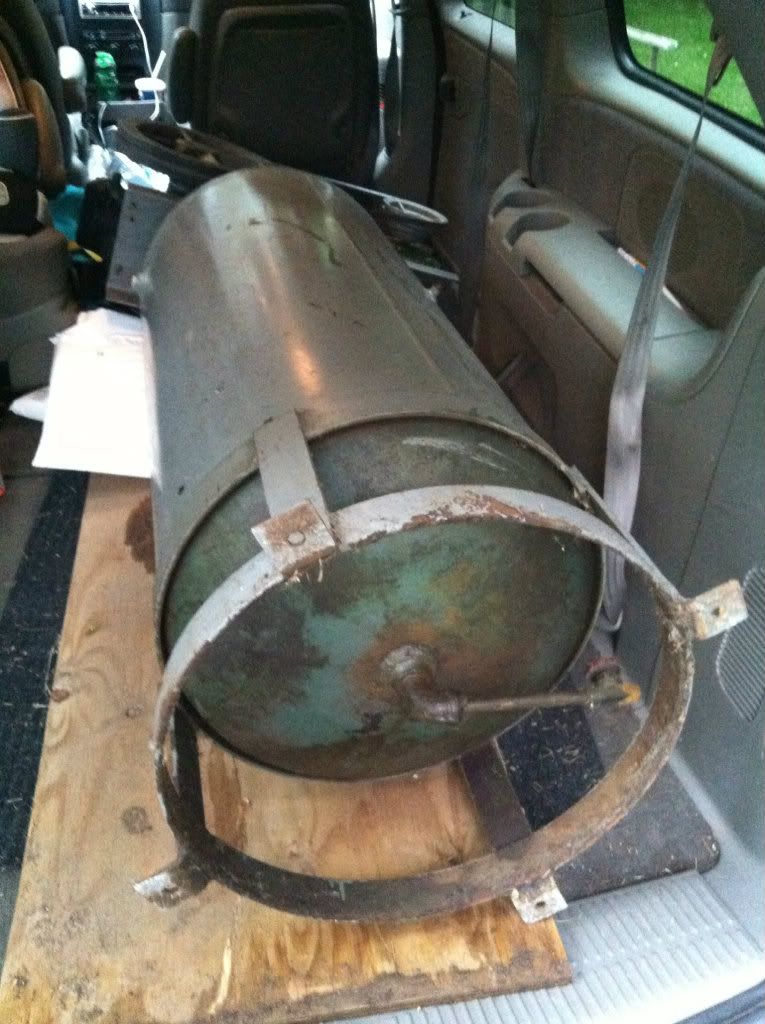
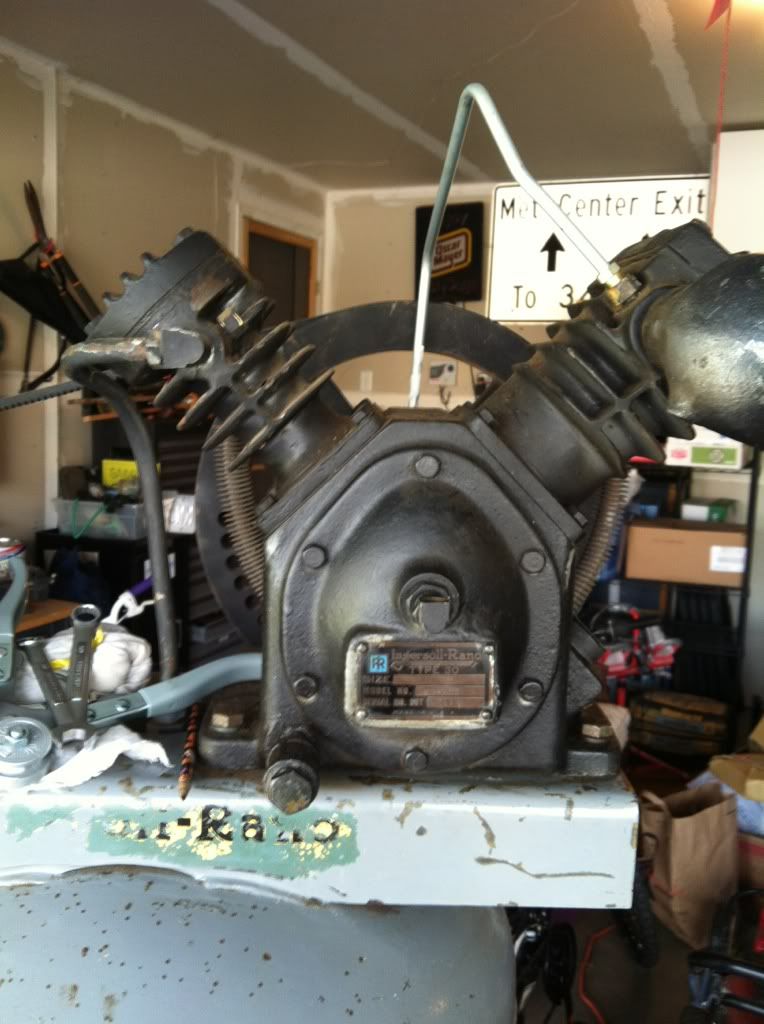
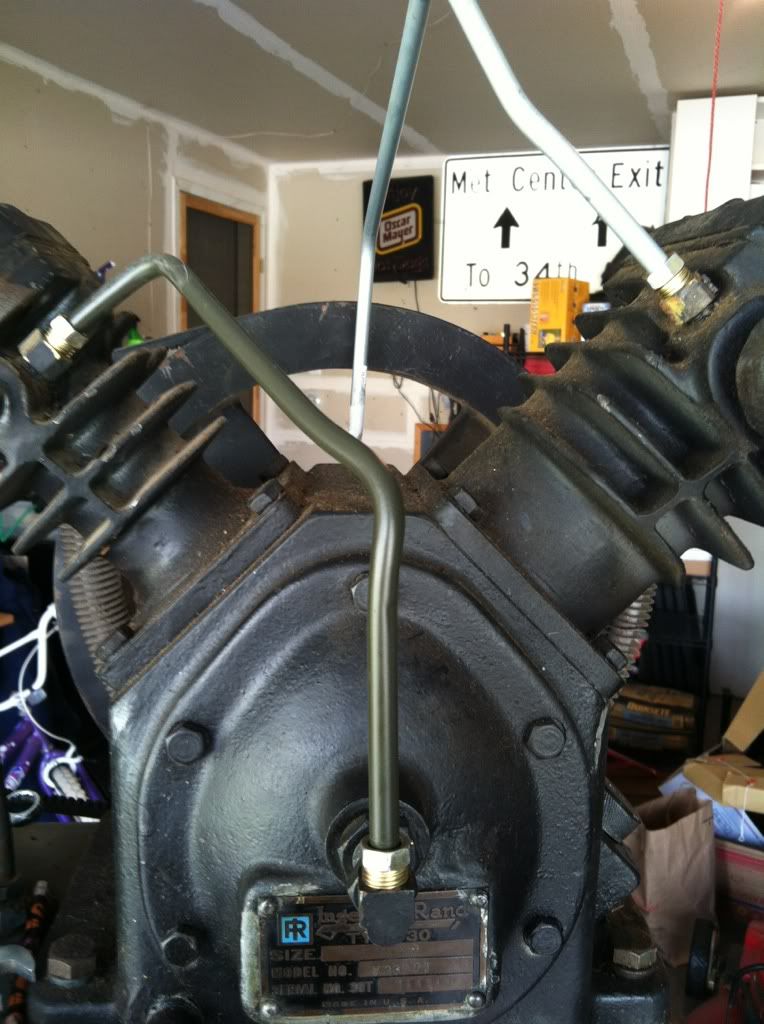
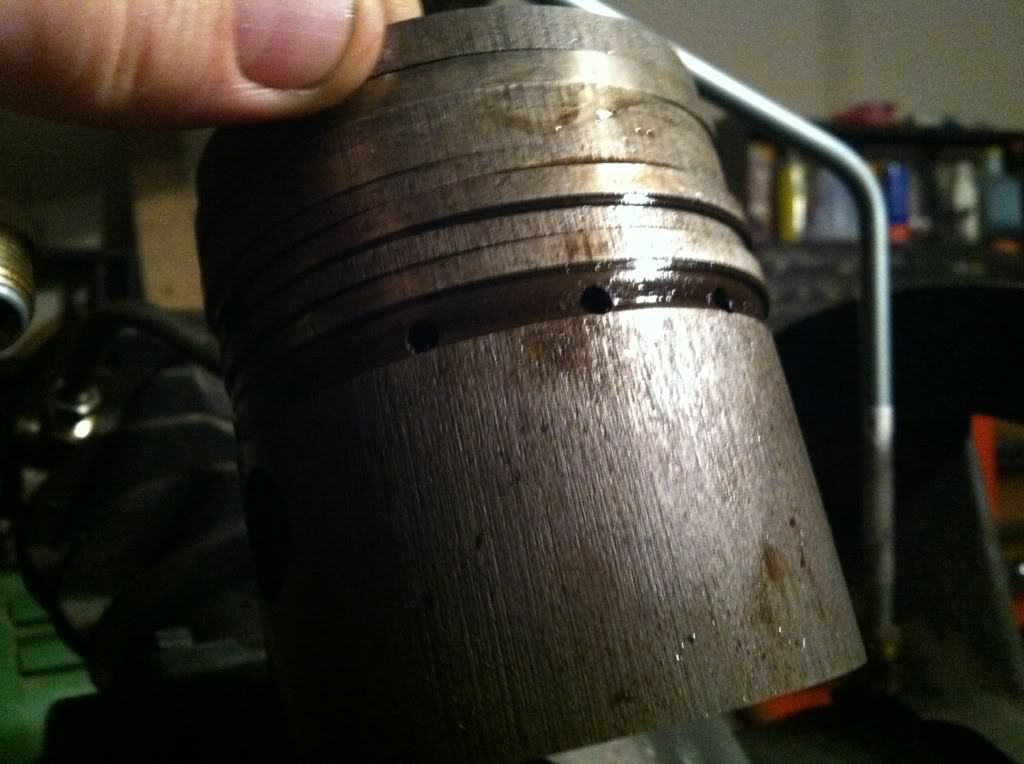
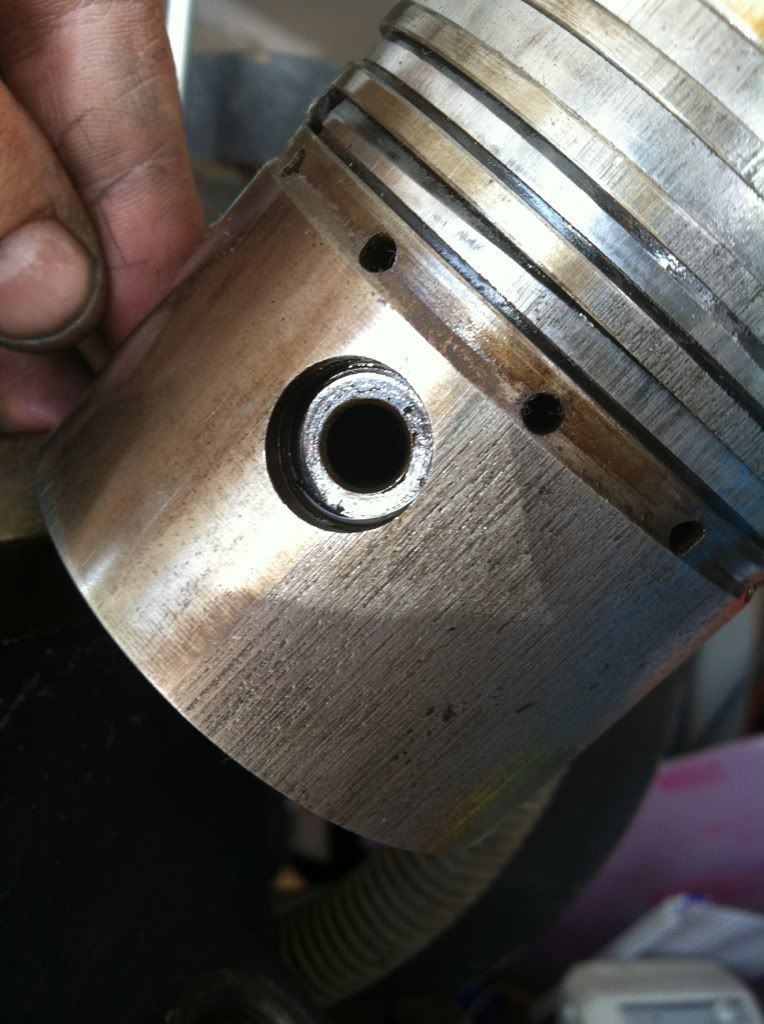
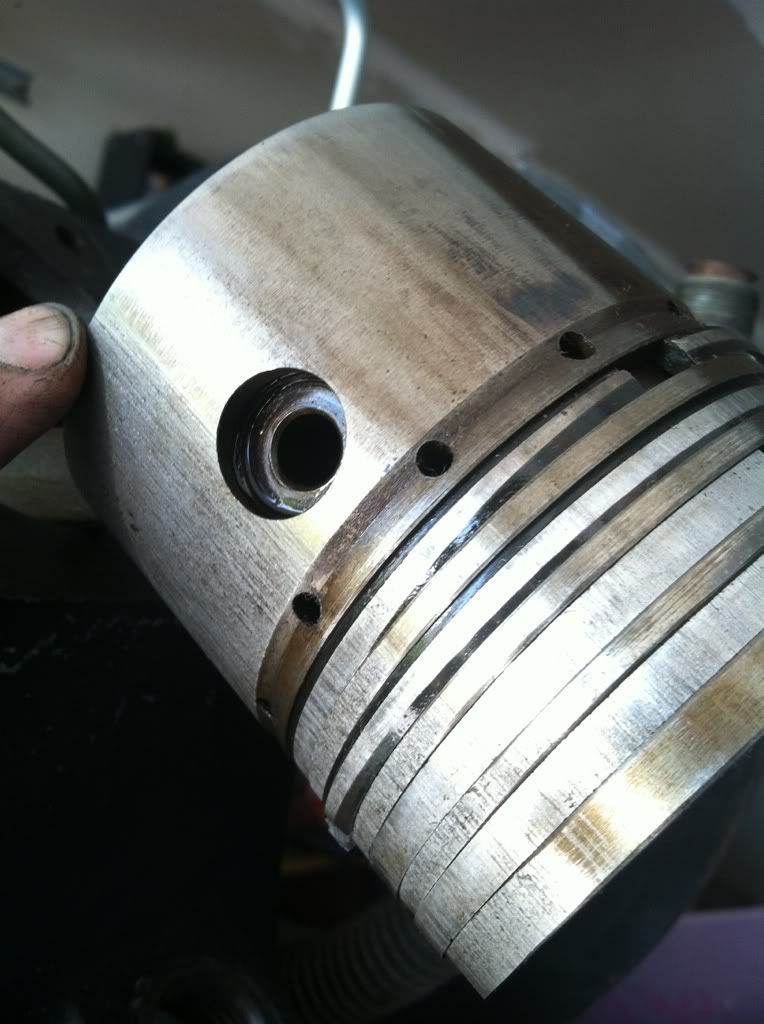
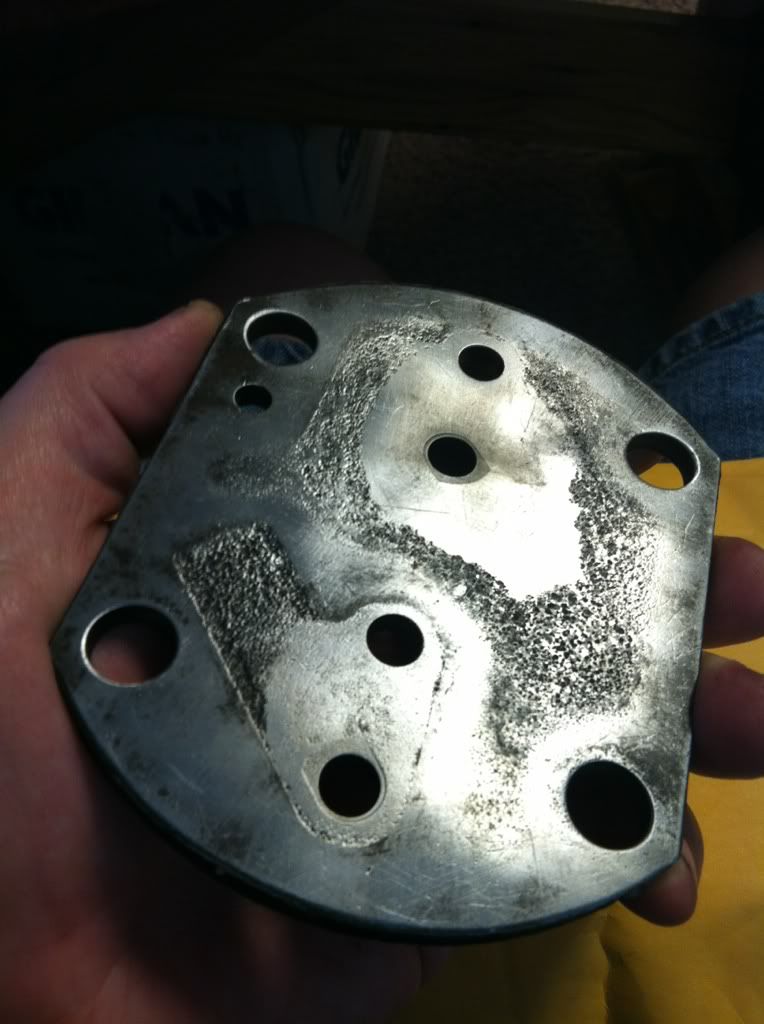
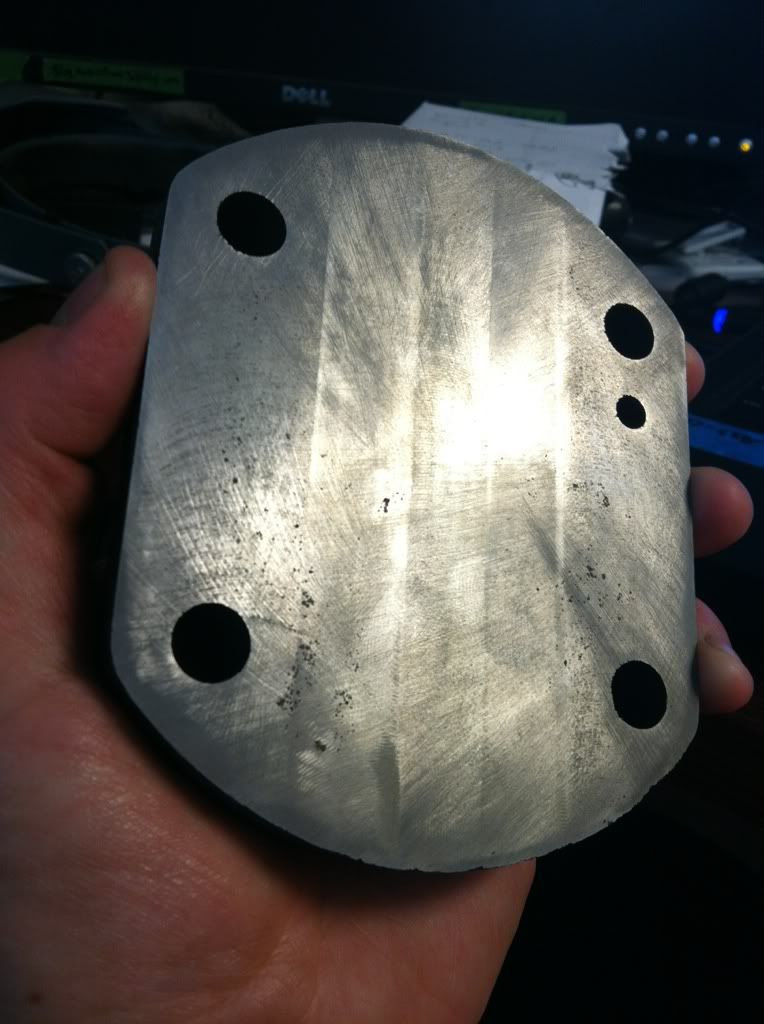
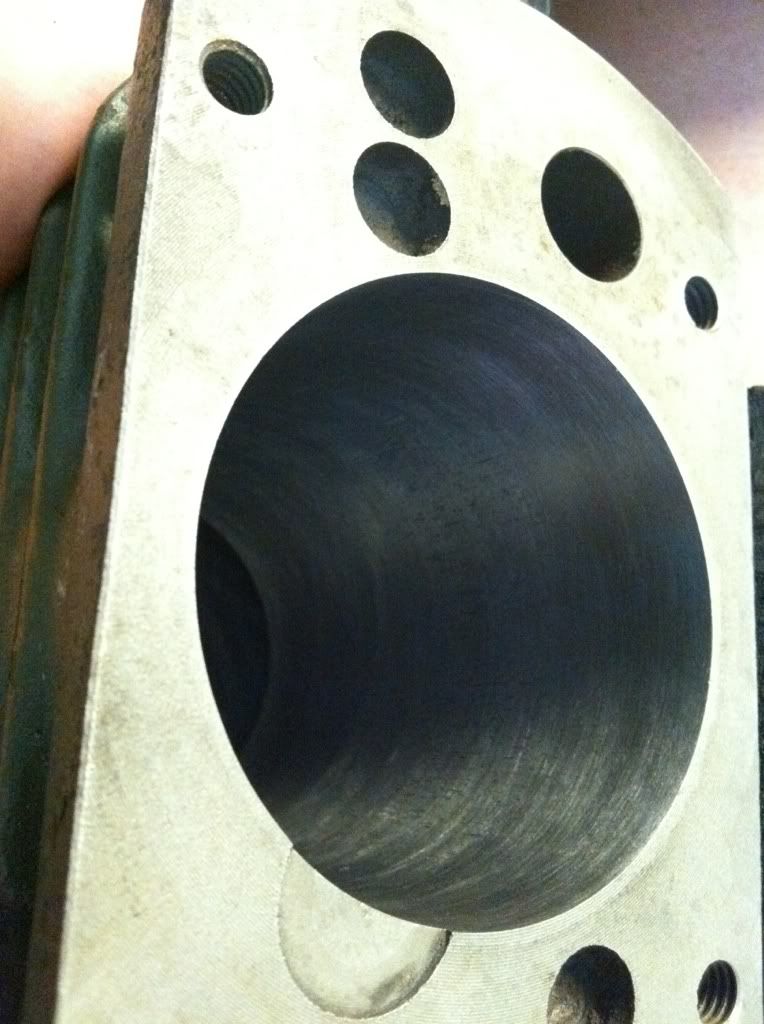
Recently got this beast and will be tearing into it this week to rebuild it. Found the low pressure side cylinder walls partially scored, eggshaped, rusty valve spacer plates, broken valve finger, undersized (1HP) motor, and a few other things. Just ordered a new valve and spacer plate kit for both sides and replacing rings on both sides, then will hone the cylinders.

Should help. It was taking nearly an hour to fill up the 60 gallon tank. I'm guessing the lower compression, broken valve finger certainly wasn't helping.

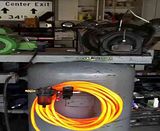
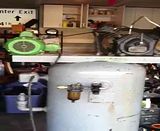
Here's a few pics and videos of the project thus far.

click on thumbnails to make larger.

Mark

b830f9b3.jpg


ebbc4dc5.jpg


c2f5f9b4.jpg


66b8584e.jpg


ec0c4bcd.jpg


342104d3.jpg


0d8e19b7.jpg


c0a025ae.jpg


Broken reeds will keep it from pumping air, lol. What you going to do about the egg shaped cylinder? Hope it doesnt pump oil.
 
I'm going to see if I should rebore it or if a honing will take care of it. Or I can just try new valves and gaskets and see how it works...
 
Some machine shops may still have a piston knurler. The cylinder can be honed round again and the piston knurled and then filed to fit the hole. An oversize piston would be better, but I'm not sure if that's obtainable.
 
I'll have to put some feeler gauges and see how out of round it is. Not sure how much new rings would help. Been a long time since I did anything similar to this so its like starting all over again. At least it's fun!

Can't think of when I've been this excited to do bodywork and paint again.
 
I would bore the cylinder and be done with it. Then get to the fun stuff, working on your projects!
 
crashtech;20989 said:
Some machine shops may still have a piston knurler. The cylinder can be honed round again and the piston knurled and then filed to fit the hole. An oversize piston would be better, but I'm not sure if that's obtainable.

Another option would be to sleeve the cylinder and use an original size piston & ring set.
 
More than once I have salvaged an old tool or piece of equipment. Sometimes a simple rebuild is cost-effective but sometimes the price of the parts and the machining exceeds the cost of a replacement. As a benchmark, if you are going to invest more than $325, you might consider a new Eaton pump like this one:
$(KGrHqNHJC8E-m8BedrvBPsqCyol3g~~60_3.JPG


Eaton's web site has several pumps available:
http://www.eatoncompressor.com/page/page/518643.htm
 
Well the fun continues...took off low pressure side cylinder and piston is also scored. Found out one of the rings is frozen partially. This could explain the oblong wear. Also there was about an inch of gunk and junk in bottom of crankcase. So will clean that out too. I still think it will be worth it in the long run as the journey is part of the joy of learning. For me at least.
 
A good old American pump that's performed since 56 deserves a complete restoration, it'll be good for another 56 years! An automotive machine shop could get you a thin or thick walled sleeve in any size you need and bore and hone it to the original size. How do the pistons look and what do they measure? What does the bore measure at the top? Fun project!
 
***UPDATE***

One of the cylinder rings was semi seized which likely caused the cylinder to wear unevenly. I sprayed a little carb cleaner in there and got it loose. I have a ring kit for both sides that just came in today.

Not sure if pistonc can just be re ringed and put it back together or not.

I hate seeing a great old American made tool hit the scrap heap so want to do my best to give it some more use.

I would like to find some single stage paint to match original Ingersoll
Might have to talk to Chad.

here's some pics...

e4ea041c.jpg


2dad4cac.jpg


9ca9b613.jpg


9af70868.jpg
 
Last edited:
***UPDATE***

Had a friend who's a shop teacher at local High School do some machining on the compressor parts over the weekend. There was some pitting on the cylinder head plate and scoring on the cylinder walls. He honed the cylinder enough to take most of them out but not enough to have to use oversize pistons which aren't available to my knowledge. After all, this is a compressor, not a drag racing engine so I guess there's a little room for error. So thankful for great friends to help.

6cd8cf47.jpg


7d18a141.jpg


a177087e.jpg


now have to find time to start putting it back together and see how it goes.
 
If it's an older high school shop you might ask about a piston knurler. They used to be very common. I wouldn't feel real good about that cylinder finish, but if it's the best that can be done, well...
 
Wow those rings are thick! you could sleeve it if the taper is bad. I would break it in for a few months on straight 30 non detergent motor oil then switch over to Amsoil synthetic compressor oil-really good stuff! How does the cranks and rods look? Do the rods have insert bearings or are they aluminum?
 
The teacher is in his late 40's or early 50's best. A good friend who's a gear head. I don't understand the principle of piston knurling as it seems like you'd have even less contact area. The rods have bearings I believe but cannot easily remove them and am trying to avoid getting into it deeper than necessary. From what I can tell, the cranks and rods seem fine, there doesn't seem to be any slop that I can determine by just wiggling them to check for play. I just need to get this up and running asap without too much more $ as my hobby is starting to consume more of my time than my real job :) I'm really enjoying the process however. I appreciate the comments and thoughts on this guys! Thank you!
 
i understand your need for air

I once took a 20 gal sears compressor,3way manifold, emglo gas twin tank,and a five gallon portable air tank and linked them all together.. it worked for that job but it was hell.
Painting itself is hard enough, you can make it happen, but other problems may plague you. Oil in your case may be one of them. I would re sleeve the cylinder if it blows oil your going to spend alot of time and money re doing everything you worked so hard on, plus waste material that costs money.
 
Rustbuster77;21267 said:
The teacher is in his late 40's or early 50's best. A good friend who's a gear head. I don't understand the principle of piston knurling as it seems like you'd have even less contact area. The rods have bearings I believe but cannot easily remove them and am trying to avoid getting into it deeper than necessary. From what I can tell, the cranks and rods seem fine, there doesn't seem to be any slop that I can determine by just wiggling them to check for play. I just need to get this up and running asap without too much more $ as my hobby is starting to consume more of my time than my real job :) I'm really enjoying the process however. I appreciate the comments and thoughts on this guys! Thank you!

Knurling does not increase the surface contact area. It reduces the contact area as a result of displacing metal from the low spots to the high spots of the knurl. The idea is to lesson the piston to cylinder wall clearence.
 
Senile Old Fart;21282 said:
Knurling does not increase the surface contact area. It reduces the contact area as a result of displacing metal from the low spots to the high spots of the knurl. The idea is to lesson the piston to cylinder wall clearence.

Yup. At least ask the shop teacher about it, as it does not take much time at all. Right now that piston will probably slap around in there enough to beat the band, and excessive piston rock will help wear out your new rings in a hurry.
 
Back
Top