Metal Working tips and tricks.

Chad, in some of your patches it looks like you spotted the whole patch in with spot welds, then removed the clamps and hammered the welds. Does this mean you planished the welds cold?
 
Outlaw said:
Chad, in some of your patches it looks like you spotted the whole patch in with spot welds, then removed the clamps and hammered the welds. Does this mean you planished the welds cold?
The only time I do spot welds is when I first set it up to hold itself in place, then typically I run the whole panel in one pass without stopping, then yes after it cools I will typically grind it a little bit and then planish it. When it's hot it could still be moving and shrinking so I let it do it's thing and then once it's cooled I get back to work.
 
Outlaw said:
I was thinking more in regards to when you are in a position that you can only push the pedal and not pulse it or vary it. I know they make an adjustment that works on the gun too, but I cant chew gum and walk so making the puddle and feeding it is a big enough challenge. I think I could Tig weld when Im comfortable sitting on a stool in front of my welding table. Working on patch panels without a rotisserie....not so sure.
Learning to tig weld in a comfortable sitting position to master the art of it is the first step. Once you the act of tig welding that way , you can move on to less comfortable positions.You can also do things to make yourself more comfortable not sitting , such as leaning on a vehicle in a way that you can work the rod holding hand, torch holding hand, & foot without undue tiring yourself out.
You can also sit on something taller, such as a 4' ladder & have the pedal up higher on something.
Certain stretching exercises may help you to work a little while in a challenging position.
 
Outlaw said:
I was thinking more in regards to when you are in a position that you can only push the pedal and not pulse it or vary it. I know they make an adjustment that works on the gun too, but I cant chew gum and walk so making the puddle and feeding it is a big enough challenge. I think I could Tig weld when Im comfortable sitting on a stool in front of my welding table. Working on patch panels without a rotisserie....not so sure.
Learning to tig weld in a comfortable sitting position to master the art of it is the first step. Once you master the act of tig welding that way , you can move on to less comfortable positions.You can also do things to make yourself more comfortable not sitting , such as leaning on a vehicle in a way that you can work the rod holding hand, torch holding hand, & foot without undue tiring yourself out.
You can also sit on something taller, such as a 4' ladder & have the pedal up higher on something.
Certain stretching exercises may help you to work a little while in a challenging position.
 
Thanks Jl, Im gonna have to make the jump and try it I guess. Maybe get rid of my oc torch and henrob and just stick with mig and tig. I will try the tig before I dump my henrob.
 
Thanks Chad, I will have to change the way I have been doing it with the mig. If I have any poor fitment issues, I guess I can hit those with the Mig, then back to Tig. Overall, my fitment in a six foot seem is about 90% tight and the other 10% 1/16-1/8.
 
Outlaw;n79226 said:
I wear glasses and Im 67. Whats my chances of ever mastering Tig welding? I'm still pretty steady and don't have any shaking issues, but....

I picked up some cheater lenses for my helmet and it helped tremendously. They are just plastic magnifying lenses that slide in your helmet. You can get different magnifications. Really helped me see better.
 
Obviously when tig welding you want a nice no-gap seam but it really helps when you are using a mig as well. On something you are going to butt weld try getting a no-gap fit and then beveling both pieces 45 degrees. Turn up your heat a little and alternate spots. Works best if you spot rather than try to lay a bead. Just alternate spot welds until you connect the dots. Makes for welds with good penetration and if you take your time very little distortion. Grind, hammer, dolly and use a shrinking disc and you can have a no filler repair using a mig.
Thought this might be helpful to someone out there.
 
Just recently picked up the cheaters for both my helmets Arrowhead. Huge difference.
 
Thanks Chris. pretty much how I do butt welds with a Mig, but not always 100% no gap seams.
 
Arrowhead said:
Outlaw;n79226 said:
I wear glasses and Im 67. Whats my chances of ever mastering Tig welding? I'm still pretty steady and don't have any shaking issues, but....

I picked up some cheater lenses for my helmet and it helped tremendously. They are just plastic magnifying lenses that slide in your helmet. You can get different magnifications. Really helped me see better.
One of the guys I the shop uses one of them and it helps him tremendously, I try them and they make me feel drunk. lol.
 
Outlaw said:
Thanks Chad, I will have to change the way I have been doing it with the mig. If I have any poor fitment issues, I guess I can hit those with the Mig, then back to Tig. Overall, my fitment in a six foot seem is about 90% tight and the other 10% 1/16-1/8.
IMO 1/8" is way to big for a mig welder, the occasional oops happens but really try to thin that down. I always cut the patch piece to size and I leave the piece that it is going to a little long. over lap them and draw a line with a fine tip sharpie.. and I don't mean the standard one, I use the one that leaves a pencil thin line.
Then I cut it about 1/16" short, then gradually grind up to it until you are close and then break out the file to finish it off. almost all of my edges are filed to get a close fit. I get really frustrated when there is a gap.
 
Also grab a shrink disk from Wray Schelin if you haven't already.. They really help once you figure out how to use them, I suggest getting the video from him, I didn't but it took me a trip to his shop before I figured out how to use it properly ..
​If I can get the photo's to post I'll have another how to tonight.
 
Chad, nice work. Can you tell us what amperage were you running on these welds, and can you describe your foot pedal action during the weld.....

Thanks,

Chris
 
Chad.S;n79320 said:
Also grab a shrink disk from Wray Schelin if you haven't already.. They really help once you figure out how to use them, I suggest getting the video from him, I didn't but it took me a trip to his shop before I figured out how to use it properly ..
​If I can get the photo's to post I'll have another how to tonight.

I bought the disk and video several years ago. Due to the concave shape of the disk, only about the outer 1/4" makes contact with the metal. I soon got frustrated with it and gave up. Looking forward to your how-to on the shrinking disk!
 
MX442;n79397 said:
I bought the disk and video several years ago. Due to the concave shape of the disk, only about the outer 1/4" makes contact with the metal. I soon got frustrated with it and gave up. Looking forward to your how-to on the shrinking disk!

That is odd, mine is totally flat except the recess for the nut...
 
Ok, this is the first post of another how to.
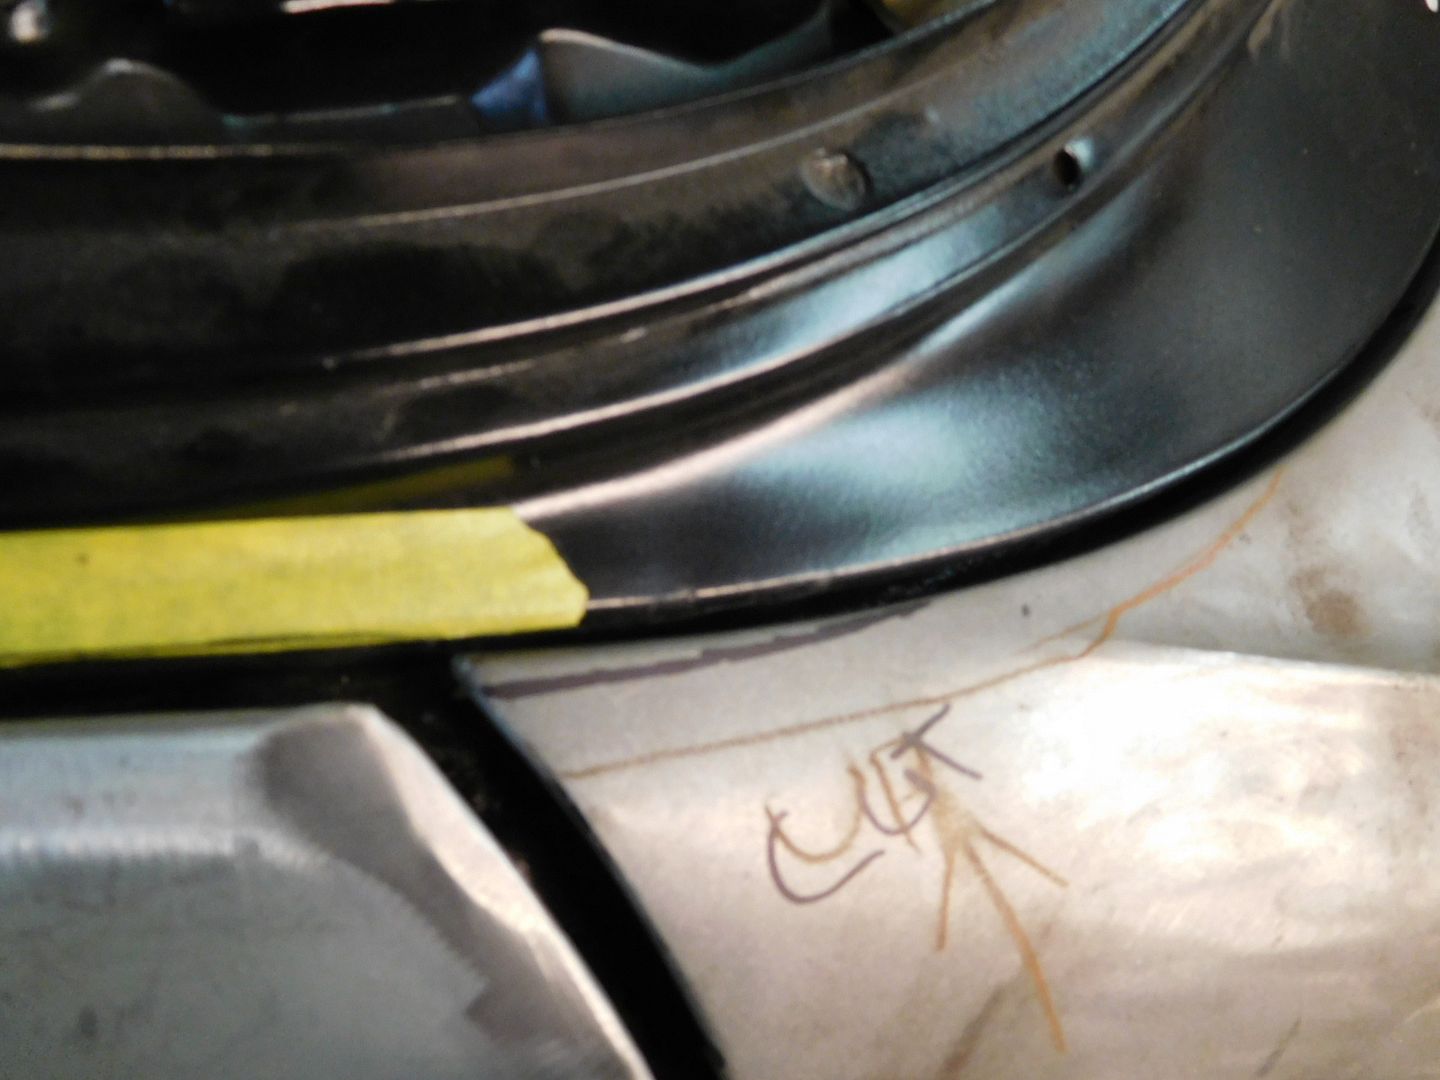
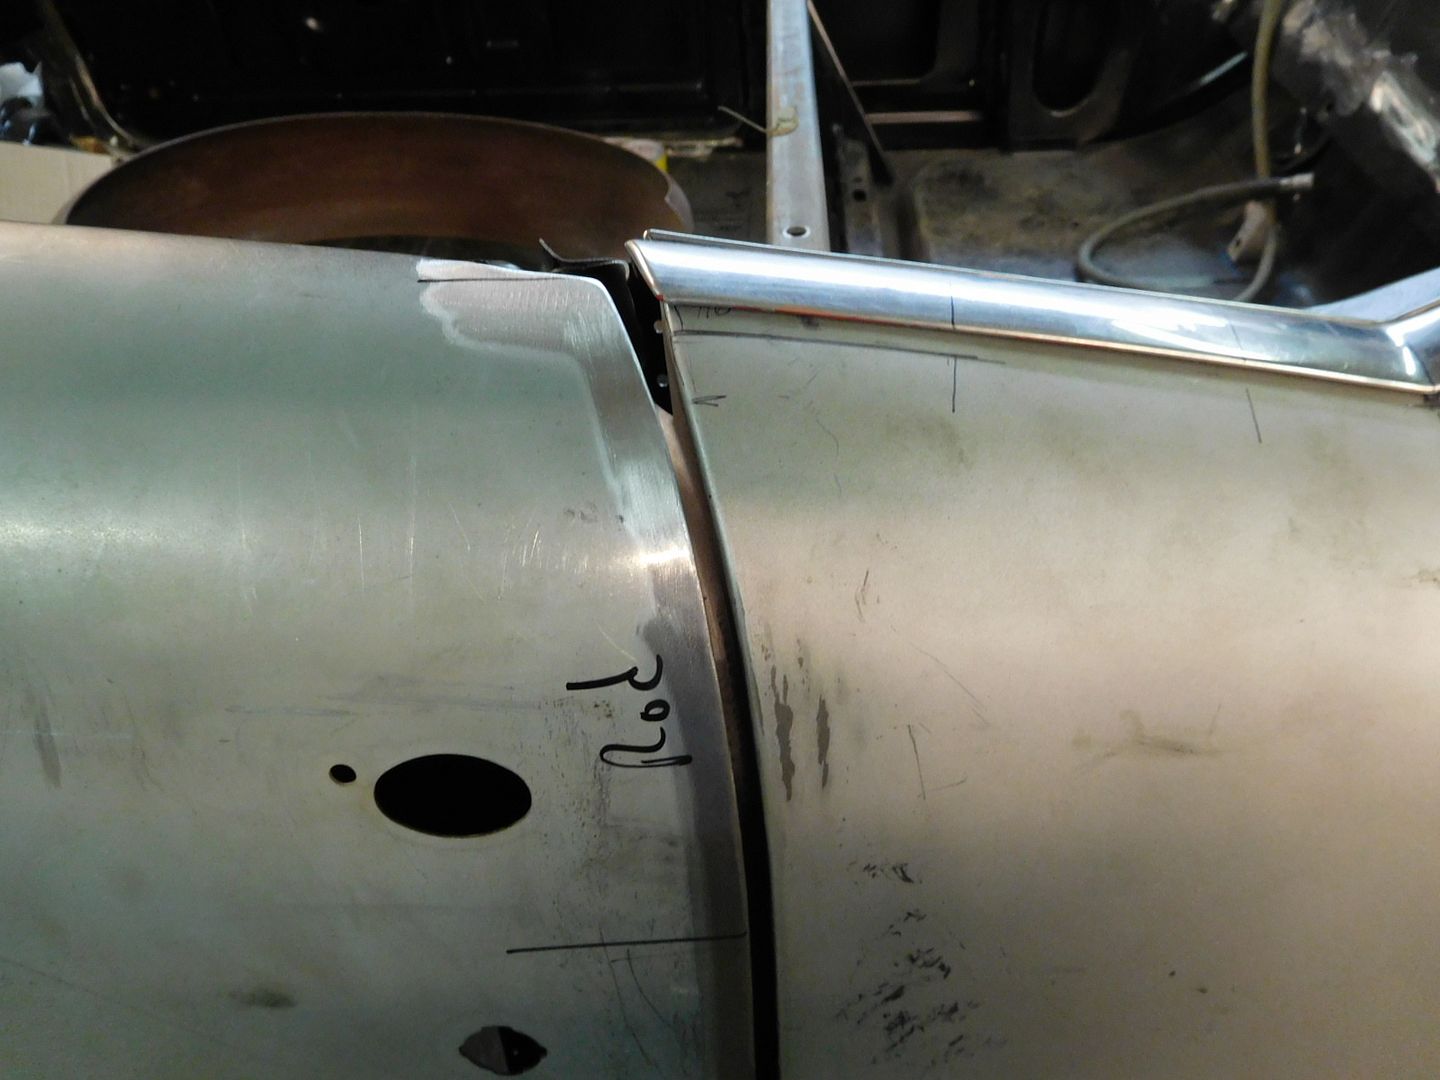
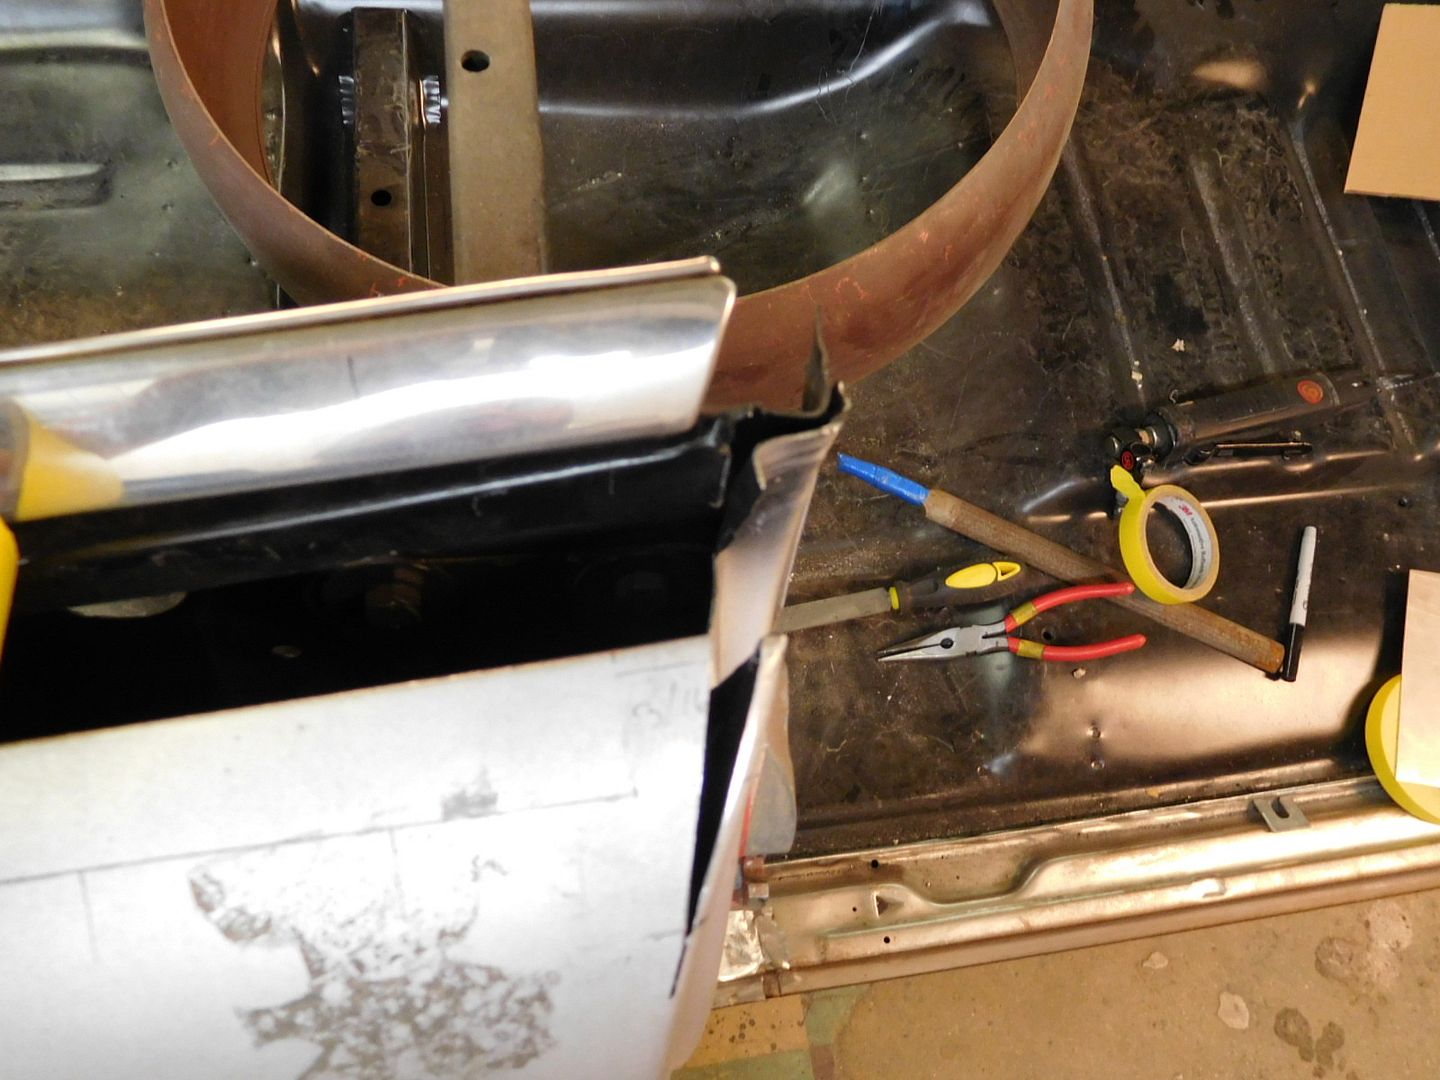
This first post will be some pictures of some bad body lines that need to be addressed, this car was mostly aftermarket panels and some will say that aftermarket panels are the cause of bad body lines, but I have to add that we have had to do this with completely original cars as well, a lot of these older cars didn't have the body lines that we demand today. I have also done cars and ordered aftermarket panels that bolted on and fit exceptional without any modification, for instance, we did a dodge charger years ago and we installed a aftermarket fender and it fit 100% without any mods.. Very rarely do we ever get that lucky.

So here is the first batch of pictures to show what we were starting with.


I think that is way more than enough pictures for you to get the idea.

 
Now onto the process of fixing the body line issues.
I am missing some batches of pictures but you should be able to get the overall idea.
We also messed with fender alignment and dialed it in as close as possible before doing the edge work. It may have been a little better than this but to be honest, probably not by much.
This process may be frowned upon by some but it has worked really well for us.. Other than the fact that it's very time consuming. by being on the edge it's not as hard to do as trying to make a new skin from scratch.

Ok here's some progress pics.
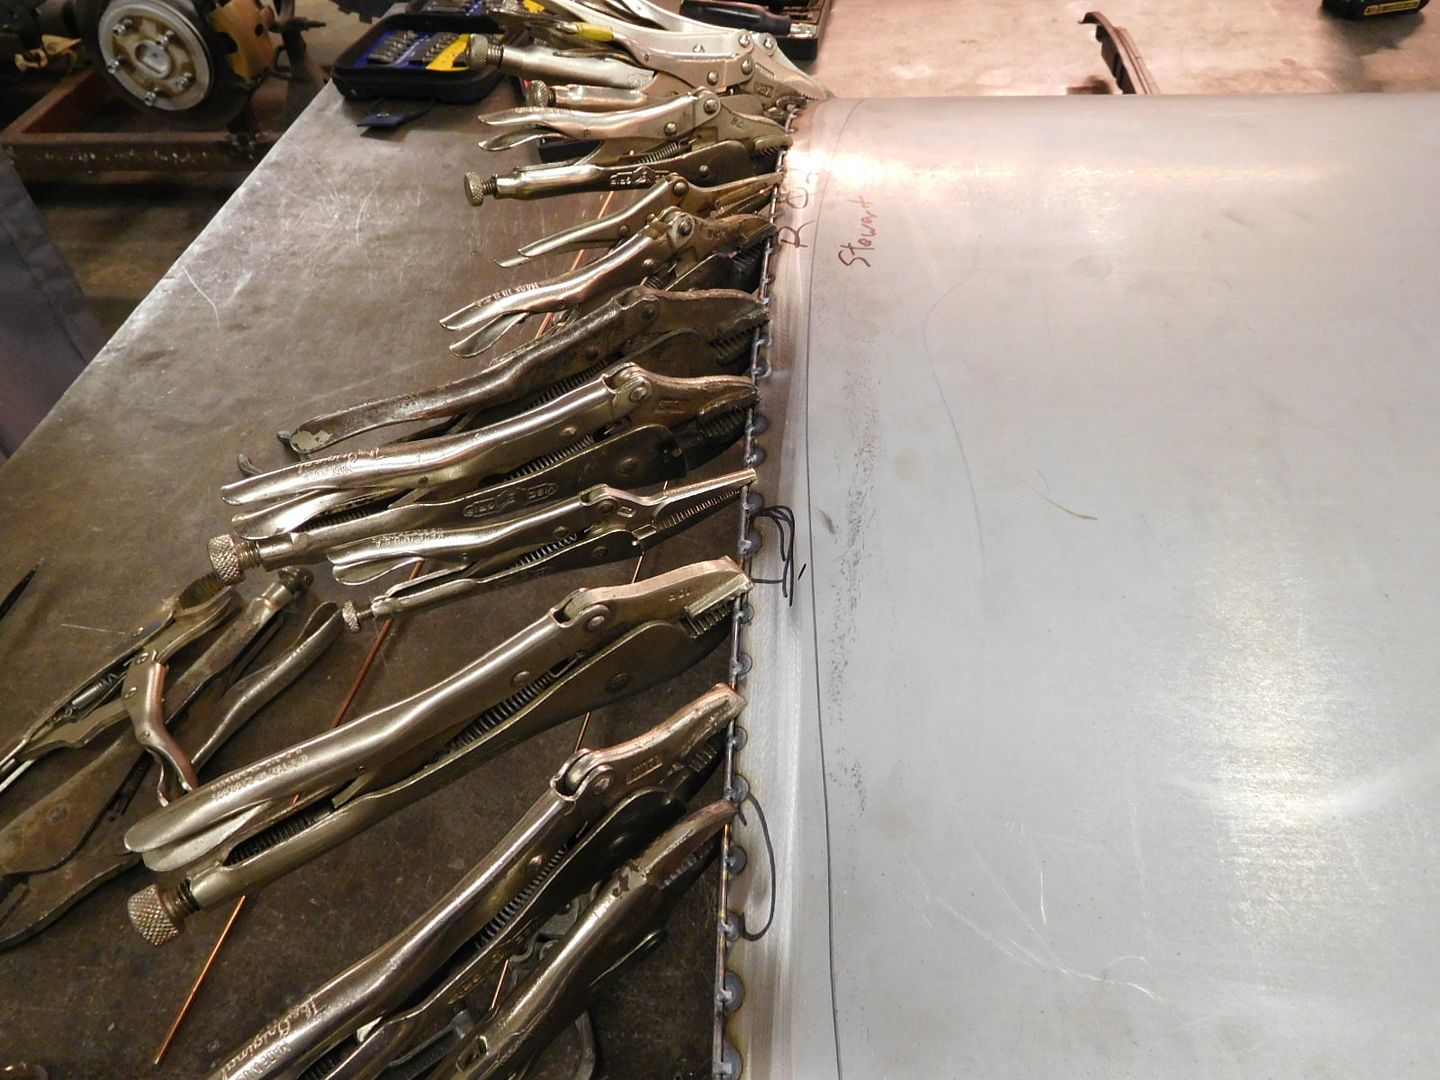
We start with clamping the filler rod to the edge of the door.


Then we move forward and tig some tacks on in between the clamps so we can get them out of the way.


I'll throw this in the middle for some mods we did to the quarter panel to get the right arch to match the chrome molding so that we knew what we had to match the door to.


Here it is after completely tig welding the edge, and a little grinding on the edge to help get a good visual.
 
The stages I forgot to take pictures of are after completely welding the rod on and the grinding process so if you have any questions there just ask. But basically I tig welded the rod on from both the inside of the door and the back side, it's quite a bit of welding and this process takes a lot of time but you can get some really nice door lines by doing this. I have a big T size argon tank and I went through over 2/3's of the tank on this session of work on this car, that also includes fender work and some welding on the quarters but overall most was used on this part of the job.

Here are some more pics of the final results.


Who do you use for your parts? I used Danchuk and Nifty Fifties, Danchuck mosty. Not sure if there is as many still out there since I did mine.
 
Back
Top