You are using an out of date browser. It may not display this or other websites correctly.
You should upgrade or use an alternative browser.
You should upgrade or use an alternative browser.
Kens Kruizer, 64 Impala
- Thread starter Chad.S
- Start date


Chad.S
Oldtimer
I think the biggest thing I enjoy about some of the bigger projects like this we tear into is that once you get them to this point you know the car will last and you know the car won't go to the crusher. For the most part i would rather see any of these older cars get saved than get parted out and scrapped.
Some days I wonder what i'm thinking digging into these big projects, but seeing them get completed makes it worth it in the end.
Some days I wonder what i'm thinking digging into these big projects, but seeing them get completed makes it worth it in the end.
B
Bob Hollinshead
If your customer knows anything about bodywork he's got to be impressed with the work you're doing there.


Chad.S
Oldtimer
I'm putting up a lot of pictures of this one, my thoughts are to show a little extra detail on what can go into such a big project and maybe some of the guys newer into working on cars can maybe pick up a pointer or two..
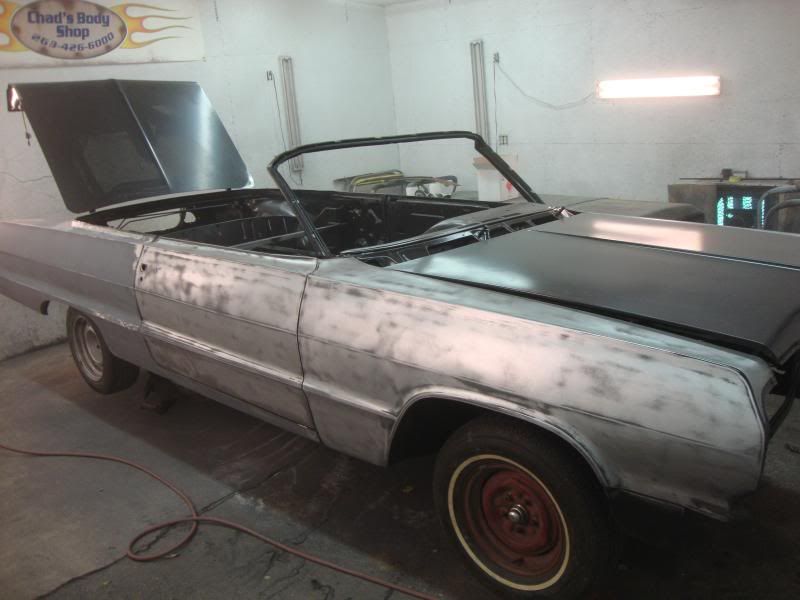
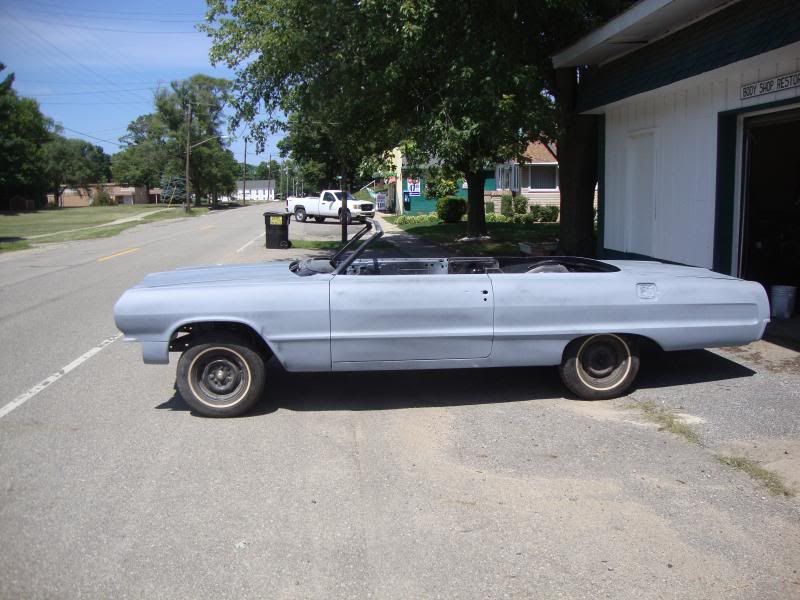
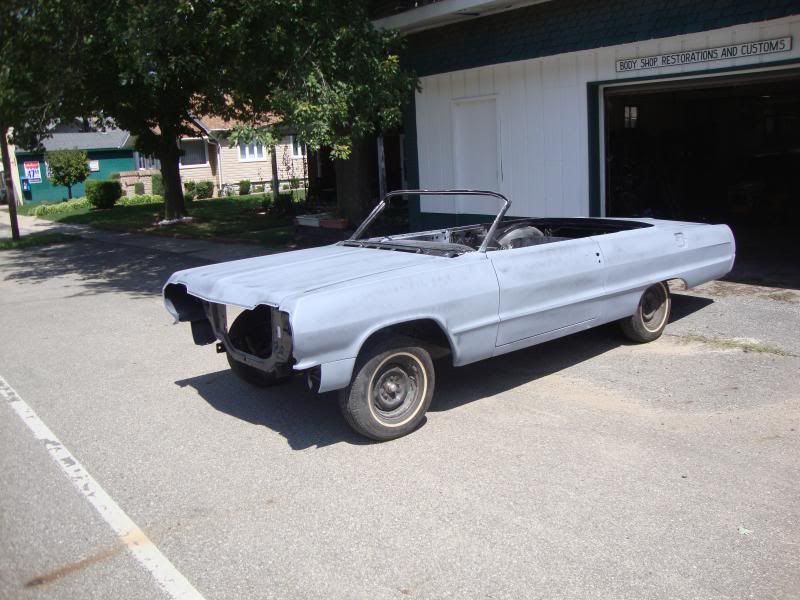
I'm also going to show in the next few stages of pics my order of operations for a car like this, I figured this one would be a good example because the panels for this car were in really rough shape and needed the works. From metal work to body work, all the way to getting this thing in primer. Not a panel came straight or fit this car very well.
The panels them selves did not line up to the next.. for instance.. look at the pics above. you can see the doors didn't line up to the fenders or the quarters.. Each panel seemed to have it's own body line.
Chad.S
Oldtimer
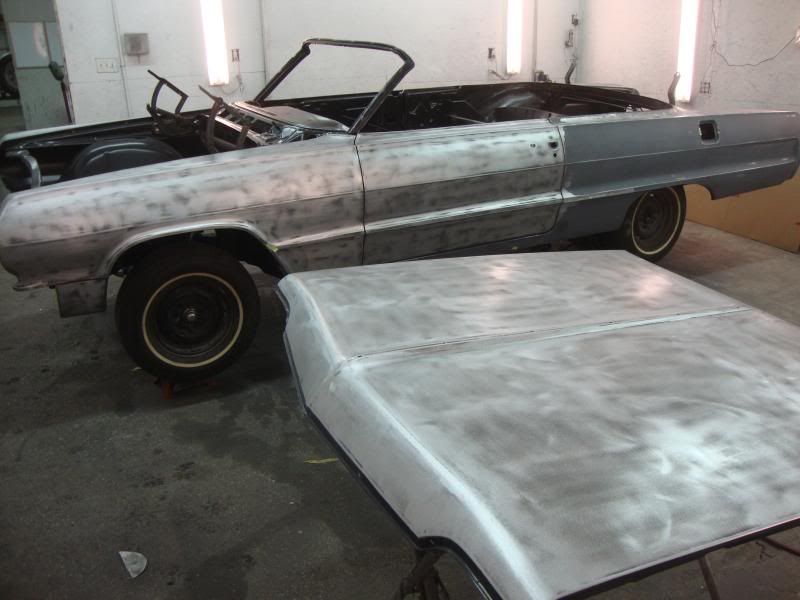
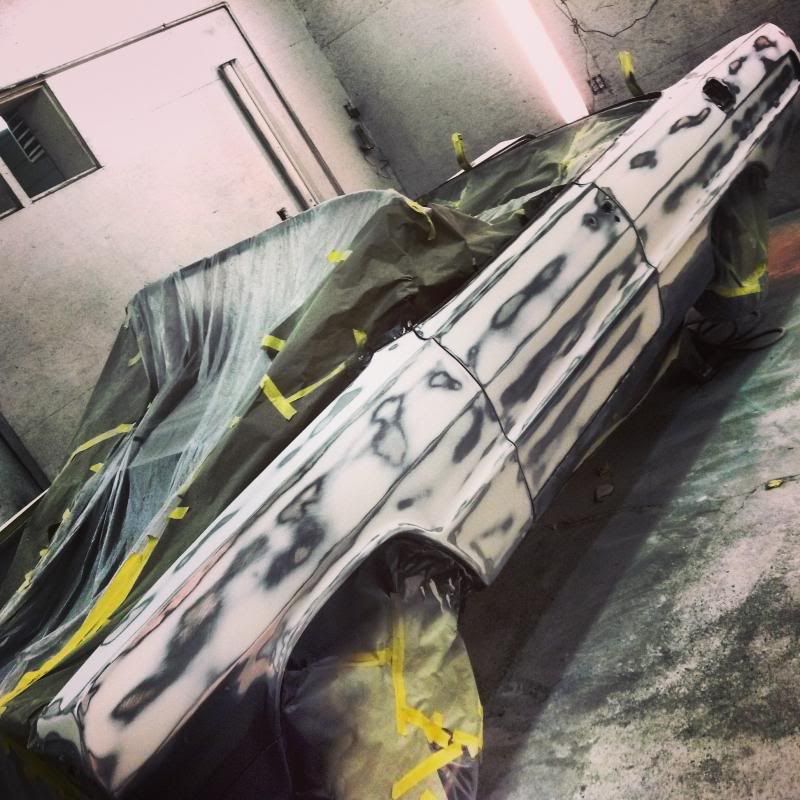
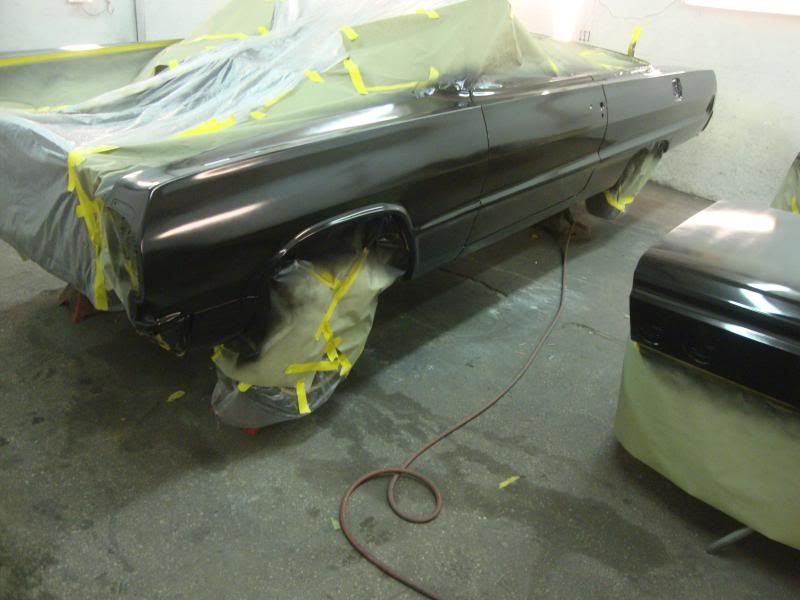
Here I decided to strip all of the E-Coat off of the car and start with some bare steel.. Probably a good idea as I have found a few rust spots under the E-Coat in the process.
You will notice I didn't strip the quarter panel down to bare but that is because that is the SPI Epoxy and it was already striped to bare metal. But I figured since I was spraying I would freshen it up for the body filler to come shortly.
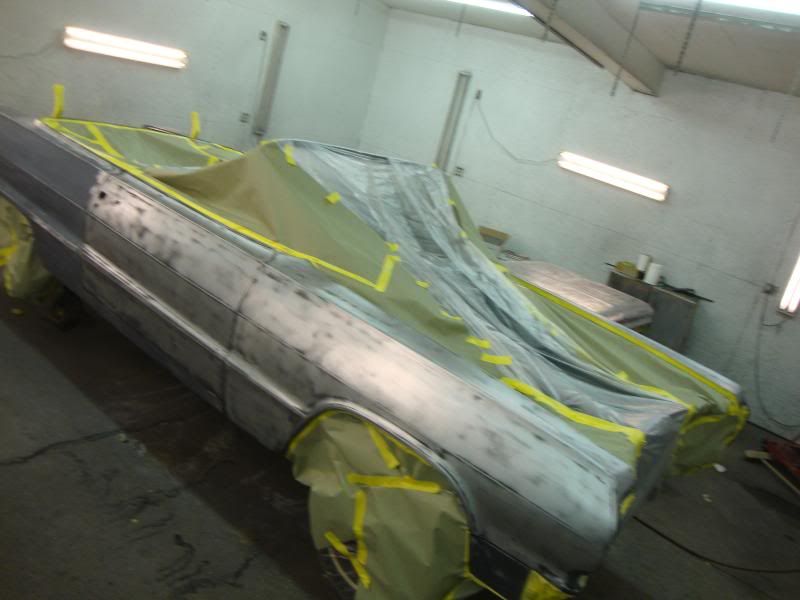
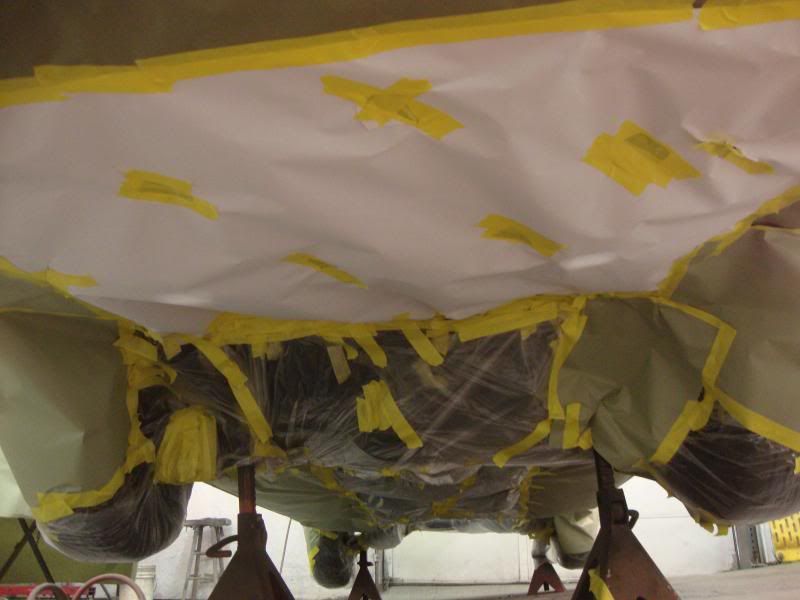
And for the record.. Taping this car seemed like a never ending nightmare.. I did not want to cover the fresh frame or under side of the body with primers


Chad.S
Oldtimer
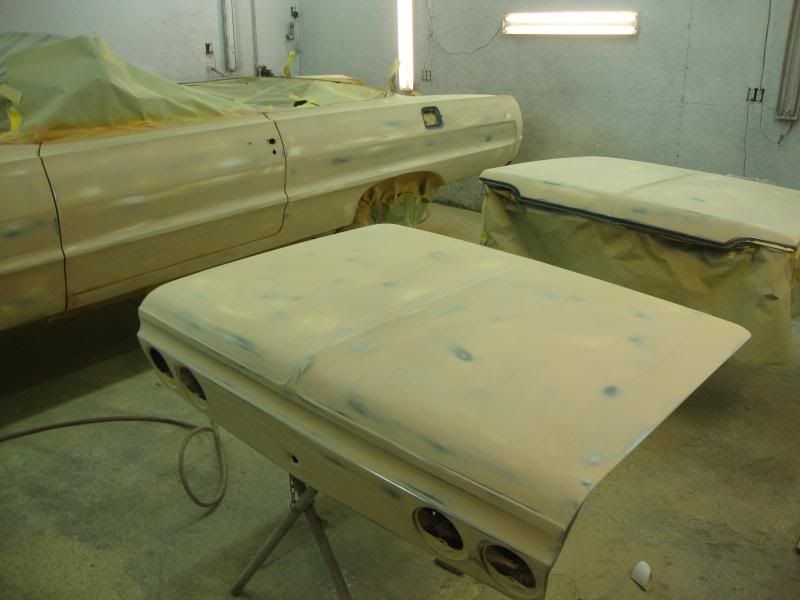
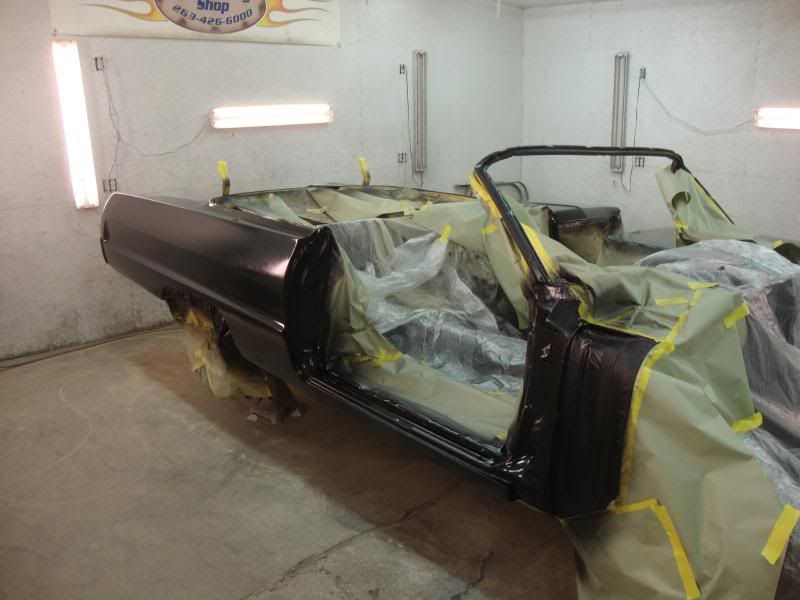
I did manage to miss the first in epoxy pictures somehow, and even the body filler but I managed to find one in my camera of what the car looked like after the body filler..
You can see in this pic that the whole car was epoxy primed with the body filler directly over the Epoxy.
For the most part the whole car got one skim coat.. There were a few troublesome areas that I had to do a second but luckily it was all mostly one coat..
My arms thanked me for that.. lol..
You can see in this pic that the whole car was epoxy primed with the body filler directly over the Epoxy.
For the most part the whole car got one skim coat.. There were a few troublesome areas that I had to do a second but luckily it was all mostly one coat..
My arms thanked me for that.. lol..

Chad.S
Oldtimer
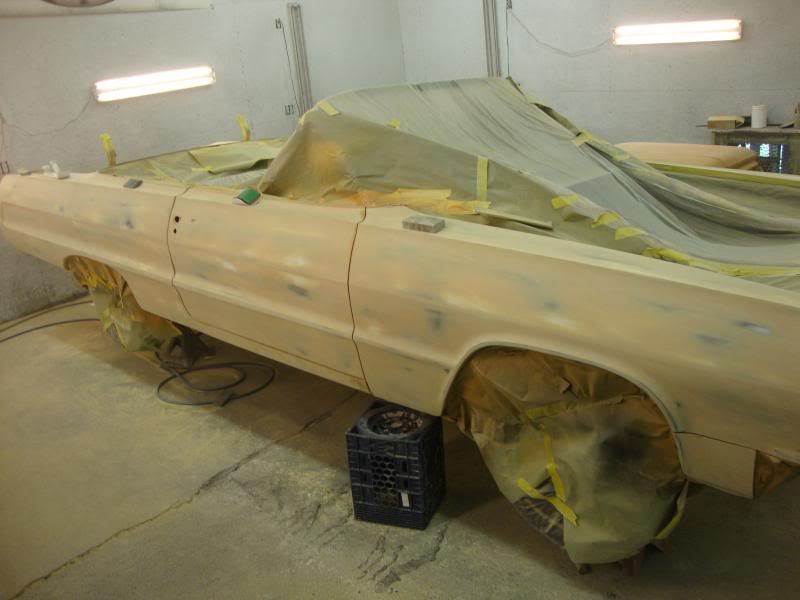
At this stage i went directly to Z-Chrome Poly primer.. Some may say I maybe should have applied another coat of epoxy at this stage but I didn't.. You can use you're own judgment here. I knew I was going to apply epoxy after the Z-Chrome was sanded so I figured it would still be sandwiched in between the epoxy coats.


Chad.S
Oldtimer
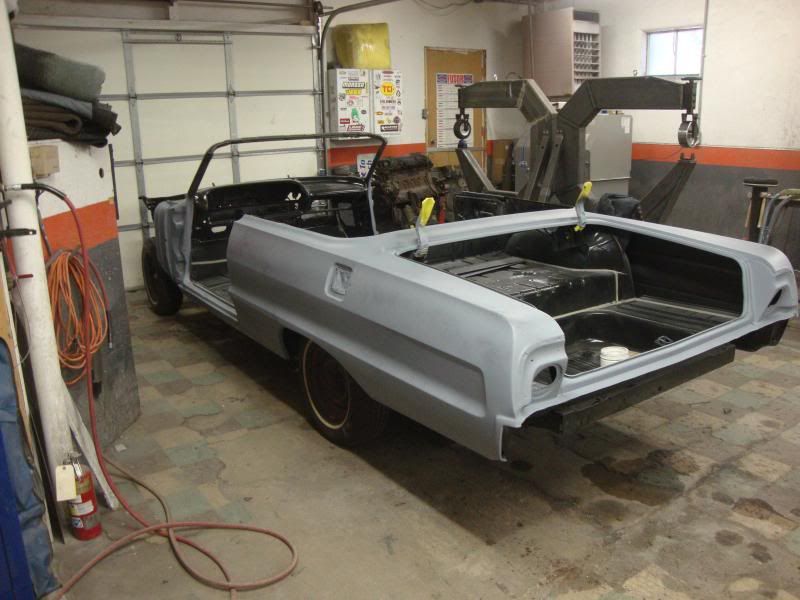
As you can see in the pictures above at each stage of sanding I sand through the product to make sure i'm using it to it's full potential, and to avoid any more build up than I believe to be possible. I feel this is important especially when doing a project that needs as much work as this one does. I've done a lot of resto's that I skipped steps because the panels were in much better shape but that is not the case with this car.
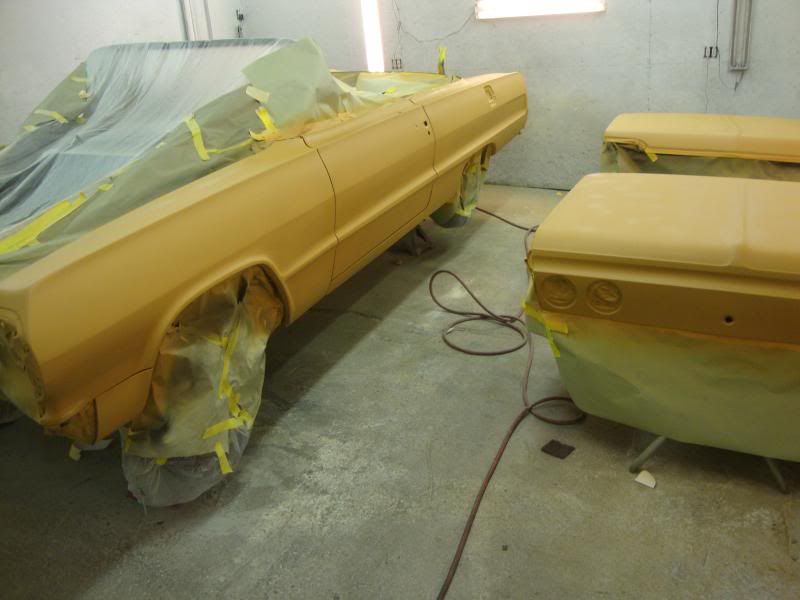
Now here it is with 2 good coats of epoxy primer.
Now here it is with 2 good coats of epoxy primer.


Chad.S
Oldtimer
Here again I made the mistake of missing a step in photos but I dis assembled the car and completely blocked the whole car down yet another time. I block sanded the epoxy with 120 grit and then 180 grit until once again I was sanding through the product in many areas. I then applied yet one more coat of epoxy. I let the epoxy sit for one full hour and then applied the turbo 2k primer.
- - - Updated - - -
Hope they are not as bad as this one.. lol.


- - - Updated - - -
123pugsy;30409 said:Thanks for posting the body line adjustments.
Now I just can't wait to get to that part of my build. :disgust:
Hope they are not as bad as this one.. lol.


Chad.S
Oldtimer
I tend to neglect the time I would like to spend on this forum as I have been so busy with all aspects of life so I thought I would try to throw a little input here with this project, this has taken most of my time the last 3-4 weeks or so, and I had a good collection of pictures so I thought I would post up my procedure when doing a big project like this.. I know there are many other options out there, and I tend to do things differently for different projects but I thought this one was a good one to show one of my process's.
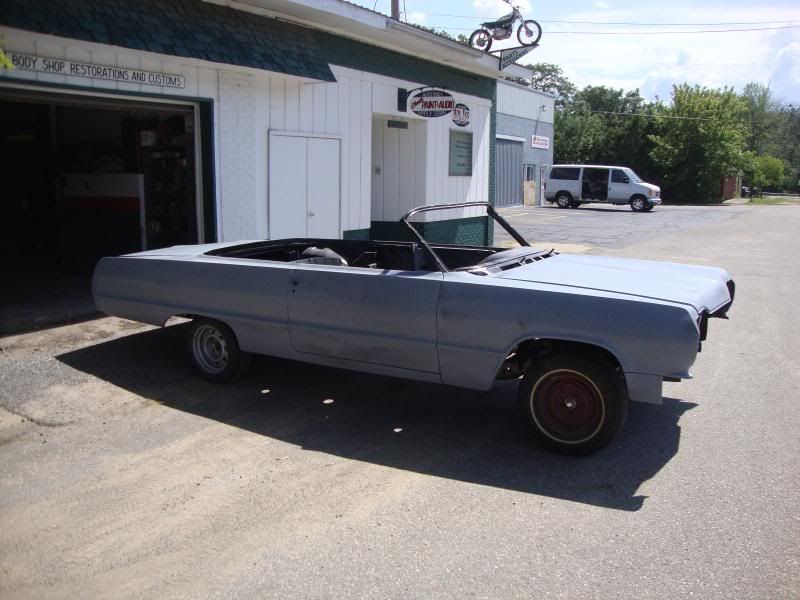
Enough rambling.. Here is a picture of how the car turned out after primer..
Unfortunately I won't be working on this car for a while now but it is at a good stopping point.. Now onto the next.. Lol.. Not sure how far I am going in this session on the next car but It needs every bit as much work as this one did..


Chad.S
Oldtimer
One more thing.. This car originally came in as what the owner thought was a solid car. It was restored many years ago and then parked, once striped a LOT of secrets were revealed from the previous restorer. As which usually seems to be the case, which is why I document and suggest anybody doing a restoration to document every step of the process in case you or you're customer decide to ever sell the car. It makes for a great selling tool.
This is also another reason why I stay away from bidding a price on a job of this caliber. There were some areas that we knew needed some work but neither the owner of the car or myself expected it to be in this rough of shape.
This is also another reason why I stay away from bidding a price on a job of this caliber. There were some areas that we knew needed some work but neither the owner of the car or myself expected it to be in this rough of shape.