B
barthmonster
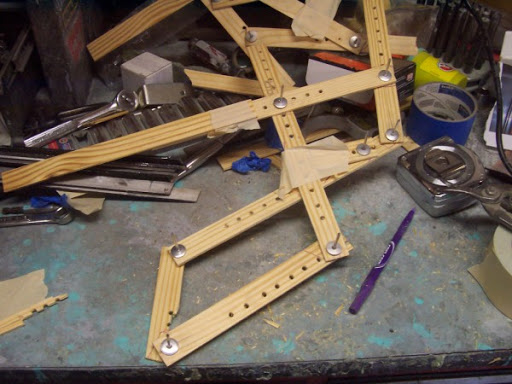
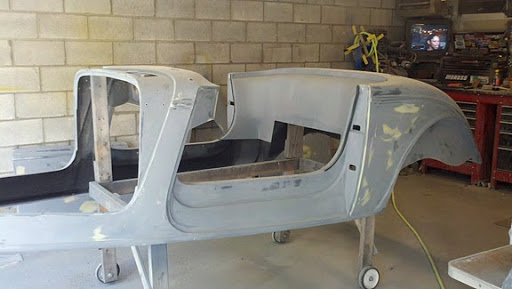
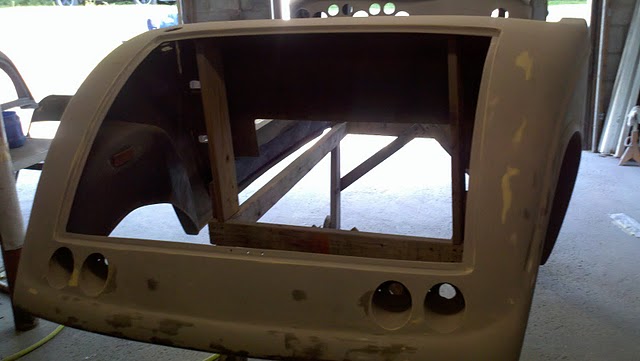
I always wanted a factory five Cobra, but that 33 has me thinking !
I read the DMV write-up and I believe they 'stole' your engine add-ons there's no other way to put it. Sorry to put salt into the wound, but this brings back some very bad memories of a '67 Polara the police in California stole from me... You could sue the state easily for at least the price of your parts.
I read the DMV write-up and I believe they 'stole' your engine add-ons there's no other way to put it. Sorry to put salt into the wound, but this brings back some very bad memories of a '67 Polara the police in California stole from me... You could sue the state easily for at least the price of your parts.