Compressor setup.

A poor mans air cooler can be made out of 1 or 2 Hayden #405 transmission coolers mounted to a 20" box fan. Total cost around $100.

The Hayden #405 is tested to 150 psi. Inlet and outlet are 3/8".

Install the cooler(s) with the tubing in a horizontal orientation.
Supply air connects to the upper fitting and the cooled air will exit the lower fitting.
If stacking a pair just run from the lower outlet of the upper cooler into the upper inlet of the lower cooler.
After the cooler install a filter assy.
 
jcclark;8280 said:
I read somewhere that you need 100', I didn't have room for that but I did manage 40' above my workbench.
I hardly ever get any water out of it, but my compressor has a intercooler on it.
DSC04519.jpg

If you need more cooling capacity and don't have the room for a longer run, use of a larger diameter pipe will slow down the air velocity giving it a greater time to transfer the heat to the tubing.
 
orangejuiced86;8271 said:
http://www.tooltopia.com/devilbiss-...tm_term=DEVDAD500&utm_campaign=googlebase_18u

That the filter system I have that i want to hook up.

Do you think 60' of 3/4' copper line is enough length to cool the air to help prevent moisture?

Copper is just easier for me to work with, so I dont mind paying alittle extra.
Sixty feet of 3/4" copper would be more than adequate, according to the instructions Devilbiss provides with that filter system:
Devilbiss Instructions - Excerpt said:
First air drop should be at least 25 ft. from the compressor
although 50 ft. is optimum. This allows the compressed air to
cool to room temperature so any condensation can occur
before it gets to the water separator.
 
I think I'm done with my plumbing and thought I would mention the quick disconnects. Following suggestions from the experts on this site I have high flow couplers on all the system outlets. I still have 1/4" couplers on most of my tools and hoses so I made adapters, allowing me to continue using 1/4" couplers.

As I was upgrading my system to take advantage of my new compressor, I looked for some really big quick disconnects to allow maximum flow into and out of the 1/2" MotorGuard filter case. Northern Tool (and I'm sure others) carries Milton G-style couplers. The male and female coupler $17 so I only used two sets but it lets me bypass the filter when I just need dry air (like standblasting). Here's a visual comparison with 1/4", 3/8" and G-style.Couplers - 3 sizes.jpg

New Compressor.jpg
 
RodMan;8297 said:
Here's something I have never quite figured out. There are painters I know who have the most archaic air filtration systems imaginable and almost never have a problem. Others I know who have spent time and money designing a good system sometimes have more problems. Maybe it's better to be lucky than good ...


i would be proof to that. i used to work in a shop in Chicago with a $100,000 garmat downdraft booth. we would have all kinds of contamination issues and problems with that thing, drove my boss, the other painter and I CRAZY having to fix stuff all the time, respraying panels and whatnot.

Now, I'm down in Humid Houston, TX, simple home built crossdraft booth at my own small shop. Ingersall Rand 80 gal compressor in its own closet, plumbed 5 foot out to a $200 dessicant drier, then 6 foot straight up, then 2 lines out with a T fitting, about 15 feet a piece to either side of the shop. drip-drums at each leg and a ball valve for draining each leg. trusty ol' water trap at the end of my HVLP, and I NEVER, EVER get water or contamination from this setup. I may have $500 in it total.

Only few fish-eyes i rarely get in my paint may come from an armor all spot i missed when wiping down, OR, if the neighbor 3 houses down fires up his BBQ pit on a windy day (it's a beast of a pit, it used to be a restaurant once,that tells you how big it is)
 
I went the copper route, but apparently there is a shortage on copper brazing rods in my area. I cant find them anywhere.
 
orangejuiced86;8399 said:
I went the copper route, but apparently there is a shortage on copper brazing rods in my area. I cant find them anywhere.

Copper brazing rod ? ? ? I have no idea what that is, or why you would need it.
Just sweat the fittings together with 95/5 solder.
If you want to braze, then use SILFLOSS (silver solder), it is expensive and totally not needed for your application.
You can normally buy Silfloss at any commercial plumbing supply store.

solder-joints-pressure-rating-diagram.png
 
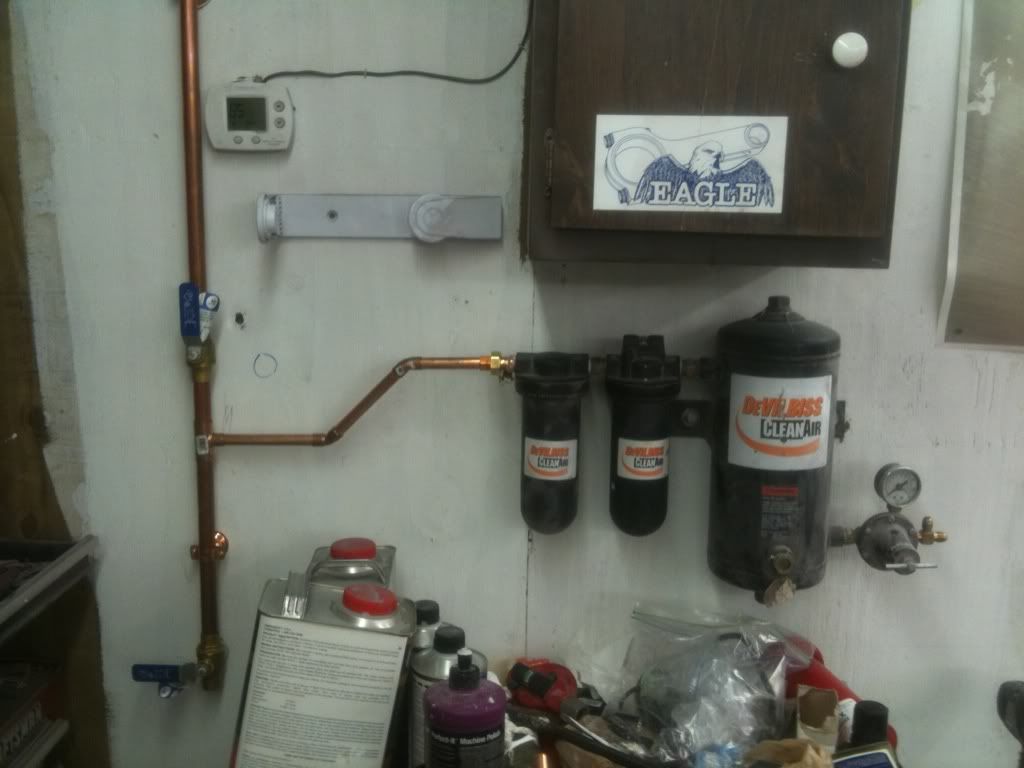
For my air lines, I use PVC. I know a lot of people have posted warnings about how dangerous PVC is, but I have seen steel pipe that has exploded from air pressure, and it is not a pretty sight. I have never seen the results of PVC pipe exploding from air pressure. My air pressure is limited to about 130 PSI, and I have never had a problem, except for when my brother hung an old shop drop light from my air line and the bulb melted the tubing, giving it a weak spot.

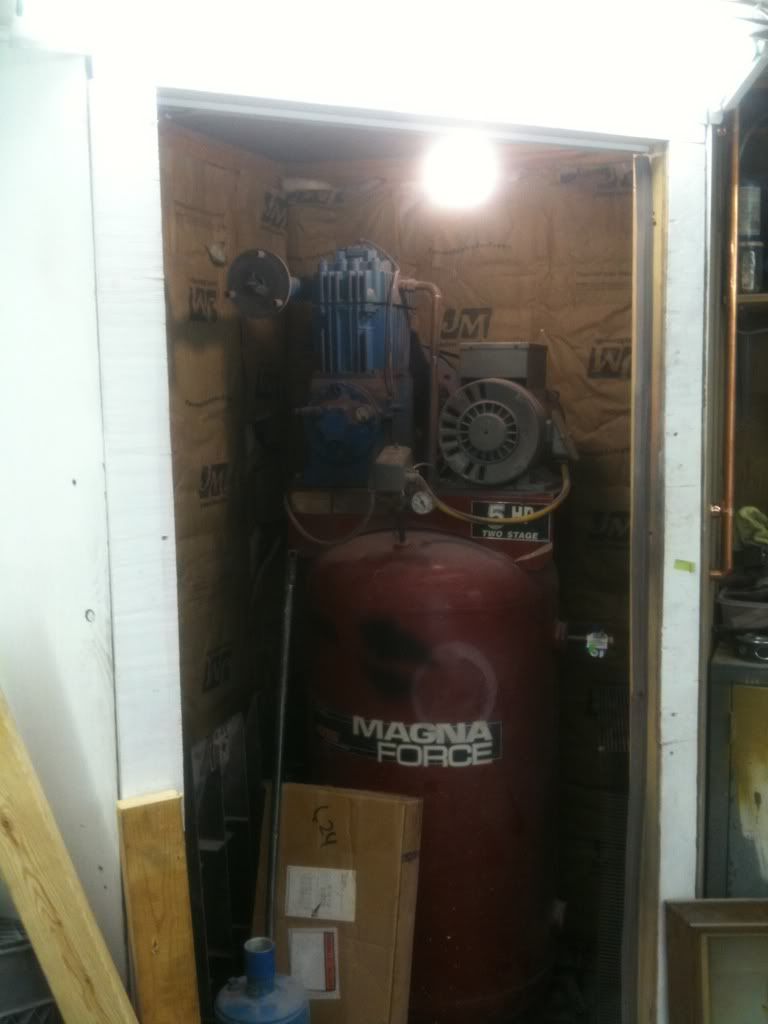
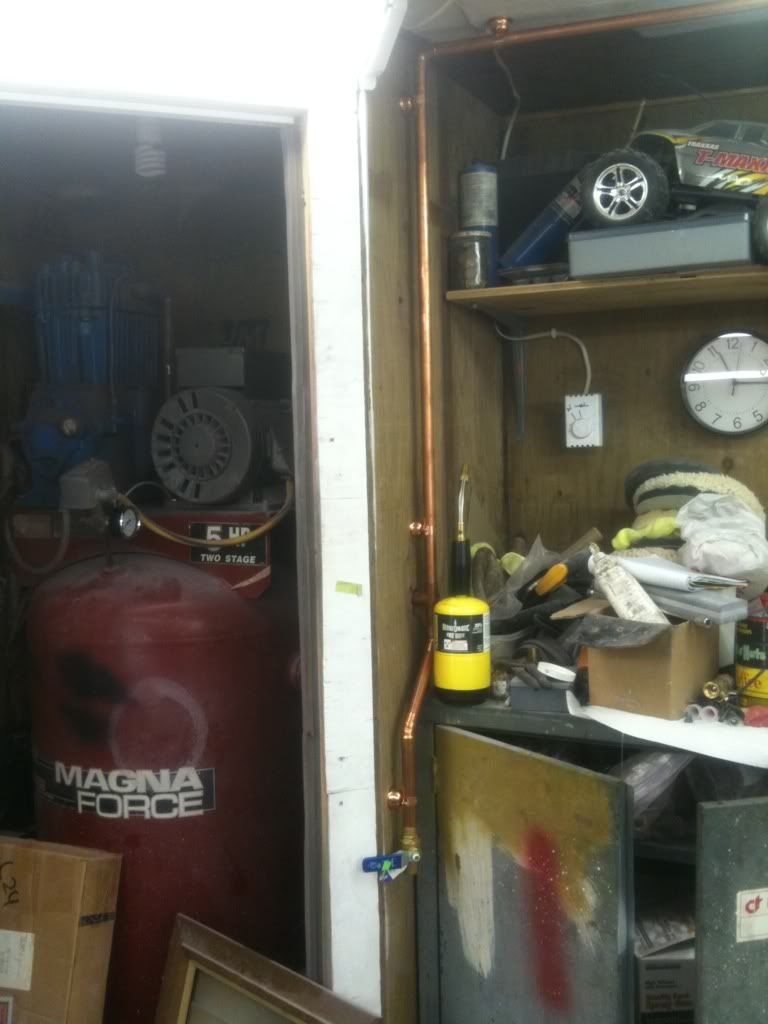
As far as the compressor pump is concerned, I have an Eaton pump on my compressor. I bought the pump about 6 years ago from Eaton, on e-bay. The compressor was originally a PUMA 5 HP that was built about 1985. The original motor went out and I got a new one from Northern Tools. The pump then went out, and it was replaced with the Eaton 3 CYL unit. The Eaton Pump just blew a head gasket last weekend. I checked and found that all the head bolts were loose. It had been quite a while since I had checked them. I sent them an e-mail on Sunday asking about gaskets for it. I got a response from them at about 6:15AM on Monday, telling me that the gasket set is $25 with new reed valves. I called to order them later that morning, figuring that the price had to be for one cyl, so it was going to cost me $75+ shipping to replace them all. I was surprised to find out that the "set" was for all 3 cyls.

Although I did make sure that I installed the right pulley to get the RPM's where recommended, I have to admit that I am not the best at doing preventive maintenance. Where this compressor is located it gets quite hot, and should atleast have a fan there. For the thing to even work under those circumstances is a miracle. I can't complain about the Chinese built pump.

On an added note.... Several years ago I spoke to Matt Cain of Eaton compressors about his pumps being built in China. This was after someone posted on another site that their pumps were garbage because they were built overseas.Matt told me that, while he does have his pumps built overseas to save costs, they are built to his specifications. He went that route when he was missing a lot of sales because people were not willing to pay the cost for ones Made in the U.S.A. He also told me that most all pumps are built off-shore, even if the compressor is listed as being "Made in U.S.A." If I needed to buy another pump or compressor I would not hesitate to buy another Eaton.

Aaron
 
Ok, I have everything temped in. i just need to snag some fittings from work tuesday to do my flex points and then re-run the electrical(maybe tomorrow) I only have about 25' of line.

9a2b3dcc.jpg


9e5d7c2c.jpg


a3a23830.jpg
 
Hope you have some good airflow around that thing. They put off a lot of heat, specially when enclosed like that. Also make sure that the line directly from the tank is rubber hose, so the vibration on the copper lines is kept to a minimum.

Aaron
 
Yes, there will be a 12" fan in there that will be on when I am painting and the door is shut. I am going to put a 12"x12" window in the closet wall.

Yes there will be about a 12" line of rubber hose from the compressor to the wall pipe.
 
I sure hope that is enough. Doesn't seem like much air flow to me. Air needs to be able to flow thru, so hot goes out and cool comes in.

The cooler the compressor, the less water problems you will have.

Good Luck

Aaron
 
I'm sure it will take some "de-bug" time to get it just right. There is a byfold door on the closet. I dont mind keeing it cracked while painting.
 
orangejuiced86;8422 said:
Ok, I have everything temped in. i just need to snag some fittings from work tuesday to do my flex points and then re-run the electrical(maybe tomorrow) I only have about 25' of line.

a3a23830.jpg
I would change that bottom copper elbow to a tee and add a length of copper pointing to the floor with a valve at the bottom. That vertical run is probably going to condense a fair bit of water that will drop back down to the elbow each time you stop the flow of air at your gun or tool.
 
ok, system is all mocked up. Just need to tie it all together. Updated a few things with the suggestions. thanks everyone

9ff95e08.jpg

b2e6e44d.jpg
 
Thank you,

One question. The Devibliss system is said to flow 25cfm. Are high flow fittings really needed since a standard 1/4" fitting flows 25cfm.
 
orangejuiced86;8504 said:
Thank you,

One question. The Devibliss system is said to flow 25cfm. Are high flow fittings really needed since a standard 1/4" fitting flows 25cfm.
To push 25 CFM through the 1/4" fittings I think it takes 250 PSI. Your Devilbiss package is supposed to flow 25 CFM at 150 PSI. I'm sure it isn't a linear relationship but if it were, 125 PSI would push 12.5 CFM through that 1/4" coupler. The HVLP guns push lots of air at low pressure so the bigger the hose and fittings, the less chance you'll be starving the gun. The Iwata LPH400 needs about 9 CFM but that's for 10 PSI at the cap. Of course, the fitting on the gun itself is only 1/4" so all my advice may be meaningless.

I bought a 50' long 1/2" diameter Goodyear hose with 3/8" threaded ends and those high-flow quick-connects from Harbor Freight. The hose is made in the USA (not sure about the threaded ends) and I'm saving it just for paint jobs so it won't have any contaminants. .
http://www.harborfreight.com/50-ft-x-1-2-half-inch-heavy-duty-air-hose-30267.html
 
Back
Top