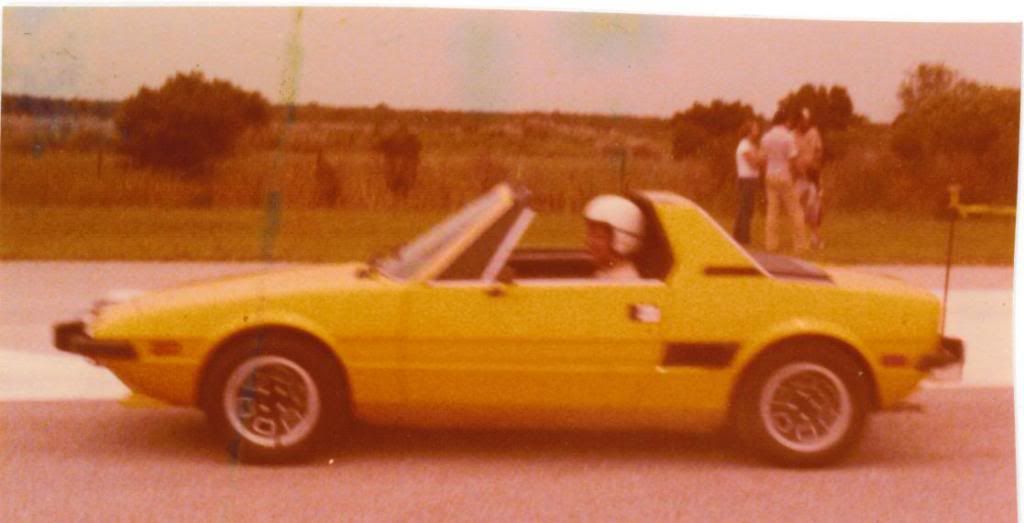
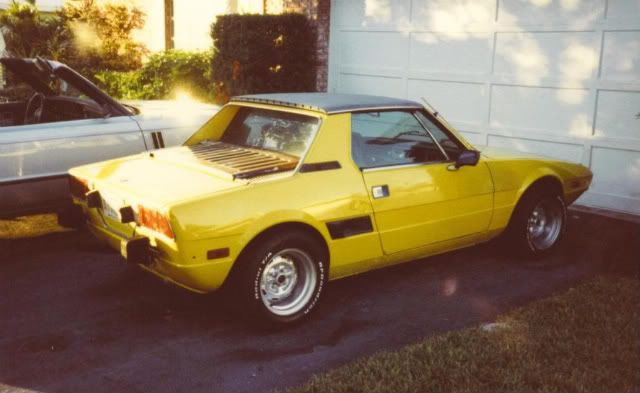
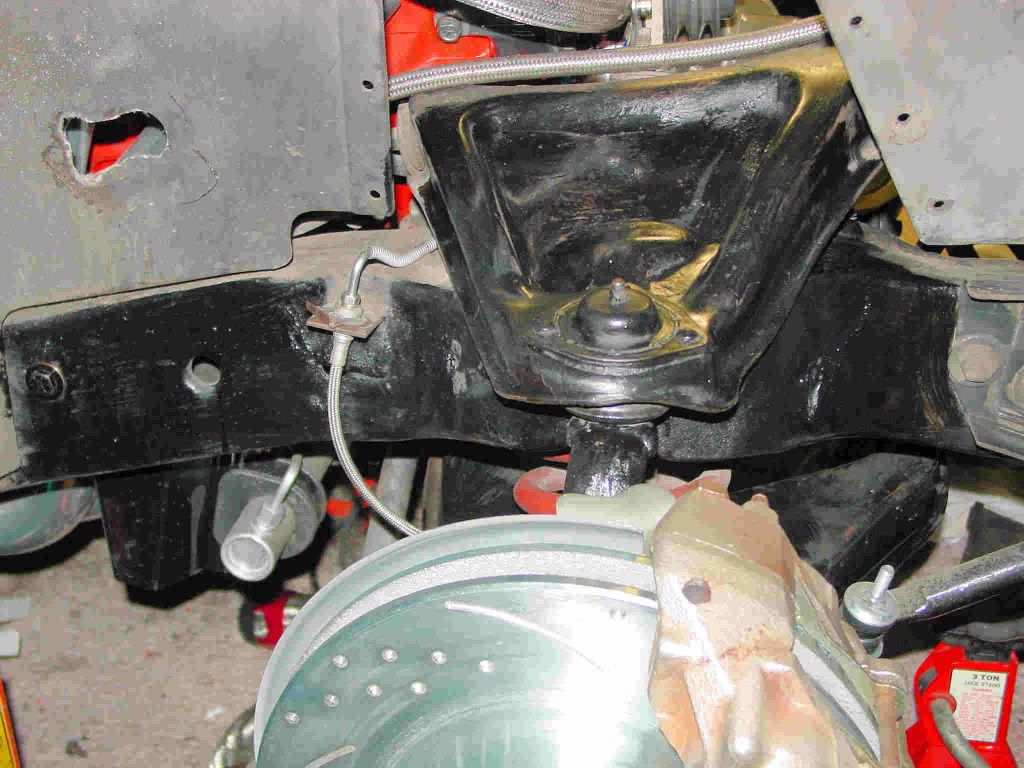
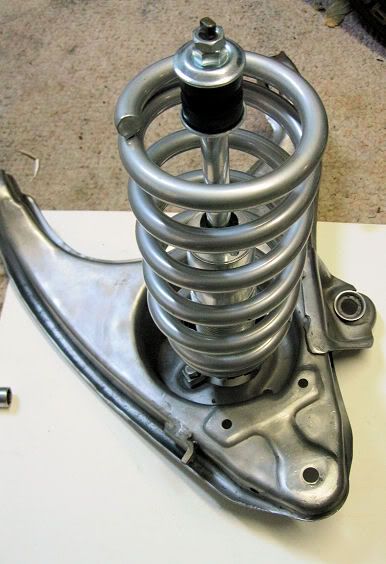
Every time I feel like I have a plan, I discover a solution to a problem I didn't know I had and the plan goes away. I replaced the power brake booster with a new one donated by a friend who thought upgrading Corvette brakes from manual to power just required a booster -- the mounts are completely different. The paint on the booster started flaking off so I planned to remove it and give it a fresh coat of paint. When I removed the master cylinder, it's obvious it's leaking. I had a brain fart back in the 80s and put DOT 5 silicone fluid in the system when I installed the stainless sleeved calipers. I'm pretty sure getting paint to stick is going to be a problem.
OK, I guess I need a new booster and master cylinder. May as well buy chrome -- it's only $320. I come across an article on a hydroboost system and it solves the problem I didn't know I have. It's tiny and frees up space next to the engine and if I ever put aluminum heads and a hydraulic roller cam, the poor vacuum signal won't be a problem. I ordered a complete system from a small speed shop and put the system on my charge card. A week goes by and the charge has shown up on my account but no word on if or when it's going to ship. Another week goes by and I send an e-mail. Still nothing so I call and there's no answer. Another week of calling and I finally call the company that makes the system. That guy tells me he's surprised by the poor service and promises to get back to me. Two days later he tells me the owner of the speed shop never placed the order because he's been sick. At that point I cancelled the order and never heard a word from the speed shop but my account was credited. Have I told you how great SPI service is?
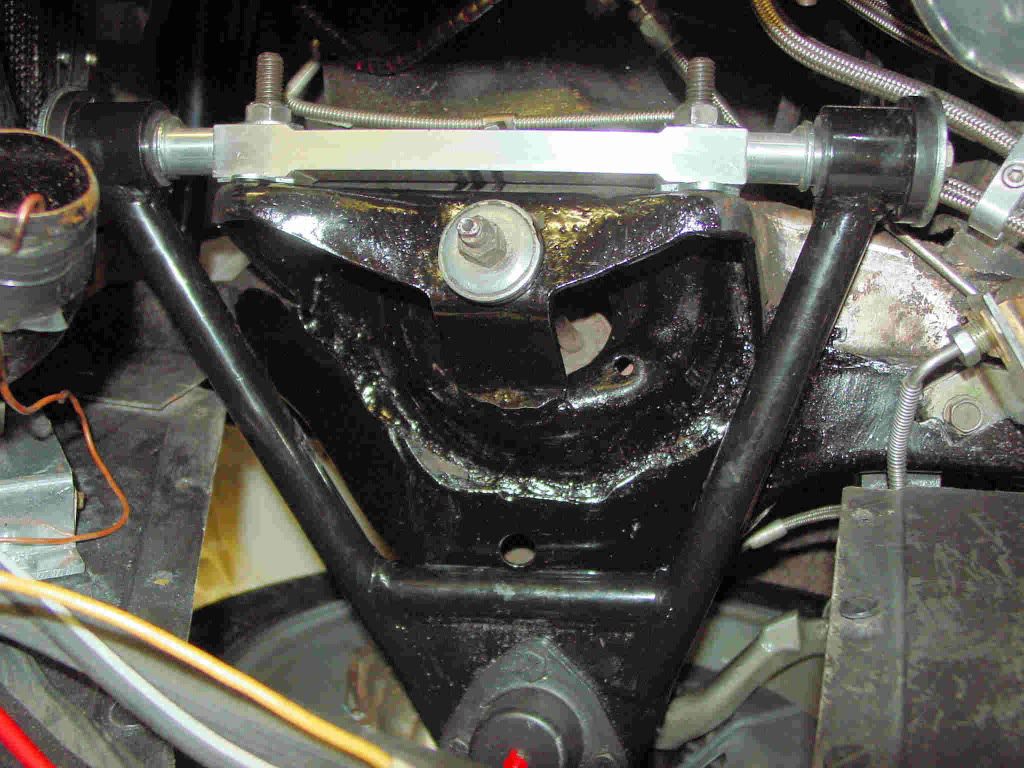
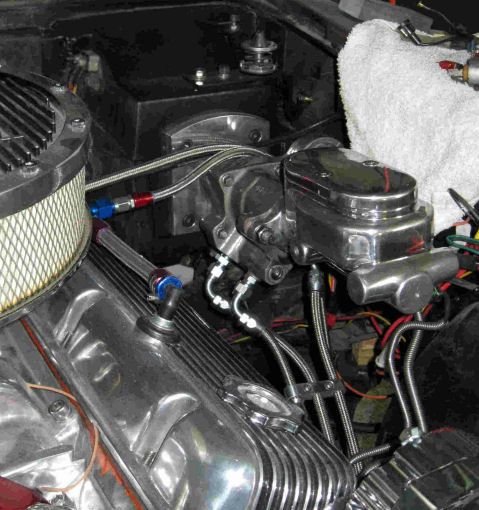
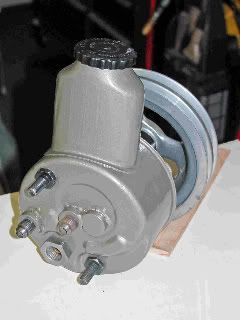
I decide to order the parts and build my own hydroboost system. Rock Auto supplied the rebuilt booster from a 1993 Chevy diesel pickup. Eaton supplied Aeroquip Teflon lines and fittings and Tuff Stuff supplied a polished aluminum master cylinder. Tallon Hydraulics supplied the mounting plate and pushrod, along with the specialty fittings, filter and line separators.
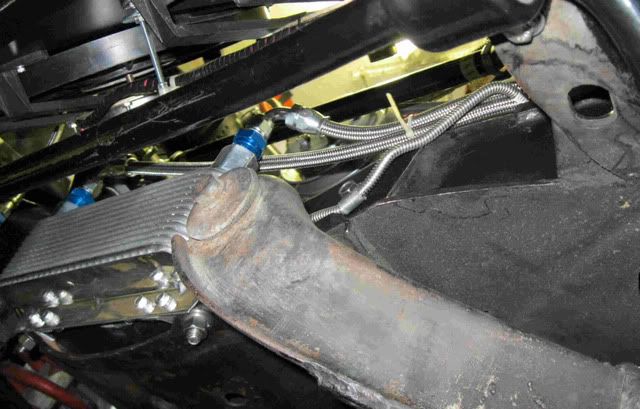
Everything looks good with one exception. The hydroboost gets its power from the power steering pump and it has a supply, bypass and return line. The return line from the hydroboost is supposed to Tee into the return line from the rack and pinion and connect to the low pressure bib on the tank surrounding the power steering pump.
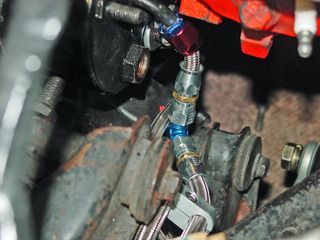
This is a perfect opportunity to make a mountain out of this molehill. I just need to weld two AN fittings on the tank. I'm worried my welding skills aren't up to the task so I drill the holes and have the pro around the corner do the job. I was advised exactly where the fittings needed to be so I ignored the advise and put them where I thought they should go. Turns out there's a cylinder head real close to one of the fittings so I cut that one off, tapped and plugged the hole and welded the plug in place. Installed the third bung where I was told to put it and welded it in myself (too embarrassed to go back to my welder).
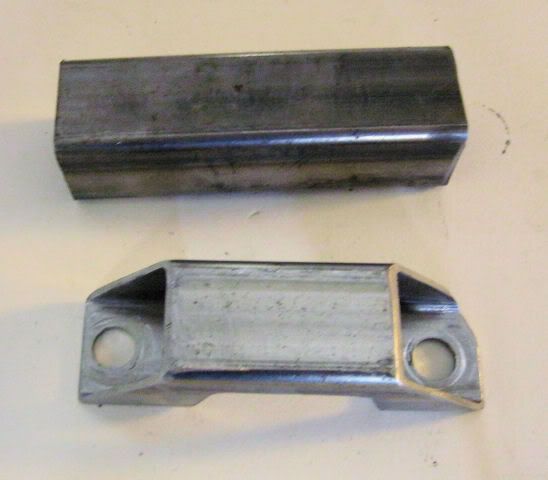
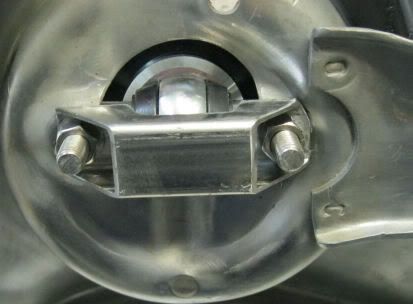
I have some braided line and a couple of fittings left over and I decide this overloaded power steering pump is going to need a cooler. I make some brackets out of aluminum angle and bolt the cooler to the frame mounting holes for the engine fan shroud.
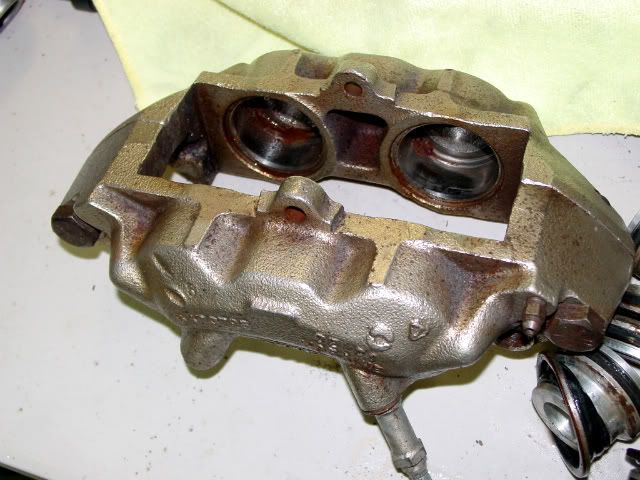
I also decided not to use silicone brake fluid again. Ordered a complete, pre-bent stainless brake line kit and was thinking the brakes were almost done. Just need to disassemble the calipers and completely clean out the silicone fluid and put in new o-ring seals.
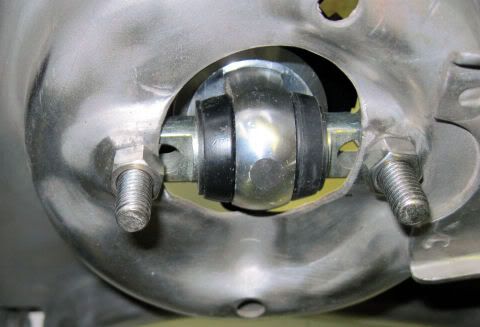
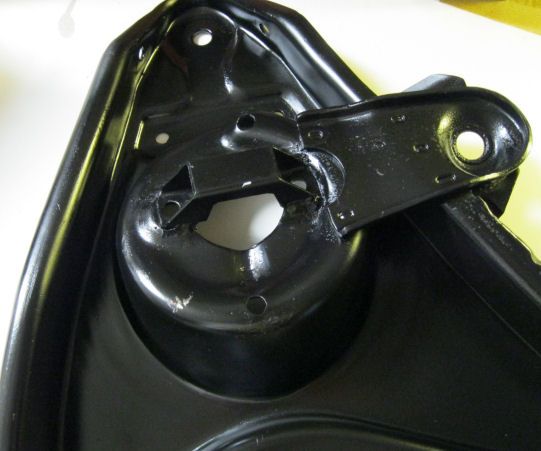
The whole reason I used DOT 5 silicone brake fluid was to prevent rust in the brake system. Water and silicone don't mix so obviously this will prevent rust. Small problem with that logic. The tiniest bit of water that finds its way into the system does not mix with the brake fluid but settles in the lowest point (the calipers). These calipers have been on a car in a garage with zero miles driven in 25 years and that's rust in the back of the cylinders. The stainless sleeves are unaffected but there's rust on the cast iron back wall and the front lip. This mess was nicely sealed up inside the system.
DOT 3 and 4 fluids absorb water and if you flush the system every few years, any water in the system comes out with the fluid. The only way to get the water out of a silicone fluid system is to disassemble the calipers. Obviously I didn't know that.