1970 Chevelle Black Single Stage

Ye gads!
He must like them mirrors.
$529 for the hardware plus door repaint.
It’s not uncommon to pay $1000 or more for mirrors in the pro-touring world where cars routinely cost well into six figures to build.

Anyway I am not charging him for the door rework. He told me he was getting mirrors from this company and I should have taken a look at the website before I assumed they used the factory mounting holes. This is the sixth car I have done for him so I am happy to take the hit for a good customer.

Here’s the last mirrors we used… :). I also had a customer use the carbon fiber version that cost another $1000. :)

Don
 
It’s not uncommon to pay $1000 or more for mirrors in the pro-touring world
That's just insane money to me, But I've always been known to be a little frugal.
Did you add reinforcement to the back side of the skin or did it fall on the factory plate?
 
That's just insane money to me, But I've always been known to be a little frugal.
Did you add reinforcement to the back side of the skin or did it fall on the factory plate?
They mount on the side of the door instead of the top edge where the factory mirrors mount. I am going to make some stiffener plates. I will most likely attach them with panel adhesive.
 
Last edited:
Ya, wild isn't it......I have no idea how that company sells them things........and, a mirror not included......wow.......
I will likely have 600 hours into this painted roller. The cost of those mirrors is in the noise for a build like this. Kevin also knows this market and understands what will bring the money when the time comes to sell.

A lot of hours in the design, prototyping and programming for those printed parts. Volume will be low so the price has to be high to recover the investment and make a profit. I vaguely recall a concept called the elasticity of demand from back in my MBA days… :)

Don
 
Last edited:
Great Work
I need some of Don's magic and experience to rub off on me! Damn what a slick finish and single stage too.
Don I would like to check your place out some time and get some of your trade secrets. I am in North Texas near Texas Motor Speedway where its exploding with everyone moving in here.
Sure just let me know. I am a little east of Valley View.

My biggest trade secret is this forum…. :)

Don
 
Looks great. Most impressive is the short duration!

So why the Turbo in lieu of the 2k High Build? I haven't really even looked at the Turbo until I read this.

Thanks,

Bill
 
Looks great. Most impressive is the short duration!

So why the Turbo in lieu of the 2k High Build? I haven't really even looked at the Turbo until I read this.

Thanks,

Bill
No particular reason aside from I like the sound of the name… :D

Back when I started using Turbo its claim to fame was that it used the new hyper cure resins but I’m not so sure that is the case any longer.
 
It’s SEM bedliner. Heavier thicker product than Raptor. I started using it when Barry recommended it after he discontinued SPI bedliner.
Don,
I may like to use the SEM product.

I see that it is tintable. The TDS says you can use any solvent-based automotive paint. I assume this means I can use SPI epoxy, as I have worked up a grey color using white/black epoxy that I would like to use for the desired shade.
That being the case I assume this: Mix 8-parts Sem tintable catalyst, 1-part color.
TDS Notes, Omit any binders, balancers or reducer. Does this mean NO EPOXY ACTIVATOR activator?

Also, I assume you use a gun with a pretty big spray tip. I have a Devibl1s Tekna primer gun with several size tips up to 2.5, What do you use? How does it spray?
There is two versions, black and tintable. I’ve only ever used the black. I am not sure you can mix urethane bedliner with epoxy. Maybe check with SEM. I assumed they were referring to urethane paints.

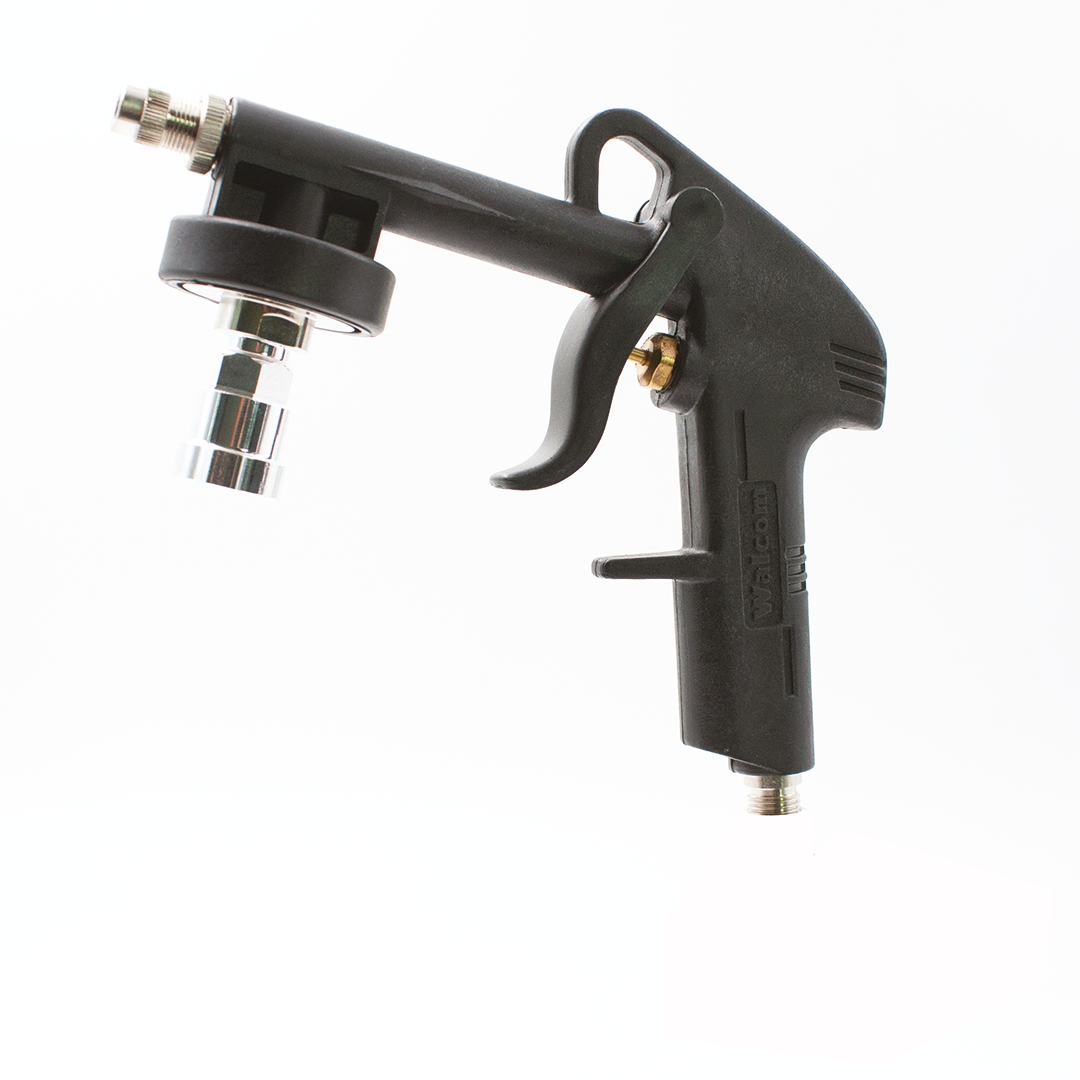
I use a Walcom bedliner gun that I originally got from SPI to spray their bedliner. Pretty much like this one.

Don
 
I use a Walcom bedliner gun that I originally got from SPI to spray their bedliner. Pretty much like this one.
Funny you use that particular gun. I have one just like it, same brand, that I purchased to apply Rocker Schutz and or some sort of cavity wax. It also came with 2ft long applicator to get inside frame rails, rockers and such that replaces the adjustable short nozzle shown in your link.

Another question, do you know how easy is it to clean the cured bedliner surface from road debris and possibly a mess from an oil leak?
This bedliner has a shiny surface but dirt is still going to get into the texture. If you want something smoother I would consider using reduced Raptor. Thats what a lot of guys use.

Don
 
Plugging away. I like the look of the front bumper with the license plate recess smoothed. Need to get it out in the sun to see how it looks. Should go home Sunday. Hood pin bezels need the pin hole drilled out because the hood is sloped. I guess ideally it would be an elliptical hole but I’m going to settle for round. :). Rear valance below the bumper is giving me a hard time. Will take another run at it tomorrow. Need to make a quickie closeout panel to go between core support and grille.
IMG_2677.jpeg


Don
 
Wow! That's full on mono-chrome blacked out. Nice work. Couldn't have been easy getting that bumper fill to look that good.
Won't a panel behind the grill block cooling air flow?
 
Wow! That's full on mono-chrome blacked out. Nice work. Couldn't have been easy getting that bumper fill to look that good.
Won't a panel behind the grill block cooling air flow?
It’s a horizontal panel from top of the grille across to the core support. It forces air through the radiator but it also cleans up the look a little.

Yes it’s all blacked out. :) Thats the way all of his cars are.

Don
 
Back
Top