Raymond_B
Hobbyist
First off, thanks for everyone's input, seriously thank you. Secondly I hope this post isn't too long.
I thought you guys might like a total DIY (and very noobish) restoration. Really it's a restomod, but you get the idea.
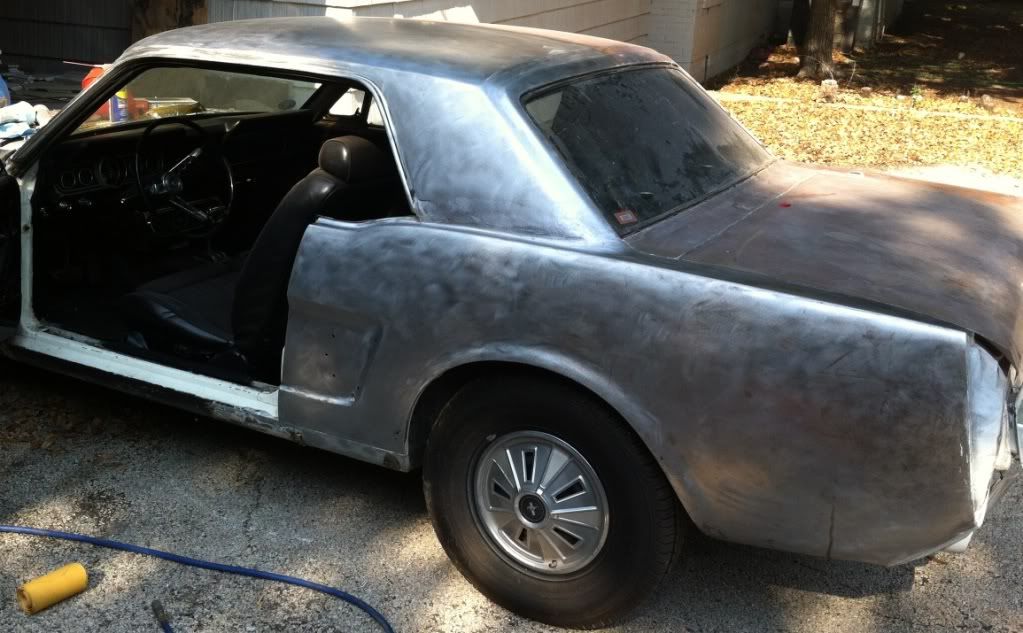
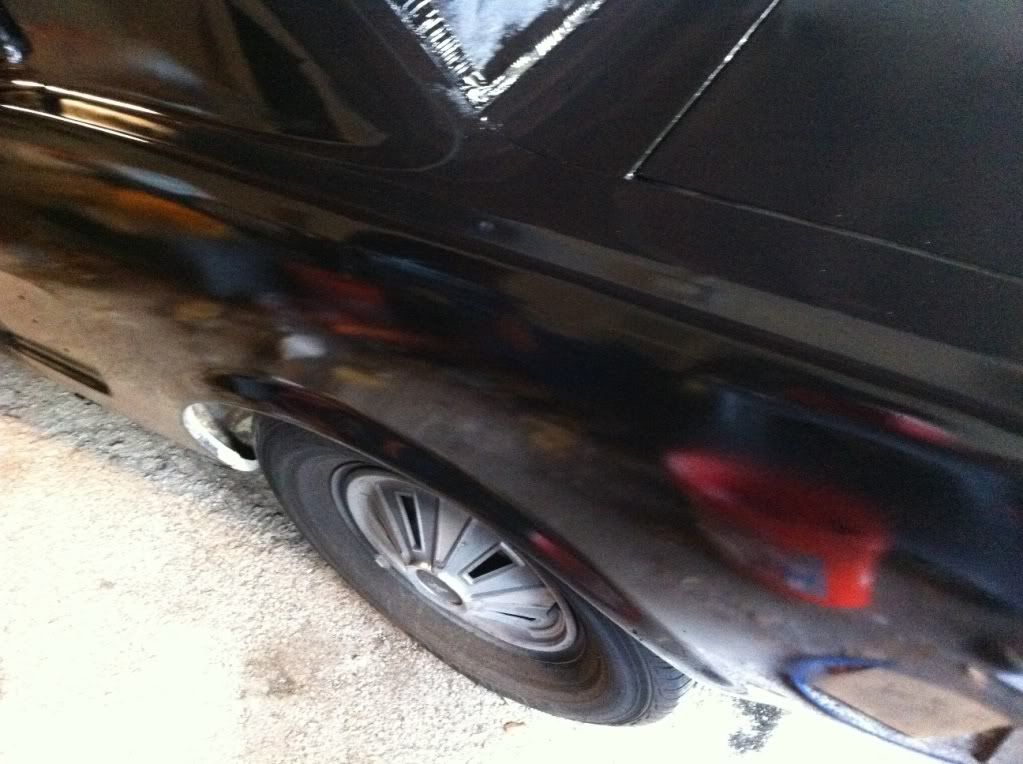
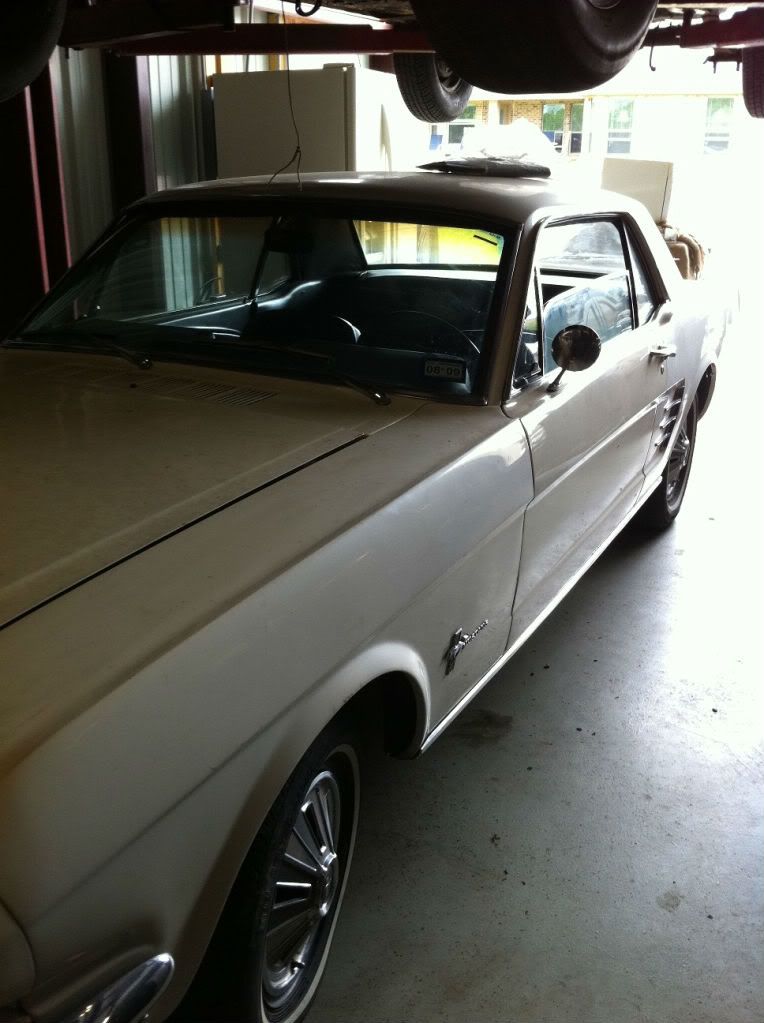
Here's a couple of pics when I first picked up the car. I really thought I was getting a clean little 6 cyl Texas car. Now all the little telltale signs (hey Ray look, the door doesn't align and the paint is different) of what lies beneath jump out at me, I missed every one of them in my hurry to buy the car.
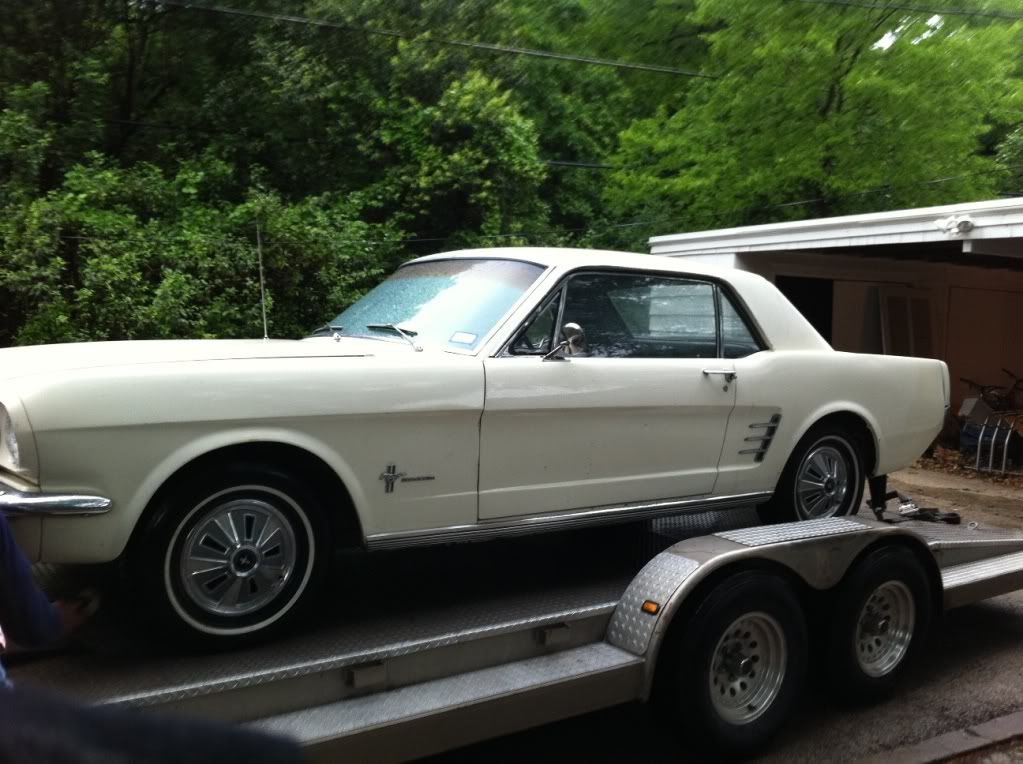
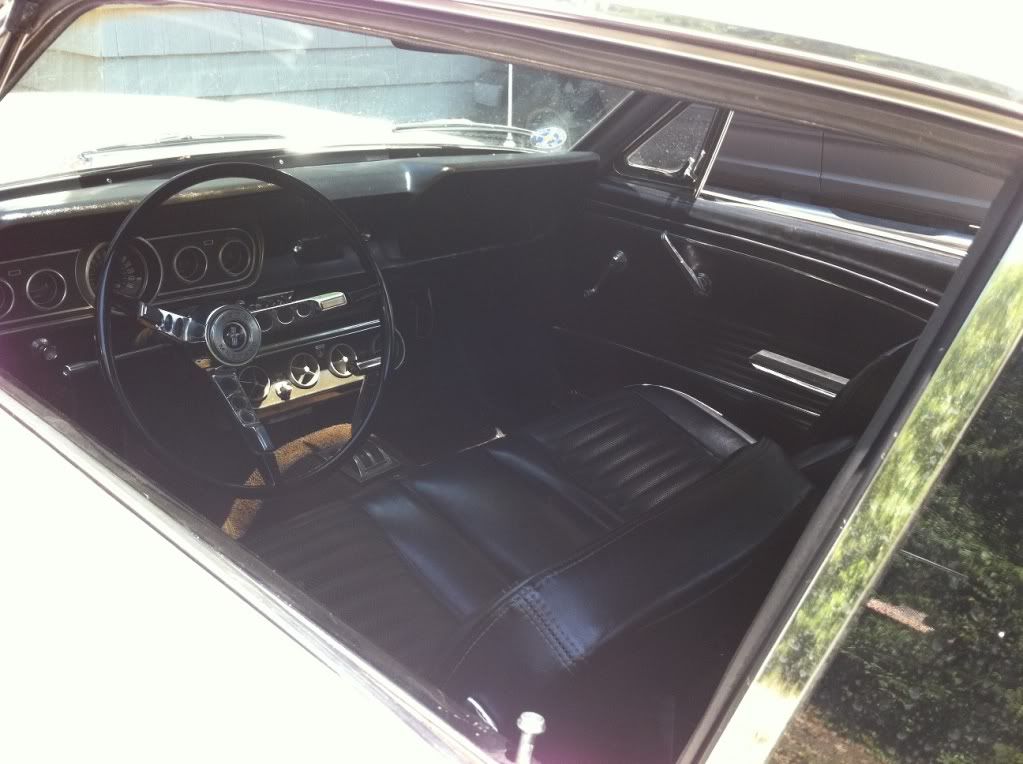
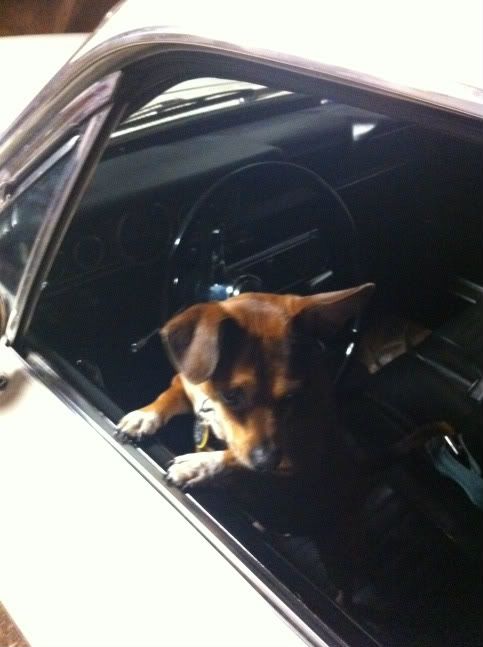
So I got it inspected and started driving it. It made me happy")
Even made my kid's Chaweiner happy!
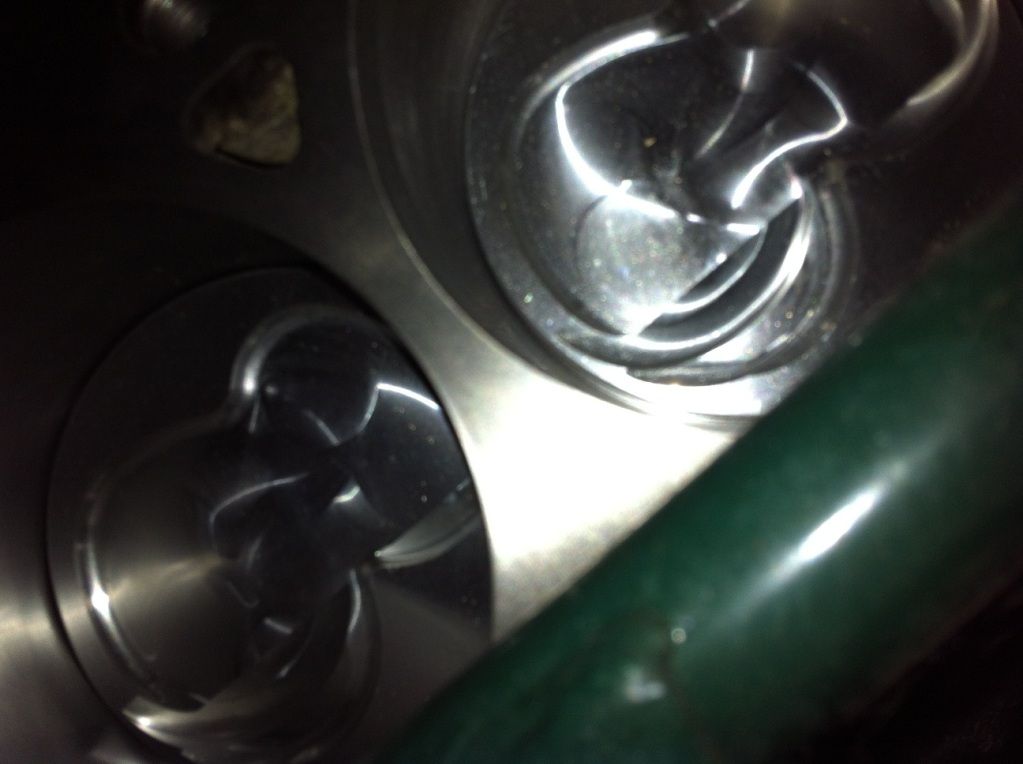
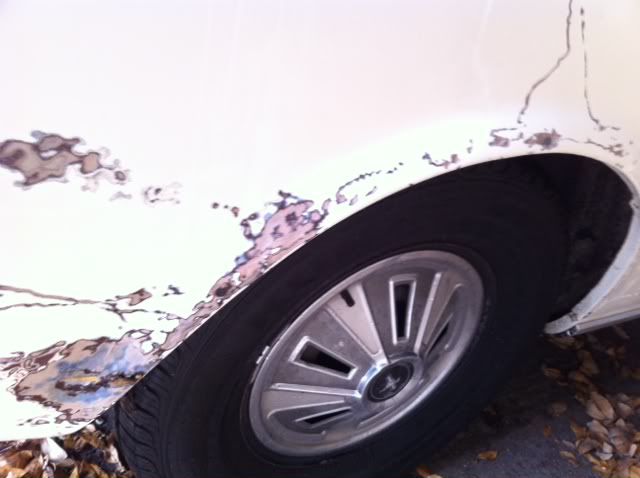
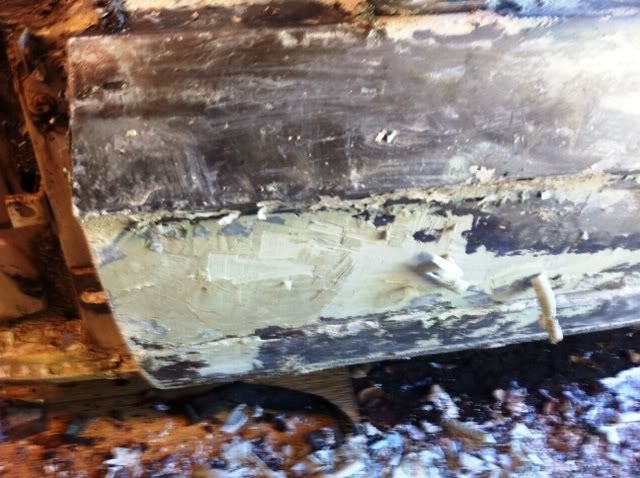
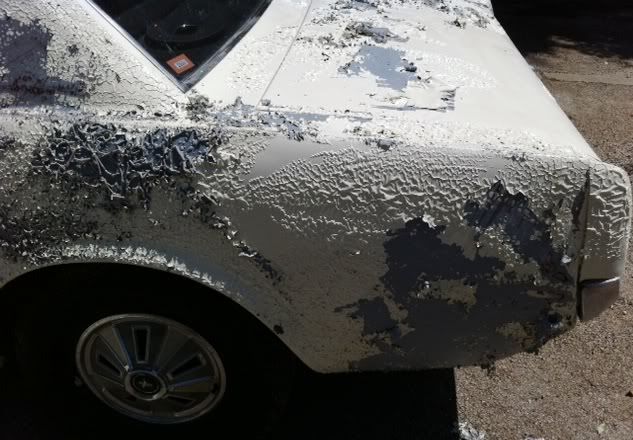
I knew I was going to do some serious drive train changes. The plan was to sandblast the front undercarriage while swapping out for V-8 steering, Shelby drop, and a Mustang Steve Cobra brake swap. After buying a sandblaster I decided to check out some small pin holes around the rear fender lips. That's when I was like "oh man"
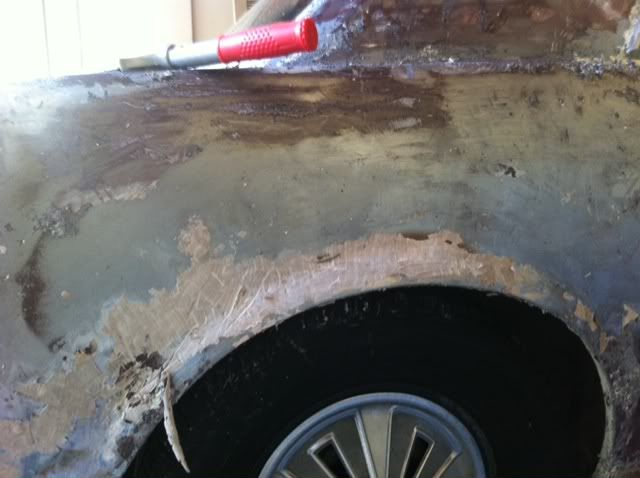
The little "ant trails" are me trying to see how far the Bondo goes....... It goes very far.
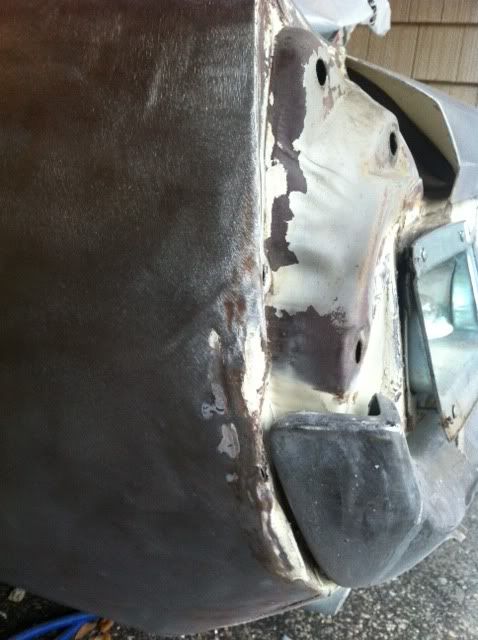
This is after scraping off something like 10lbs of Bondo.
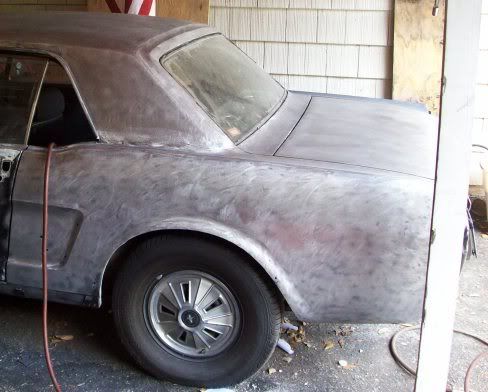
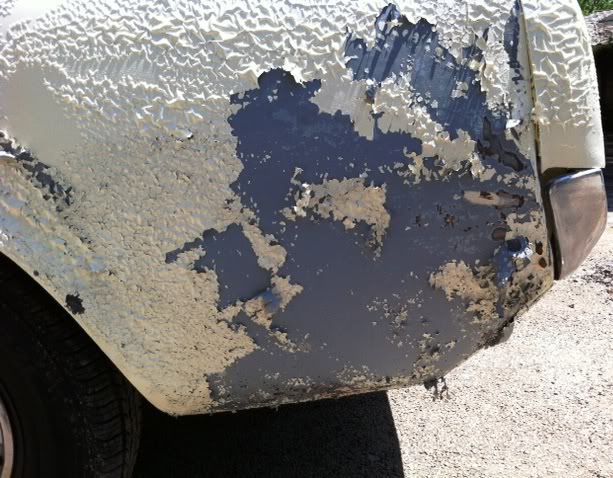
After that I was like screw it I am gonna strip it down to decide what to do next.
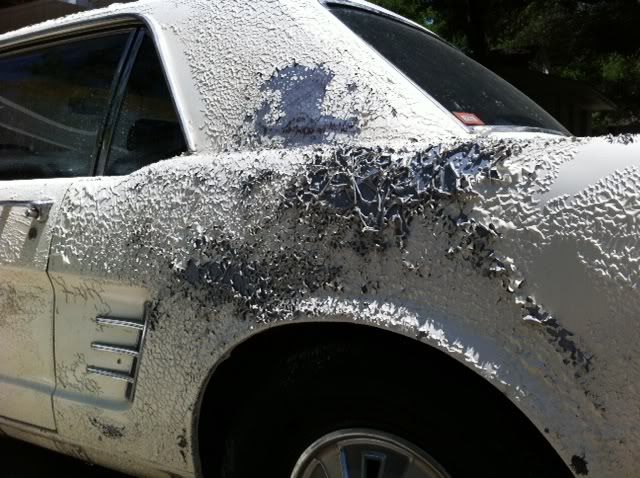
I find bondo/filler everywhere...
Left door.
Right door, hard to tell, but guess what. More Bondo!

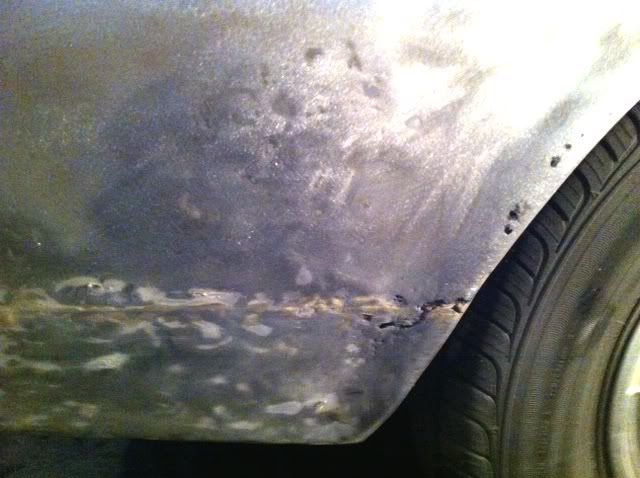
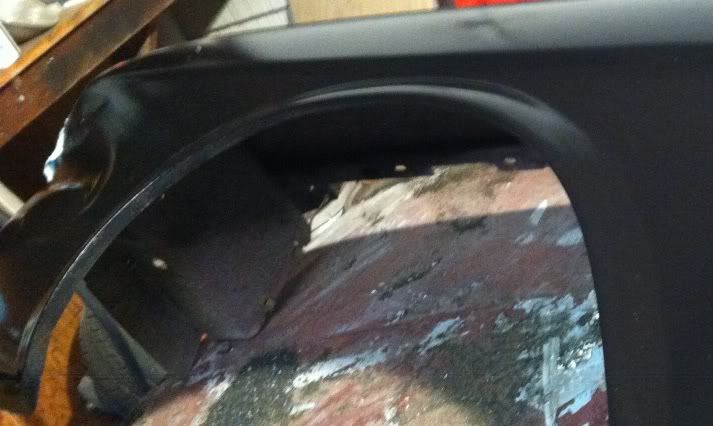
Along with a terrible rear quarter repair.
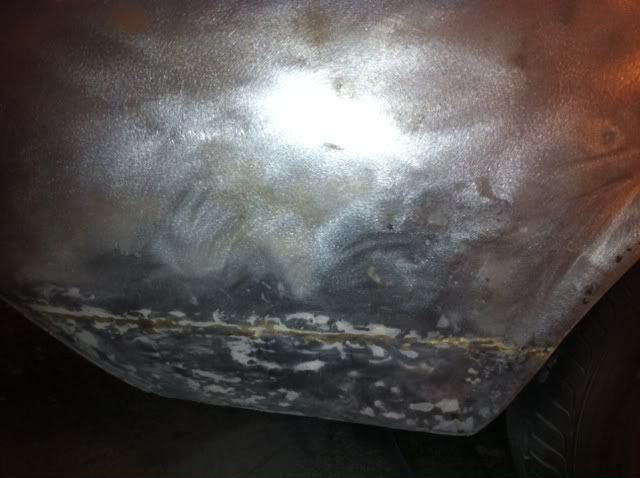
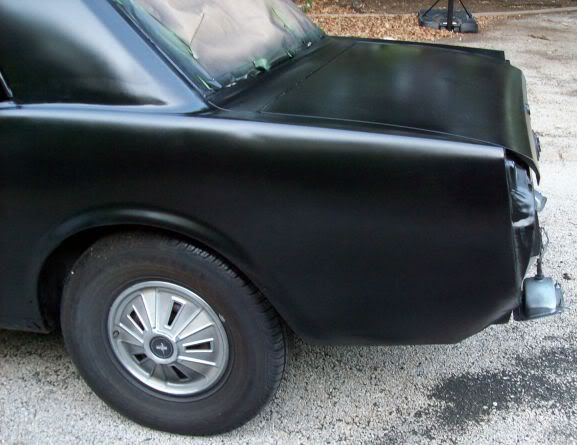
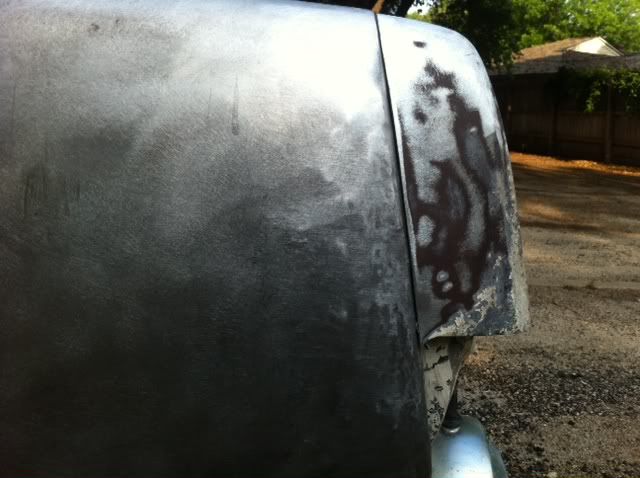
But then I was like "hey, the left rear is OK.
Well, except for that pushed in part.
Which ended up being the motivation for me heading to this site.
And I've made progress! Although very slowly.
So I ended up trying to fix it all, mainly because I am stubborn, refuse to sell the car for a loss, and honestly have no desire to do to someone else what the guy did to me on the sale. I believe in Kharma
I am still working on the left rear quarter, but decided to start getting my "shop" set up to paint using great advice from this site.
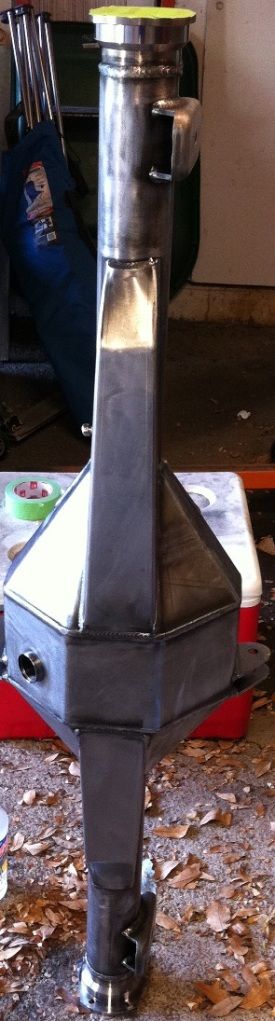
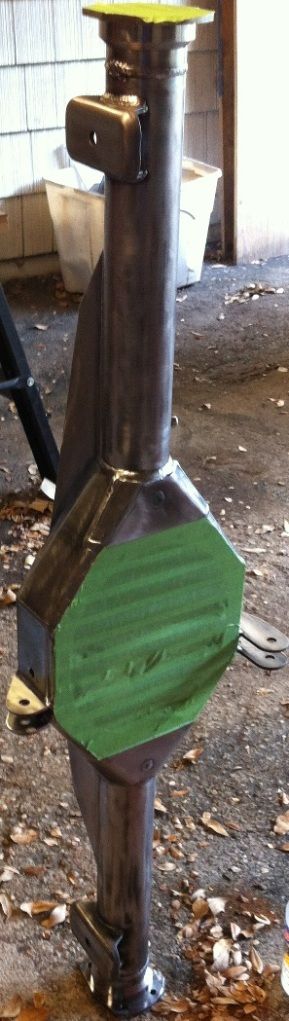
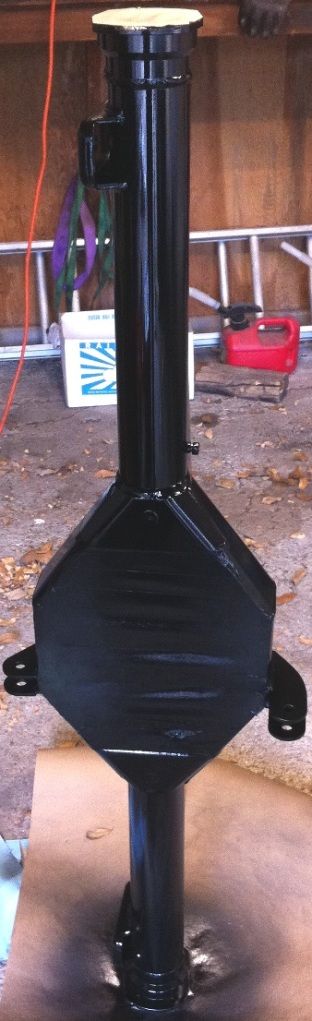
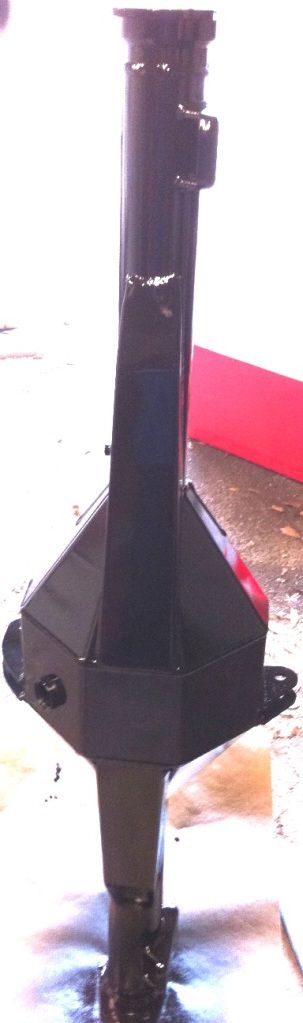
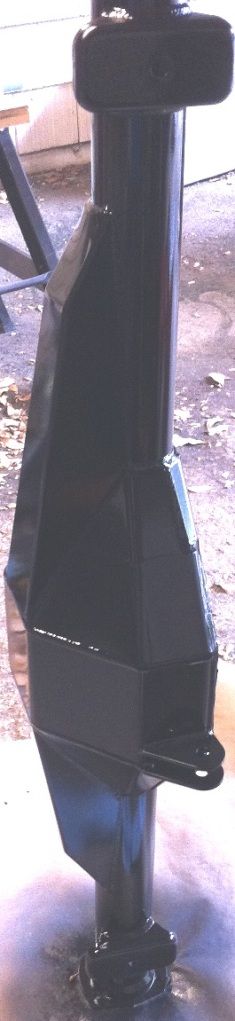
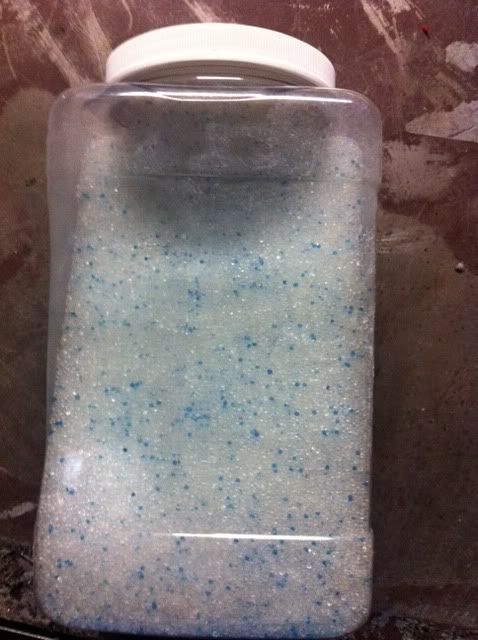
I borrowed an idea from Garage Journal posted here and made a DIY desiccant "pipe bomb" to keep my air lines dry.
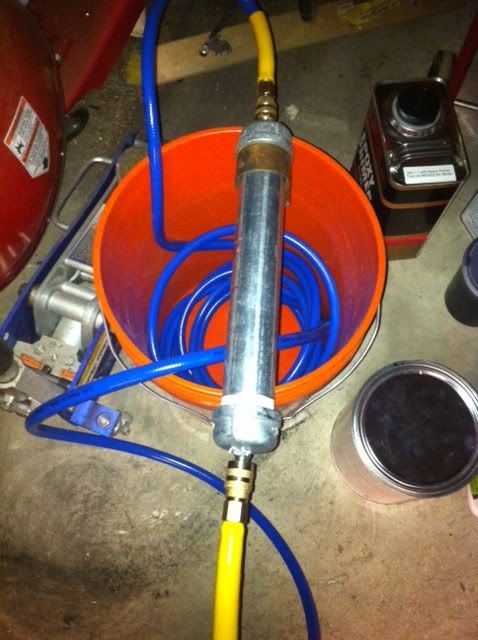
It's 2/3rds filled with bulk silica gel from Veritemp.com. 5lbs was 17.50+ shipping. I also picked up a new 25ft air line and coiled it in a Home Depot bucket. The desiccant pipe is right after a HF "industrial" filter that is connected to the compressor by an 8' line. I only plan to run the desiccant and new line when I paint.
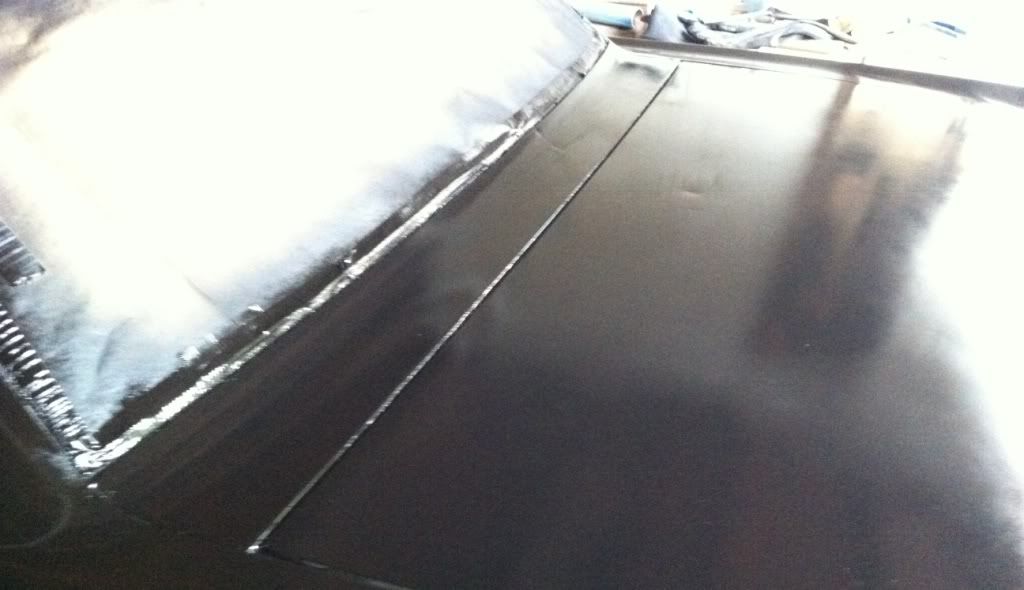
Tonight I decided to test my (dare I say it) Harbor Freight purple gun after reading all the gun setup posts.
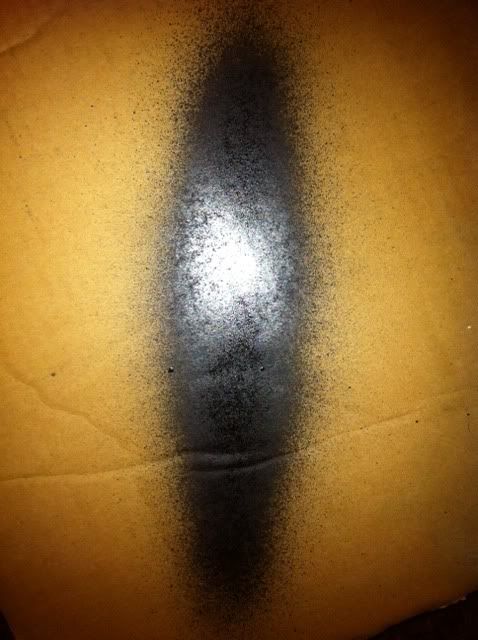
I see some blobs in there, I must not have cleaned it out all the way when I painted that cardboard test panel Plus a bit too much air pressure?
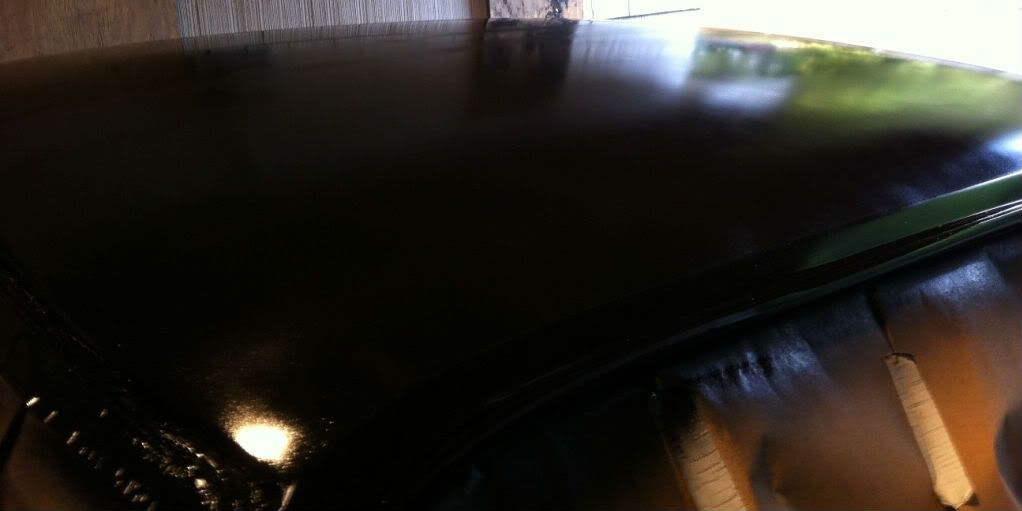
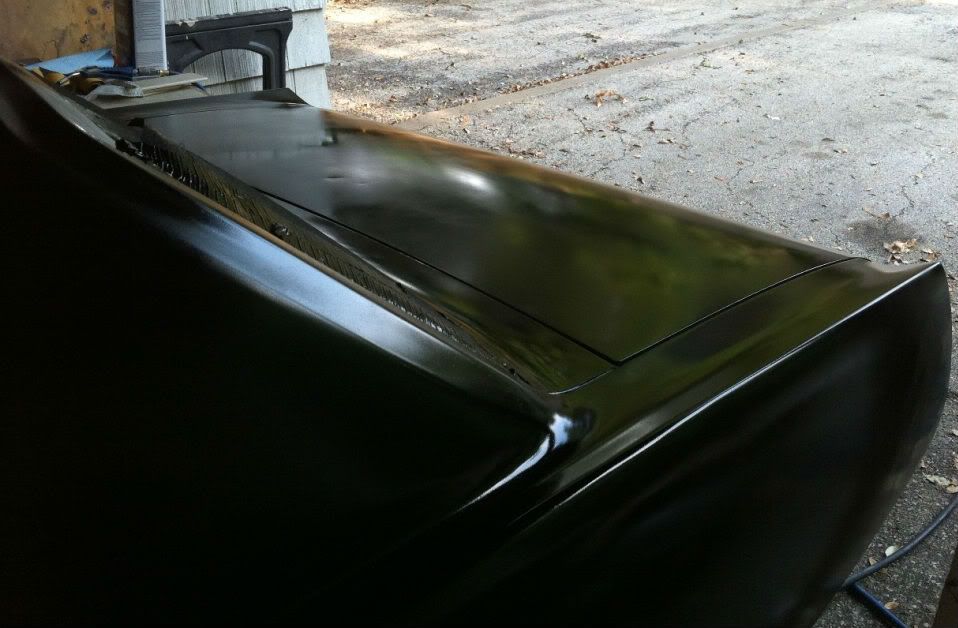
The moment of truth, I decided to practice on some fenders I do not plan on using. They were half stripped and really not sanded down all the way. There was a bunch of bondo so I bought repop fenders. But I figured they'd make good practice for both spraying and prep work. Things like mixing the paint, inducing it, measuring, cleaning the part to be painted, etc, etc.
Hard to see at night, I'll post more pics once the sun comes up. But I was pretty happy with the results. This was really the first time I had sprayed anything other than Krylon.
More to come....
I thought you guys might like a total DIY (and very noobish) restoration. Really it's a restomod, but you get the idea.
Here's a couple of pics when I first picked up the car. I really thought I was getting a clean little 6 cyl Texas car. Now all the little telltale signs (hey Ray look, the door doesn't align and the paint is different) of what lies beneath jump out at me, I missed every one of them in my hurry to buy the car.
So I got it inspected and started driving it. It made me happy
Even made my kid's Chaweiner happy!
I knew I was going to do some serious drive train changes. The plan was to sandblast the front undercarriage while swapping out for V-8 steering, Shelby drop, and a Mustang Steve Cobra brake swap. After buying a sandblaster I decided to check out some small pin holes around the rear fender lips. That's when I was like "oh man"
The little "ant trails" are me trying to see how far the Bondo goes....... It goes very far.
This is after scraping off something like 10lbs of Bondo.
After that I was like screw it I am gonna strip it down to decide what to do next.
I find bondo/filler everywhere...
Left door.
Right door, hard to tell, but guess what. More Bondo!
Along with a terrible rear quarter repair.
But then I was like "hey, the left rear is OK.
Well, except for that pushed in part.
Which ended up being the motivation for me heading to this site.
And I've made progress! Although very slowly.
So I ended up trying to fix it all, mainly because I am stubborn, refuse to sell the car for a loss, and honestly have no desire to do to someone else what the guy did to me on the sale. I believe in Kharma
I am still working on the left rear quarter, but decided to start getting my "shop" set up to paint using great advice from this site.
I borrowed an idea from Garage Journal posted here and made a DIY desiccant "pipe bomb"
to keep my air lines dry.
It's 2/3rds filled with bulk silica gel from Veritemp.com. 5lbs was 17.50+ shipping. I also picked up a new 25ft air line and coiled it in a Home Depot bucket. The desiccant pipe is right after a HF "industrial" filter that is connected to the compressor by an 8' line. I only plan to run the desiccant and new line when I paint.
Tonight I decided to test my (dare I say it) Harbor Freight purple gun after reading all the gun setup posts.
I see some blobs in there, I must not have cleaned it out all the way when I painted that cardboard test panel
Plus a bit too much air pressure?The moment of truth, I decided to practice on some fenders I do not plan on using. They were half stripped and really not sanded down all the way. There was a bunch of bondo so I bought repop fenders. But I figured they'd make good practice for both spraying and prep work. Things like mixing the paint, inducing it, measuring, cleaning the part to be painted, etc, etc.
Hard to see at night, I'll post more pics once the sun comes up. But I was pretty happy with the results. This was really the first time I had sprayed anything other than Krylon.
More to come....