rusty428cj
Rusty Gillis
1969-1970 and probably 1967-1968

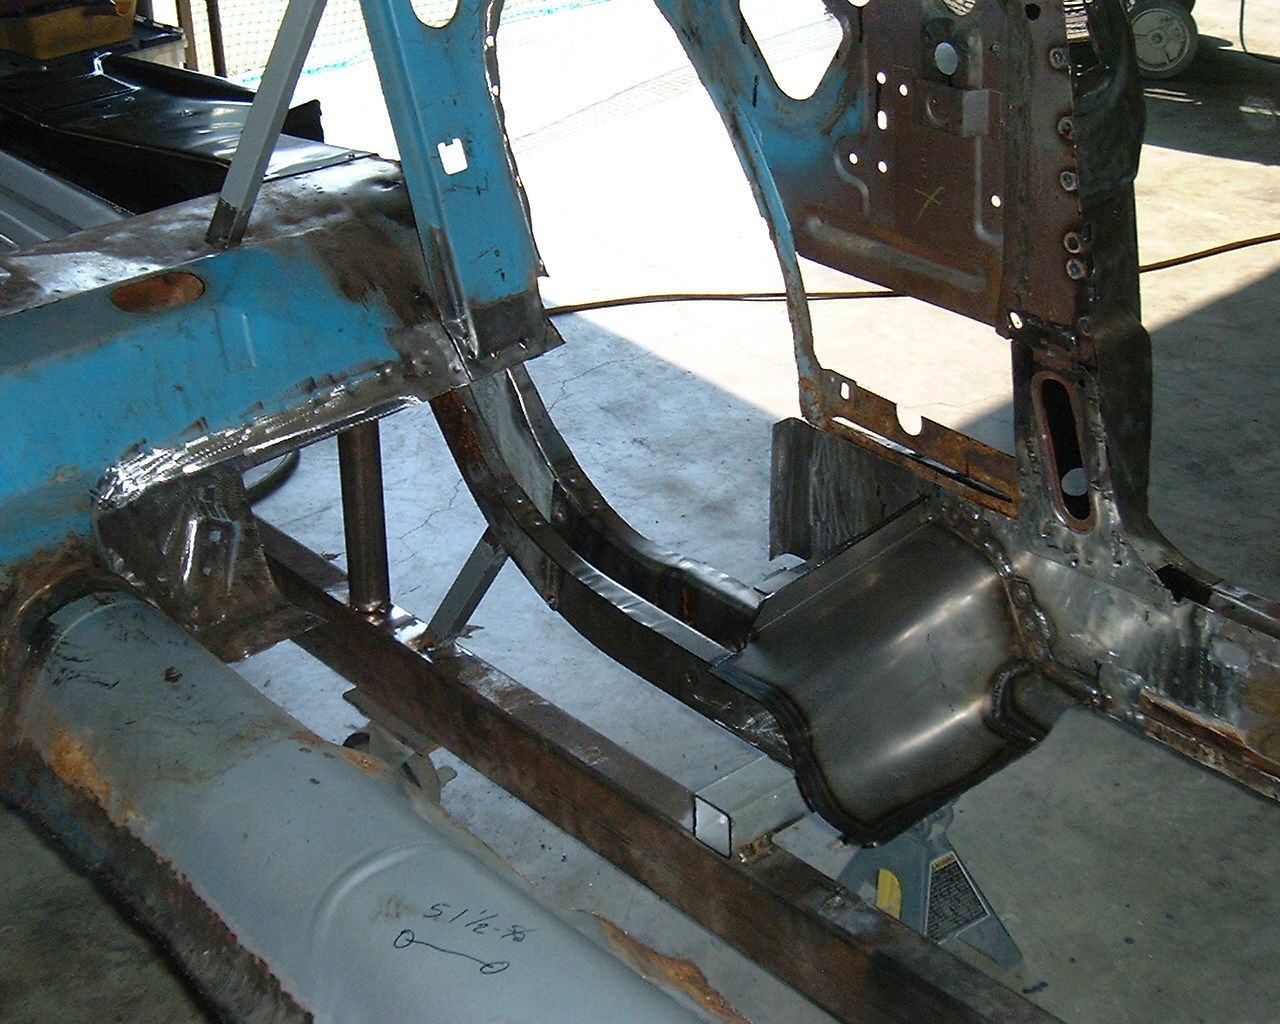

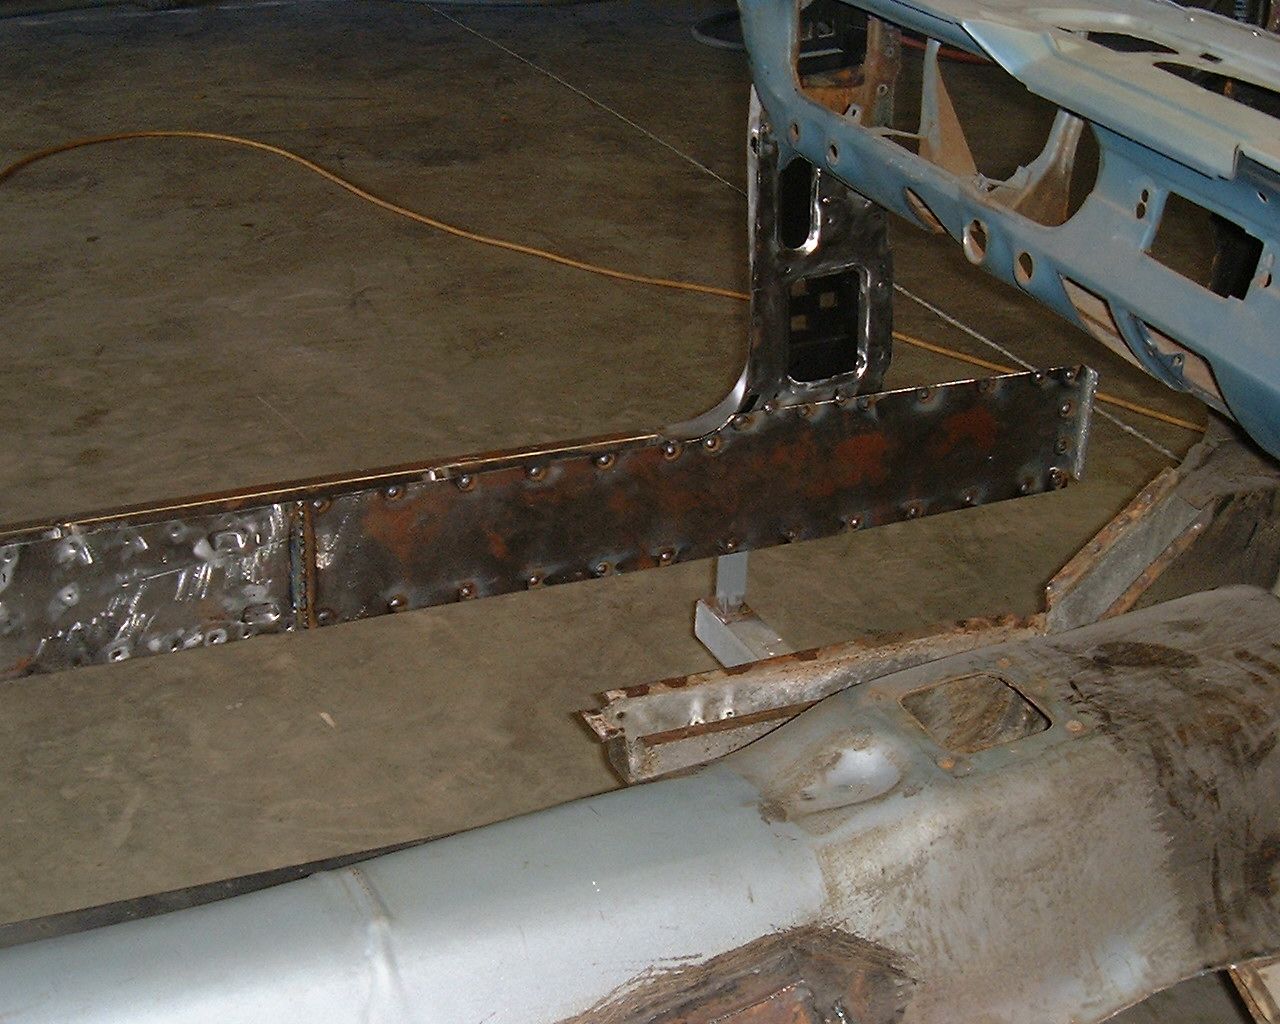
C10chas;9500 said:Man that is some seriously righteous work Rusty!
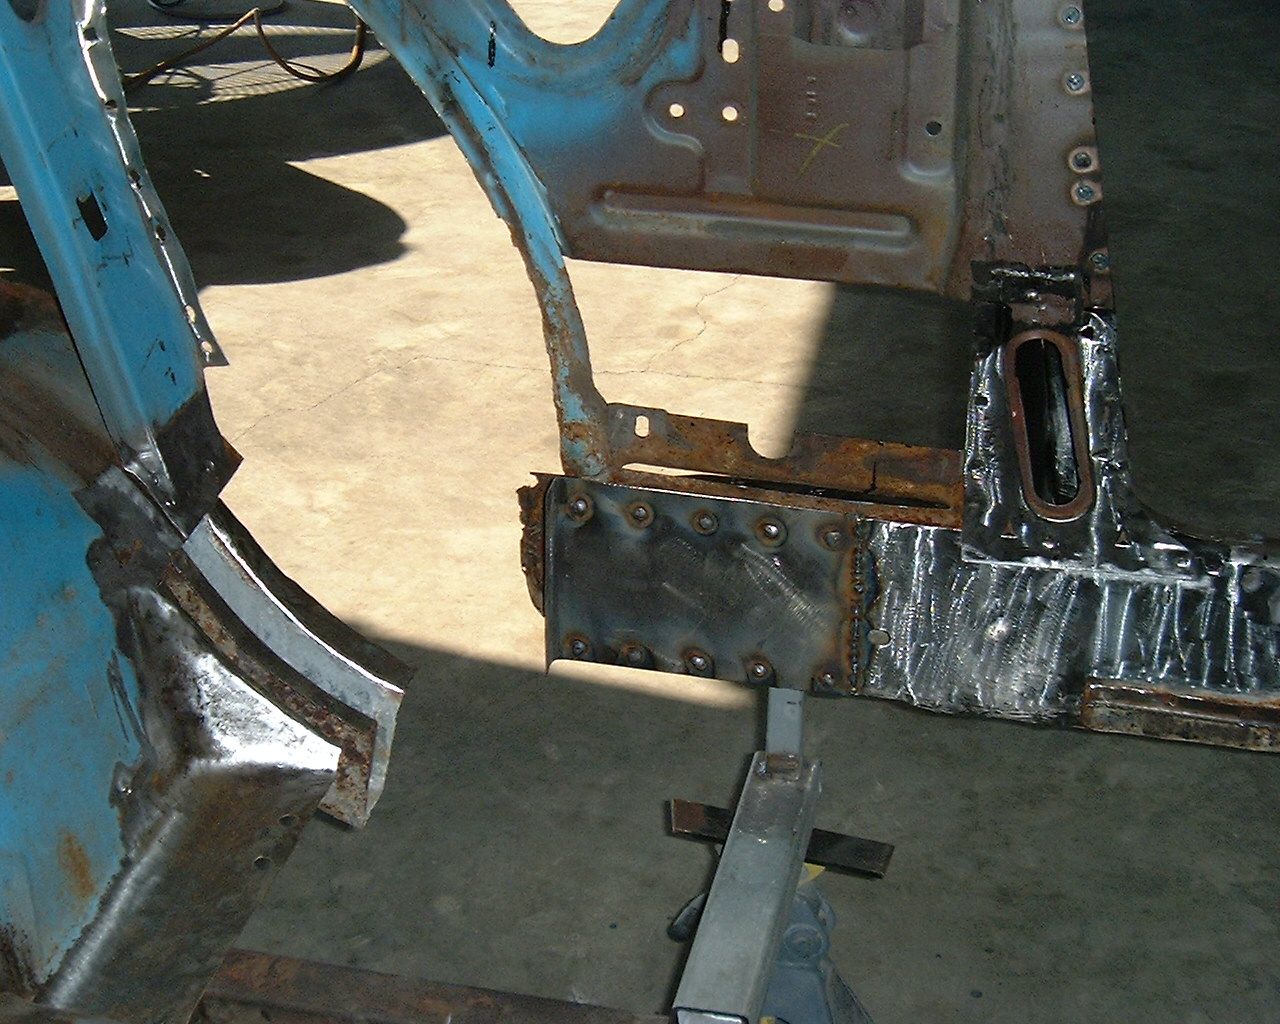
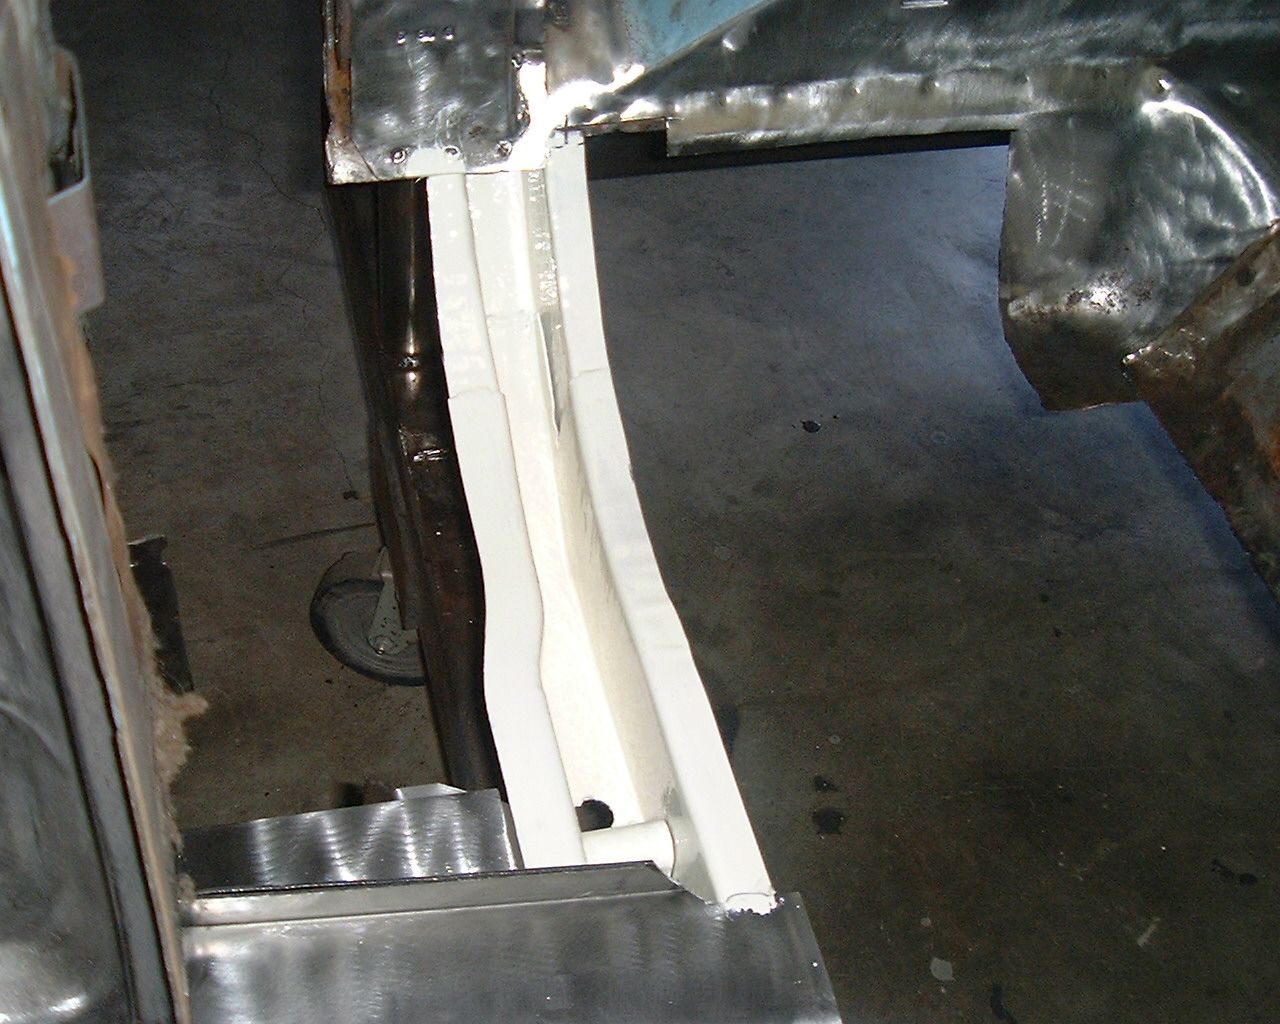
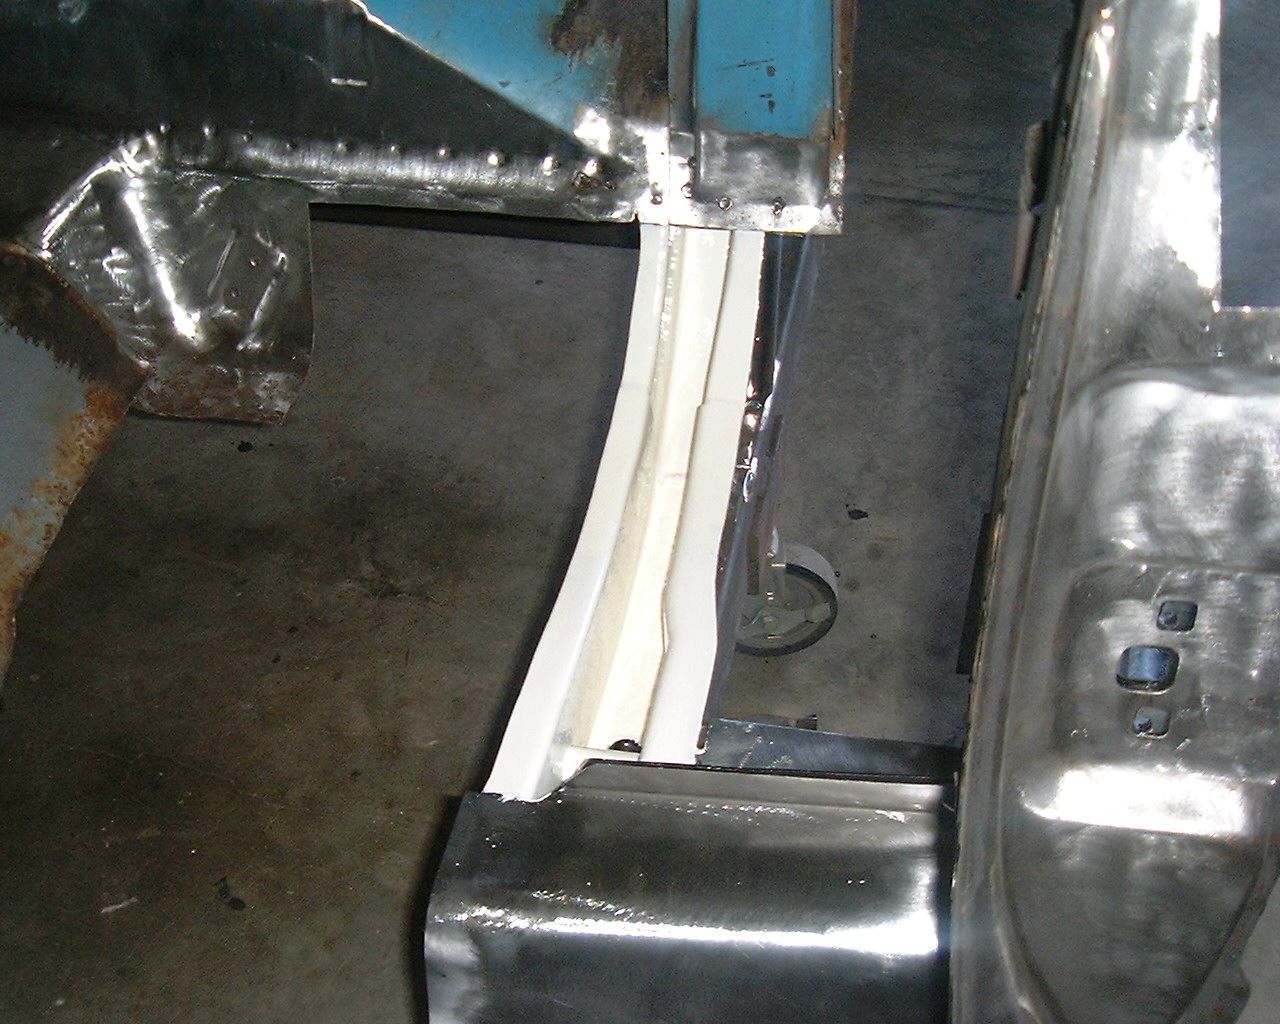
On that last patch that was plug welded, does Brian use any sort of weld thru or epoxy between the layers?
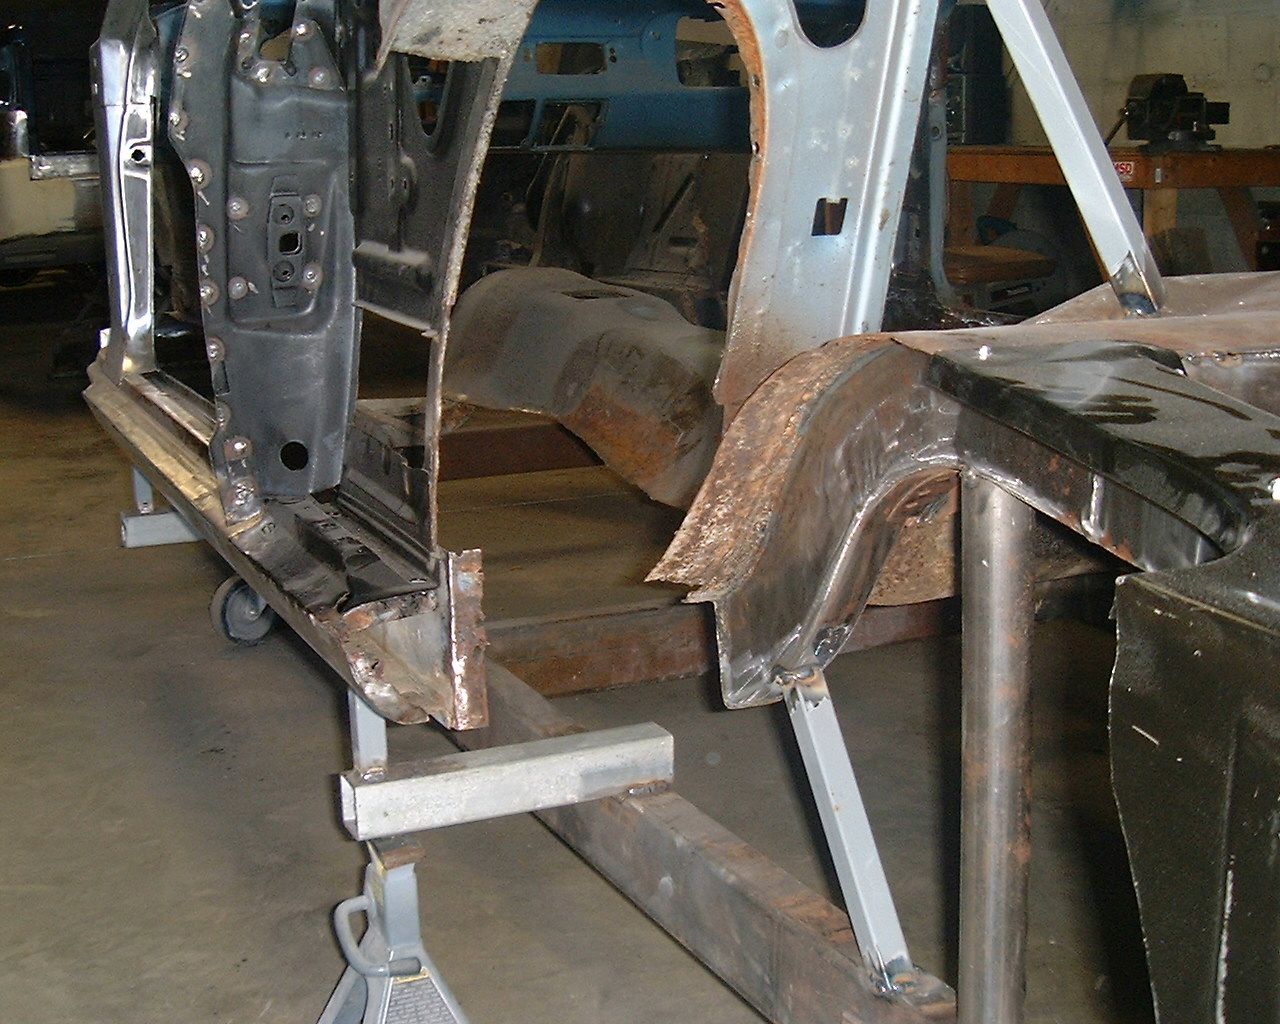
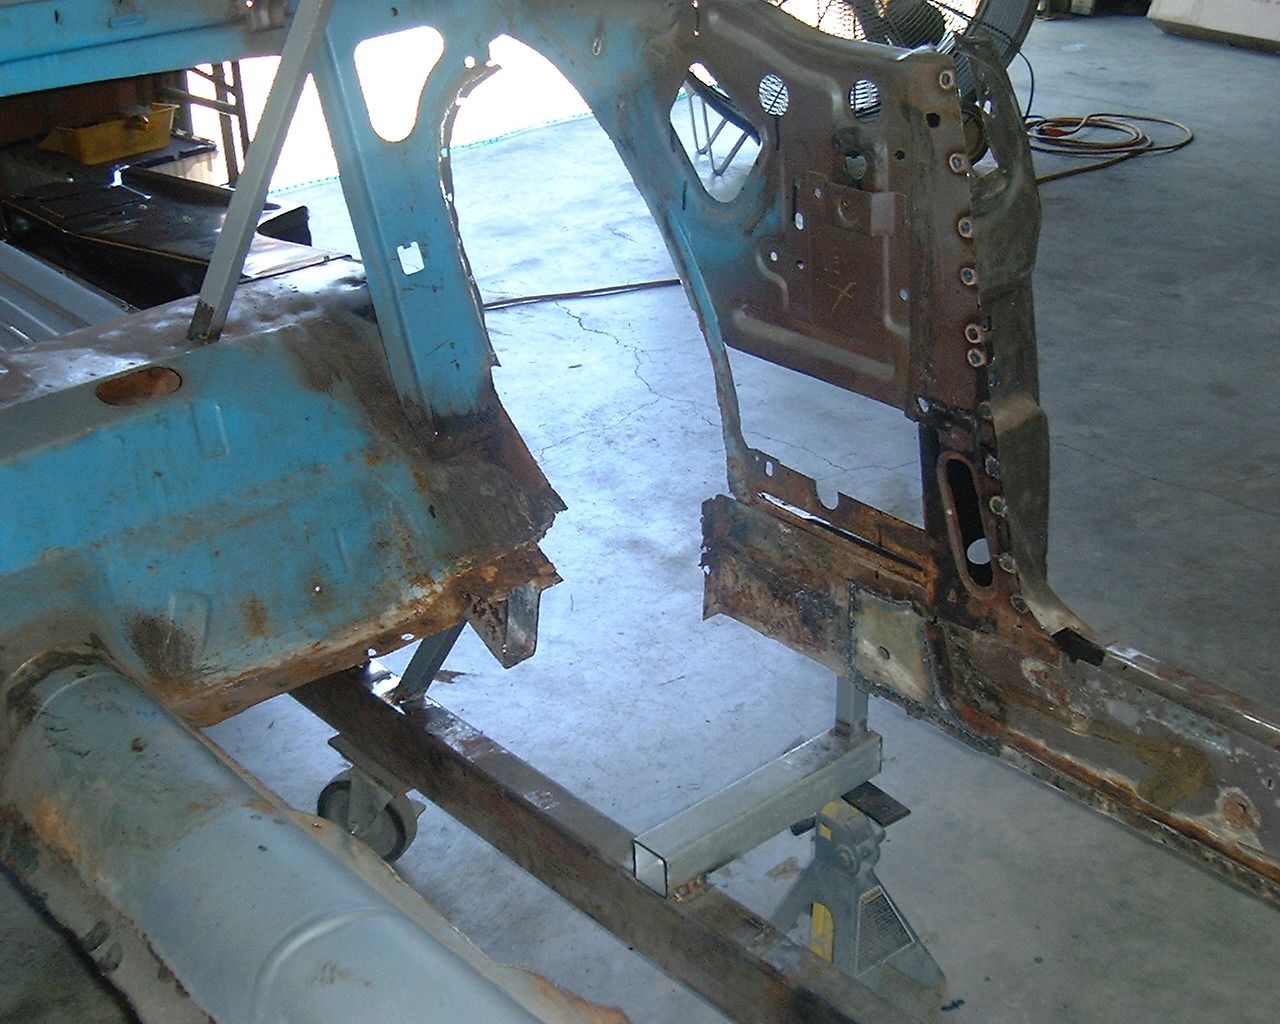
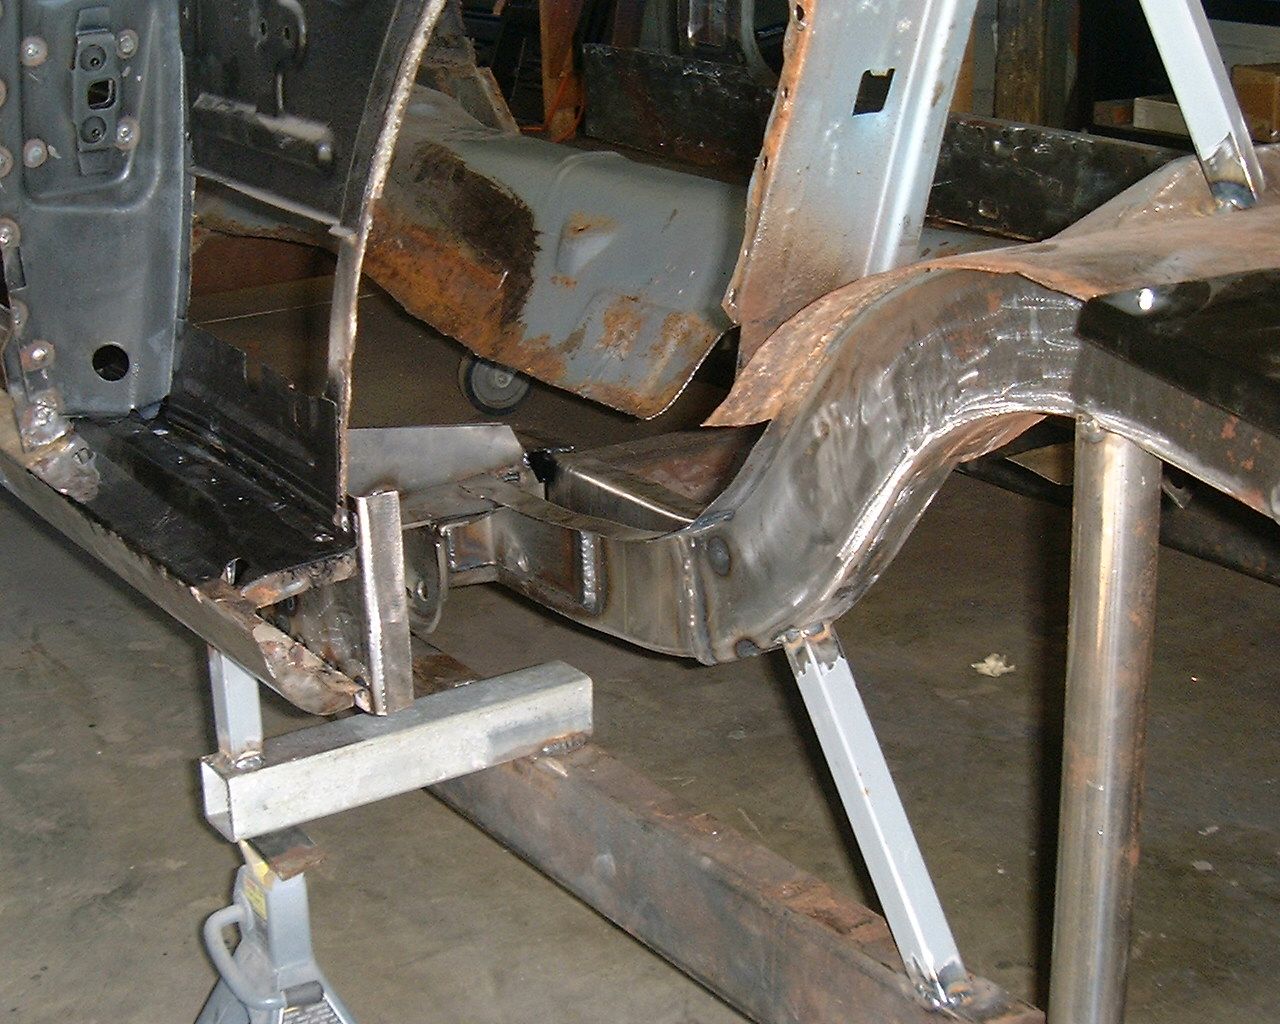
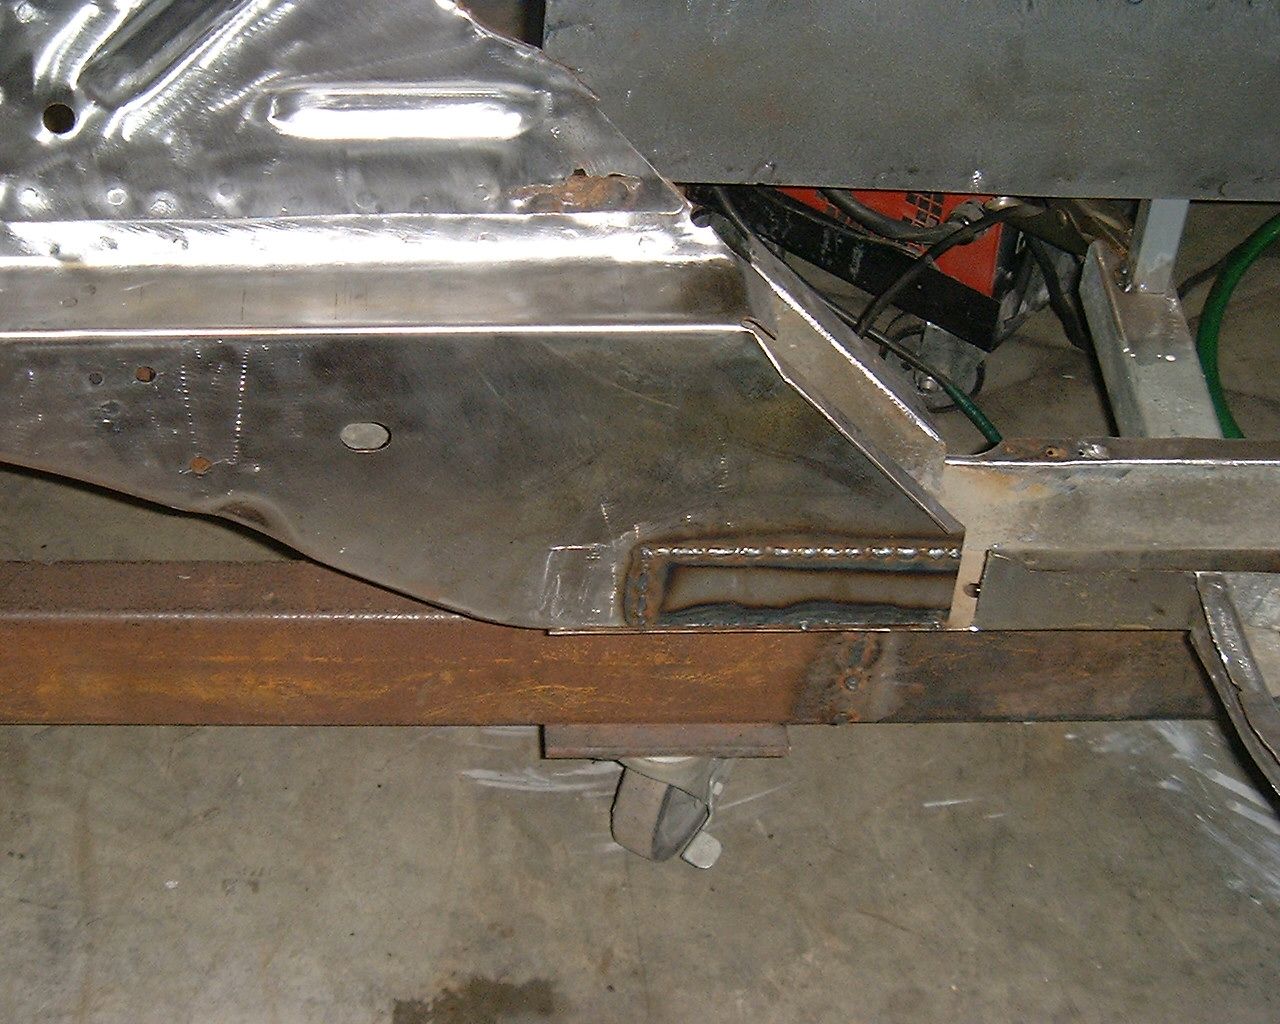
crashtech;9508 said:He sure has come a long way in a short time!
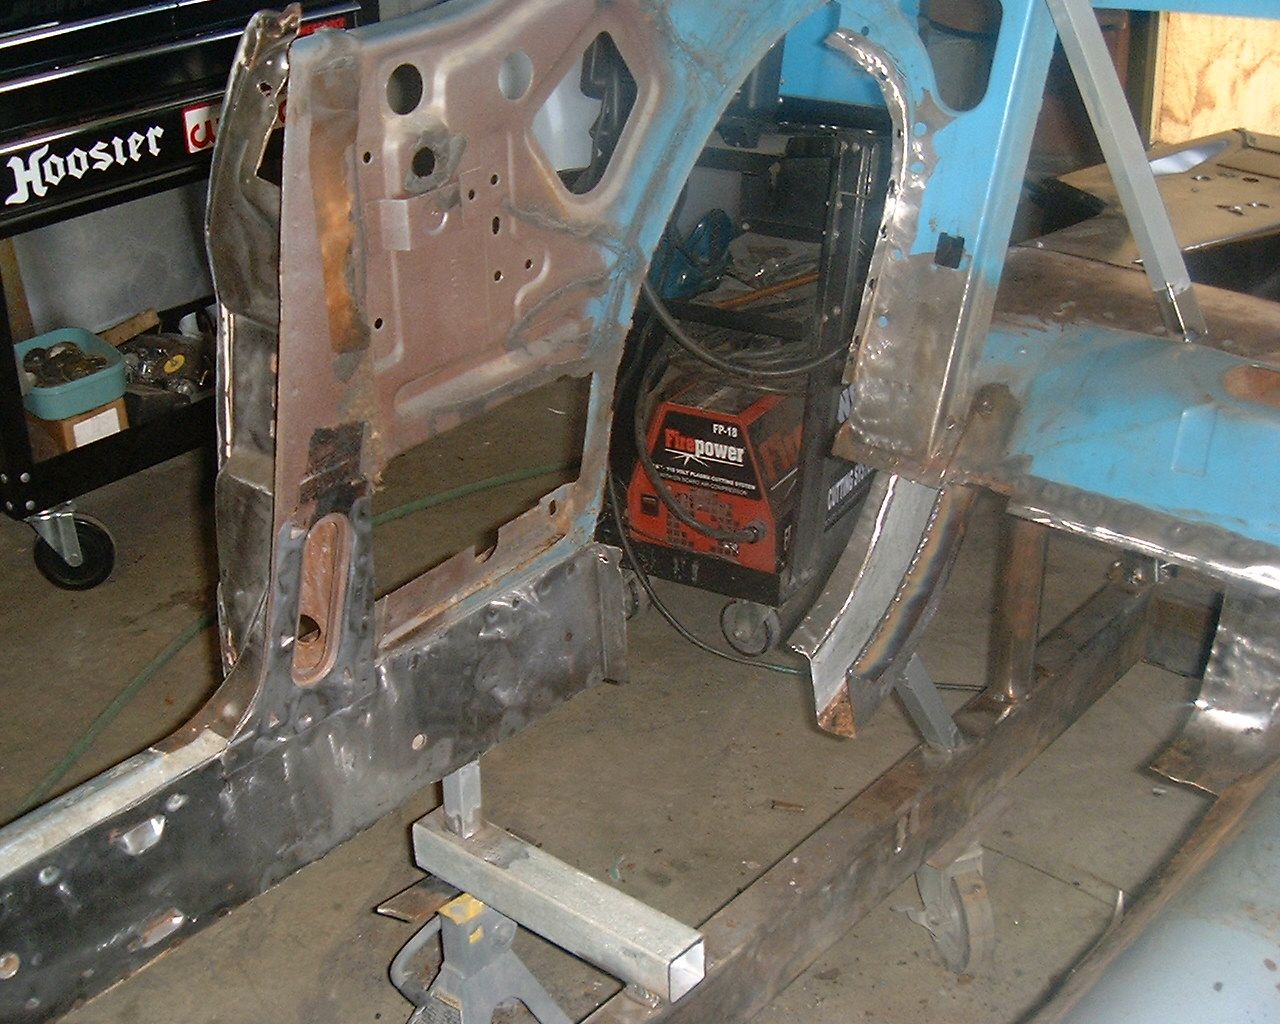
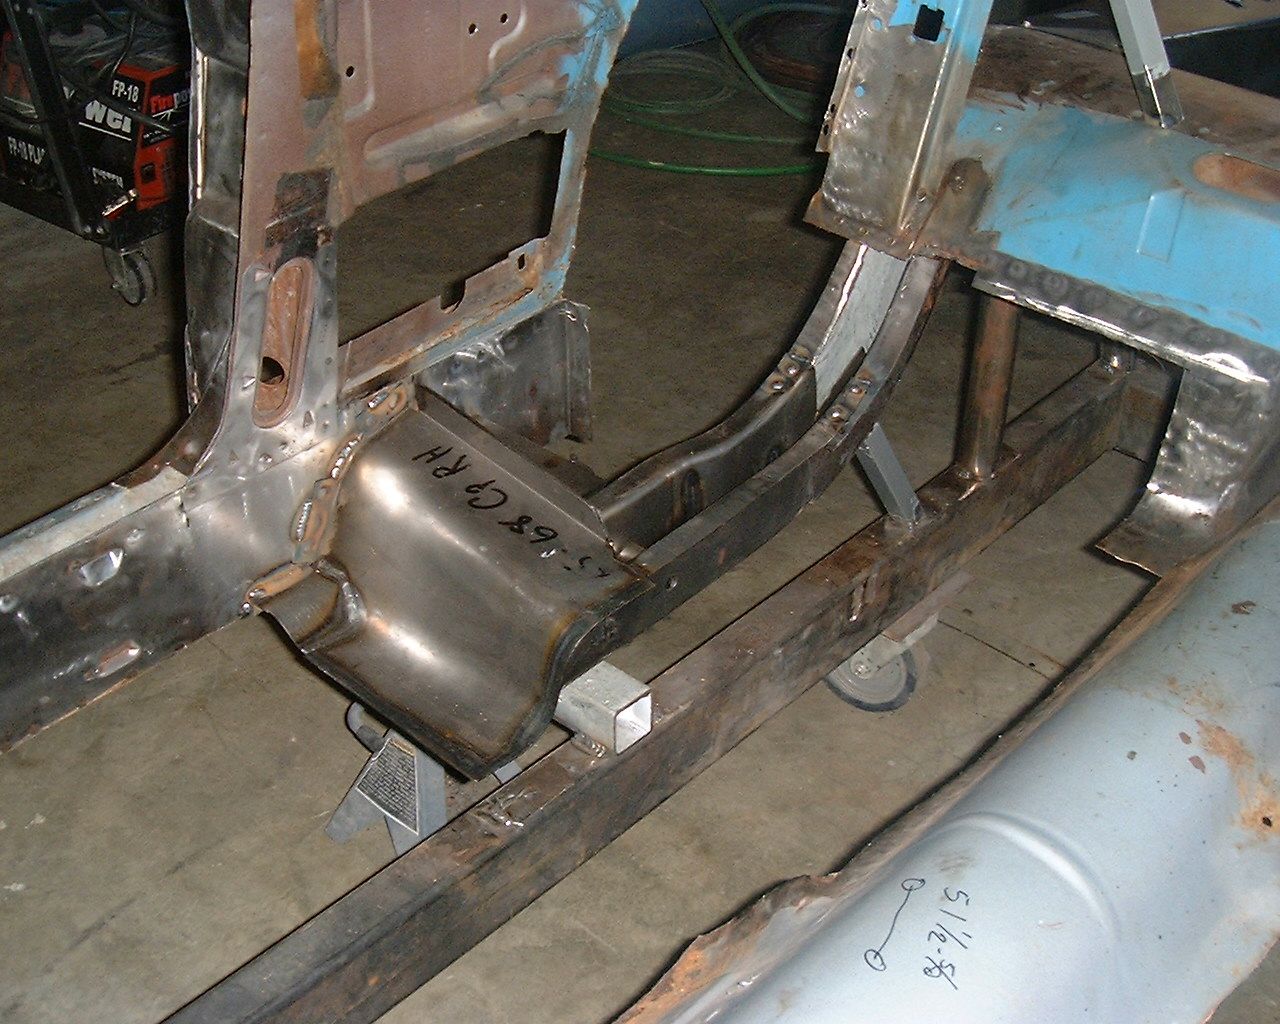
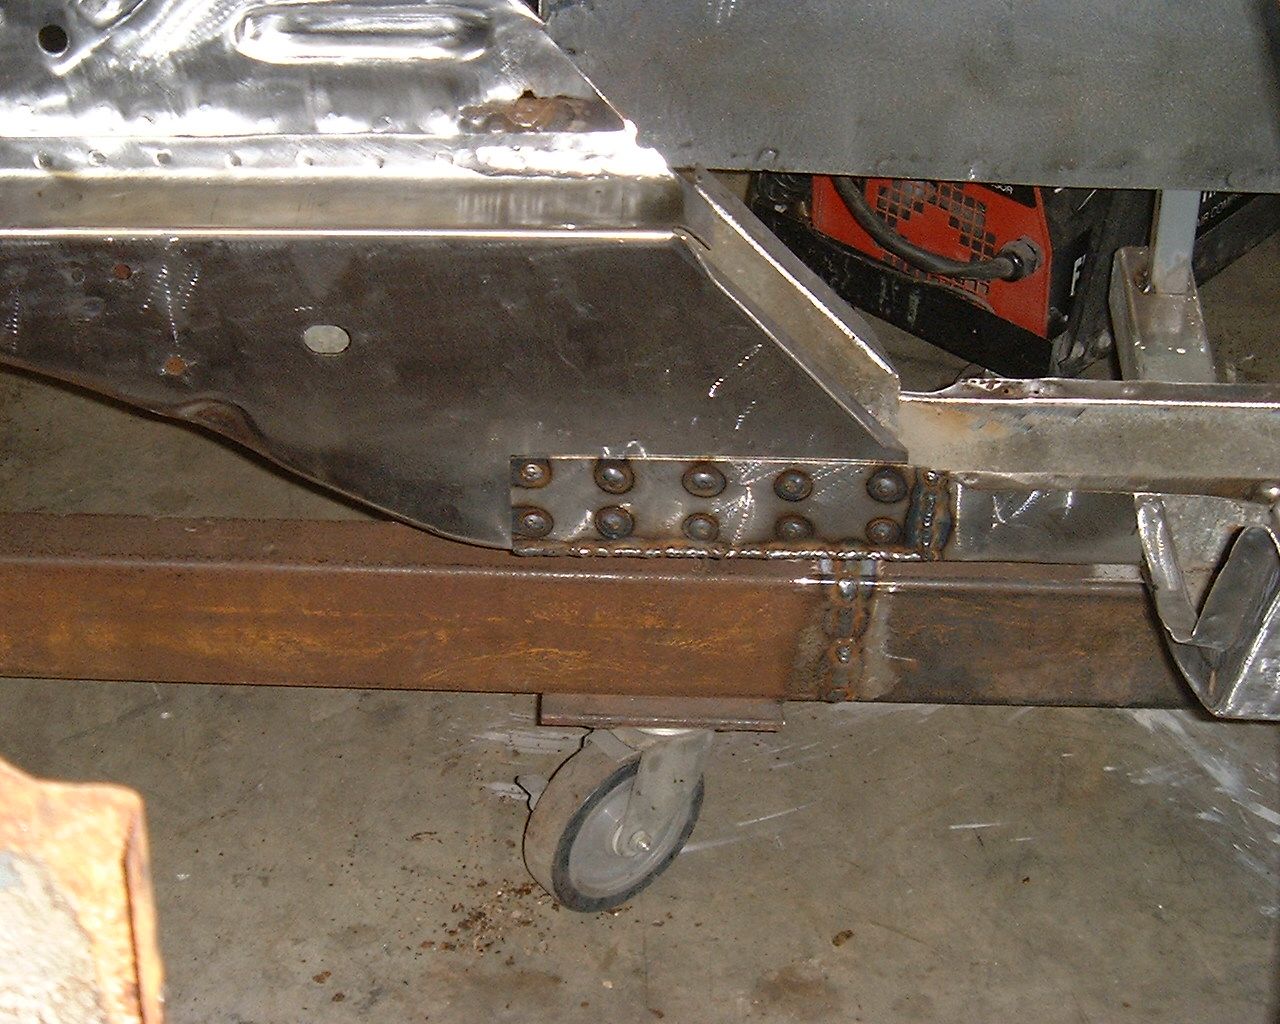
I don't mean to seem critical, because the work you guys do is SPECTACULAR, but I do believe a zinc primer in the weld zones will add a good measure of corrosion protection to your jobs. The trick for me was finding one that did not interfere with the welding process, now that I have the right product it is a "no brainer" to apply it to the weld zones that can't be primed after the fact...