1965 Mustang rust repair

black88coupe;29669 said:
I do have a question though. In seeing all of the epoxy you are applying I have to imagine that some of it is burning off as part of the welding process. What do you do to remedy this situation in those hard to access areas so rust doesn't once again become an issue at a later date? Thank you. Mitch.

Any areas that you can't access to clean and primer you should coat with a cavity wax/internal rust preventative coating. A wand with a 360* spray head and if you can rotate the car on a rotisserie so gravity is to your advantage when treating the seams that is a plus. The inner structure can usually be drilled for access with a wand.
Here's an economical way to get it done:http://www.tat-co.com/products/specialty-coatings/amber-rustproofing-4423/
http://www.tat-co.com/products/accessories/amber-rustproofing-wand-4460w/
 
Bob Hollinshead;29706 said:
Any areas that you can't access to clean and primer you should coat with a cavity wax/internal rust preventative coating. A wand with a 360* spray head and if you can rotate the car on a rotisserie so gravity is to your advantage when treating the seams that is a plus. The inner structure can usually be drilled for access with a wand.
Here's an economical way to get it done:http://www.tat-co.com/products/specialty-coatings/amber-rustproofing-4423/
http://www.tat-co.com/products/accessories/amber-rustproofing-wand-4460w/
Thank you. Mitch
 
Is this not something that needs to be done after all paint work is complete. I would assume any hint of this on the surface would screw up a paint job big time.

John
 
Bob - I just checked out the Transtar product site. Have you used their products? How would they rate to 3M or SEM? Thanks!
 
I use a lot of their amber coat and the urethane seam sealer is good.
 
Ive just read the 25 pages , this is epic , and EVERY restos should be done like this. This is exactly what im doing with my festiva shogun replica. I see too much crap jobs going on , even on TV - did you see FAST AND LOUD? - put some rims - repaint surface and expect 30 Gs.

wtf.
 
Desertdave;26029 said:
Yes Bob they can eat some material really quickly.
Are you recommending just sticking with the 3" Roloc type stuff? Thanks, Mitch.
 
It is time to get this project finished.

I block sanded the body


I sprayed two coats of SPI black epoxy


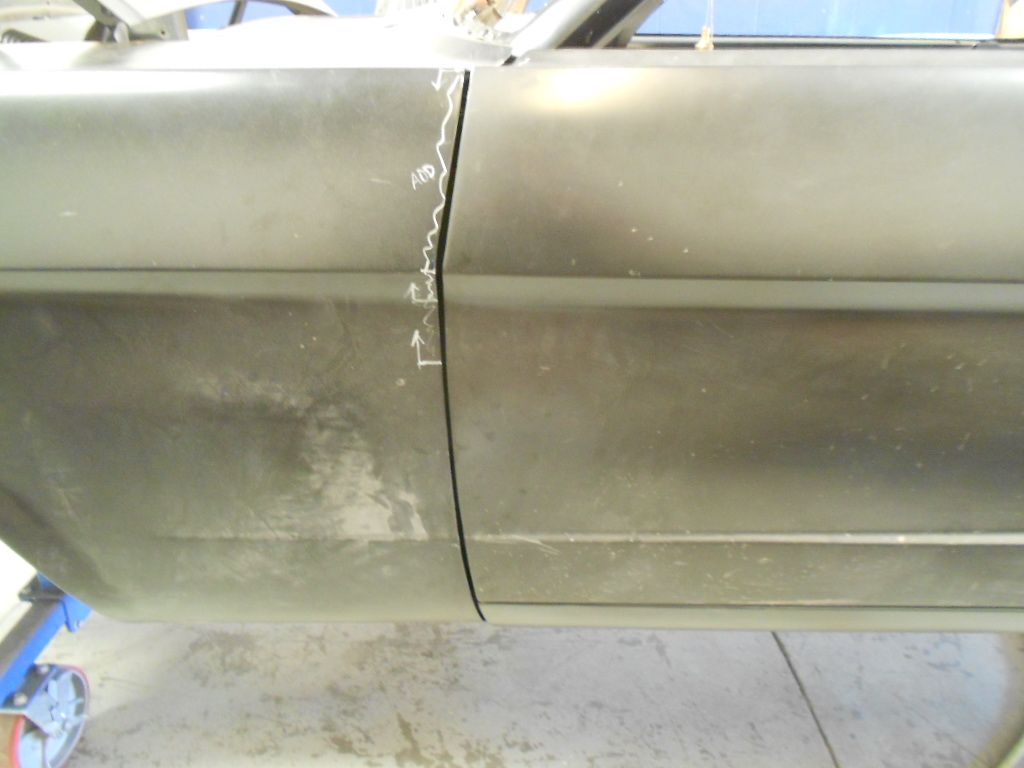
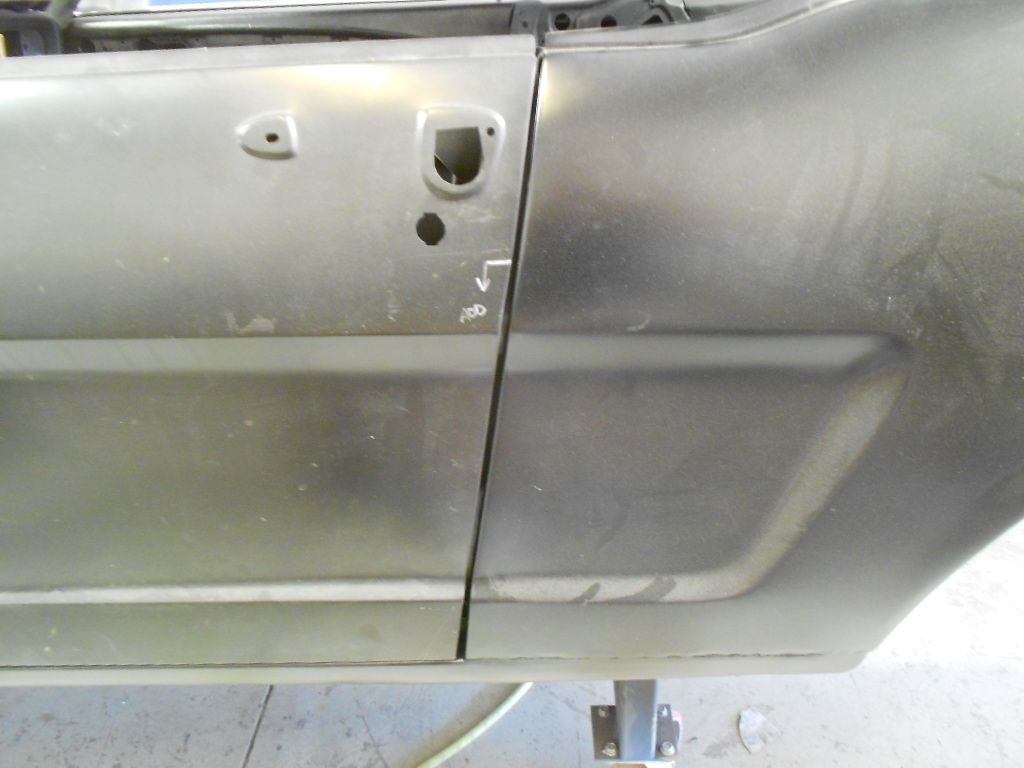
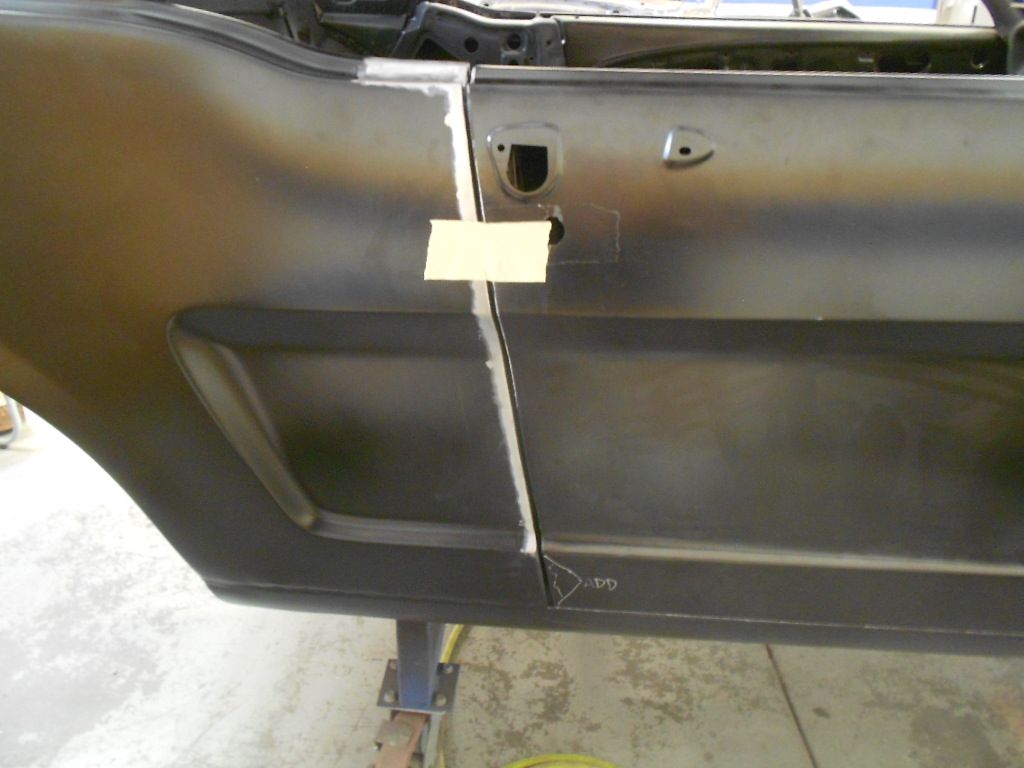
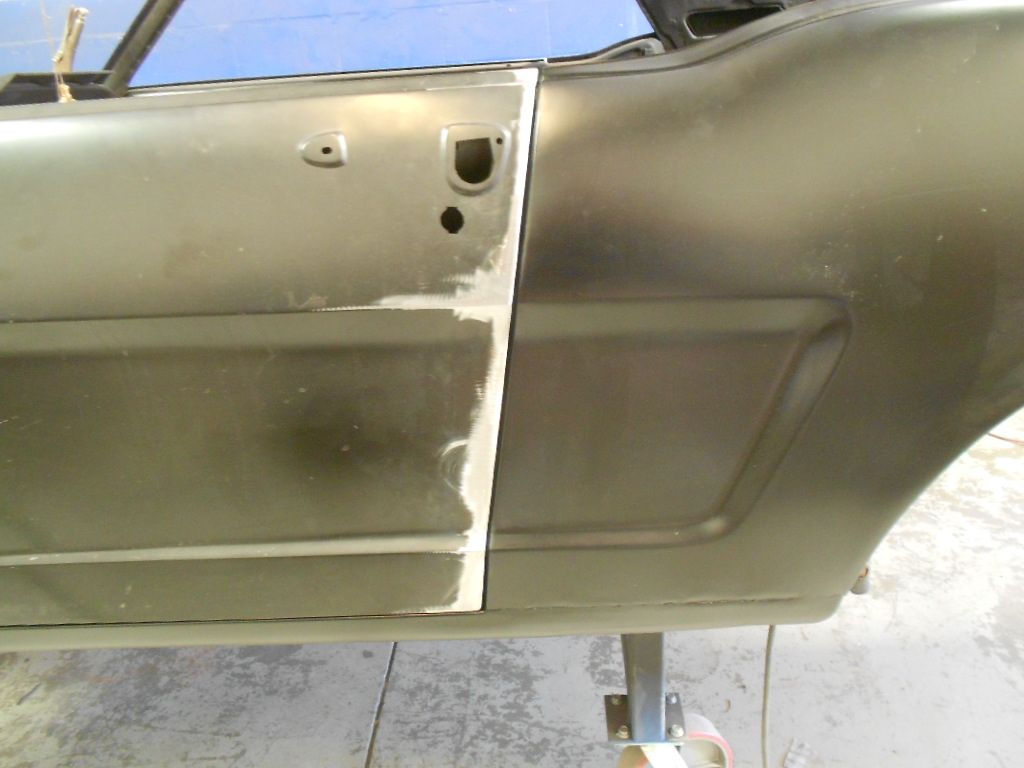
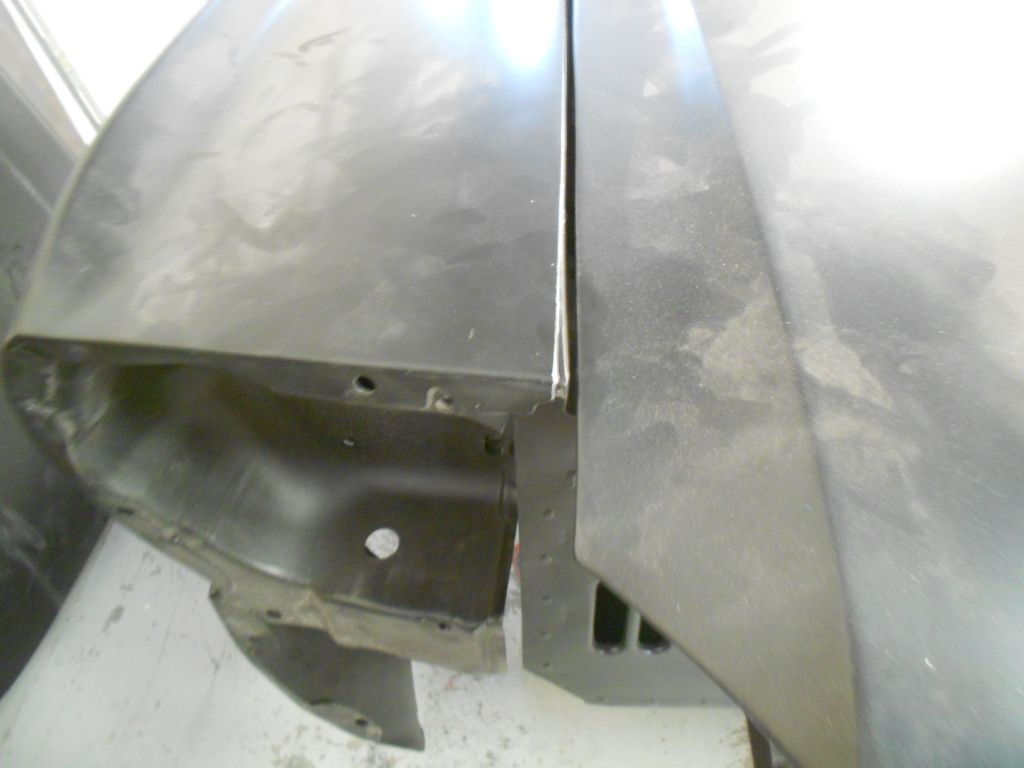
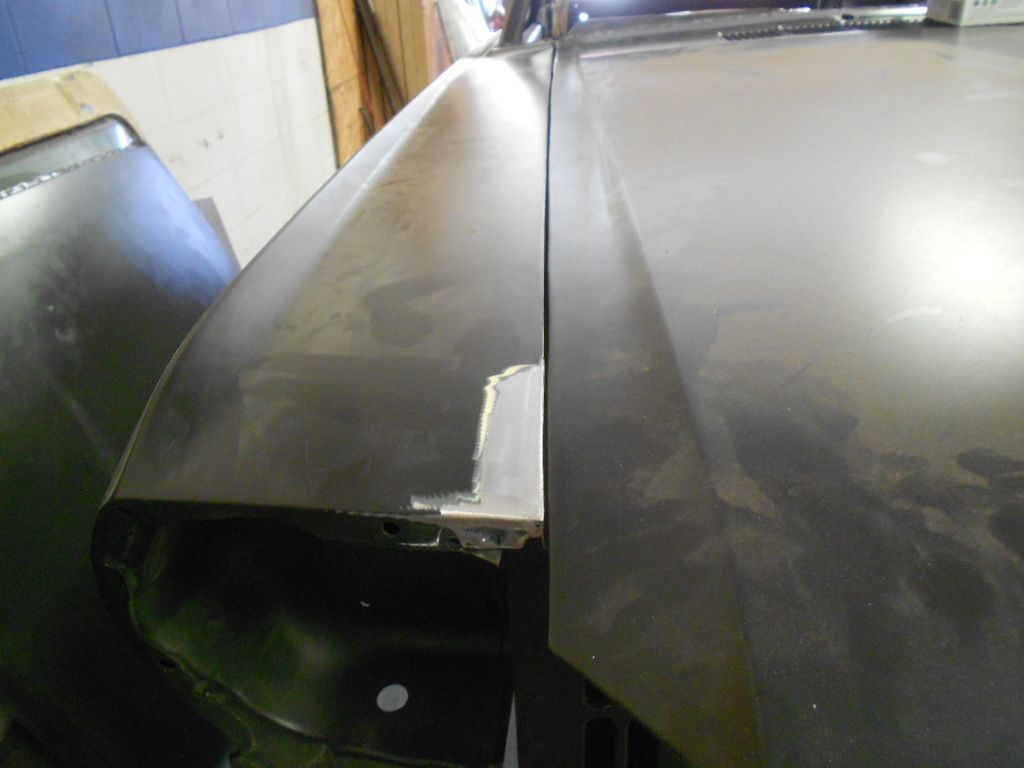
Brian is modifying the doors to fix the gaps


The front fender needs a little work


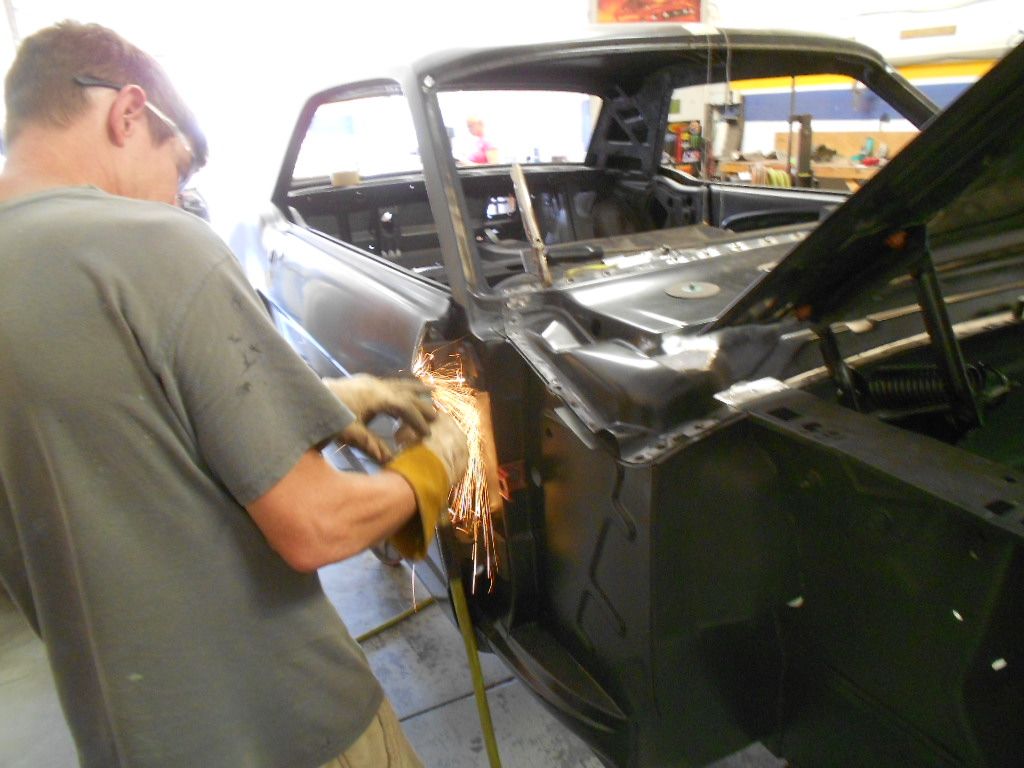
Brian cut and rewelded and ground it down

 
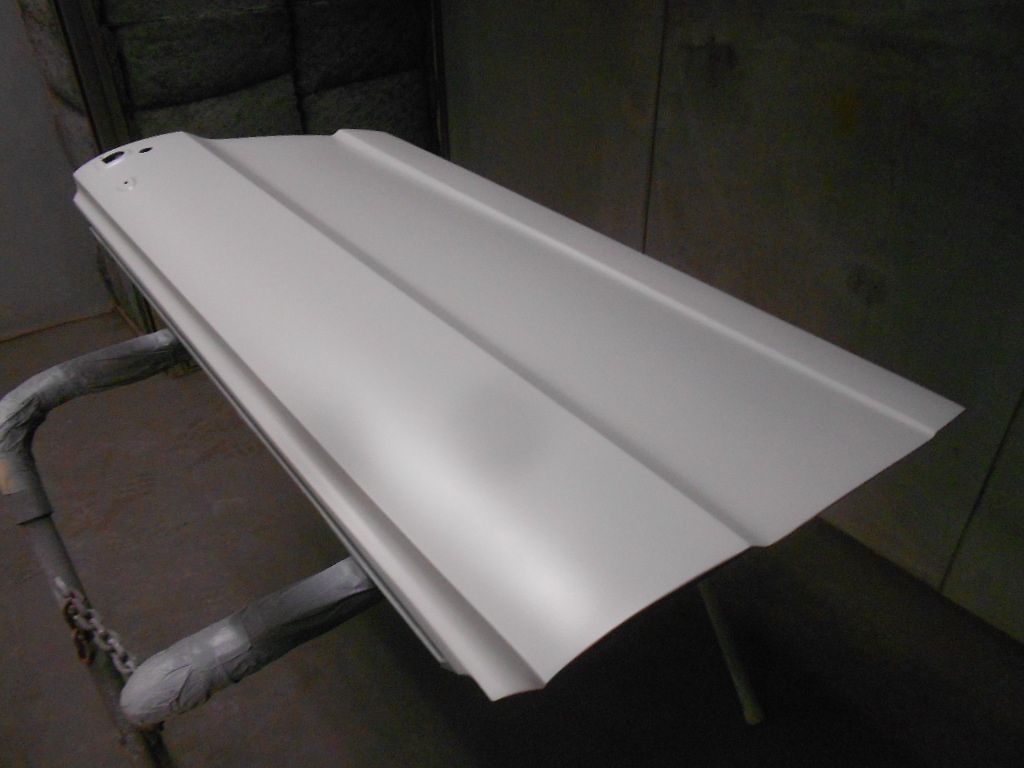
After Brian modified the doors for a good gap I epoxy primed followed with a little bodywork


I sprayed one coat of SPI epoxy


A couple of hours later I sprayed two coats of Slick Sand polyester primer


We were not happy withe the quarter panels so I did a little more bodywork and block sanding


One coat of SPI epoxy


Two coats of Slick Sand

 
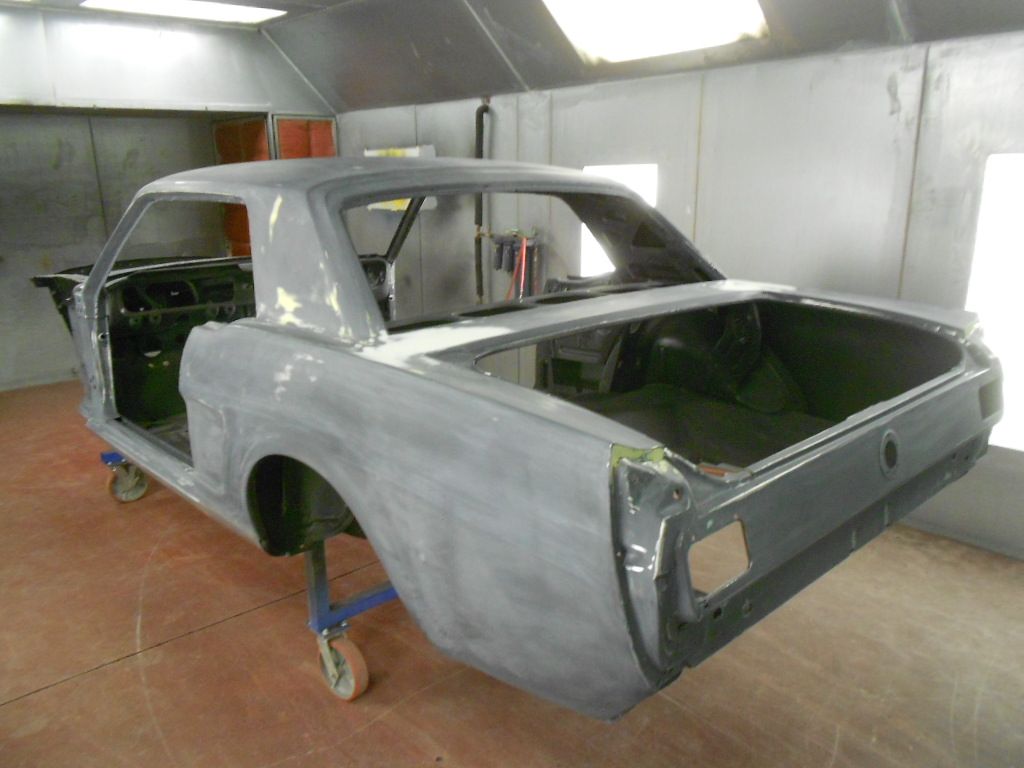
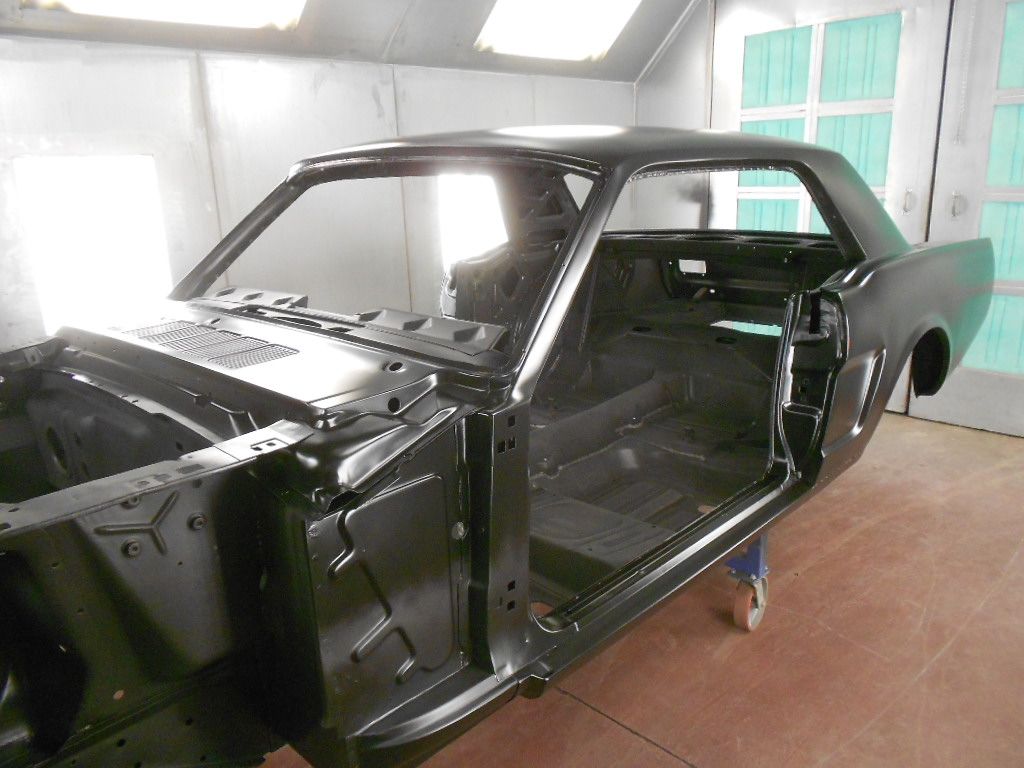
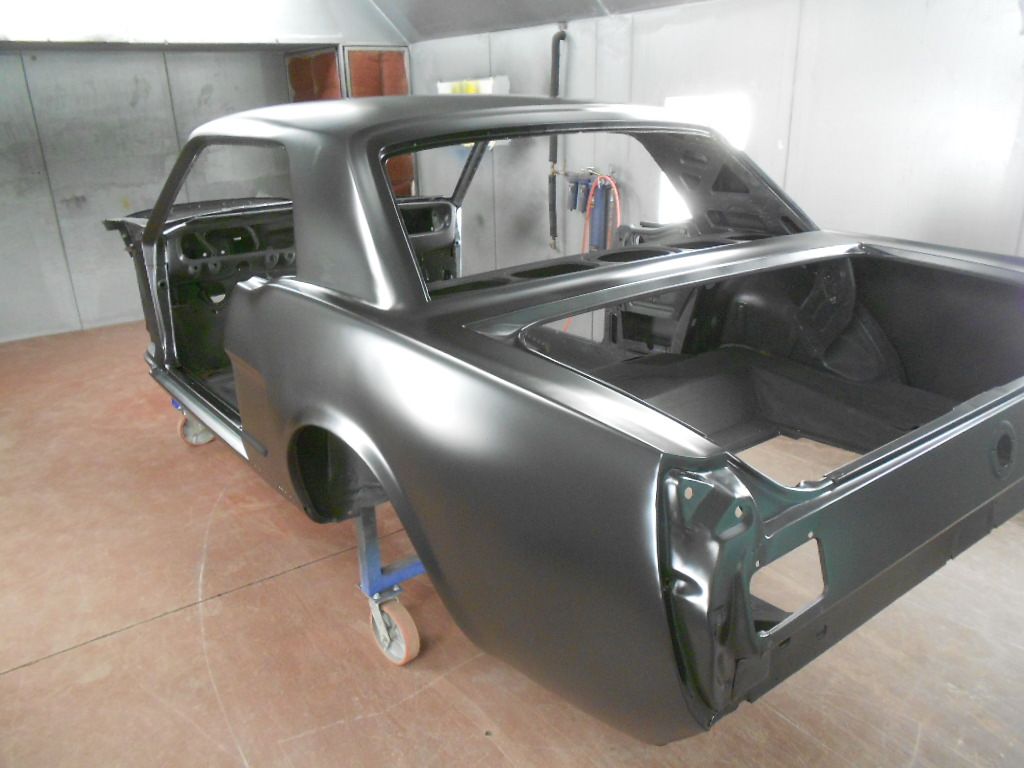
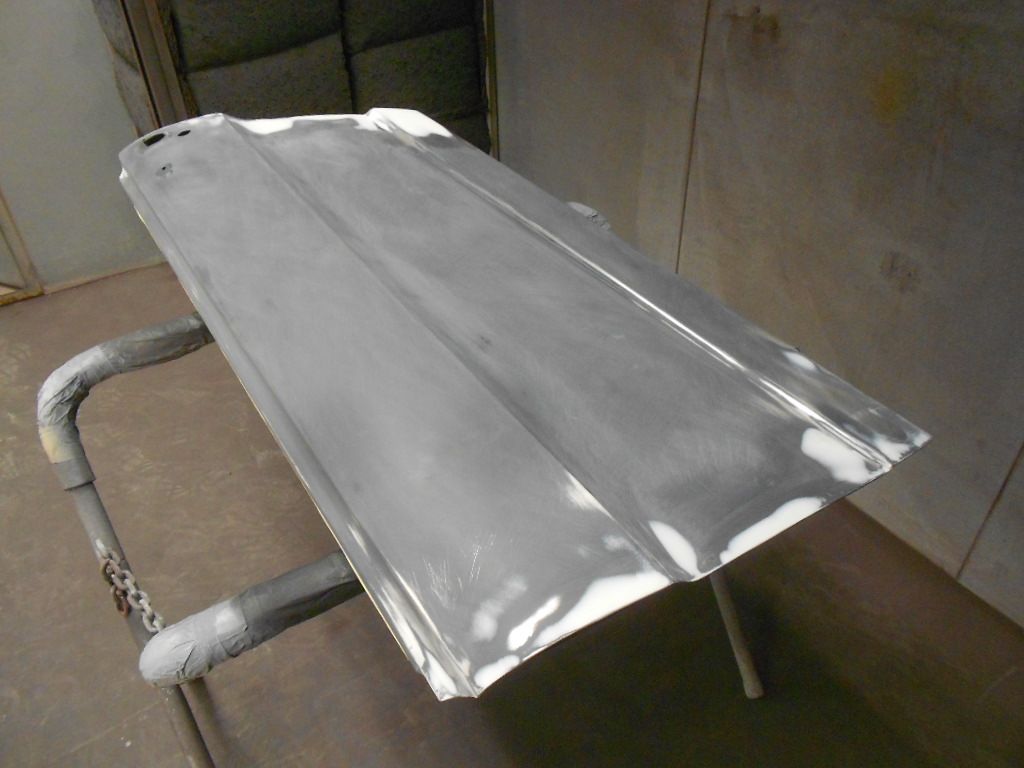
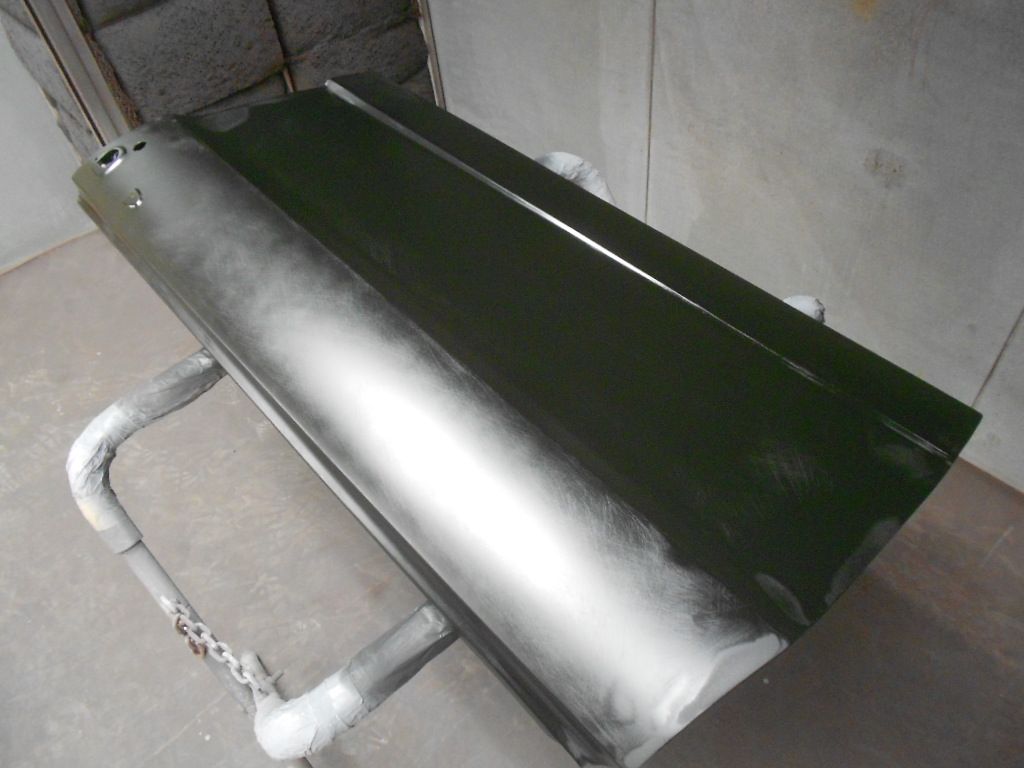
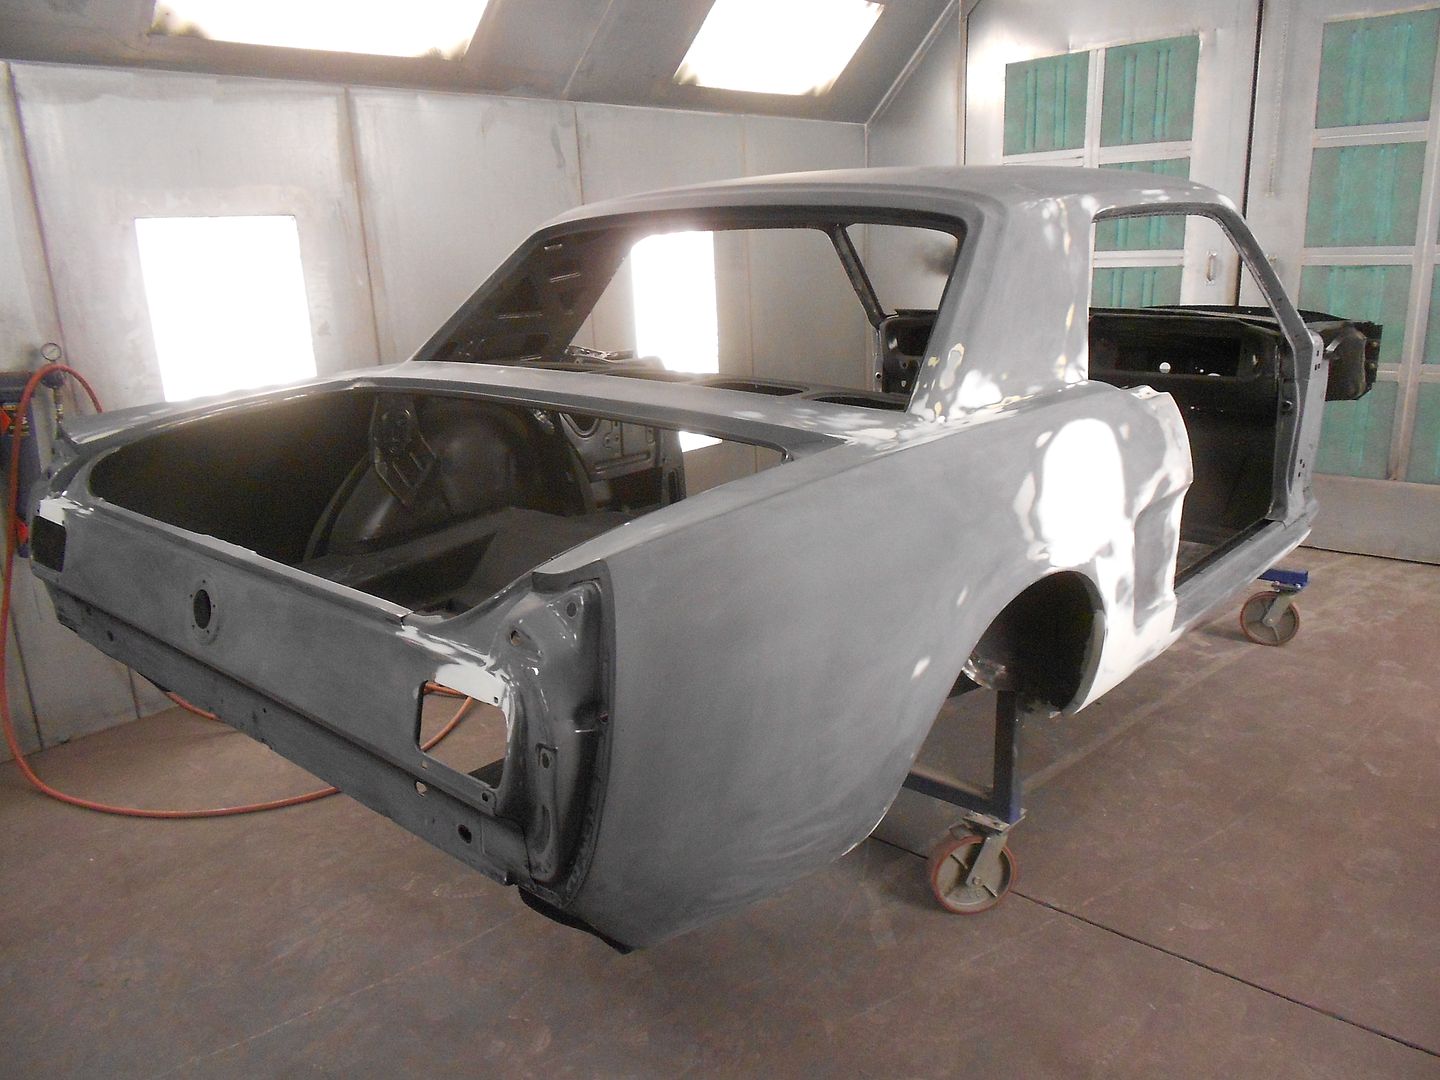
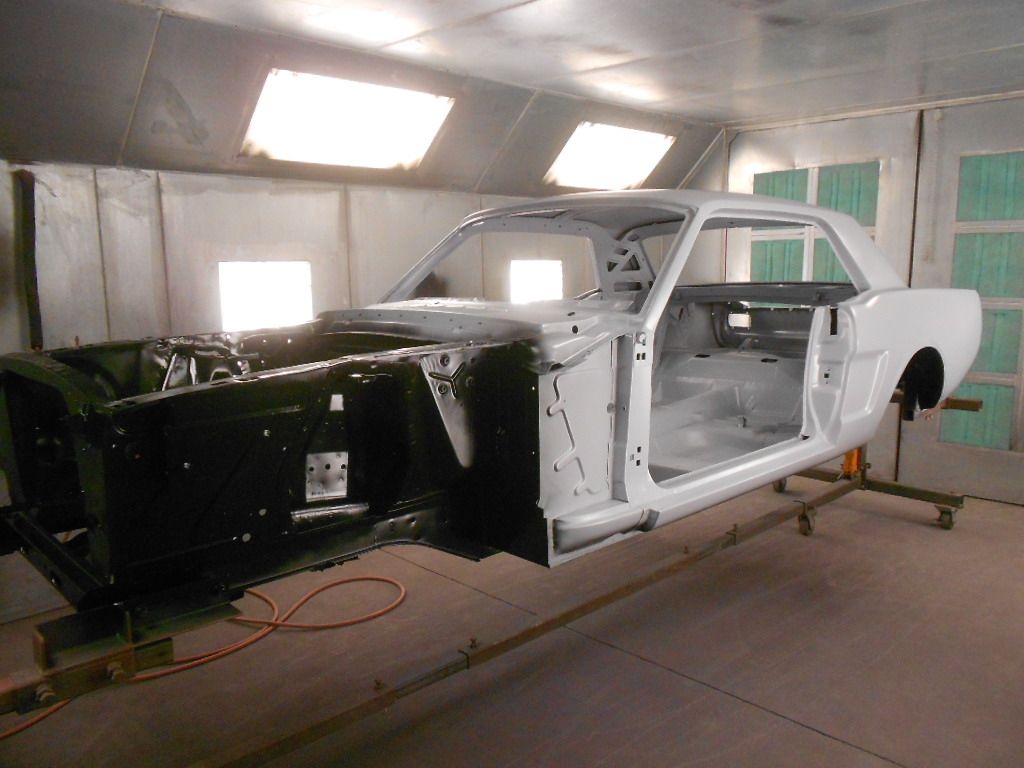
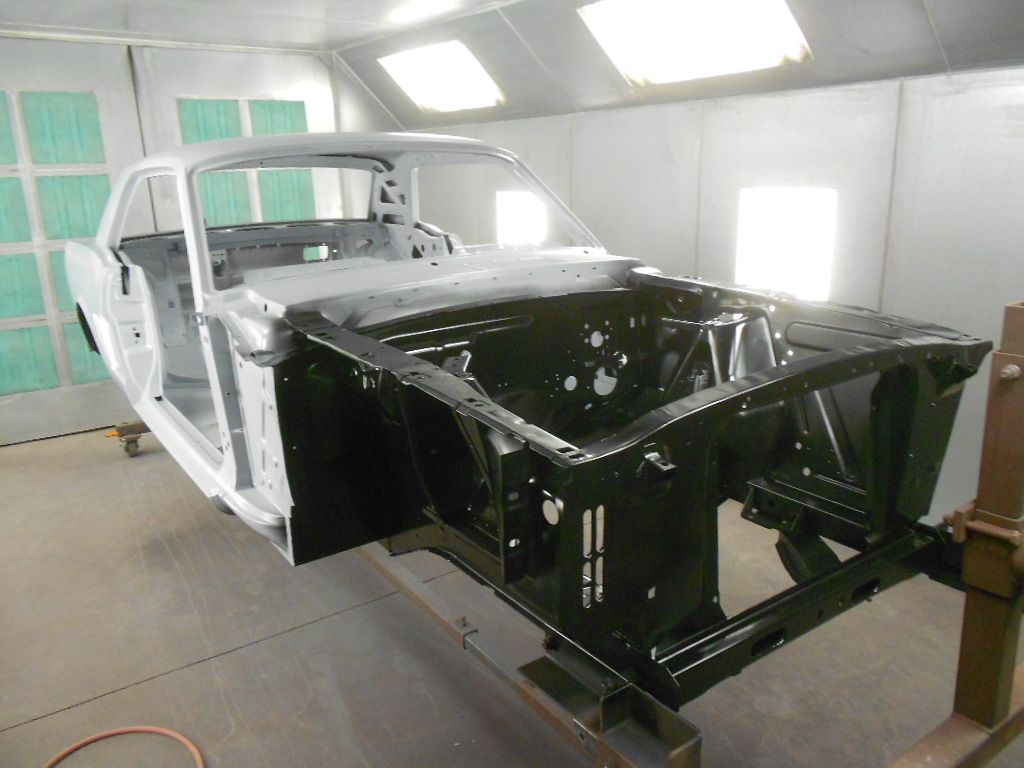
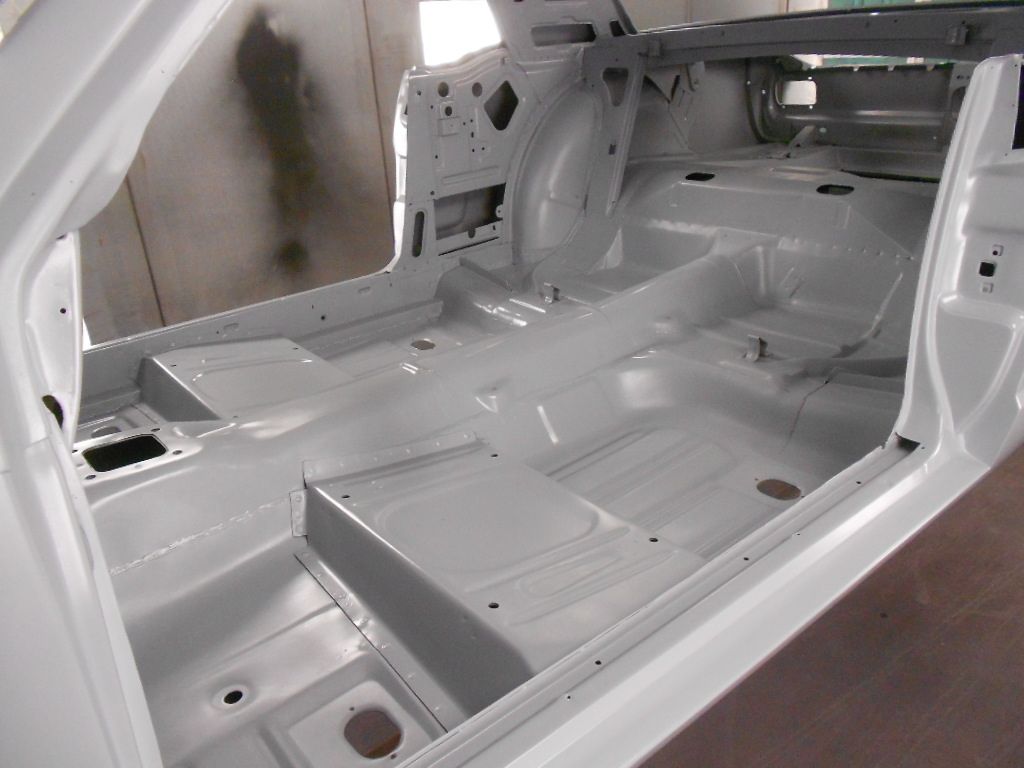
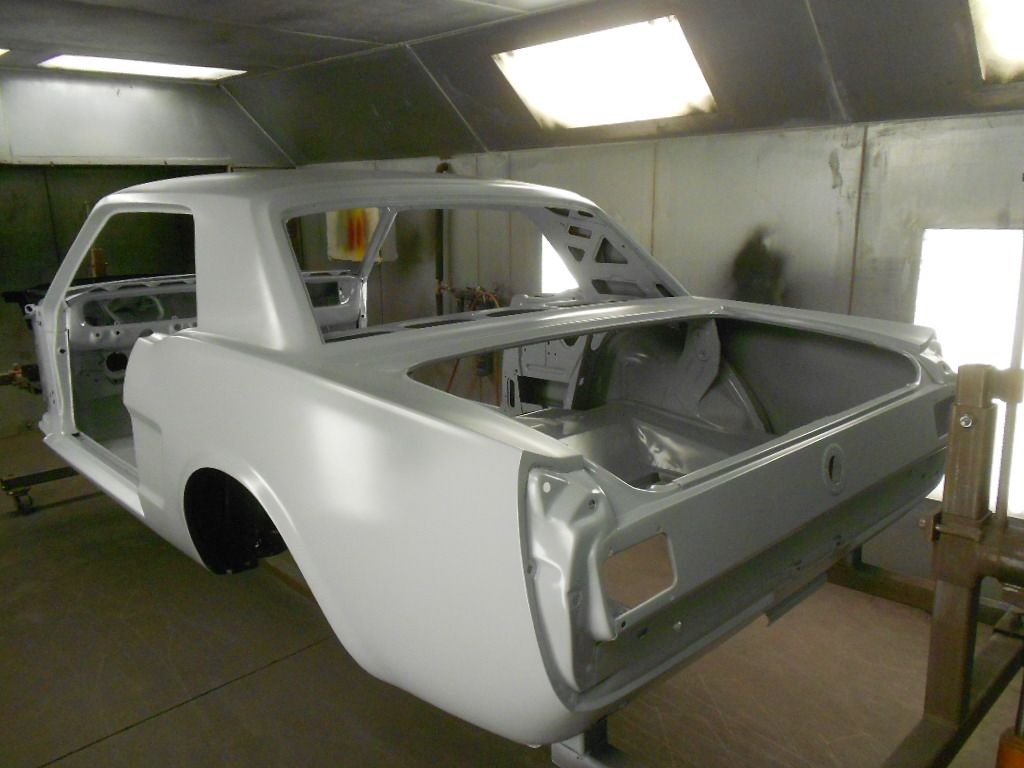
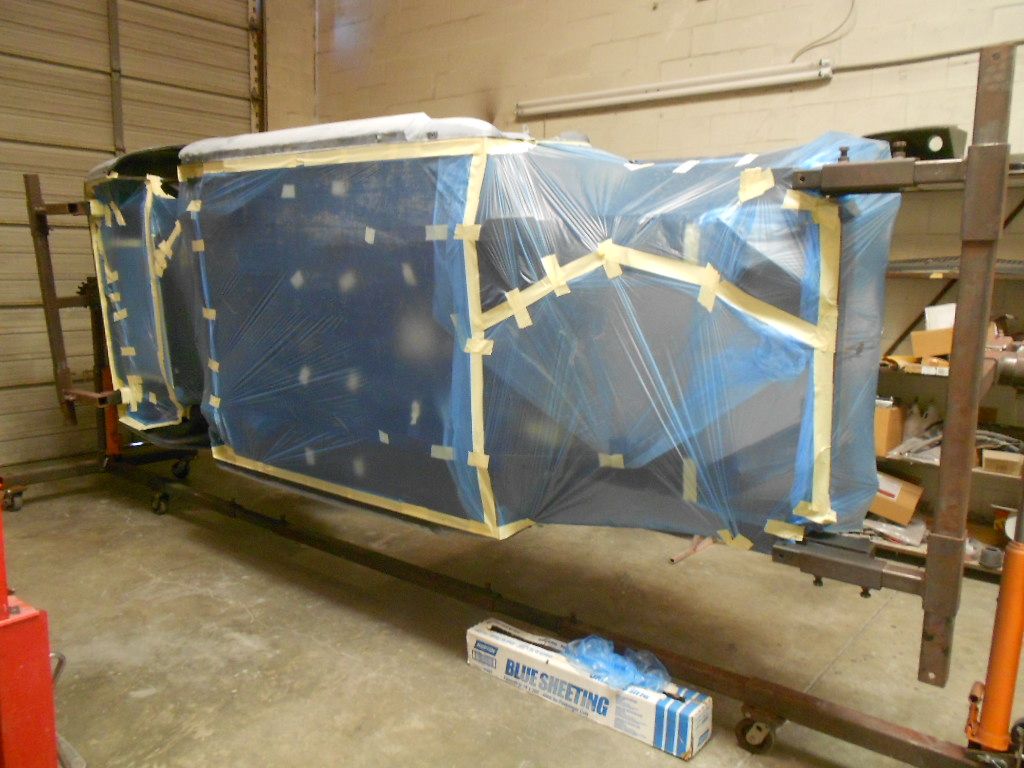
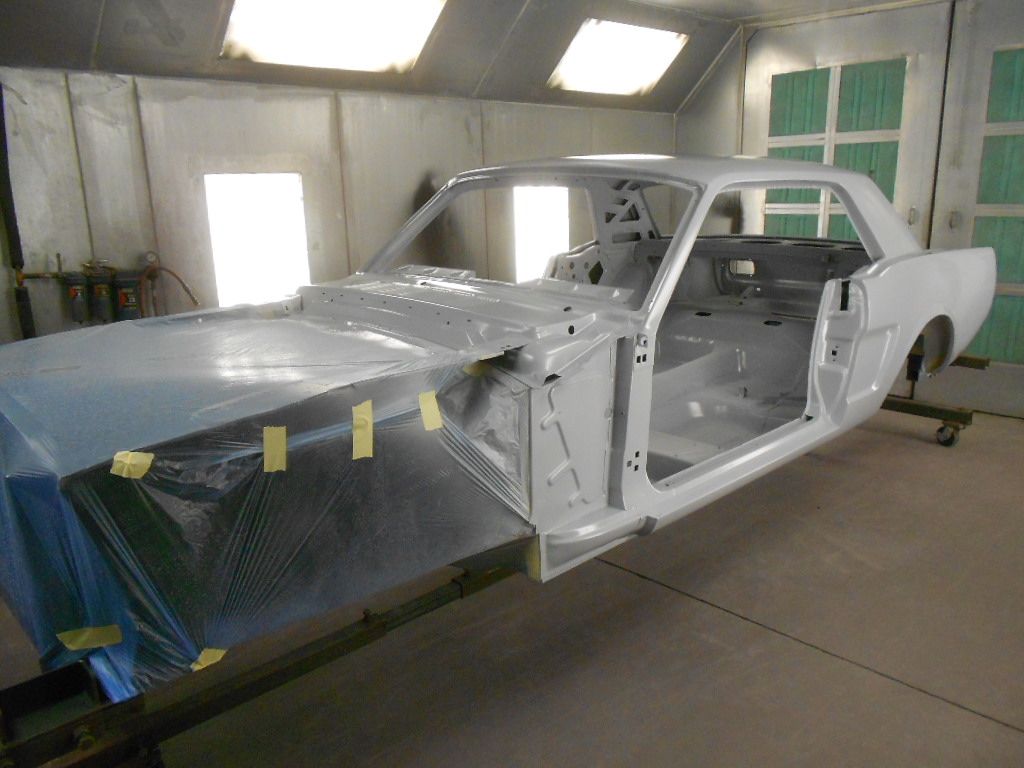
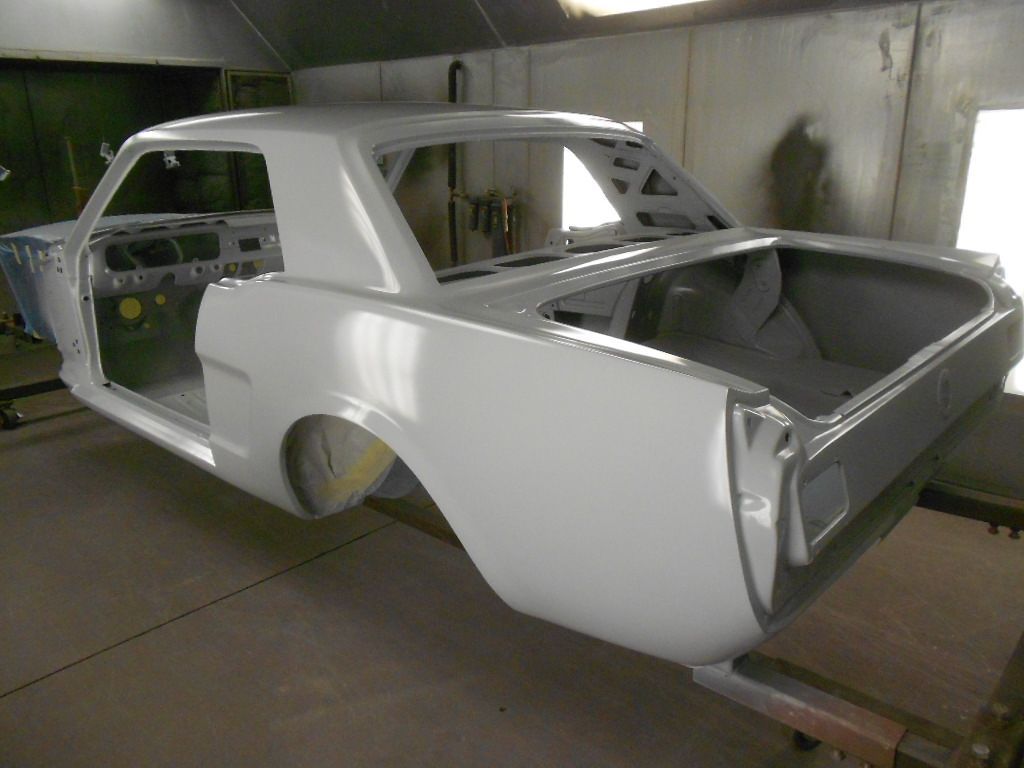
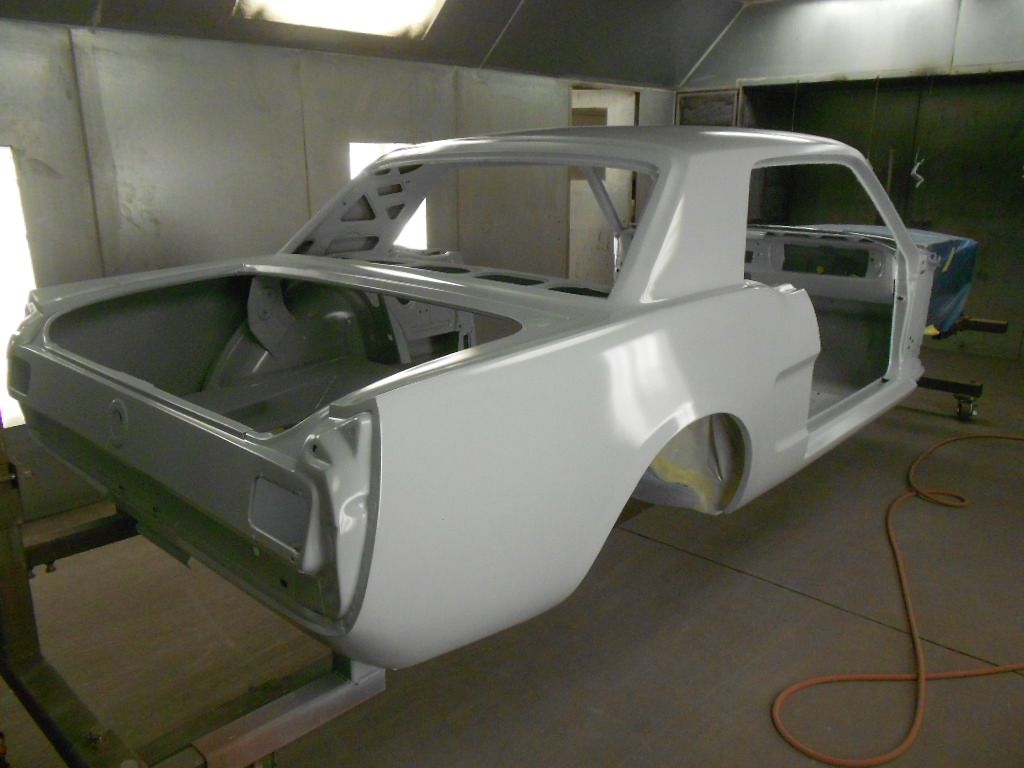
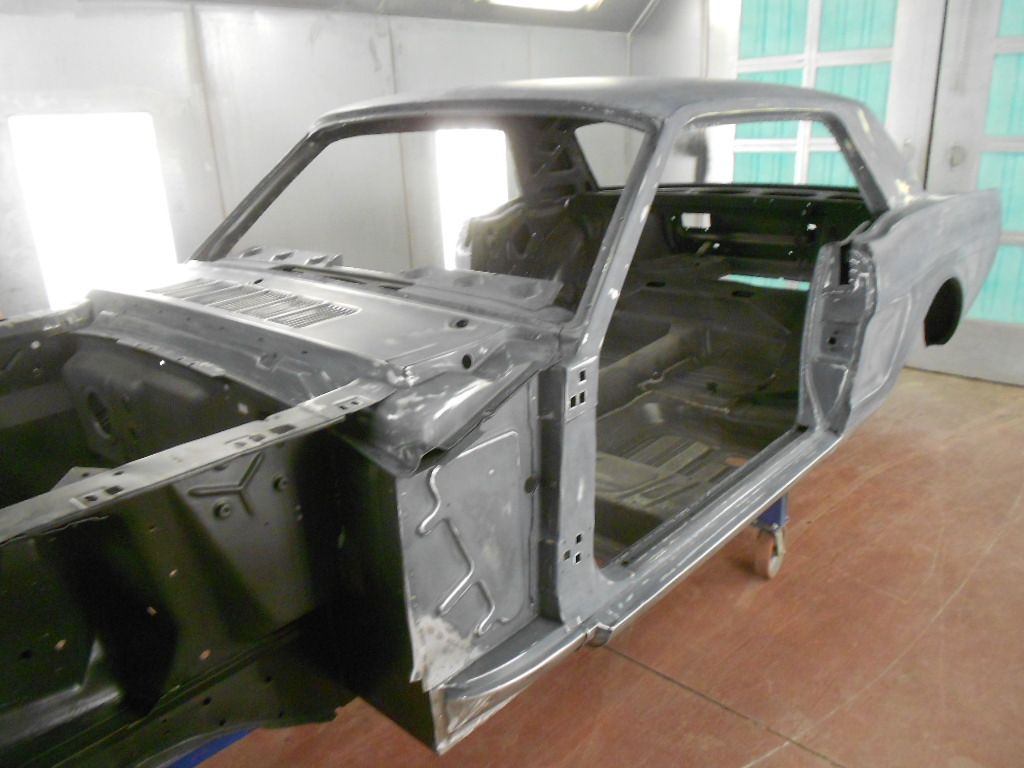
This project had been on hold for awhile but we are now getting it ready for paint. I sprayed gray epoxy in the interior, trunk and the body this morning and after lunch sprayed black on the undercarriage and engine compartment. The next step is seam sealer

DSCN0947_zpsi6tt2utf.jpg


DSCN0951_zpsbktz9m2r.jpg


DSCN0948_zpsq3obf5jq.jpg


DSCN0949_zpsoviid2nw.jpg
 
Wow, you can't really appreciate the work unless you go back to the beginning of this thread. I would have junked this car but you have made it better than new.
 
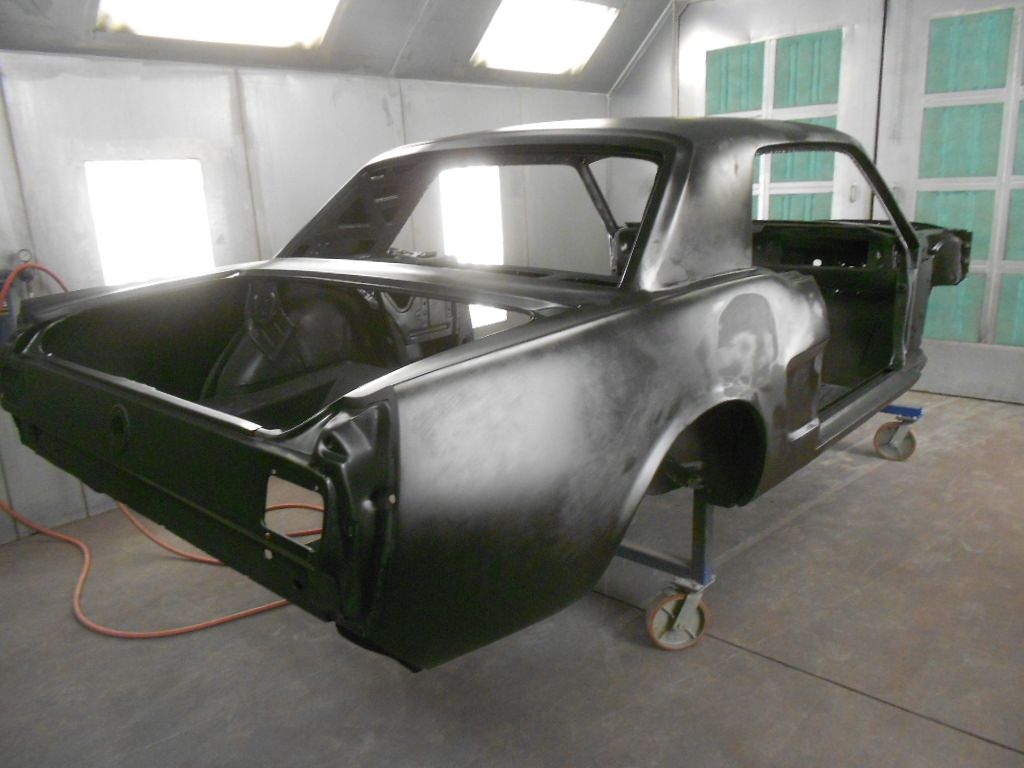
Block sanded the body and fixed a few minor imperfections, taped and epoxy primed.

The rear wheel wells have not been taped in this photo

DSCN1004_zps2mruk47z.jpg


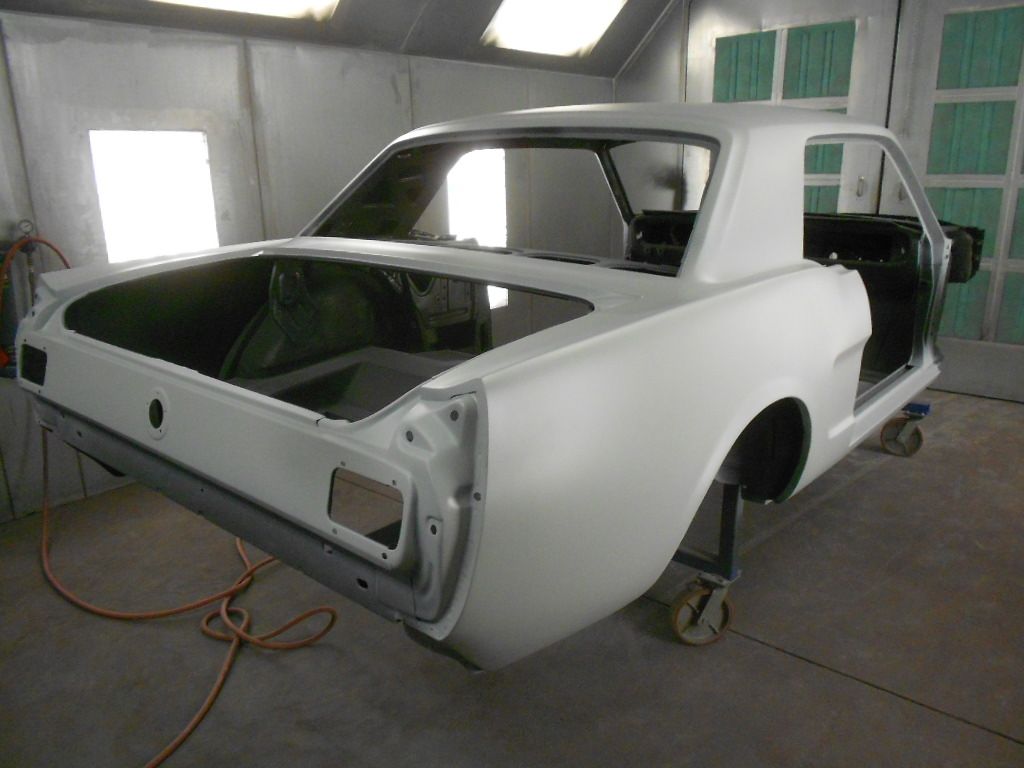
Epoxy primed

DSCN1005_zpswdglbt4d.jpg


DSCN1006_zpsgcrdnpna.jpg


DSCN1007_zpsfeau2rsi.jpg
 
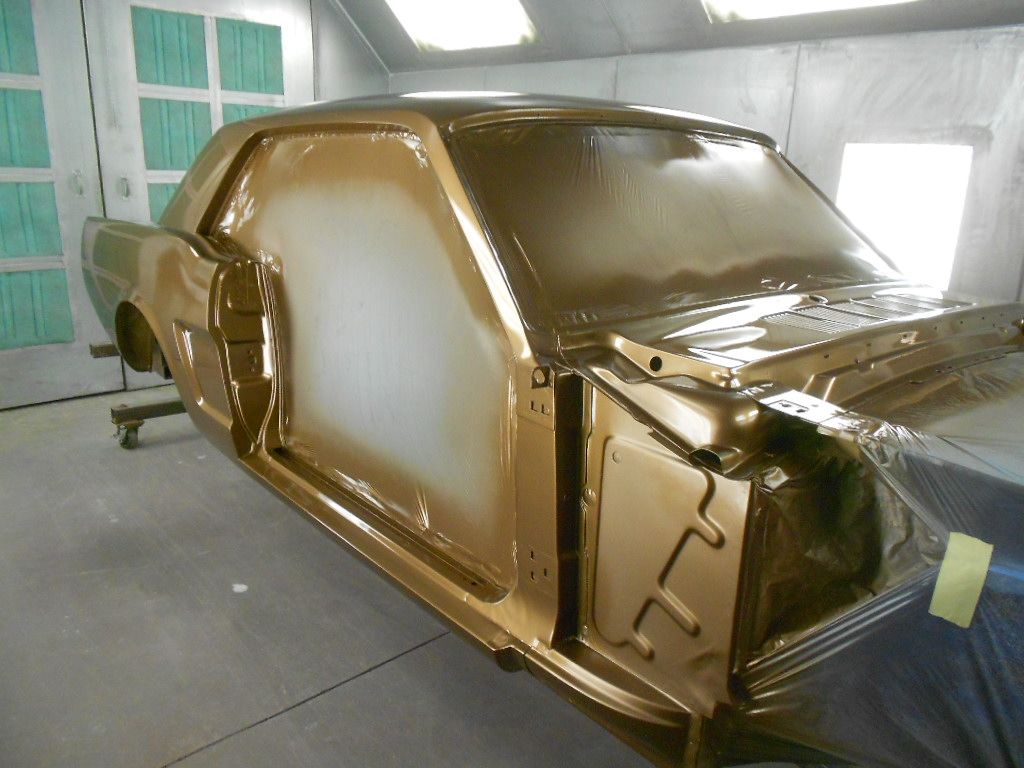
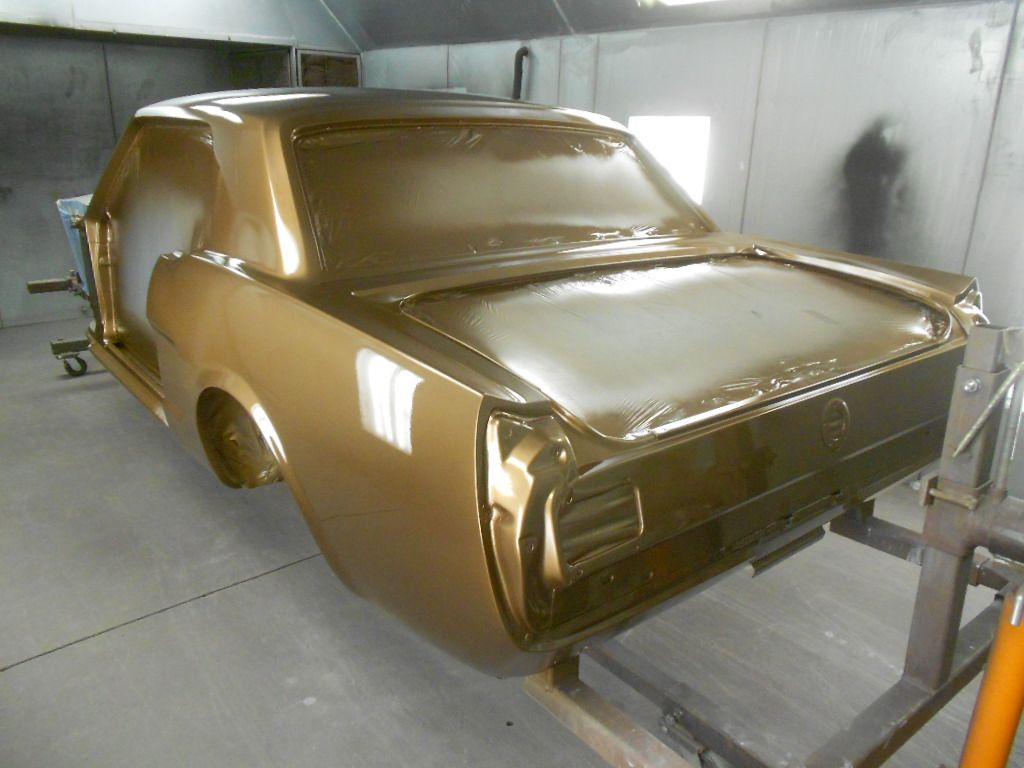
Wet sanded with 600 and sprayed three coats of Caramel Bronze metallic yesterday and this morning 3 coats of SPI Universal clear.

DSCN1055_zpsfhpfcke1.jpg


DSCN1057_zpsterapmcc.jpg
 
Rusty - Car looks beautiful. Always loved that color, never saw many in it. I noticed that car had 4 lugs, yet dual exhaust. Did the owner plan any modifications planned - or is going to be stock?
 
Back
Top