1965 Fastback with DSE

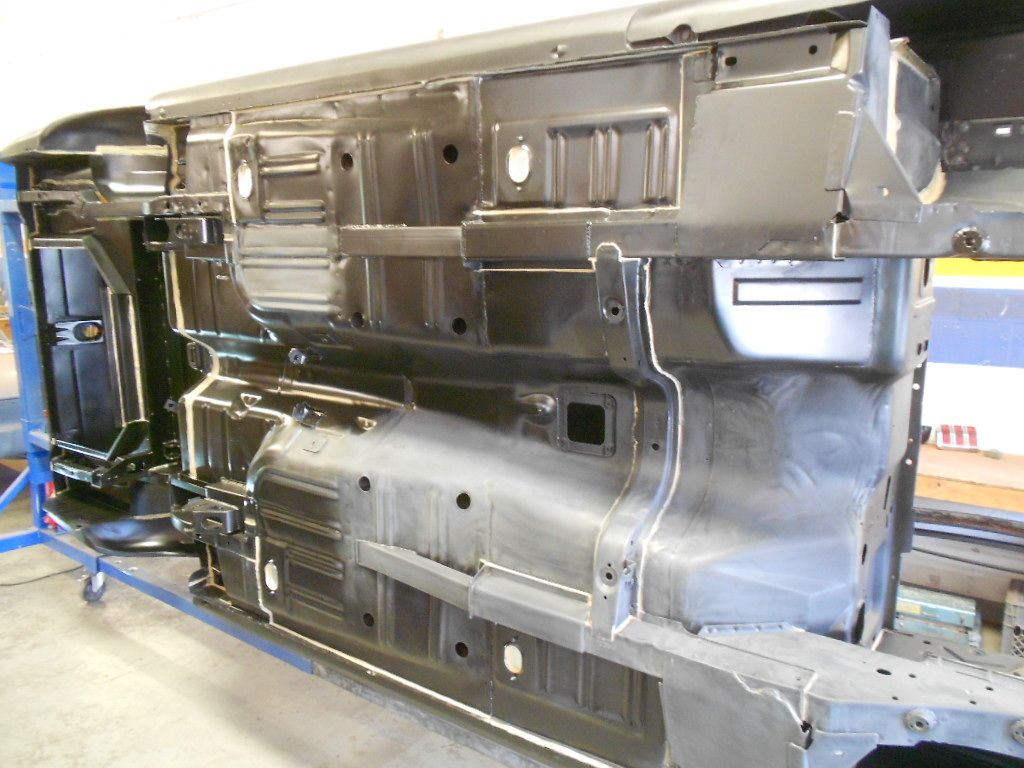
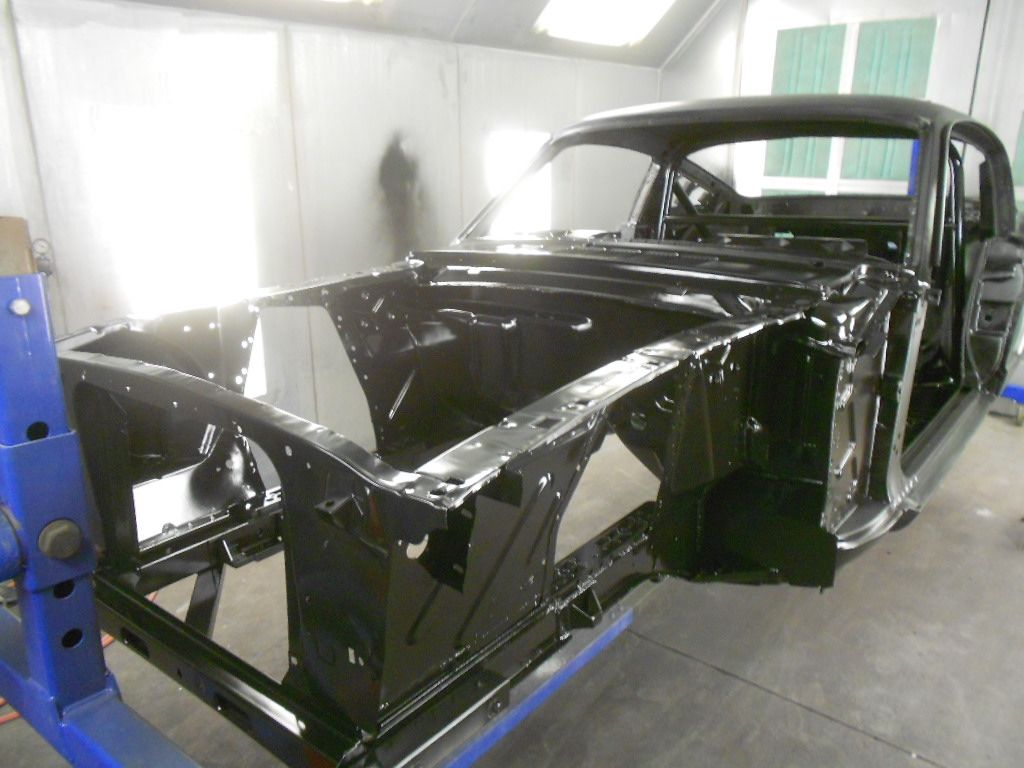
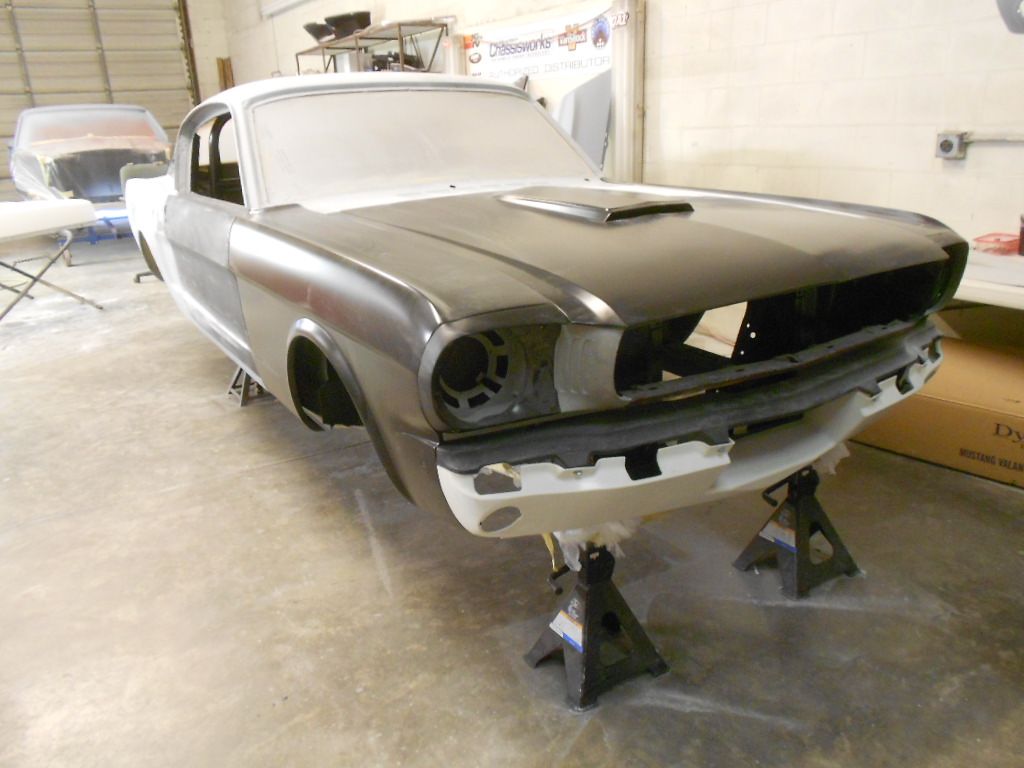
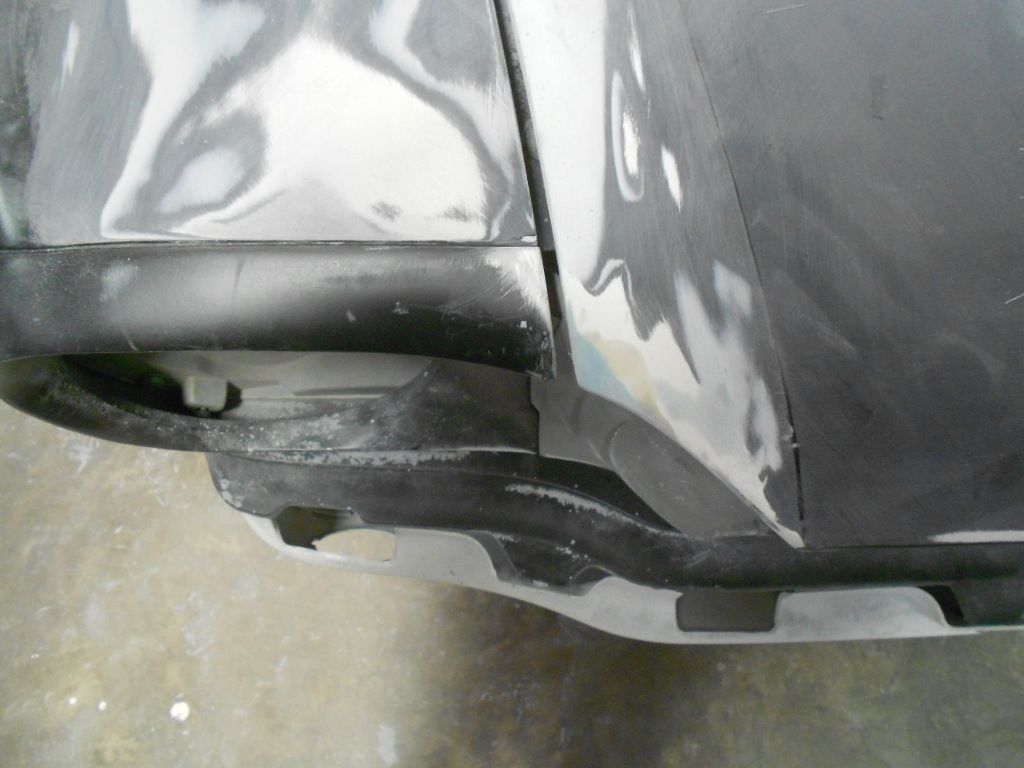
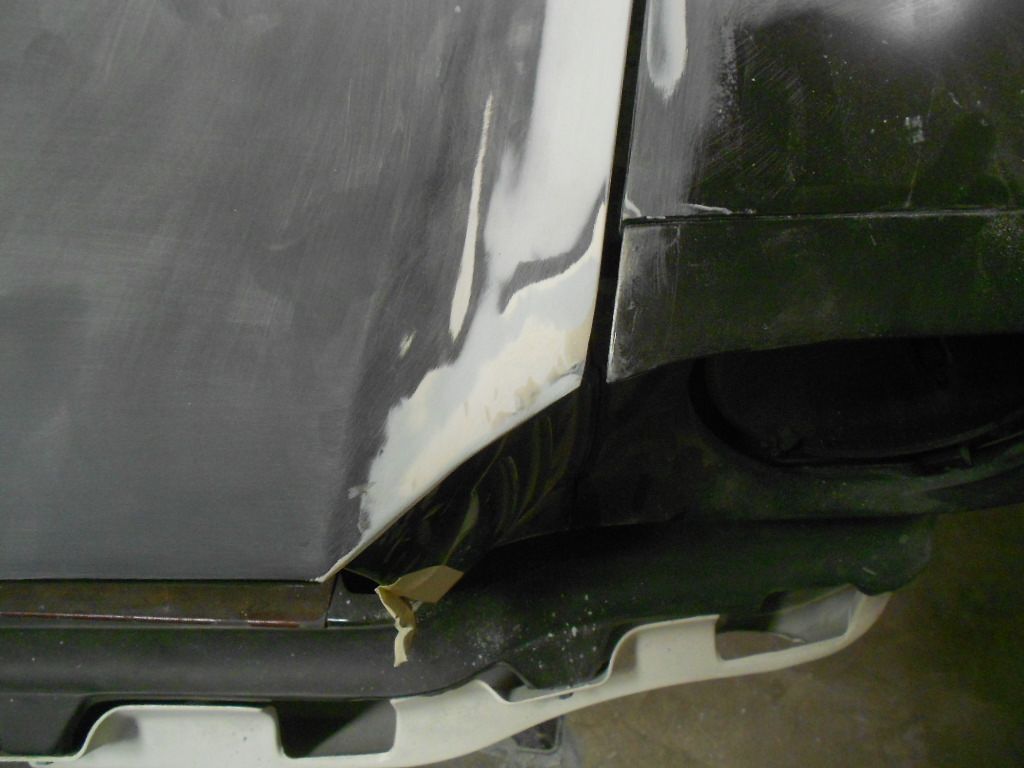
Rusty always so impressed with the attention to detail especially in your metal fab and finish!
 
The next on our list was to install the DSE rear suspension. It is a good thing they send a video and Brian bought a portable DVD player. This is what he is starting with.

 
It has been awhile since Brian started installing the DSE rear suspension.

You have to assemble the upper control arm bracket.


Shock mounting bracket also welded in place


Before Brian started the bottom brackets I sprayed a couple coats of epoxy


The lower bracket is tack welded to the DSE torque box.


Welded in place along with another bracket


At one time the floor board had been worked on.


Brian cut out the floor


Cleaned the frame rail and epoxy primed


New floor pan


Sanded and ready for SPI black epoxy


Sprayed a couple coats of black epoxy


Steve wanted my to give them a call if I did another ford, and guess hes no longer with them.

Nice build by the way. DSE has really superseded the competition when it comes to suspension, but boy you can easlly throw 20k on front and rear suspension.
 
underdog;38033 said:
Steve wanted my to give them a call if I did another ford, and guess hes no longer with them.

Nice build by the way. DSE has really superseded the competition when it comes to suspension, but boy you can easlly throw 20k on front and rear suspension.

Steve is a freelance writer and works with us in the shop part time.
 
Rusty, I noticed in the floor pan/toe board replacement photos that instead of squaring the corners you guys rounded them off (the inner sides).
What is the purpose of doing this?
I will be welding in front drivers side pan/toe board next week in a '69 and was considering your technique. Thanks
 
I'm consistently amazed by Brian's fabrication and welding skills! He is truly talented!
 
Brian installed the DSE suspension today so we can figure out our wheel and tire combo. This is the first time test fitting the rear suspension. Everything fit perfect and Brian said the hardest thing to install was the rear sway bar.


The undercarriage, engine compartment and interior was seam sealed.

DSCN1101_zpszn6ayiol.jpg


DSCN1104_zps3pwwlcl7.jpg


The extra firewall holes were filled in

DSCN1284_zpsa5dosg4c.jpg


Epoxy primed

DSCN1290_zpssgh0u8oy.jpg


DSCN1346_zpsdttnixib.jpg


DSCN1349_zps2x8owlan.jpg


Brian is taping the body so we can spray a couple coats of Slick Sand primer

DSCN1360_zpsr8gcsbce.jpg


DSCN1362_zps16sbwnjt.jpg


DSCN1363_zpsui0o9gyb.jpg
 
I am still impressed how great Brian does with the plastic film in the openings :cool:
 
We had a problem with the original fiberglass hood and front valance so we ordered replacements from NPD. The hood required a little work but the front valance fit great and it was a Dynacorn part.

The hood had a low spot in the back and the front corners needed a little fiberglass added to match our front fenders

DSCN1408_zpsdyenjzlf.jpg


DSCN1425_zpszuishbgb.jpg


Our new employee Marco is almost finished with the hood

DSCN1432_zpsvupdo6ex.jpg


DSCN1434_zps6rhoqgci.jpg


Brian was shocked that an aftermarket part fit and doesn't need to be modified and top it off it is fiberglass!!!
 
Love this car! My painter, who pretty much exclusively works on Corvettes, uses Evercoat 870 to build up the edges of the fiberglass hoods, doors, deck lids, etc. I did the same on my 63 split window and the 67 Fastback and had zero issues. I'm still amazed at how hard the evercoat is once dry. You probably already know this, but just in case you haven't used it yet...it would work well for those big gaps between the hood and fenders.
 
Back
Top