1963 Split Window Corvette Restomod

C

Chris

5/30/13

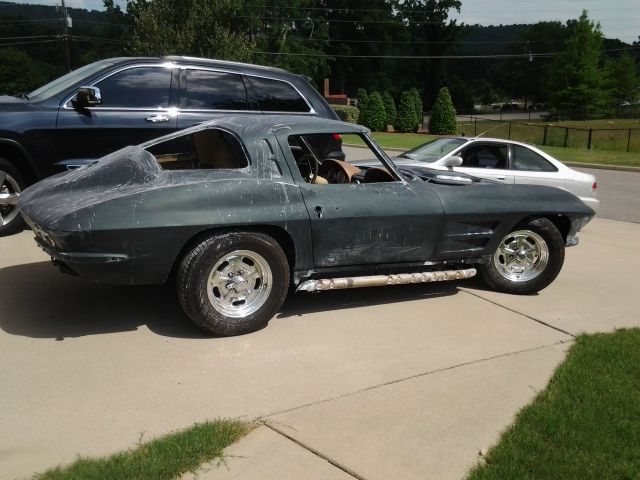
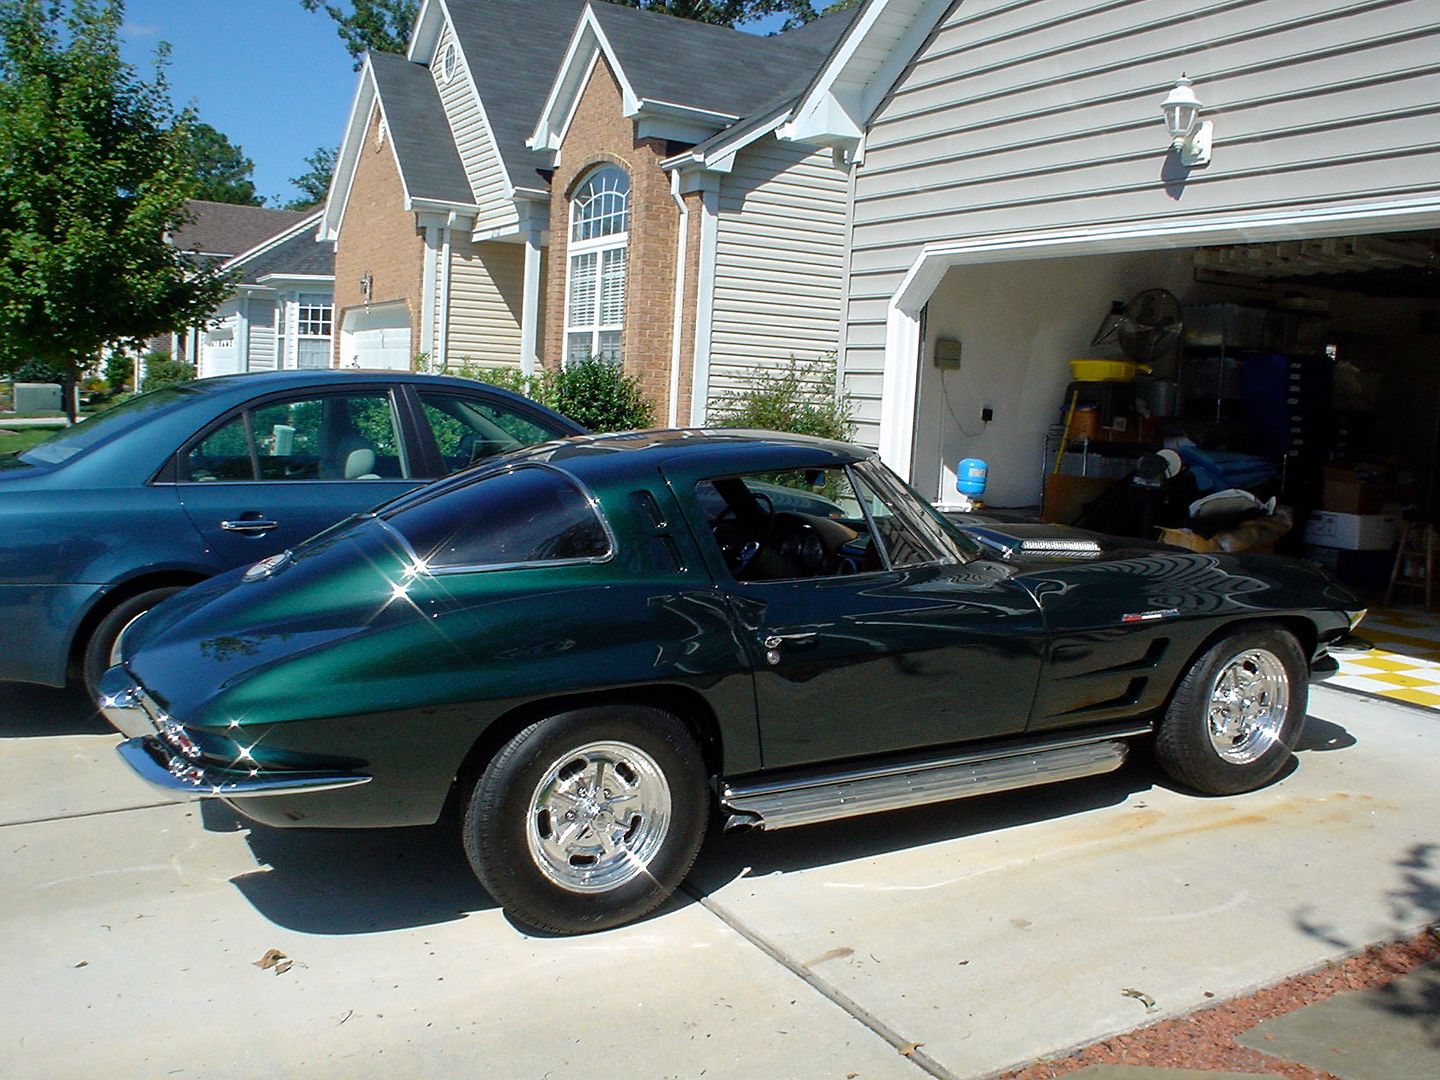
I purchased this car this past January from a nice guy in Virginia that had contacted me through a Corvette forum. He did a good job building the car and resurrecting it from the dead over the course of 14 years. The car handled very well for a stock frame with slightly upgraded suspension, but I have bigger plans for the car. The original engine was long gone when the previous owner found the car rotting outside of the third owner's house. The car had been flared on all 4 corners, had a 65-66 Big Block hood, the original black interior was more or less destroyed, and the car had been repainted red.

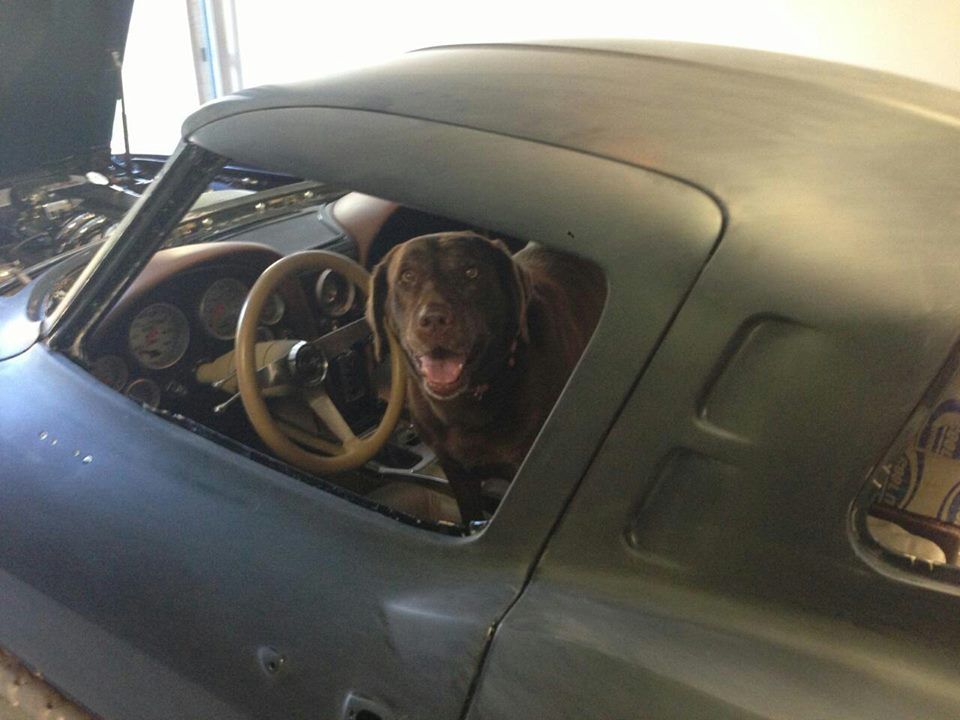
The body was stripped to bare glass by the previous owner, new press molded rear quarters added, and the front flares repaired. He provided pictures of the body stripped to bare glass and of all repair work, so there is no reason to remove the current paint. The paint was actually very nice, but as i stated, i am not a fan of green. Currently, i am aiming for a charcoal gray, which i think will look really nice with all of the chrome on the car. The car was originally black with black interior, but since it's going to be a restomod, it really doesnt matter.

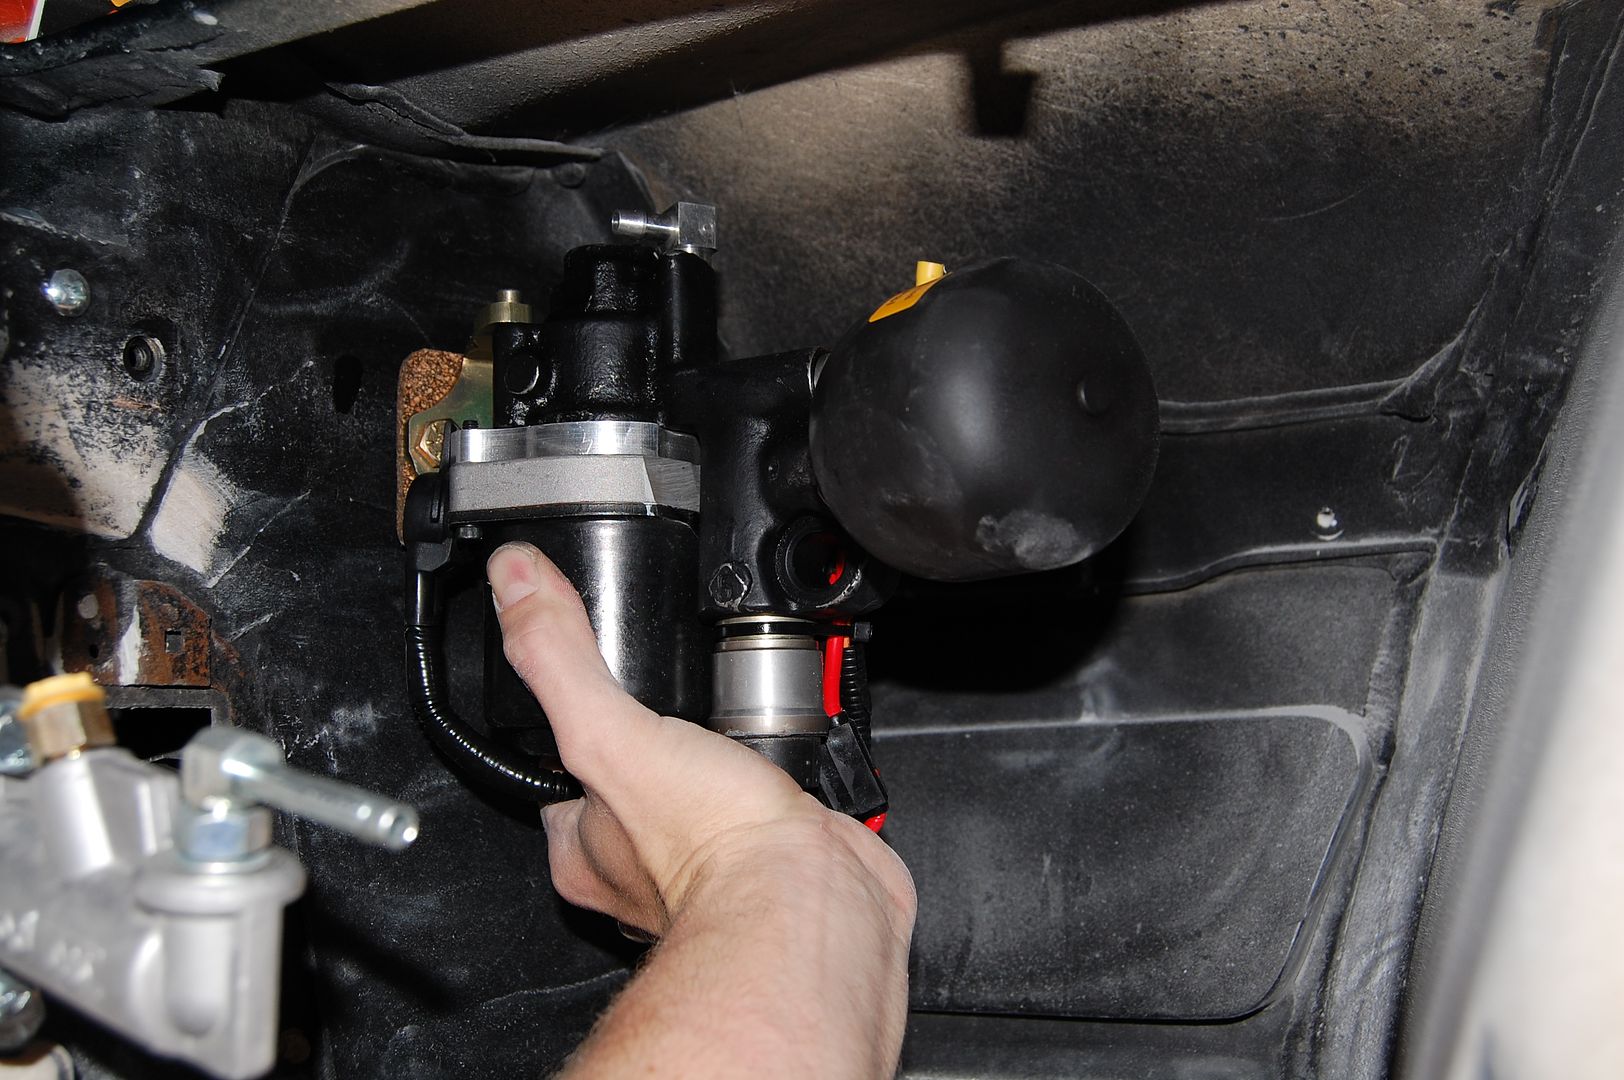
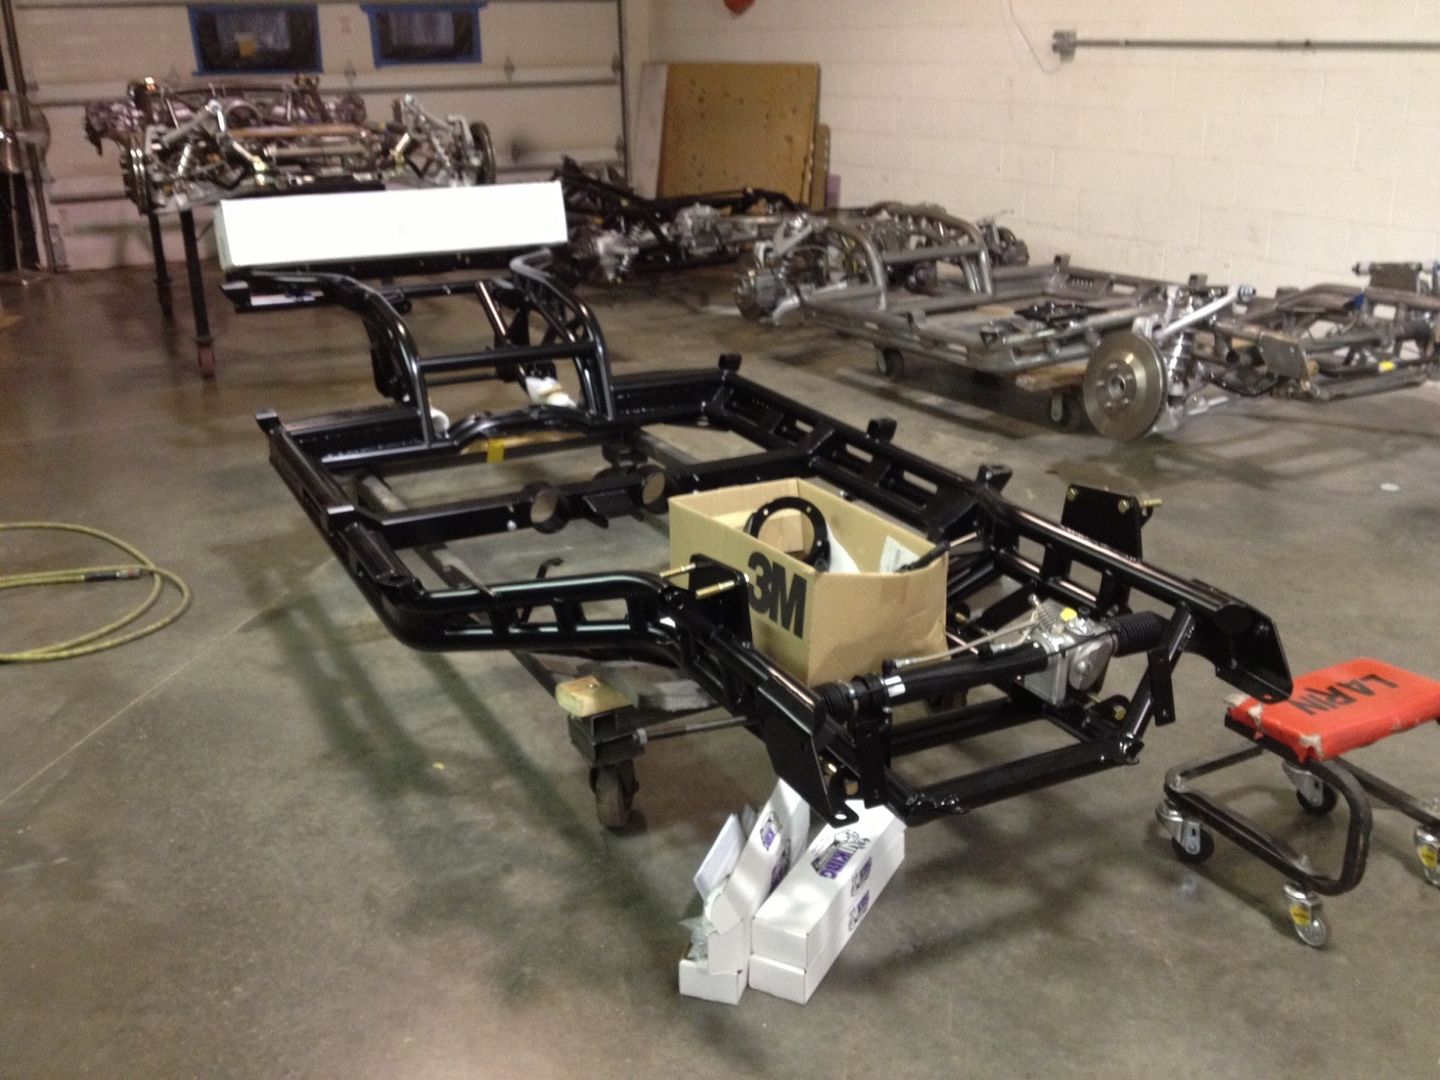
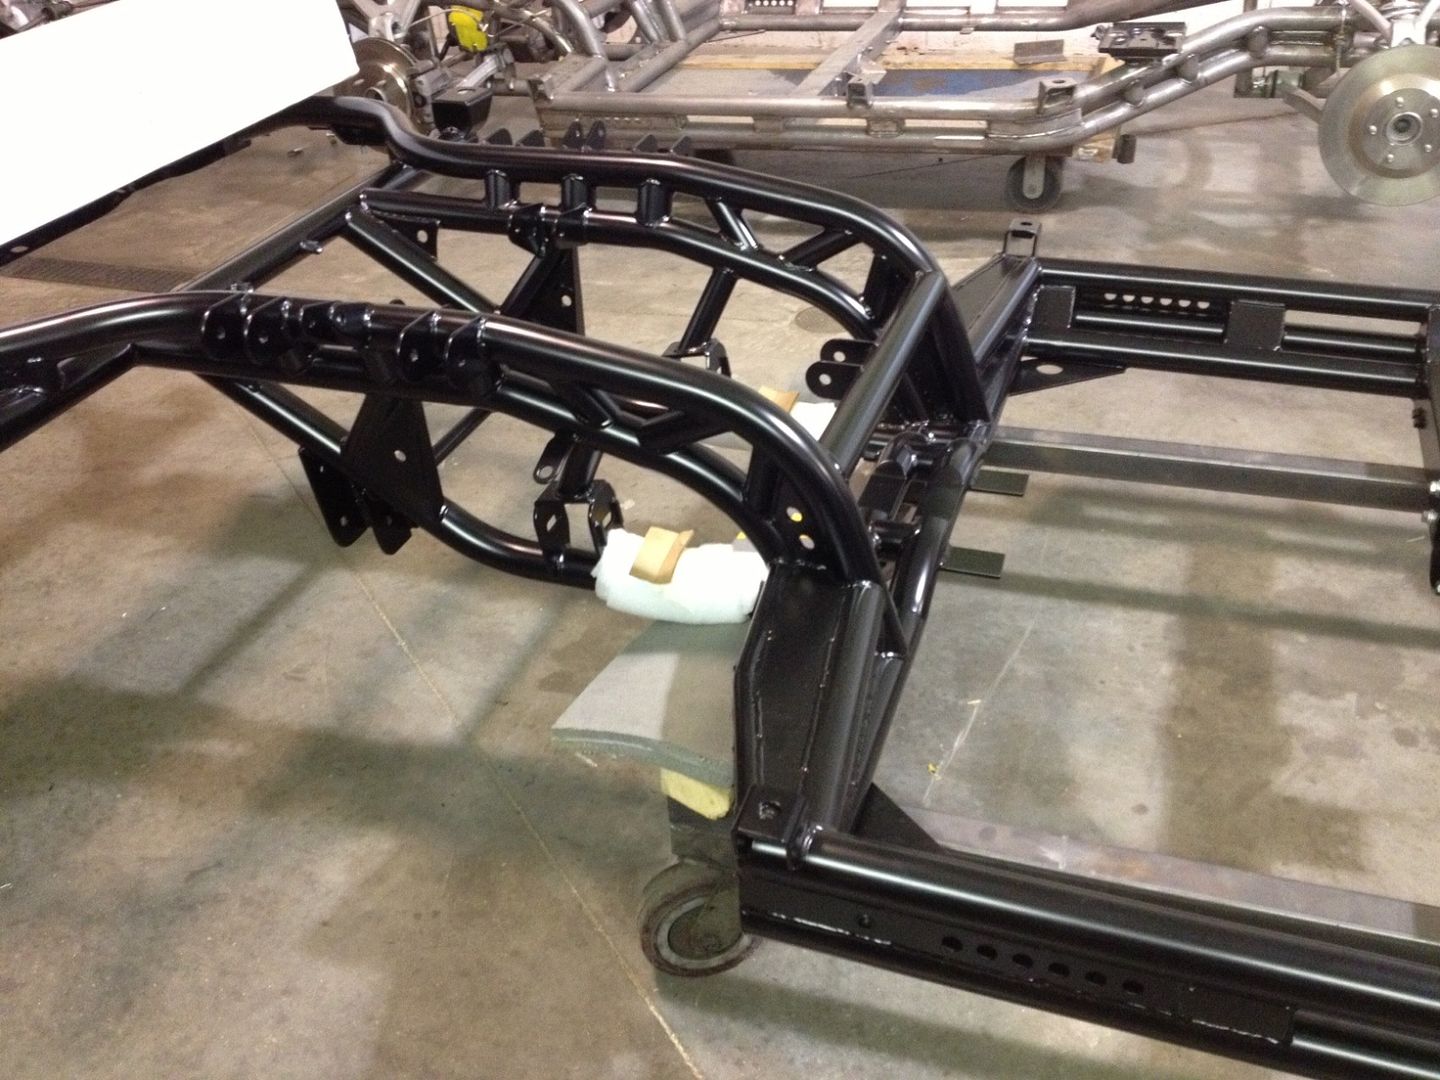
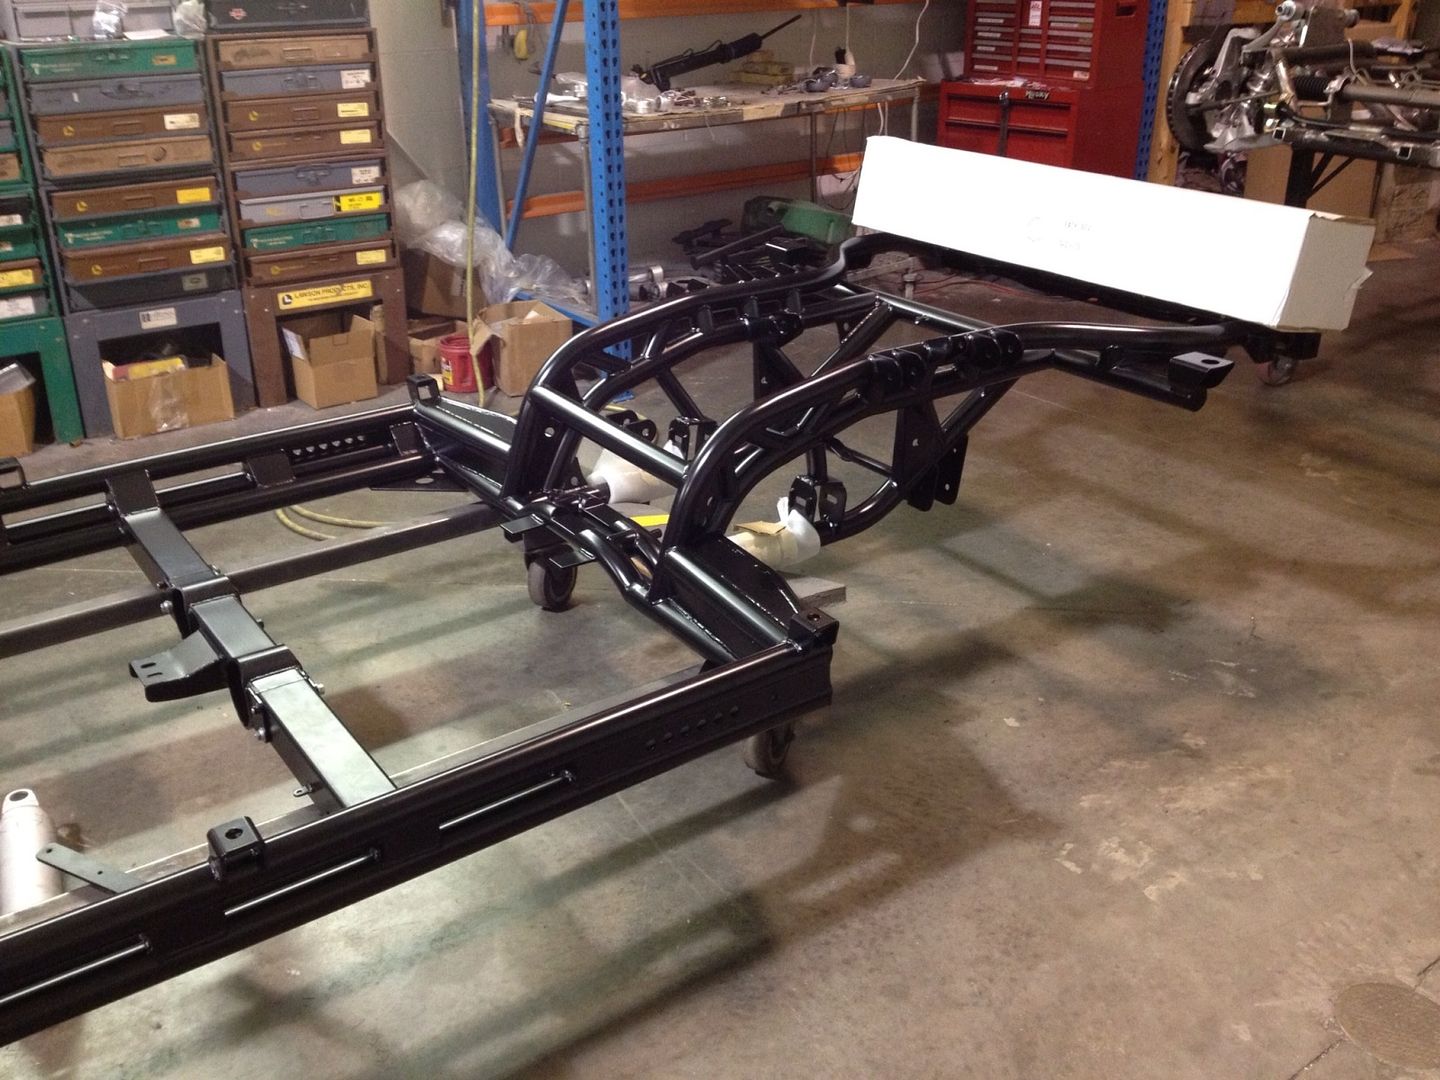
I ordered a new chassis with c5/c6 suspension from SRIII motorsports and it should be ready in August.

When purchased in January.
63splitwindow2_zpse6c5e293.jpg


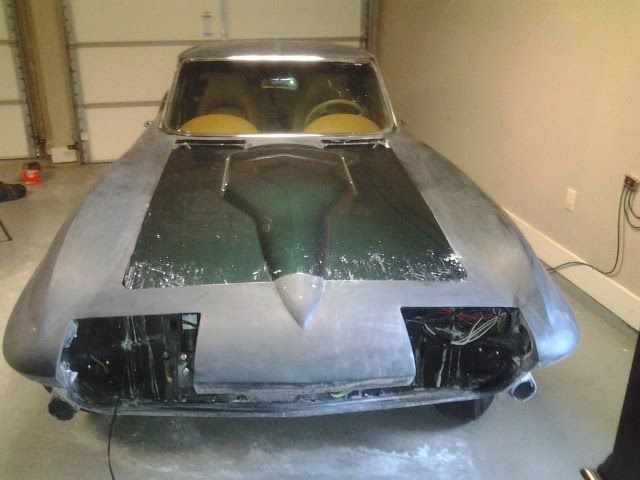
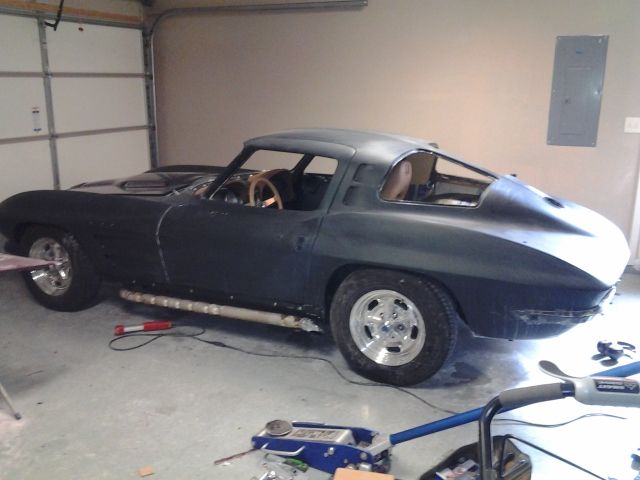
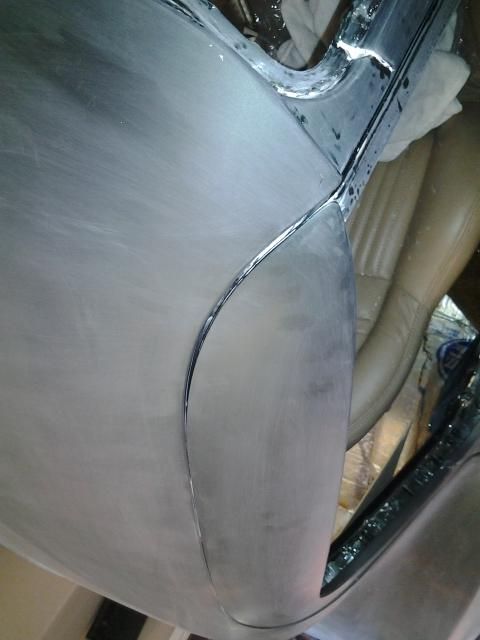
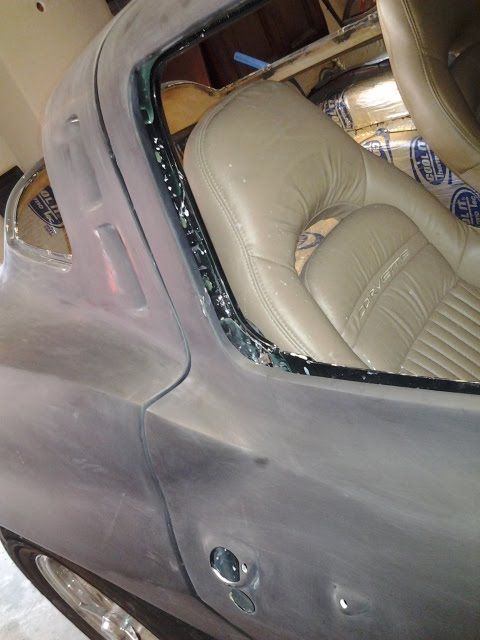
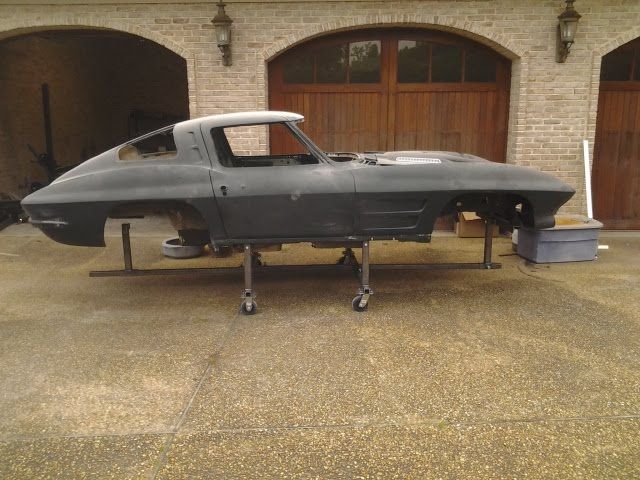
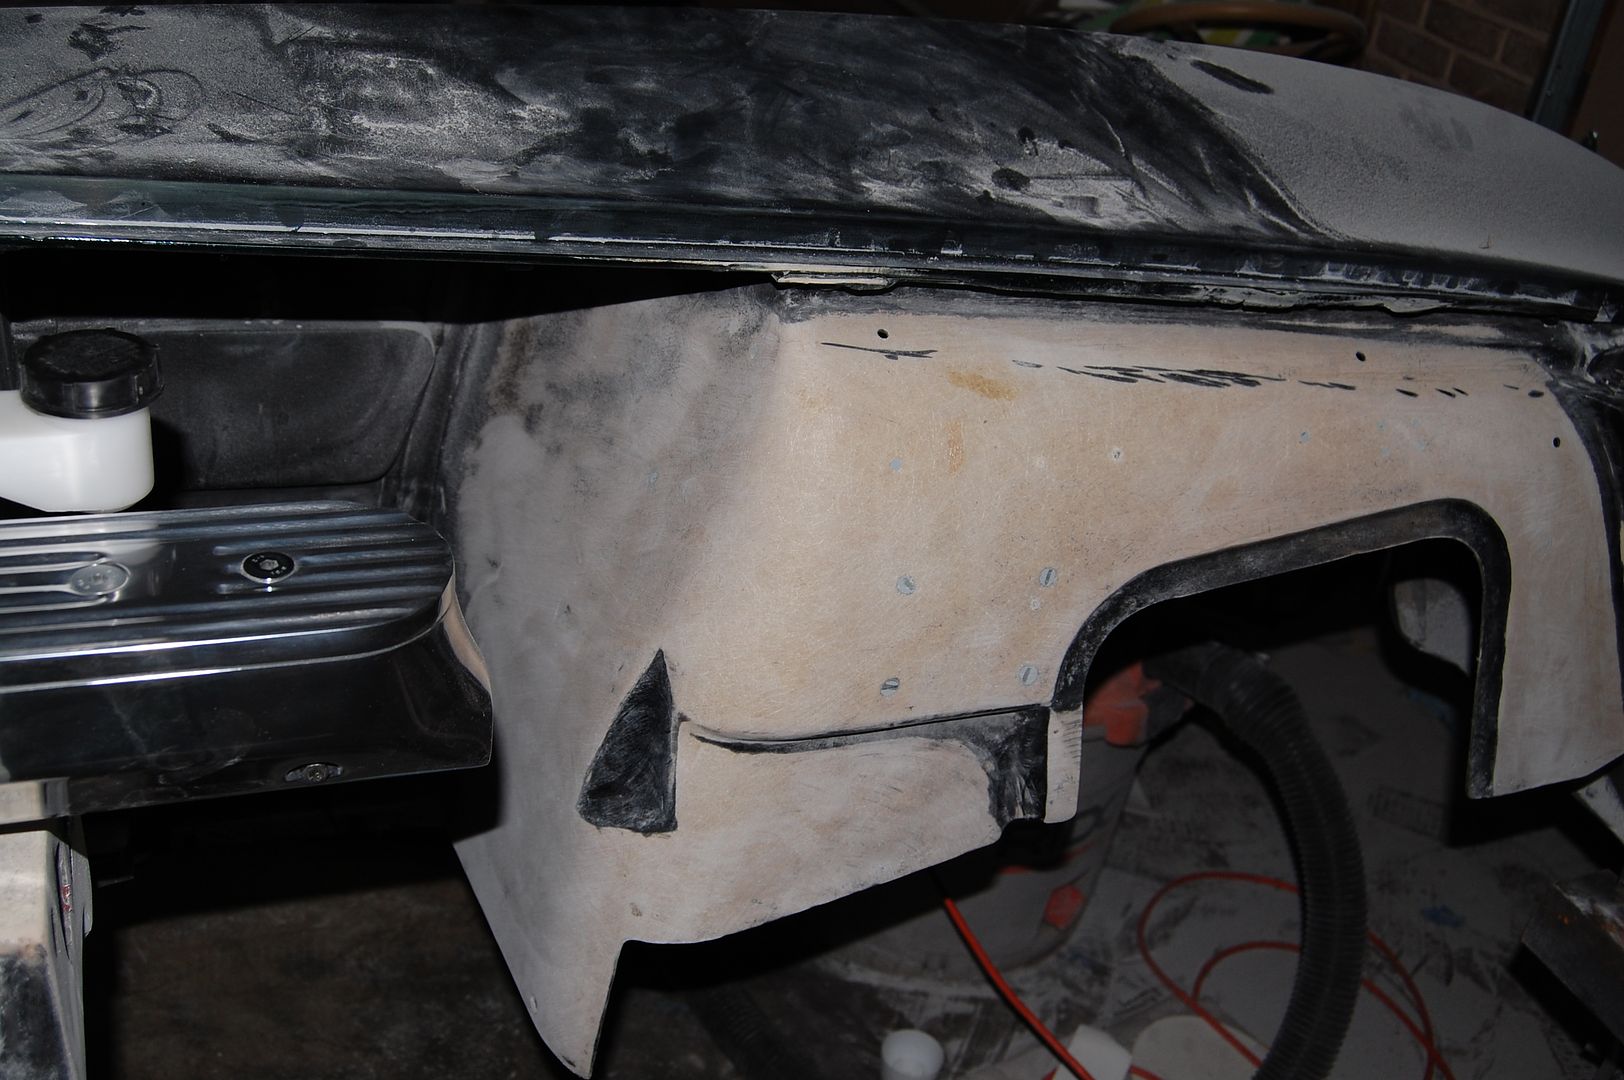
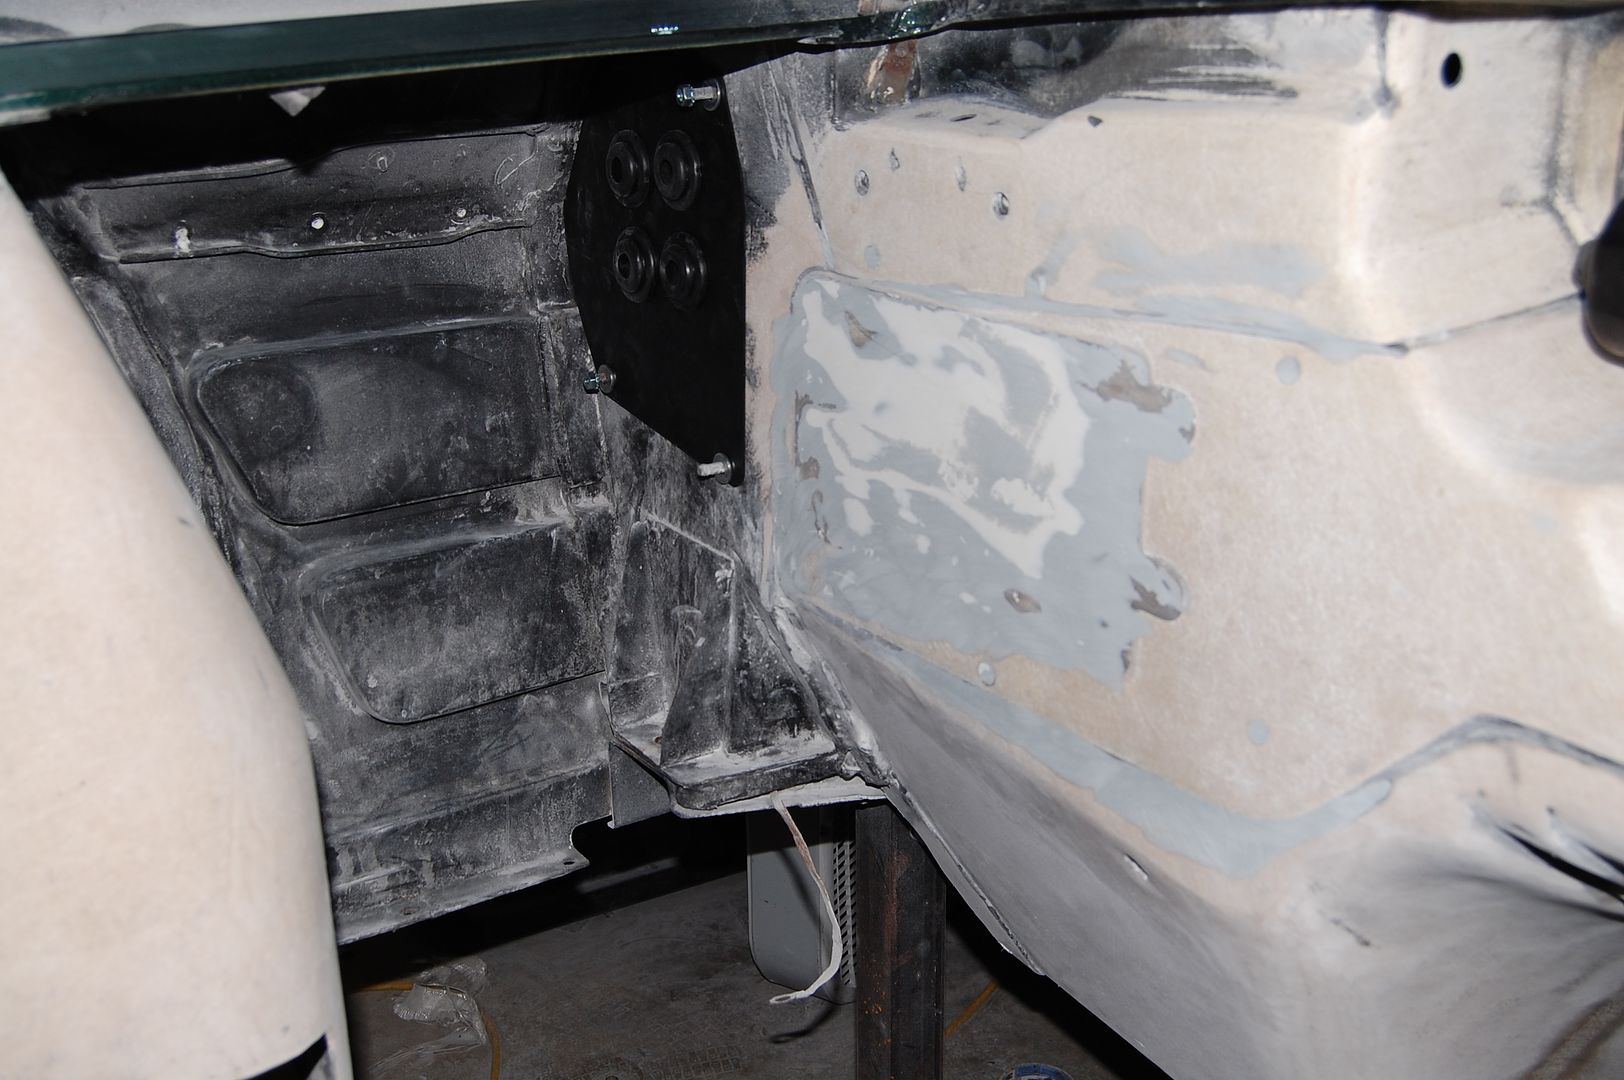
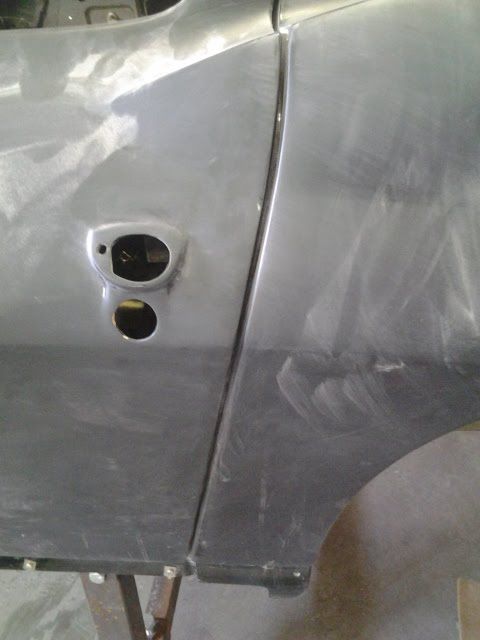
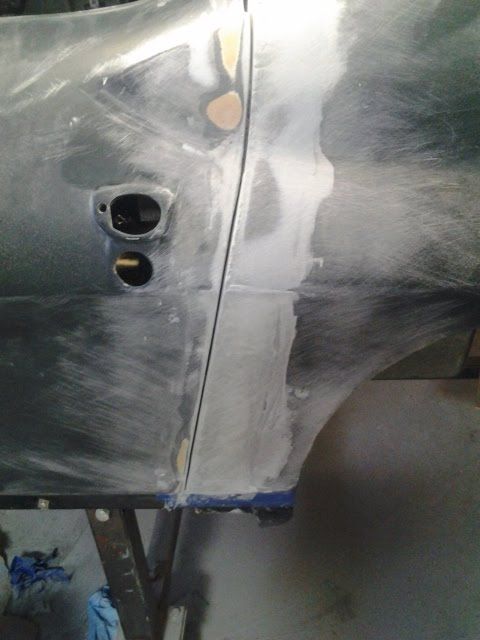
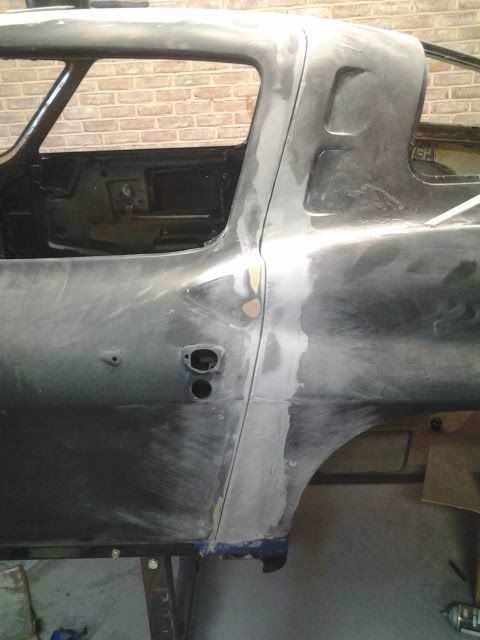
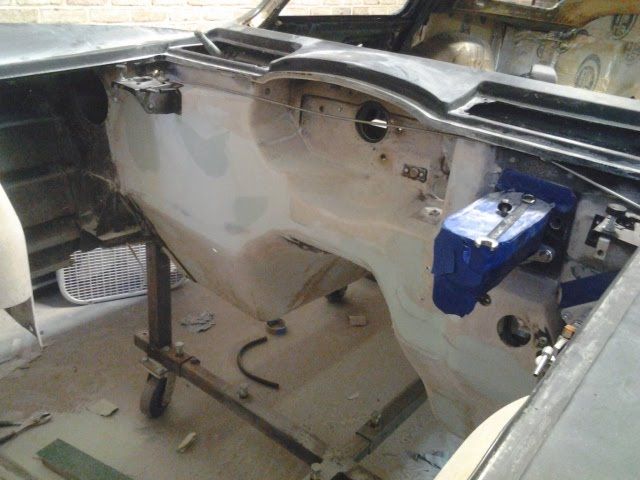
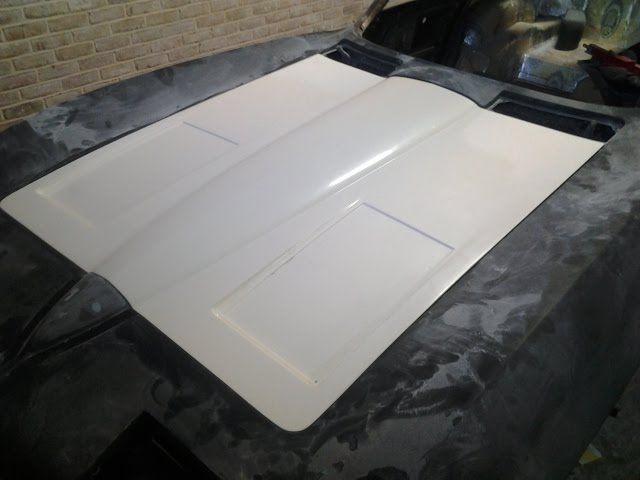
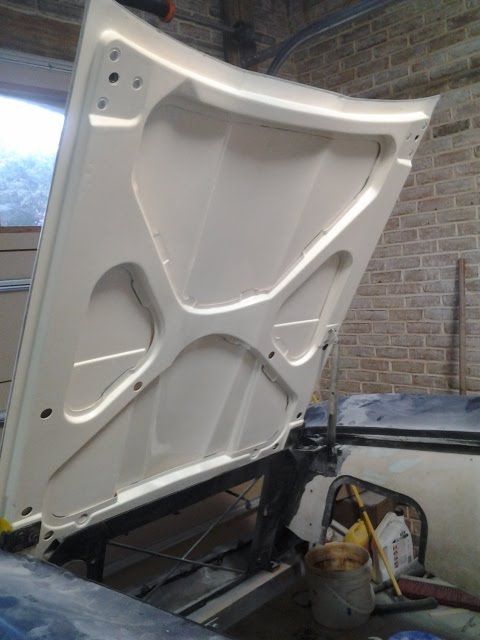
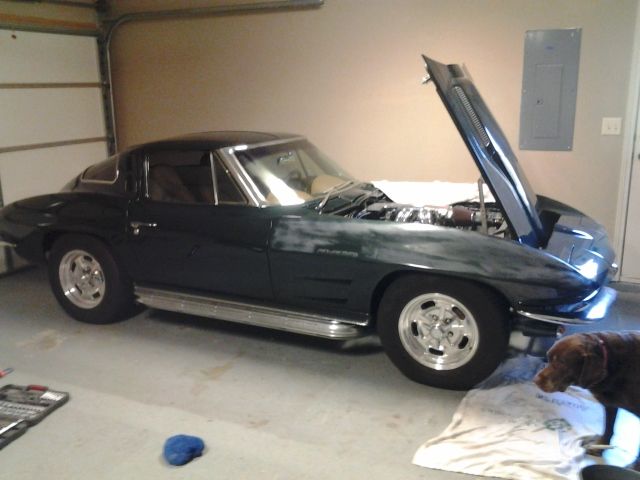
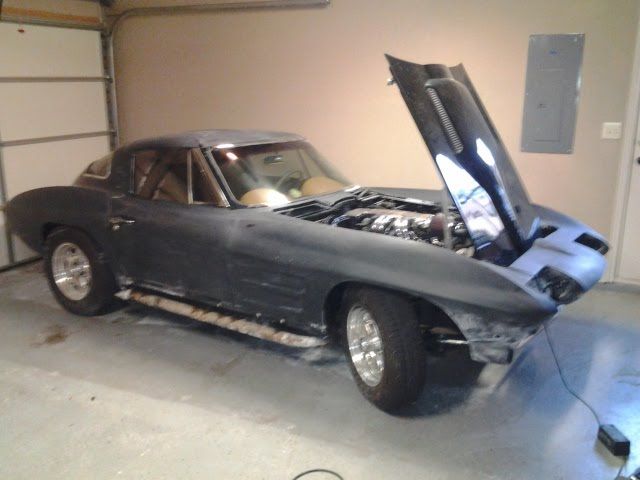
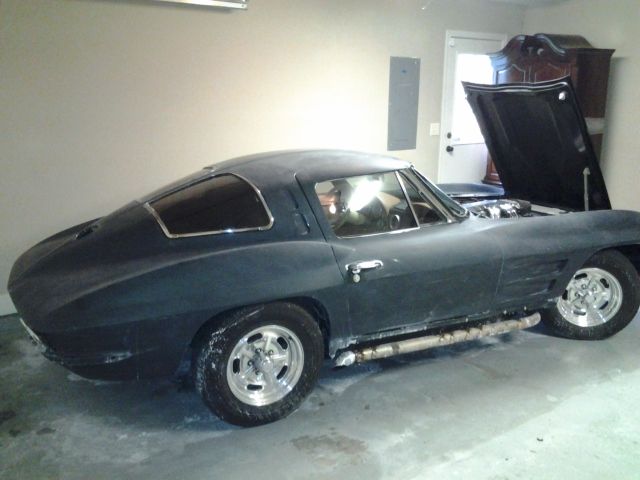
May 29th: Disassembly/wet sanding with 600

63splitwindowMay29th_zps93ac68b8.jpg


63splitwindowpaintprep_zps05ce7182.jpg


63splitwindowwetsanding_zpsc122fb75.jpg
 
5/31/13

32 Man hours total

Body is completely naked of all exterior parts and glass(minus tail lamps), the paint has been wet sanded with 600 grit, all interior molding has been removed, rear carpet is out, and the door alignment has been adjusted.

Splitwindow32hours_zpsef662c1d.jpg


frontend_zps1f48b892.jpg


splitwindow32hourstwo_zpsd1668c47.jpg


splitwindow32hours3_zps41dbf485.jpg


Door alignment-a few shims moved around and a bit of tweaking on the latch aligned everything perfectly.

splitwindowdooralignment_zps5b62cf15.jpg


dooralignment2_zps937d0108.jpg


6/5/13

44 man hours

Ready for body pull.. All plumbing is loose, radiator out, computer removed, wiring disconnected, etc. Also managed to remove entire dash and prep for new paint and pads.

Here was my copilot the last time i drove the car. We took the risk of getting a ticket and drove 5 miles from my home to my garage where the remainder of the work will be performed. My lab thought riding in the car with no glass was AWESOME! I don't think I have ever seen her so happy. The looks we got from other drivers in 7am traffic were priceless.

sashinsplitwindow_zps6578ee5b.jpg
 
6/13/13

54 Hours Total

New dolley.

dolley_zps3960c44e.jpg


And this is where i left off in June. Im waiting on the original style hood and the chassis to arrive, but until then, i really can't do much. In the meantime, ill be starting a few of the interior items and continuing work on the 67 Mustang.
 
I sold it along with the engine, trans, gauges, hydraboost, older vintage AC system, etc. I am using a 525hp LS3 and tremec TKO600, electric brakes from ABS, newer vintage AC, and recessed autometer american muscle gauges, so it was best to sell the chassis and other parts as a package. It took a while to sell them, but eventually i found a buyer.
 
7/30/13

57 hours

Im starting to work on some of the interior items in anticipation of the SRIII chassis and 63 hood arriving soon.

I wet sanded the dash, primed it in areas that had drips where i rubbed through the paint sanding, and then repainted it with SEM hot rod black.

Wet Sanding

dashsanding_zps652bffaf.jpg


New Black Leather Dash Pads with French stiching

dash4_zpsc7b9edd3.jpg


http://i852.photobucket.com/albums/...Window Corvette Restomod/dash_zpsebbd1574.jpg
Here (on the left, not the other gauges) you can see what the Autometer American Muscle gauges will look like with the original clock. I sold the cluster shown with the stock chassis. The new one will have the autometer gauges recessed behind the original cast in bezels.

dash5_zpsecd1898c.jpg
 
Duell rust 3.jpg

I have a 64 with a bad frame from the kick up back. I am struggling with the same decision, though this a is a numbers matching low mileage car. Looking very hard at theSR111...

- - - Updated - - -

Nice job on the dash...
 
I replaced the frame on my father's 64 ten years ago. It was a Michigan car originally and i guess salt sat inside the frame and it eventually ate the metal from the inside of the rails to the outside. His frame was a little better off than yours, but it was still rough...too rough to pay to have repaired. So, i started looking on ebay and actually found a 64 frame that was made only 240 cars away from his. Not sure about yours, but his frame and the other did not have the gussets at the rear kick up location and it had the inner mounts, features of only the 63 and early 64 frames. The great thing about the chassis i purchased for my father's car, besides that it was identical to his original frame, was it was a California frame and when it arrived, i found that it had a 67 435hp differential, which I ended up selling for about 2/3rds the price of the rolling chassis.
Ill start looking around for you. 63-64 frames can be purchased for around 3-4 grand for a really nice one. The most distinct difference between the 63-64 frames and the 65-67 frames is that the 63-64 frames do not have the recesses for calipers in the rear kickups, the recess for the big block pulley in the front crossmember, nor the side pipe hanger slots in the main rails. SO, i would say stick with a 63-64 frame, unless your car doesnt have it's original matching numbers engine. IF that is gone, well, that is a game changer.
 
Nothing I love more than seeing a dog just chillin in the shop - makes me smile every time! Should start a thread with pictures of our buddies who keep us company while we work - notice they never complain how much time or $$ your spending on the car?
 
She is 9 and has always liked to keep me company while i am in the garage. I built a cobra replica when she was only 1 and she would crawl under the car with me while i was installing components to the underside. Ill never forget her riding with me in the split window sans all glass and exterior components. I've seriously never seen her that happy.

- - - Updated - - -

64 hours

I've removed a large majority of the old paint from the firewall and fender skirts, but still a lot to go before epoxy primer. I am also in the process of fitting the new components on the firewall and in the engine bay to insure everything fits correctly. Hopefully that will help the assembly process go much more smoothly after paint.

Question: Do i need to remove every last bit of paint from the engine bay fiberglass before spraying with SPI epoxy! It is almost impossible to get all of it off due to the tight areas and grooves where the panels meet.

DSC_0348_zps7993101e.jpg


DSC_0331_zps3bbe79a2.jpg


DSC_0335_zps7de7aae7.jpg


This is where i am going to mount the electric booster after i fabricate a large reinforcing bracket to go on the backside in the wiper well.

DSC_0334_zps39ec32d7.jpg


Making sure everything lines up with the new vintage air system. Still a good bit of body work to do on the firewall where i deleted the heater box cut out.

DSC_0336_zpsb12bc528.jpg


New Detroit speed wiper motor

DSC_0327_zpse0b1b3cc.jpg
 
I love the garage doors/brick garage behind the 'Vette when it's on the dolly...

Can't wait to see it with the new suspension and drivetrain.
 
A bit of the old laquer down in the fibers and grooves wont hurt a thing, Chris. But if you want to remove it, there is a water borne paint stripper available from lowes and home depot that will remove it easily with a scotch brite. It rinses and neutralized easily. Works quite well. I am one of those that usually avoids strippers on glass in most cases. But I have seen no problems with this one. I used it on the bottom of the '63 and '64. I will post up the name when I get to the shop. It is one of the "harmless" strippers and works well. Smells like vinegar. I was very surprised.

Thanks for the bump on the frame, btw...
 
Thanks! I didnt want to use any chemical strippers for obvious reasons. For one, if a drop gets on the scuffed exterior paint then ill have a lot more work to do. Two, if i use it on the fiberglass then it will soak in and i will need to rinse the fiberglass, let it sit in the sun to off gas, rinse the fiberglass, let it sit in the sun to off gas, rinse and repeat, rinse and repeat...

Maybe that frame will work out well for you. It should be almost identical to your 64 frame minus the front e brake brackets, but cutting those off and welding the correct ones on is obviously pretty simple.
 
Opinions needed. Should i spray sealer over the current paint that has been wets sanded with 600 grit, or do you all think i am good to go ahead and spray the new color? I had to do some body work on a few cracks, so those areas will need to be sealed and primed, plus the door gaps need to be narrowed at the rear on both sides and i will need to prime and seal that entire area as well. I was going to just let the gaps go and leave them wide, but considering that this car will potentially be the most high dollar car i have ever built, it needs to have tight door gaps. The later model cars have better fitting doors, but since this was one of the first 63 Corvettes built, the gaps are pretty wide.

Thanks
 
I hope you washed the car with Dawn before sanding to remove all traces of wax and silicone. Seal it with SPI epoxy. It will also give you a guide coat to work from to find all those little imperfections that you don't think are there. Spray at least one good wet coat, block it with 400 and then 600 wet. You will not believe what you find.

If it is the original lacquer, or painted over lacquer, it needs to come off.

Just my opinion, of course
 
The car was taken down to bare fiberglass, then painted with BC/CC just a few years ago and that is the only reason i am scuffing and respraying.
 
The problem I have had with spraying over existing refinish paint is that it can map later around the featheredges unless you give it a really good cure. Even then, if the isolation is not perfect, the mapping can be "reactivated" by the solvents in the new refinish material soaking through the primer. A decent film thickness of epoxy will isolate very well, but it has to be cured out well to allow all solvents out of the substrate.
 
Fresh back from the powder-coaters. I went with the satin finish. From my experience with other chassis', I've found that the gloss finish scratches too easily, even when simply wiping it off with a towel.

I know some people prefer a more "stock" looking frame, even though the rectangular frames with upgraded suspension look nothing like the original units, but in my opinion, the tubular frame is so much more appealing and down right sexy.

63chassis_zpscefe11df.jpg


corvettechassis2_zps7d02a344.jpg


corvettechassis3_zps24d3c62d.jpg
 
70 hours

I really did not want to get this far into bodywork, but the door gaps on this car were massive at the front and rear and I just couldn't leave them that way.

Before

bodywork2_zps83e2cc4c.jpg


After
Still a lot of work to do on the jambs, but i should be able to work both doors and the new hood in by the end of the week.

bodywork3_zpsbc93a629.jpg


bodywork4_zpsa77210d4.jpg


Firewall only needs one more round of light sanding. I must say, smoothing it out took a lot longer than i initially thought it would, but it will be worth it in the end.

bodywork1_zps3dad36ca.jpg


And after what seems like an eternity, all of 12 weeks, the hood finally was finished and arrived today. Bolting it on made me realize that the hood surround is wavy from previous bodywork, so that is next on the list.

hood1_zps8b94b0f5.jpg


hood2_zpsb68fe141.jpg
 
Back
Top