B
black88coupe
Looks good.
black88coupe;35574 said:Looks good.


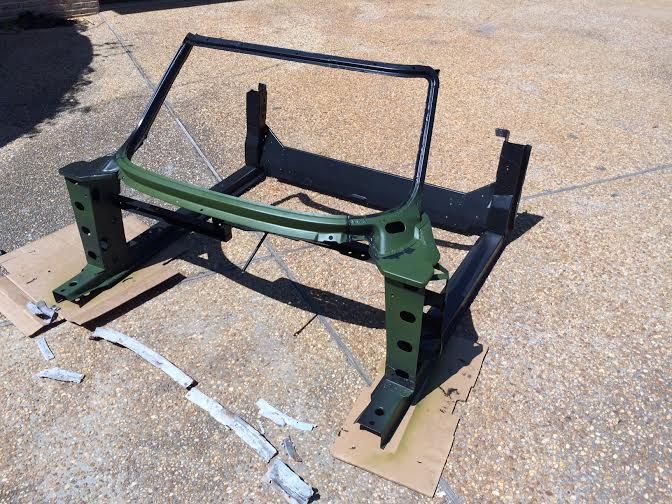
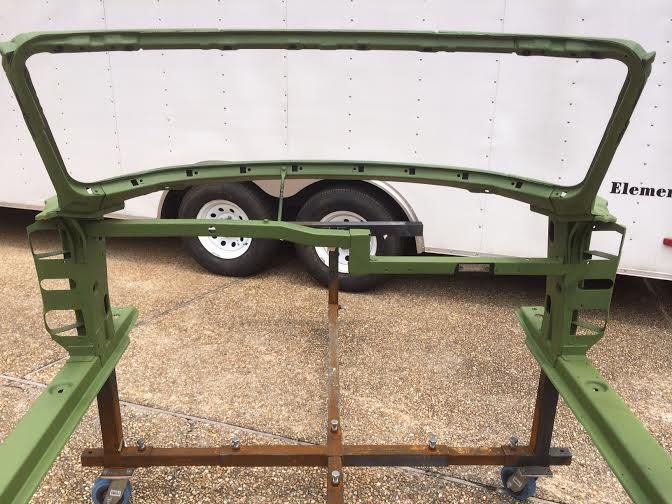

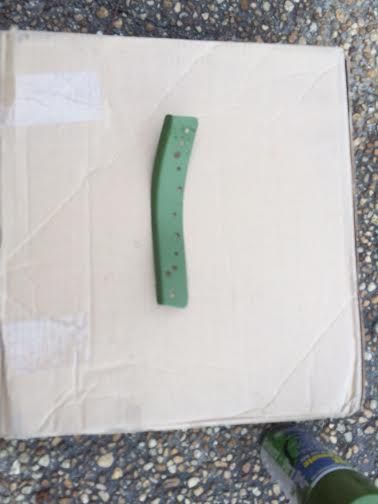
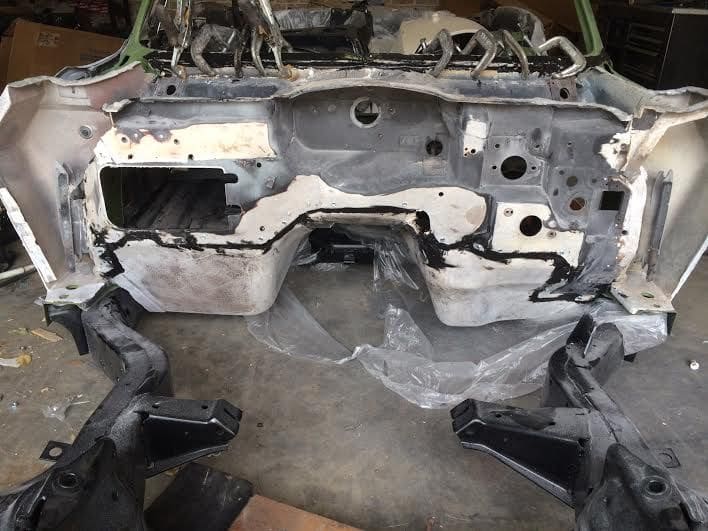
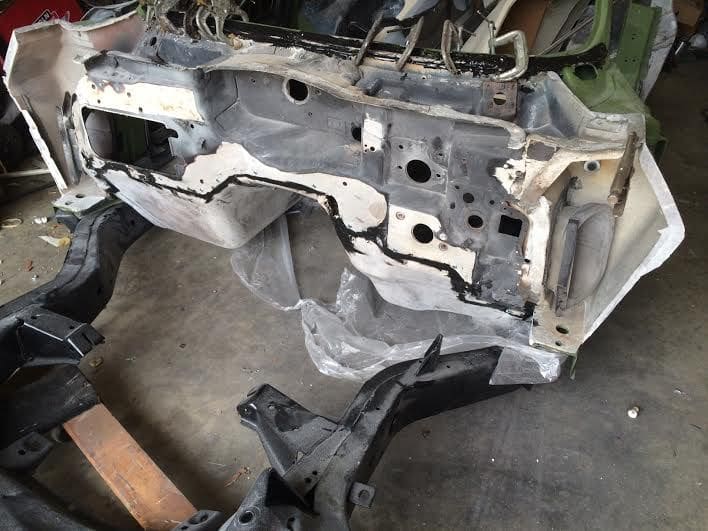
flynams;35941 said:Excellent precise work here....one of the things that makes that green hard to match is the factory hardly put any on...your job is way better than it ever was
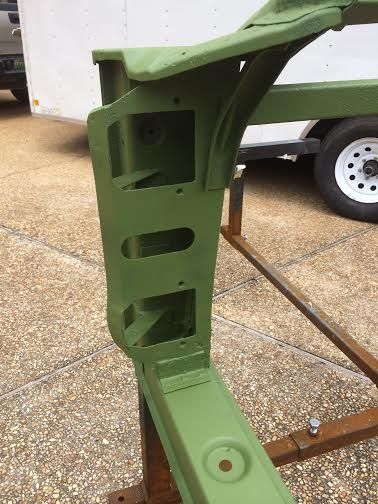
crashtech;36442 said:Really impressed by the level of care and detail. Great job and a fine example of how it's done!
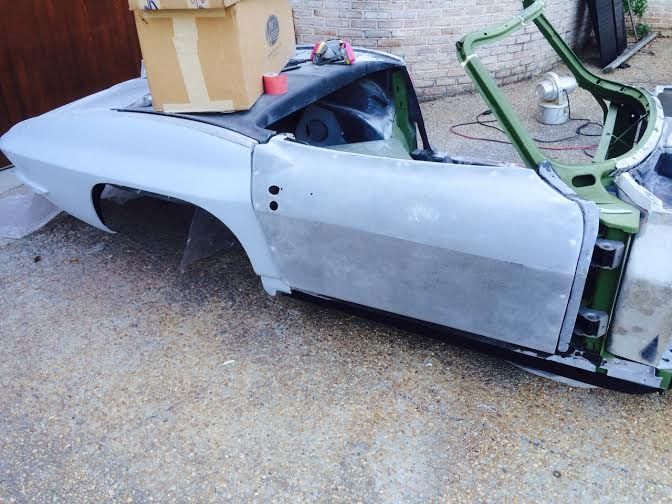
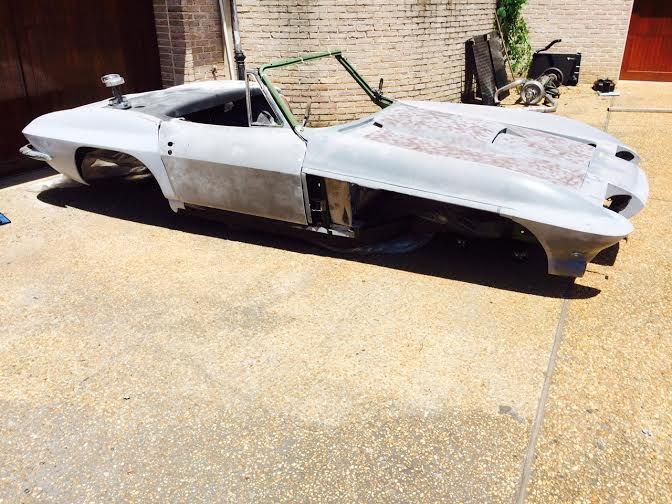
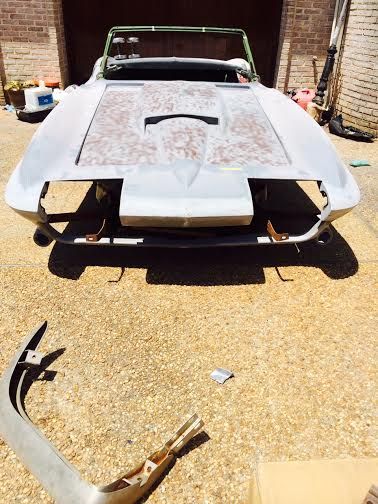
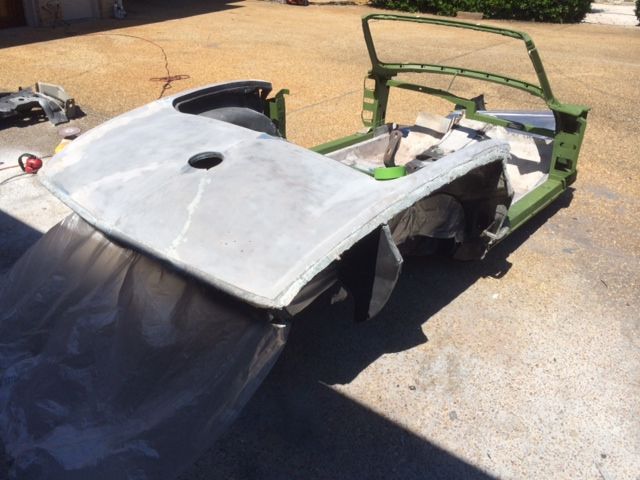
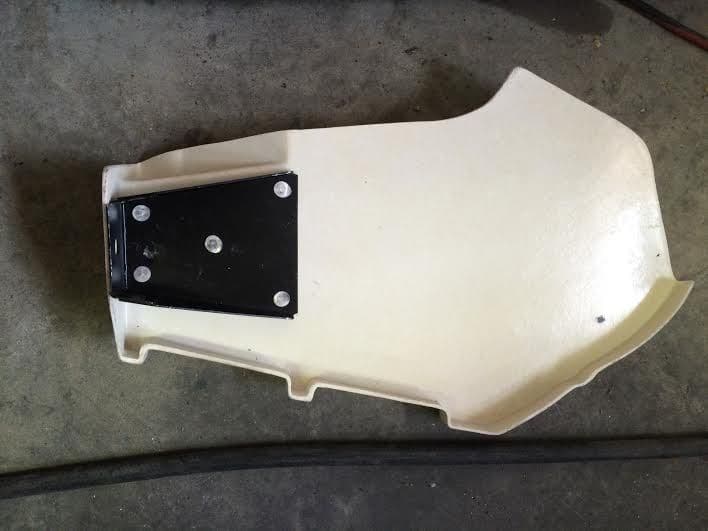
Christopher;36696 said:I've been informed that the front end i purchased at a discount from another Corvette enthusiast is a Corvette Image piece. Apparently these front ends had a habit, in the past, of off-gassing after cars were painted. So, here is my question... If I sand the front clip with 80 grit, then let it bake in the summer sun for a month, do you think all of the trapped gasses in the fiberglass will escape or should I let it sit longer?
Thanks


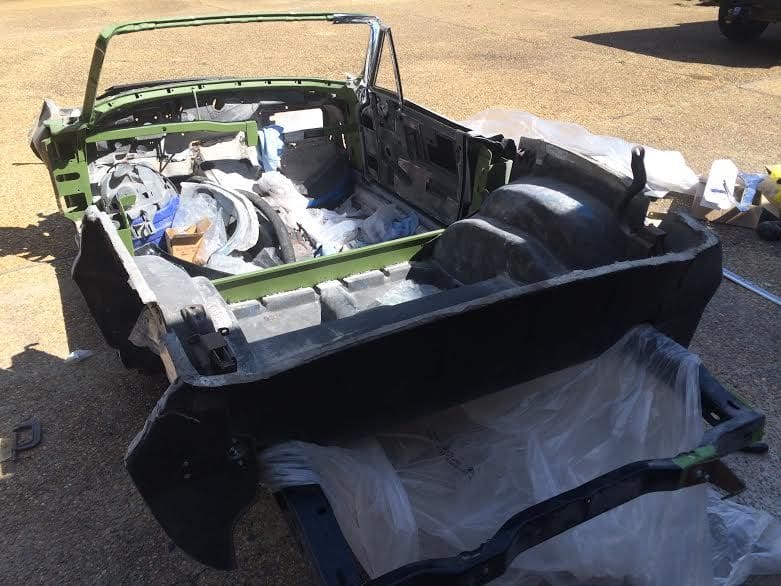
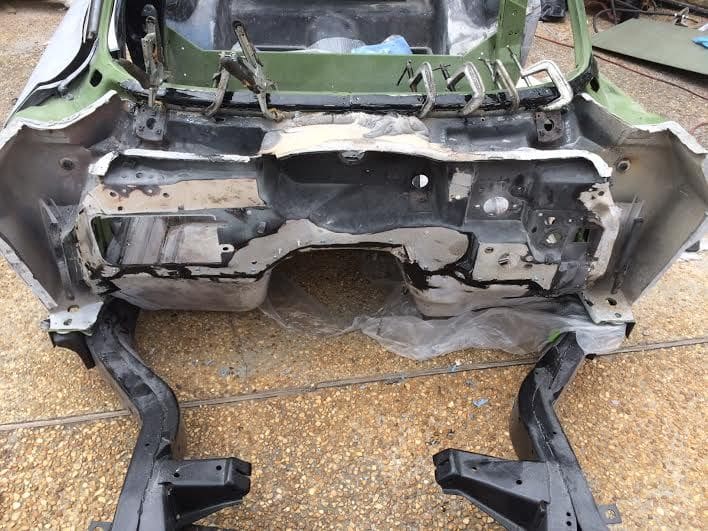
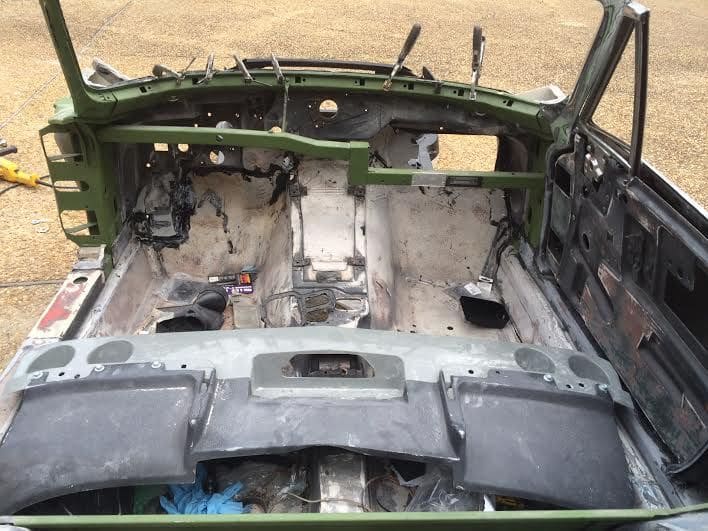

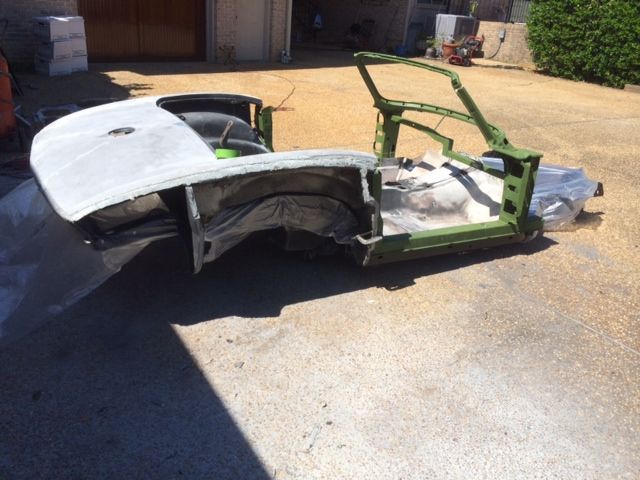
shine;40070 said:looking good. ton of work there. been many years since i torn one down that far. dont really remember going that far. in those days one would be totaled . i think the worse i got into was replacing the cage .