SPI Paint Products For Wheel Arch Repair

Machspeed

Member
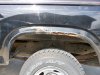
Friends, I'm taking an autobody night class in hopes of painting my 69 Mustang. With the exception of the basecoat, I plan to use all SPI products. On hand, I have their Universal clear and their Epoxy. I won't be hauling the Mustang to class to learn on, rather my 86 Ford F-150 which has rusted in both wheel arches. I've purchased the patch panels and can handle the metal work. What I need help with is the paint process. I spoke with the instructor, whom manages a job shop, has been in the business for about 30 years, and he was not familiar with SPI products. In discussion, I was surprised to hear him say we'd just blend the repair. I was actually thinking I would have to paint the whole side of the truck. My paint jobber told me the same thing.....easier and better to blend than paint the whole panel. I don't know anything.....

Anyway, of concern to me is that I have about four hours to prime, basecoat, and clearcoat. The truck goes out that same night, can't leave it there. The booth does have a heater.....very high end booth. All this said, can I use my SPI products for this? Basecoat will be Wanda. Will I need anything else...i.e. high build primer, etc? And lastly, what would be your process for this repair with the SPI materials, if in fact I can use them in the short timeframe.

Thanks,

John
 

Attachments

  • Wheel Arch.JPG
    Wheel Arch.JPG
    151.7 KB · Views: 309
It's not realistic to think you can prime, block, and refinish that in 4 hours. Prime on the first day, maybe block it and see if it needs more primer. Then paint it the next day. This advice will hold regardless of paint product brand.

Oh, and you'll need a faster drying primer to do it even the 2 day way. You can put one coat of reduced epoxy down to seal the metal, then use urethane primer. Epoxy cures too slowly to use as a fill primer on quicky jobs.
 
If all you have is a few hours don't use SPI Epoxy. Honestly I don't see how you could do even a halfway decent job on that truck in only 4 total hours especially counting dry times, flash times, and prep work. Truck is going to be shrink city several months down the road. Again honestly I'd say use whatever 2k urethane primer you want because with only 4 hours to work with, it doesn't really matter. 4 hours to do that is Earl Scheib....Maaco type time frame.
 
As crash said, you will need a 2K primer surfacer to put over the repair area, epoxy needs more time than you have. One option would be to do repairs, 2coats epoxy, wait overnight and spray 2K the next morning. The 2K could be baked @120 for 15-20 minutes to cure it faster. If everything blocked out good, it would be possible to do it in 4 hours, for an experienced painter. I'm just afraid if you try to rush things, you will be setting yourself up for problems. Try and do it in smaller steps, if possible. Metal work, then epoxy. Wait up to 7 days, filler work, more epoxy. Wait overnight, up to 7days, then 2K. Block sand, if you go through the primer to metal or filler, more epoxy or 2K. Once everything is good, then use your 4 hours to paint. That will produce a much better final product with way less pressure. I'm sure the suggestions to blend are for the color only, with clear on the entire panel.
 
Hey Gentlemen, was hoping to weld a patch panel in today but I'm not real happy with the flange that my newly purchased HF flange tool made and I have some concerns as to the fit.

I cut out all the rust and rebuilt the inner fender. Rebuilding that inner fender with a homemade patch panel was fun for a newbie like me.....lots of compound angles :(
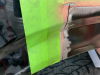
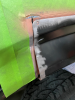
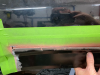
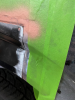
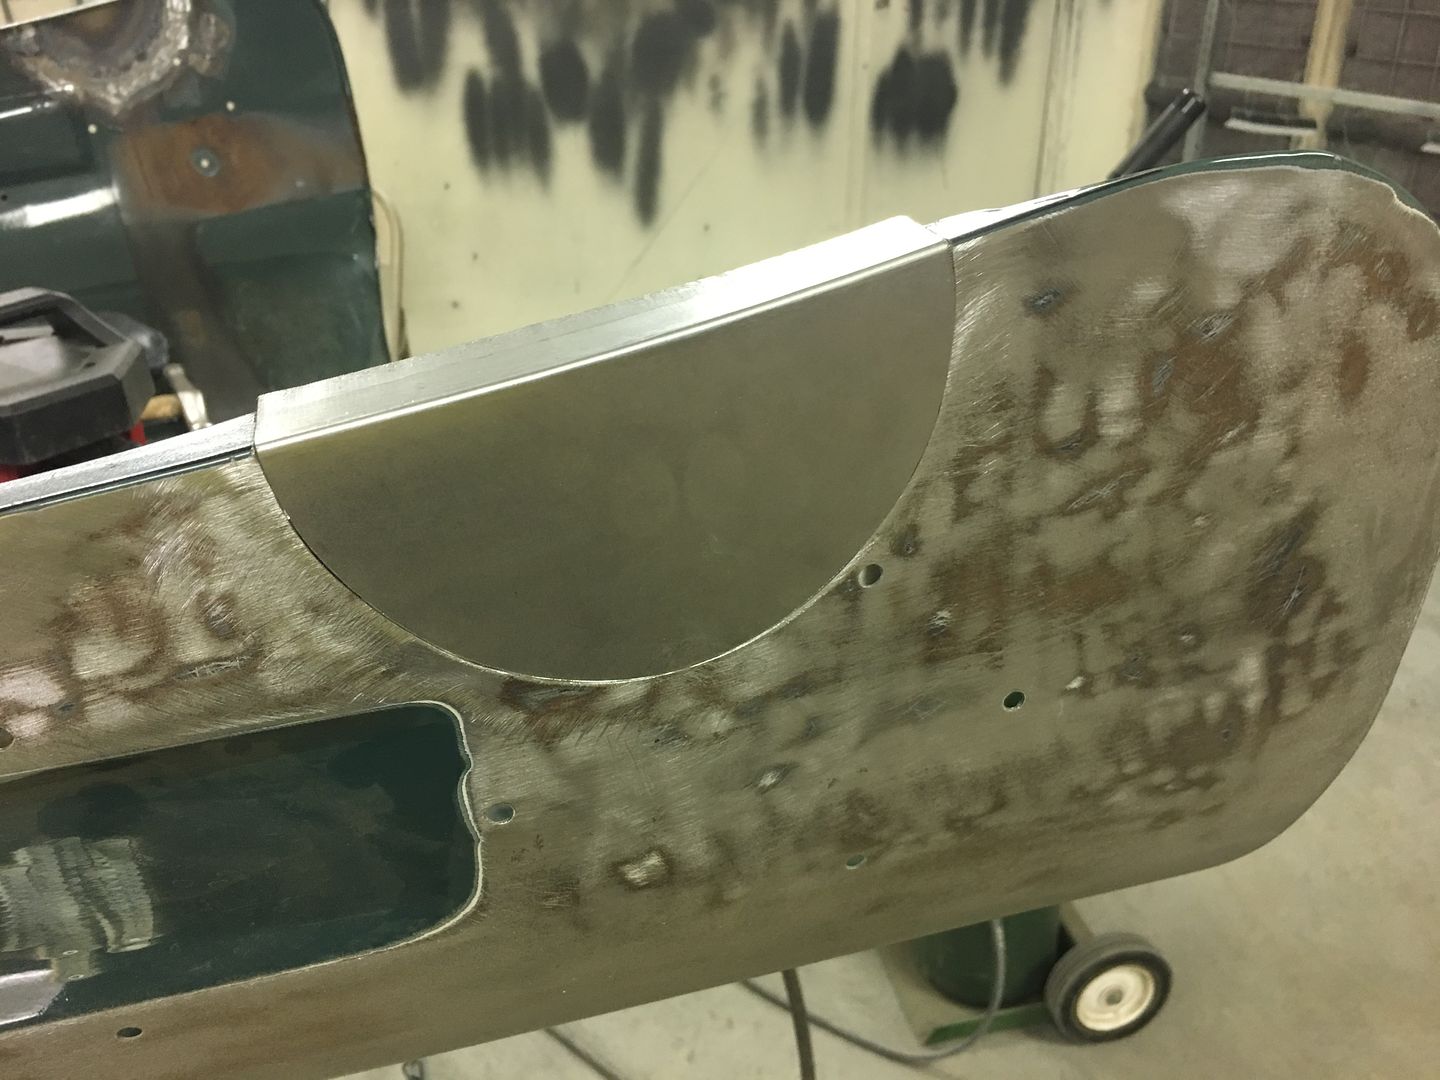
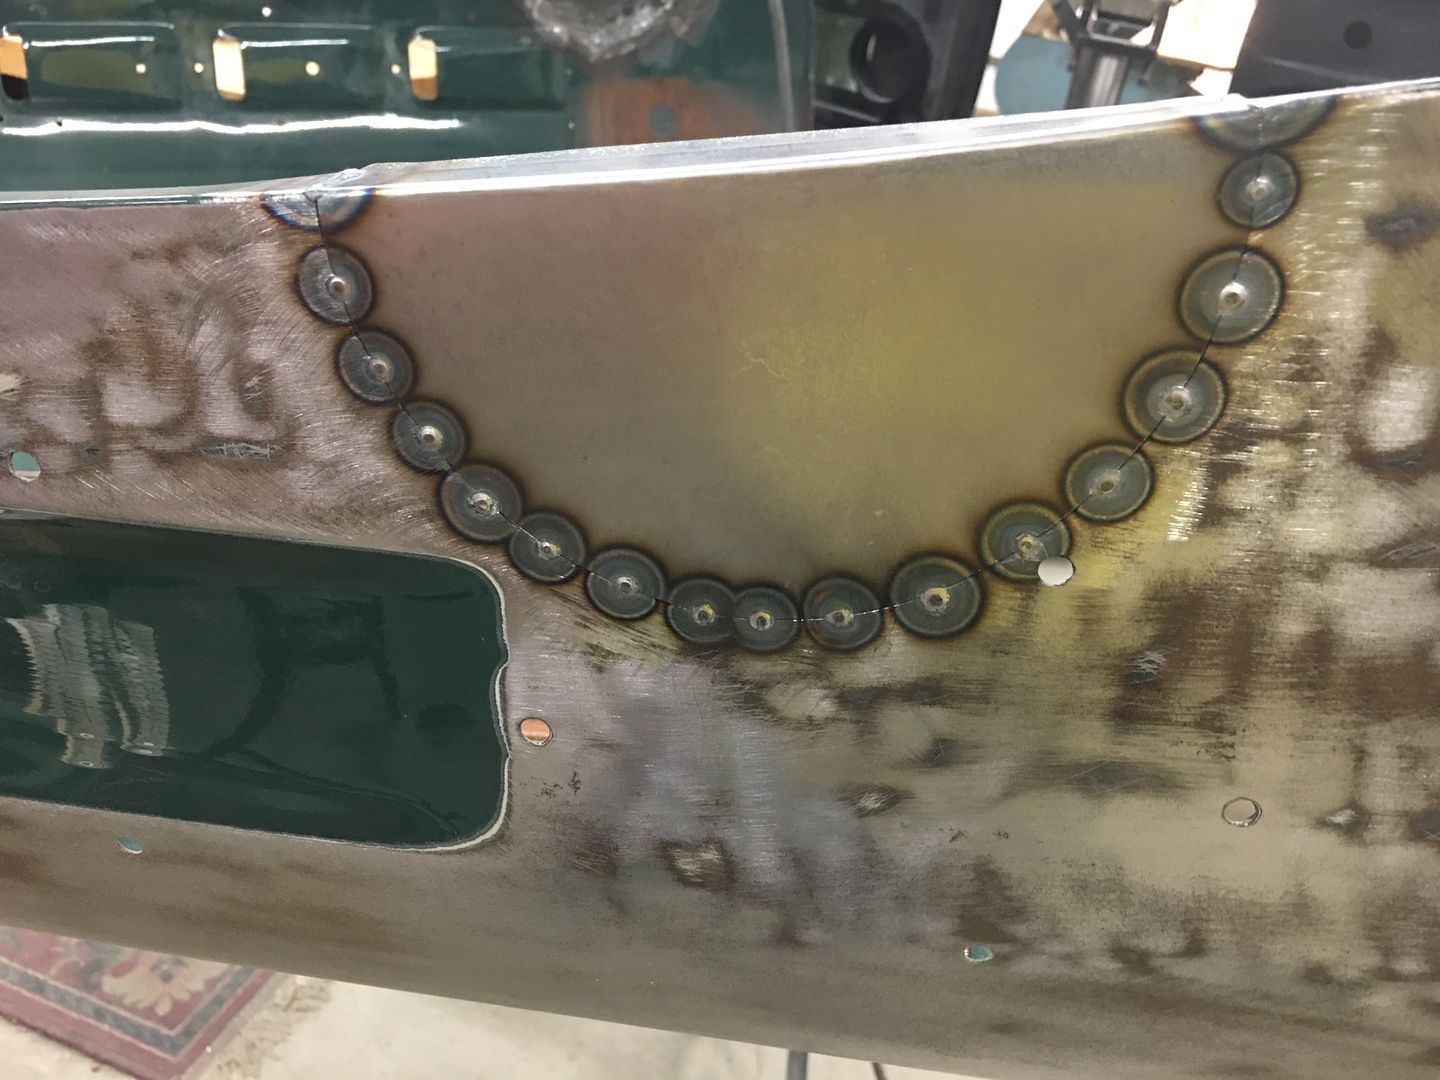
. I didn't realize how bad it was until I media blasted the area making it look like Swiss Cheese…..arghh.

As to the body patch, it is thin. As such, I decided to flange the upper horizonal area and butt weld the vertical. I'm not happy with the flange as it is too shallow and my HF tool just won't do it, even on this thin metal. I see no adjustment on the tool to improve it. Nice hole punch, though. Need to get a better flanging tool, as I have the other side to do. That aside, my greater concerns are with the fit of the patch panel. If I secure the top, the bottom sticks out a bit, vice versa for the bottom. I thought about tacking the top and then aligning the sides and tacking them downward, but I fear this is ultimately going to pull outward on the long upper horizontal area. Thoughts on this? Advice and comments, please?

Thanks,

John
 

Attachments

  • Arch Repair 3.png
    Arch Repair 3.png
    1,018 KB · Views: 218
  • Wheel Arch 4.png
    Wheel Arch 4.png
    1.4 MB · Views: 226
  • Wheel Arch 5.png
    Wheel Arch 5.png
    1 MB · Views: 227
  • Wheel Arch 6.png
    Wheel Arch 6.png
    1.4 MB · Views: 207
remove the flange, forget all about them, and butt weld the seam. Flange is a dirt and rust trap, and when you weld it and it warps, two thicknesses are near impossible to remove the warping. Oh, and then there are the ghost lines that you'll introduce from doing the flange repair.. The following video shows a ghost line in a green tailgate that resulted from a flanged repair..


Now, all that aside, and given the forces of gravity on moisture, I would use an ice pick and check the outer reaches to the left and right of where you've cut in your patch to make sure there are no thin spots that are half rusted through from the back side. The rust showing is NEVER the full extent of the rust. Now, just in case you need to buy another patch panel after all that, my suggestion is to make the top cut parallel (curved parallel?) to the body crease above the wheel opening. The crease will help to control distortion, and if your seam remains at a constant distance from the crease, it gives you even more consistency. I.E.: the seam should not be straight across when the crease below it is not straight. Next, weld seam placement should be located where you have access to the rear side for planishing the weld. When the weld cools off, it will shrink, no ifs ands or buts.. You need accessibility to planish (hammer and dolly) to add some stretch back into the weld and Heat Affected Zone (HAZ- the metal that changed color on either side of the weld) to get rid of the distortion.


Last, any sharp corners trimmed into you patch are going to focus the shrinking effects inside the sharp corner for a guaranteed pucker. A radius in the corners (as large as possible) helps to eliminate some of these effects for a more balanced distribution of shrinking effects on either side of the weld. This just gives you better consistency that planishing efforts are a bit easier to manage.
 
Last edited:
I thought about tacking the top and then aligning the sides and tacking them downward, but I fear this is ultimately going to pull outward on the long upper horizontal area. Thoughts on this? Advice and comments, please?

Thanks,

John


Regarding tacking this panel, in most normal situations with a straight weld (think lower door skin repairs) you would want to start the tacks at one end and work your way across to the other end, aligning the panel as you go. With a patch such as you have here with an alignment issue on both ends, you should tack the very ends after insuring the lower opening and body creases match. If you were to tack from one end to the other, it will have a tendancy to shrink and pull the far end upward as you go, so by the time you reached the other end it no longer lines up on that end. Once these two ends are tacked, work your way upwards alternating sides until you reach the top center.

Here's an example of the same issue in the hood repair we just did, where the bottom edges/flange corners were both aligned and tacked first...

Fitted... panel should be as tight as you can get it to minimize any shrinking/pulling.


IMG_6598.JPG


Flanges and outer surface are both aligned to the original first and I use TIG to tack on the exact corner on both ends to maintain this alignment.. Side note.... tacking only one end and working around to the other may shrink as you go, pulling other end down where it no longer aligns. So in this case, align both ends, tack both ends, and then progressively work your tacks side to side toward the bottom of the circle.


IMG_6600.JPG
 
Last edited:
MP&C, thank you so much for your response! I truly appreciate it. Interesting vid on that ghost line. I’ve never seen nor heard of this before in any flange type repair. But, can't say I've done the research on issues with flange welding panels.

Anyway, I cut out all the rust, the remainder is pretty solid metal. What I cut out was actually more than I wanted too, but I knew I couldn’t leave the rust. My decision to go with the flange was one I really did not want to do, but I really feared welding that thin metal along that long horizontal axis. And, I have absolutely no access from behind. That said, for now, I’m stuck with what I have. The metal is flanged above my patch panel and a new panel with shipping is more than I want to pay. If it doesn’t work out in the direction I’m headed, I guess I’ll order a patch panel. But, it appears I made a bad decision in my initial cut as noted below in the next paragraph. Any advice in finishing up in my current direction?

I see the logic in your statement, “make the top cut parallel (curved parallel?) to the body crease above the wheel opening. The crease will help to control distortion, and if your seam remains at a constant distance from the crease, it gives you even more consistency. I.E.: the seam should not be straight across when the crease below it is not straight. Next, weld seam placement should be located where you have access to the rear side for planishing the weld. When the weld cools off, it will shrink, no ifs ands or buts.. You need accessibility to planish (hammer and dolly) to add some stretch back into the weld and Heat Affected Zone (HAZ- the metal that changed color on either side of the weld) to get rid of the distortion.” GOLD NUGGET!

So, I have the other side to do, only it is not as bad. I will follow the crease in the body line and butt weld that side as you recommended. How do I access behind without either removing the inner fender or cutting a hole in it so I can get my dolly back there? Inner fender is spot welded in. Is that what you are suggesting? Removing or cutting access hole in inner fender?

Thanks you,

John
 
John, can you post a picture of the inner fender? Better yet, is there any rust in the inner fender? It's also rare to get rust in the outer skin only. Perhaps if the inner fender/wheelwell needed to come off for rust repairs, you now have access for planishing.
 
Last edited:
Robert, here's the photos. I've never looked under there until now. I can see where I didn't get full penetration in my patch work welds.....jeez, was that a mess. I can see the spot welds up top and then the piece transitions over unto the fender well lip where it is spot welded also. The tire was still on when I took the pictures. If I absolutely had to, I could drill out those spot welds. Thoughts?
Inner fender Front Aspect.png
Inner fender Rear Aspect.png
 
Robert, after looking at it now, I've got a good mind to cut that inner fender out and replace it on this side. I really hodge podged the repair as I was trying to utilize as much of that inner fender as I could. In fact, I patched what I thought was bad then took it out and media blasted it to find even more stuff that required patching. I kept part of the lip that attaches to the fender and cut my patch panel, bent it 90 degrees and welded it in. I held off welding it at the bottom. Looks like garbage......yep, I'm cutting it all out and replacing that inner fender. So, I pull the inner fender out of there, what would be your advice for the flange thing I've done? Replacing that whole patch panel would hurt the pocket book with shipping and all. And, as you stated, I made a bad cut in not following that body line. I'm depressed now......:(

Thanks Robert,

John
 
The quarter panel (outer) and inner fender should be two separate pieces. The inner is attached at the top where you show and on the flange of the wheel opening. I would remove the inner and make needed repairs, test fit, dress welds on both sides, epoxy both sides. Then work the outside following the same process, test fit inner, dress welds and epoxy prime inside and out. Then reinstall inner using plug welds where you drilled out spot welds.
 
I removed the inner fender and of course have access to the rear of the fender now. I fit up my panel again and have a few adjustments still to make. At the top of my patch panel are seven holes I punched. I ran sheet metal screws through those holes to pull it down tight and then tack welded the panel in. I'll remove the screws and plug weld holes.
Wheel Arch 7.png
Wheel Arch 10.png
 
Last edited:
I still have some welding to do. Something I noticed is that at the ends where the horizontal meets the vertical, I can see some slight distortion in the panel. It was not there prior to welding. I was very careful in cooling my welds and taking my time too. Below are pictures but not sure they will show what I'm trying to describe. Filler will likely fix it but am wondering if it could have been avoided and if so, how? I'm guessing this is shrinkage from the weld??? Is this something I can hammer and dolly out?
Wheel Arch 8.png
Wheel Arch 9.png
 
Something I noticed is that at the ends where the horizontal meets the vertical, I can see some slight distortion in the panel. It was not there prior to welding. I was very careful in cooling my welds and taking my time too. Below are pictures but not sure they will show what I'm trying to describe. Filler will likely fix it but am wondering if it could have been avoided and if so, how? I'm guessing this is shrinkage from the weld??? Is this something I can hammer and dolly out?


From post #9 above:

Last, any sharp corners trimmed into you patch are going to focus the shrinking effects inside the sharp corner for a guaranteed pucker. A radius in the corners (as large as possible) helps to eliminate some of these effects for a more balanced distribution of shrinking effects on either side of the weld. This just gives you better consistency that planishing efforts are a bit easier to manage.

You are seeing exactly what I told you would be there. Basically, any weld will shrink, whether it is 1" thick plate or sheet metal. It all shrinks. Sheet metal shows the effect more as it is more susceptible to the shrinking.

For the single Mig welded dot's predisposition to shrink and pull from all directions, these shrinking effects can most effectively be addressed by planishing the weld dots isolated one at a time to stretch them back out. Typically just use a body hammer and dolly "on-dolly", I.E.: you should hear a metal on metal "ping". By addressing them one at a time, you have the advantage of mass of the tooling on your side, and can more effectively "locate" the weld dots with your tools without having to visualize each and every one. Once planishing has taken place, I typically grind the weld dots down to just above panel surface (BOTH front and back side) and leave the final cleanup to the very end with an 60 or 80 grit 3" sanding disc. If we were to sand down each and every time, you run more risk of inadvertently hitting the parent metal to the sides of the weld dots, each and every time, for more risk of thinning the metal. Grinding down to just above panel surface also gets the weld dots out of the way so that after welding the next set of dots in, likely overlapping the last set, there should be no interference for planishing that next set of dots in the same isolated fashion.

Grinding method: Grinding Mig Weld Dots

For welding into a CORNER, or as you call horizontal meets vertical, the shrinking effects at the INSIDE of the corner are compounding as the perpendicular welds approach each other and the affected area gets smaller (inside corner). It will help to planish as you go. Having two layers on one side of the weld and one layer on the other (Your flanged repair) will make it more difficult to properly planish out any defects.

For me, this needs to be cut back out and done like I said a few posts ago, without the flange. You minimize shrinking effects that result in puckers in the corners by using a large radius in your corners. I would normally suggest someone replace a complete bed side in a case like this, as there will then be mostly spot welds or plug welds at the edges for little if any distortion, like they do at the factory. But at the end of the day, you likely need to learn how to do it properly before you tackle your Mustang..

Regarding the "class" you are taking, are they teaching any of this?
 
Last edited:
Yeah Robert, live and learn. If one is not screwing something up, they're not working and they're not learning. We all have to start somewhere, I suppose. I will practice my filler skills on this side...lol! I have the other side still to do and I will follow your guidelines in that repair. In fact, before I cut it out, I'm gonna post pictures edited in photoshop as to my proposed cut out area to see what you think.....you with me on that???

Sent you a PM regarding my class!

Thanks!
 
John, at the end of the day it's your truck and your choice to do the repairs how you see fit. I agree that we learn better from our mistakes, or as I refer to, "Well Practiced". Most of what I've shared here in methods I've done horribly wrong myself before learning valuable lessons. With that in mind I'm just trying to give you a leg up on the learning curve..... ;)
 
Back
Top