Protecting paint during final assembly

8

82firebird

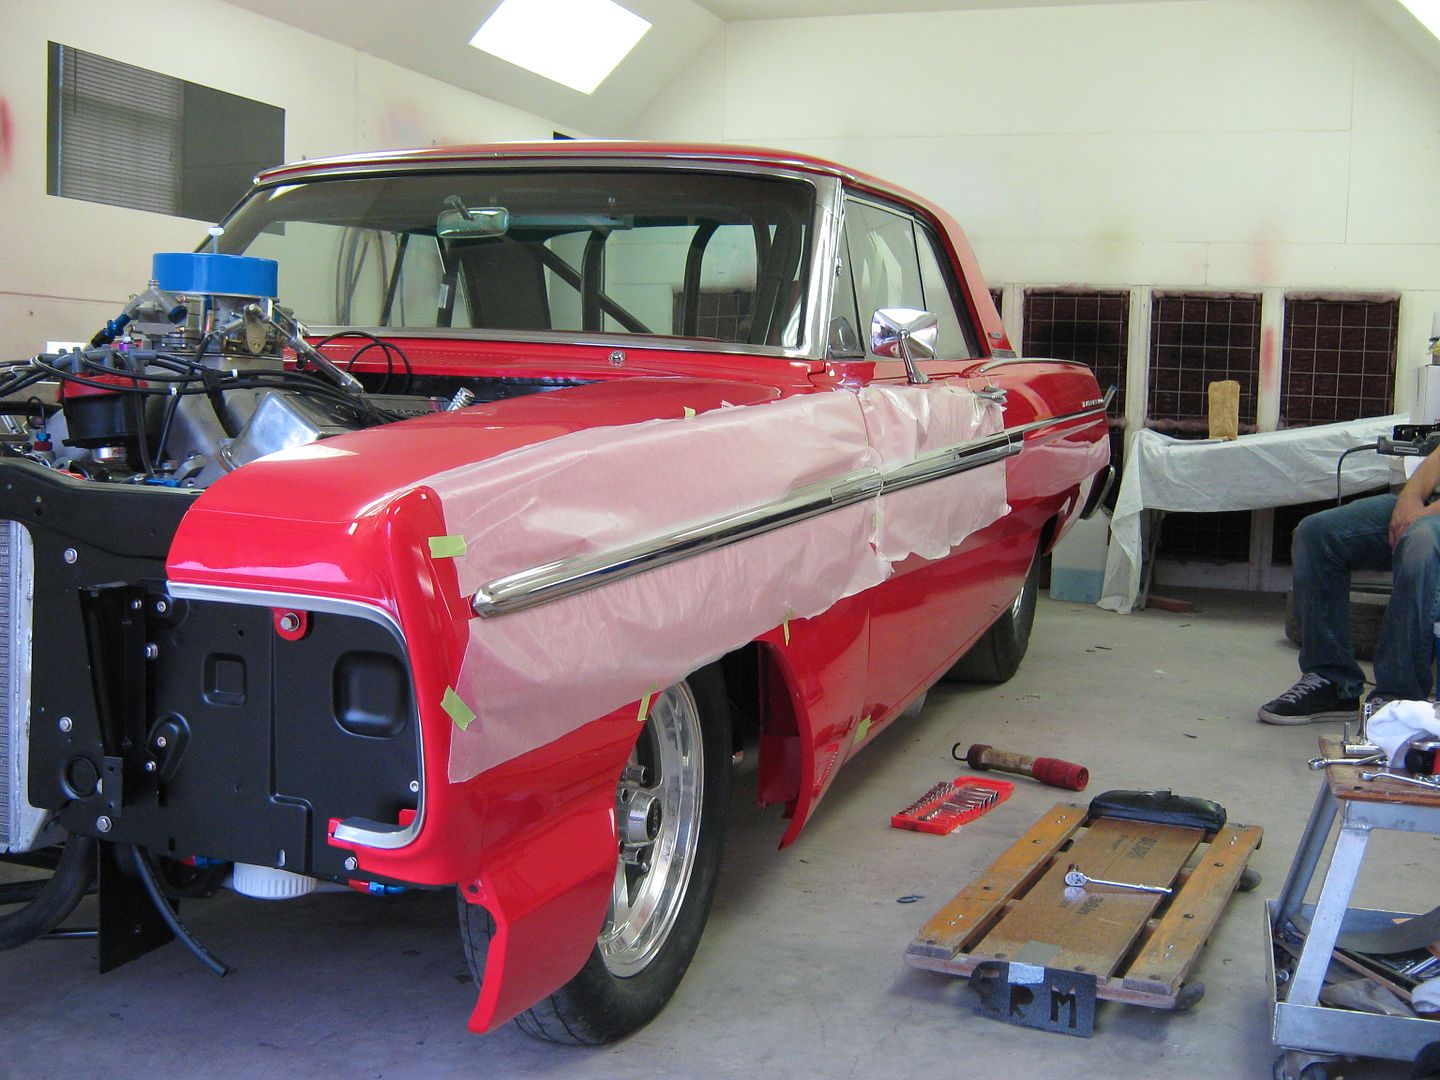
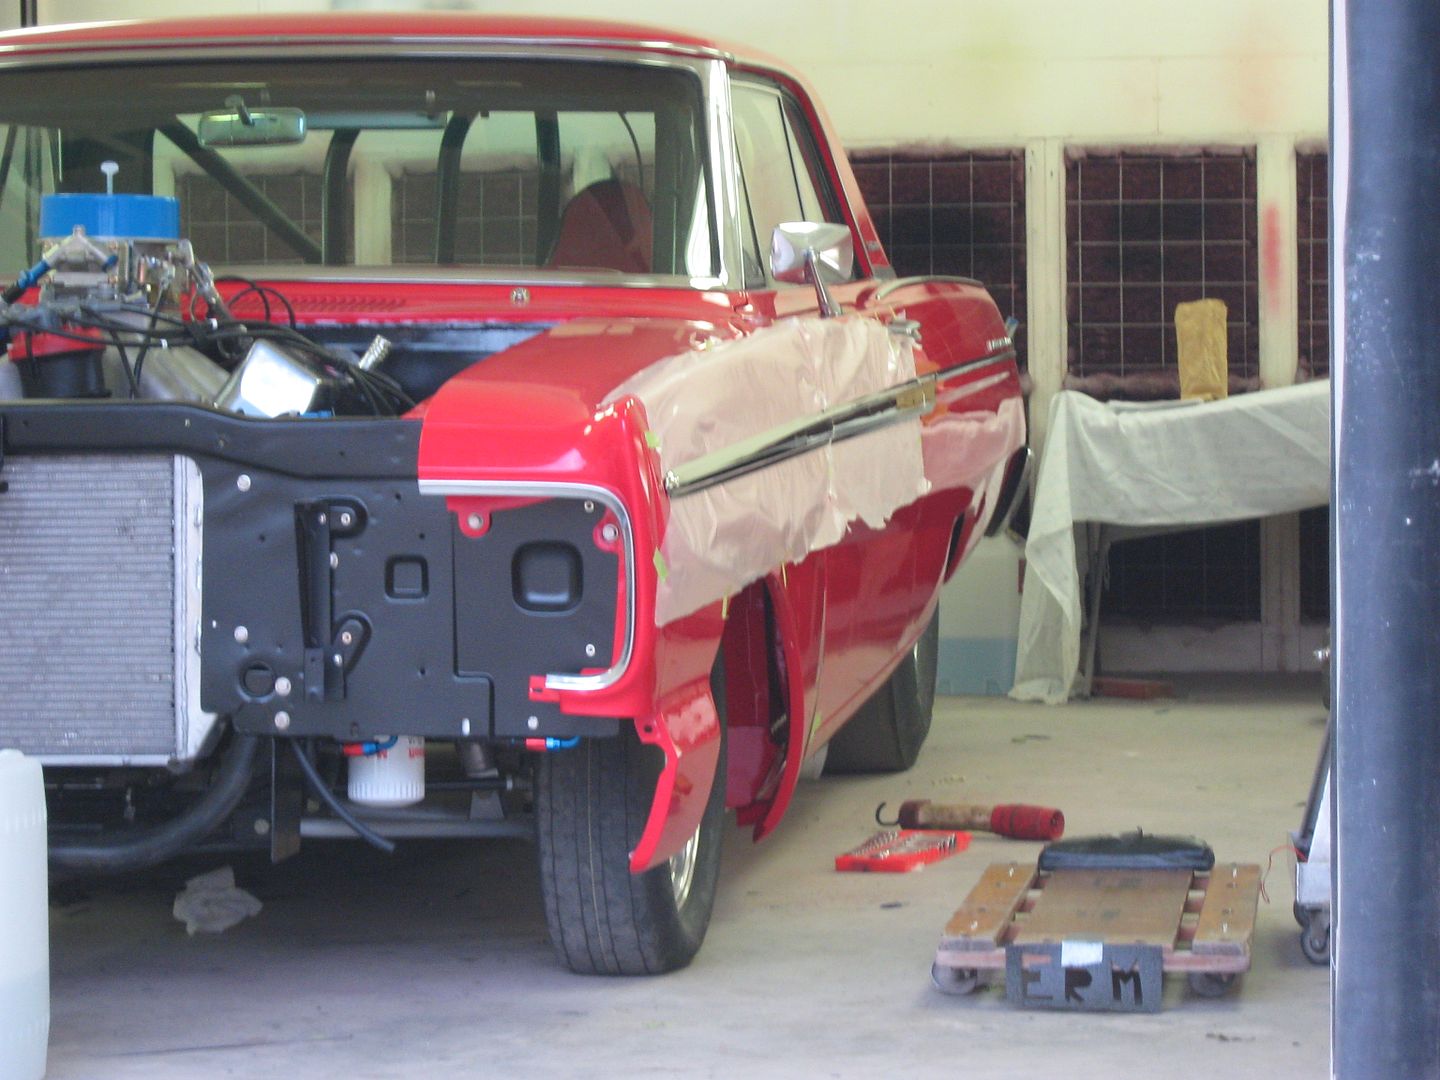
What kind of tape (brand, etc) are you guys using to protect edges and sills before final assembly? I have found the anti-chafing tape Eastwood sells, but I have seen some builders using a black, blue or green? I don't want to use something that may harm the clear. Also, do you all have any other tips to help protect things during assembly?
 
Biggest thing other than tape and rags ( i use old detail rags...have a whole box dedicated for using when assembling painted parts) is PATIENCE!!

Patience is key! You can take a hood on and off by yourself a million times in primer (exaggerating a bit here) and never chip or scratch anything, but as soon as it is painted it is a whole different ball game. Slow down and think about every move you make.

I also like to use some thick, wide, soft foam and tape it to the top of fenders and quarters and even in the door sill area. Generally you don't want to be leaning on top surfaces, but if you happen to drop a socket or something of that nature it will have something soft to land on like if you are working in the engine bay.
 
Thanks for the replies guys. I checked out the 3M masking tape chart and saw that the 2080 is the lowest adhesion blue in the non-automotive line. The 2090 is medium adhesion blue- I am assuming since you both recommended each, it's a preference but both are clearcoat safe. I have also seen people using a bright green tape, which I believe is the 3M automotive specific tape however it must have higher adhesion than either blues? I will pick up a few rolls when the time comes as well as some thin foam to protect the top of the fenders, etc. Thanks for that tip Jeremyb.
 
I have never used tape but may give it a try.. I've always tried to apply the patience strategy... Easier said than done!!!
 
I think I'm probably late to the party, but I'll add some hints for the next guy... When multiple pieces of stainless trim need alignment down the side of the body, we used wax paper underneath to keep any movement/adjustment from scuffing the paint:


Fitting the front fender and stainless. Wax paper inserted under the stainless, one strip from below, one from on top. After all the tweaking is done with the panel fitment, the stainless is aligned one end to the other, remove the wax paper while holding the position, and snug in place. Helps to keep from scuffing up the new finish while fine tuning the stainless placement.


Picture280-1.jpg


Picture283.jpg
 
I tape small pieces of cardboard to panel edges to get them initially installed.
 
Back
Top