You are using an out of date browser. It may not display this or other websites correctly.
You should upgrade or use an alternative browser.
You should upgrade or use an alternative browser.
Paint stripping hood underneath
- Thread starter Lone Star
- Start date
The hood is like a door skin wrap I doubt it could be done without other damages.That’s the one.
I would vote to take it apart, because throwing it in a vat can have its own issues.
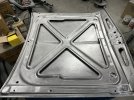
Media on structure only would probably be faster and I undersand the openings being covered up with cardboard. I have made progress on the underside using Chris Hamilton suggestions on stripping with disks, DA different sizes and lacquer thinner. Those tight areas was like dental a hygienist. Now to get the topside looking better. Thanks for all the responses and help.You could DA the flat areas and media blast the structure but be sure to block off all the holes with cardboard, etc. as any media hitting the outside skin is likely to stretch and cause a low.
Attachments
Last edited:
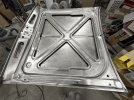
Looks like I have a few dents to work. The one in the center has the ridge pulled down. They had it worked with filler really good though. The center ridge needs to come up with the dent. What’s your thoughts on working it back up? I am thinking they left it down because they did not want an oil can.
Attachments
Chris_Hamilton
Trying to be the best me, I can be
Nice job on the underside. You made quick work of it. ") As for the dent that is what collision guys call "cave and pave". Production environment when you get a dent that caused an adjacent area to go high, many would just knock the high down with a pick hammer and slather it all with bondo. Cave and pave.
As for the dent that is what collision guys call "cave and pave". Production environment when you get a dent that caused an adjacent area to go high, many would just knock the high down with a pick hammer and slather it all with bondo. Cave and pave.
Can you access it from the backside? If not do you have a stud gun?
As for the dent that is what collision guys call "cave and pave". Production environment when you get a dent that caused an adjacent area to go high, many would just knock the high down with a pick hammer and slather it all with bondo. Cave and pave.Can you access it from the backside? If not do you have a stud gun?
MP&C
Member
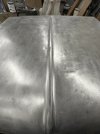
If you think about it that center ridge is the "roof truss" that supports front to back. Any interruption in that support risks oil cans as surface tensions change. We did some repairs to the hood of a 1951 F7 rollback, which had similar issues with lows along the centerline. We used a large shot bag to re-define the crease:
The entire thread can be found starting here:
Next, I'm sure everyone has seen how these hoods can oil can, show low spots, and try to flop around while driving down the road. Part of that is abuse over the years, fatigue, etc. Any low spots invariably result in a loss of support of the hood and will show oil cans or loose areas.
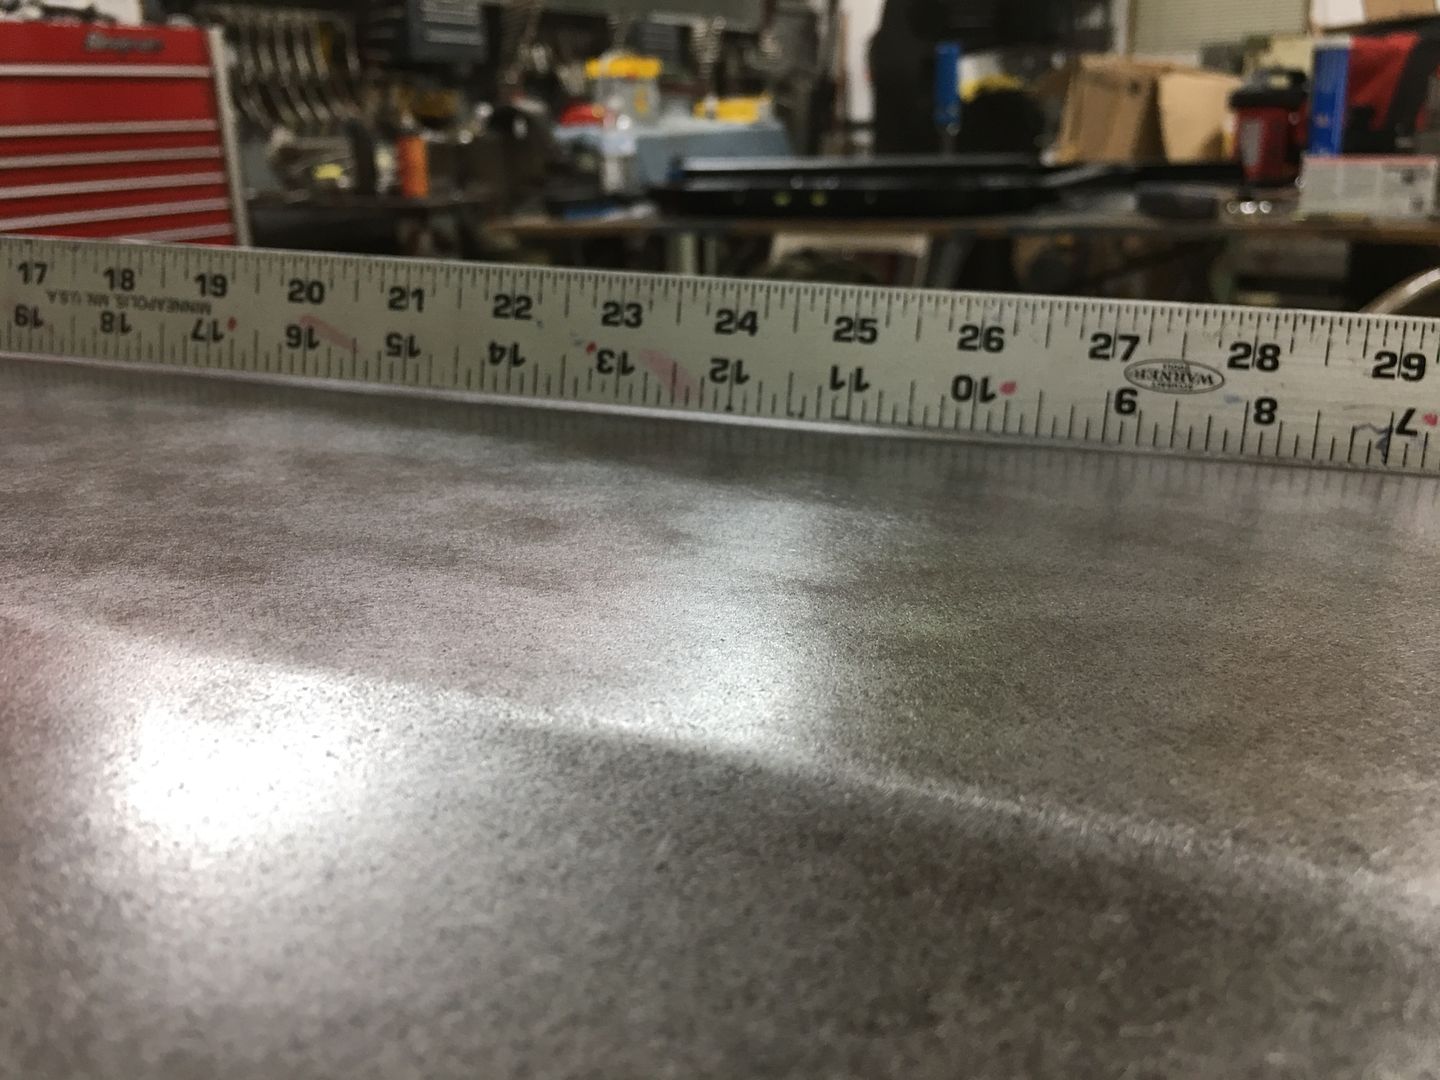
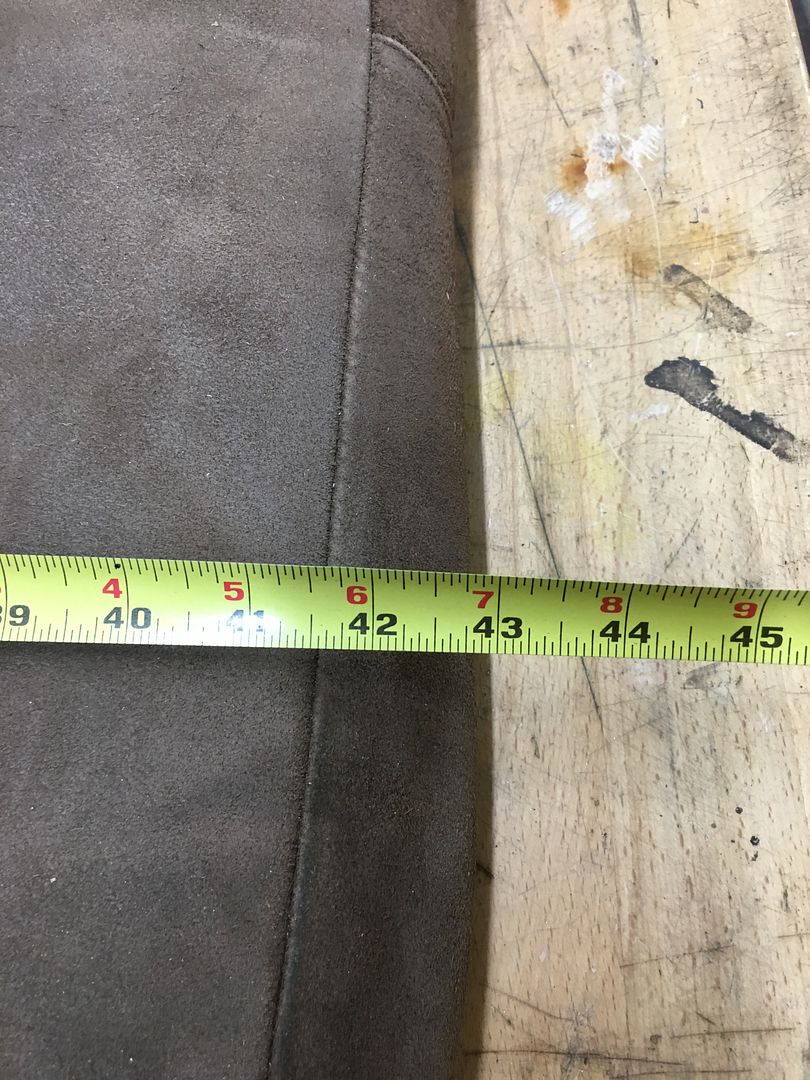
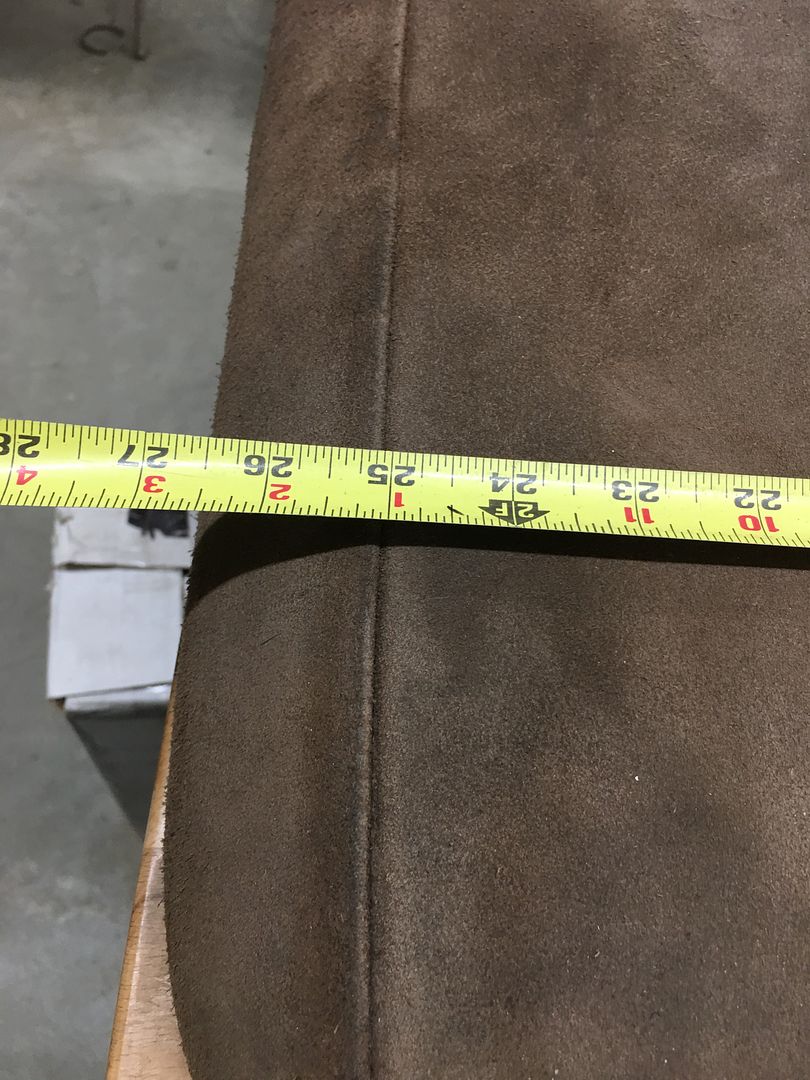
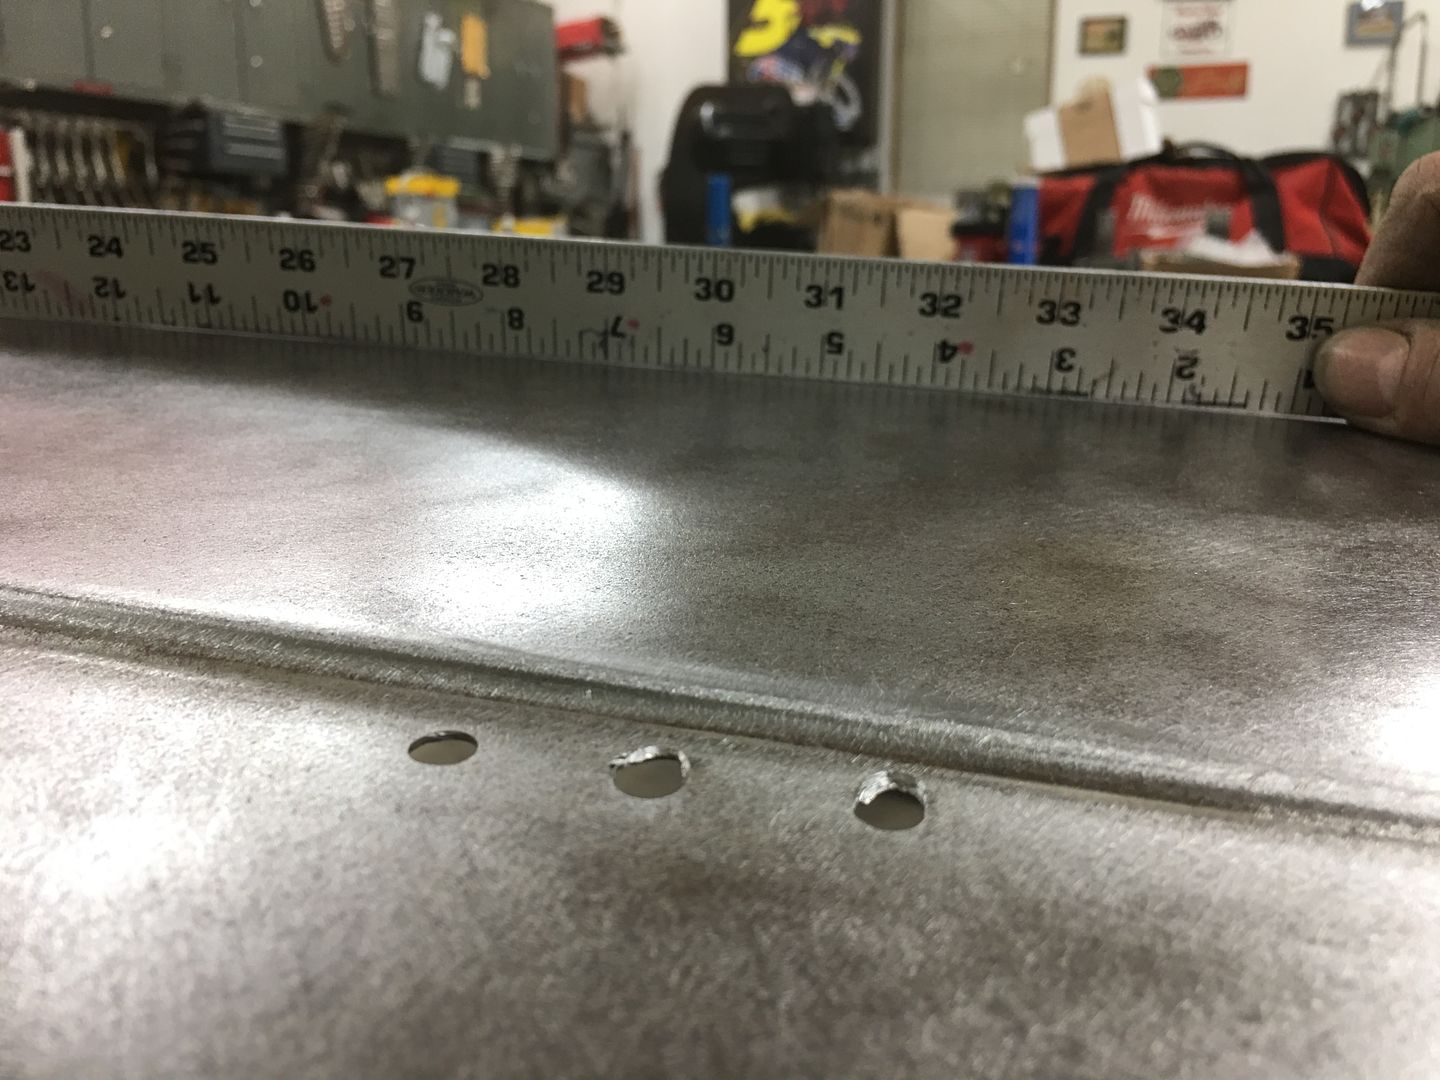
A good tool to check the crown of the hood is a long straight edge in the form of a 36" rule. If you don't have one, most hardware stores sell aluminum flat bar for a few dollars that will make a good profile template. For this style hood, lows are bad, straight is better, and a slight crown in the center crease along the entire length of the "flat" area of the hood is optimal.. This gives the support to help eliminate those oil cans and floppy hoods.
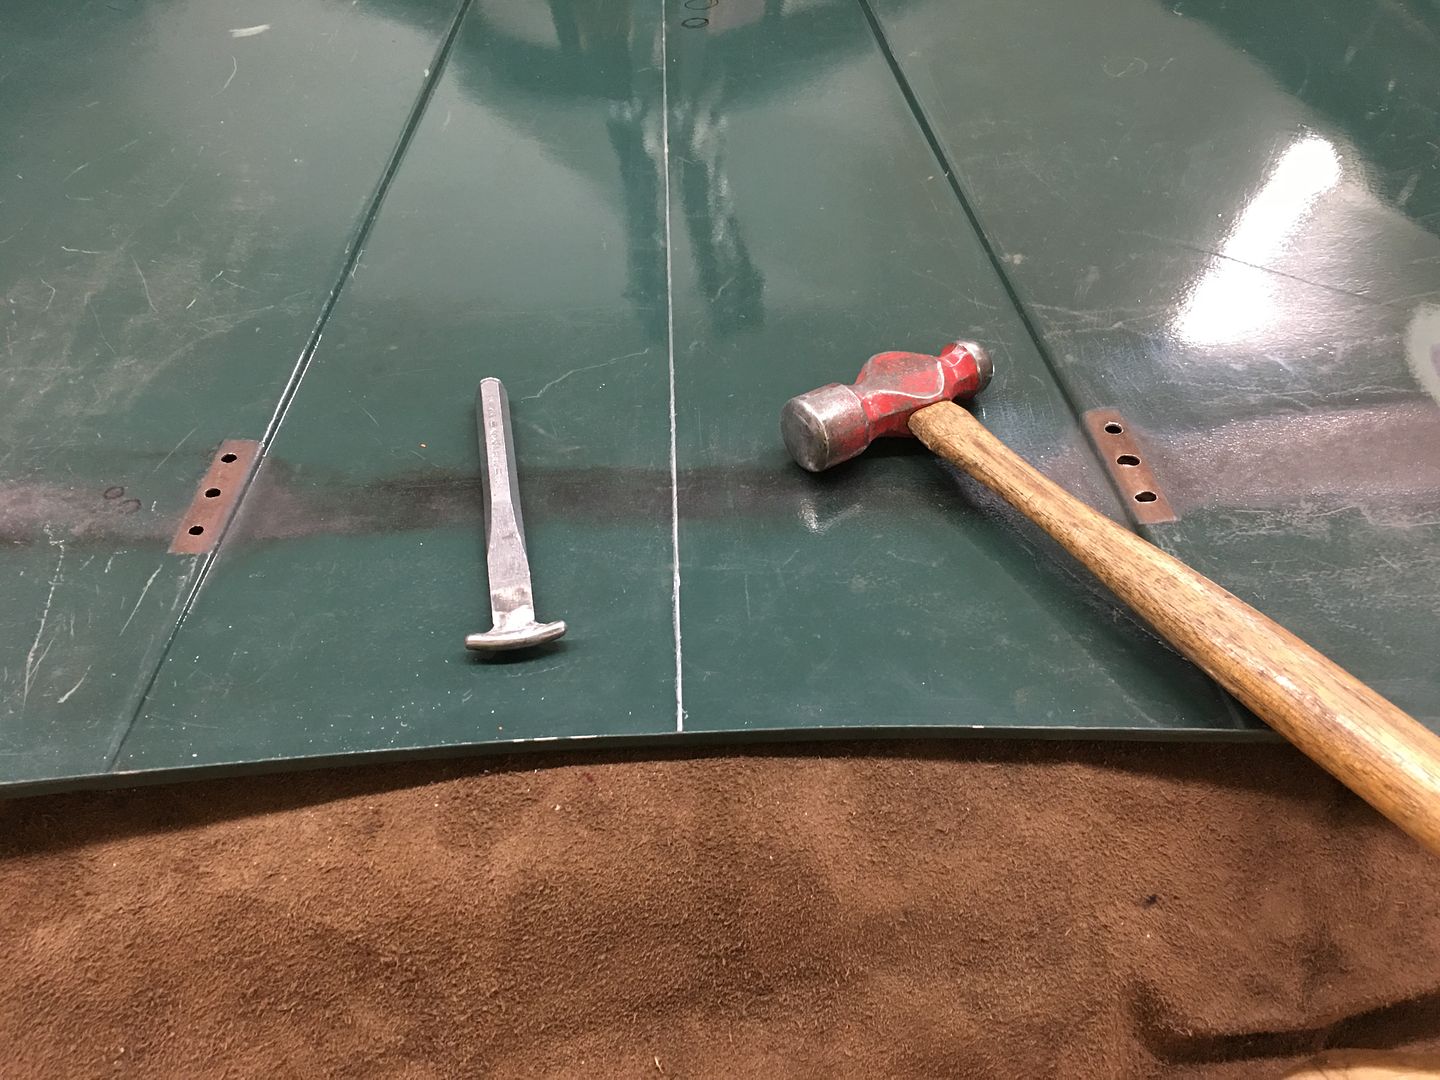
When we started there was an obvious area about 12" forward of the rear edge, dead center, that appears low, and was easily pushed downward. In order to better define the center crease and provide the support needed, we will use a sand bag (a rather large one) and lightly hammer from the bottom side into said bag with a purpose built "punch".
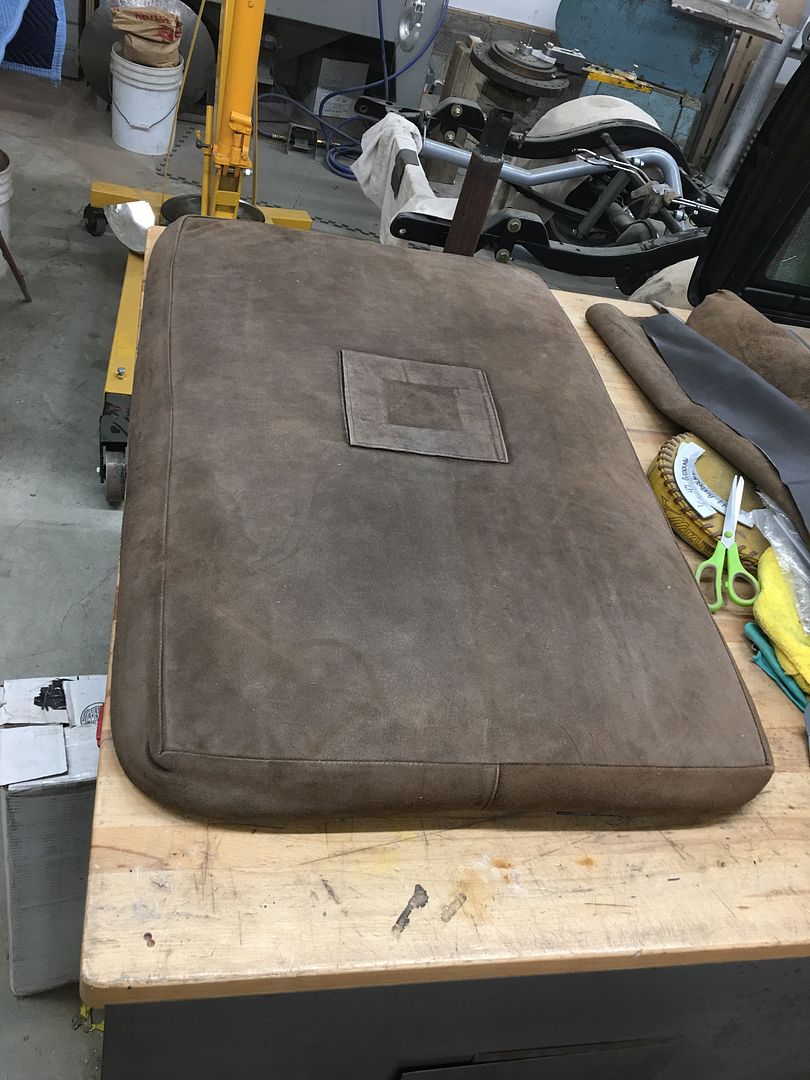
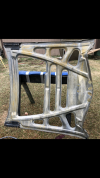
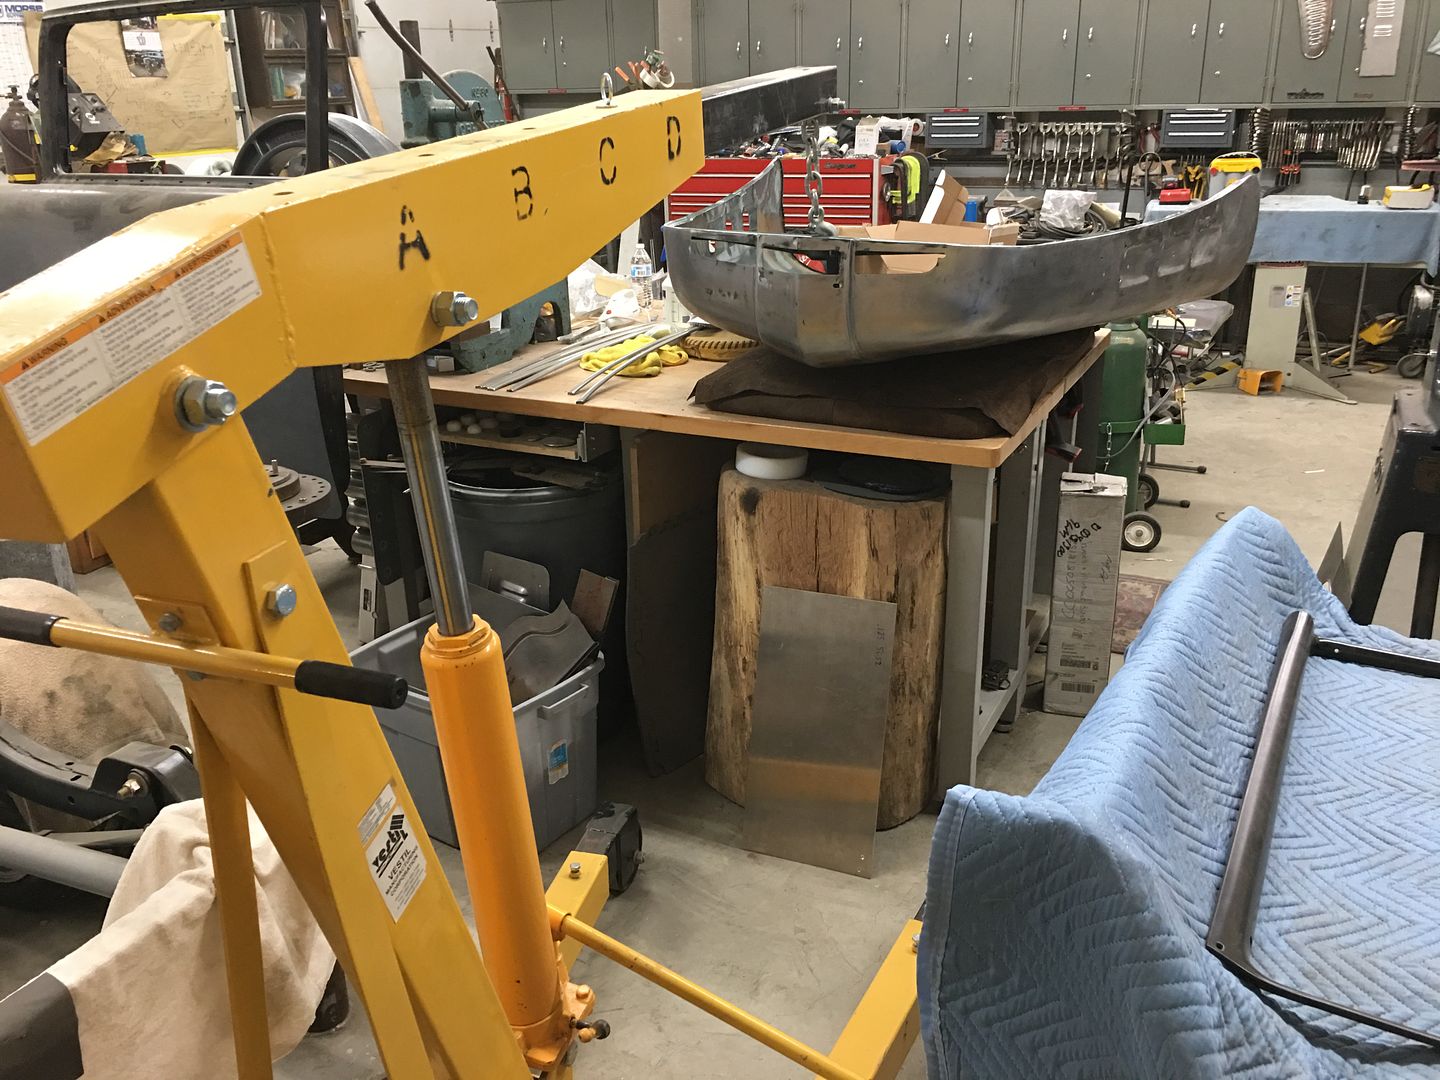
In order to keep the back portion of the hood down against the bag for support, we used our latest "metalshaping" tool to hold the front of the hood up, an engine hoist..
A reference mark is used on the inside, measured and centered...
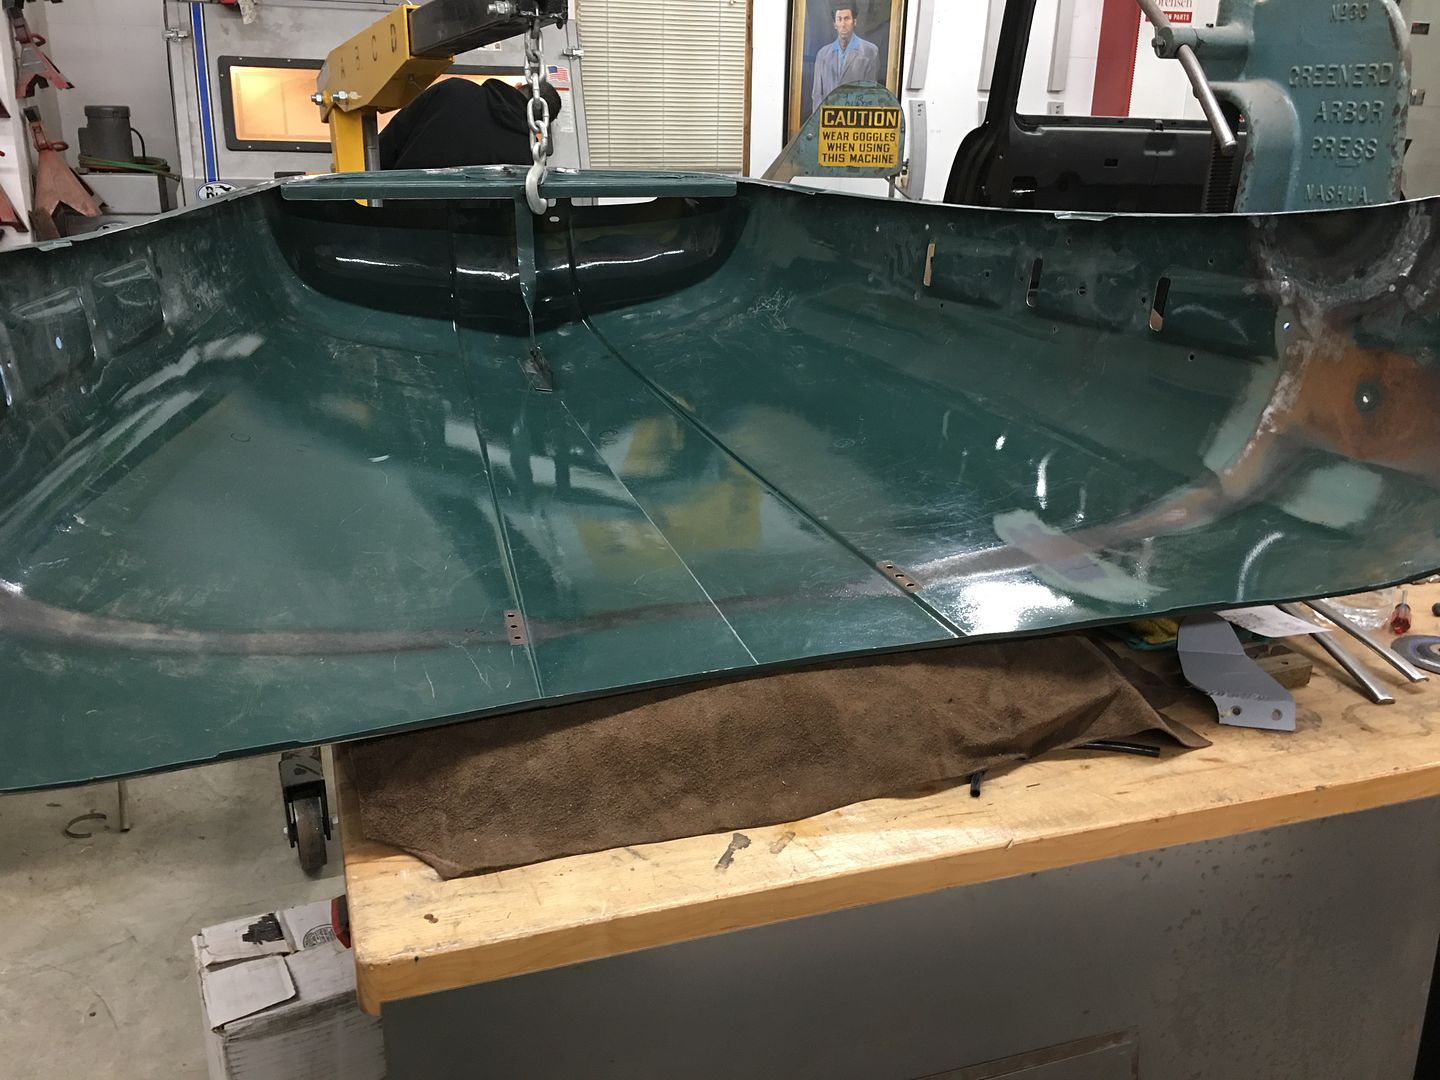
The crease was checked for low spots prior, and the bottom marked. The "punch" is dragged along the centerline and tapped as you go. Flip the hood over, check crown, remark as needed, repeat. We got to a good straight/slight crown and the oil can disappeared. Pushing along the entire center crease was a nice tight support now..
So if you are having issue with your hood, I would suggest first checking your center crease.
The entire thread can be found starting here:
1947 Biederman Truck Fender Repairs
Top notch right there great amazing work congrats! Now bring me 2 yards topsoil please :)
www.spiuserforum.com
Yes have some access from the backside its about 3 inches from the inner bracing. I will send photos from my phone in a bit I had took on underside when I ran across it. Yes I have a stud gun Dent Maxi its called. I have used it in several areas of the car and the thing that bugs me is it will pull chunks of metal with it and leaves a divot or small area in metal even though the metal is clean as I can get it. Not sure why it does that.Nice job on the underside. You made quick work of it.
Can you access it from the backside? If not do you have a stud gun?
Nice job on the underside. You made quick work of it.
Can you access it from the backside? If not do you have a stud gun?
Attachments

Good information to know and now that is a large shot bag which I can see how that could come in handy. Only shot bag I have fits in the palm of your hand.If you think about it that center ridge is the "roof truss" that supports front to back. Any interruption in that support risks oil cans as surface tensions change. We did some repairs to the hood of a 1951 F7 rollback, which had similar issues with lows along the centerline. We used a large shot bag to re-define the crease:
The entire thread can be found starting here:
1947 Biederman Truck Fender Repairs
Top notch right there great amazing work congrats! Now bring me 2 yards topsoil please :)www.spiuserforum.com
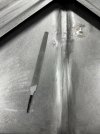
I epoxy primed top of hood yesterday after stripping left underside bare metal. Started working the dent in center this morning from the underside first and used a small flat file for reference of highs and lows and made some progress. As I was working with hammer and dolly my left hand started going numb and I didn't have good control of the dolly with left hand. This was a first time of this issue so I am not sure if its corpal tunnel or a pinched nerve. Anyways appreciate the help I will update later on. Oh and yes the prior repairman used a pick hammer which I do not like using.