Arrowhead said:
Wow, that's pretty awesome Chevyman, very impressive. That kind of metal work is way beyond my skill set, but that's the look I'm going for. Any tips or tricks on how to achieve that (or at least get me closer)?
Thanks guys
I just kind of stumbled along doing this, learning as I went, so you may find other or better ways to do the same thing.
I will tell you some of the things that I did and you can use anything that might be helpful.
You have to keep in mind that tri-5 chevys has always been my choice so I have an ample supply of parts if I mess anything up---and I did, but also the fit of the parts can be different on every panel you try, even with GM parts. Some of the original 1/4 panels lend themselves much better for this than others.
One of the problems with original 57 fenders is caused by that huge front bumper, if the bumper corner hits anything, it gets pushed into the fender causing a bow that runs from the gold louvers down to the wheel opening, and its almost impossible to straighten without being pulled. If you are aware of it, then you can see a lot of top show cars with that damage. That is an area on the repops that is right on. Another problem that some of the original fenders have is that the rear lower part turns outward, but it just needs to release from the brace, then it can be twisted back in shape, but or course for every action there is likely to be a reaction. Being able to remove the panels, including the 1/4s, helped tremendously. I drilled locating holes to keep my alignment right, because these older panels are adjustable in every way possible, so the alignment holes are absolutely necessary.
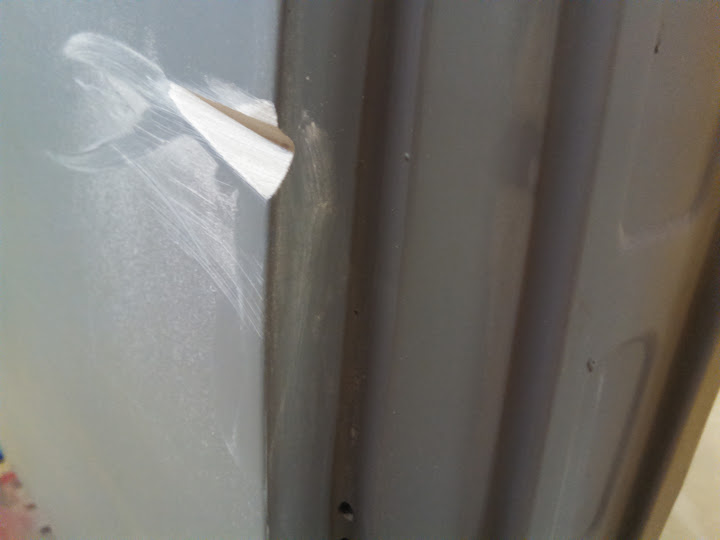
After locating the parts that fit together best for what I wanted to do, I started out on the door fender seam by aligning the fender with the rocker and cowl. Then used a slide hammer to pull the front edge of the door out as much as I could get away with, and after removing the fender brace, the fender was made to match the door edge then screwed the fender flange to its brace. The door latch at the back of the door was adjusted out as much as possible, and the front edge of the 1/4 panel was loosened and made to match the door edge. The more these all come outward, the less there is to shrink.
I don't have a lot of experience with the shrinking disc, but I can not see how you could have enough control over it to do this.
I started all the shrinking at the highest point in the panel (the middle), and kept doing the highest point, and that caused a wave to the front and rear, and that wave filled in the low area of the door caused by pulling the front edge out. I did all the shrinking with a stud gun, first long trigger pulls, and at the end there were times when the trigger pull was ever so slight--I was a stud gun master by then--LOL
I didn't have a radius sweep that the metal shapers use, just used my hand and then a 3 foot rigit straight edge to pin point the problem areas that I could feel. Just rolled it along, checking every direction that the roll was consistent without highs and lows. When the panel gets close to what you want, the straight edge will find slight problems that you can't feel.
If you haven't used your hand much, then I will say that my off hand is more sensitive, and I find that changing my position while feeling the panel sometimes tells me something that I missed, such as seated-vs-standing, facing-vs-back to it, standing on the left of it-vs-standing on the right.