I go back and forth, one day my sheet metal repairs go nice and smooth, the next day they sink at the weld and I feel like throwing things, heavy things. My process is this...
1. Lay new metal over old metal, clamp or screw in place.
2. Cut through both layers of metal to ensure cuts match
3. Remove old metal, clamp new metal with vice grips, panel clamps, whatever fits
4. Tack a couple tacks just to hold it in place
5. Go through and bump metal until it lines up, then tack.
6. Put a tack every 2 or 3 inches using above step.
7. Put tacks in between previous tacks, repeat until I have 1/4" lengths to finish weld.
8. Finish weld 1/4" lengths.
9. Smooth large pieces of weld with edge of cut-off wheel.
10. Finish smooth with 36 grit roloc disc.
The welds sink in, in some spots, up to 1/8". I try to bump them out as much as possible, but welds don't seem to like to move. I tried to get a good pic, after bumping, but it doesn't really show it well.
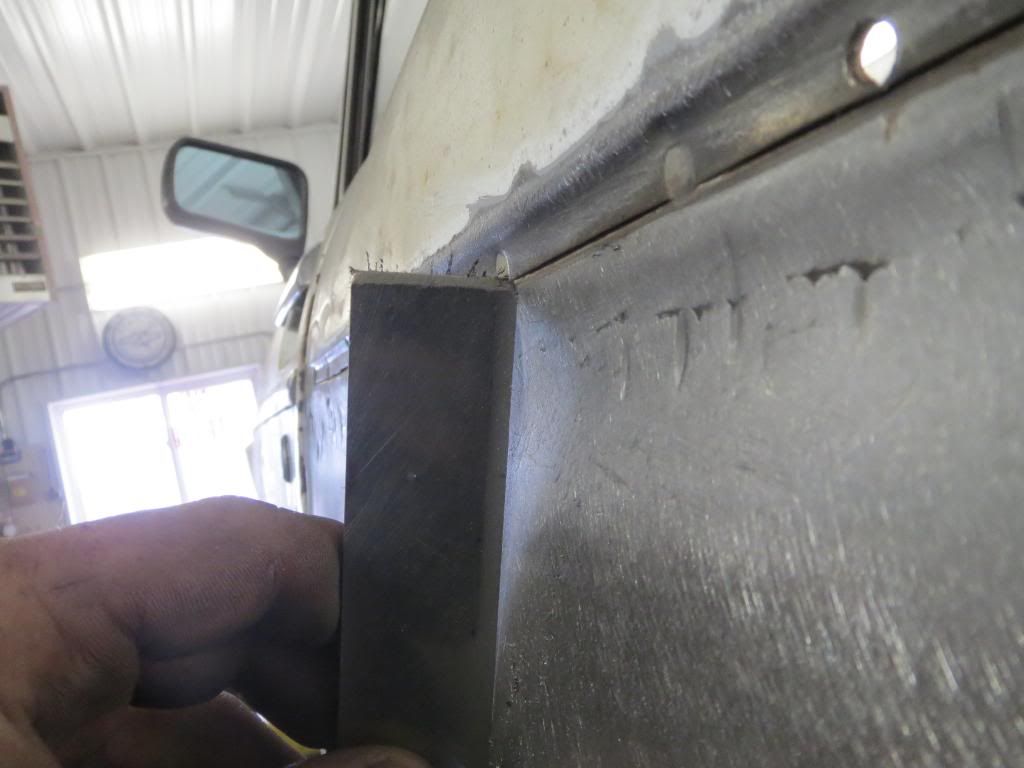
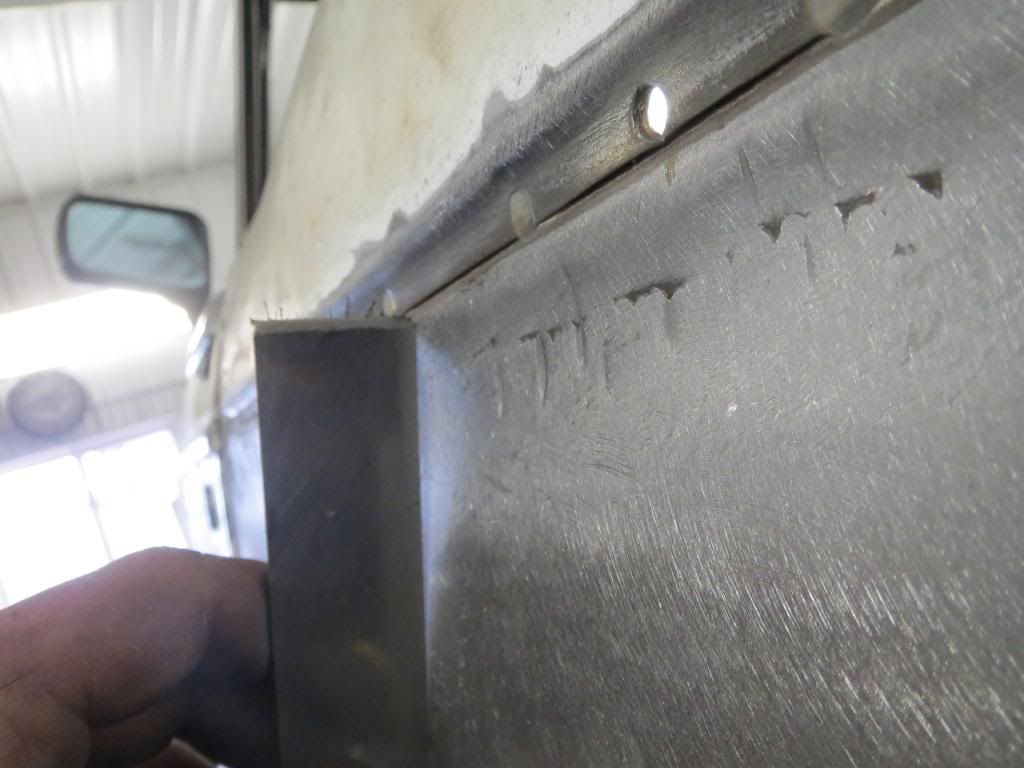
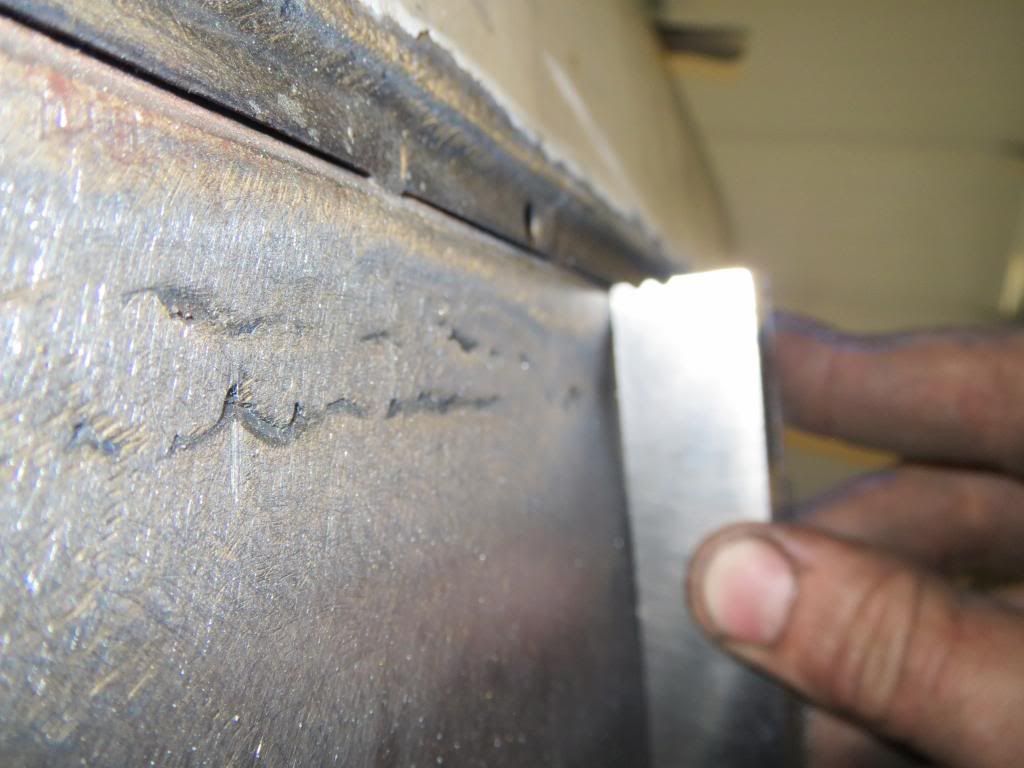
Any helpful ideas?
1. Lay new metal over old metal, clamp or screw in place.
2. Cut through both layers of metal to ensure cuts match
3. Remove old metal, clamp new metal with vice grips, panel clamps, whatever fits
4. Tack a couple tacks just to hold it in place
5. Go through and bump metal until it lines up, then tack.
6. Put a tack every 2 or 3 inches using above step.
7. Put tacks in between previous tacks, repeat until I have 1/4" lengths to finish weld.
8. Finish weld 1/4" lengths.
9. Smooth large pieces of weld with edge of cut-off wheel.
10. Finish smooth with 36 grit roloc disc.
The welds sink in, in some spots, up to 1/8". I try to bump them out as much as possible, but welds don't seem to like to move. I tried to get a good pic, after bumping, but it doesn't really show it well.


Any helpful ideas?
")


