I don't know if this applies to your situation exactly but maybe my lessons learned will help out...
I was having some issues in blocking, and needed to kinda step back and try to figure out why I consistently had a low in the center of the doors...
We had already done a couple sessions of priming/blocking the door across to the quarter and to the fender, all installed on the car. After this, with the next session of primer we put a perimeter of tape on the door skin. Now with blocking separate from the body, the tape allows you to block the door and keep off the edge to prevent losing your match to the fender/quarter.
I don't stick with 45* angles, if you want to keep a long direction flat, you need the long block to better follow that direction. So change up to some sharper angles, about 30* off the long direction every now and then. Work one end to the other, consistent spacing, consistent angle, end to end. Then alternate to passes in the opposite direction.
Once done, and the inner part is good and blocked, now remove the tape and GENTLY block to the edge, taking care to not pull down at the edge and round things back off again. Whatever hand is holding the block make sure it is minimal pressure and stays on the door skin. In other words, no pressure pulling down past the edge.
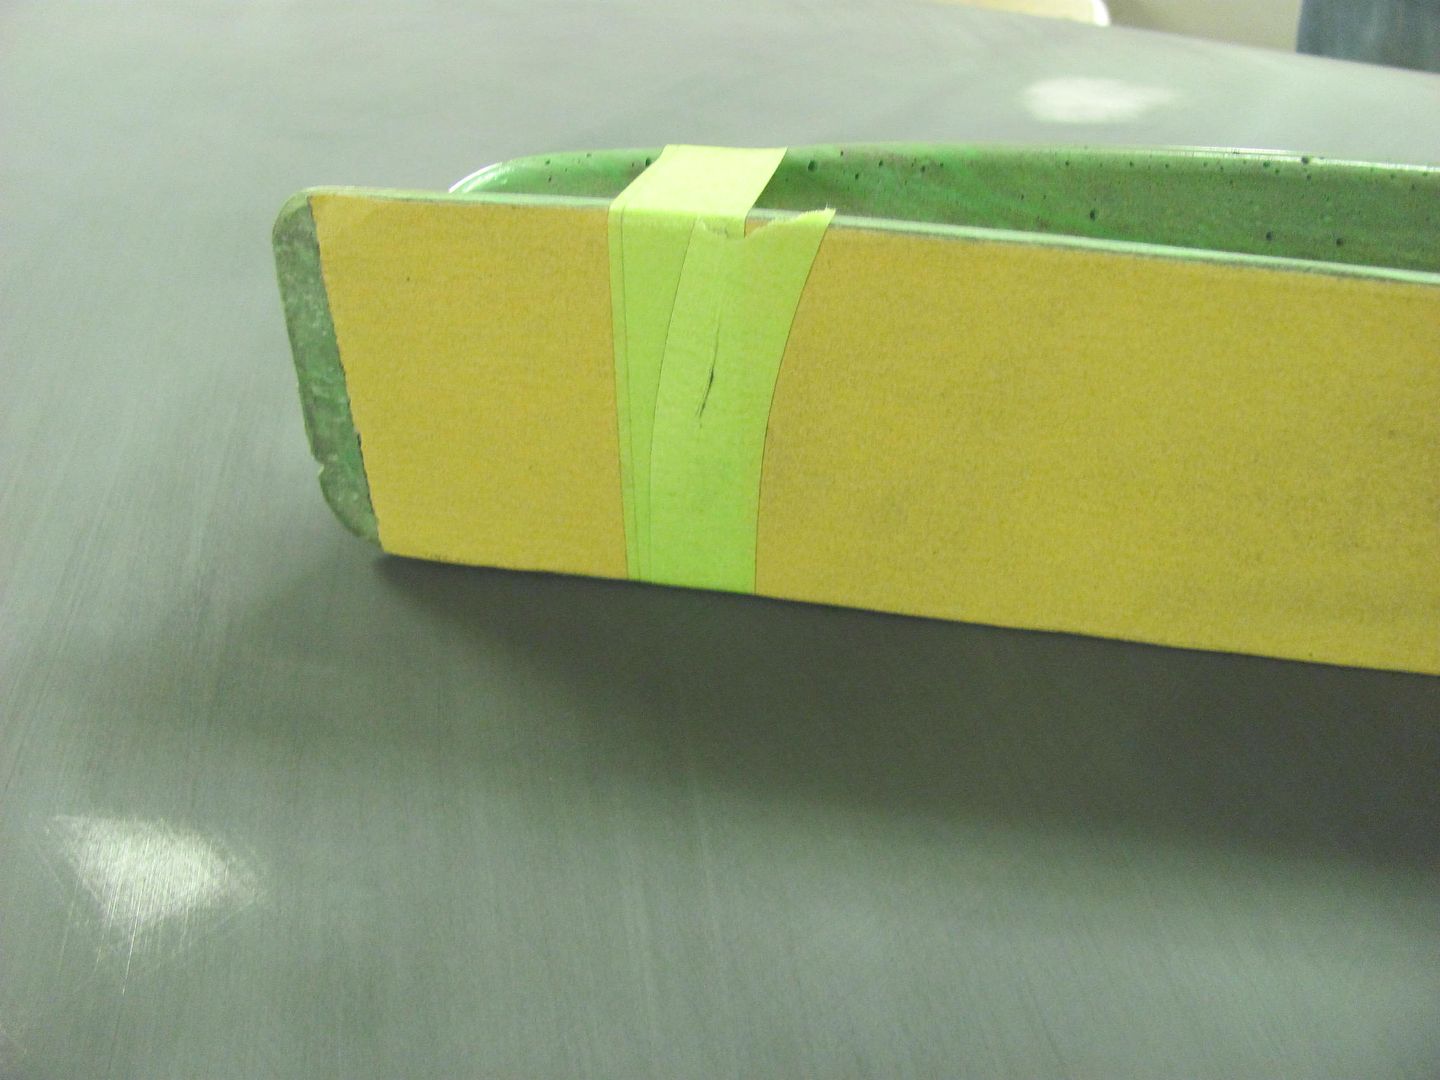
One other point, to keep the inner end of the sanding block from sanding out all your hard work in the center of the door, put a wrap of tape around the end of the sanding block that is towards the center of the door. This helps that end to glide across the center of the door without cutting primer there.
Now to show the importance of the long board, and what was part of our problem..
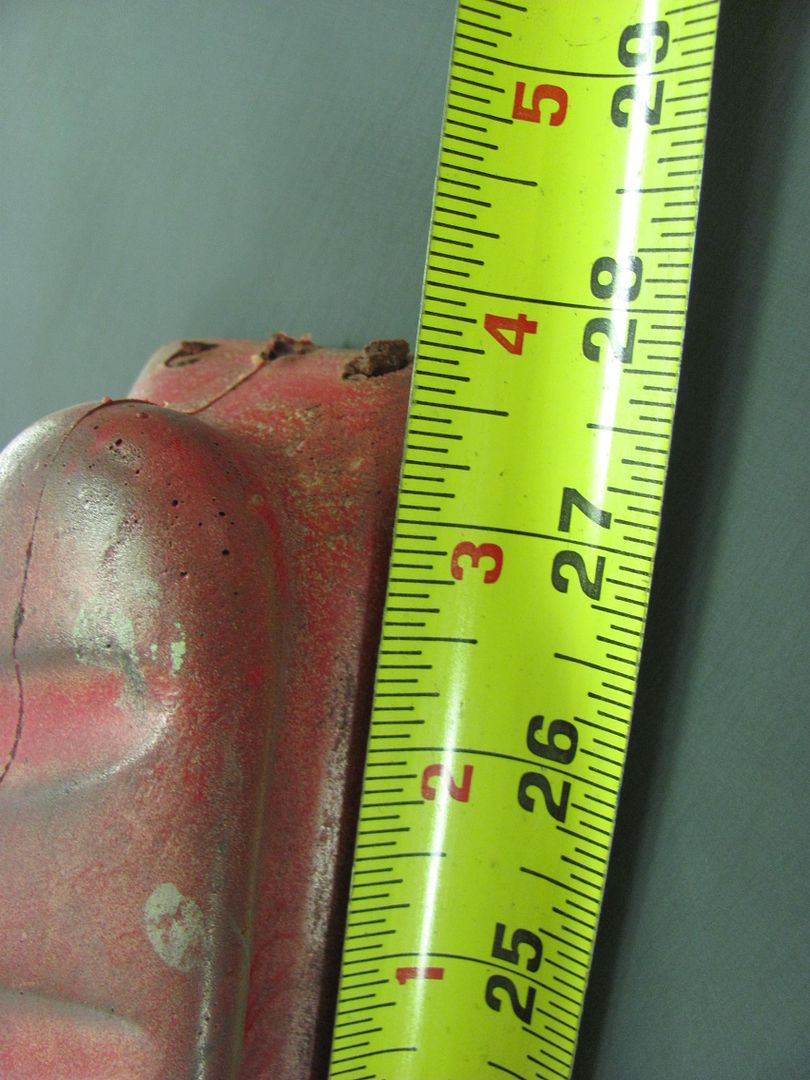
We had done some blocking with the 27" AFS and seemed to have two high spots with a low in the middle of the door.. No matter what we did.
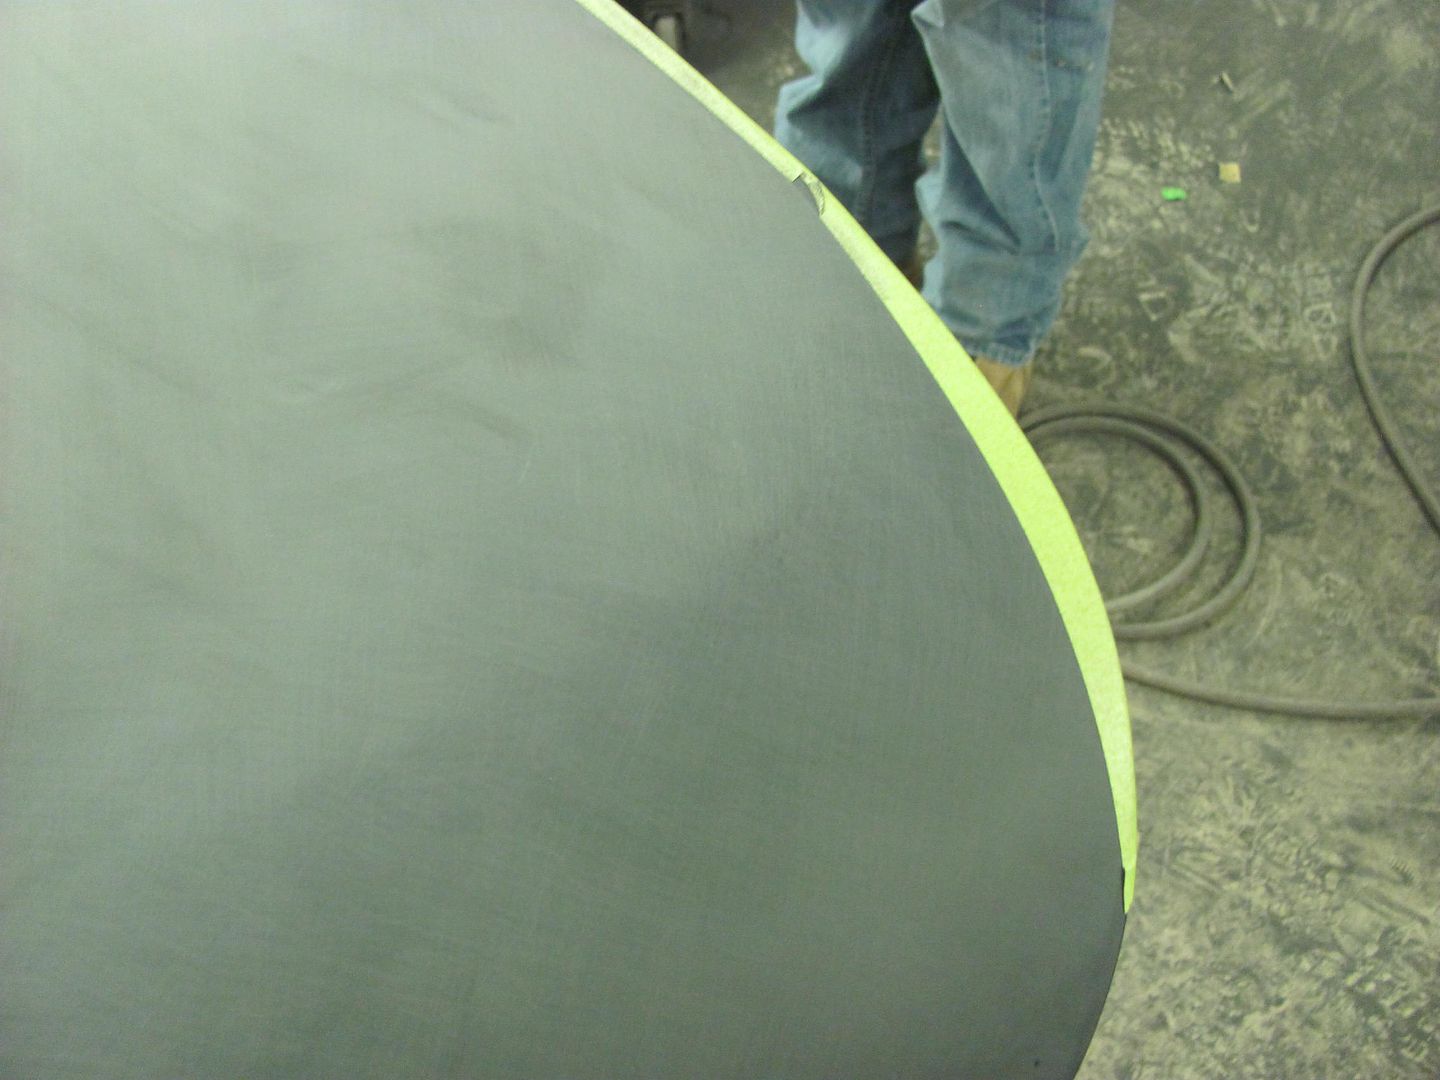
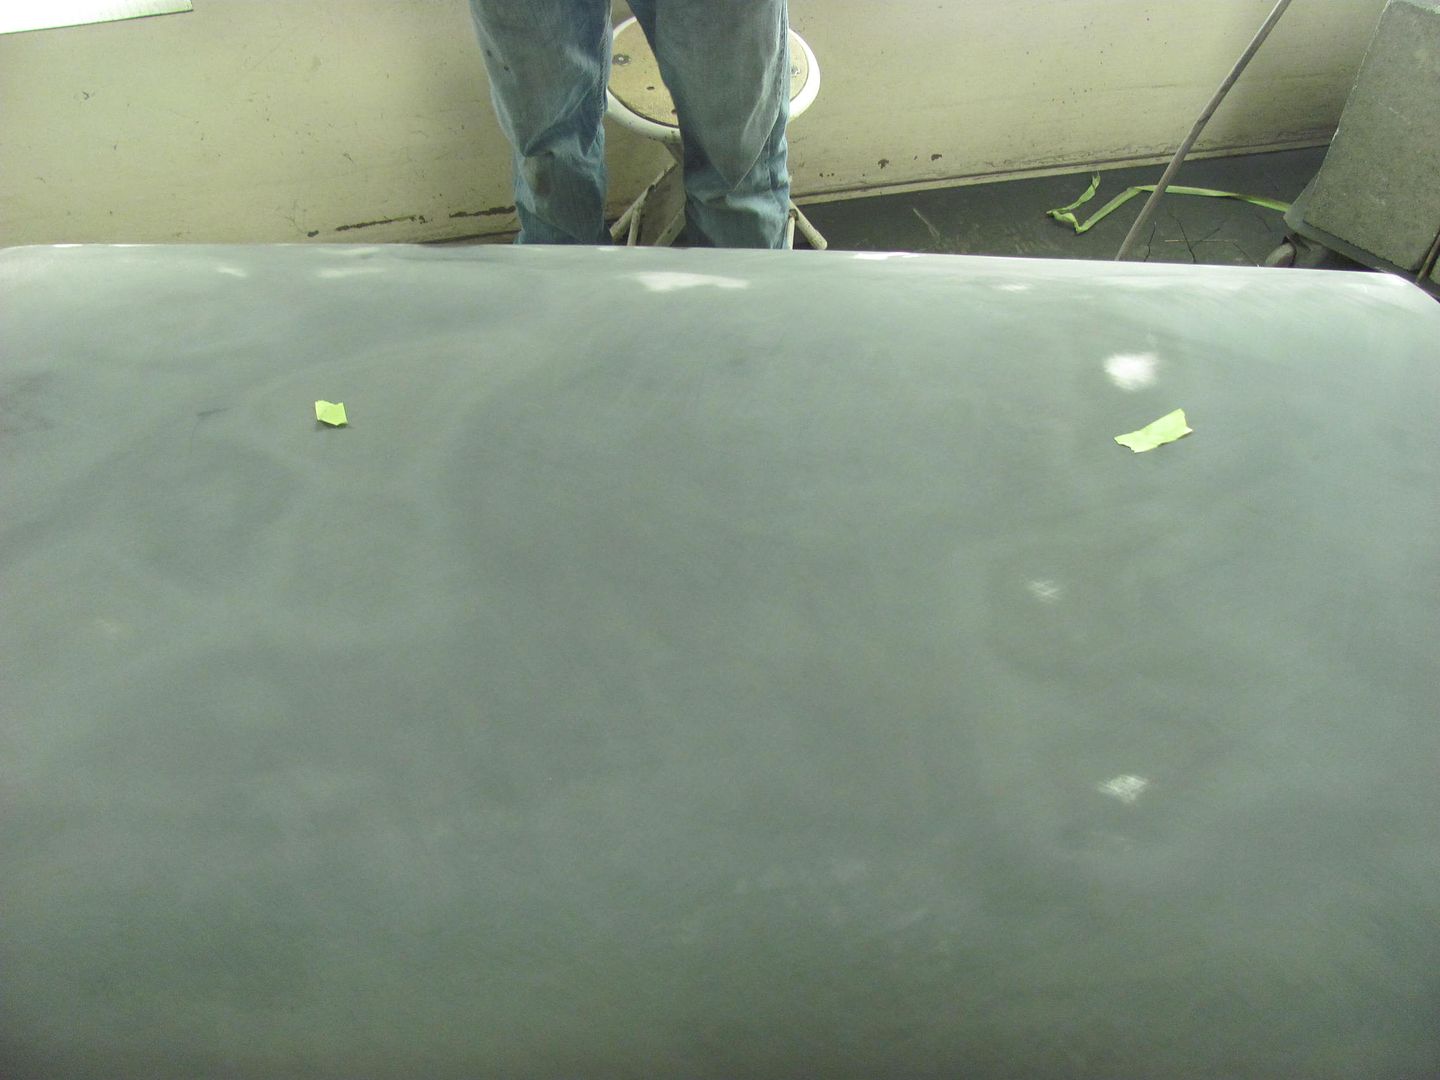
Note the high areas marked by the green tape...
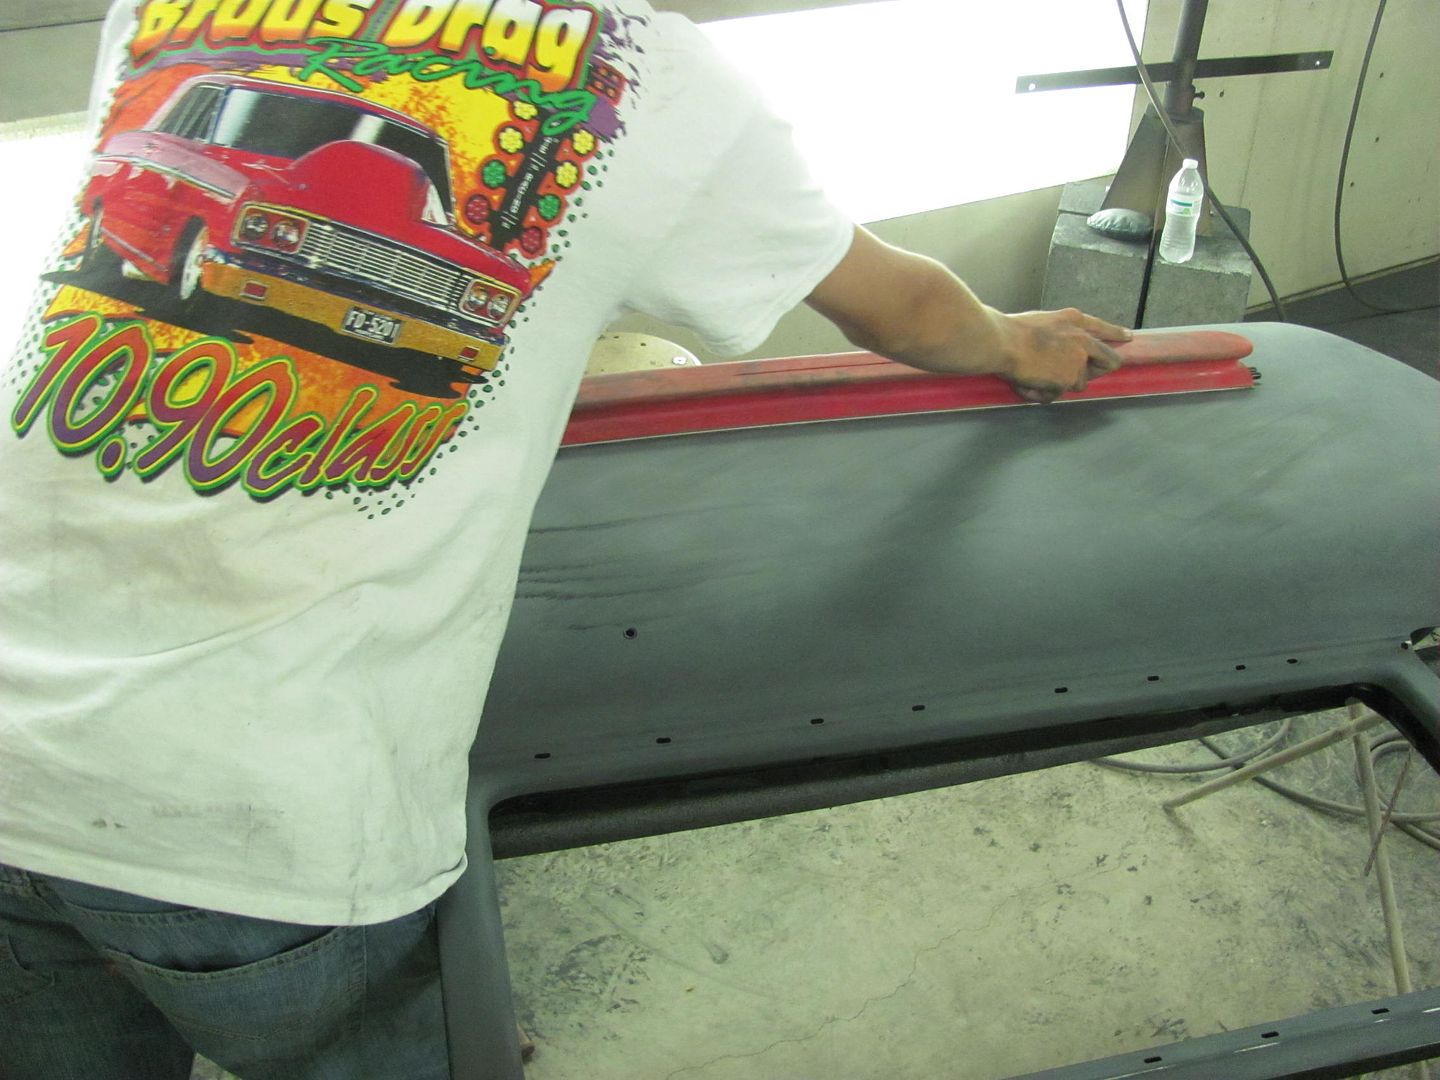
Now we can see that as the sander is moved to the left, the left portion of the AFS is over the high spot on the left, and with a bit more movement that direction and now the right portion of the AFS will start dropping into the low void. Effectively, this is still cutting material out of the low, keeping it low.
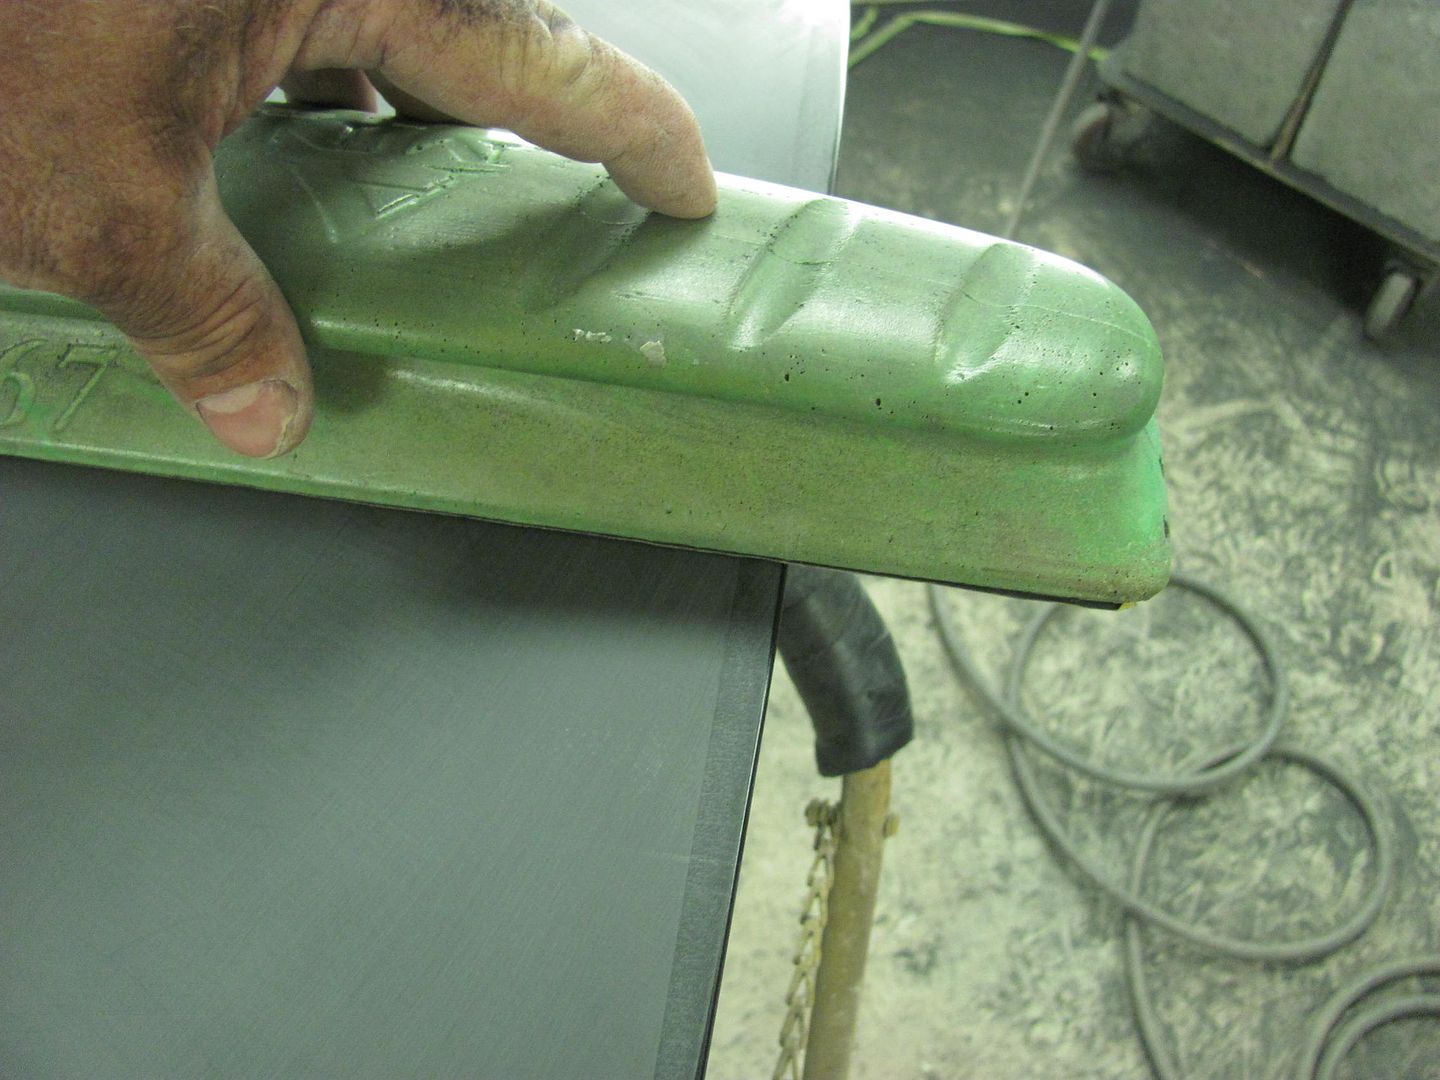
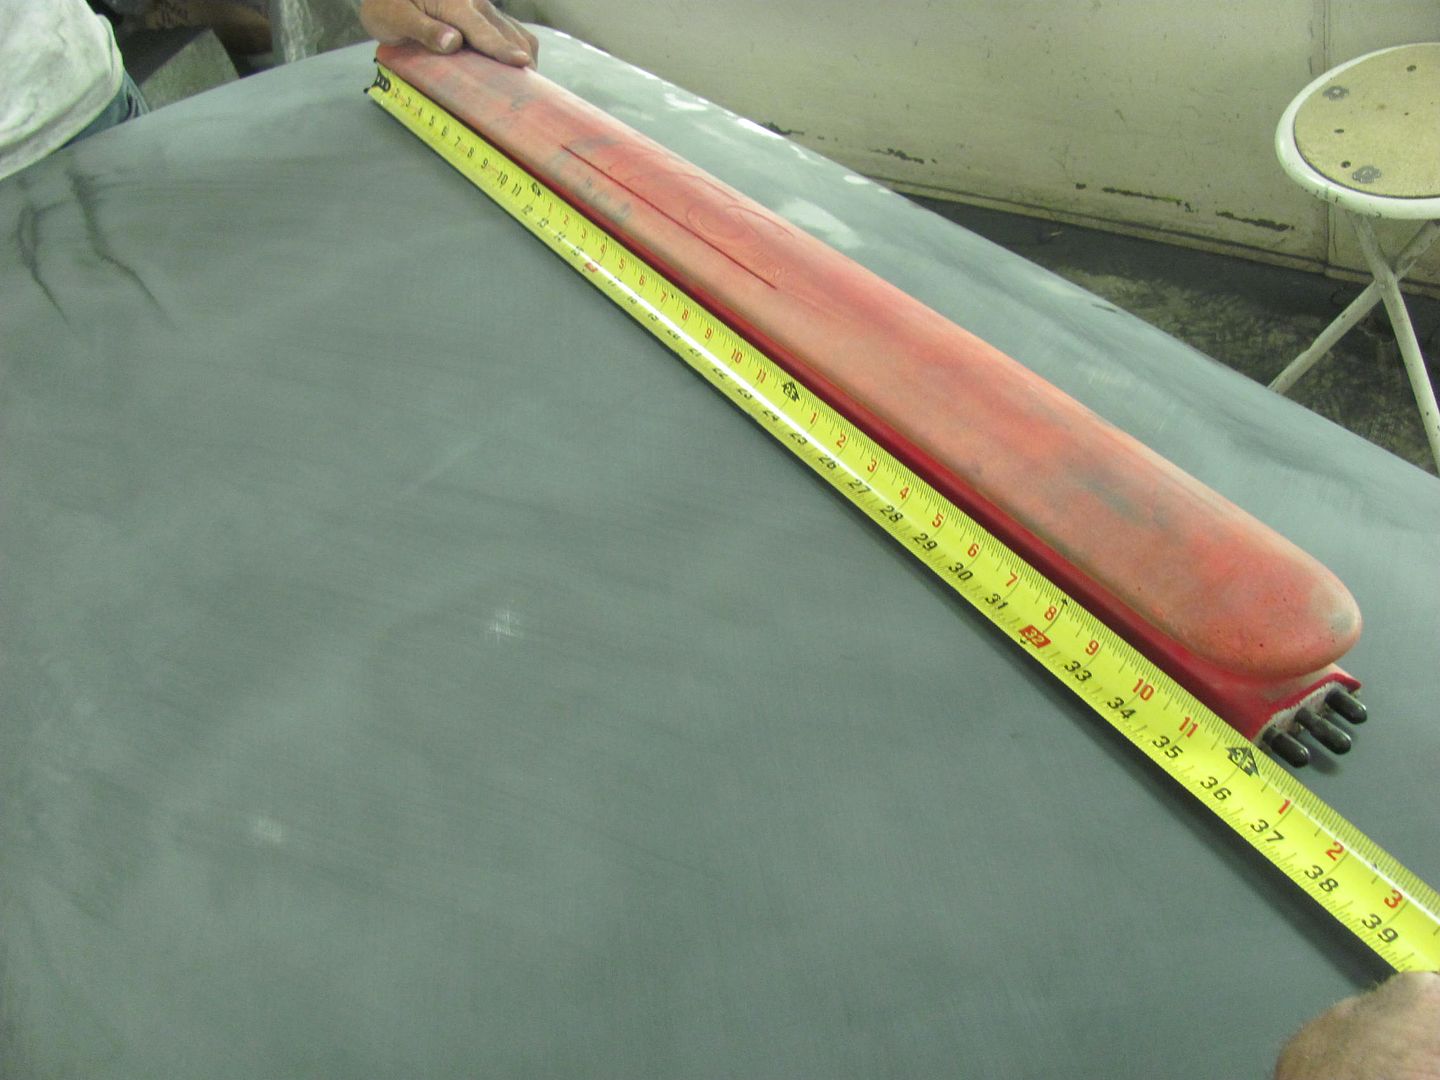
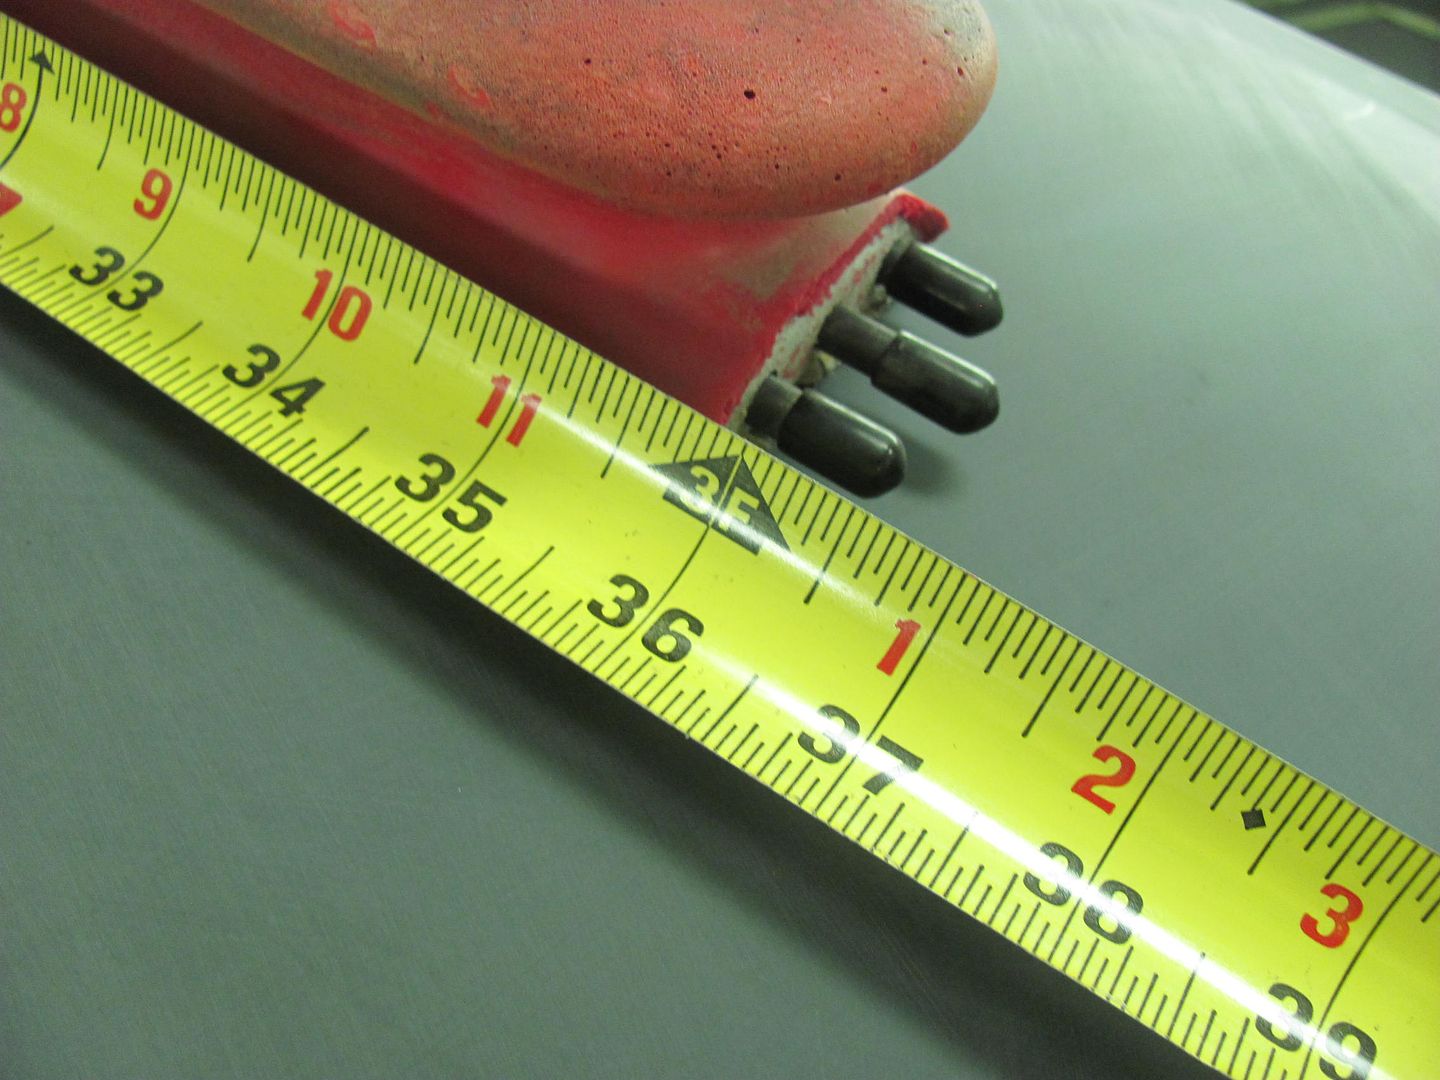
Looking at the next size up, a 36" AFS....
Here we can see this one does a much better job of spanning the high spots and staying up on top, for a more effective job of knocking down the highs and leaving the low in the center alone...
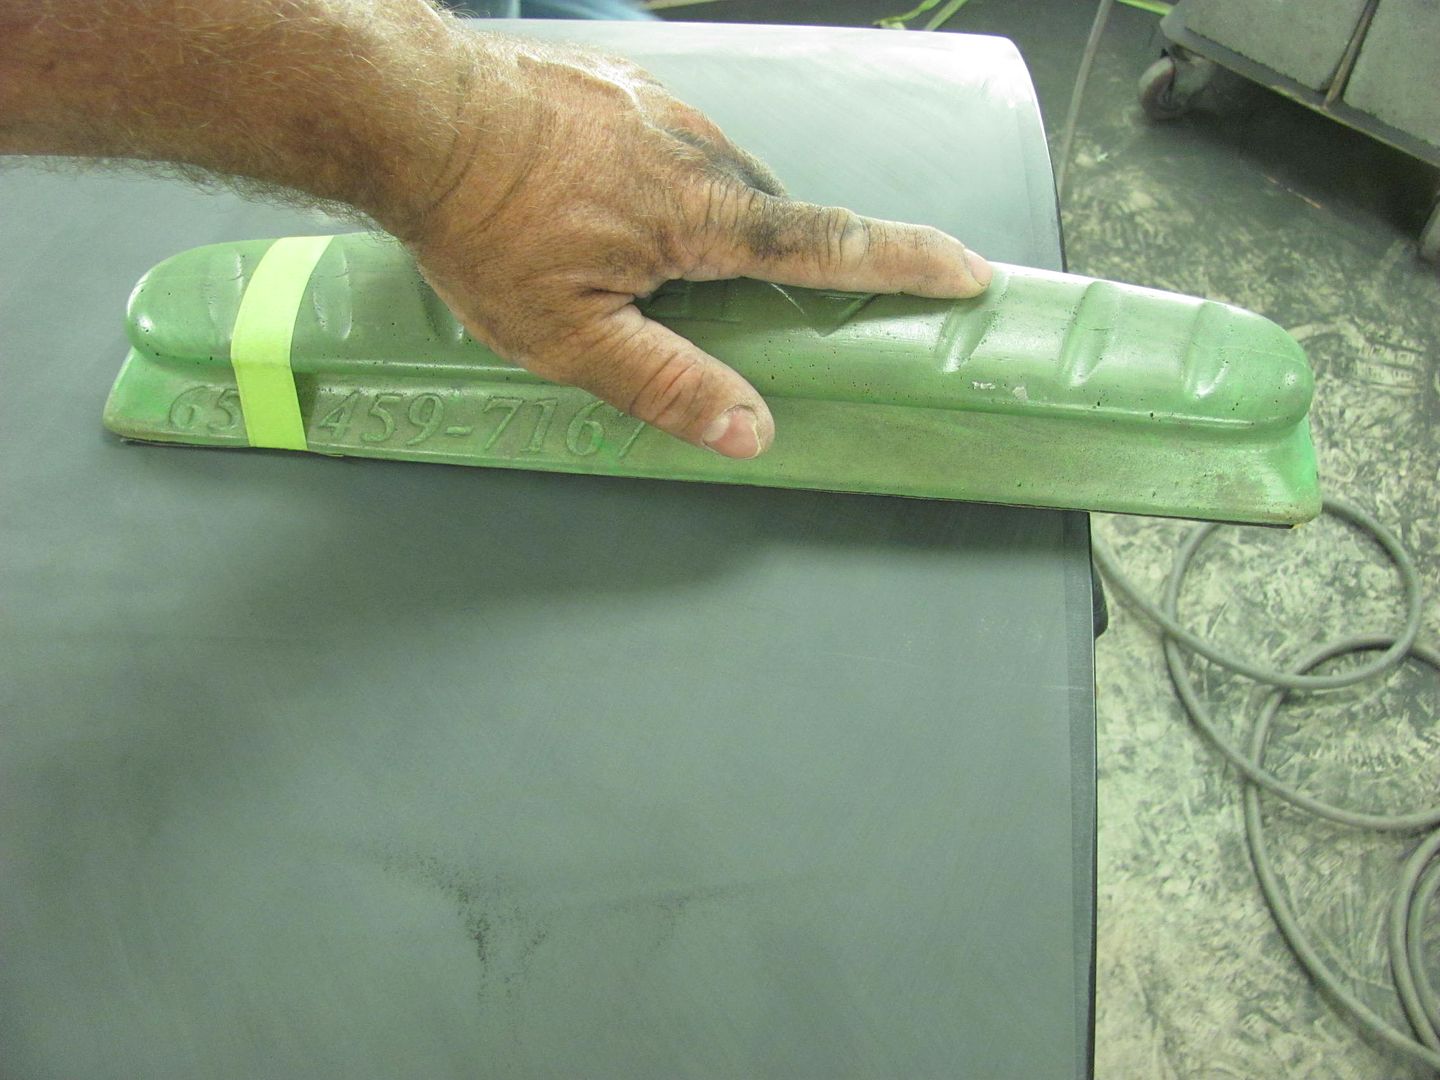
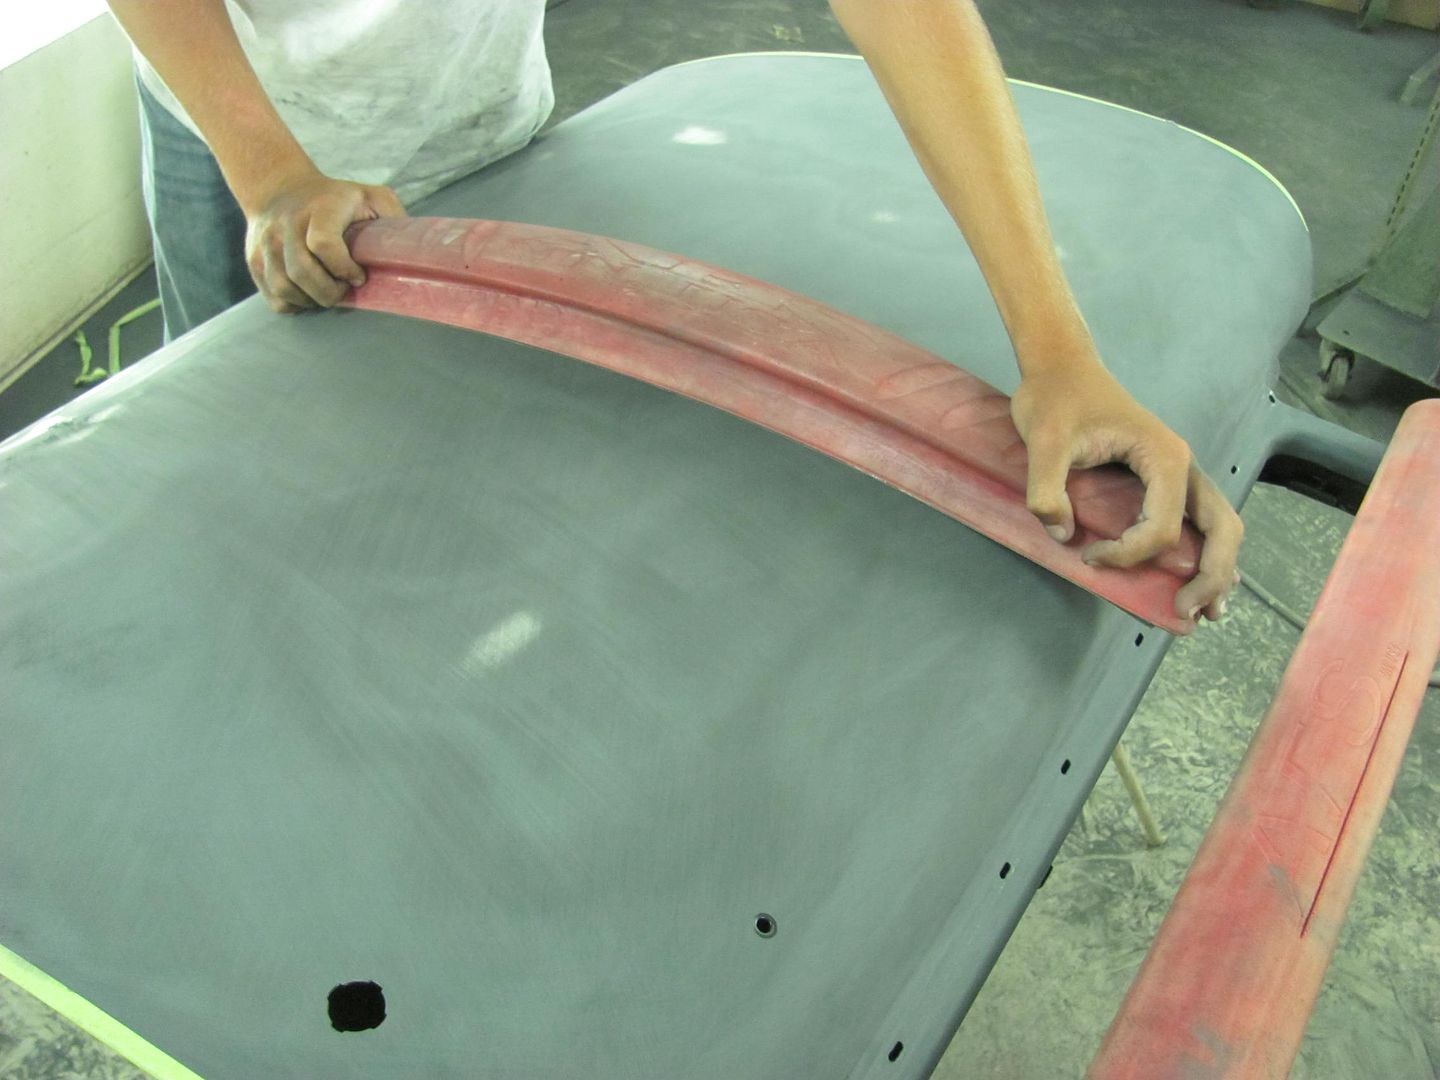
After a few horizontal passes at slight angles, like so with the 36".......
We follow up with some vertical passes at slight angles with the 27".... all rods removed to better follow the contour. Then alternate back to the 36 and another horizontal session..
Hope this may spark something to help out...