K
kenseth17
Took on my first side job since moving to my new house 2 years ago.
Guy called and asked if I could do some fiberglass repairs, he forgot to put in his hood pins, and hood flew up and damaged it.
Here is the car on the place that built its website. http://custom-musclecars.com/index_Page859.htm
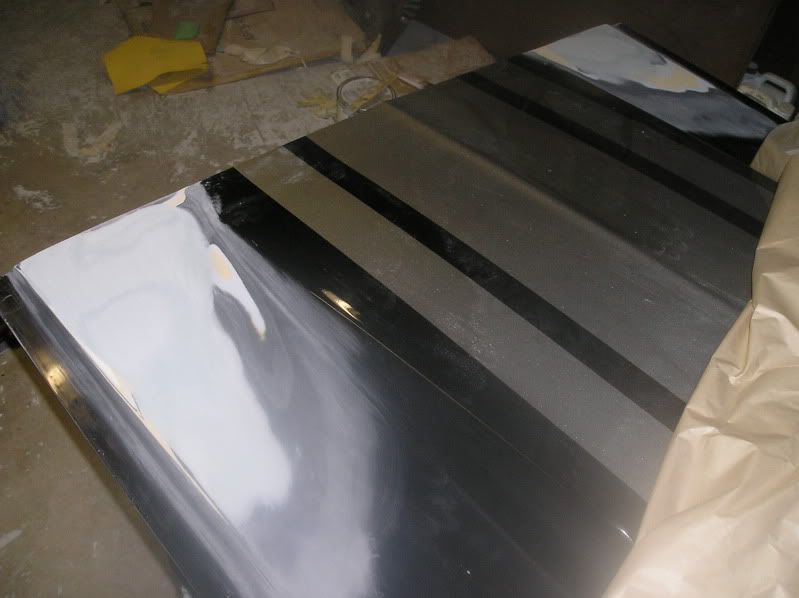
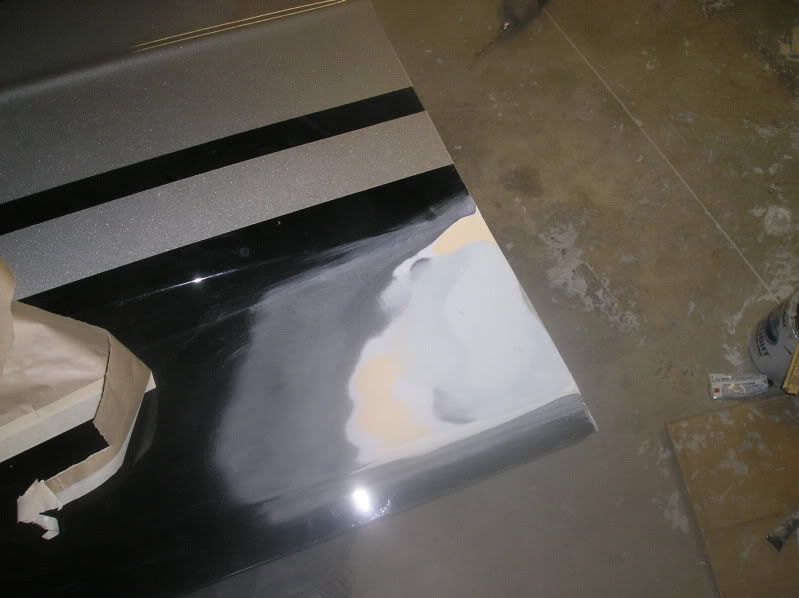
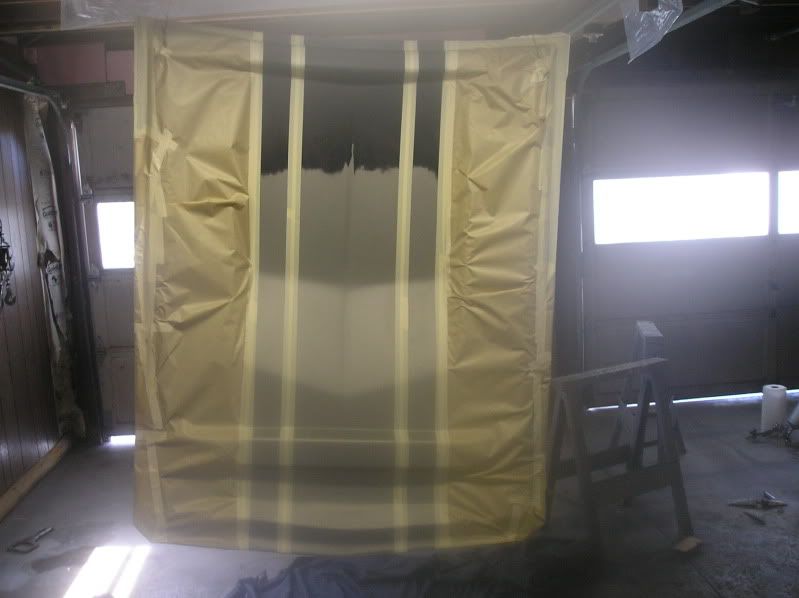
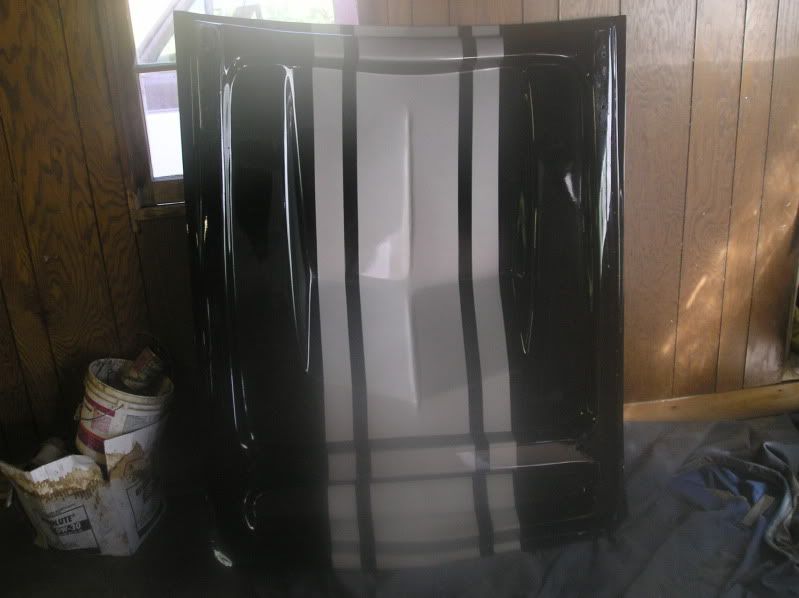
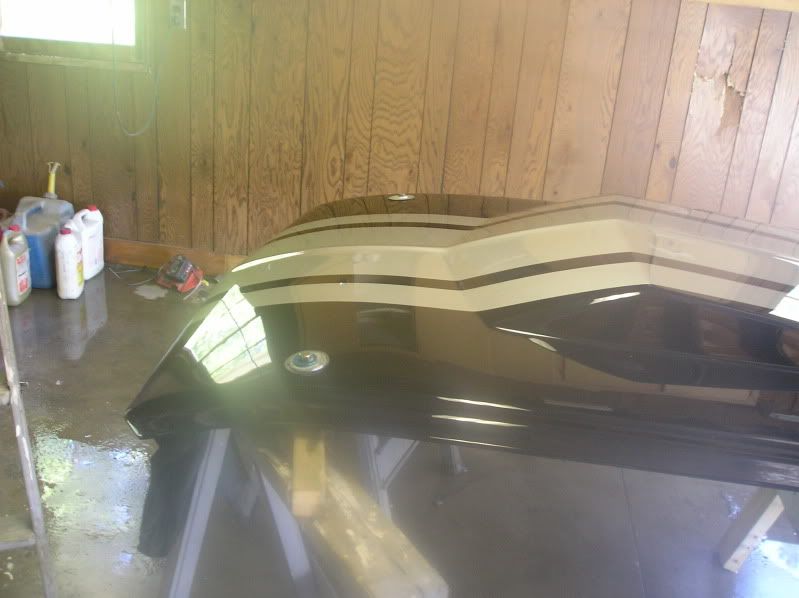
He had a quart of each color, black and silver for me to use. Unfortunately I find out its Kirker ss that was used under the clear. Made for an extra long paint job for me, waiting for silver stripes to set up enough to tape off after spraying, and getting the black sprayed so it has as much time to sit as possible, while still getting clear applied in what kirker listed on the tech sheets as a 17 hour window.
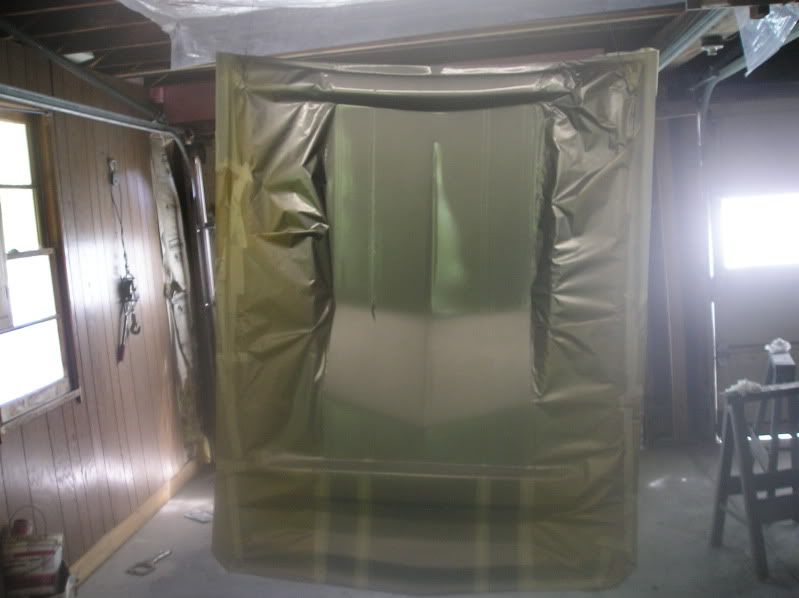
Used on SPI black epoxy over body repairs, and used SPI universal clear over the Kirker ss. Thanks Chad for the supplies. Lots of waiting going on in this paint job. Add to that mishaps I had along the way, that caused me extra work. One of the wires I had hanging the hood snapped after I had a coat of clear on the inside of the hood. Somehow manage to wire up with new wire by myself only fingerprinting a few spots on the edges. And when I sprayed black on the outside, notice some crack at the front edge of the hood I missed, so went and fixed and blended in some more black before clearing. Some days just don't go your way. Has to be a record for time I spent painting a dang hood.
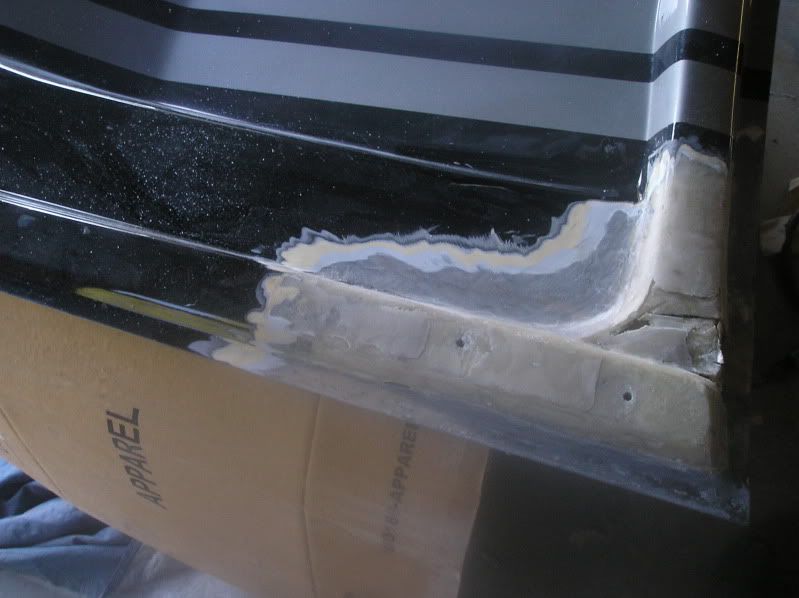
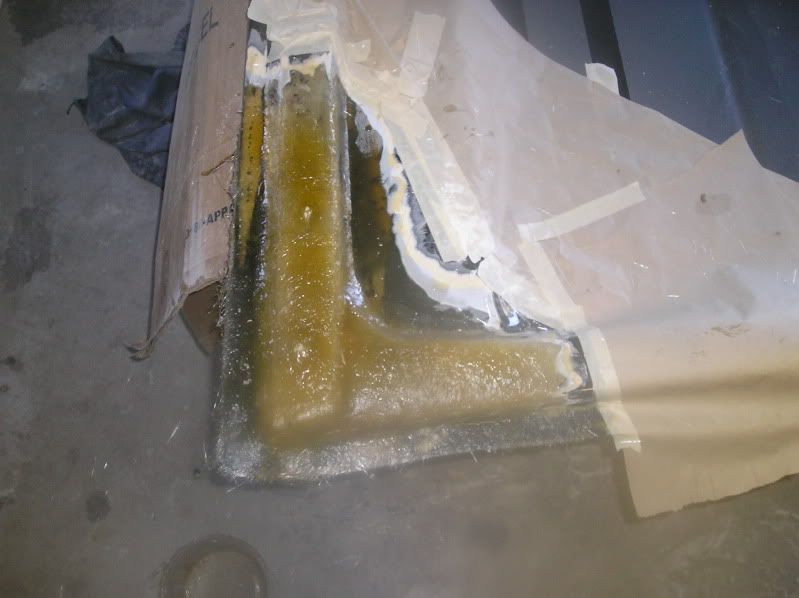
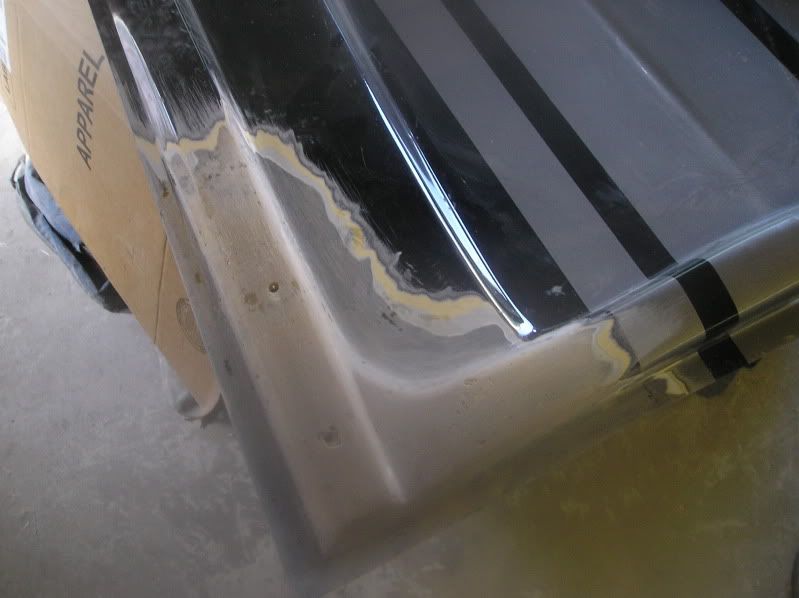
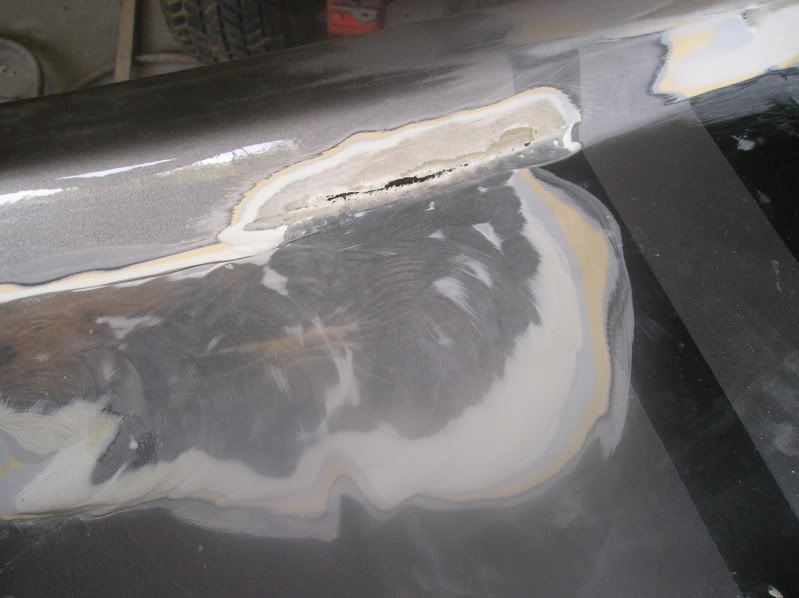
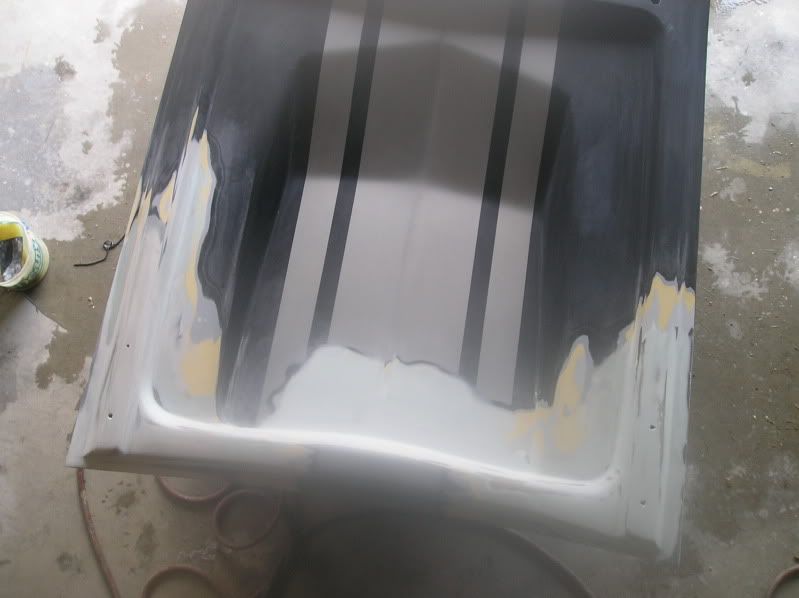
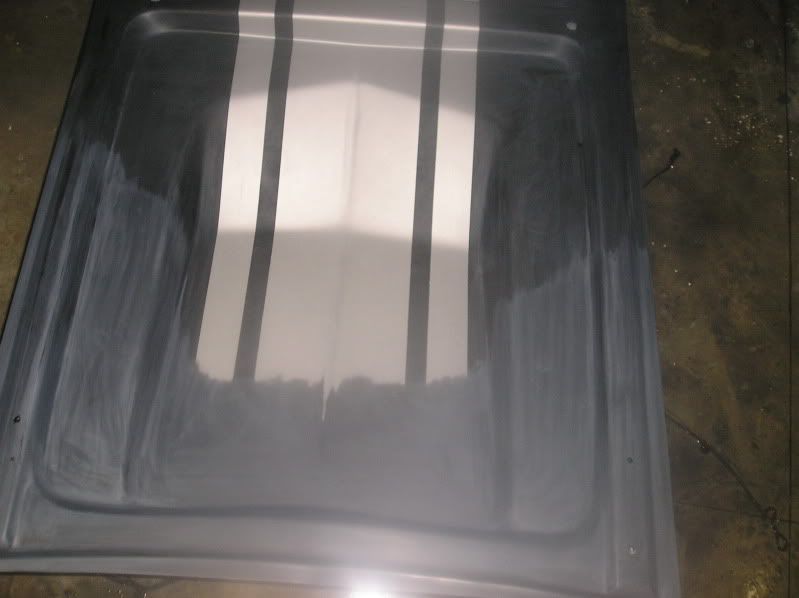
Ran into a surprise and dug out a lot of plastic filler to get to glass where I did repairs.

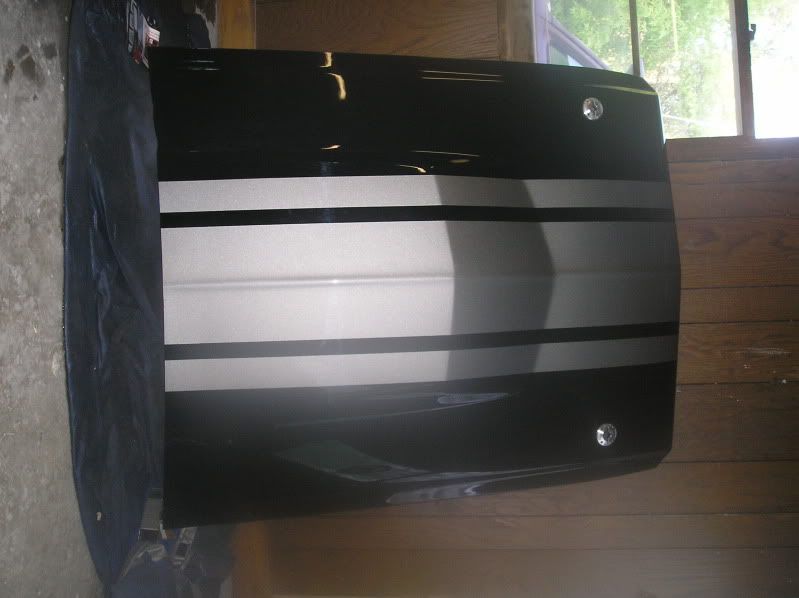
Helped the guy put on his new hinges, and made sure the hood fit before starting repairs. Fit in the hole. but one tight even gap along the length of left side, and even wide one on the right. Tryed pushing hood over on hinges as far as possible before tightening, and tryed doing the tweak the hinges trick by pushing over the hood by the hinges, and couldn't get much more of a gap. By looking at the position of the studs, I am suspecting the shop who did the car installed it leaving a tight gap on that side.
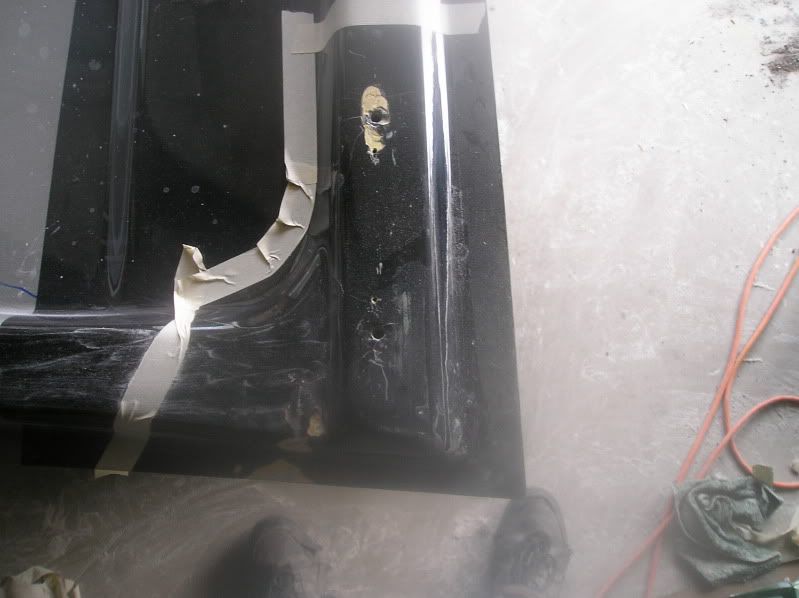
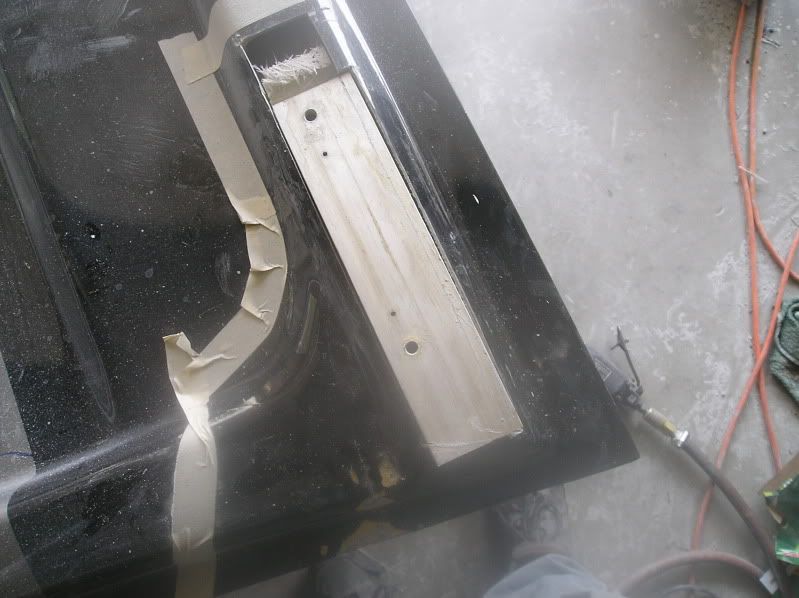
While doing repairs, I am looking at the hood, and it dawns on me that the bolt holes are not centered on the side that was tight, and the distance to the edge of the hood was quite a bit greater distance then the other side that looked centered. Measured the distance between bolt holes, went over to guys house and measured distance between his hinges, and sure as sheet, if those were centered, looks like it will put the distance between them at 41 1/4, exactly what I am measuring his hinge distance at. I suspected a plate inside, working on semi hoods for a living, but couldn't tell for sure what was going on, whatever was sandwiched between the inside of the hood and another layer between that and the outer hood. So I cut it apart, yep aluminum plate in there drilled and tapped. Dang, could of probably just drilled and tapped new holes. Ohh well, probably be a bit close to the old ones, took a little off the plate and moved it where it needed to be, and glassed it all back up. The place that built the hood, must have drilled that aluminum plate off center. Guy stopped by today, helped him throw on the hood, bingo bango, we had even gaps.

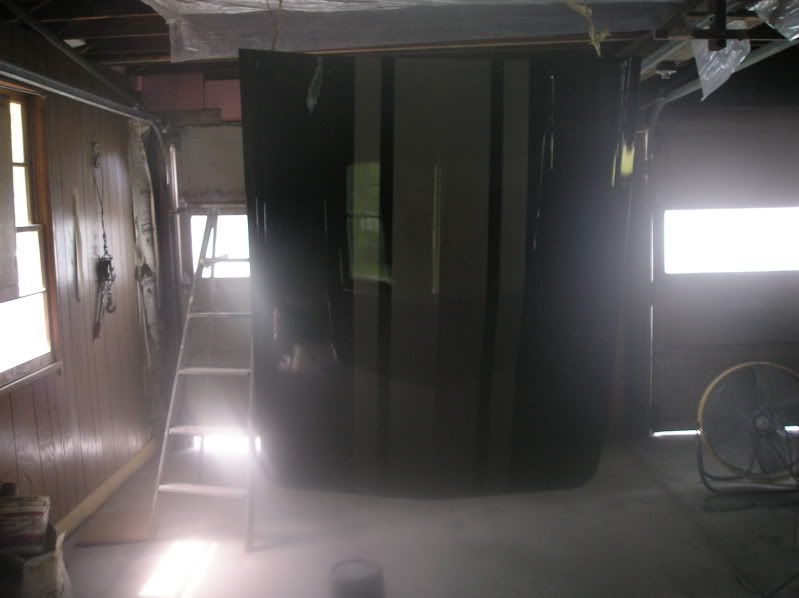
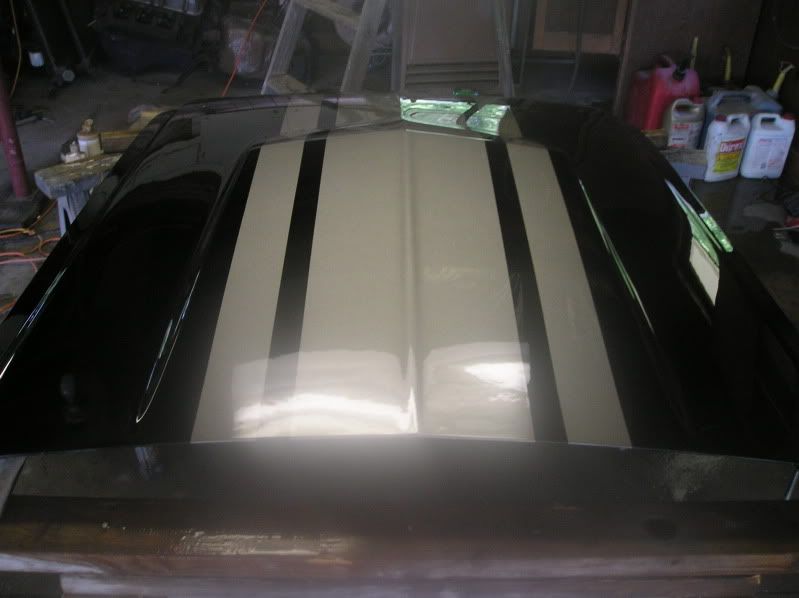
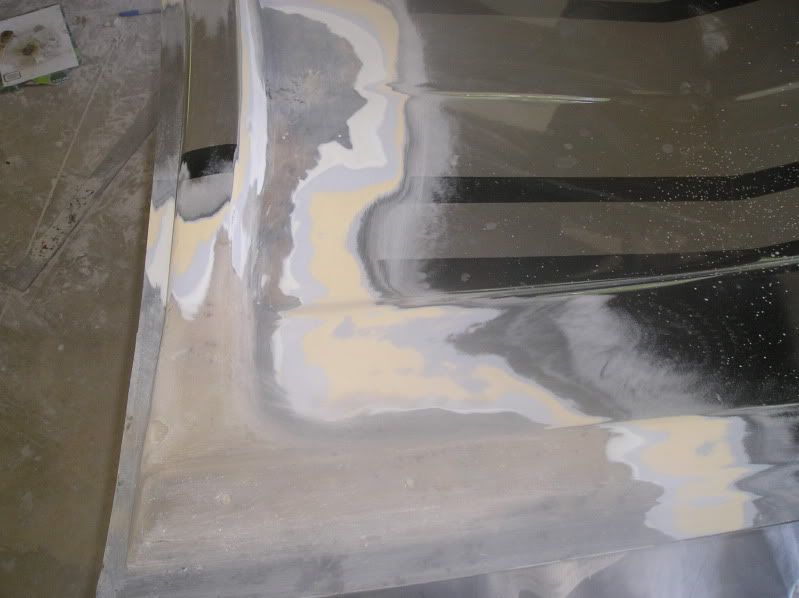
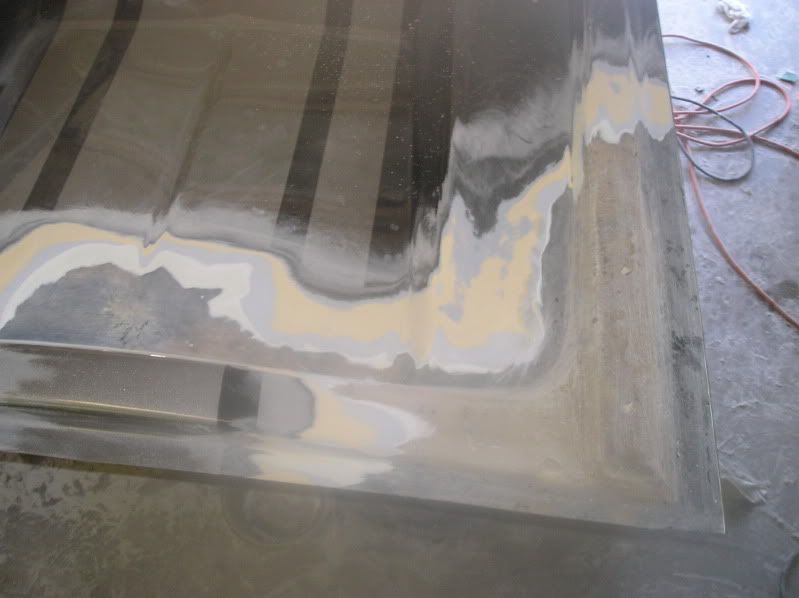
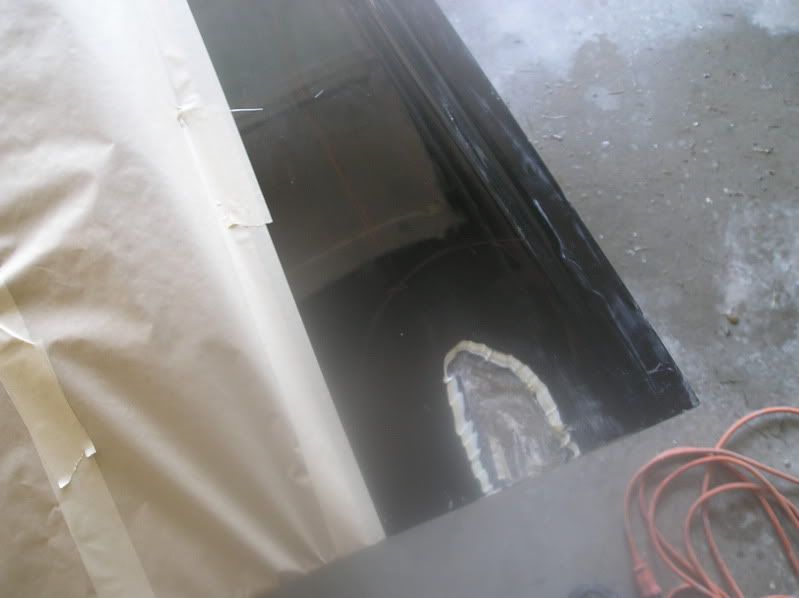
Hard to tell whats going on in this picture, but thats the reflection of my garage ceiling joists, some plastic I had up above where I was spraying, and the dreaded support pole thats always in my way when I try to work on my truck in the garage. I had more room in my 1 1/2 stall at my old place I think.
Guy called and asked if I could do some fiberglass repairs, he forgot to put in his hood pins, and hood flew up and damaged it.
Here is the car on the place that built its website. http://custom-musclecars.com/index_Page859.htm
He had a quart of each color, black and silver for me to use. Unfortunately I find out its Kirker ss that was used under the clear. Made for an extra long paint job for me, waiting for silver stripes to set up enough to tape off after spraying, and getting the black sprayed so it has as much time to sit as possible, while still getting clear applied in what kirker listed on the tech sheets as a 17 hour window.
Used on SPI black epoxy over body repairs, and used SPI universal clear over the Kirker ss. Thanks Chad for the supplies. Lots of waiting going on in this paint job. Add to that mishaps I had along the way, that caused me extra work. One of the wires I had hanging the hood snapped after I had a coat of clear on the inside of the hood. Somehow manage to wire up with new wire by myself only fingerprinting a few spots on the edges. And when I sprayed black on the outside, notice some crack at the front edge of the hood I missed, so went and fixed and blended in some more black before clearing. Some days just don't go your way. Has to be a record for time I spent painting a dang hood.
Ran into a surprise and dug out a lot of plastic filler to get to glass where I did repairs.
Helped the guy put on his new hinges, and made sure the hood fit before starting repairs. Fit in the hole. but one tight even gap along the length of left side, and even wide one on the right. Tryed pushing hood over on hinges as far as possible before tightening, and tryed doing the tweak the hinges trick by pushing over the hood by the hinges, and couldn't get much more of a gap. By looking at the position of the studs, I am suspecting the shop who did the car installed it leaving a tight gap on that side.
While doing repairs, I am looking at the hood, and it dawns on me that the bolt holes are not centered on the side that was tight, and the distance to the edge of the hood was quite a bit greater distance then the other side that looked centered. Measured the distance between bolt holes, went over to guys house and measured distance between his hinges, and sure as sheet, if those were centered, looks like it will put the distance between them at 41 1/4, exactly what I am measuring his hinge distance at. I suspected a plate inside, working on semi hoods for a living, but couldn't tell for sure what was going on, whatever was sandwiched between the inside of the hood and another layer between that and the outer hood. So I cut it apart, yep aluminum plate in there drilled and tapped. Dang, could of probably just drilled and tapped new holes. Ohh well, probably be a bit close to the old ones, took a little off the plate and moved it where it needed to be, and glassed it all back up. The place that built the hood, must have drilled that aluminum plate off center. Guy stopped by today, helped him throw on the hood, bingo bango, we had even gaps.
Hard to tell whats going on in this picture, but thats the reflection of my garage ceiling joists, some plastic I had up above where I was spraying, and the dreaded support pole thats always in my way when I try to work on my truck in the garage. I had more room in my 1 1/2 stall at my old place I think.
")

