C
Christopher
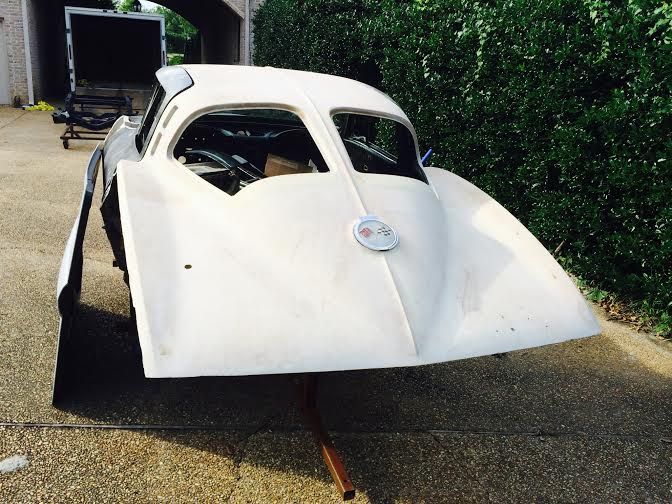
Here is the latest project, which is very, very slowly being worked on. This is going to be a long restoration which will probably take around 2 years.
-This is a numbers matching 340hp car with Daytona Blue exterior and Daytona Blue Interior. A previous owner started the restoration of the car many years ago, but did not get very far...only dismantled.
-The engine is currently at the machine shop being inspected and rebuilt. Fortunately, it does not look to have ever been molested, although the original intake and carb were thrown away, sold, or lost at some point.
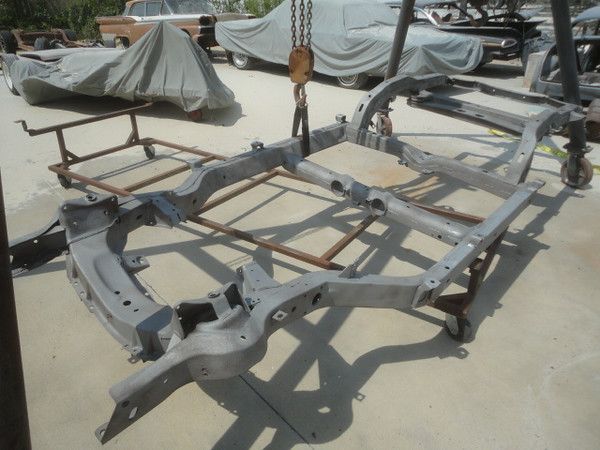
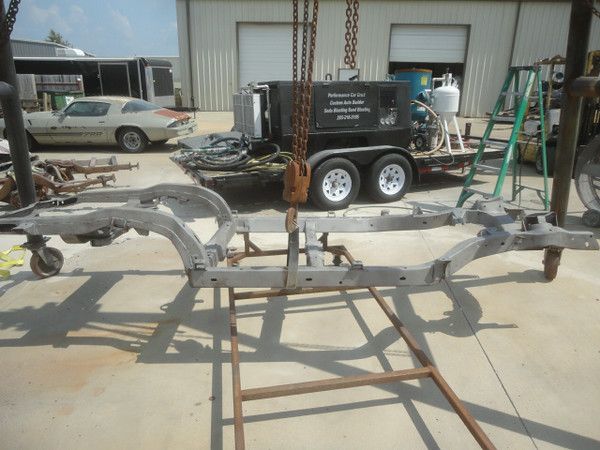
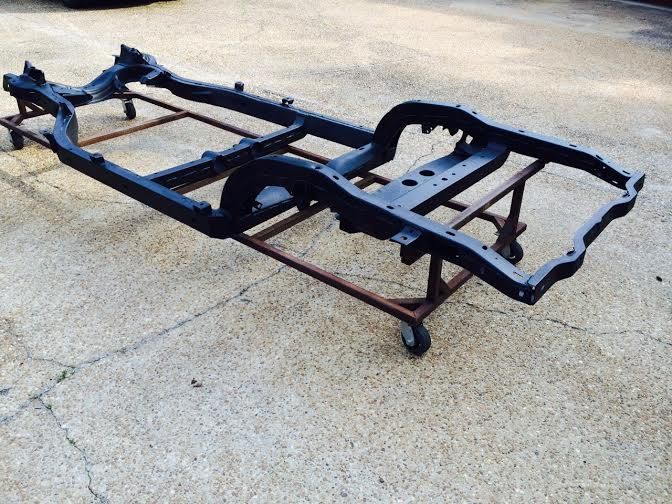
The first order of business was getting the frame repaired. The car must have been in an accident at some point because the frame had large ugly welds on the main driver's side rail along with some odd looking plates.
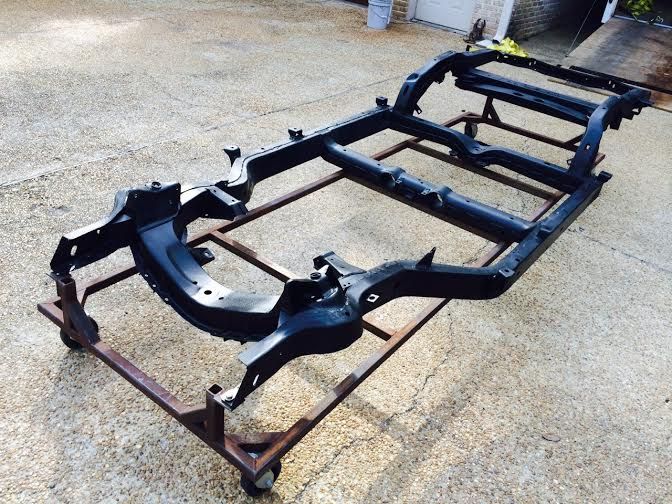
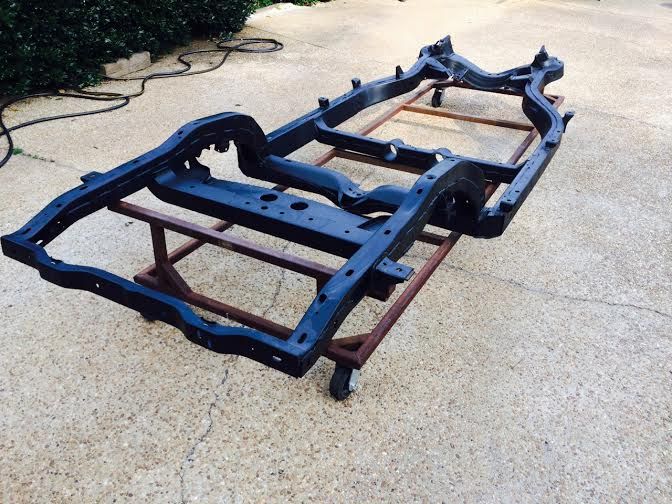
I had the driver's rail replaced and the frame blasted and epoxy coated. The frame has some pitting, but no rot.
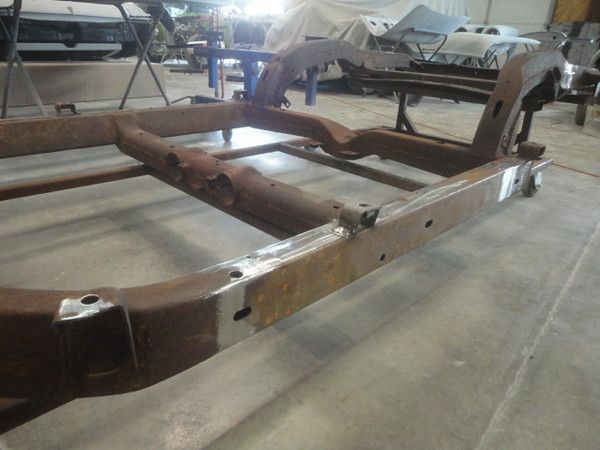
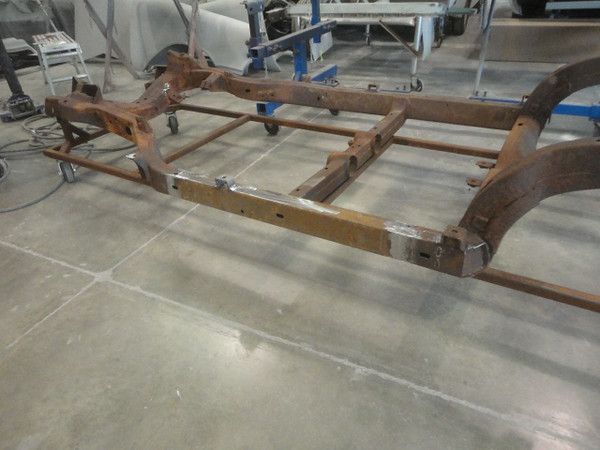
Frame after soda blasting
- - - Updated - - -
8 Hours labor
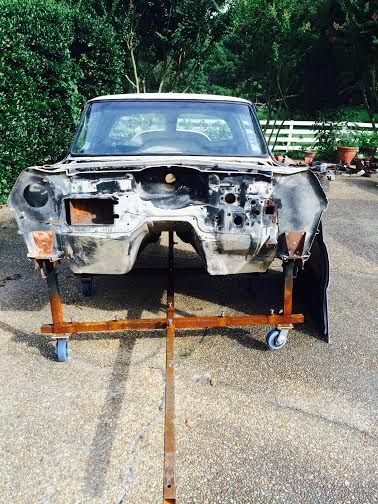
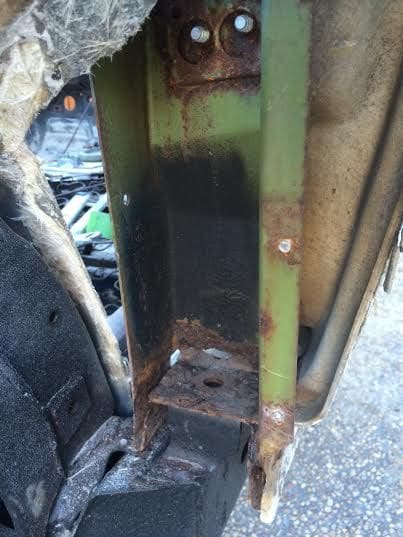
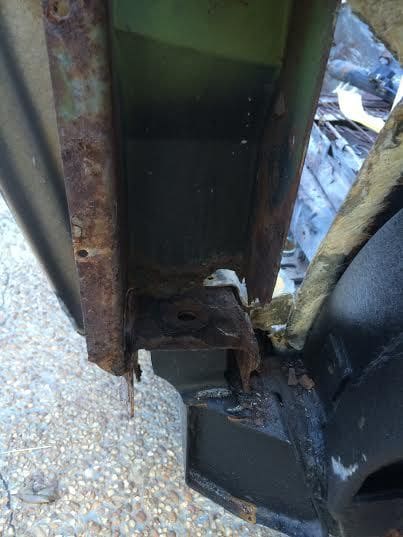
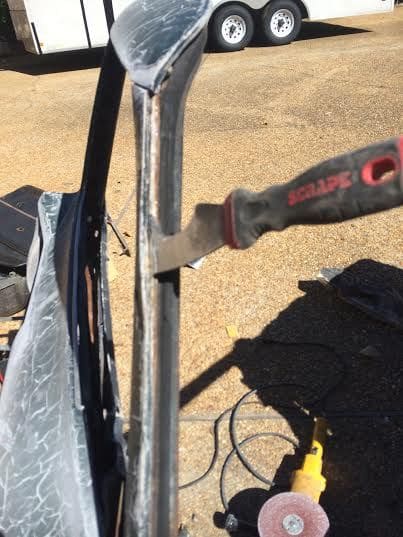
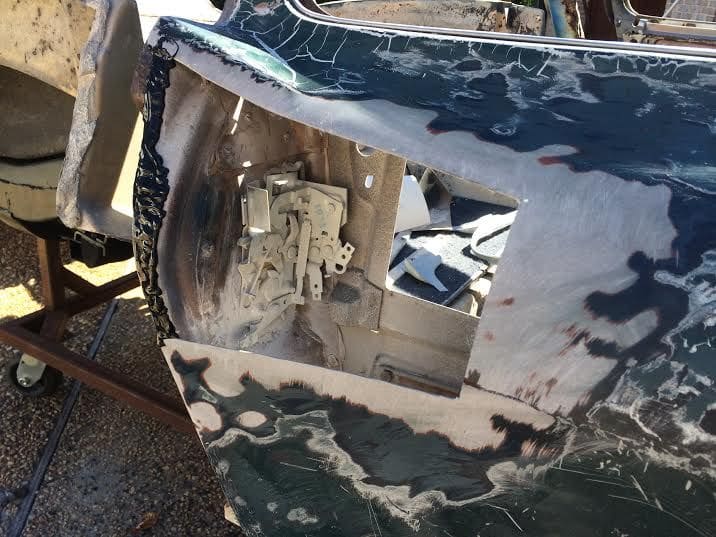
Well, the cage is a bit worse than i thought, but still no real major issues or concerns. I removed the body mount/splash panels from the rear wheel wells and the latch pillar fiberglass so the metal shop can have access to the cage. I am not the worlds greatest welder, so i am passing this task off. The driver's side latch pillar is the worst. The rest of the cage is solid, so i assume salt settled in the lower portion of the cage and caused it to rot. The rocker channels are fine and still sport their nice original green zinc paint.
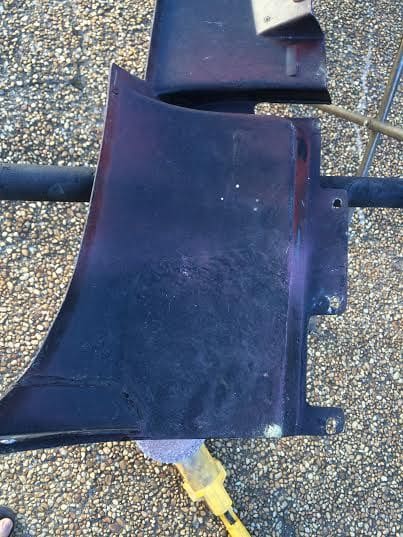
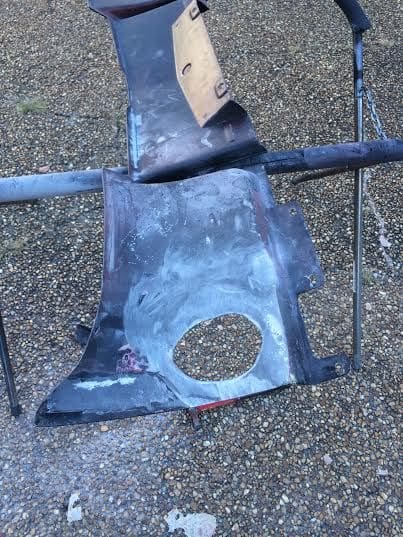
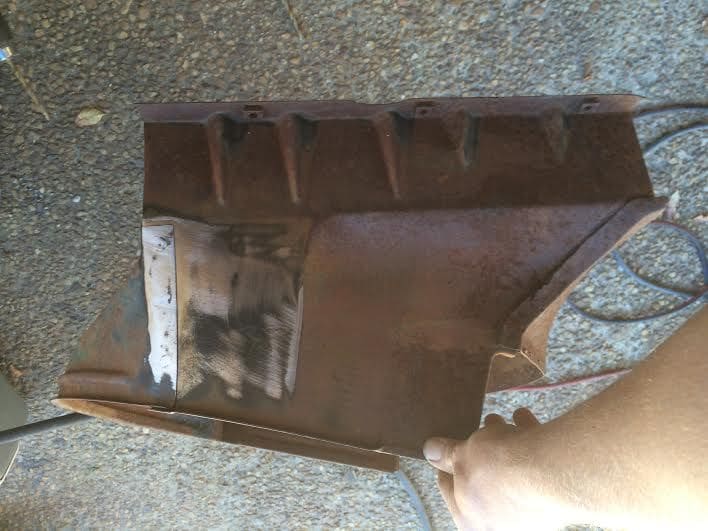
Somebody glassed in the holes in the original exhaust panel.
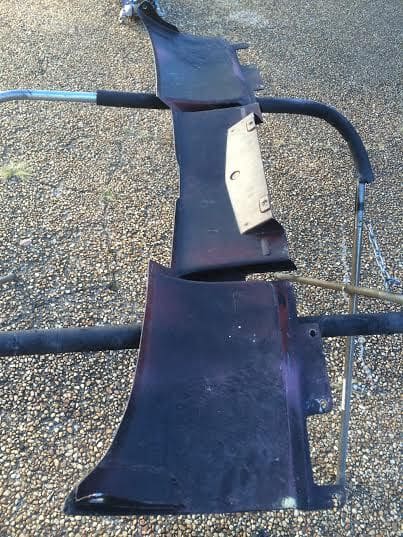
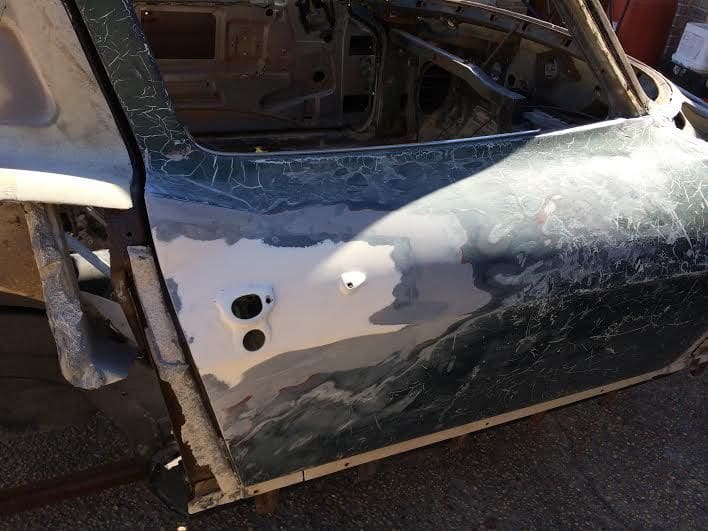
Making a 65-66 door into a 63 door. It's not pretty yet!!! The door handle sections are sold by sermersheim...just FYI in case anybody wants to do this instead of paying 1500-2000 for a 63 door! It took me about 3 hours to start the conversion. It will probably take about 8 hours per door to complete the conversion.

- - - Updated - - -
3 additional hour today
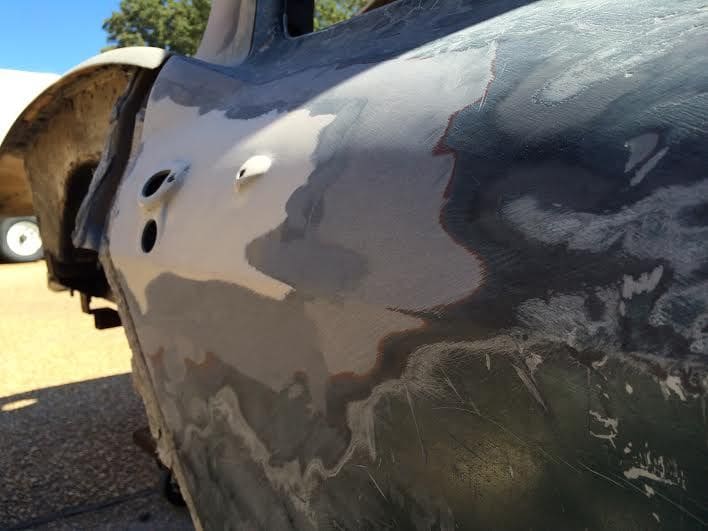
I spent this time filling and blocking the door and repairing the radiator shroud. The door looks much better now! I think once the door is in primer and blocked I will spray base and clear around the pad area to see if the seams show. I used 3m panel bond to fill the screw holes and the seam, so it should be ok...i havent had problems when i have used this in the past, but have had issues with evercoat vette bond/filler swelling in the hot sun.
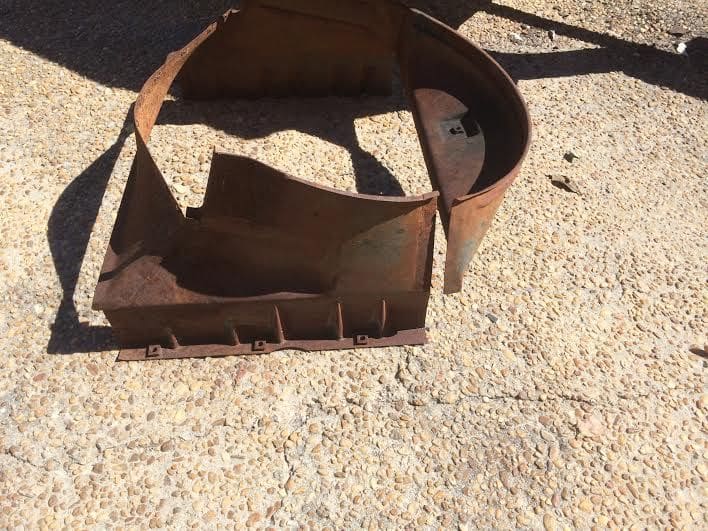
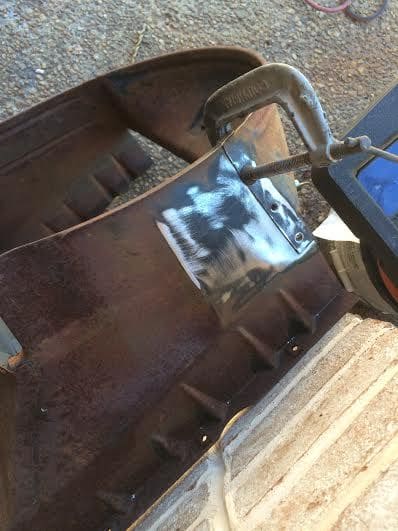
The radiator shroud spot welds let loose on one side. I drilled 3 holes then plug welded them and ground them smooth. This only took about 30 minutes and was well worth the effort.
-This is a numbers matching 340hp car with Daytona Blue exterior and Daytona Blue Interior. A previous owner started the restoration of the car many years ago, but did not get very far...only dismantled.


-The engine is currently at the machine shop being inspected and rebuilt. Fortunately, it does not look to have ever been molested, although the original intake and carb were thrown away, sold, or lost at some point.
The first order of business was getting the frame repaired. The car must have been in an accident at some point because the frame had large ugly welds on the main driver's side rail along with some odd looking plates.
I had the driver's rail replaced and the frame blasted and epoxy coated. The frame has some pitting, but no rot.


Frame after soda blasting


- - - Updated - - -
8 Hours labor
Well, the cage is a bit worse than i thought, but still no real major issues or concerns. I removed the body mount/splash panels from the rear wheel wells and the latch pillar fiberglass so the metal shop can have access to the cage. I am not the worlds greatest welder, so i am passing this task off. The driver's side latch pillar is the worst. The rest of the cage is solid, so i assume salt settled in the lower portion of the cage and caused it to rot. The rocker channels are fine and still sport their nice original green zinc paint.
Somebody glassed in the holes in the original exhaust panel.
Making a 65-66 door into a 63 door. It's not pretty yet!!! The door handle sections are sold by sermersheim...just FYI in case anybody wants to do this instead of paying 1500-2000 for a 63 door! It took me about 3 hours to start the conversion. It will probably take about 8 hours per door to complete the conversion.
- - - Updated - - -
3 additional hour today
I spent this time filling and blocking the door and repairing the radiator shroud. The door looks much better now! I think once the door is in primer and blocked I will spray base and clear around the pad area to see if the seams show. I used 3m panel bond to fill the screw holes and the seam, so it should be ok...i havent had problems when i have used this in the past, but have had issues with evercoat vette bond/filler swelling in the hot sun.
The radiator shroud spot welds let loose on one side. I drilled 3 holes then plug welded them and ground them smooth. This only took about 30 minutes and was well worth the effort.