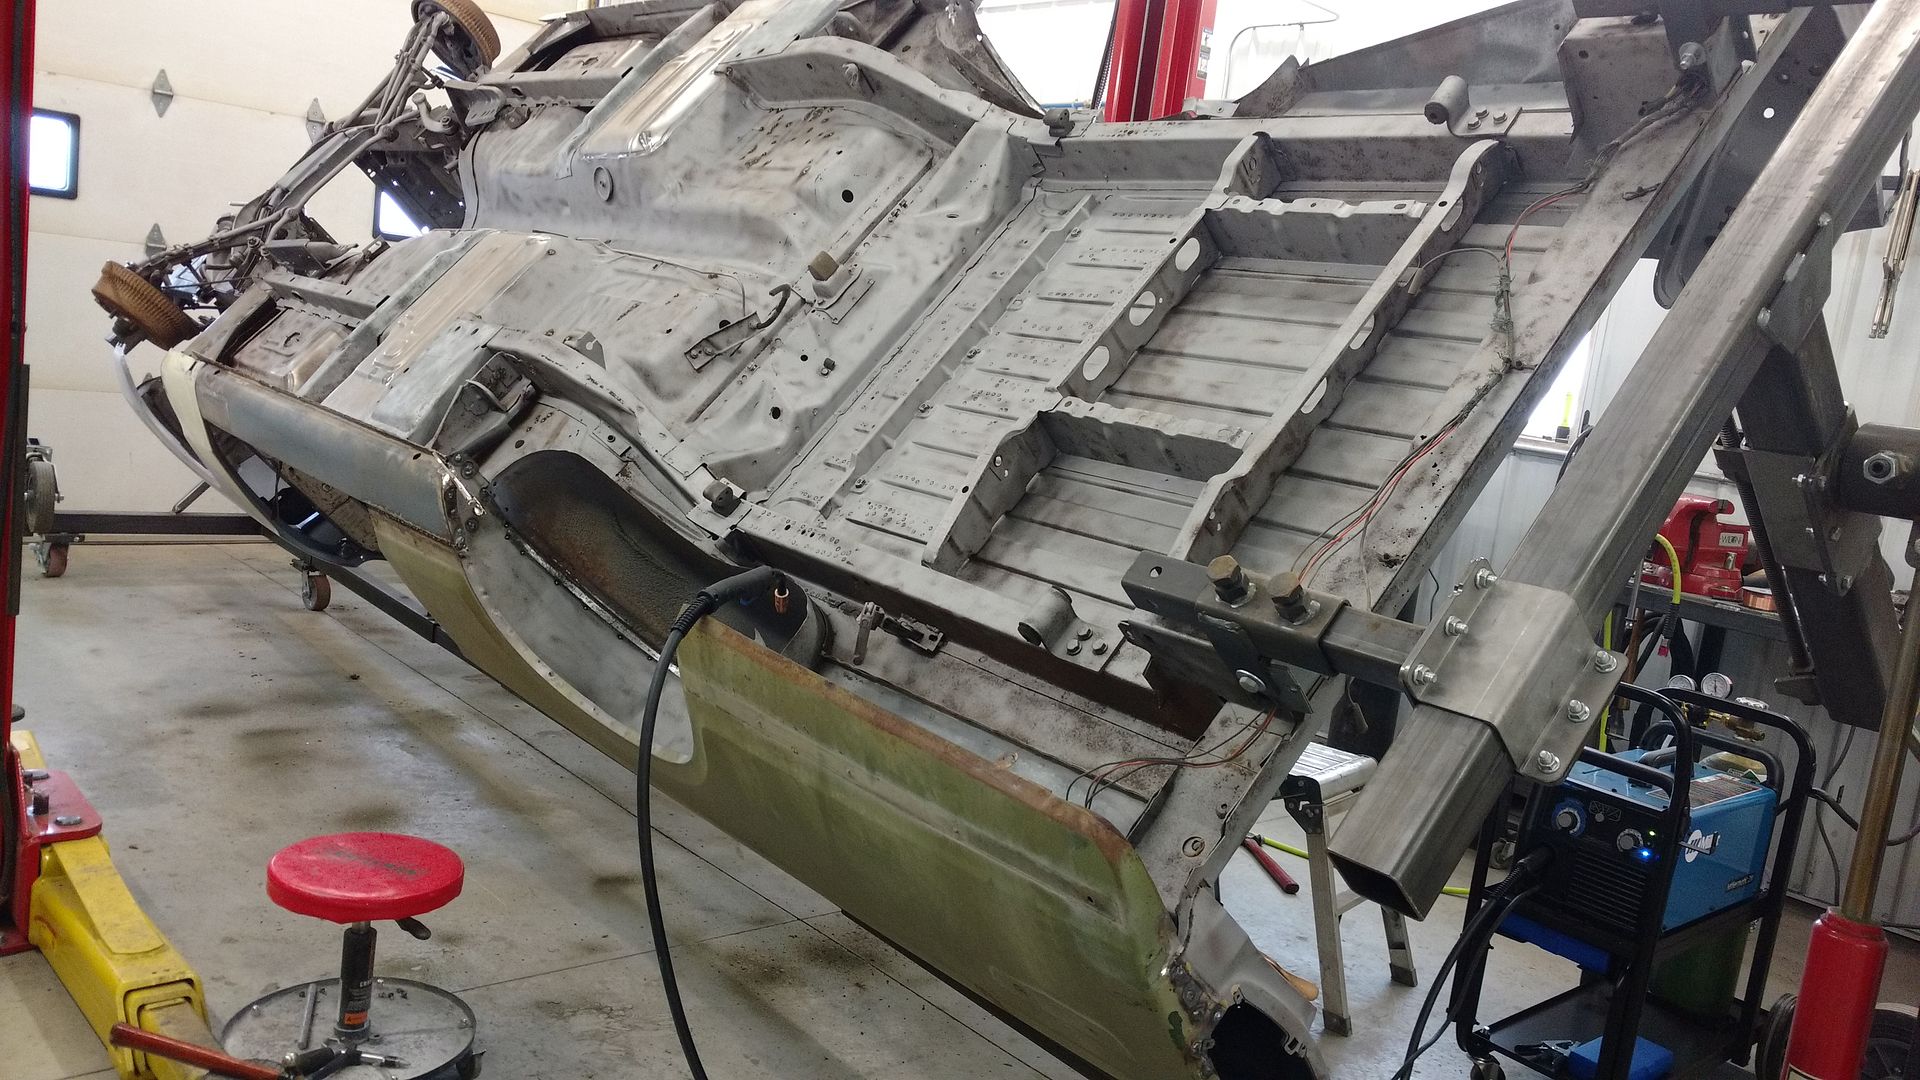
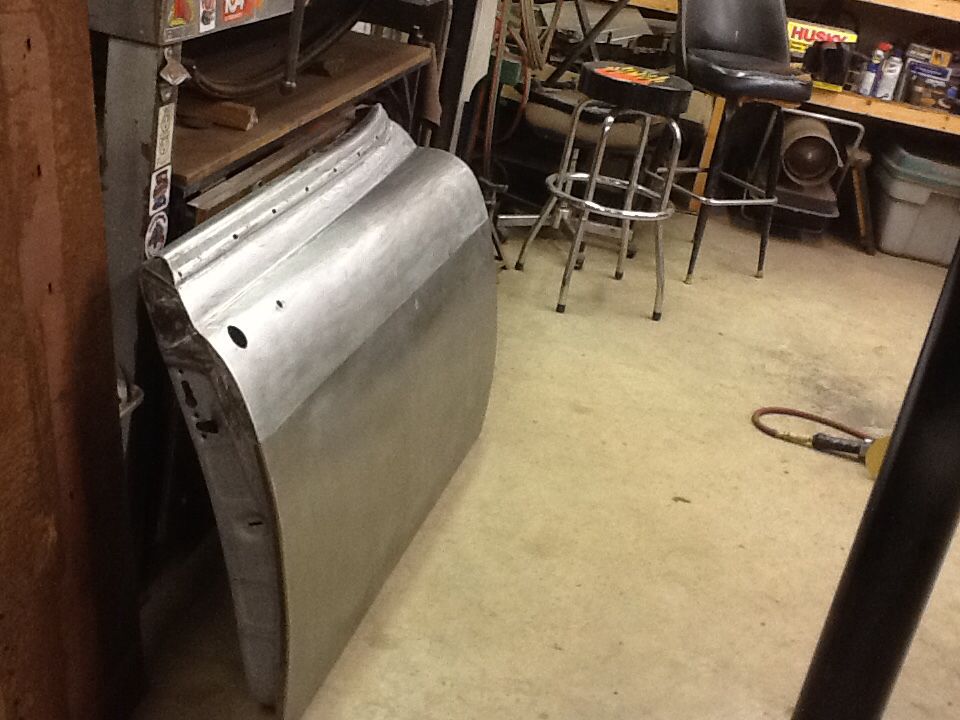
I'm on a car.
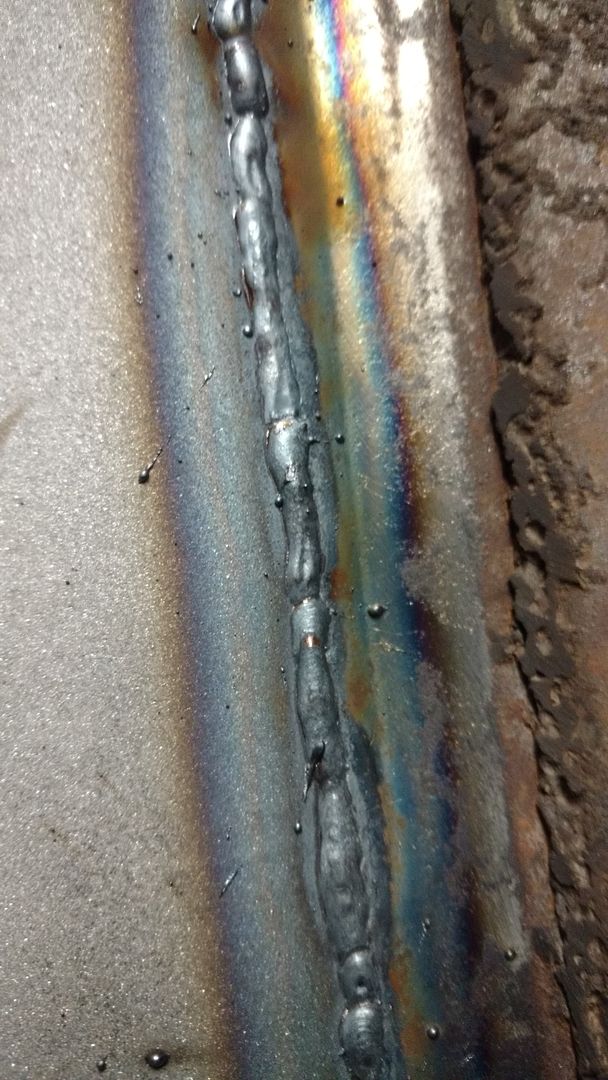
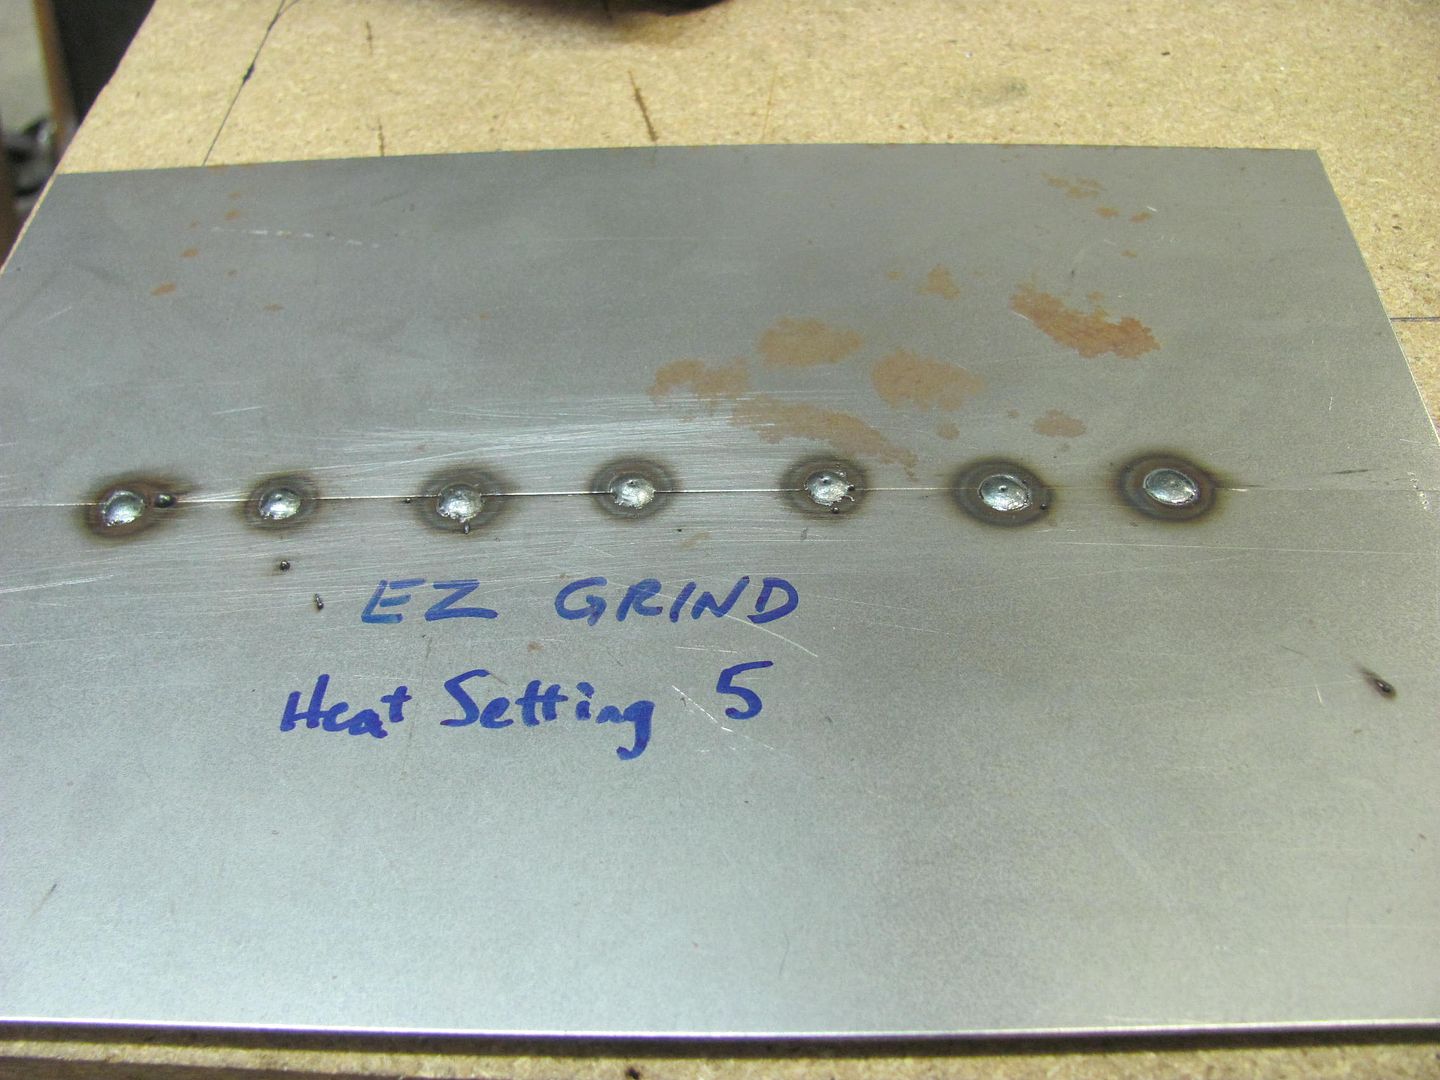
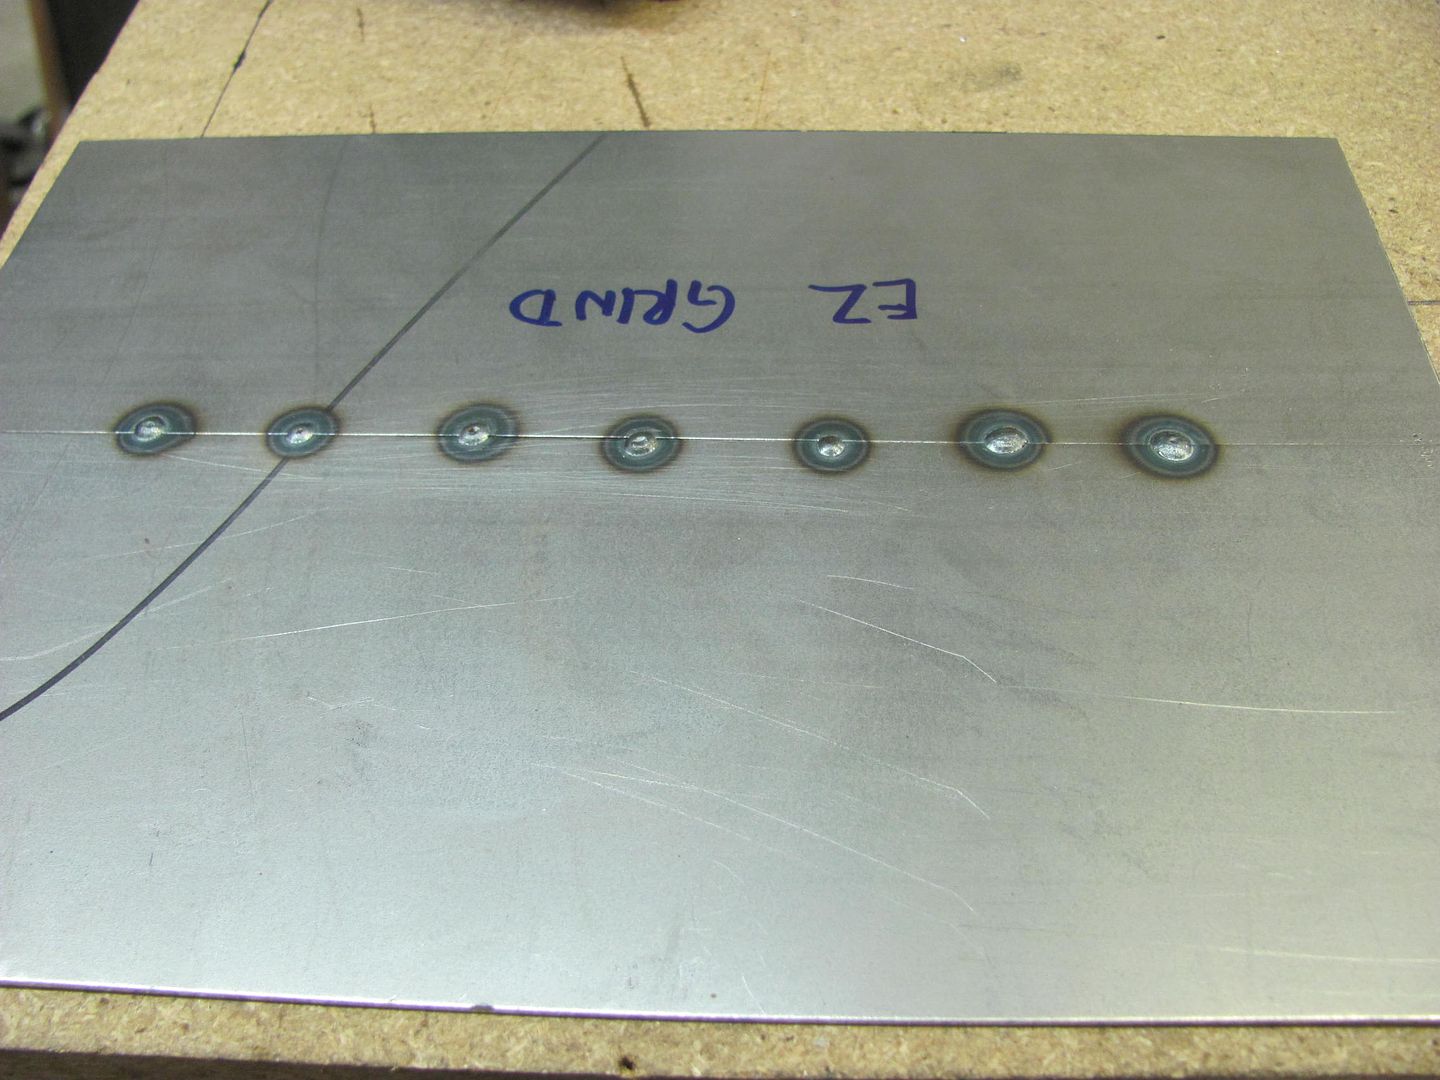
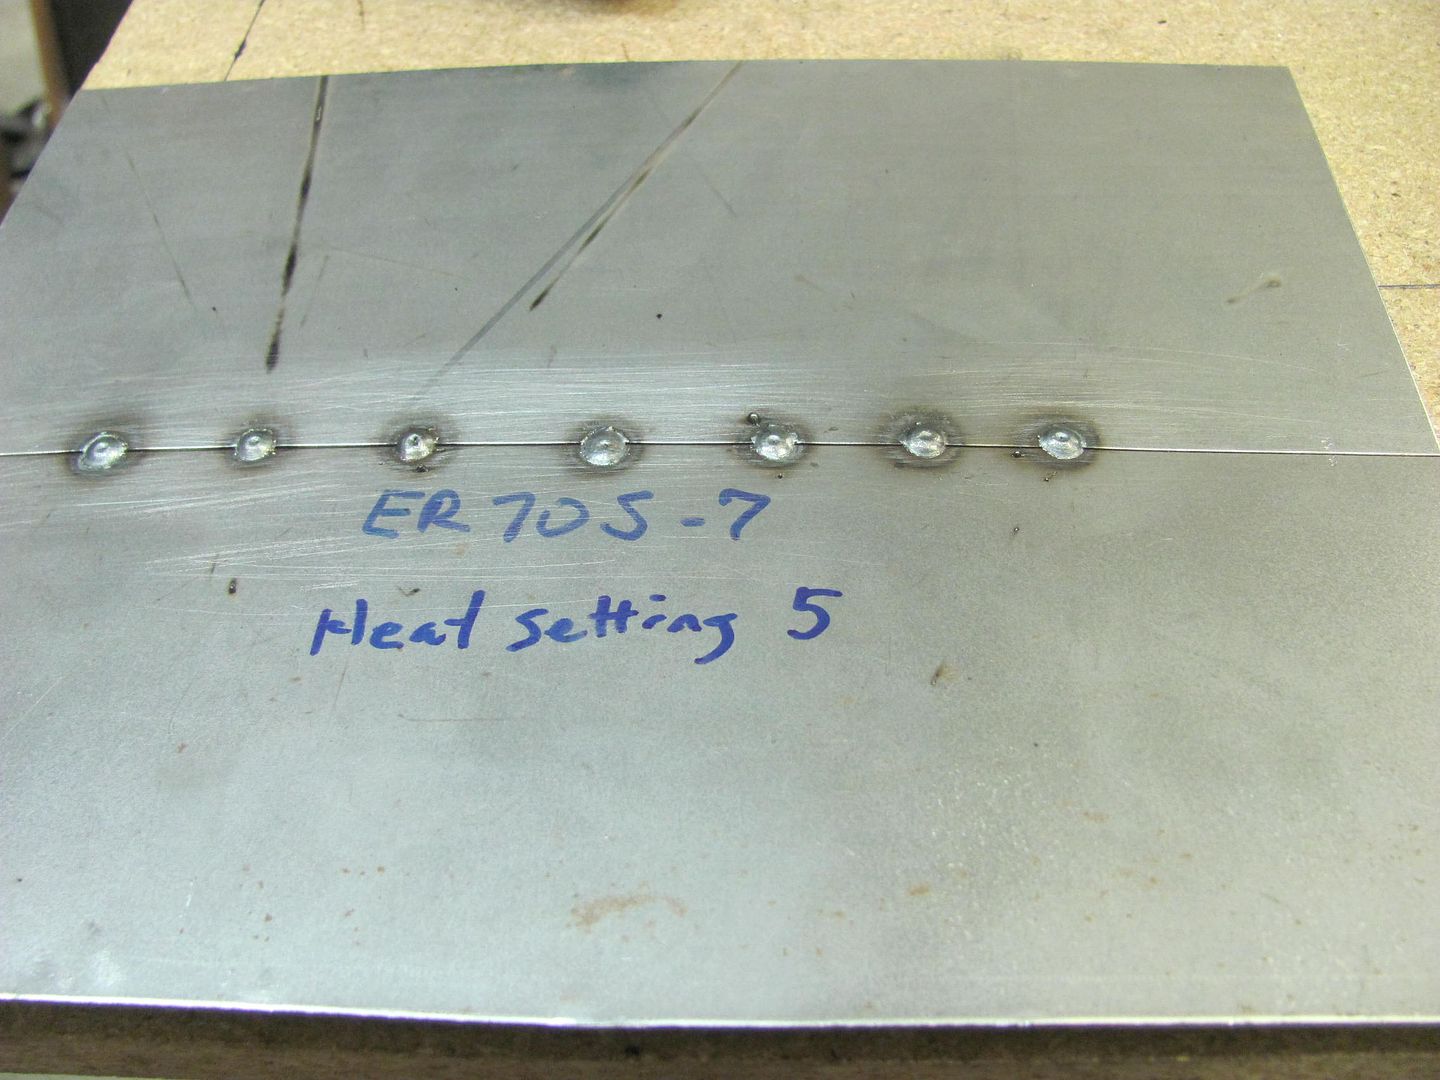
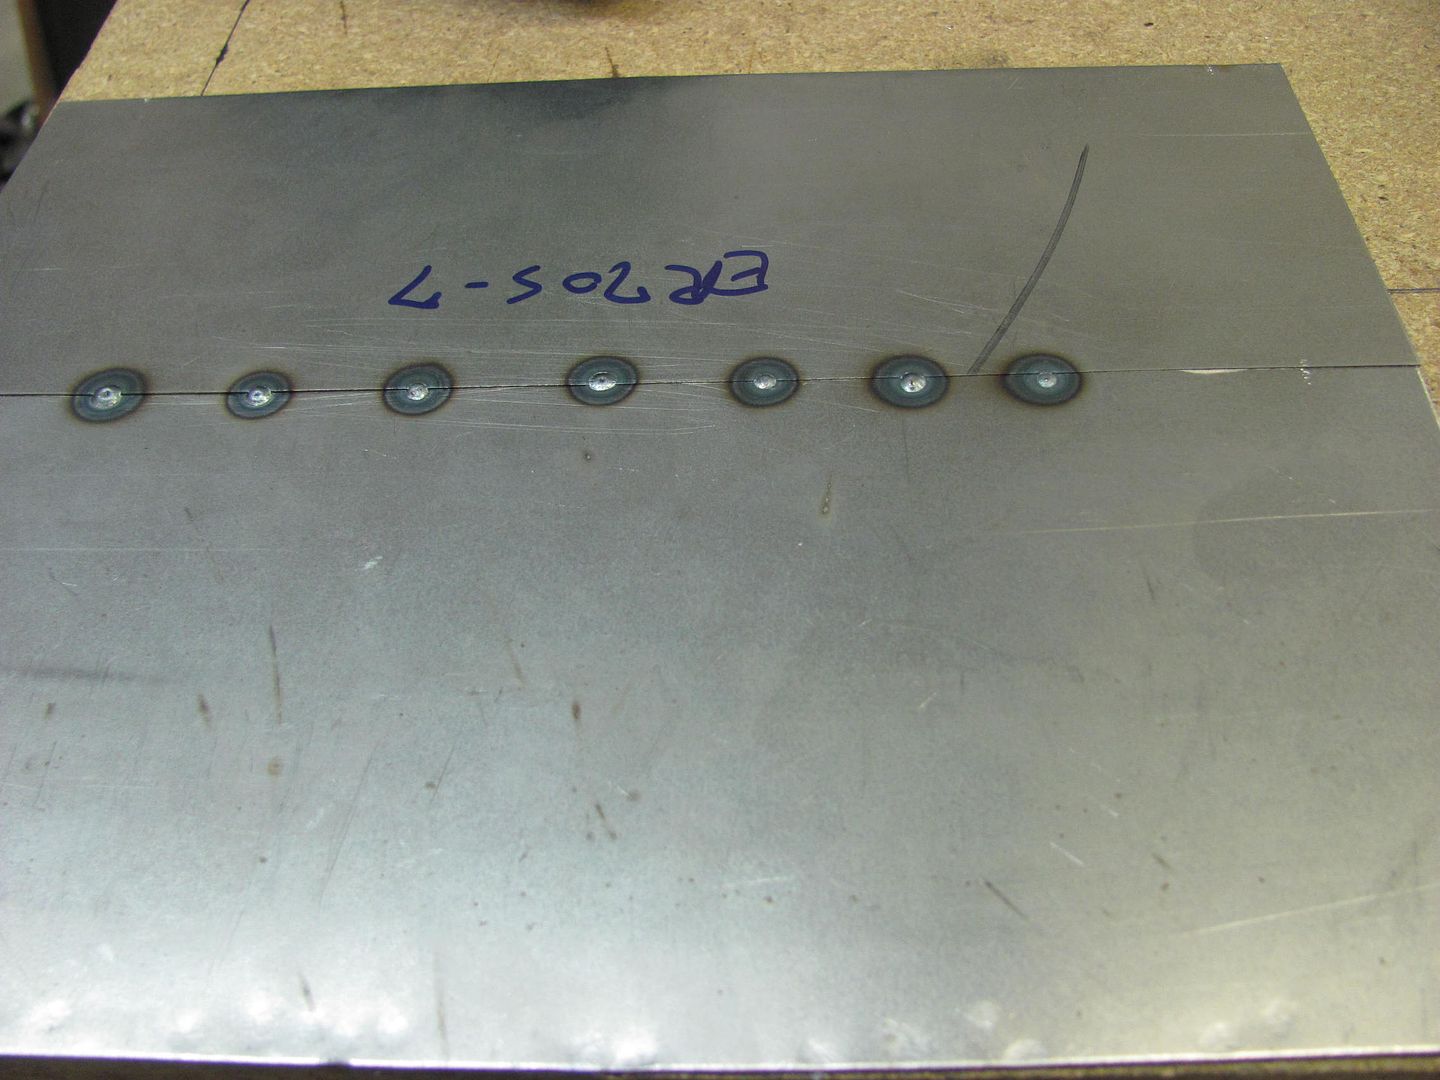
Things aren't exactly "bad". I'm just frustrated that I can't get my plug welds and butt joint welds to lay out as clean and flat as I have been with ER70S-6.
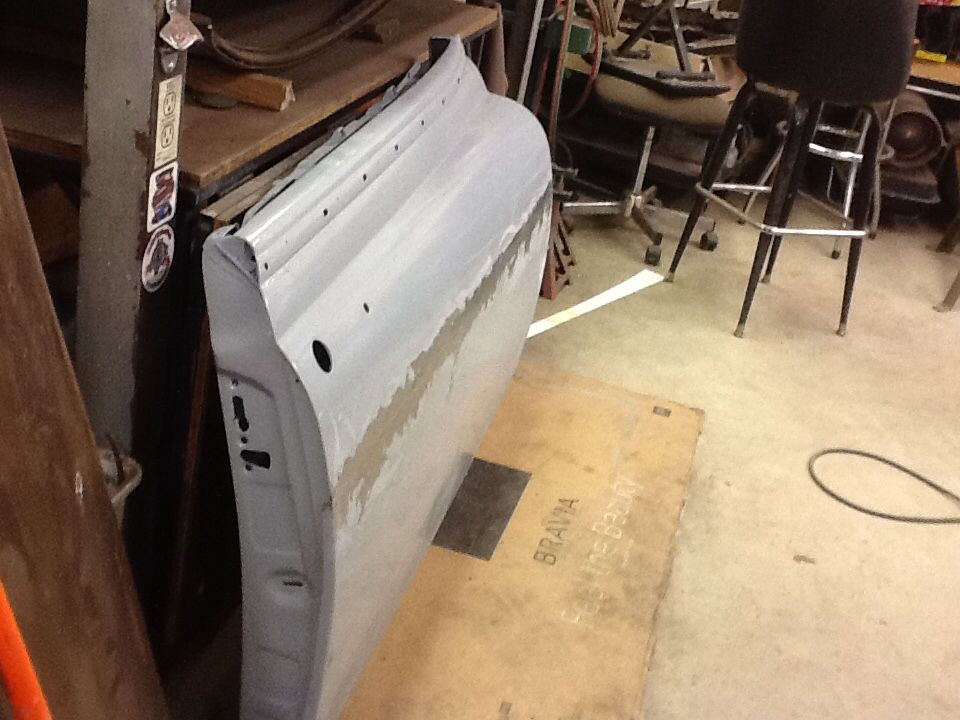
That was pulling the weld pool slightly vertical down. (so these are some of my better results with it) I can live with it, but I'm feeling a bit desperate to get back on par with what I can achieve with the er70s.
I don't know, I'm just a little frustrated with it.
Dave, don't take any of this as picking on your work, as Lord knows I've had my share of mud daubing and other defects in trying to find a suitable method for welding sheet metal using the MIG.. But we need to discuss some things to get to the root of the problem in order to find solution.
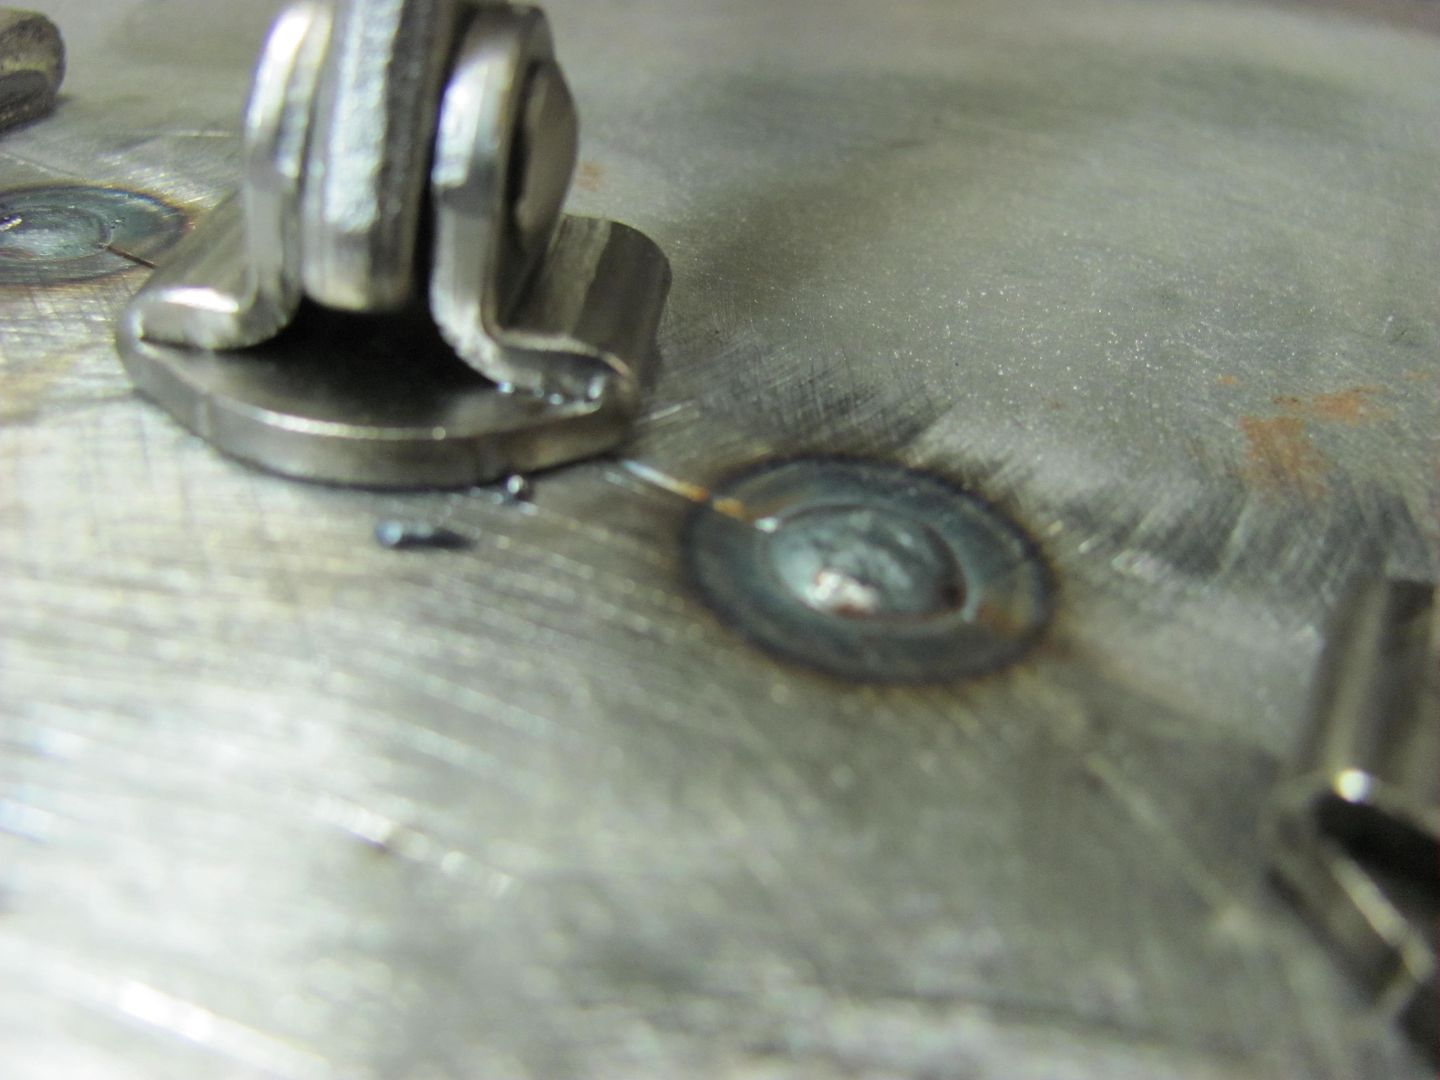
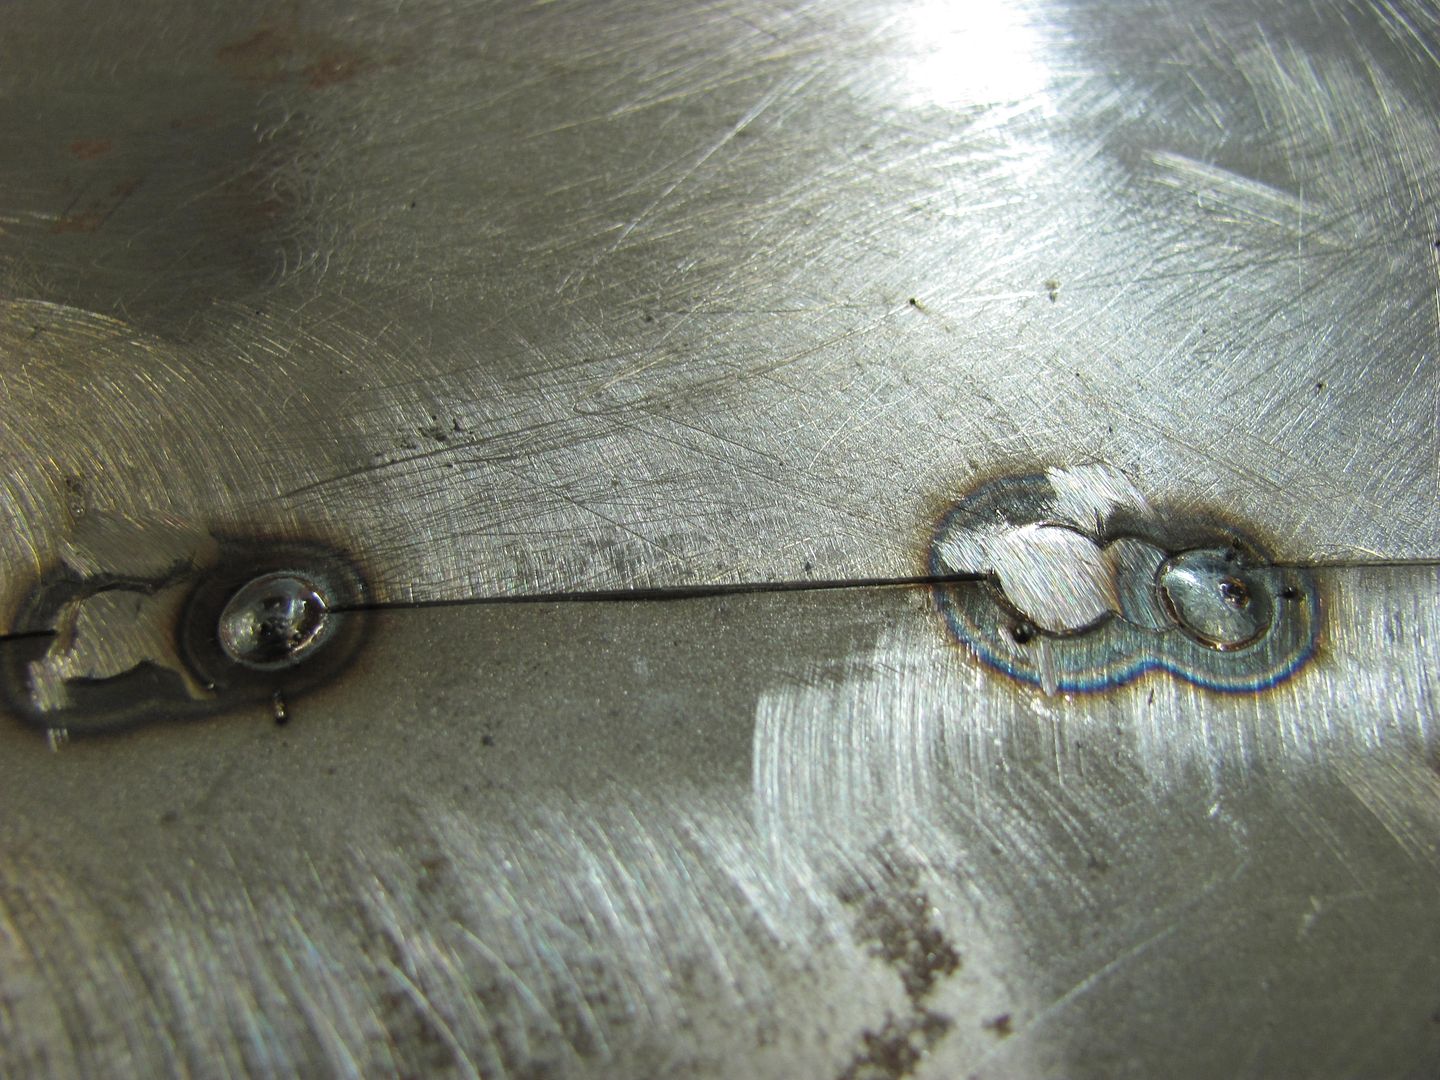
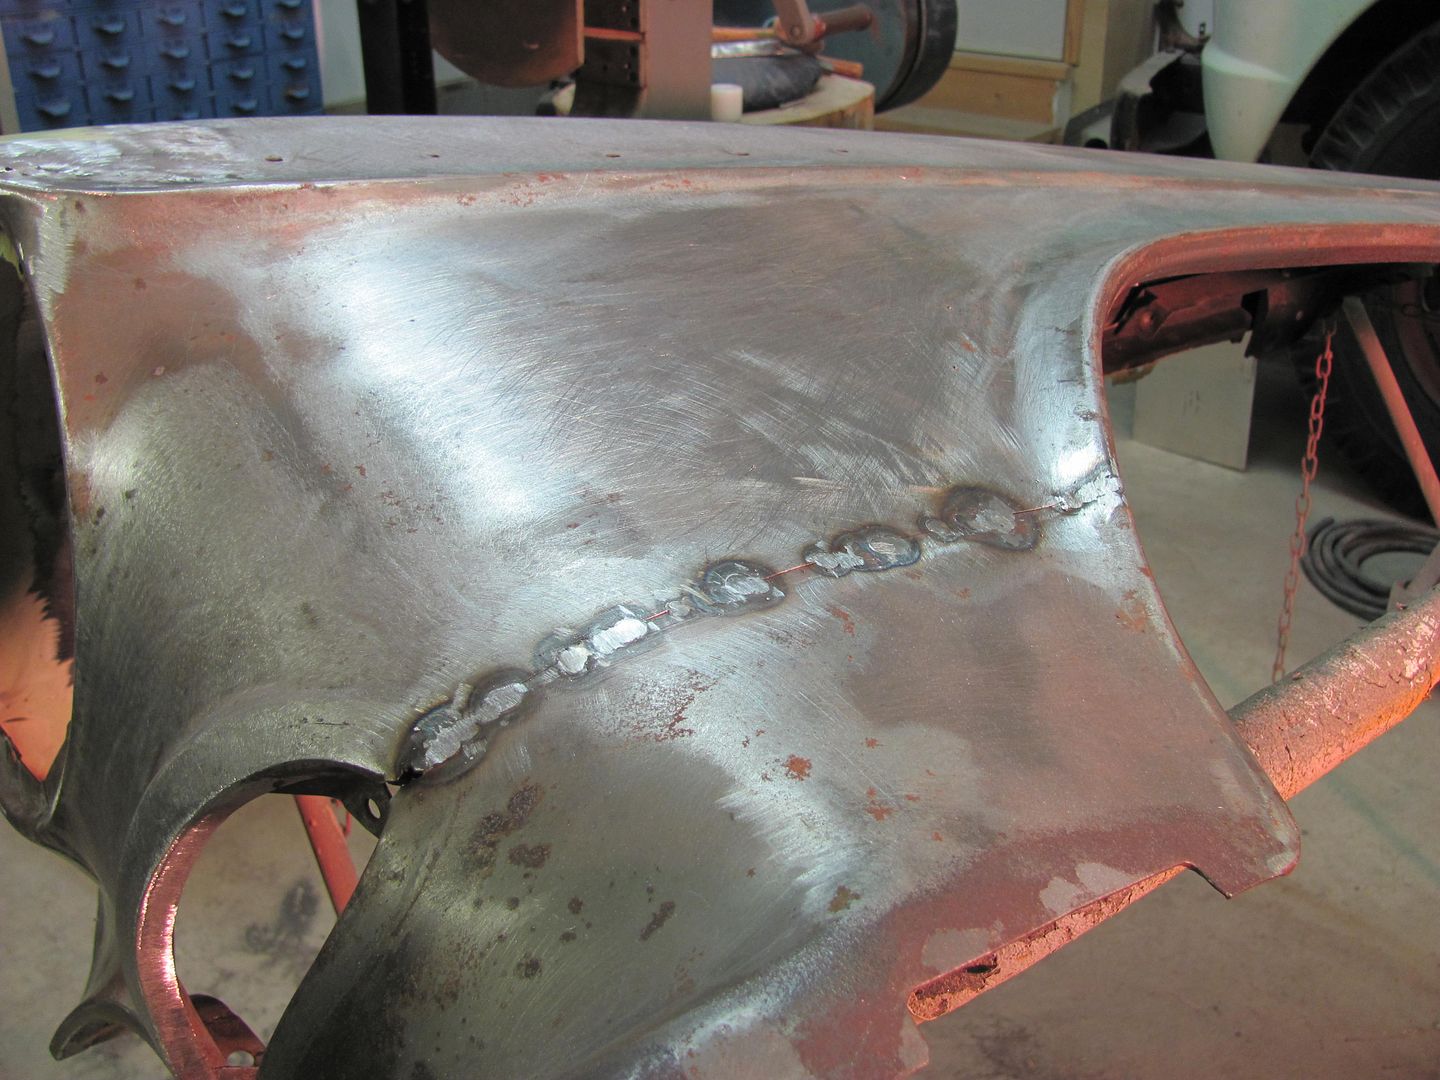
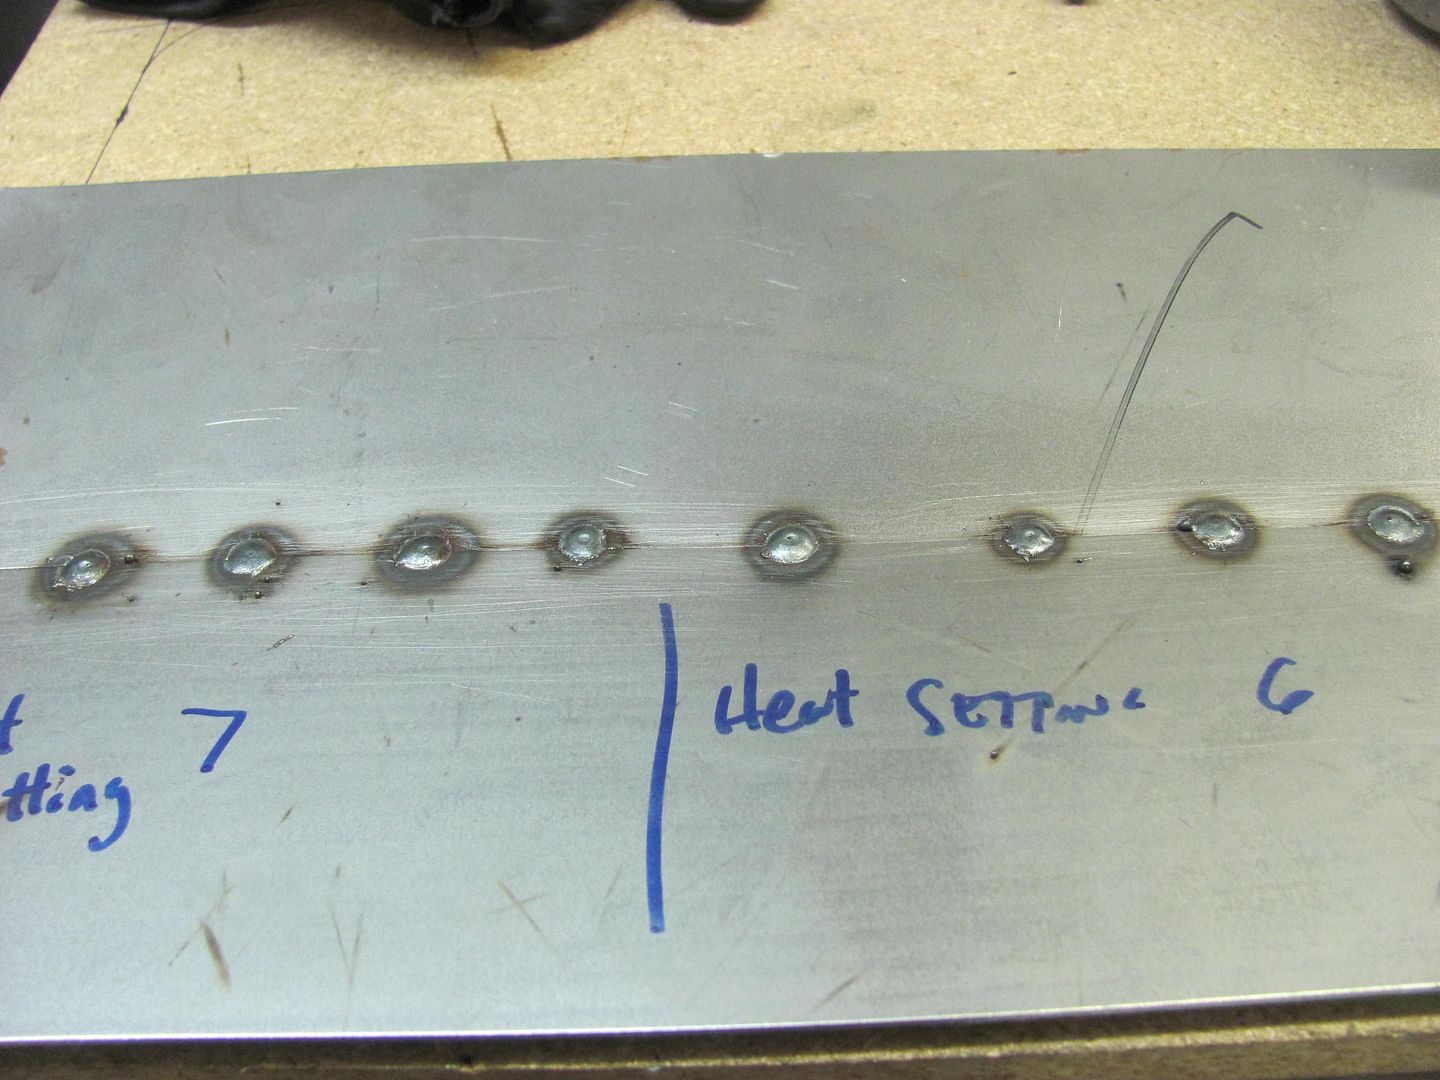
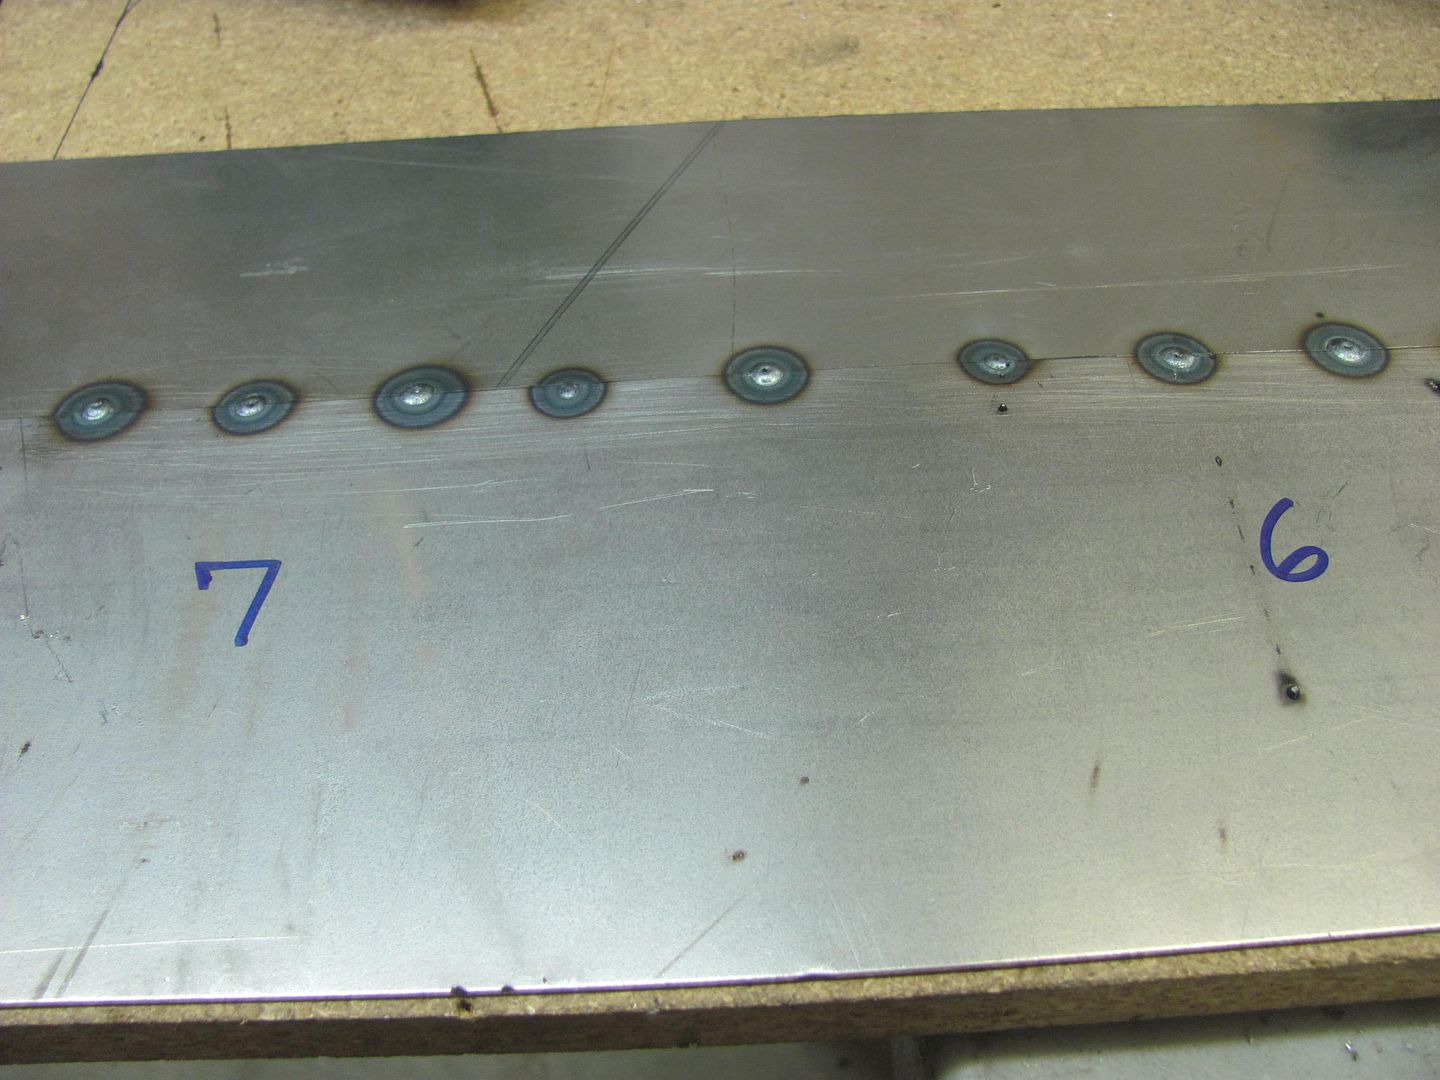
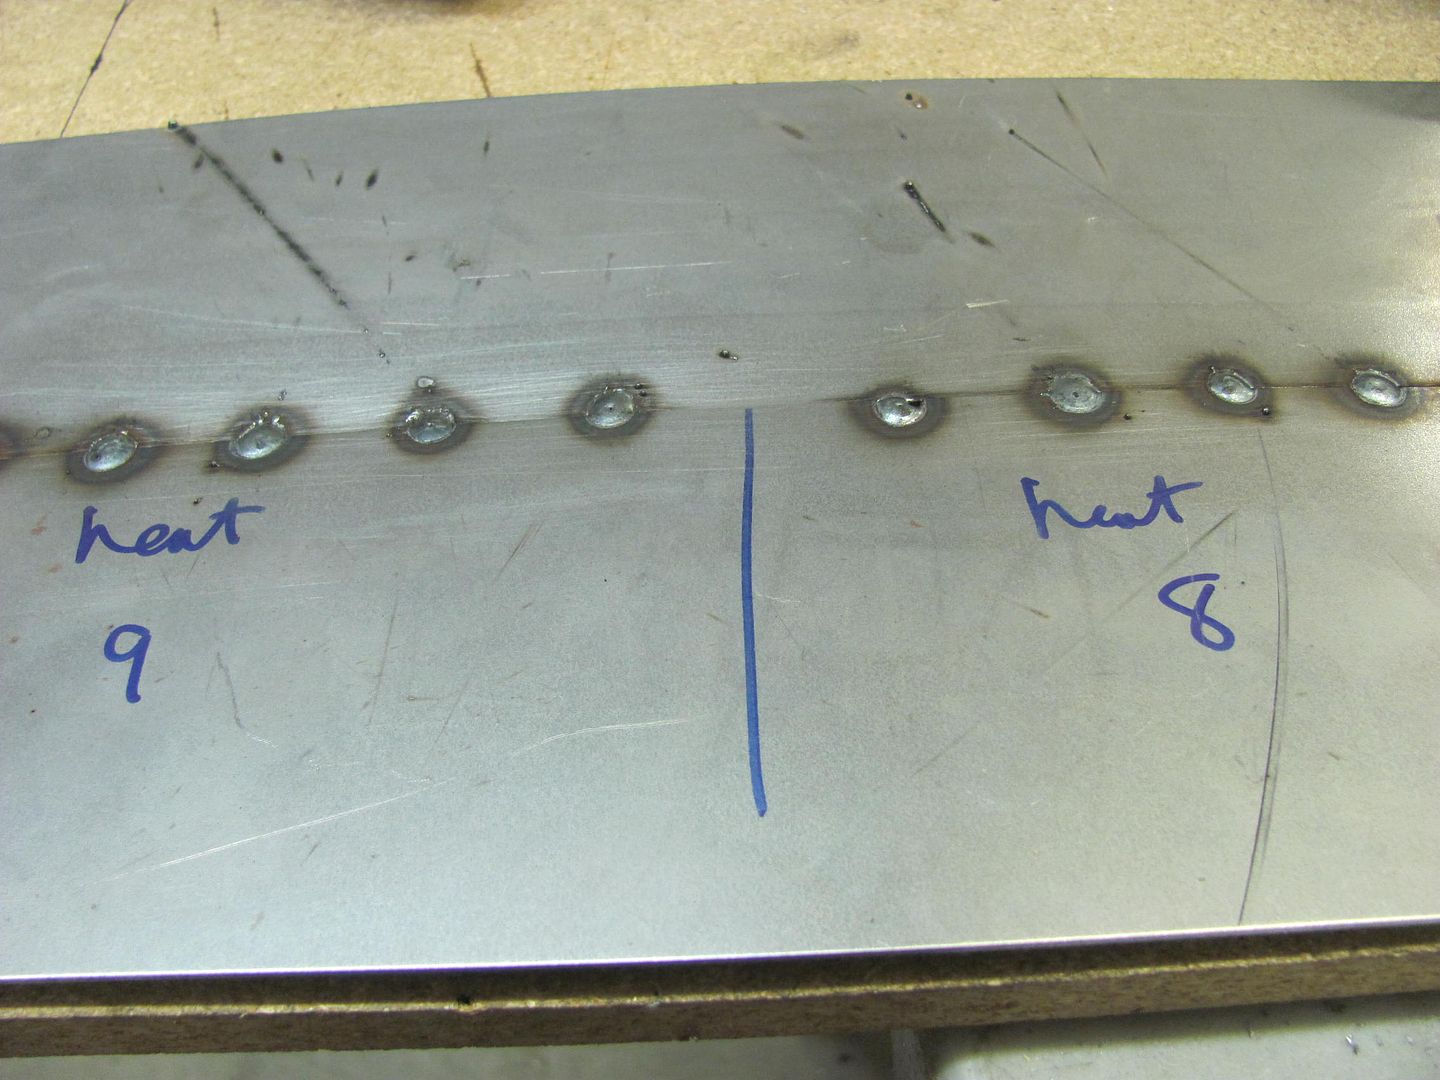
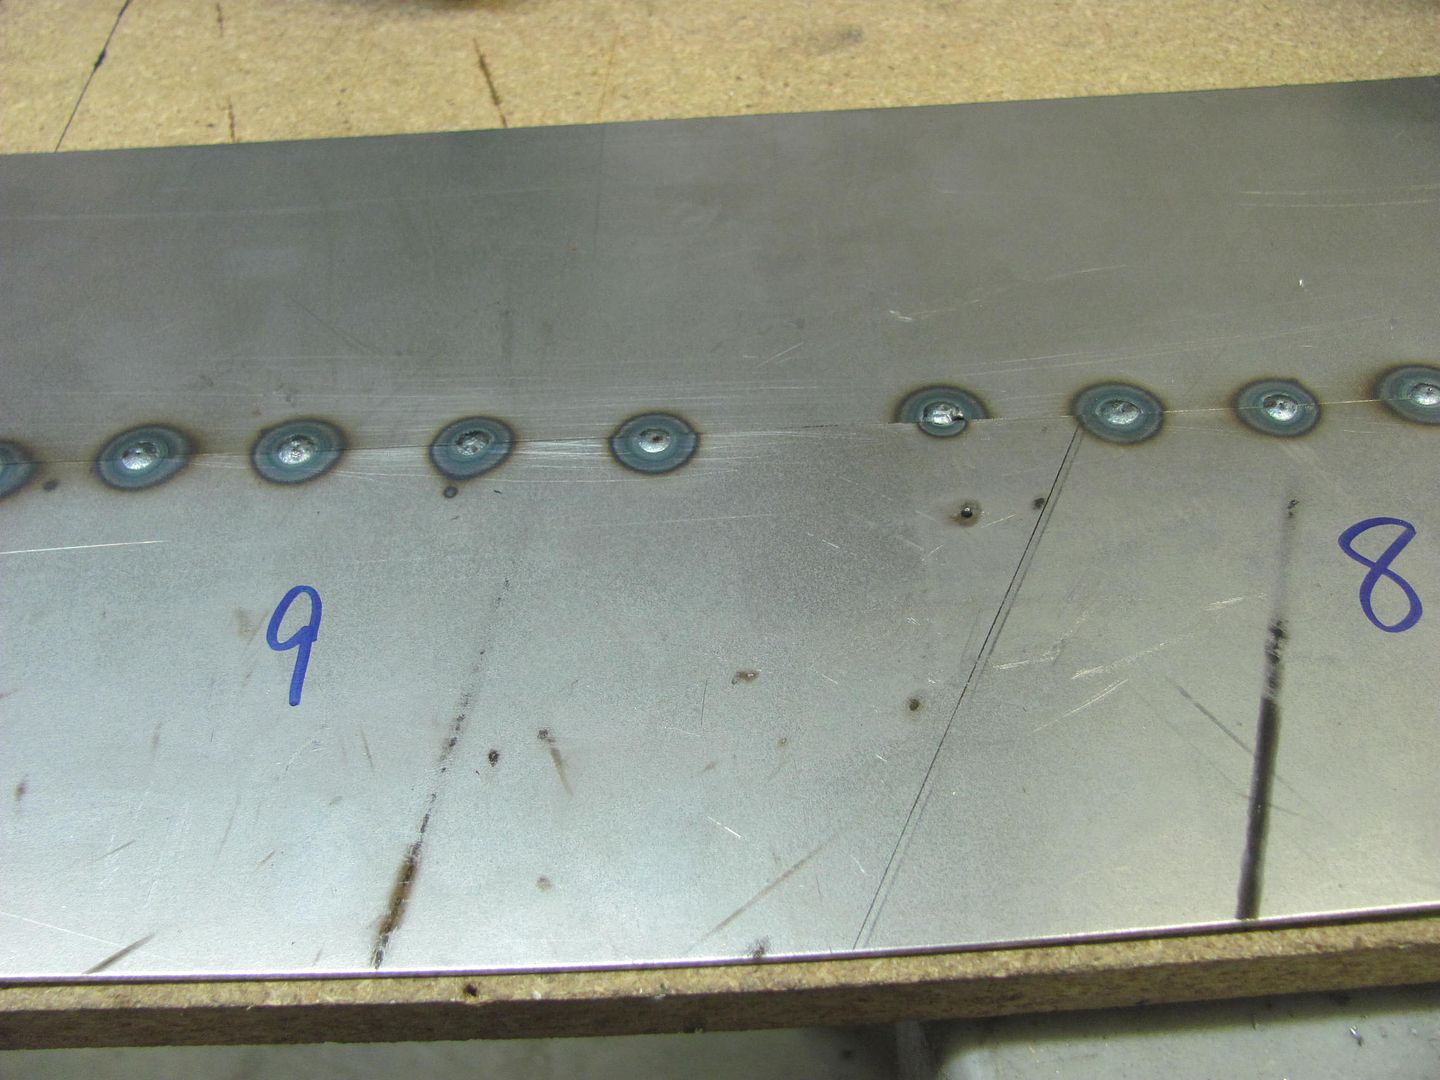
It appears you are doing stitch welds approx 1" in length (or so). You have some areas that appear to have good weld penetration and others that appear not to, where the weld is sitting up too high, as you described with the look of a cold joint. Unfortunately we can't tell the true results of the weld penetration without looking at the back side. But I would venture a guess that you have some areas there that do have insufficient weld penetration. Part of the issue is lack of consistency. If you have your welder set up for XX heat range to accomodate your (18? gauge) sheet metal, your weld penetration is going to vary as you travel across and the panel starts to heat up. So this may show better penetration toward the end of your weld pass. Next, trying to continue a weld onto an existing weld poses an issue that you no longer have a requirement for XX heat range, as the previous weld could have changed the panel thickness to as much as 3 or 4 times the thickness at the weld. This in essence changes our heat requirement to a greater amount to properly fuse to the end of that previous weld bead, but the continuation of our weld pass puts us quickly into thin metal again, where we may risk blowing holes.
Through much trial and error, I have changed my MIG welding of sheet metal to a one-dot-at-a time scenario, to overcome these very issues.
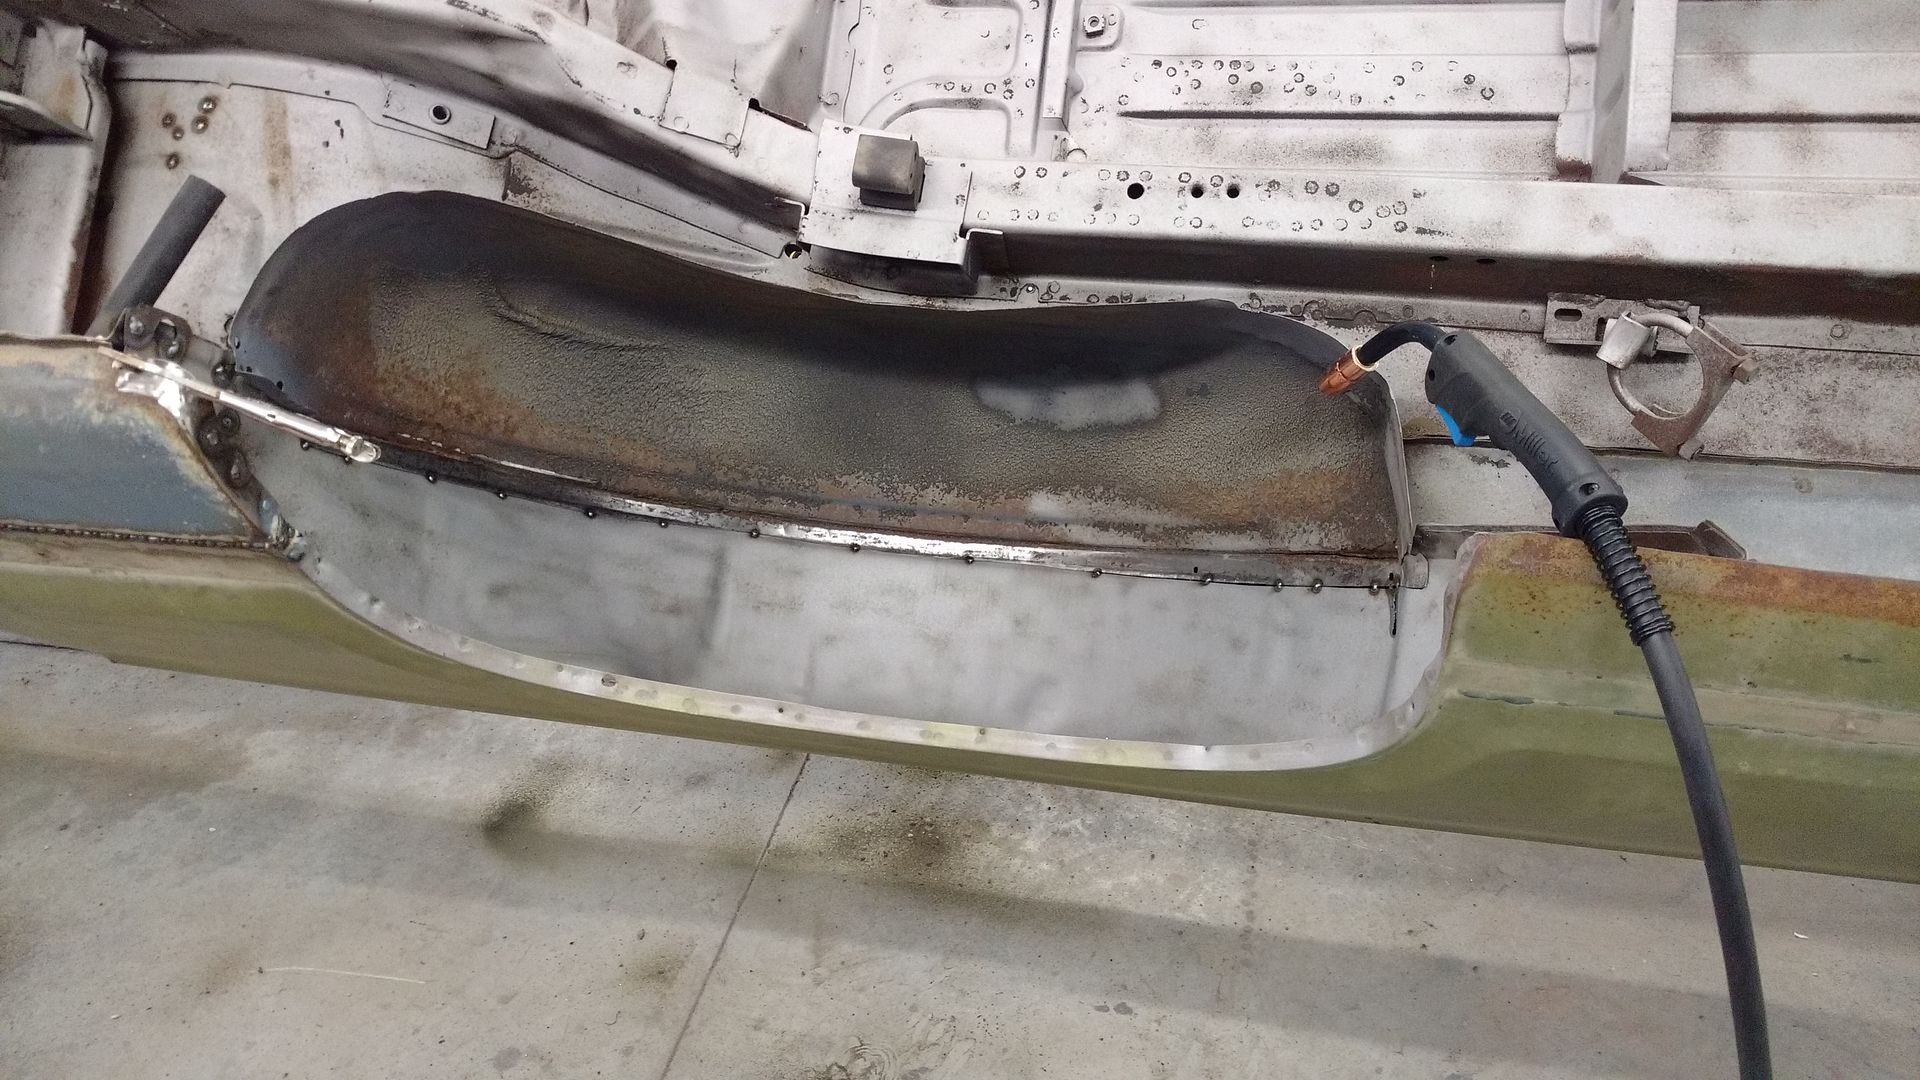
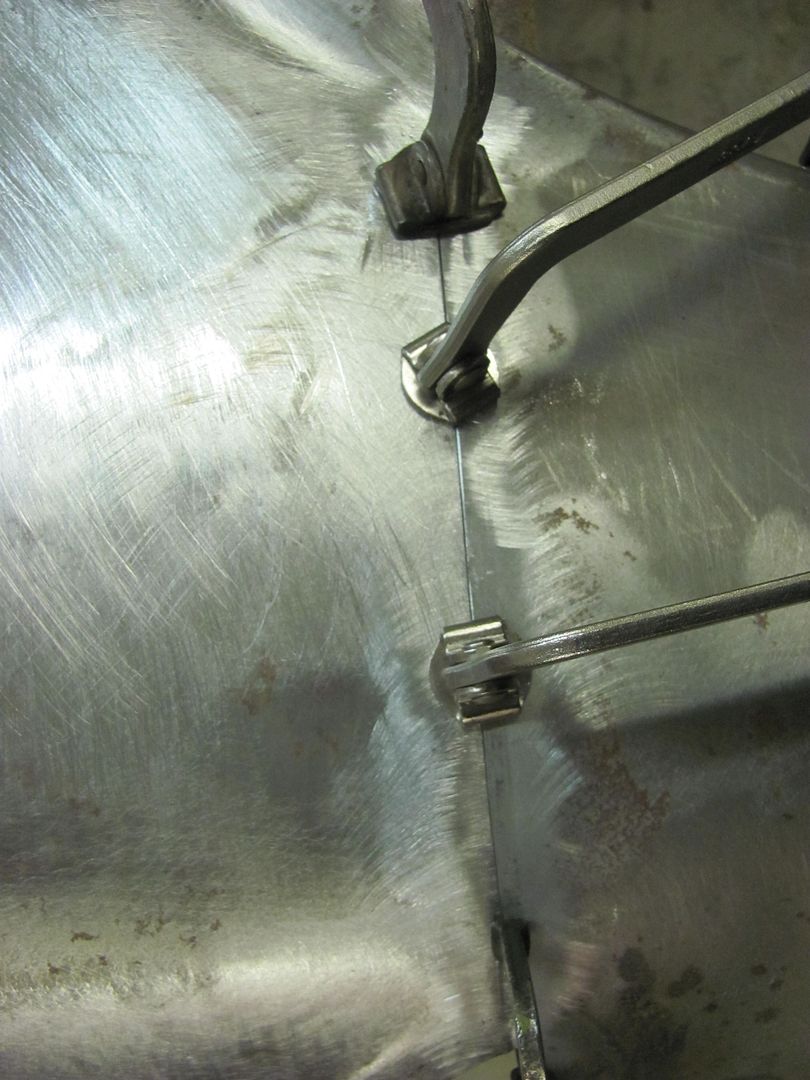
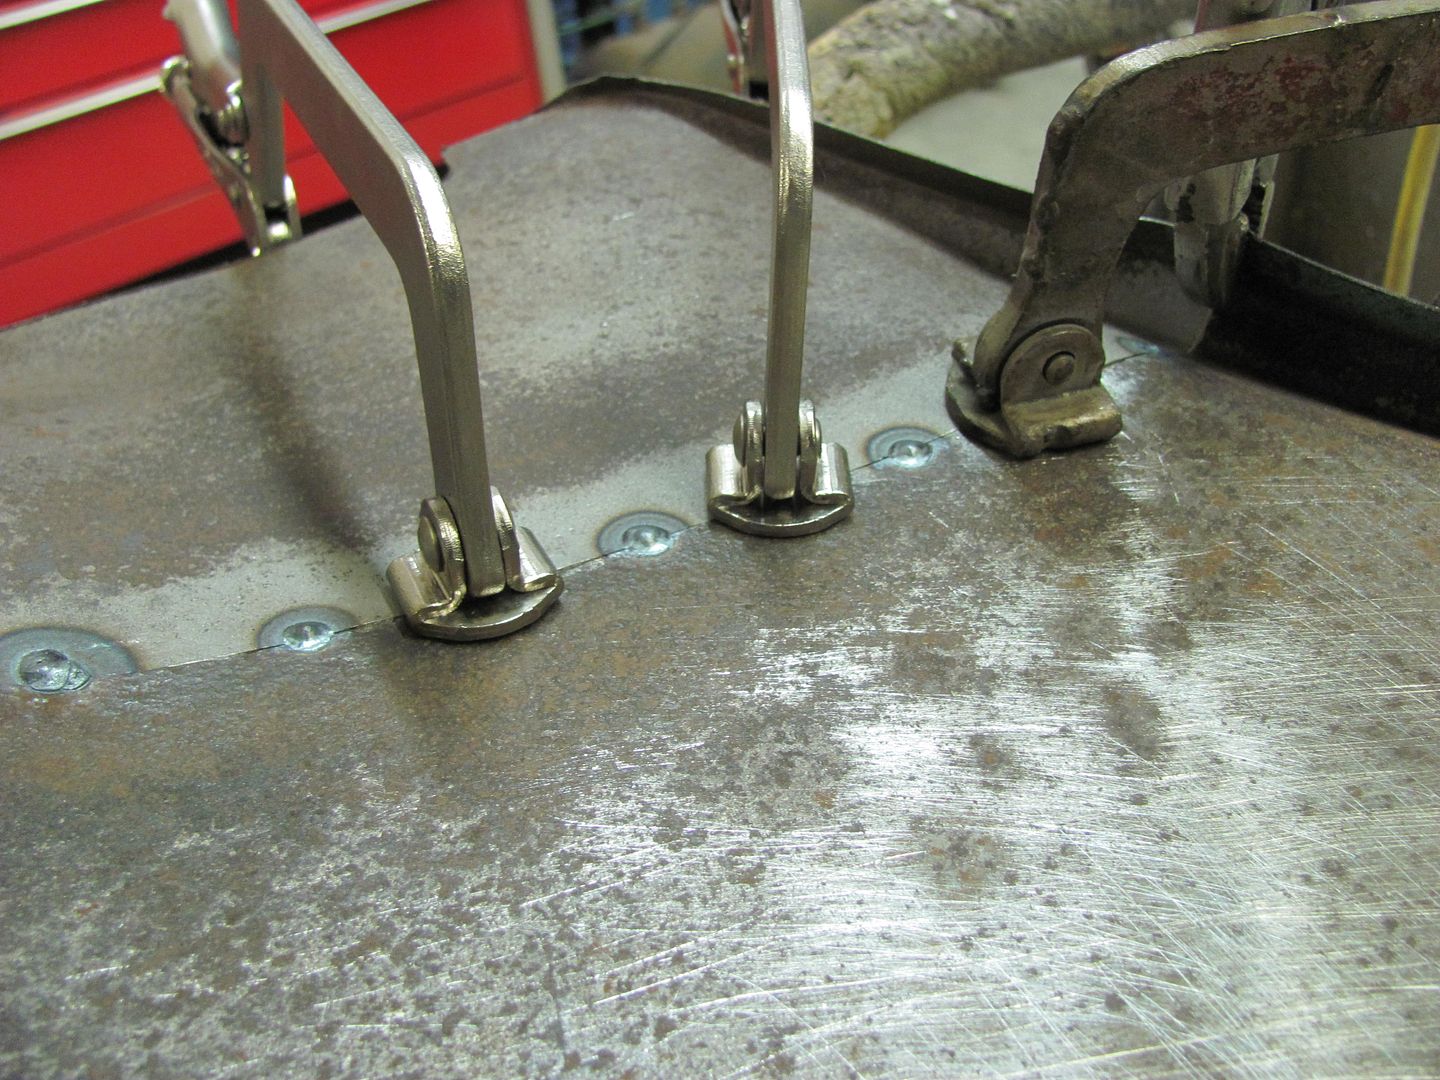
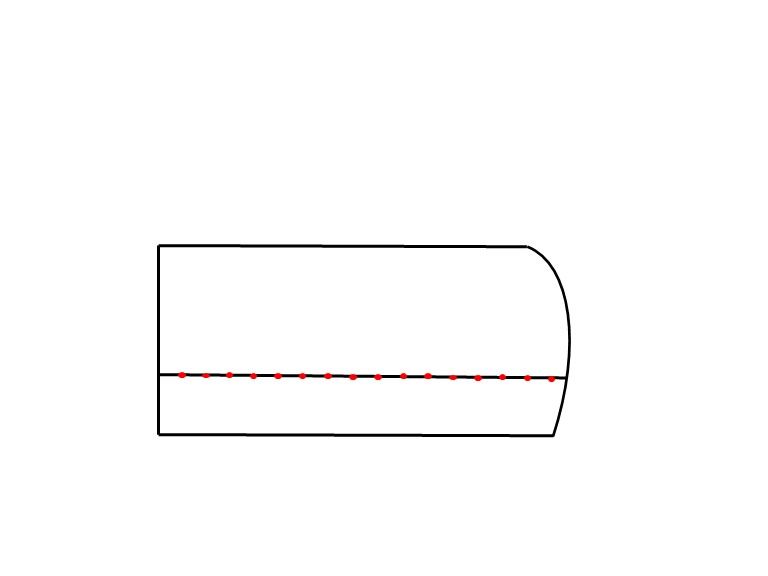
Let's say we are installing a lower door skin to repair some rust. The repair panel has been trimmed for zero gap, and the panel is tacked on. We need to insure our heat setting is correct for a full penetration weld DOT, as verified by looking at the back of the panel. (I normally do a test setup on scraps the same thickness. Then, starting your weld tacking of the panel at one end, and work progressively toward the other. Don't skip around from one end
to the other as you have a greater chance of misalignment in that you may have more metal on one side than the other, which will result in a buckle from the excess metal to one side of the weld. Start at one end, tack, move an inch or two, align the panels together, make another tack, repeat. This insures the panels are correctly aligned as you work progressively from one side to the other. Be sure to keep your weld tack spacing as consistent a distance as possible.
Once done with the last tack, go back to the beginning and use a hammer and dolly to planish each weld dot, working in the same start to finish pattern. Now go back to the beginning and use the 3" cutoff wheel to grind the weld dots down to just above flush, both FRONT AND BACK, as this gets the weld prouds out of the way for planishing the next sets of weld dots, and also removes all the excess weld that is acting as a heat sink/adding requirement to change heat setting. I grind to just above panel height for a weld seam like this, and final cleanup with a 3" roloc sander will be used at the end to dress the seam to the parent metal. Here's a video that shows the grinding process, but as this is a plug weld it is dressed immediately following. [/COLOR]
https://www.youtube.com/watch?v=V2WHT_zMOE8
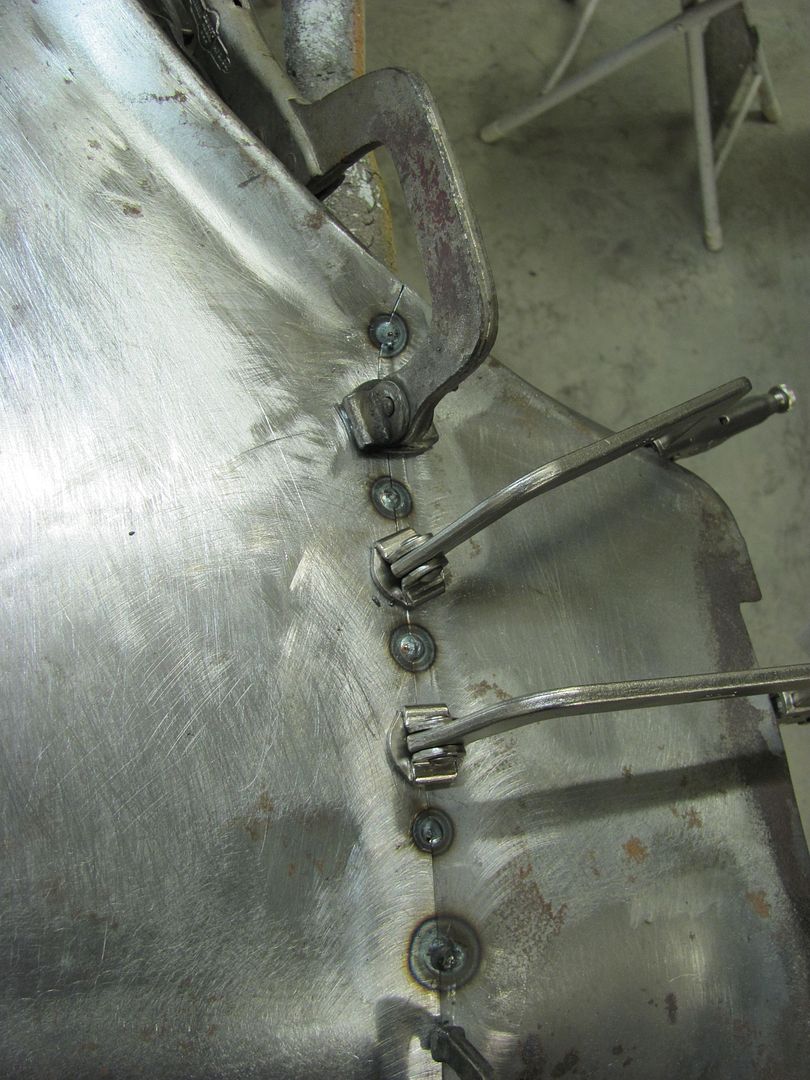
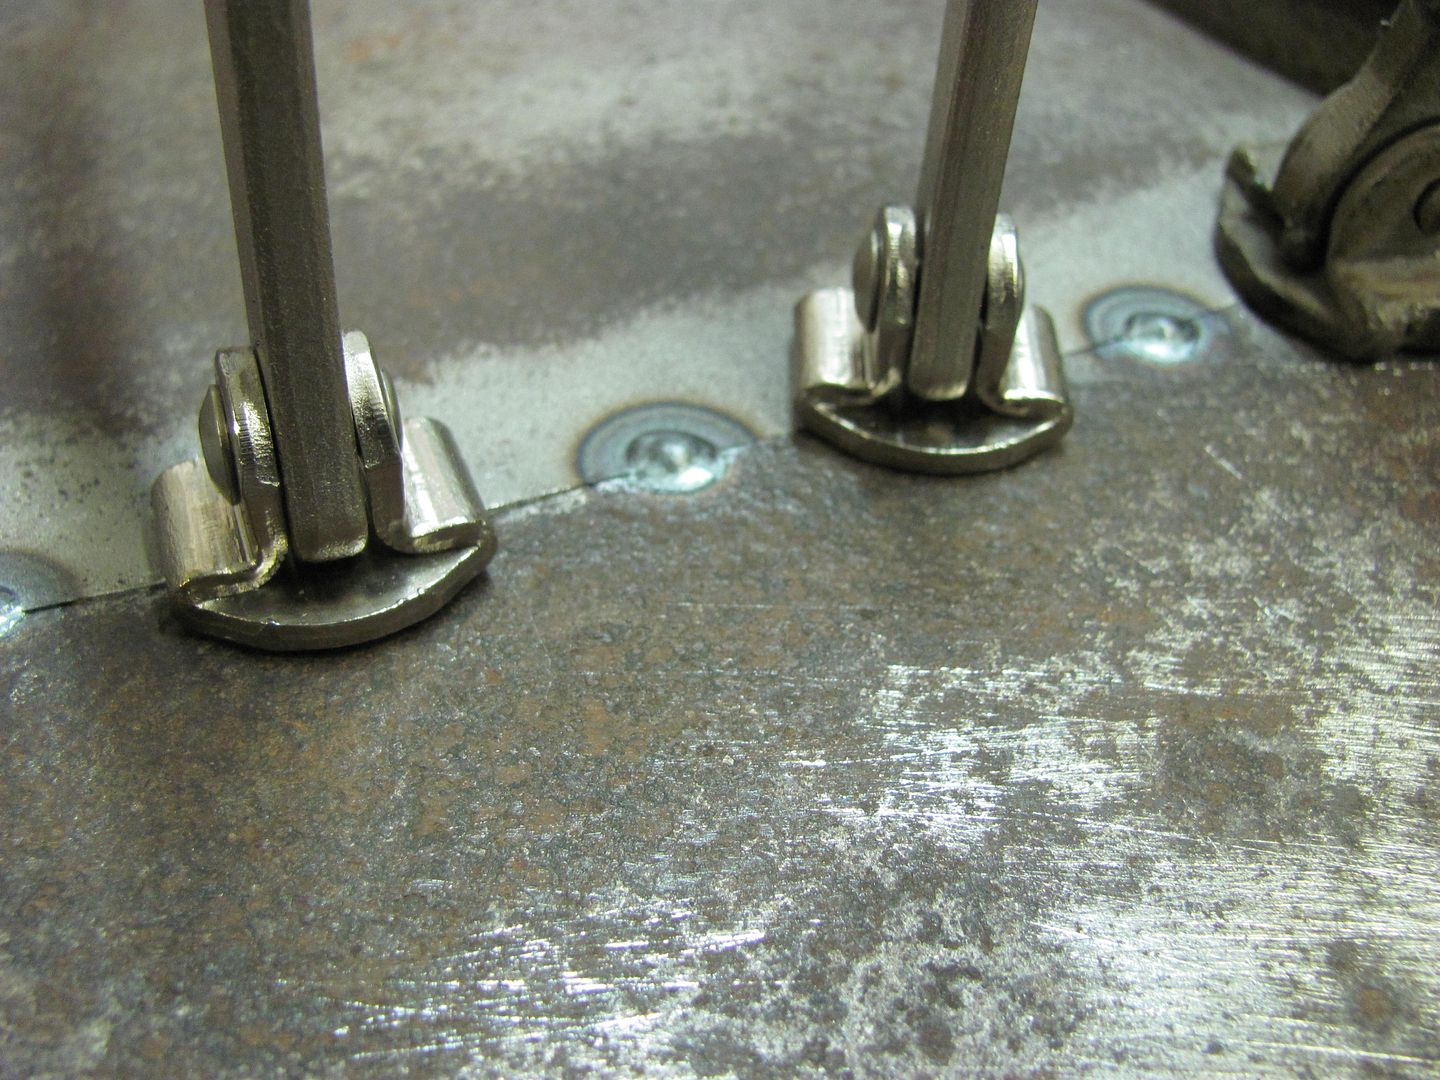
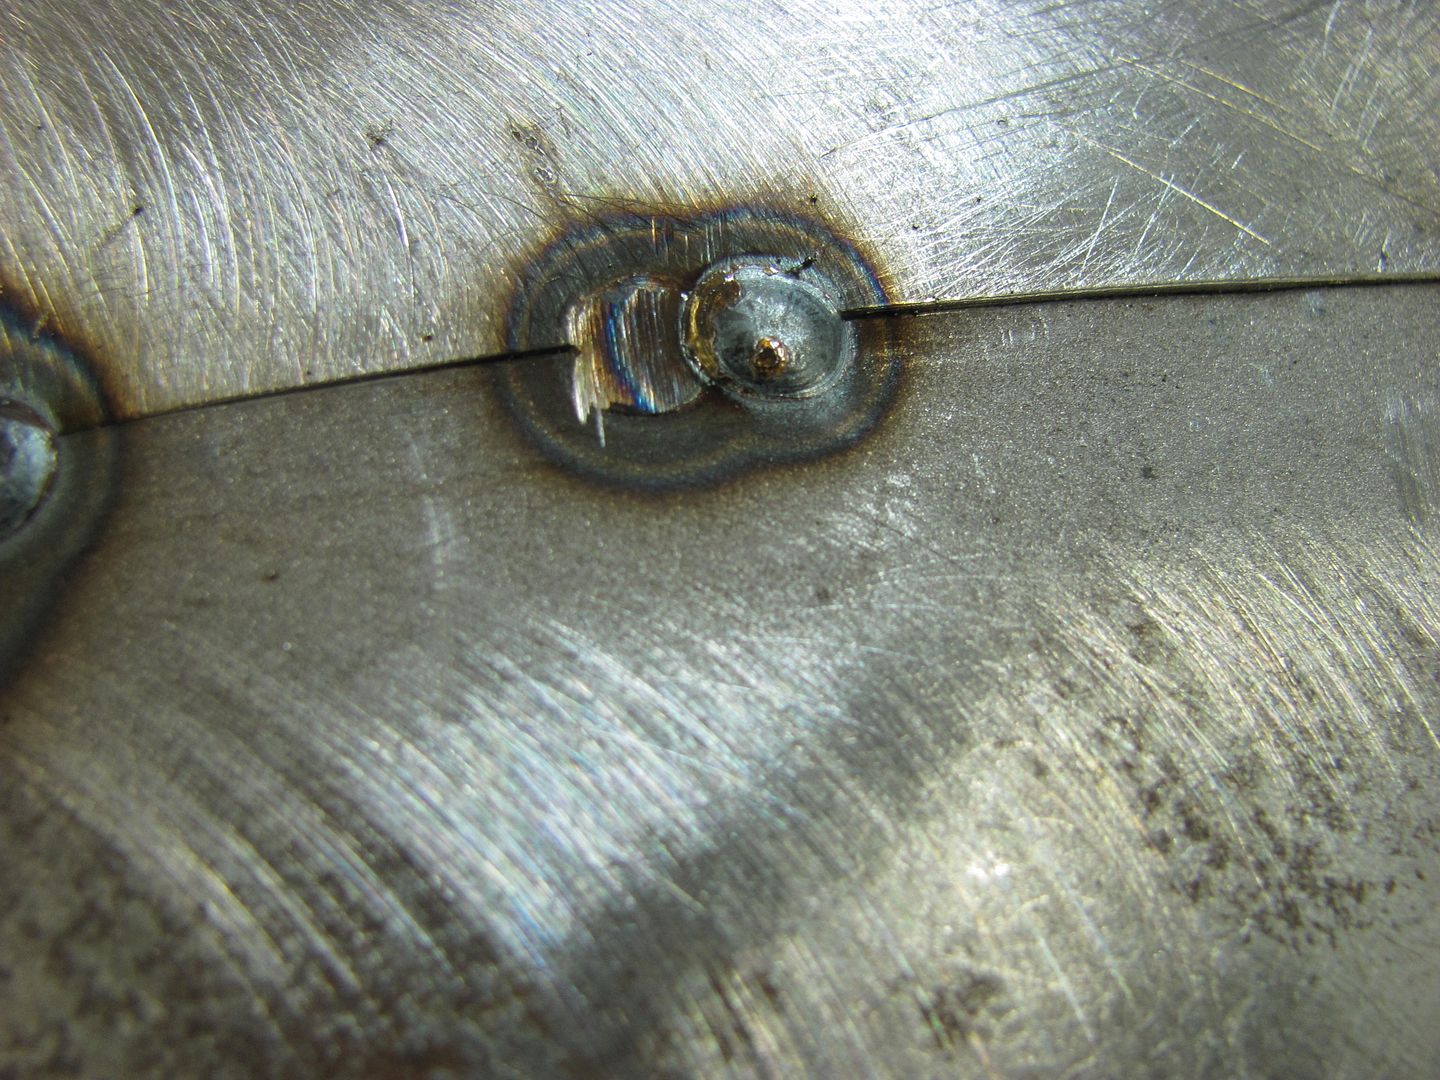
Now that those welds are down and out of the way, let's add the next set. Here I'll overlap the last set of welds by about 1/3 to 1/2. Whatever the distance of your overlap, keep it consistent throughout.
This method helps to eliminate any missed areas like what may occur if you kept skipping around. Again, start from the same spot you did before, overlap the first weld dot done, go the the next, overlap, repeat, until you get to the end. Then go back and repeat the planish from start to finish, then grind weld dots from start to finish, both FRONT AND BACK, and then repeat the overlap process again. Keep repeating the process until the weld seam has been finished, then use a roloc sander to dress the little bit of remaining weld to flush with parent metal, both front and back side.
If this sounds like a slow, monotonous process, that is the intent. This promotes consistency in the welding process, from fitup through to final welds dressed. At no point is it necessary to cool the welds, by the time planishing and grinding are complete, the welds on the panel are plenty cool to the touch. Any artificial cooling serves no purpose.
Planishing per Ron Covell is to flatten or straighten out a bumpy panel (if I remember that correctly). As it applies to metal shaping, one would use a blocking hammer and a shot bag to add shape to a panel, but once complete it would appear as if it had walnuts all across the surface of the metal. A planishing operation would smooth these out to a more consistent "flat" finish (where flat means the panel has some crown to it, but no more lumps). As it applies to welds, planishing is the use of a hammer and dolly (or other appropriate devices as the job dictates) to add some stretch back into the weld and HAZ for the purpose of negating any of the shrink that has occurred. I would add that seldom will you get it perfect the first time as you go through the weld process as described above. You will always have a bit of planishing to complete after the welds have been dressed out, or even some shrinking if you got too carried away in spots.