Not sure where I should put this post, maybe it would have been better in the color section?
Anyway I'm attempting a concourse restoration on my 65 Mustang.
My year and plant the bottom was a shiny "batch" close enough to black with lots of body color overspray
The engine compartment a dull black, painted after the body color
and a "pinch weld" blackout applied over the body color along the bottom of the rocker with a shadow onto the floor pans.
Because of what needed to go over what, re coat windows, etc, I backed myself into a corner and have a few issues to straighten out.
Issue 1) I painted the bottom the gloss black, then added the body color overspray, wanted to paint the cowl at that time so the tape line would be correct with the engine compartment black over the body color. I didn't want to mix up to separate batches of body color so I wanted to do the body color overspray on the bottom, and the cowl at the same time. To do that I got the bright idea to add the over spray while the car was upside down on the rotisserie so I could see what I was doing with the overspray, and just paint up at the cowl while the car was upside down (I think rolling it over while I'm shooting stirs up dirt so I don't usually move it after tacking). Problem is I couldn't see the cowl well enough, despite having a light right on it and have some dry spots. So, I guess I need to scuff and reshoot that. BUT, is there anything special about scuffing single stage over cured self leveling seam sealer? How anal do I need to be about betting into every nook and cranny?

Issue 2) I couldn't do the tape line on the freshly laid cowl paint, I had to wait 8 hours, which put me outside the recoat window for the engine compartment. Now I need to scuff the engine compartment before painting that. How do I scuff, without goofing up the concourse correct seam seal drips? Or do I need scrape the drips off the firewall, buy a new tube and re apply? Seems crazy to buy seam sealer just to make drips, lol.

Issue 3) when I scuff the engine compartment, how do I do the transition to the bottom paint that has the correct overspray on it already? From the factory it would be proper for it just to cover over with a non defined edge and maybe some runs. Which would be easy if I only didn't have to scuff where the new paint was going, but not scuff the bottom "over sprayed" paint.

Issue 4) By the time I got to the end it was 6:00 in the morning and I wasn't thinking clearly. I used bending solvent to make the overspray look nice,
BUT... I hadn't done the pinch weld paint yet.
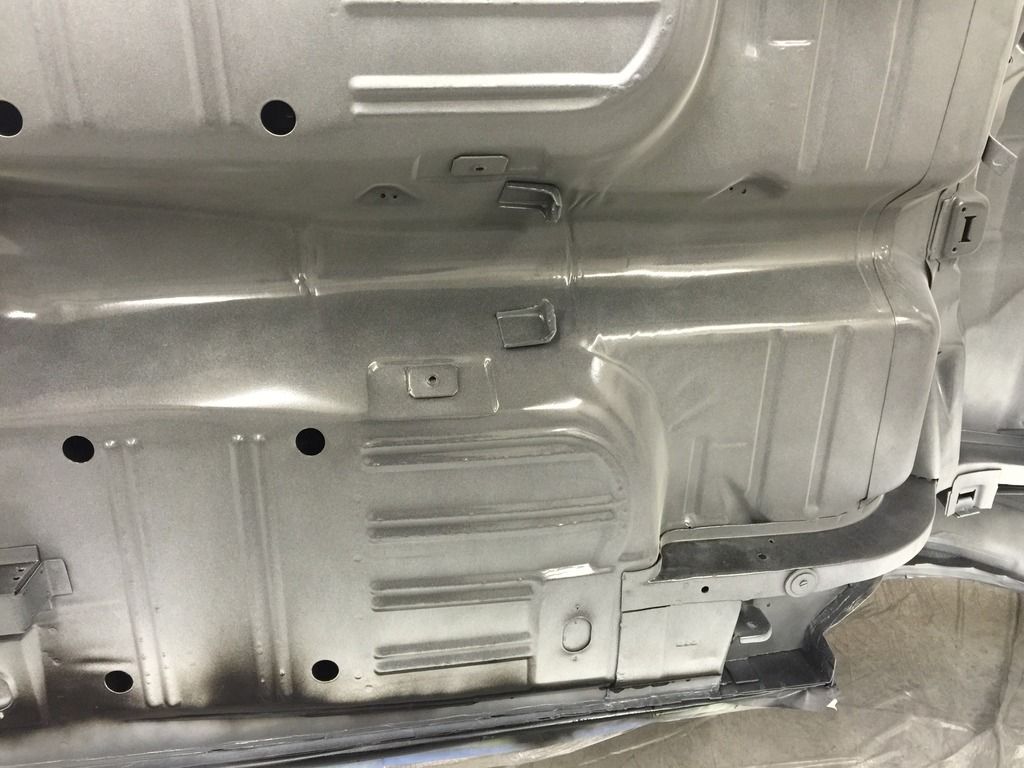
I loaded up the gun and sprayed that, which went perfect, at first, but towards the back on both sides, I got immediate pops when the paint hit. Initially I thought the gun sprayed some junk, but later decided it was some sort of popping of the paint itself. Maybe the blending solvent was still working or something? Not sure. Also not sure if you'll be able to see in this picture because the white pops through the pinch weld paint look just like the over spray, but in person it's a very rough texture. I may just have to live with it as I'm not going to repaint the bottom, and add the over spray and pinch weld black out again.


Anyway I'm attempting a concourse restoration on my 65 Mustang.
My year and plant the bottom was a shiny "batch" close enough to black with lots of body color overspray
The engine compartment a dull black, painted after the body color
and a "pinch weld" blackout applied over the body color along the bottom of the rocker with a shadow onto the floor pans.
Because of what needed to go over what, re coat windows, etc, I backed myself into a corner and have a few issues to straighten out.
Issue 1) I painted the bottom the gloss black, then added the body color overspray, wanted to paint the cowl at that time so the tape line would be correct with the engine compartment black over the body color. I didn't want to mix up to separate batches of body color so I wanted to do the body color overspray on the bottom, and the cowl at the same time. To do that I got the bright idea to add the over spray while the car was upside down on the rotisserie so I could see what I was doing with the overspray, and just paint up at the cowl while the car was upside down (I think rolling it over while I'm shooting stirs up dirt so I don't usually move it after tacking). Problem is I couldn't see the cowl well enough, despite having a light right on it and have some dry spots. So, I guess I need to scuff and reshoot that. BUT, is there anything special about scuffing single stage over cured self leveling seam sealer? How anal do I need to be about betting into every nook and cranny?

Issue 2) I couldn't do the tape line on the freshly laid cowl paint, I had to wait 8 hours, which put me outside the recoat window for the engine compartment. Now I need to scuff the engine compartment before painting that. How do I scuff, without goofing up the concourse correct seam seal drips? Or do I need scrape the drips off the firewall, buy a new tube and re apply? Seems crazy to buy seam sealer just to make drips, lol.

Issue 3) when I scuff the engine compartment, how do I do the transition to the bottom paint that has the correct overspray on it already? From the factory it would be proper for it just to cover over with a non defined edge and maybe some runs. Which would be easy if I only didn't have to scuff where the new paint was going, but not scuff the bottom "over sprayed" paint.

Issue 4) By the time I got to the end it was 6:00 in the morning and I wasn't thinking clearly. I used bending solvent to make the overspray look nice,

BUT... I hadn't done the pinch weld paint yet.
I loaded up the gun and sprayed that, which went perfect, at first, but towards the back on both sides, I got immediate pops when the paint hit. Initially I thought the gun sprayed some junk, but later decided it was some sort of popping of the paint itself. Maybe the blending solvent was still working or something? Not sure. Also not sure if you'll be able to see in this picture because the white pops through the pinch weld paint look just like the over spray, but in person it's a very rough texture. I may just have to live with it as I'm not going to repaint the bottom, and add the over spray and pinch weld black out again.

