About welding,priming,sealing and panel replacement

H

Hugh Hefner

I suppose this is an age old question.

I am doing some work to my old truck cab.Daily driver,but I am trying to bring it up to as close to like-new state as practical,so I won't have to lay out $40K for a new truck(yeah...like I have that).

So,I have to replace some cab corners and floor,customizing firewall,and more,once I get into it..What do you folks recommend as far as priming,sealing and rust protecting during the fabrication process?For example,when the cab corners are cut off and accessible,what to do in the body cavities while I have access?And what about prep and priming surrounding areas as I go?I'll probably be working on this in 2-3 hour spurts in the evening,so setting up the gun spring a bit of epoxy,cleaning the gun,etc.can really stall progress.How do you guys handle that.Anyone using weld-thru primers?Anyone using panel adhesives?Are you guys completely welding seams(no matter how long) or stitching and seam sealing?

Thank you for the help,
 
A lot of questions all at once. Let's start with the metalwork part.

Adhesives are an option, but require using a stepped flange for the adhesive to have something to adhere to. The down side to a stepped flange, is that two thicknesses of metal heat and cool at a slower rate than the single thickness. So you will therefore have different expansion rates on either side of the joint, and this differing expansion rate will eventually result in a ghost line in the middle of the joint, visible in the final finish, where everyone will be able to see exactly where your seam is. Some may bring up the fact that even present day manufacturers use adhesives in joining panels, it is only used in areas such as the tops of the roof where any overlap is in a channel where it can be covered by a flowable seam sealer. They do not use it in the flanging and overlapping of an exposed exterior panel if it needs to be finished as an "invisible" seam, because that can't be done..

For welding purposes, the same deal holds true in flanged attachment. Ghost lines will result, and when the panel deforms from the weld, the two panel thickness is near impossible to deal with. Even though most reproduction "patch panels" are flanged, this is to accommodate the newbies who have no experience in fitting and trimming panels, and in butt welding. It gives them some fudge factor, but this is not without issue. My advise is to follow what the manufacturer did. If they used a pinch weld on flanges, install the same thing. If you are replacing the bottom of a cab corner or door skin, etc., then the attachment to the remainder of the original panel should use a butt weld that can be planished, welds dressed, etc, to look more like a single panel, as the factory installed, when you are done.

As far as installing stitch welds, if this is for the upper seam of the cab corner, it will be a temporary repair as any vibration or flexing of the cab from road conditions will tend to open up the non welded parts. Any filler over this type of repair will start to show cracks. So for the upper seam, it should be a continuous butt weld. For the flanges along the bottom of a cab corner, they should be spot welded or plug welded to the adjacent inner rocker panel, etc.

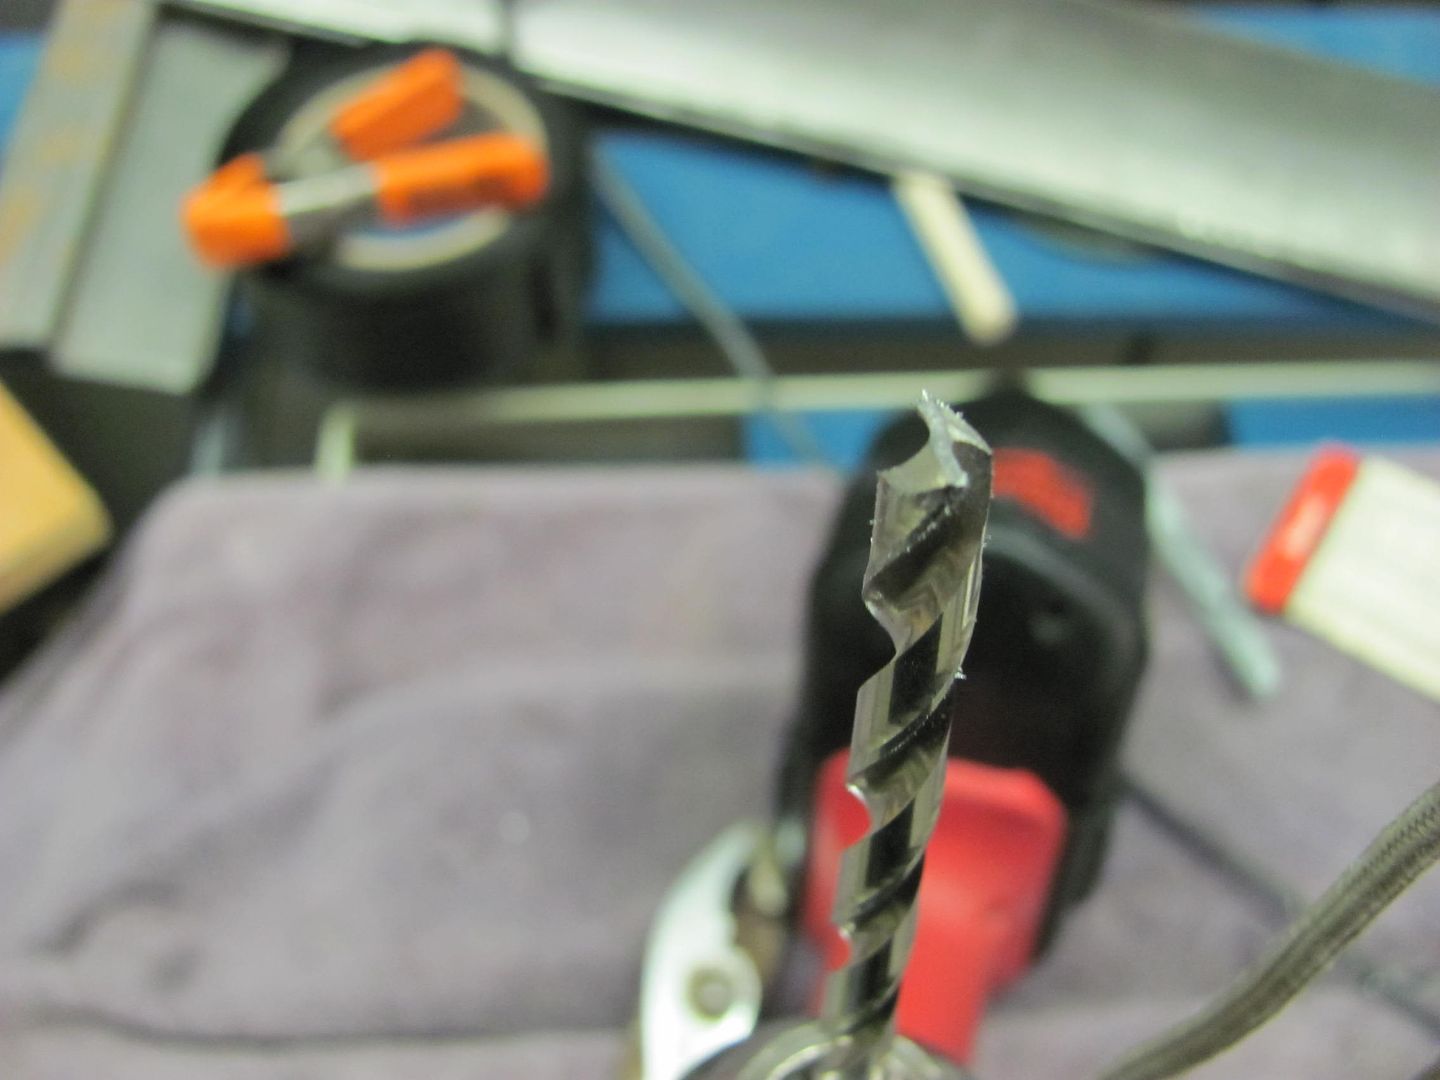
For painting, some use weld through primers but I think you'll still need to remove some of it inside any plug weld holes. Excessive will tend to contaminate the weld. Some years ago a restoration publication had done a comparison test between weld throughs and epoxy primers. Their results showed that the epoxy gave better long term protection against reoccurrence of rust. Since then I have strictly used epoxy between panels, and I use a modified drill bit to clean the paint off the adjacent panel inside the plug weld hole, and use the mig to weld them up. For modifying the drill bit, basically a bit the same size as the plug weld holes is flattened and then backfaced using a fine grit roloc disc, somewhat mimicking an end mill.

Picture692.jpg


For painting, some of the SPI epoxy is a perfect paint to protect your project in between the 2-3 hour sessions. You will be blocking the paint later once all your repairs are complete, so for small areas that aren't worth using a spray gun, a paint brush or small roller will also do the trick. The coat won't be as consistent in mil thickness, but it will hands down be better than wasting your time with a spray bomb that will need to be sanded off later.
 
A handheld spot sand blaster also works good for cleaning out plug weld areas prior to welding when you're using weld through primer or epoxy. You can use panel adhesives for butt joints if a backing strip is used, Lord's website has some good instuctions on this. There is often times a ghost line that does show at the seam though when the panel is in the sun from differences in rate of expansion where the adhesive is. Might be fine for a daily driver though. http://www.lord.com/products-and-solutions/adhesives/repair-procedures.xml
 
Back
Top