You are using an out of date browser. It may not display this or other websites correctly.
You should upgrade or use an alternative browser.
You should upgrade or use an alternative browser.
Wagon Progress
- Thread starter MP&C
- Start date
MP&C
Member
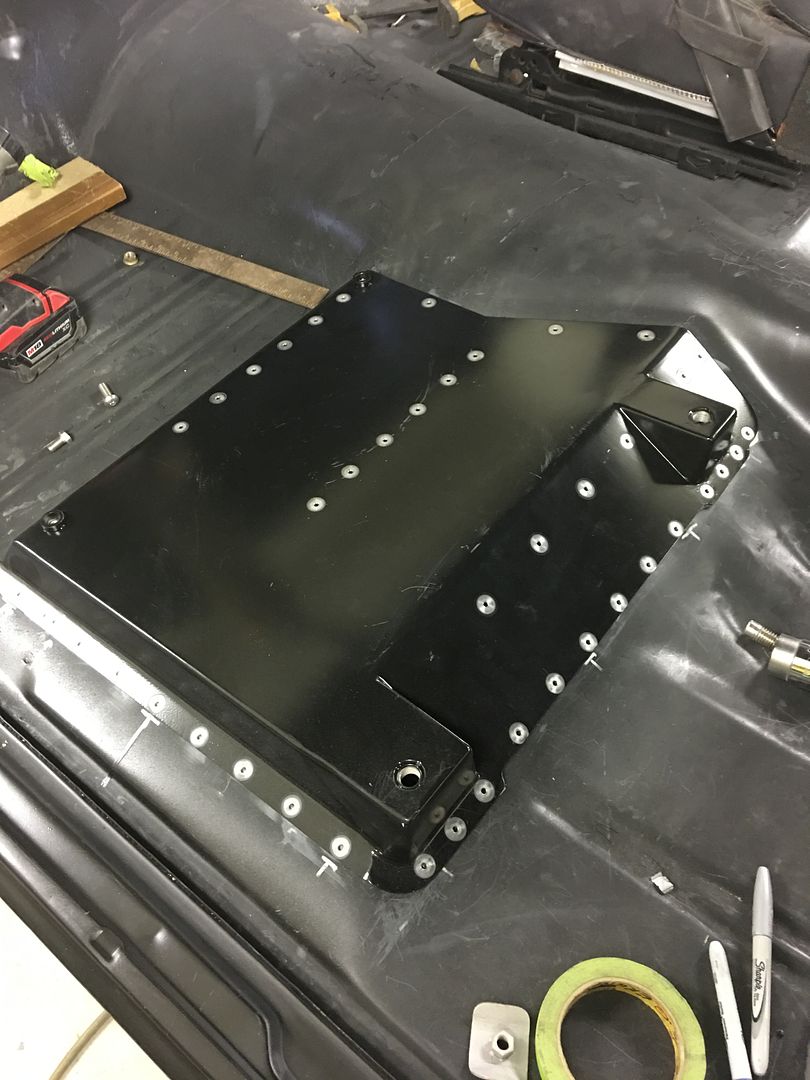
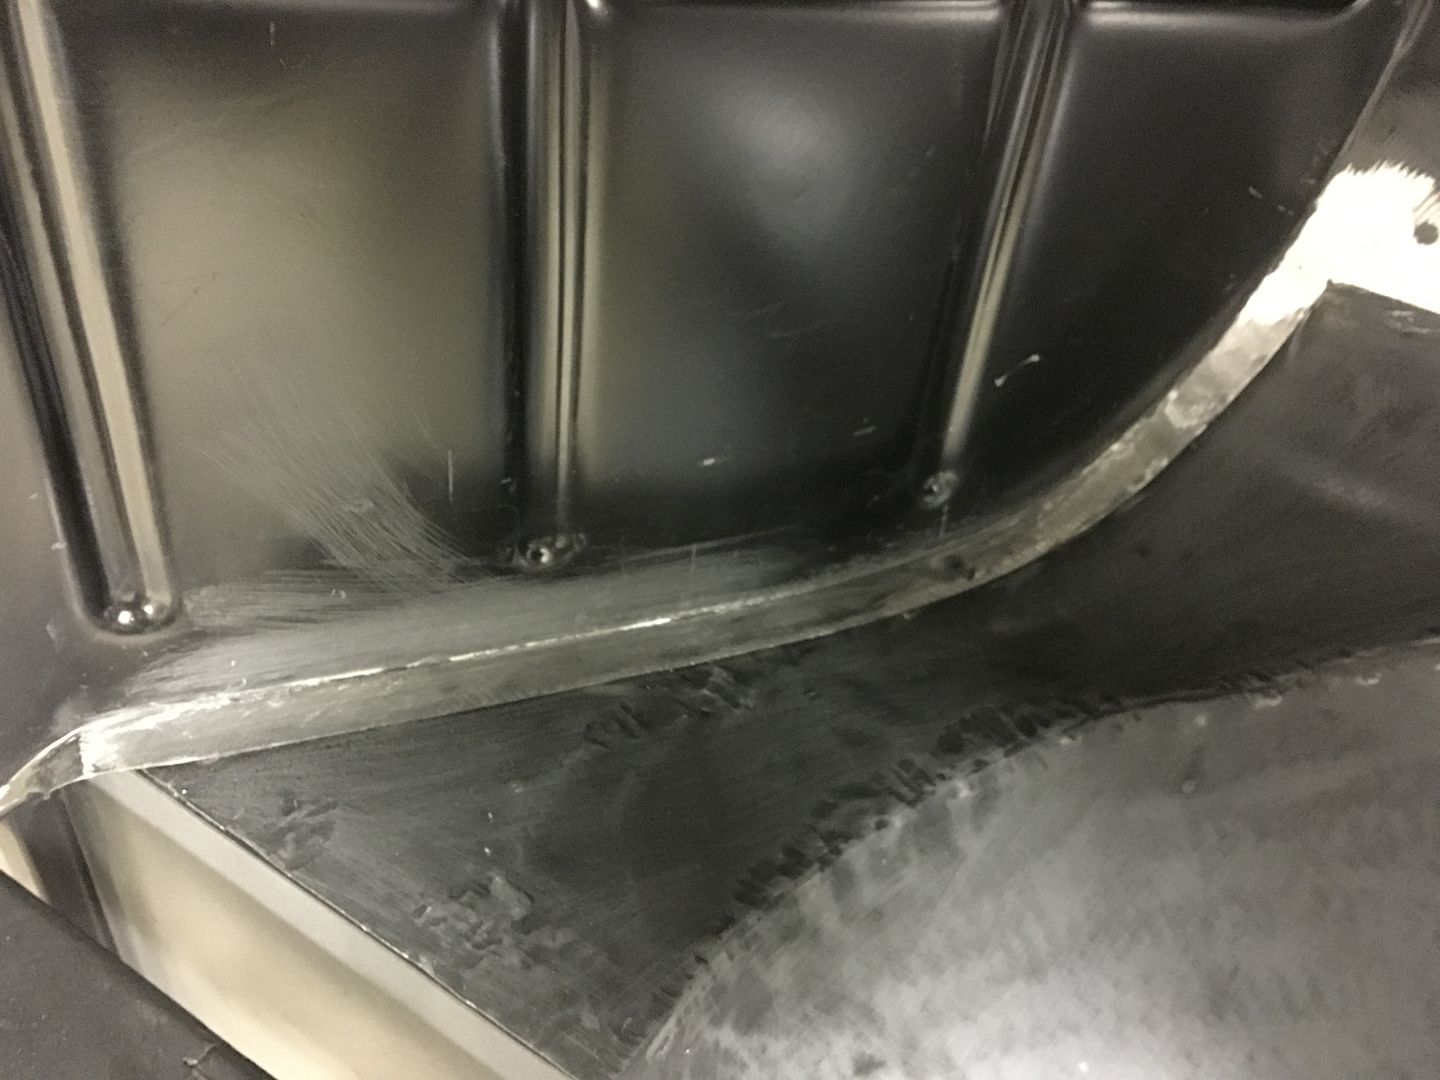
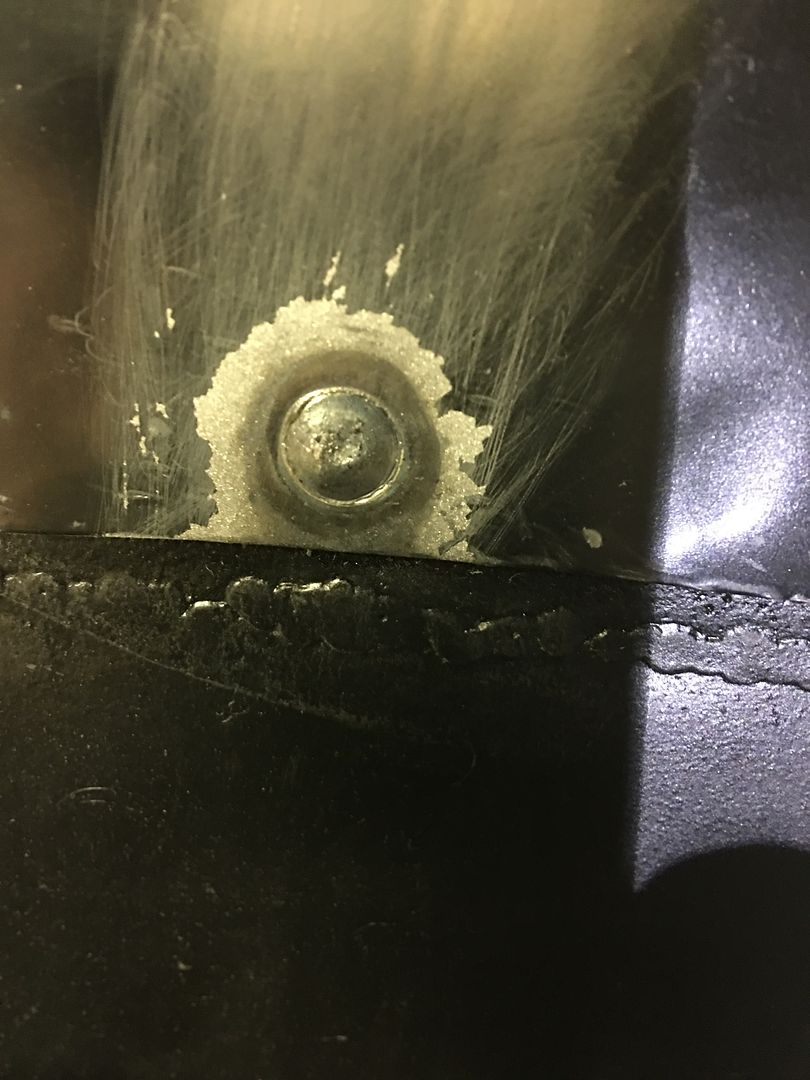
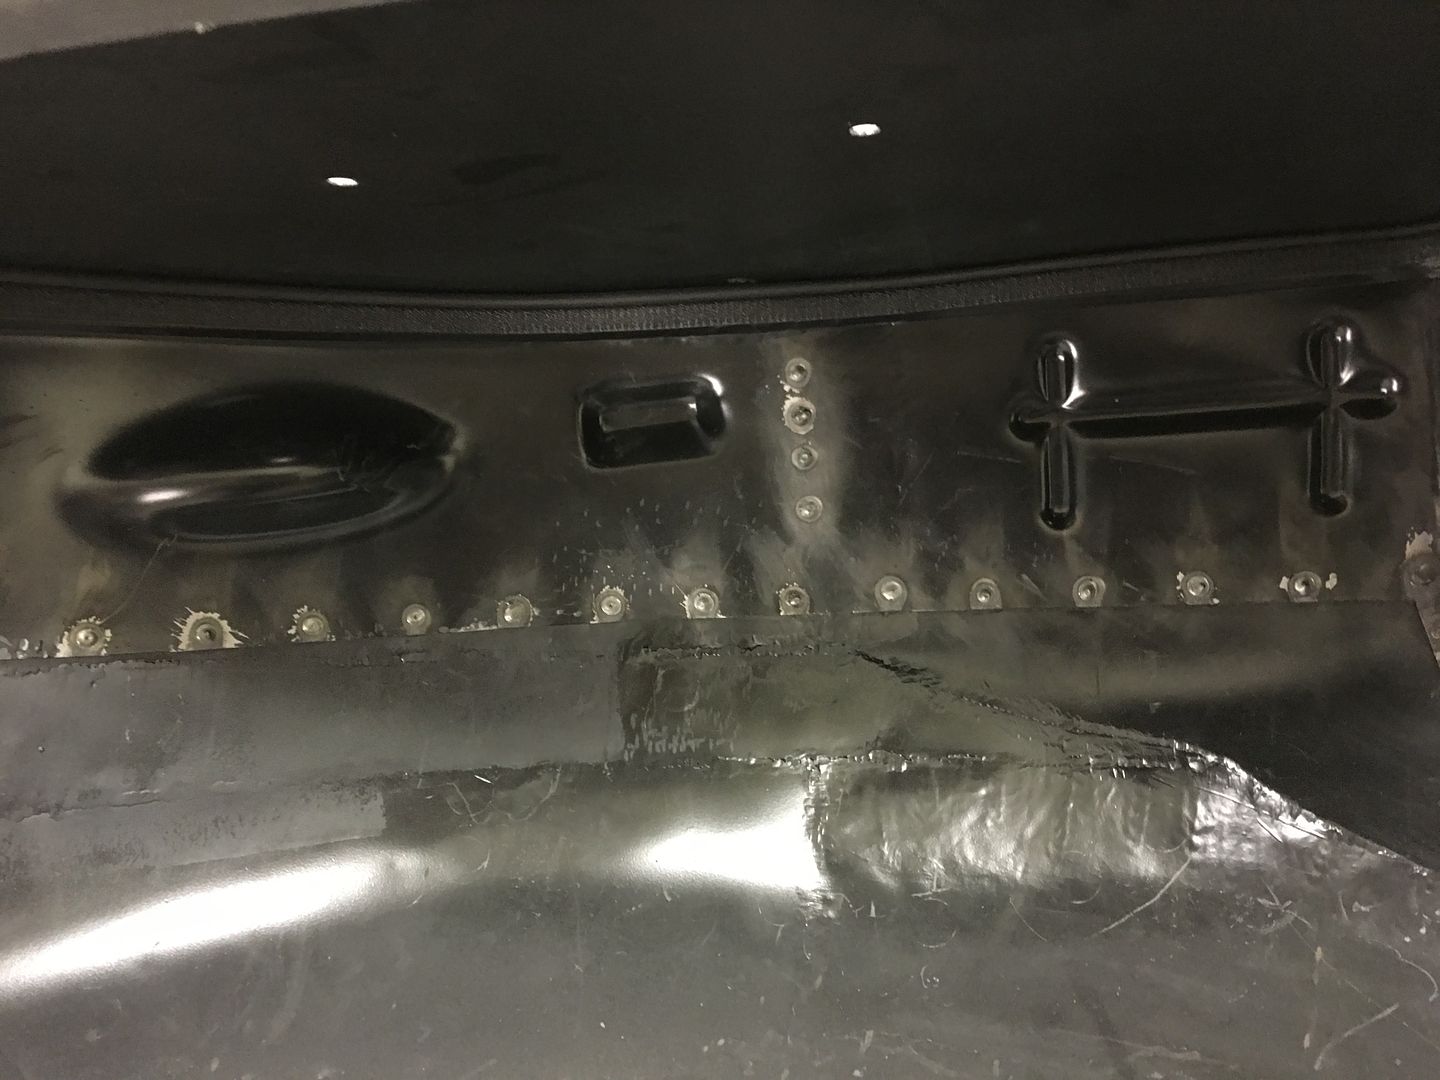
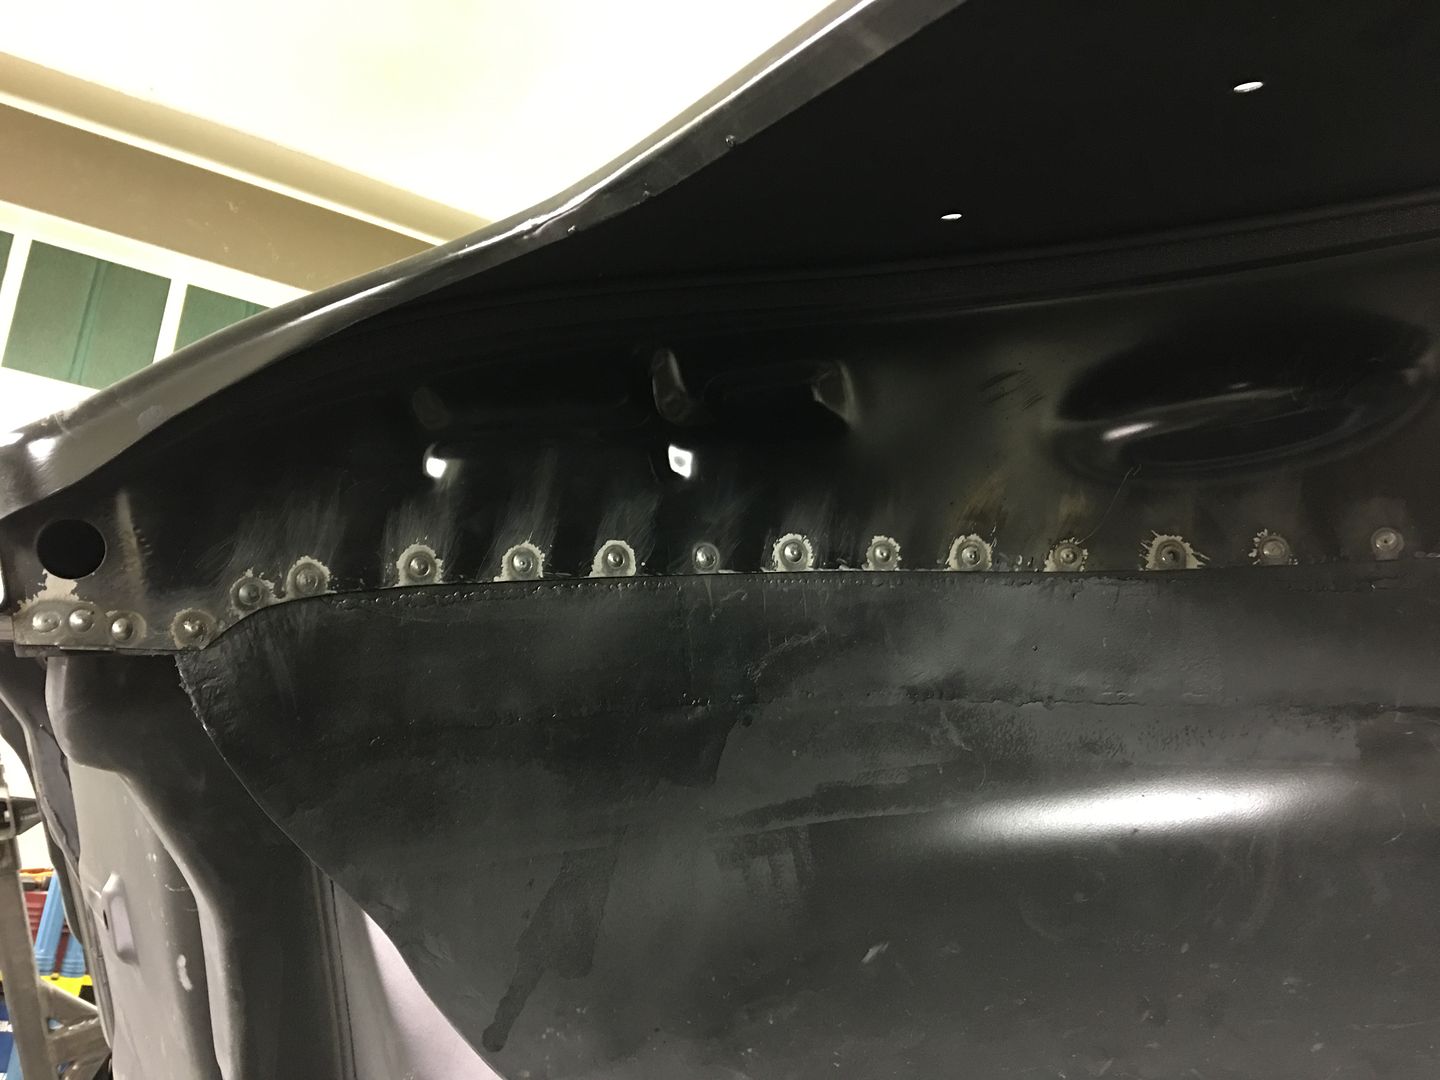
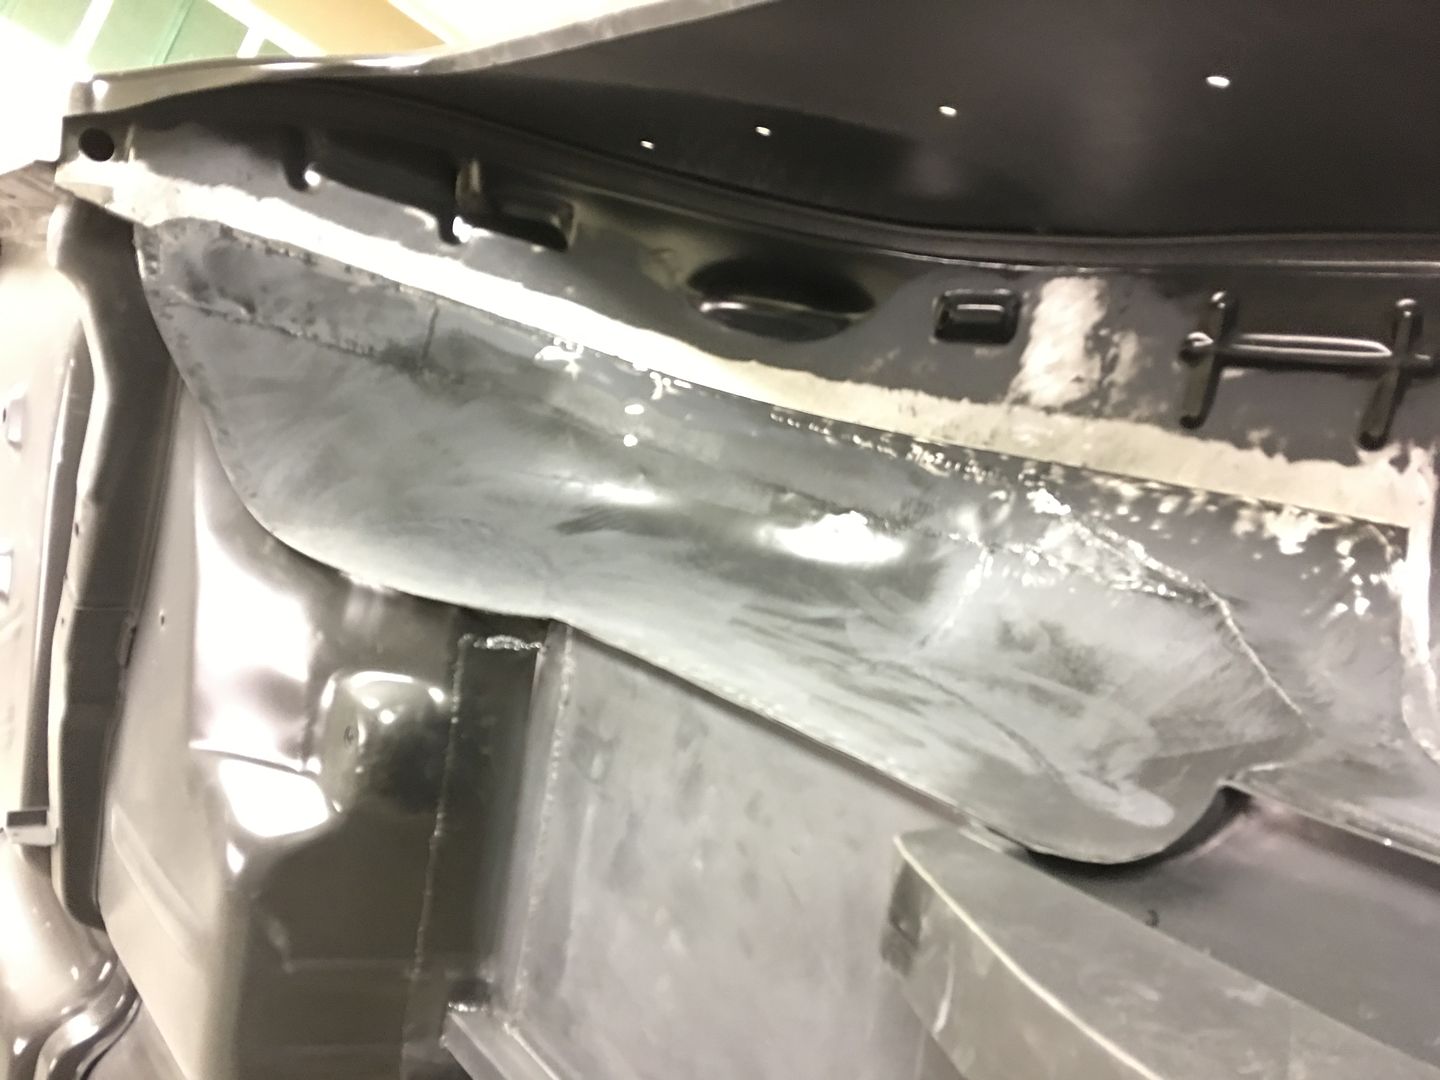
Tonight we worked on getting the driver's side wheel well installed. To help eliminate the contamination issue from the close proximity of the primer, we used these piloted burnishing brushes to remove the paint around the plug weld holes on both front and back sides...

That did the trick, no volcanoes this time...
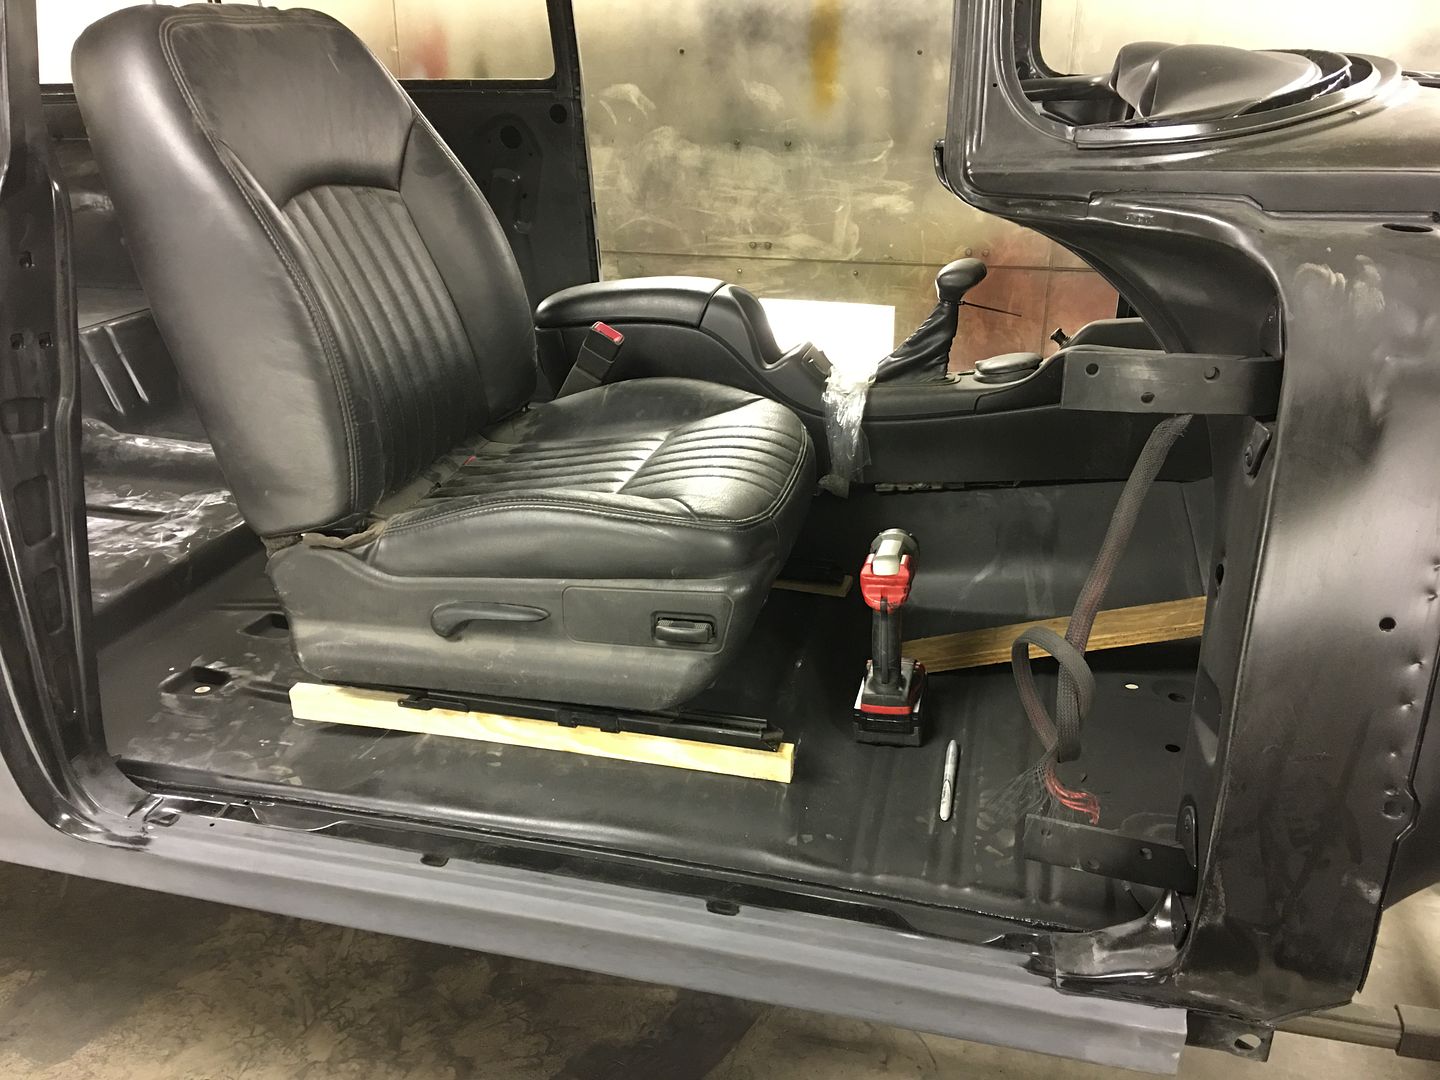
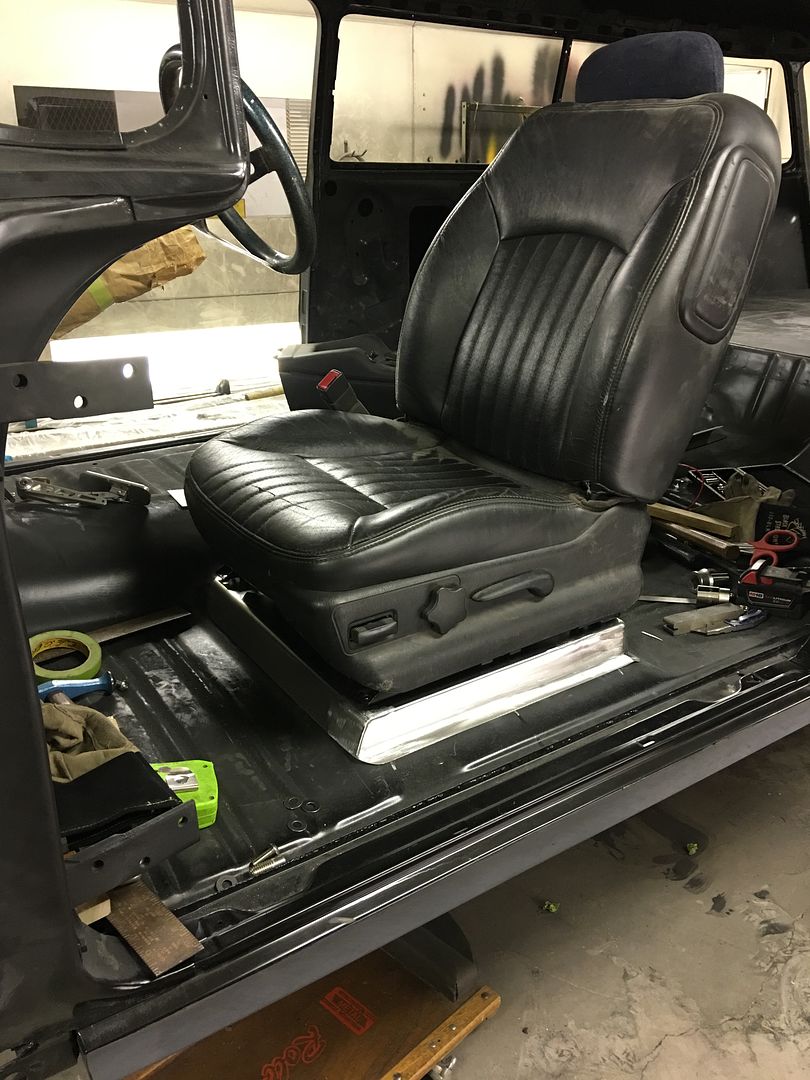
Next we'll need to dress these welds and epoxy prime the bare spots. In the meantime, a test fit of the bucket seats. We're going to need to make some adapter brackets to weld to the floor, I don't think the wood one is going to fly...
That did the trick, no volcanoes this time...
Next we'll need to dress these welds and epoxy prime the bare spots. In the meantime, a test fit of the bucket seats. We're going to need to make some adapter brackets to weld to the floor, I don't think the wood one is going to fly...
MP&C
Member
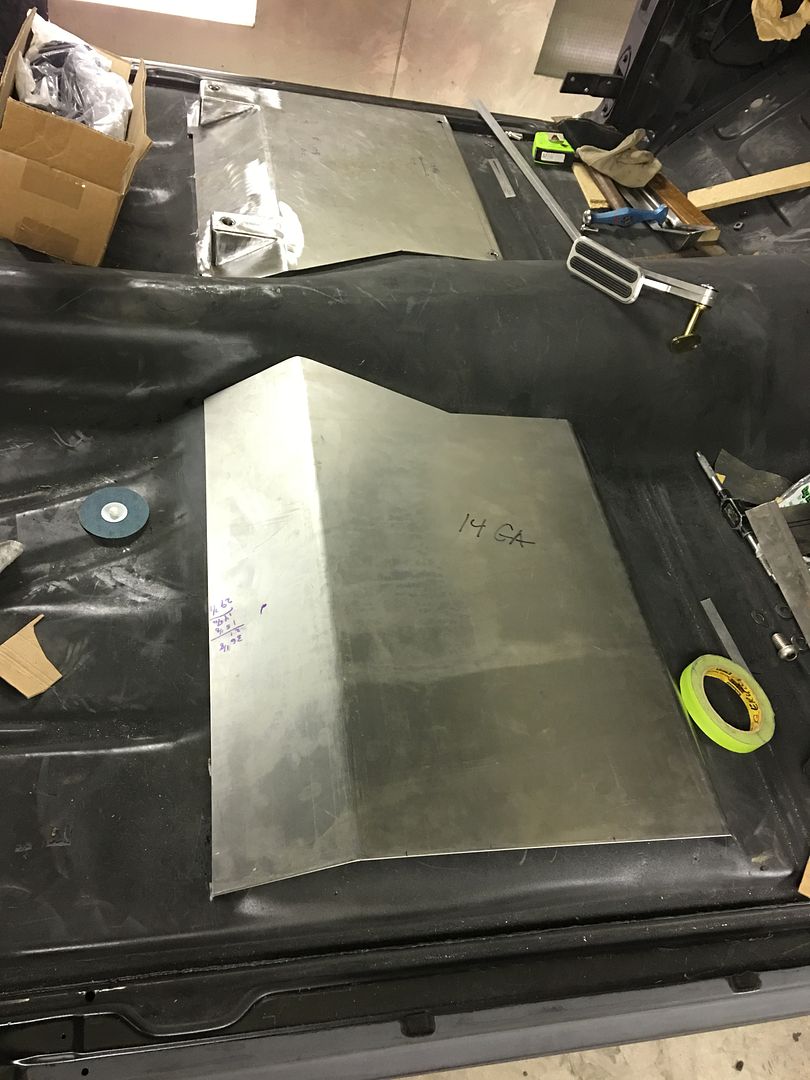
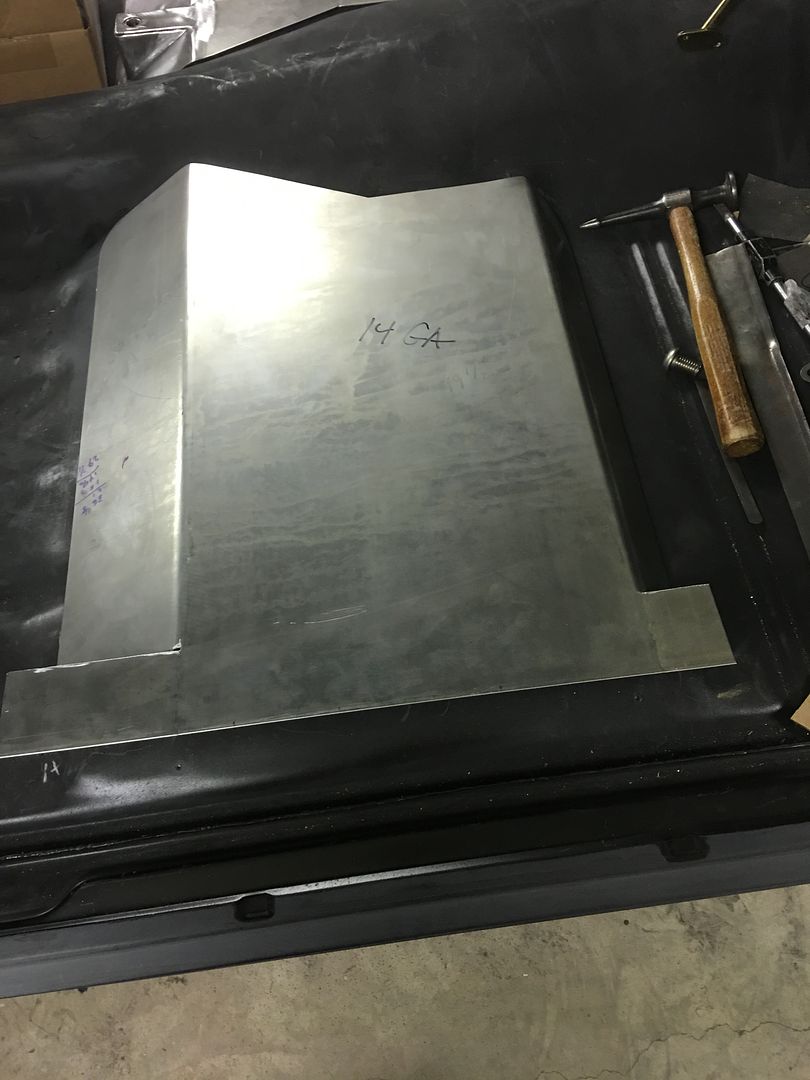
Here's the path we took on the seat risers....it's been a while now that GM has used wood in the vehicle, no sense in us bucking that trend! Started by fabbing up some 14 gauge steel into a hat section and left some longer ears on the ends to fold down and close the ends off..
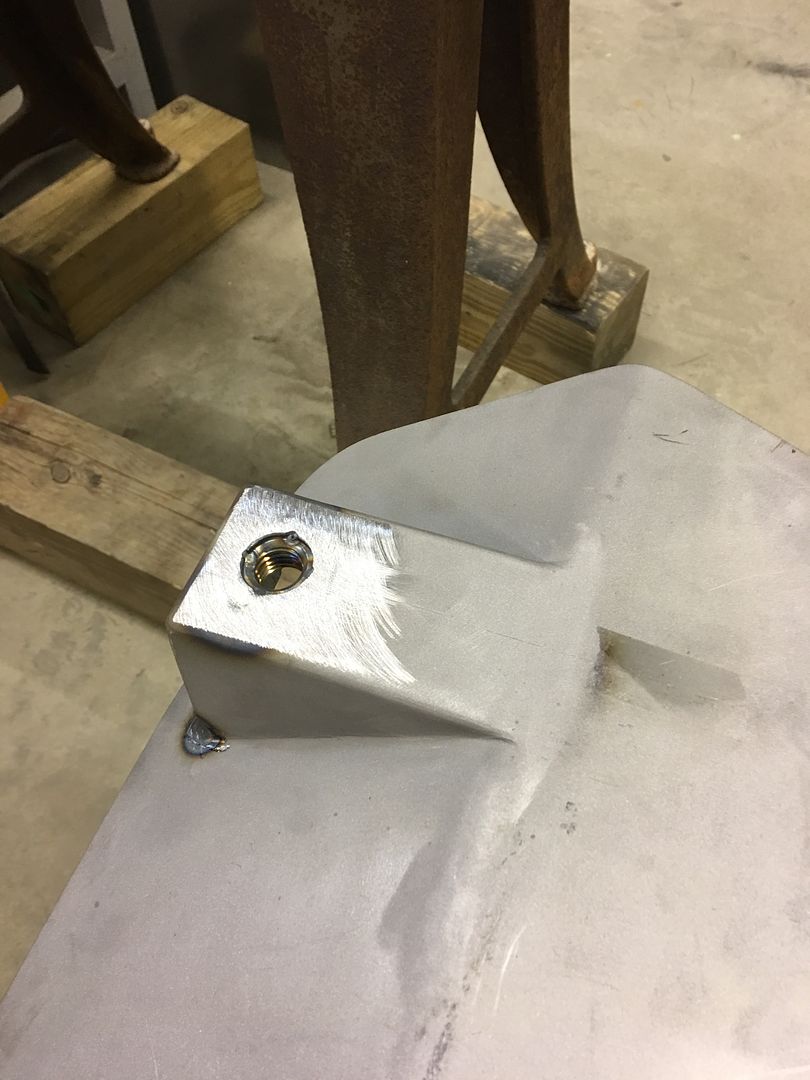
Stainless hex nut welded inside for the seat frame hardware..
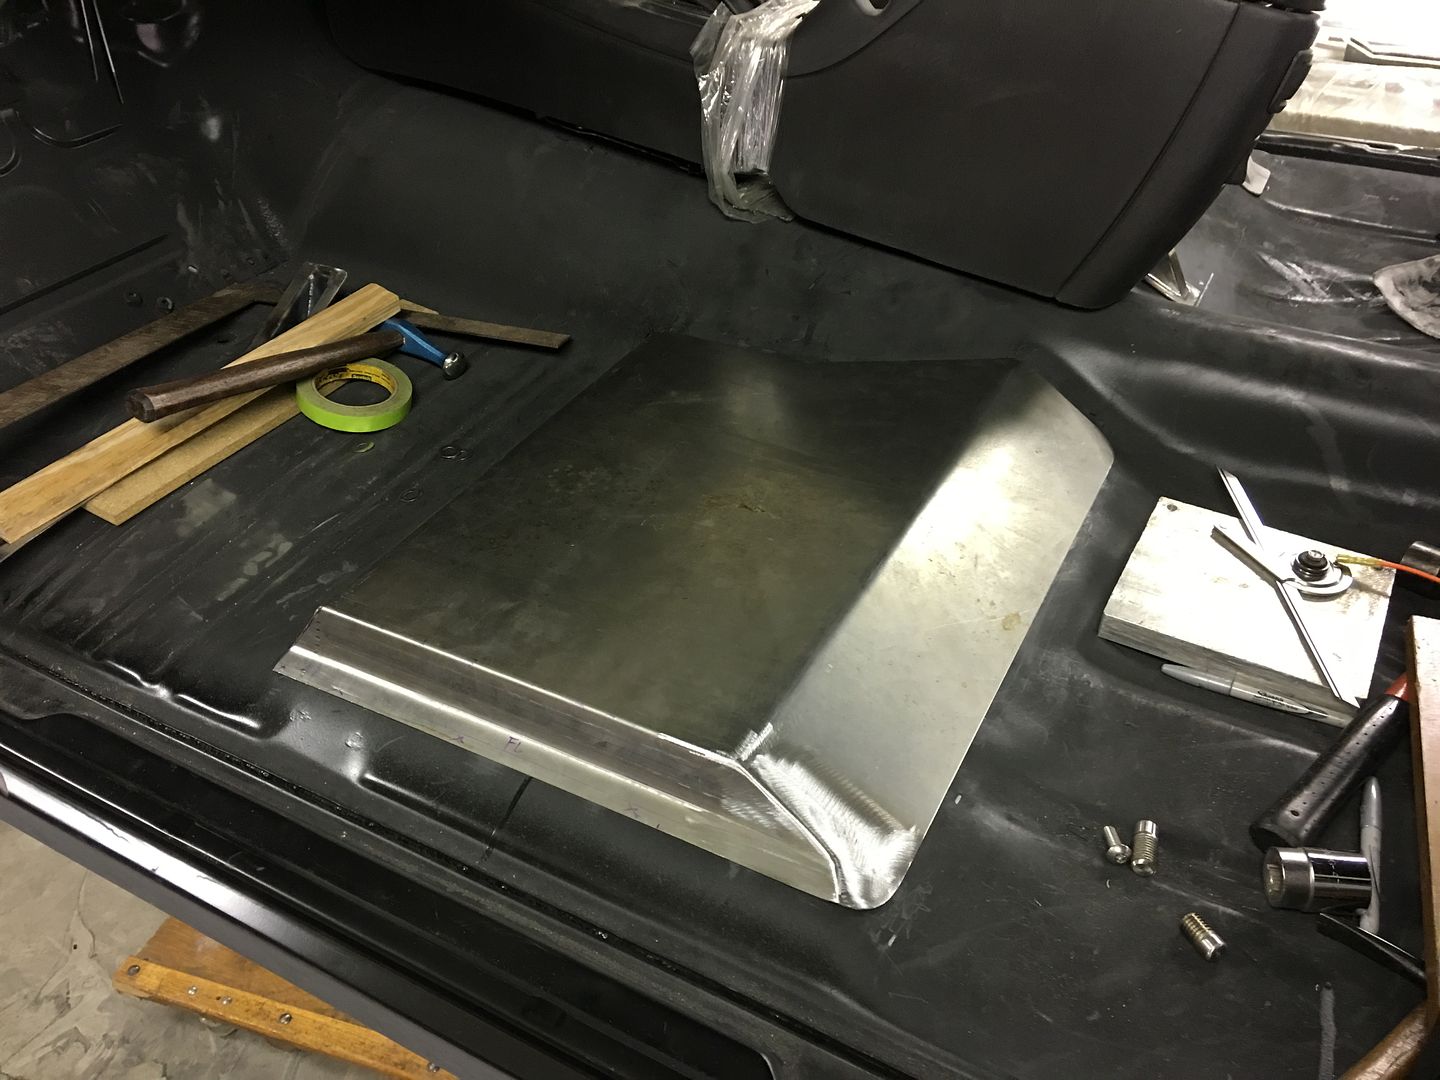
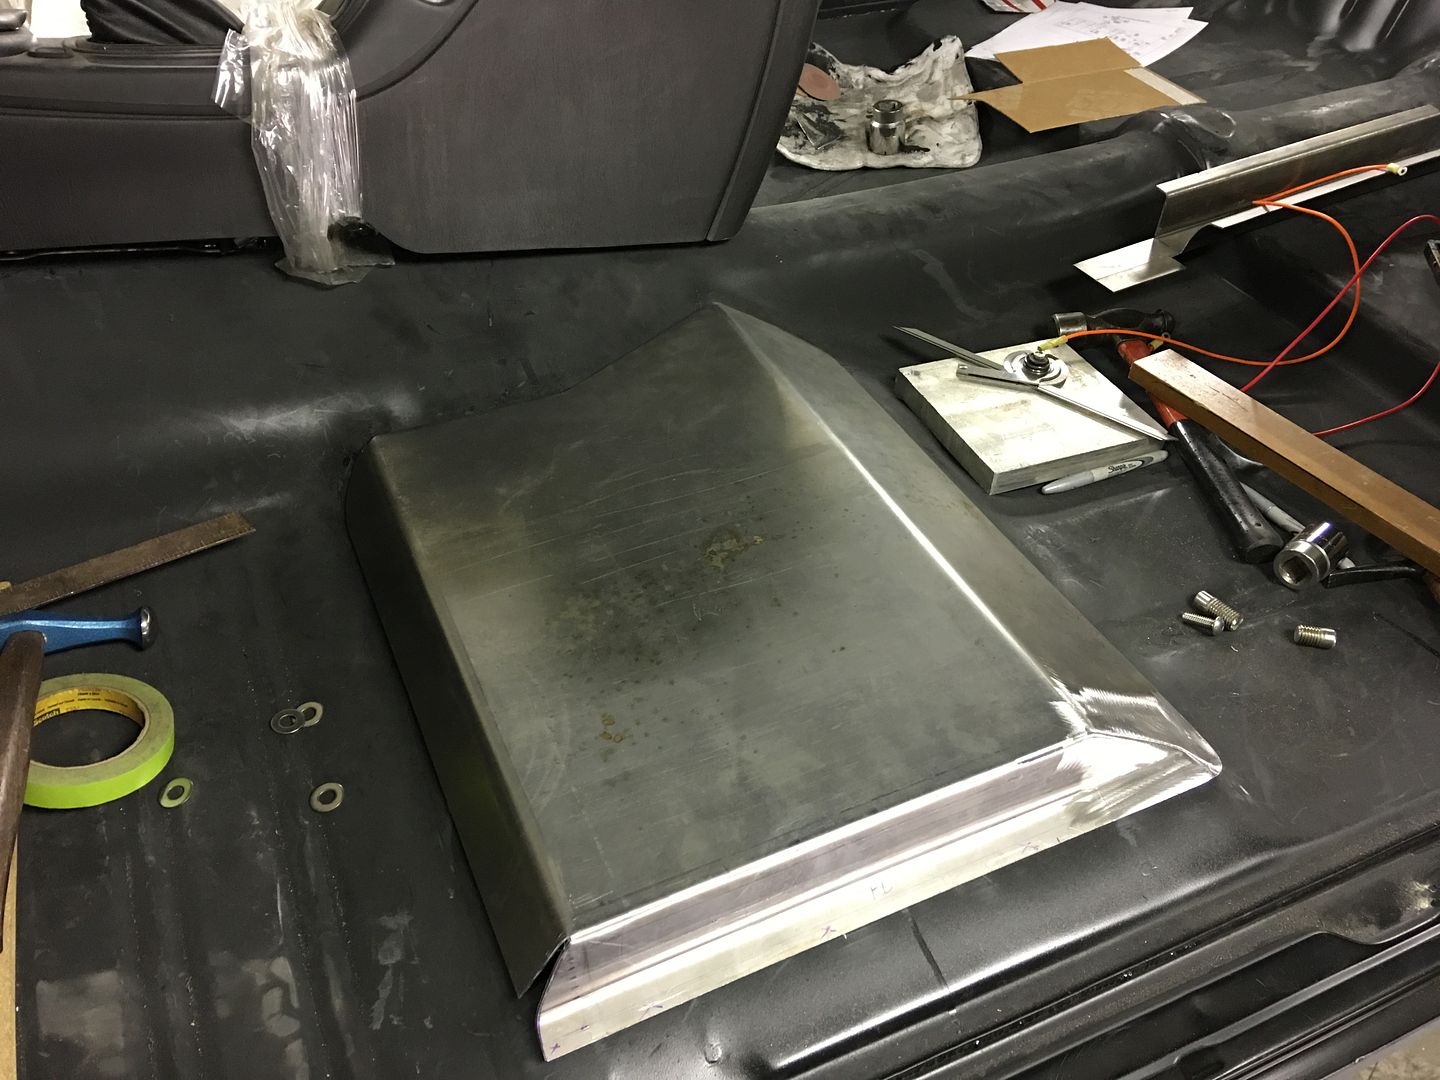
Missed getting these pics on the other end, but cardboard templates were transposed to steel fillers, cut out and welded in place, along with the flanges around the perimeter.
We plan on finishing the inner risers up this evening and leveling the seats across for sizing the height of the outer risers.
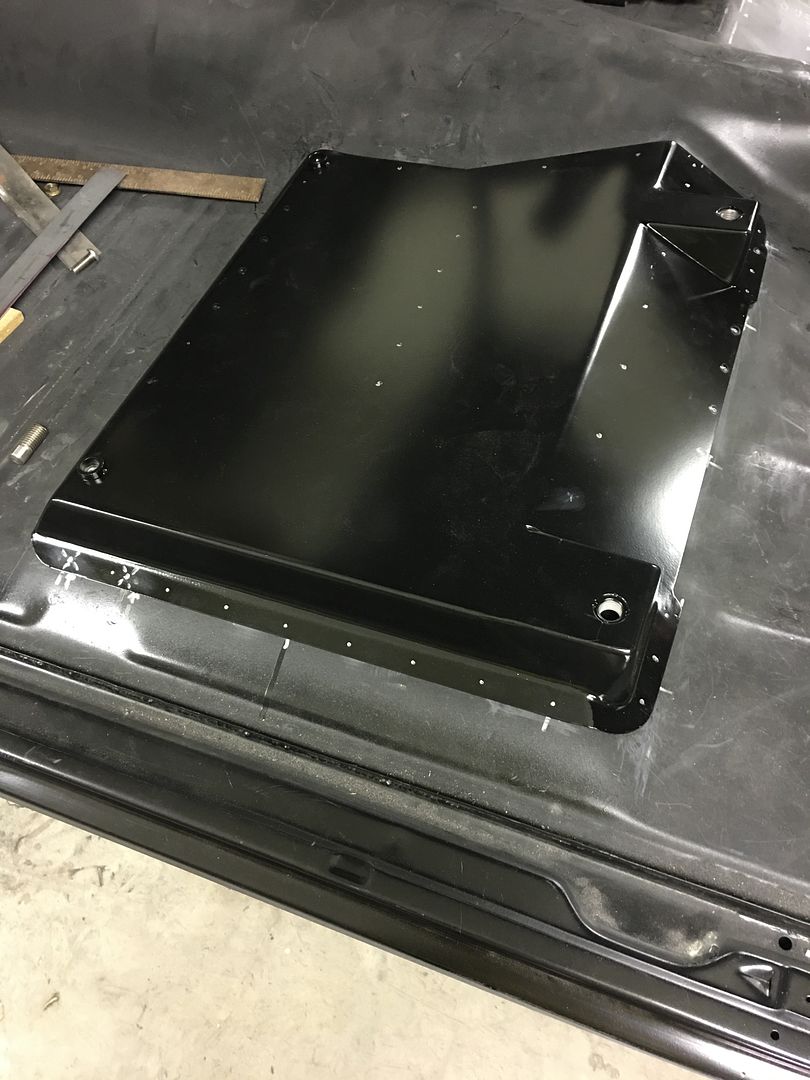
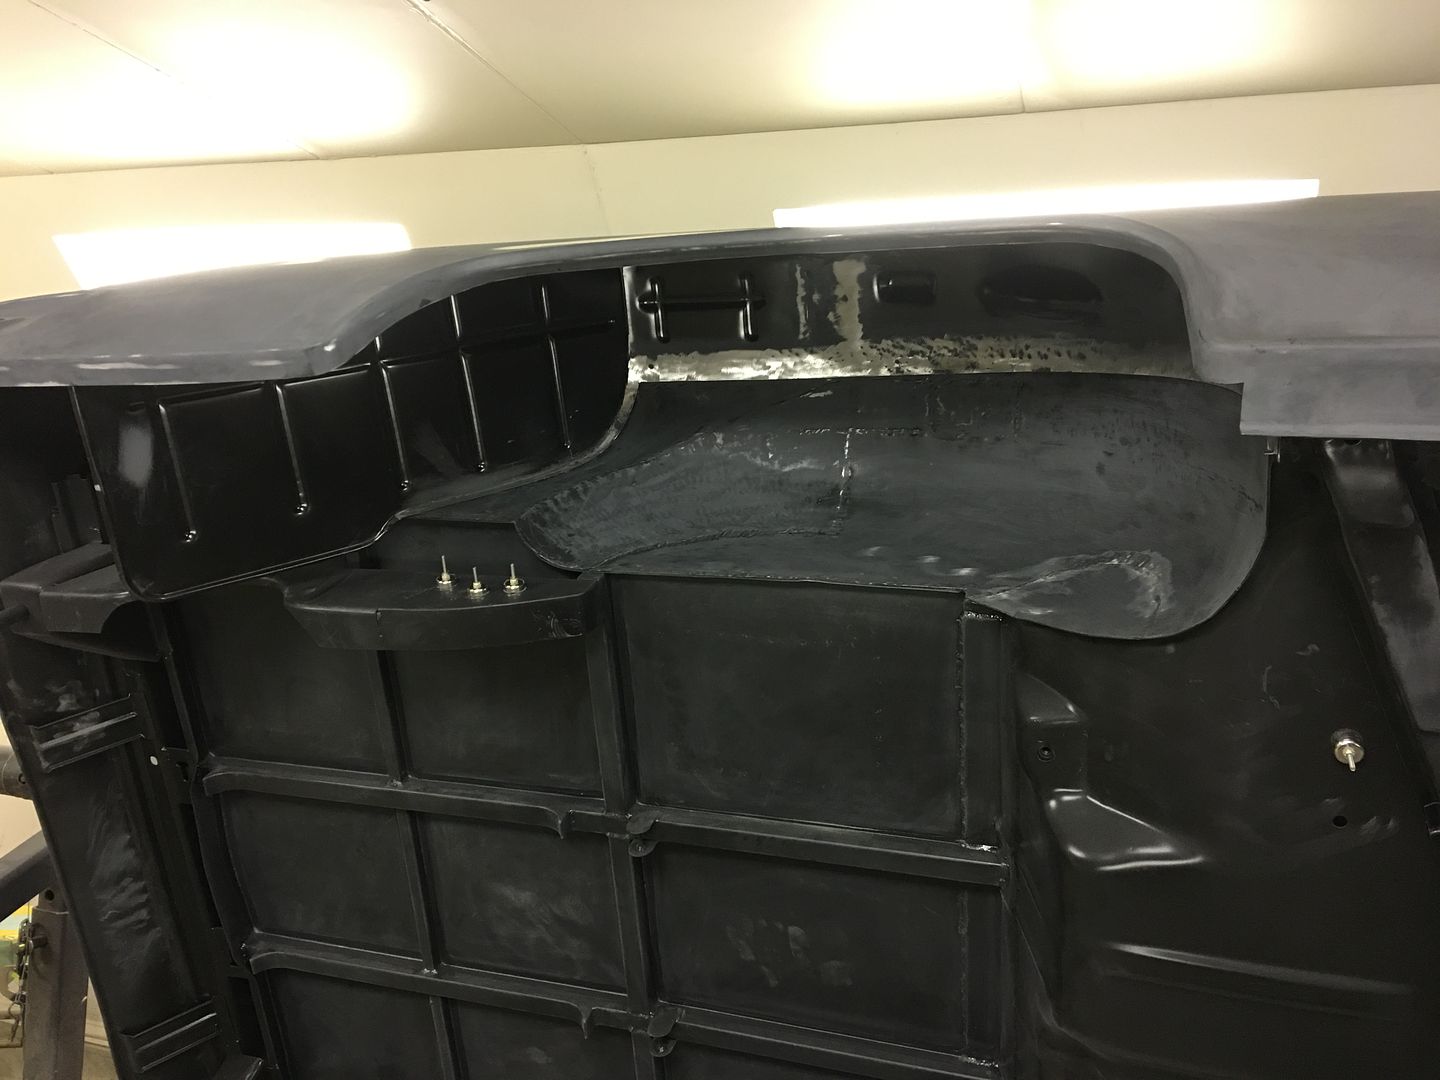
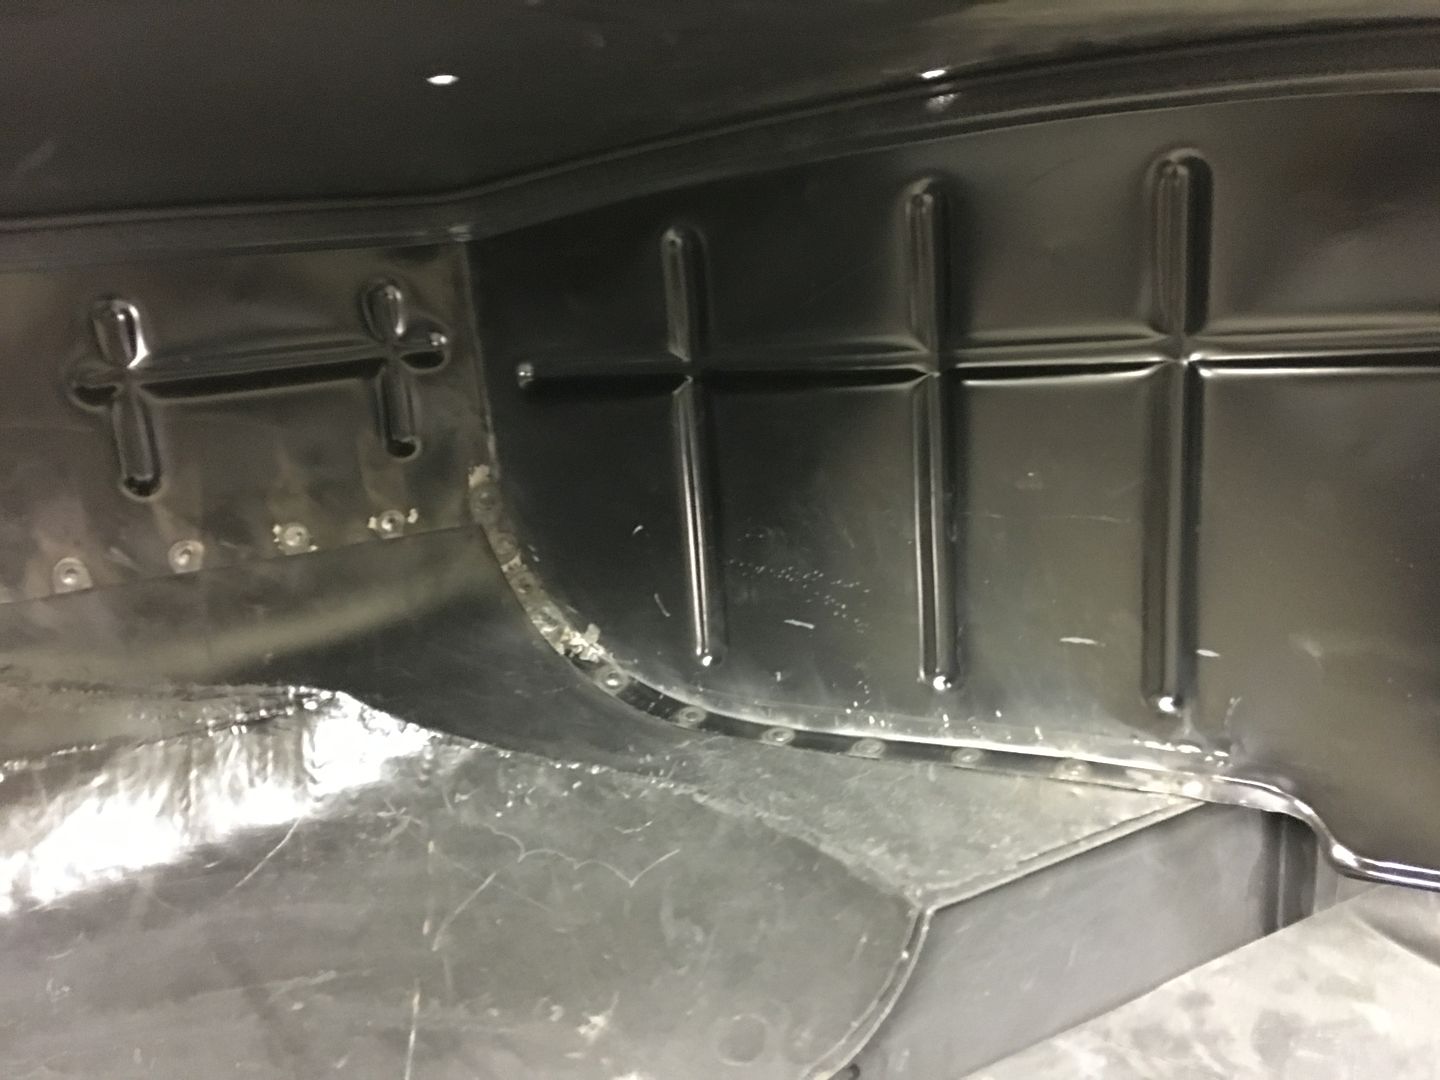
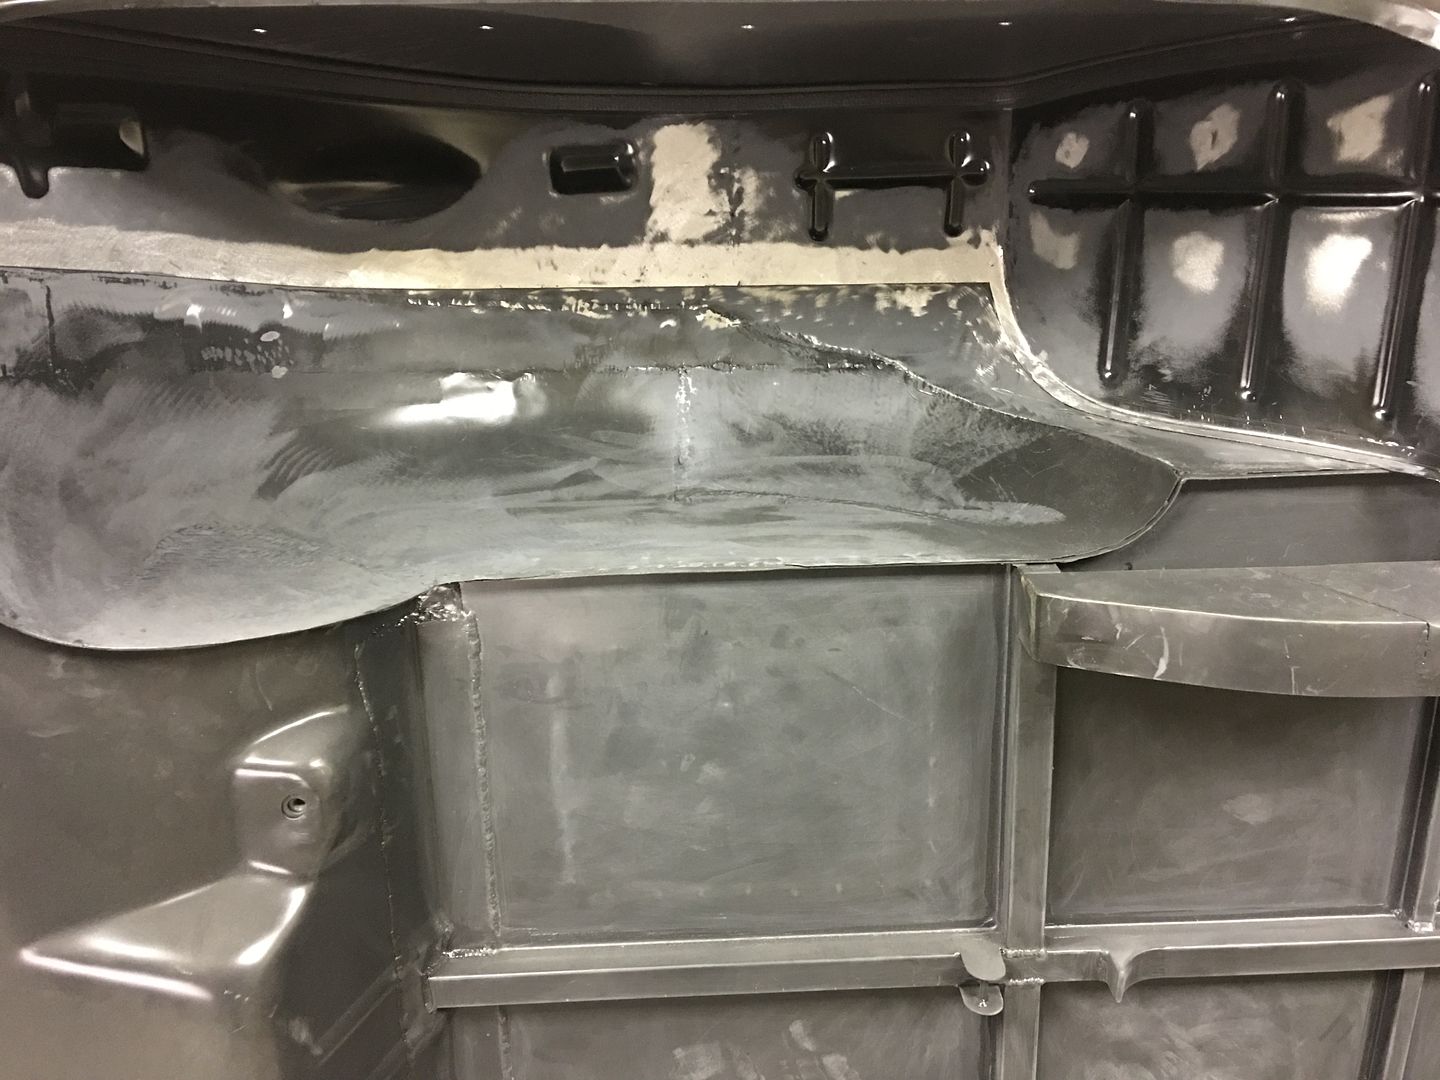
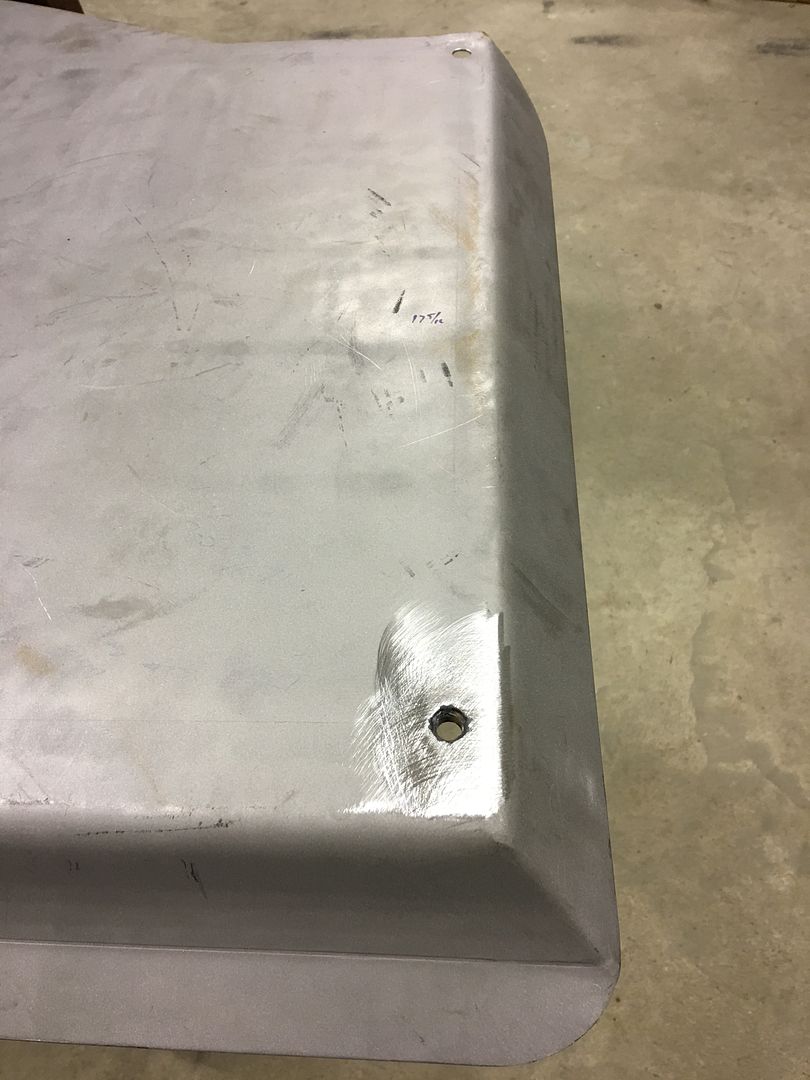
Finished up the plug welds on the driver's wheel well. We'll get a few more parts prepped for epoxy and address those bare spots at the same time.
Stainless hex nut welded inside for the seat frame hardware..
Missed getting these pics on the other end, but cardboard templates were transposed to steel fillers, cut out and welded in place, along with the flanges around the perimeter.
We plan on finishing the inner risers up this evening and leveling the seats across for sizing the height of the outer risers.
Finished up the plug welds on the driver's wheel well. We'll get a few more parts prepped for epoxy and address those bare spots at the same time.
'68 Coronet R/T
Oldtimer
Amazing work. Car will be better than new by a long shot.
MP&C
Member
Hopefully!
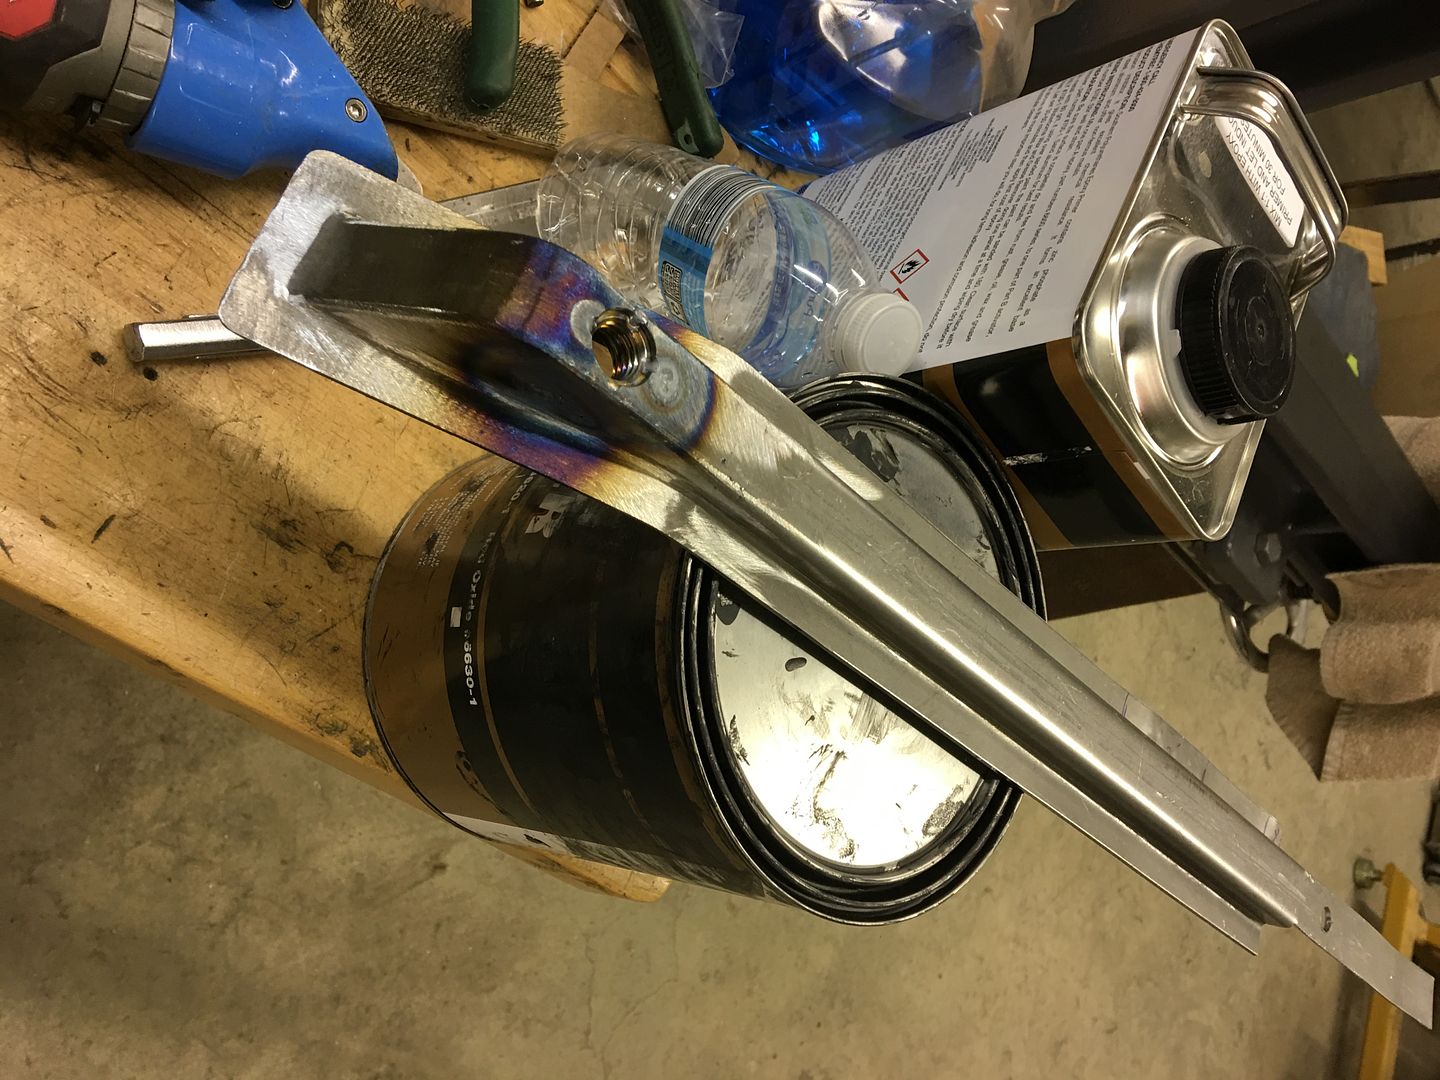
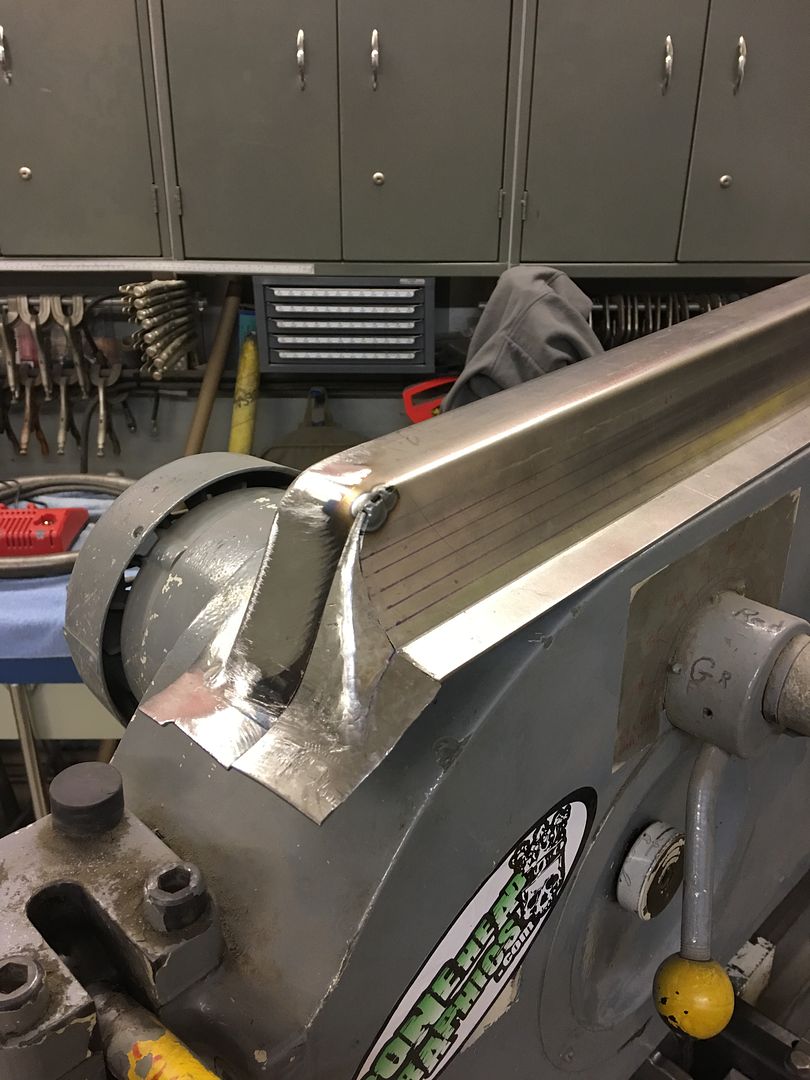
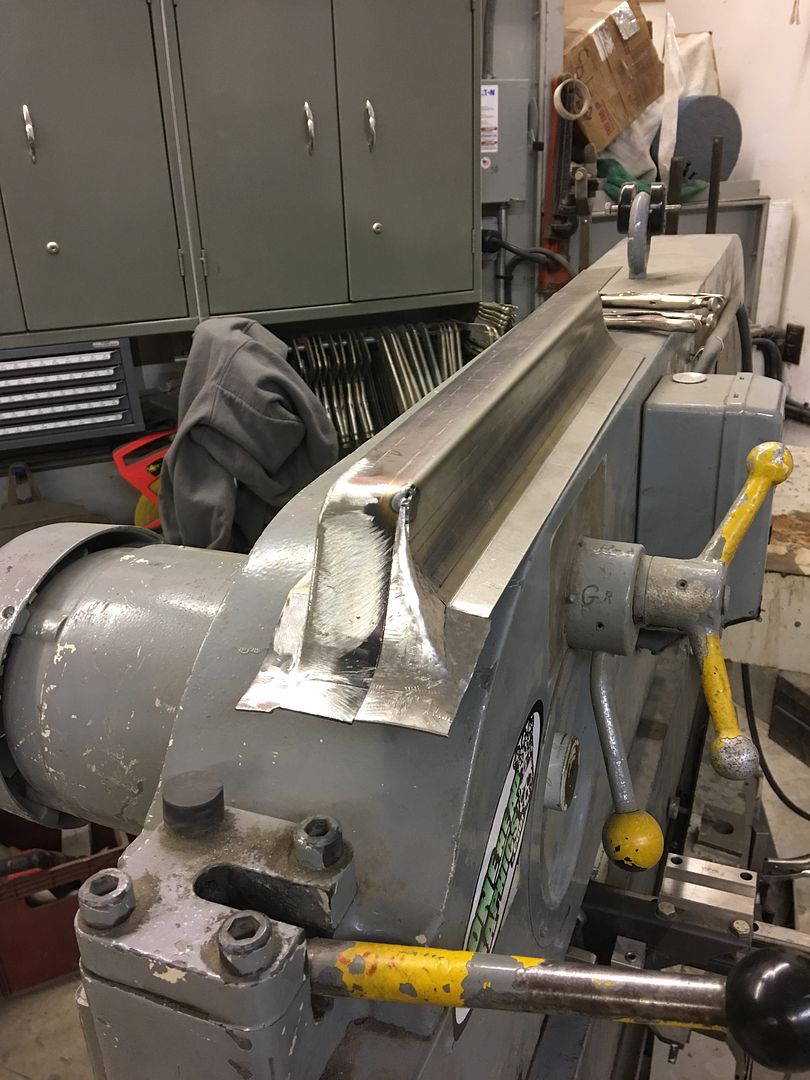
Seat riser bracket number two fabrication, got more detail pictures this time..
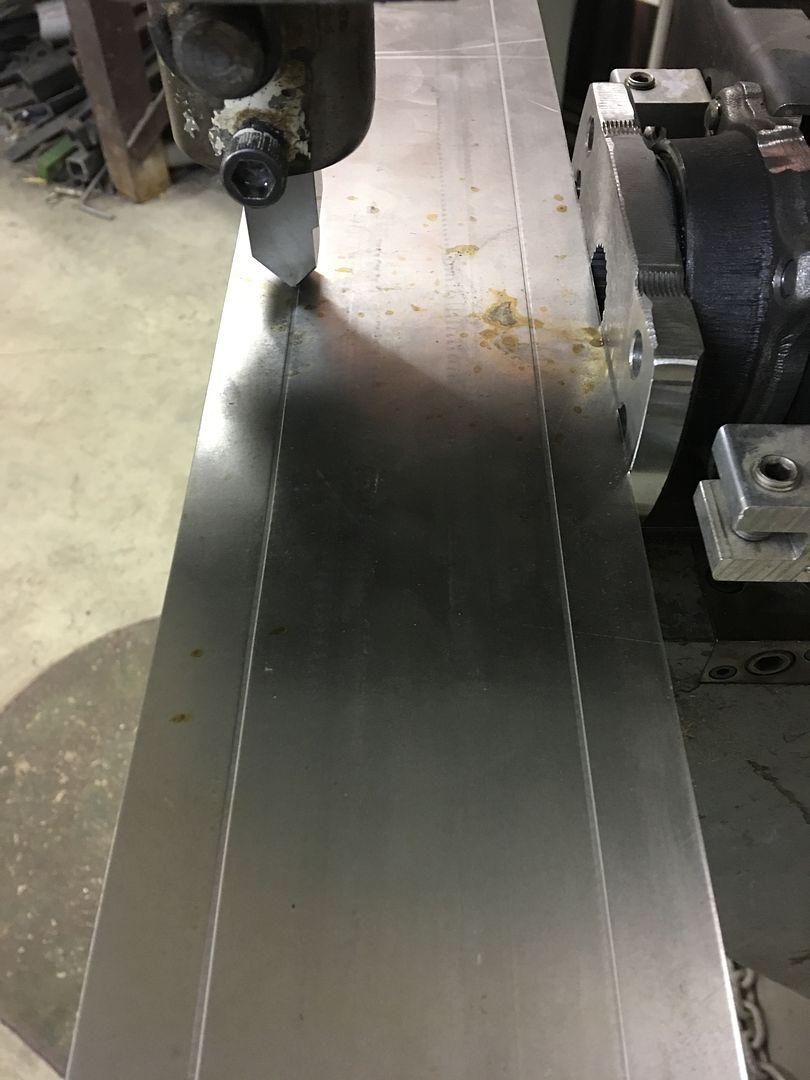
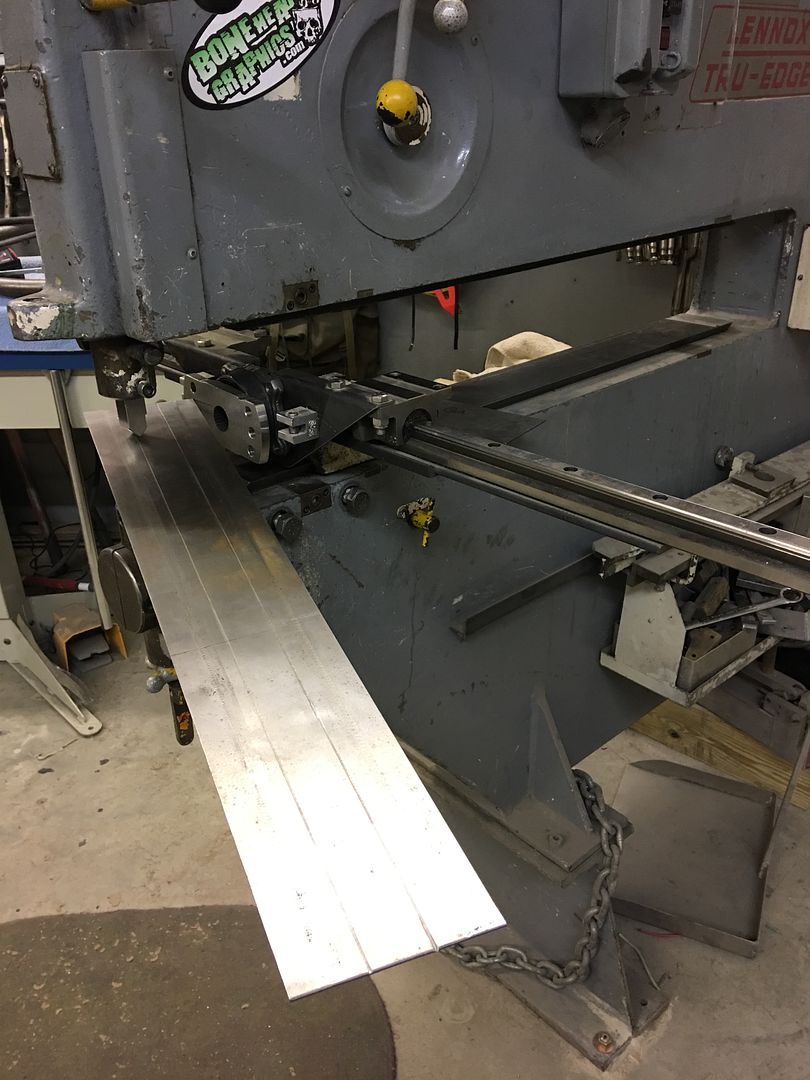
Used the Tipping die in the Lennox to thin out the crease line, makes for a more crisp bend, especially given the 14 gauge steel we're using...
After bending in the Diacro manual press brake using the gooseneck die...

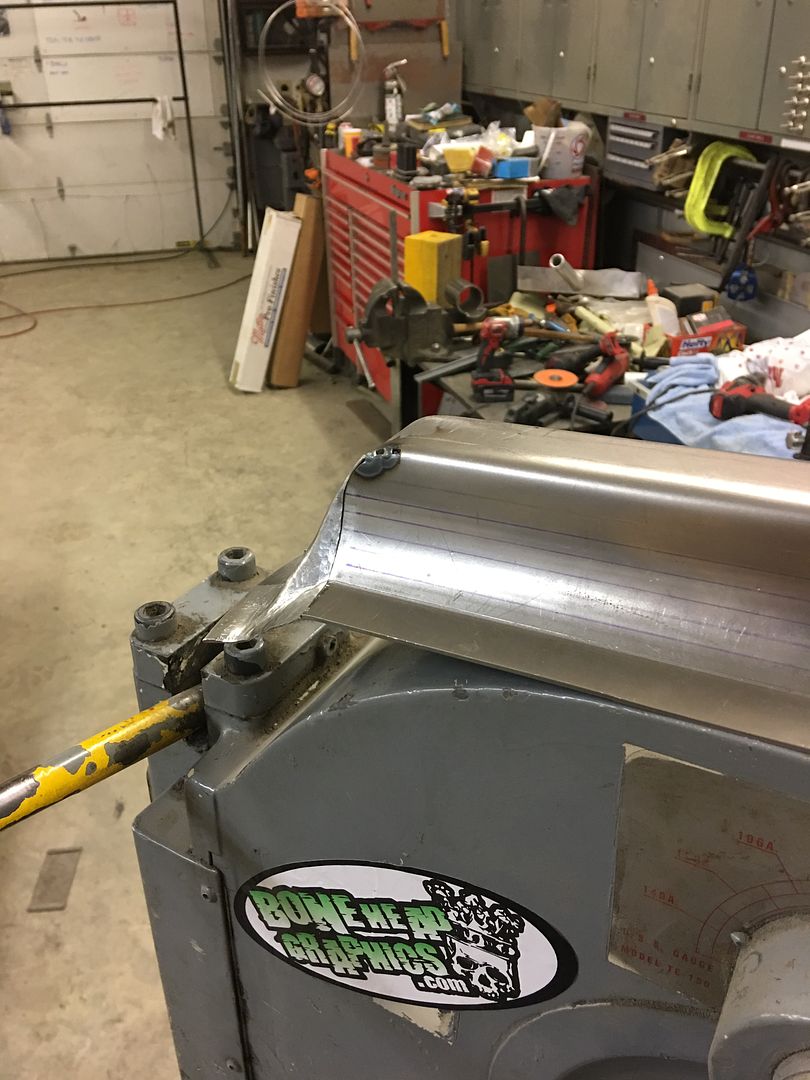
Fitting and trimming the end transitions while matched to the floor...
Ready for the TIG
Seat riser bracket number two fabrication, got more detail pictures this time..
Used the Tipping die in the Lennox to thin out the crease line, makes for a more crisp bend, especially given the 14 gauge steel we're using...
After bending in the Diacro manual press brake using the gooseneck die...
Fitting and trimming the end transitions while matched to the floor...
Ready for the TIG
MP&C
Member
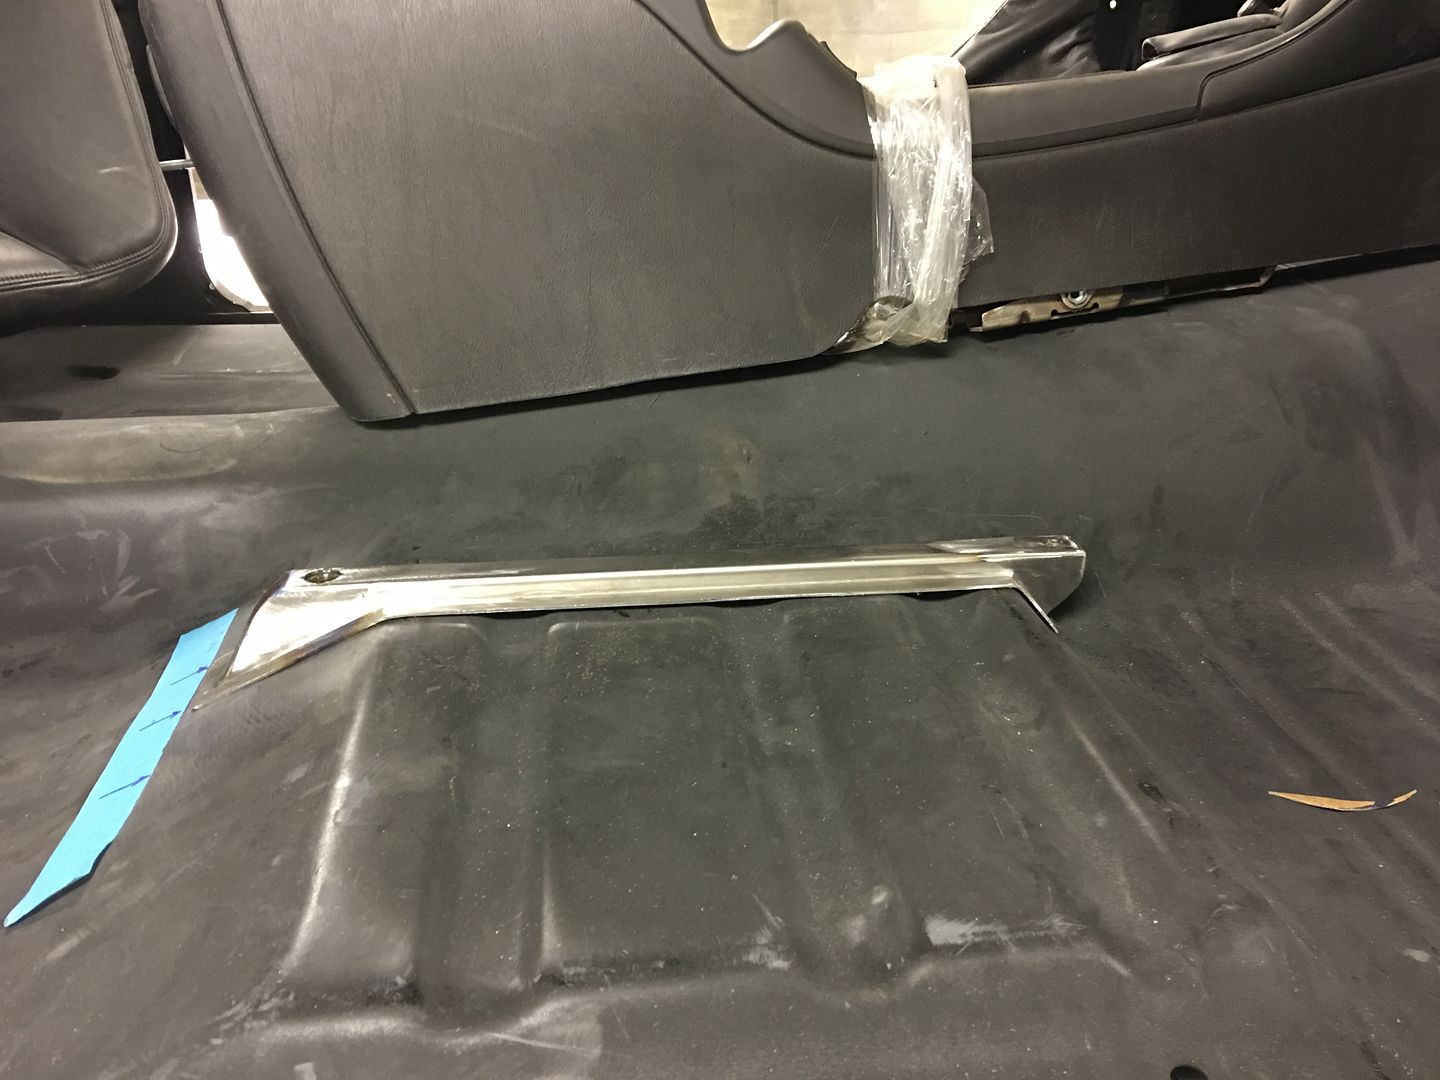
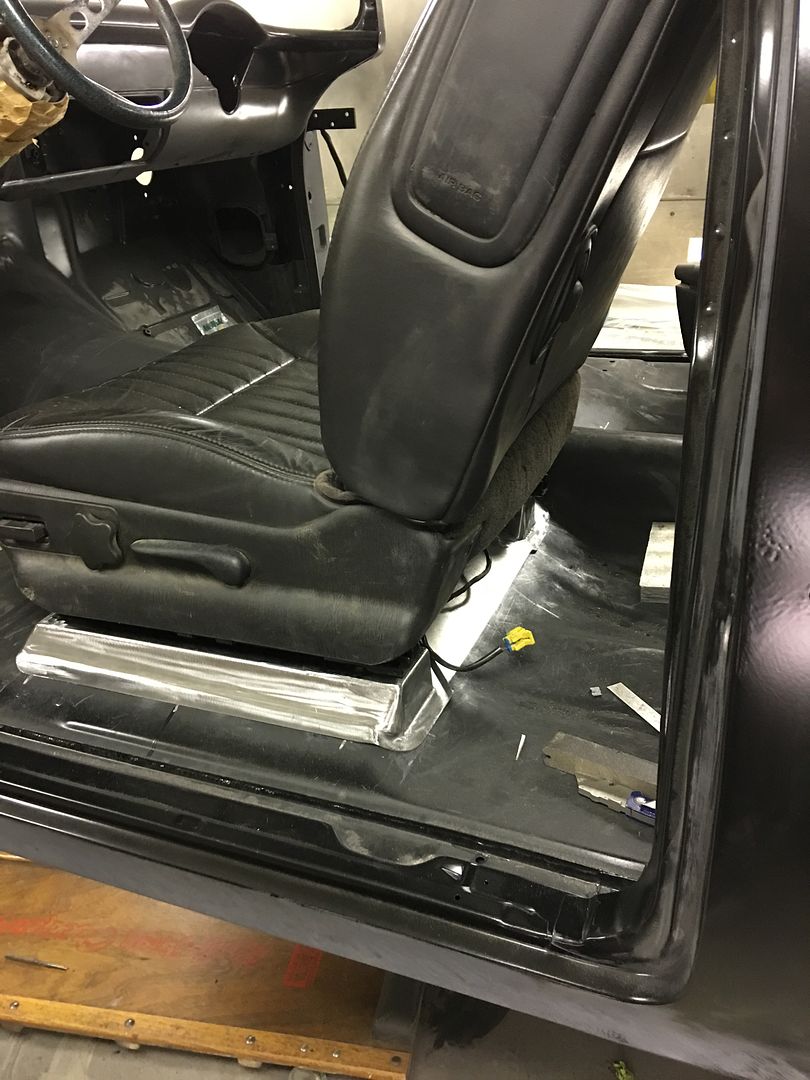
OK, so sometimes you take another look and think yeah, we can do better than that. Today the passenger bucket seat was test fit onto our riser. It could be brought a bit tighter to the floor.
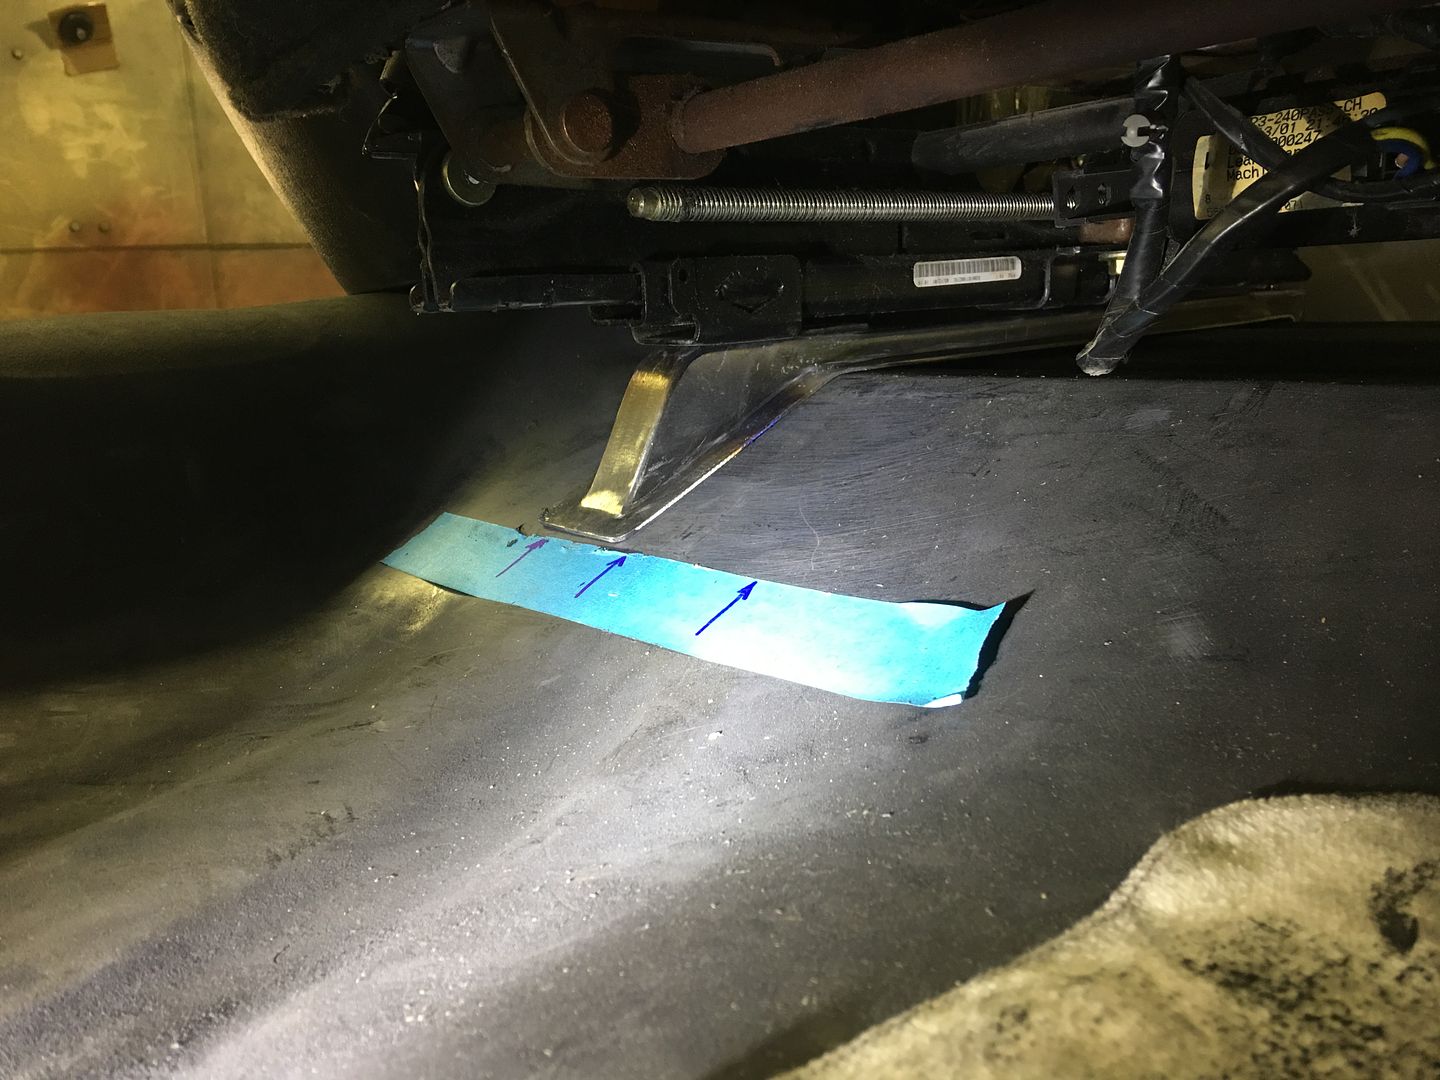
Next, looking at the cross member, the rear flange (red arrows) didn't match up to the rear flange of our riser.
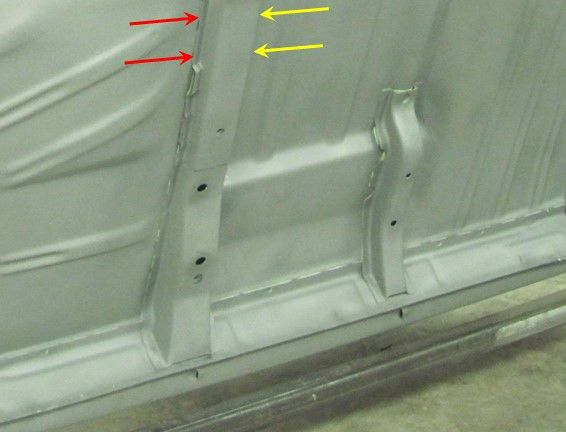
The blue tape shows the rear flange of the cross member below...
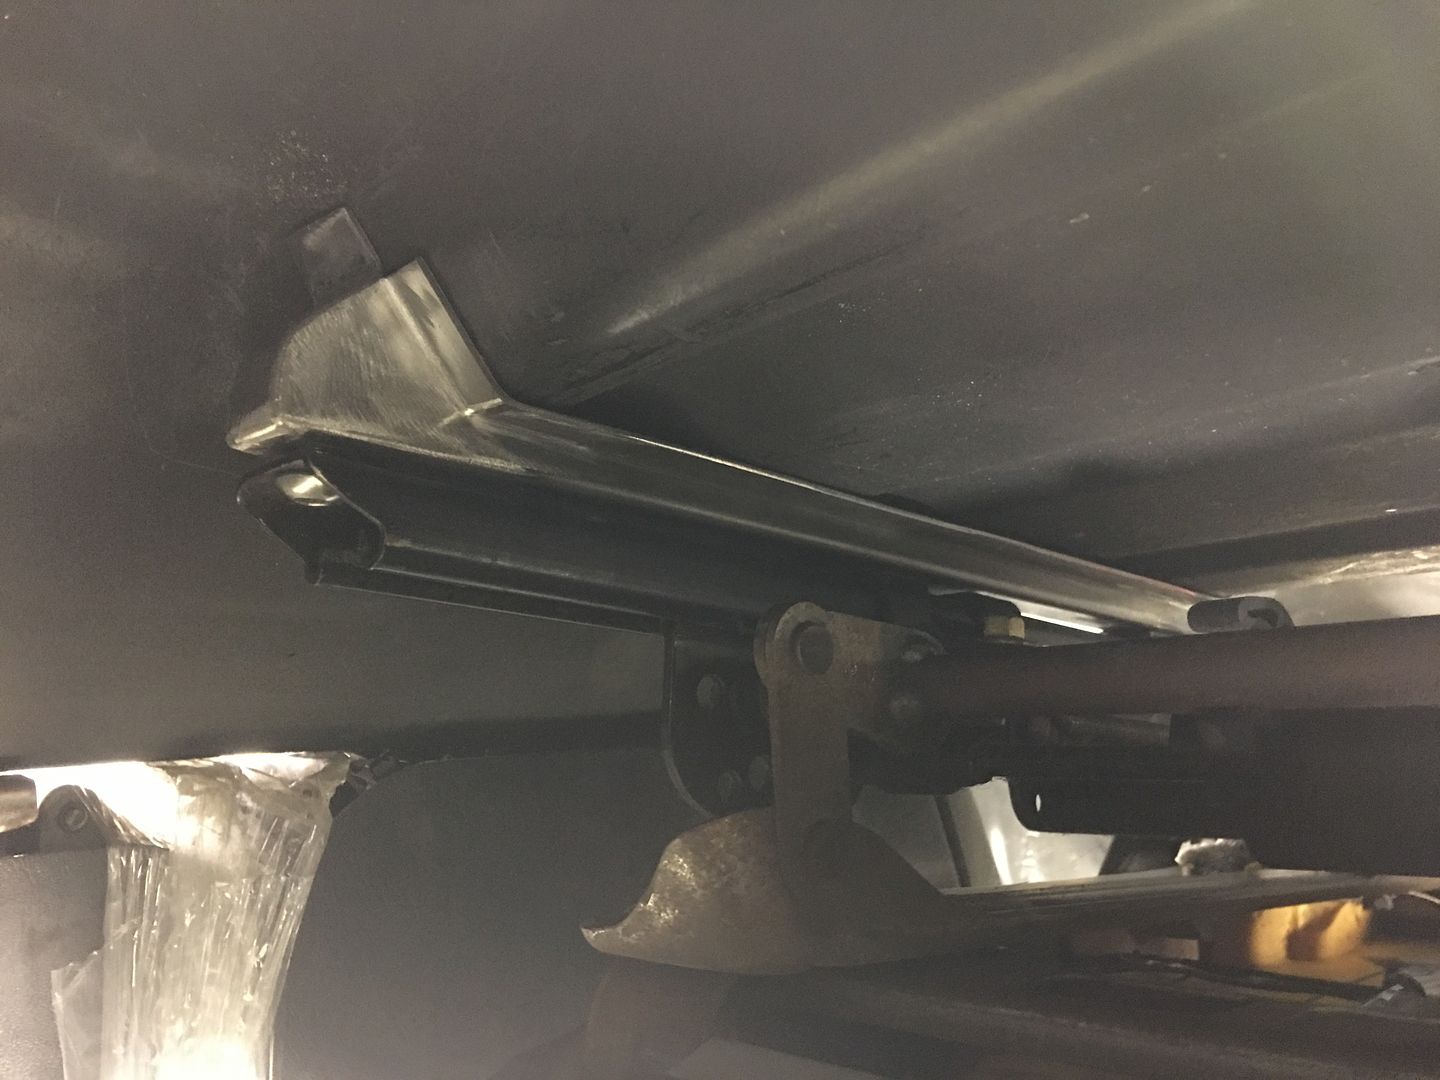
Here's our updated riser, half as tall, and once trimmed the flange will match to above the cross member..
Next, looking at the cross member, the rear flange (red arrows) didn't match up to the rear flange of our riser.
The blue tape shows the rear flange of the cross member below...
Here's our updated riser, half as tall, and once trimmed the flange will match to above the cross member..
MP&C
Member
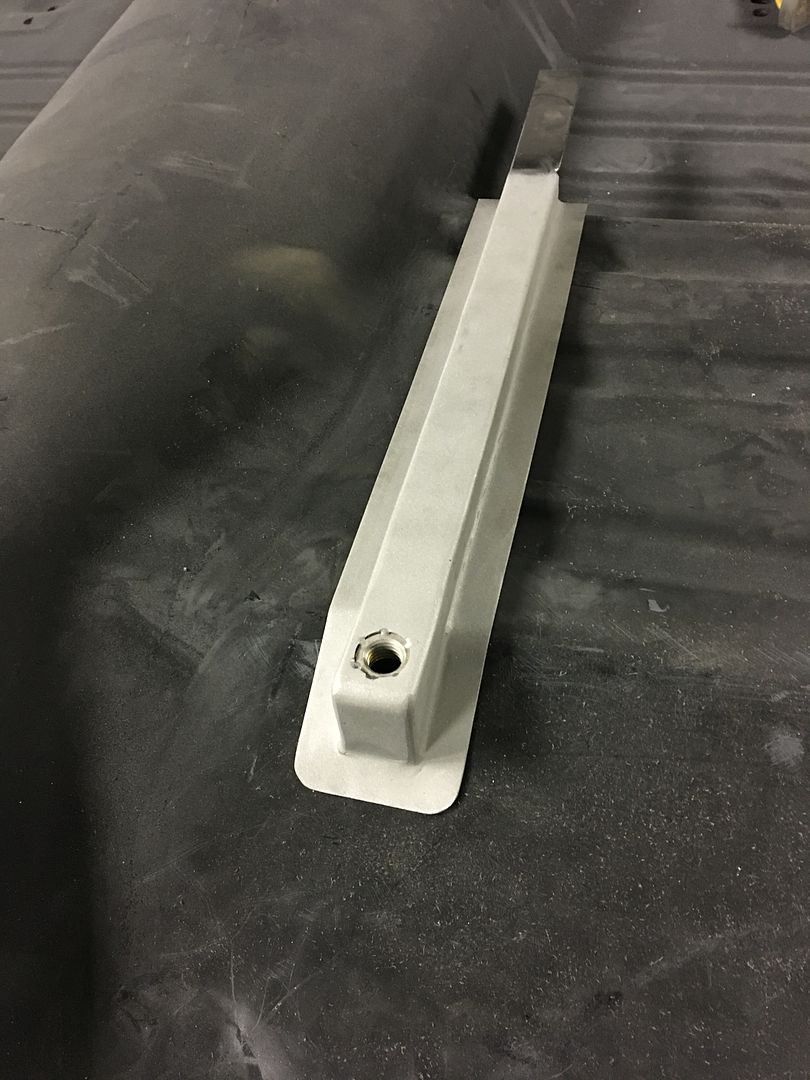
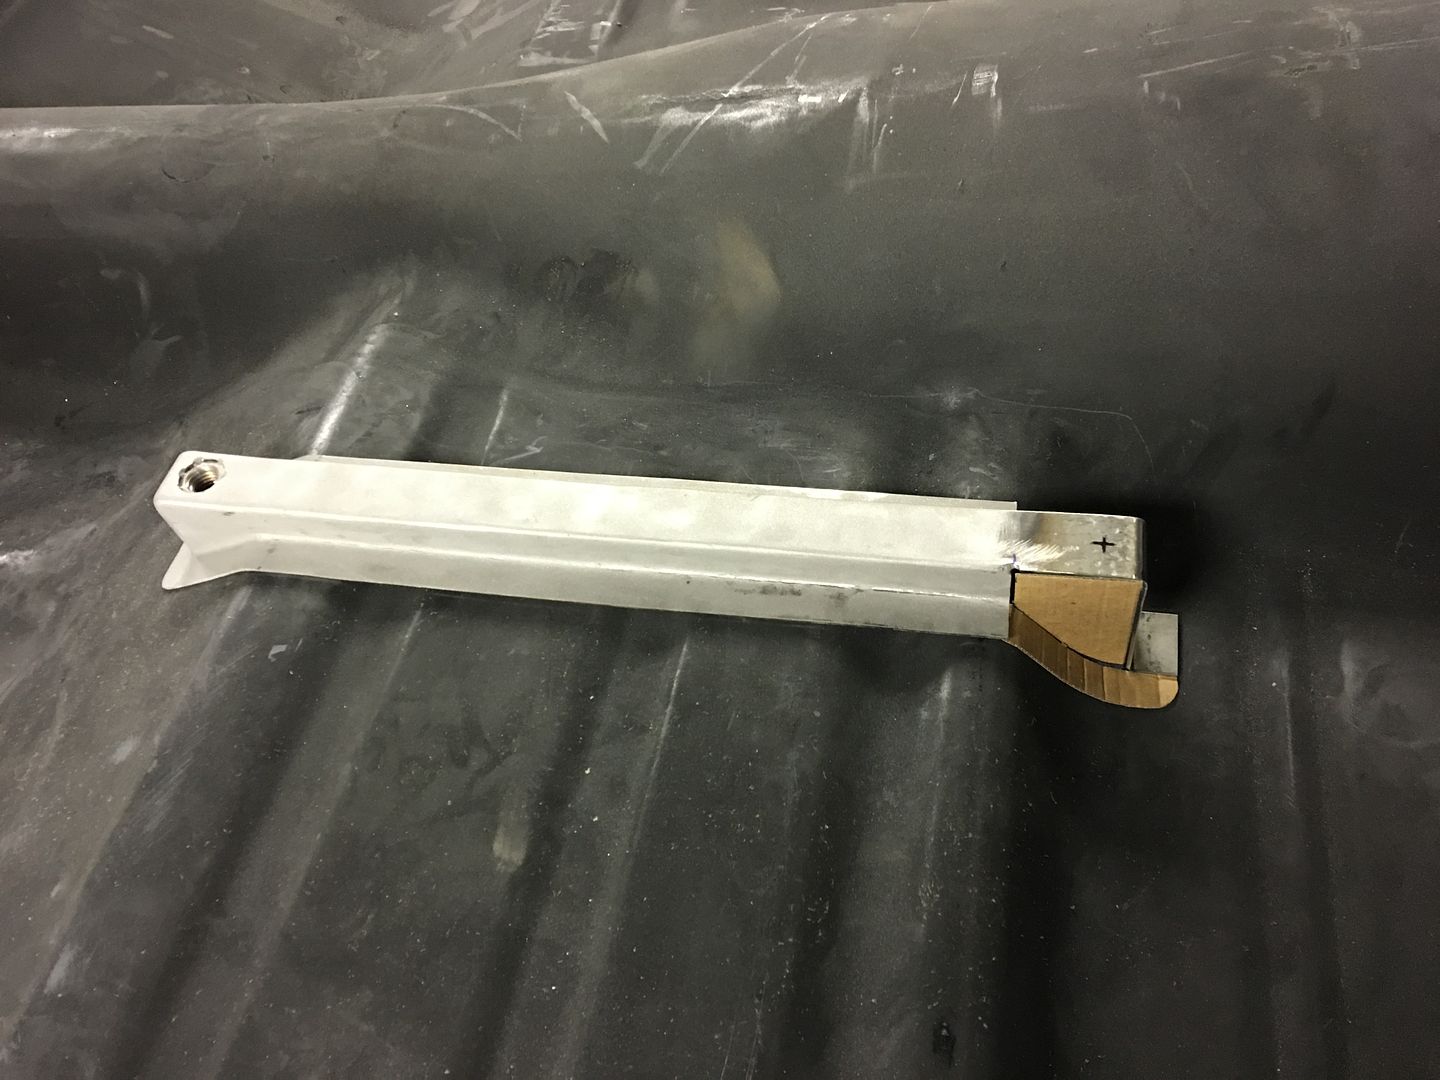
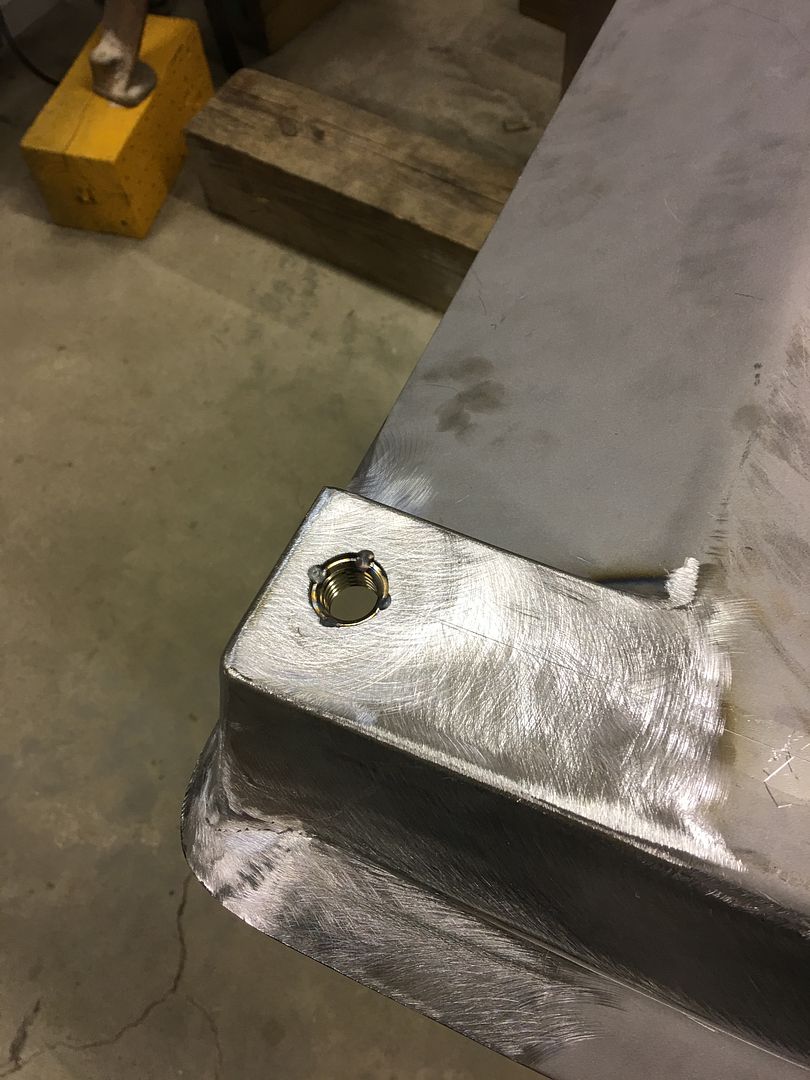
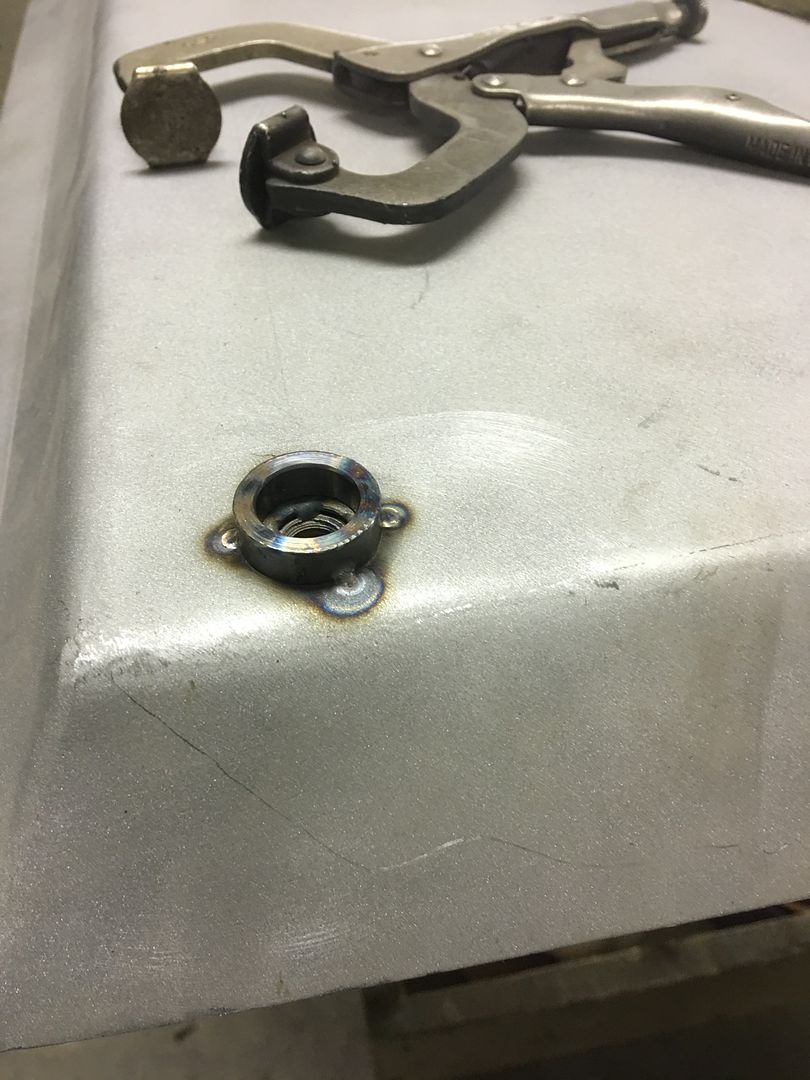
More details on the seat risers, here the 5/8-11 hex nut is welded inside. The tacks at the top are merely to hold it centered within the hole to maintain our correct C-C hole spacing. It gets welded inside as well to keep things anchored in place.
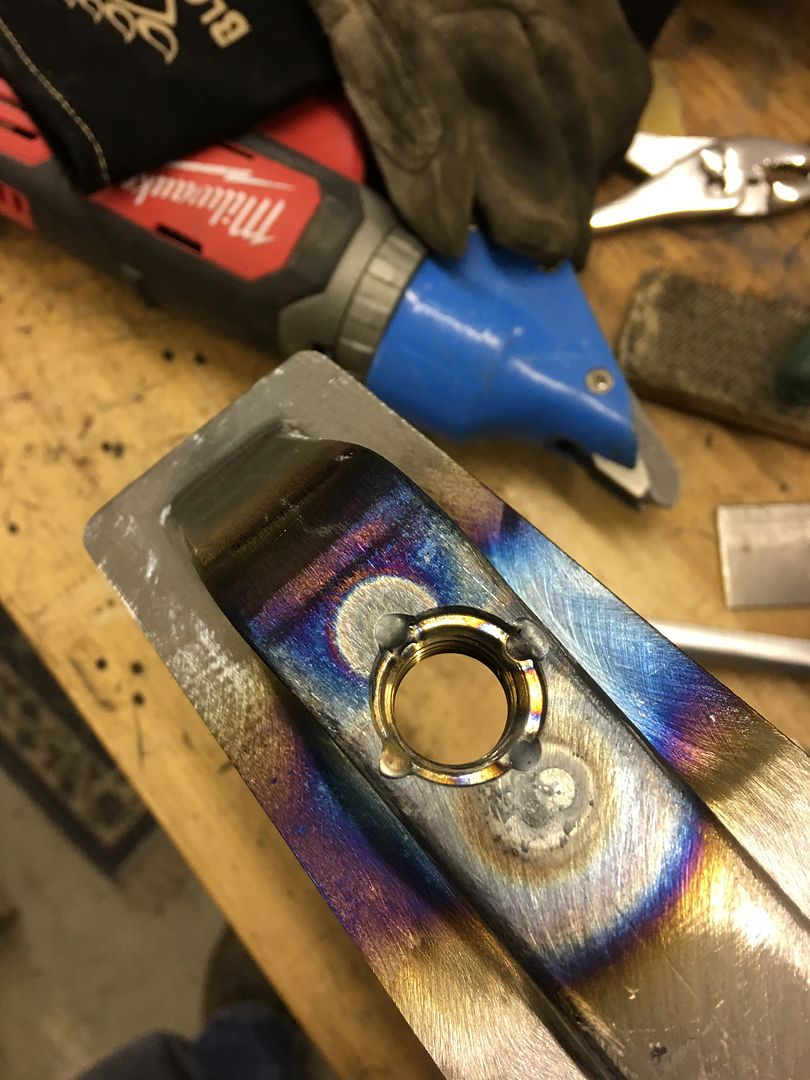

The 5/8 hardware was chosen as the factory seat bracket on these 2002 Monte Carlo seats had a hole that large existing already. The front of the seat bracket actually had another bracket underneath that was held in place with a solid rivet. We drilled out the rivet to remove the obstacle (so the rail was flat across the bottom), and opened the hole up for 3/8 hardware.
Test fit....

Still need to fill in the flange corners on the front and this one will be ready for SPI epoxy primer to coat all the surfaces before it gets welded in place..
The 5/8 hardware was chosen as the factory seat bracket on these 2002 Monte Carlo seats had a hole that large existing already. The front of the seat bracket actually had another bracket underneath that was held in place with a solid rivet. We drilled out the rivet to remove the obstacle (so the rail was flat across the bottom), and opened the hole up for 3/8 hardware.
Test fit....
Still need to fill in the flange corners on the front and this one will be ready for SPI epoxy primer to coat all the surfaces before it gets welded in place..
") ...
...MP&C
Member
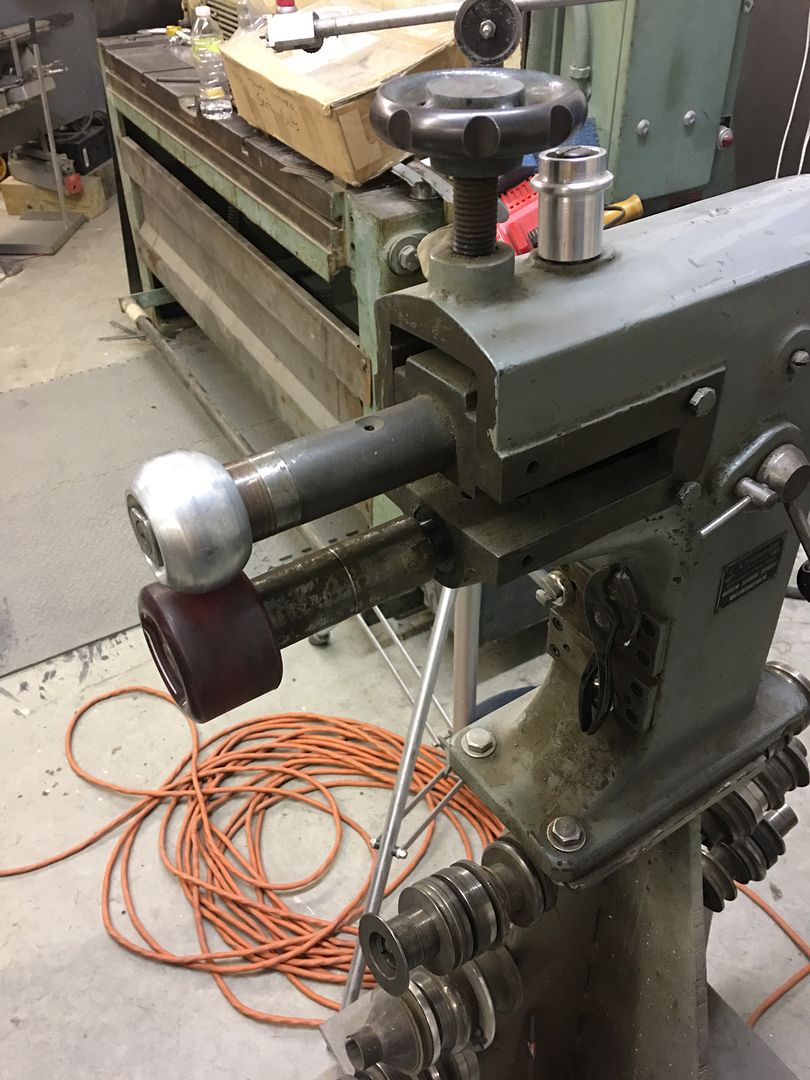
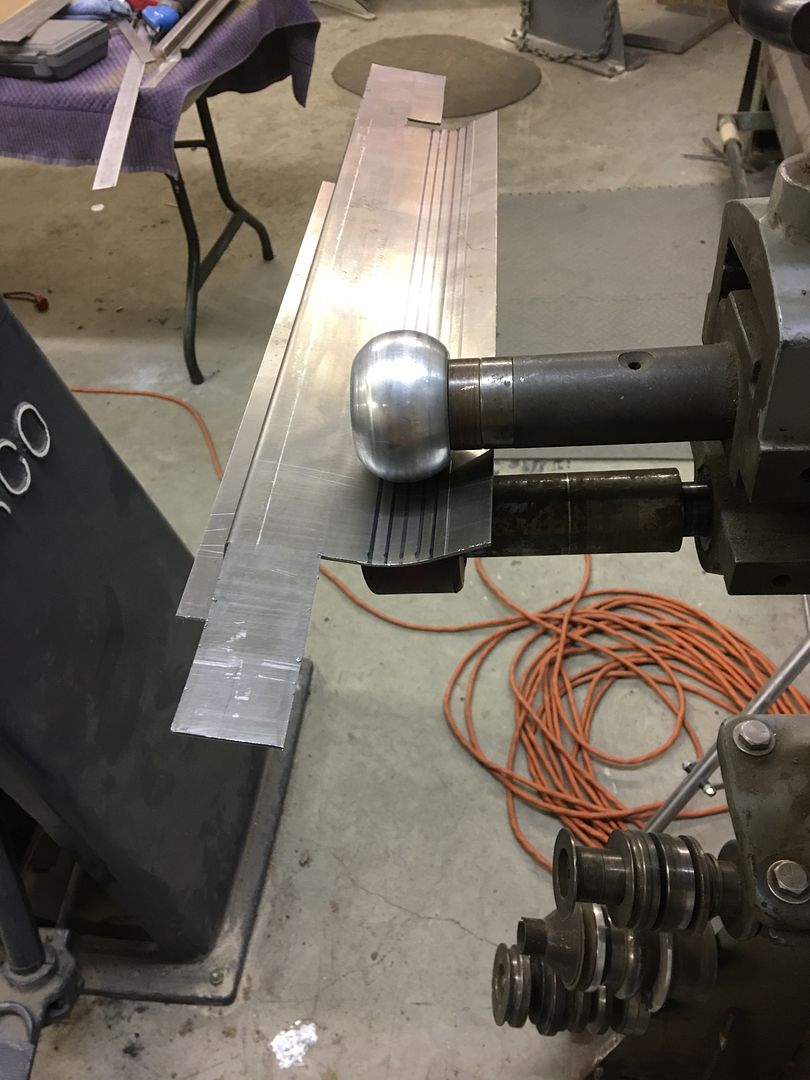
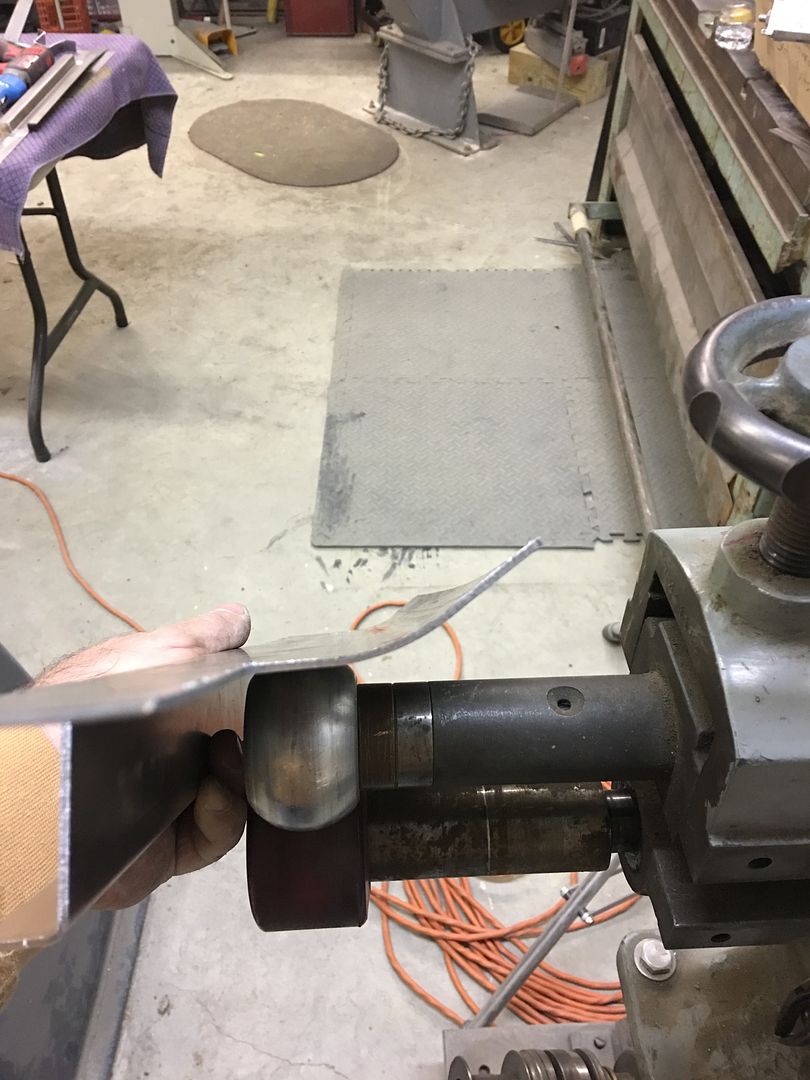
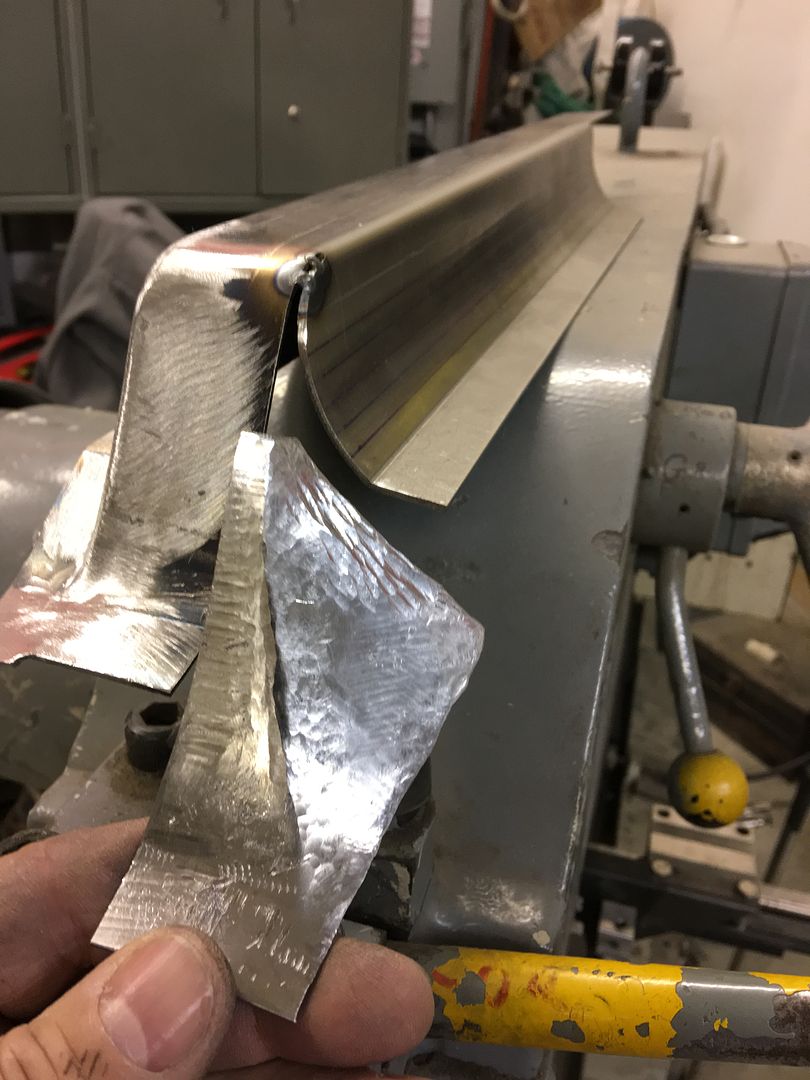
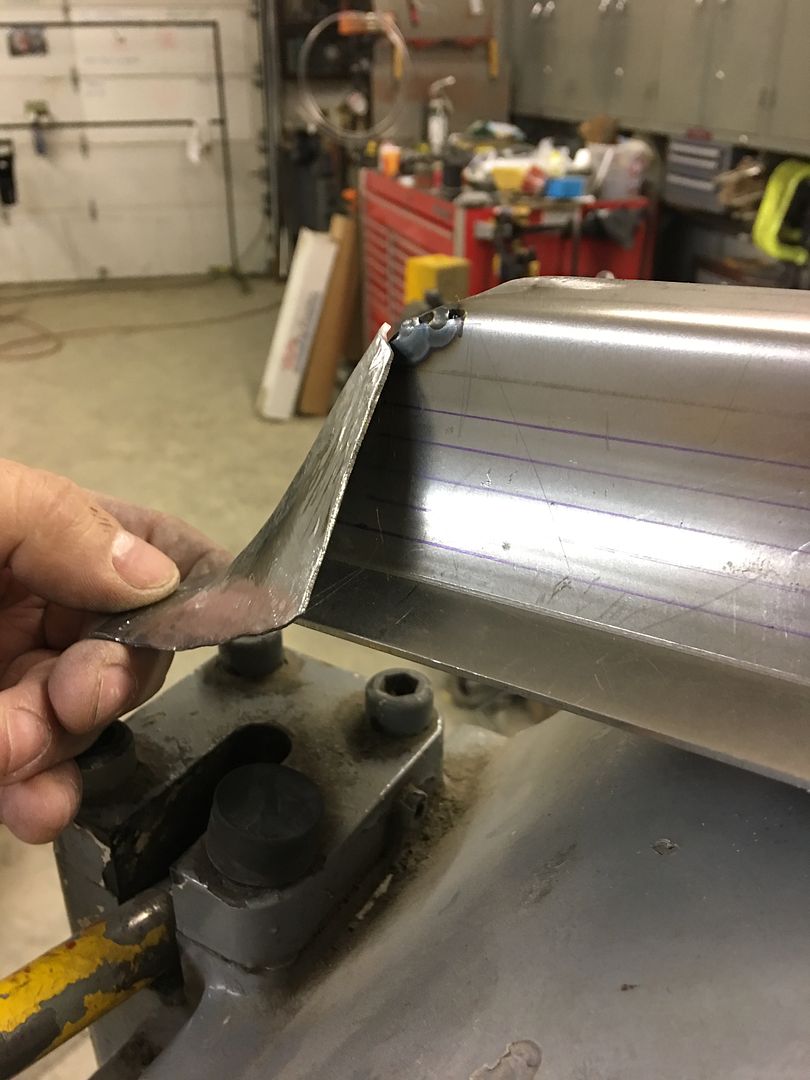
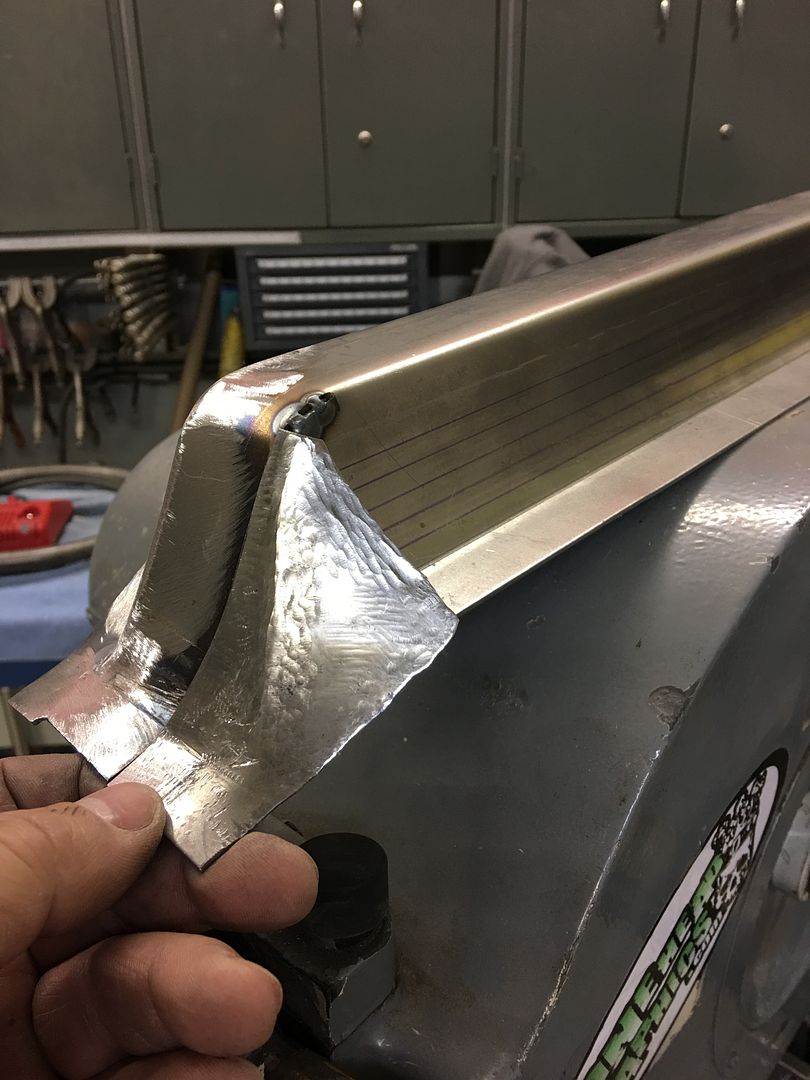
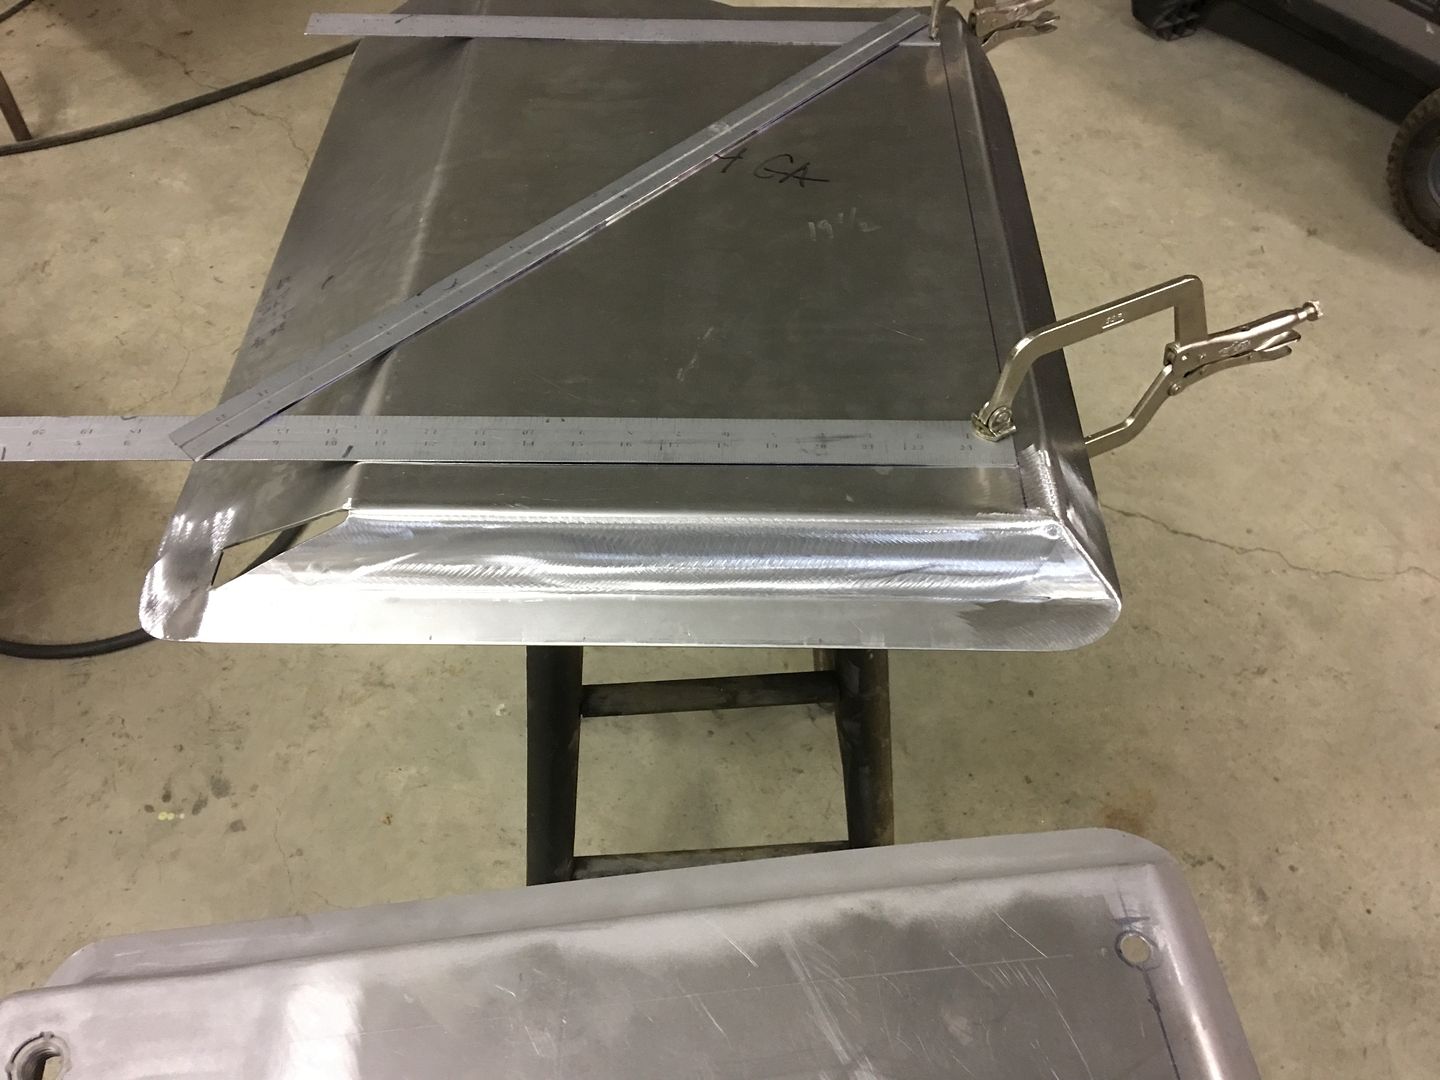
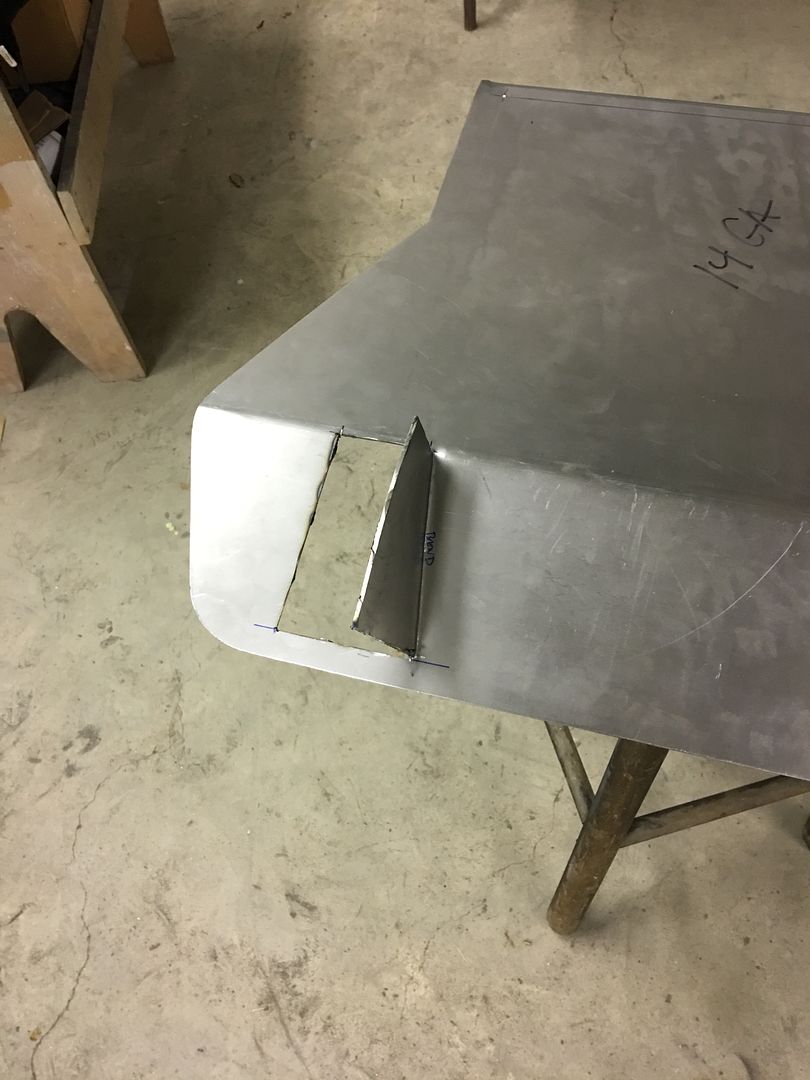
Moving on to the outer risers, these ones will be a bit taller due to the recess where the original seat frames bolted. We started out with using the tipping die in the Lennox to thin the 14 gauge cold rolled steel at the bend line for a more crisp bend.
Next, after making the inside bends, the Fasti-werks bead roller is used with a skate board wheel to add a radius to the outer "leg" of the riser.
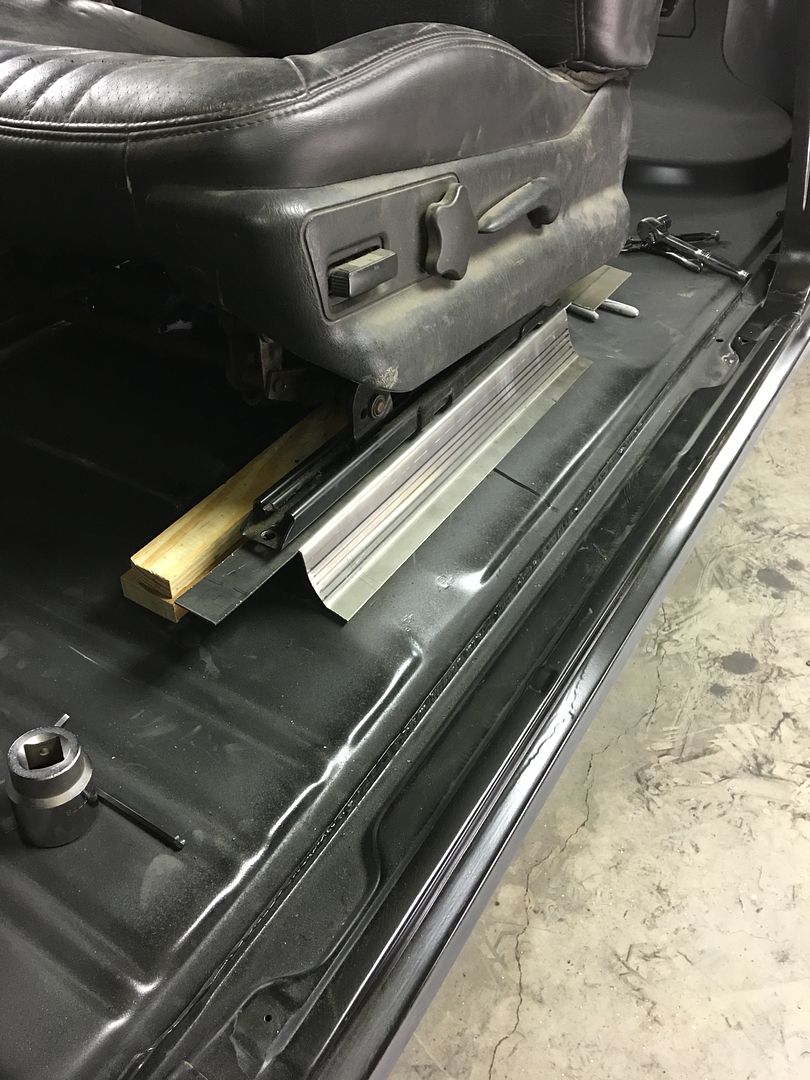
Next time in the shop we'll get the ends closed up.....
Next, after making the inside bends, the Fasti-werks bead roller is used with a skate board wheel to add a radius to the outer "leg" of the riser.
Next time in the shop we'll get the ends closed up.....
MP&C
Member
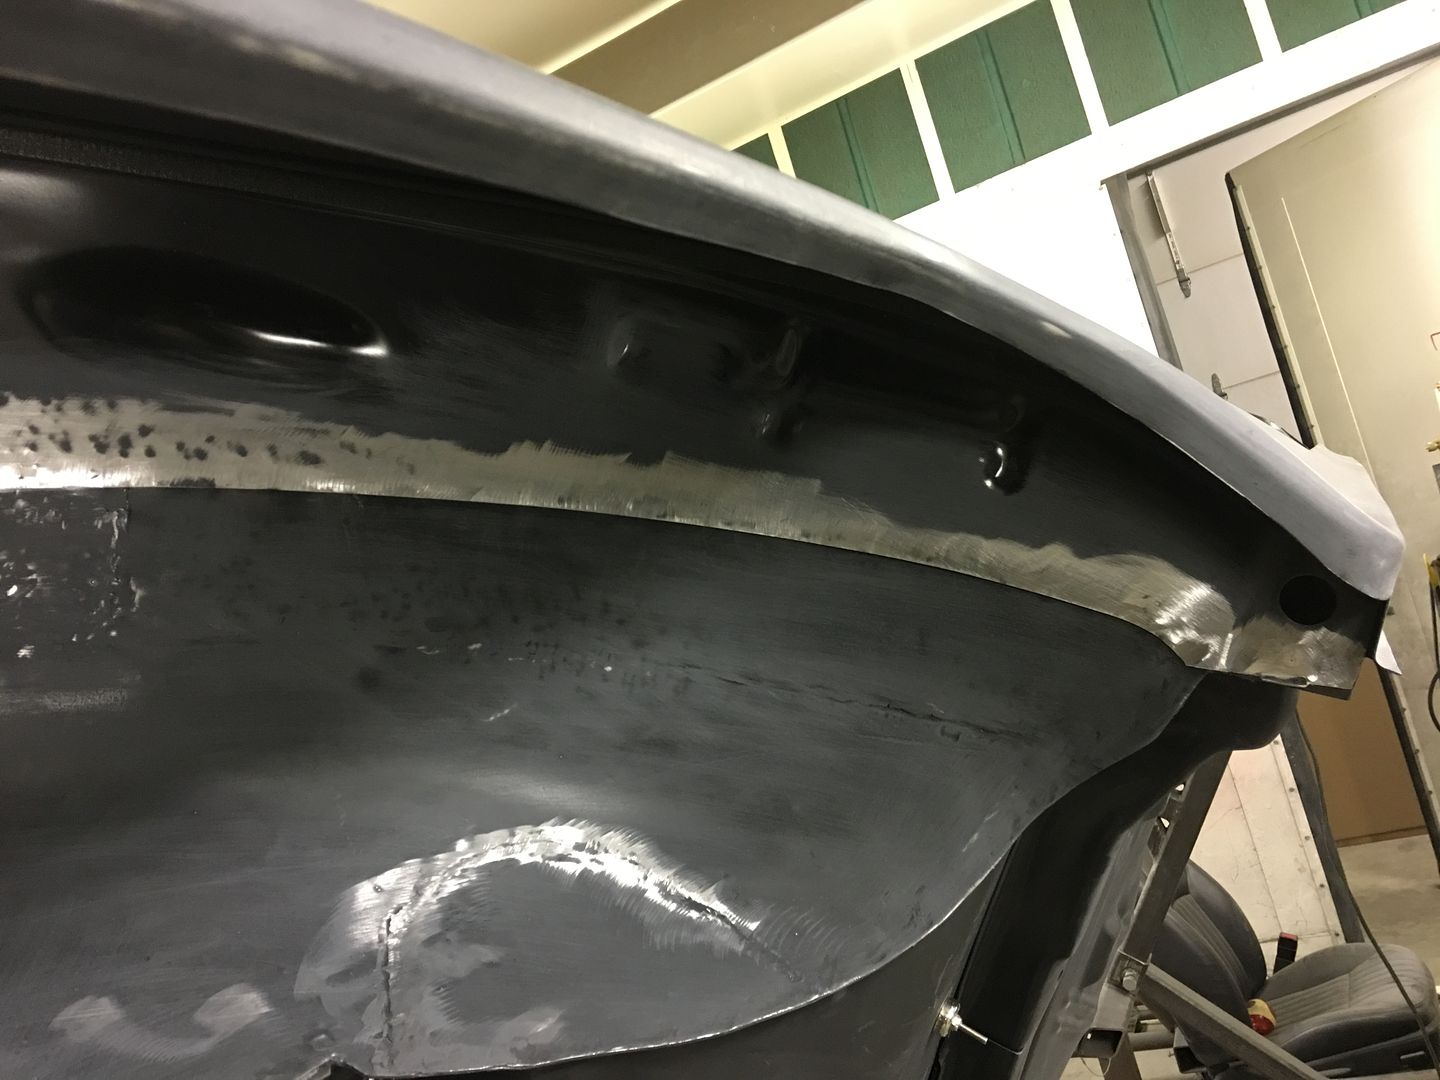
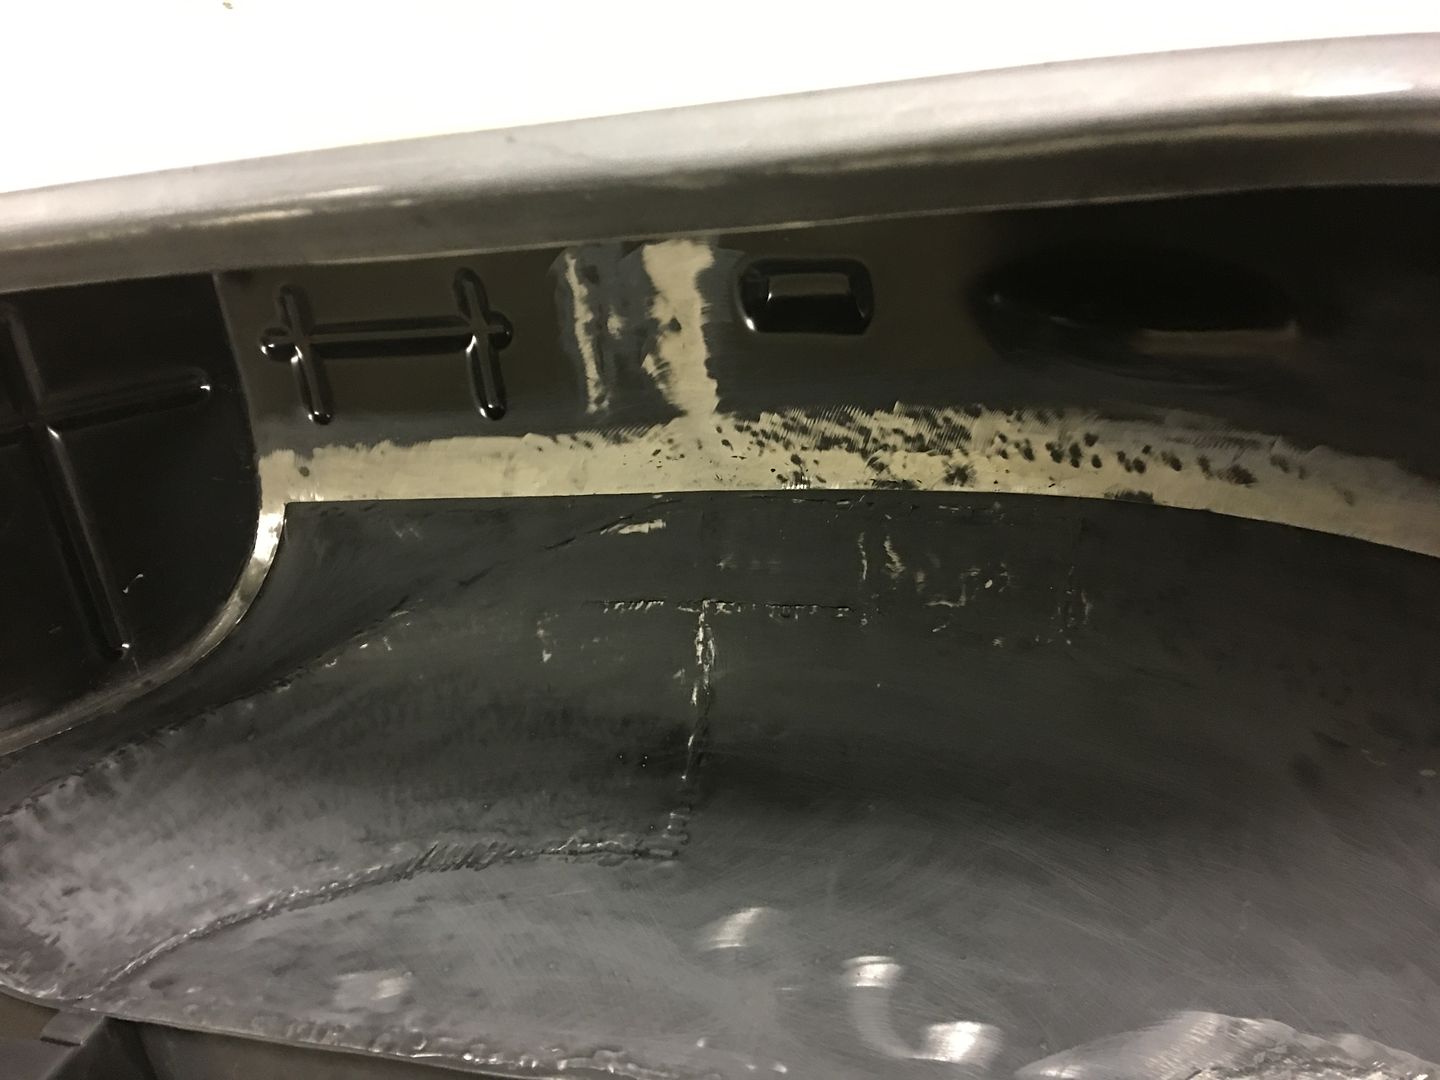
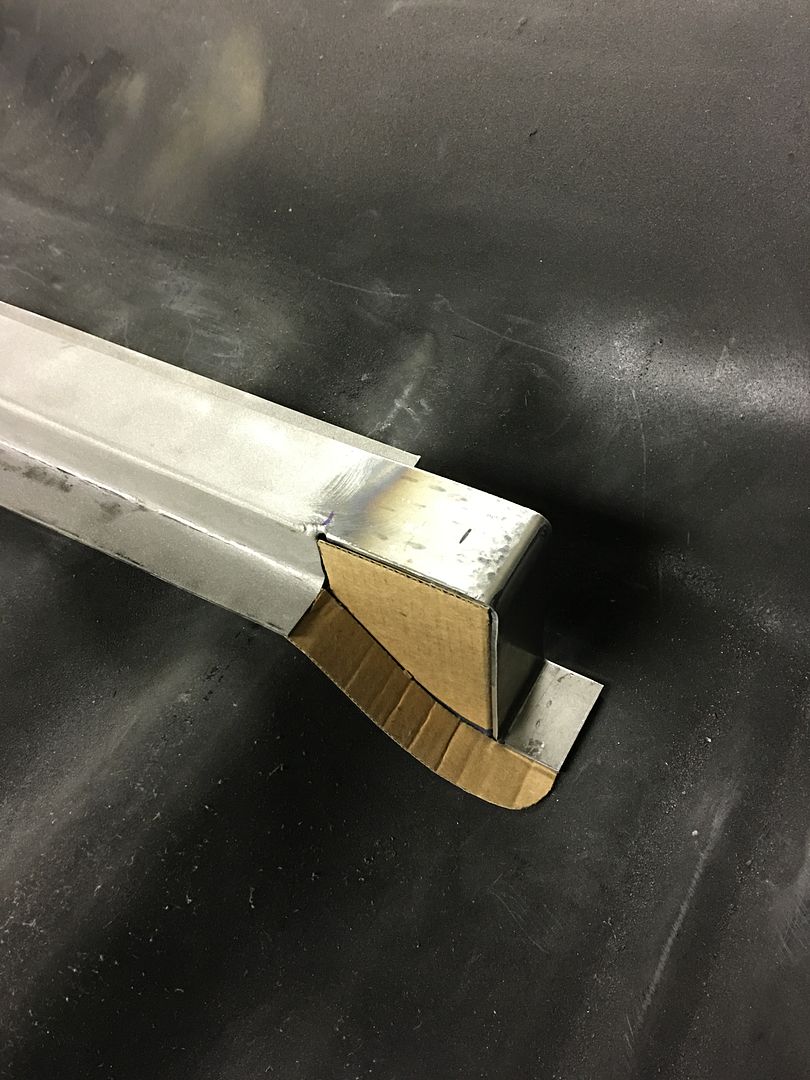
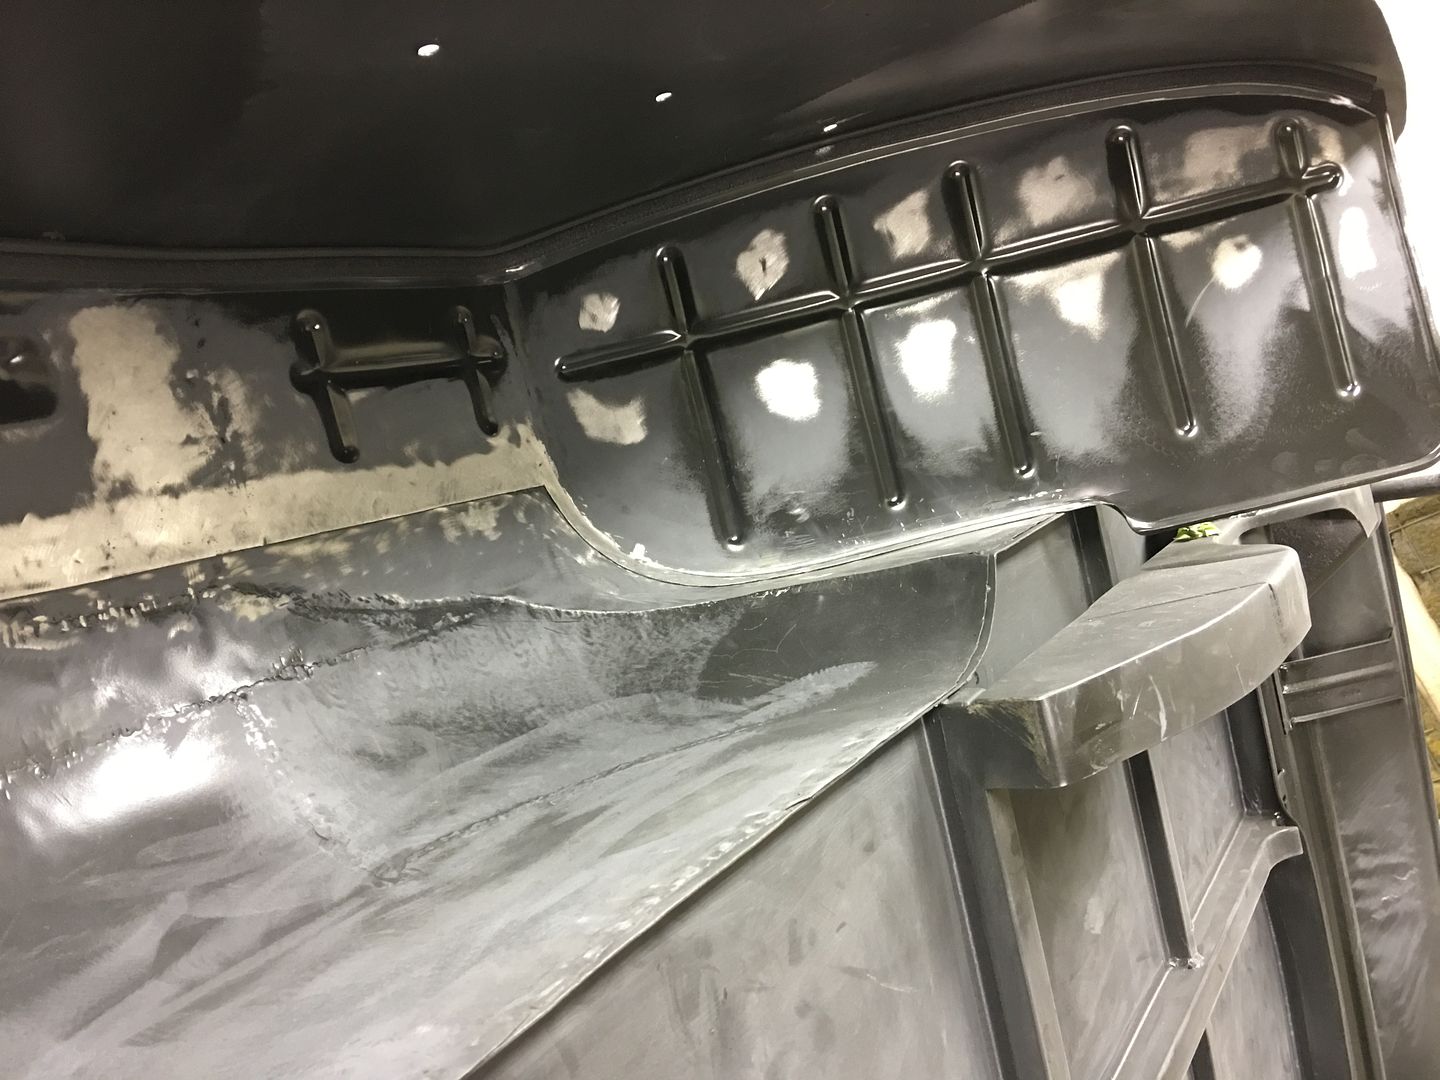
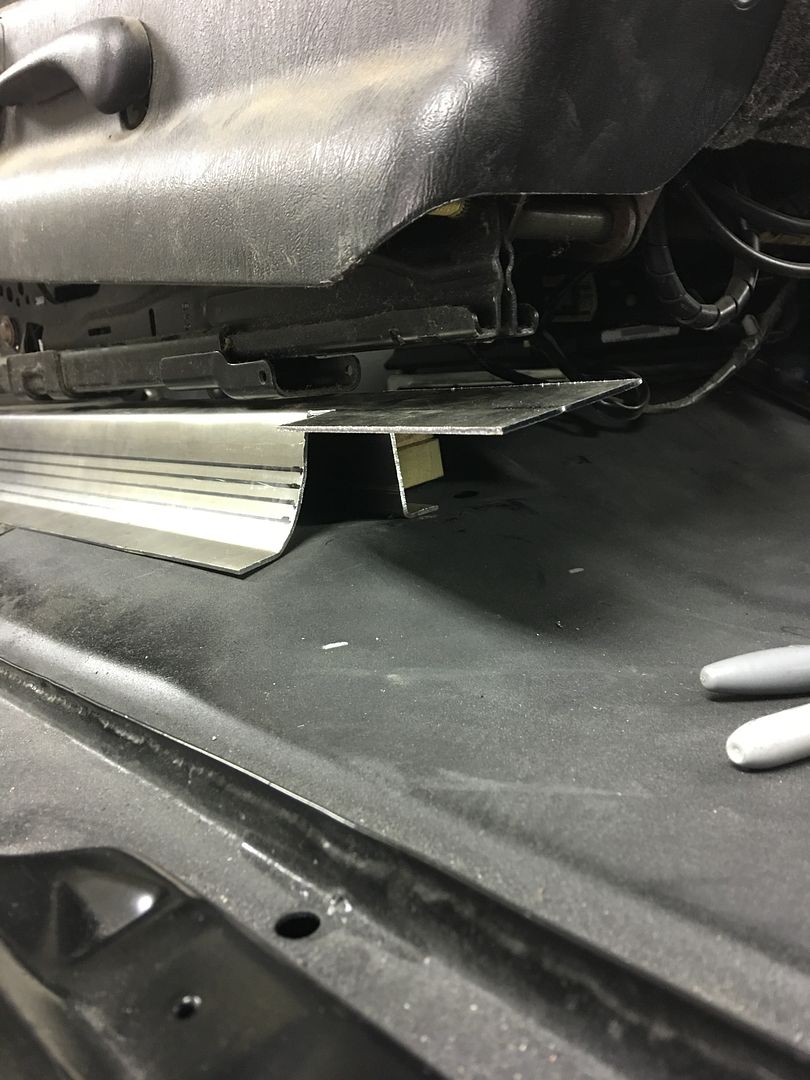
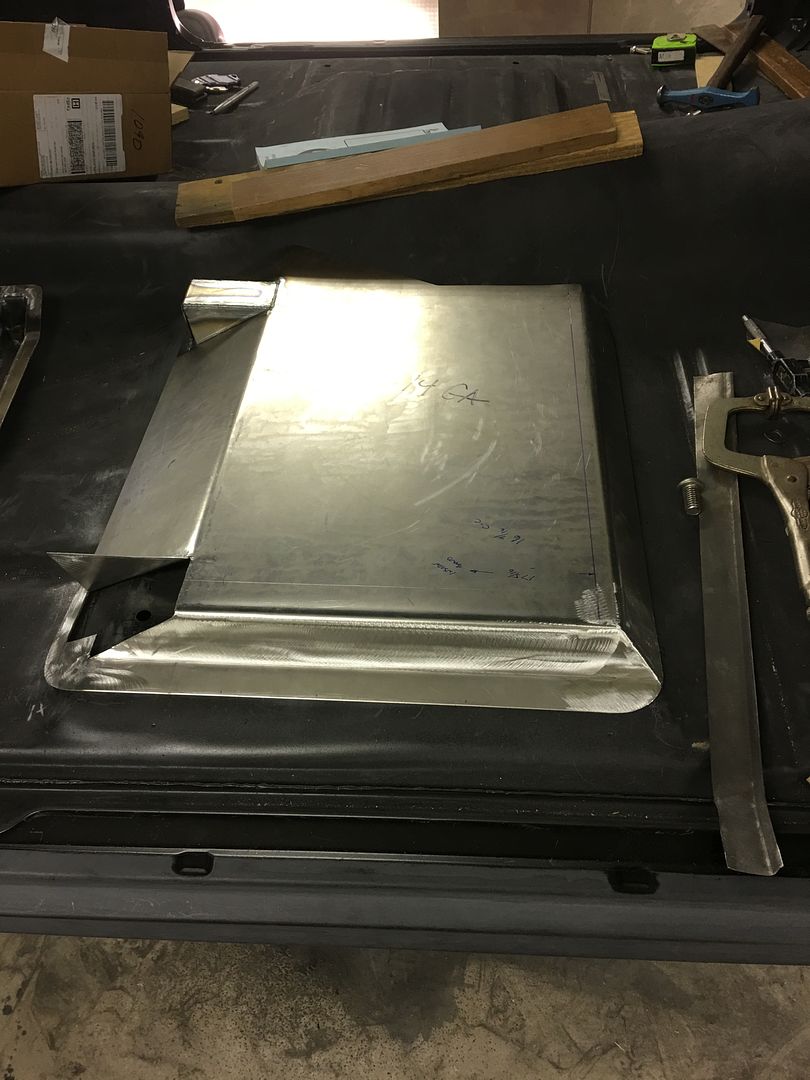
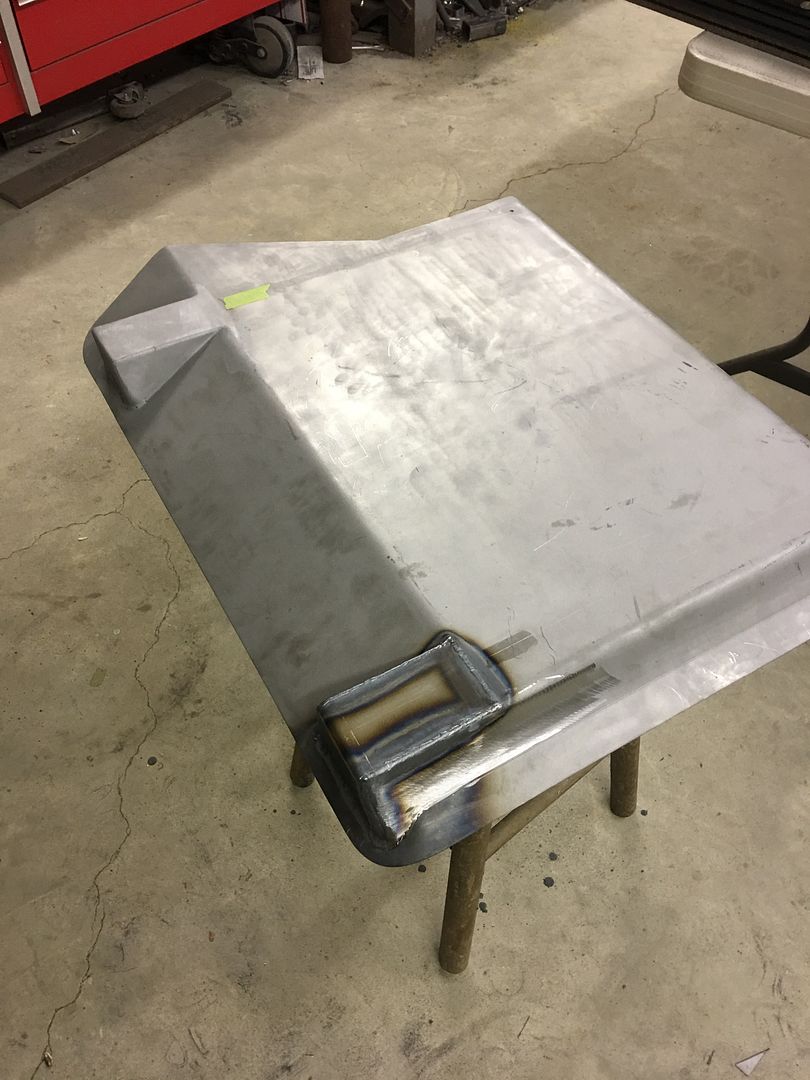
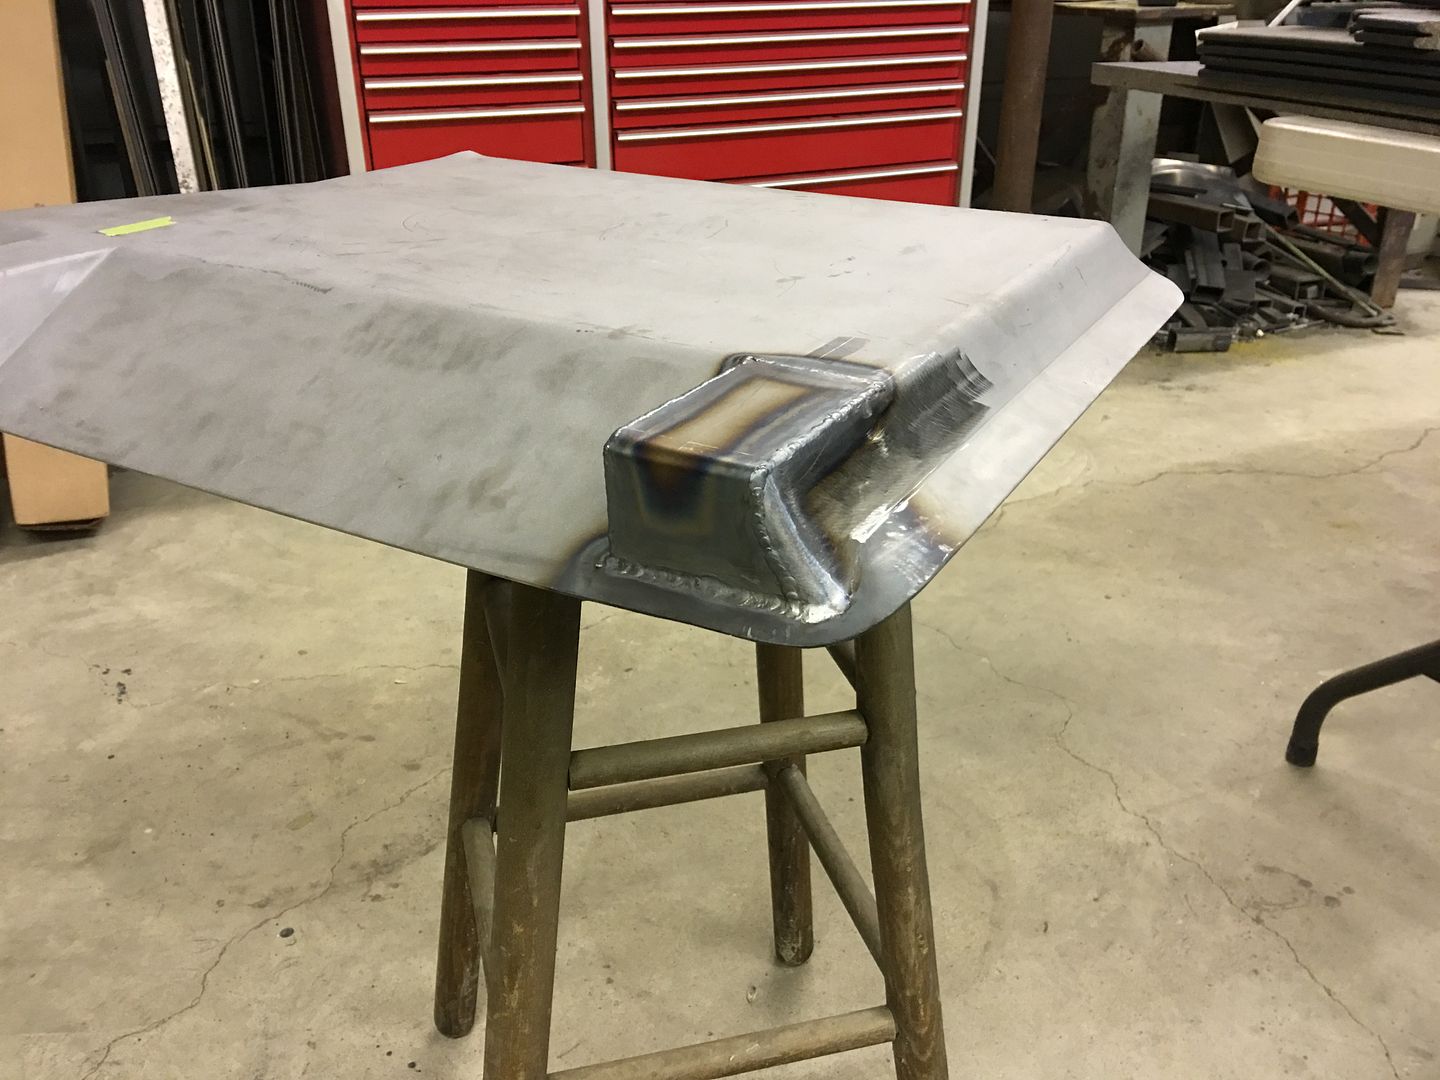
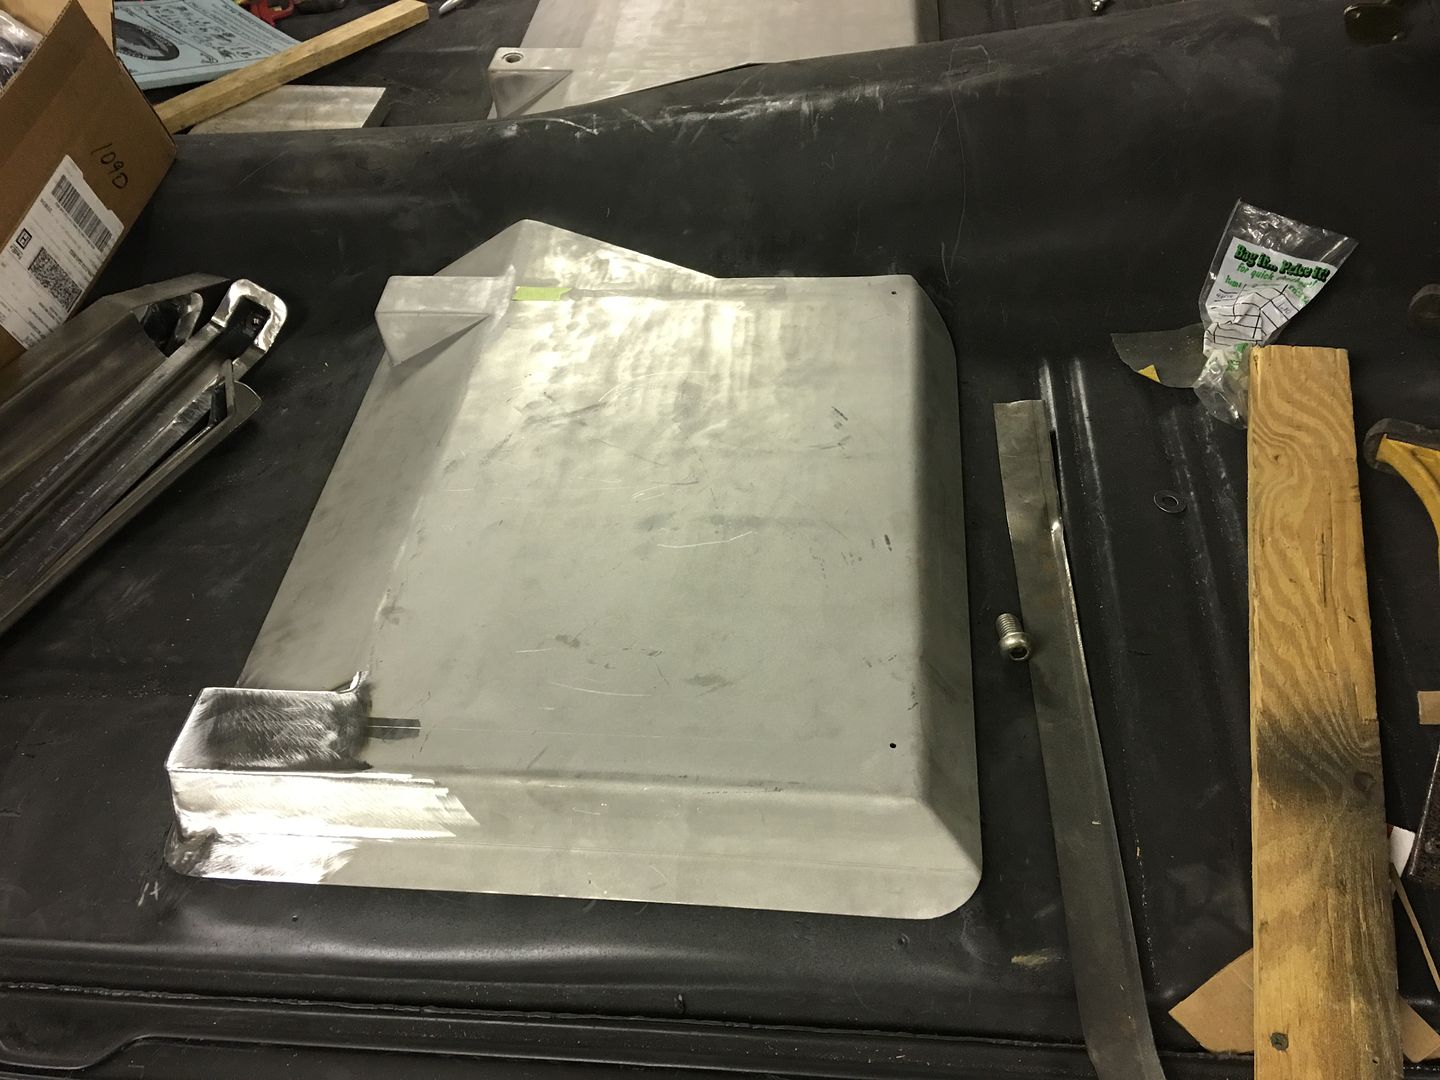
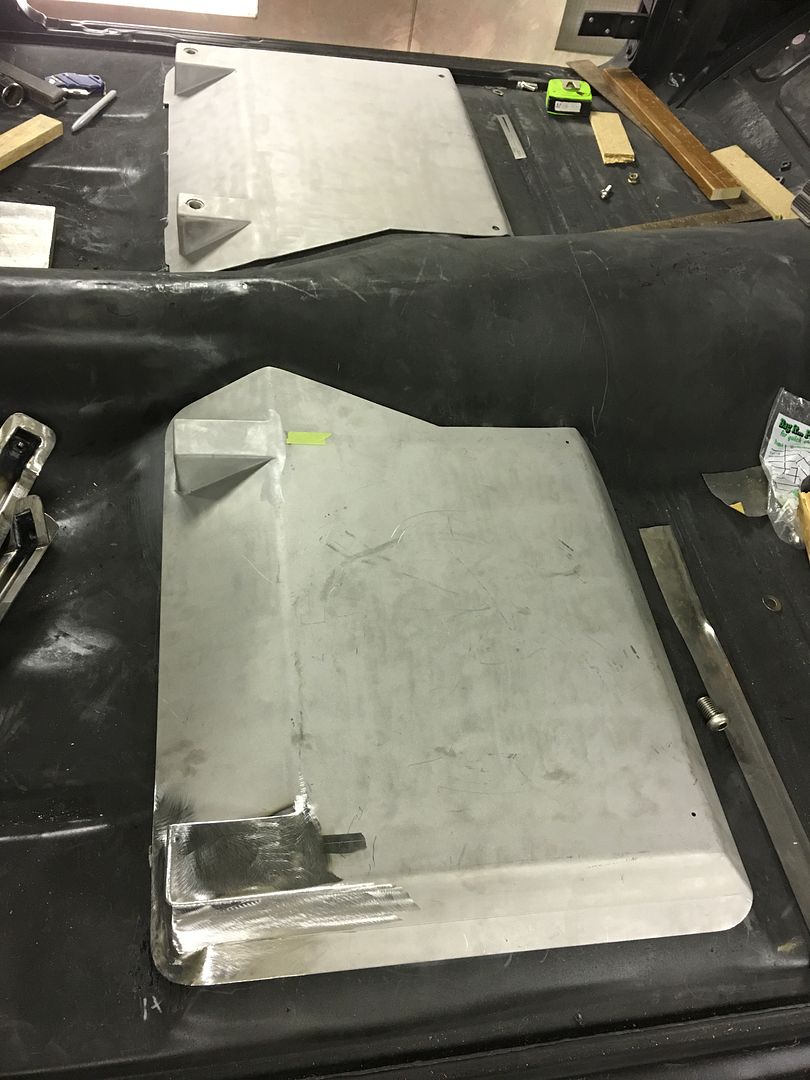
Well, let's back up and punt one more time. The owner of the 55 stopped by about a week ago and sat in the mocked up bucket seat. She said it sat too high, so our version 2 seat brackets were out. Cutting the floor pan was over-ruled (for recessing the brackets) so we opted for a 14 gauge flat seat pan directly on top of the floor, which also gave us a shape we could eliminate the "step" in the floor.
Next is to add the wedges to the rear ramp for attaching the rear of the track slides...
Next is to add the wedges to the rear ramp for attaching the rear of the track slides...
'68 Coronet R/T
Oldtimer
I hate to think how much time you had into the two rail mounts.
How much were you able to lower the seats by going with the pans? Still had to get the seat bottoms level right?
How much were you able to lower the seats by going with the pans? Still had to get the seat bottoms level right?
MP&C
Member
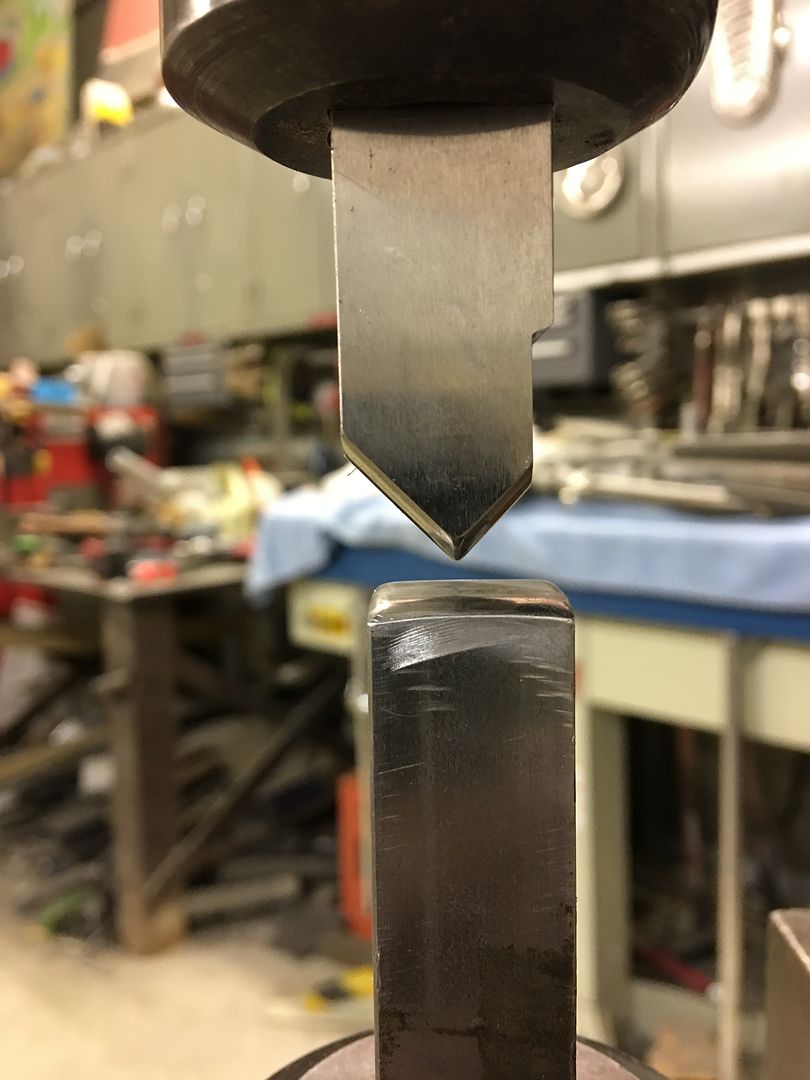
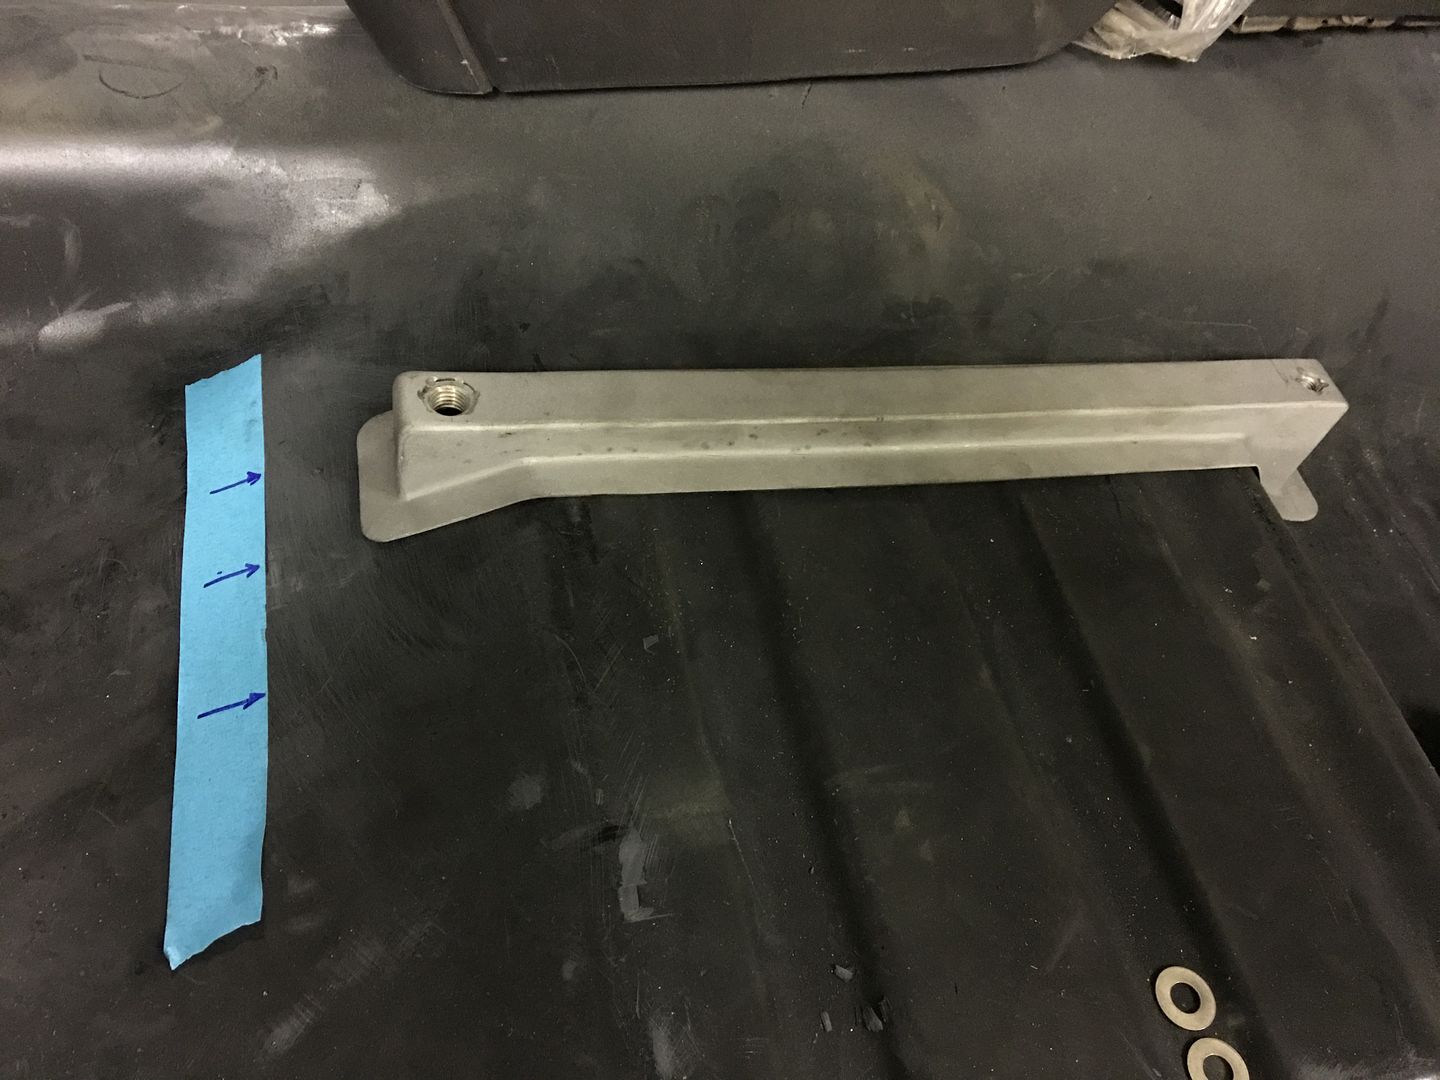
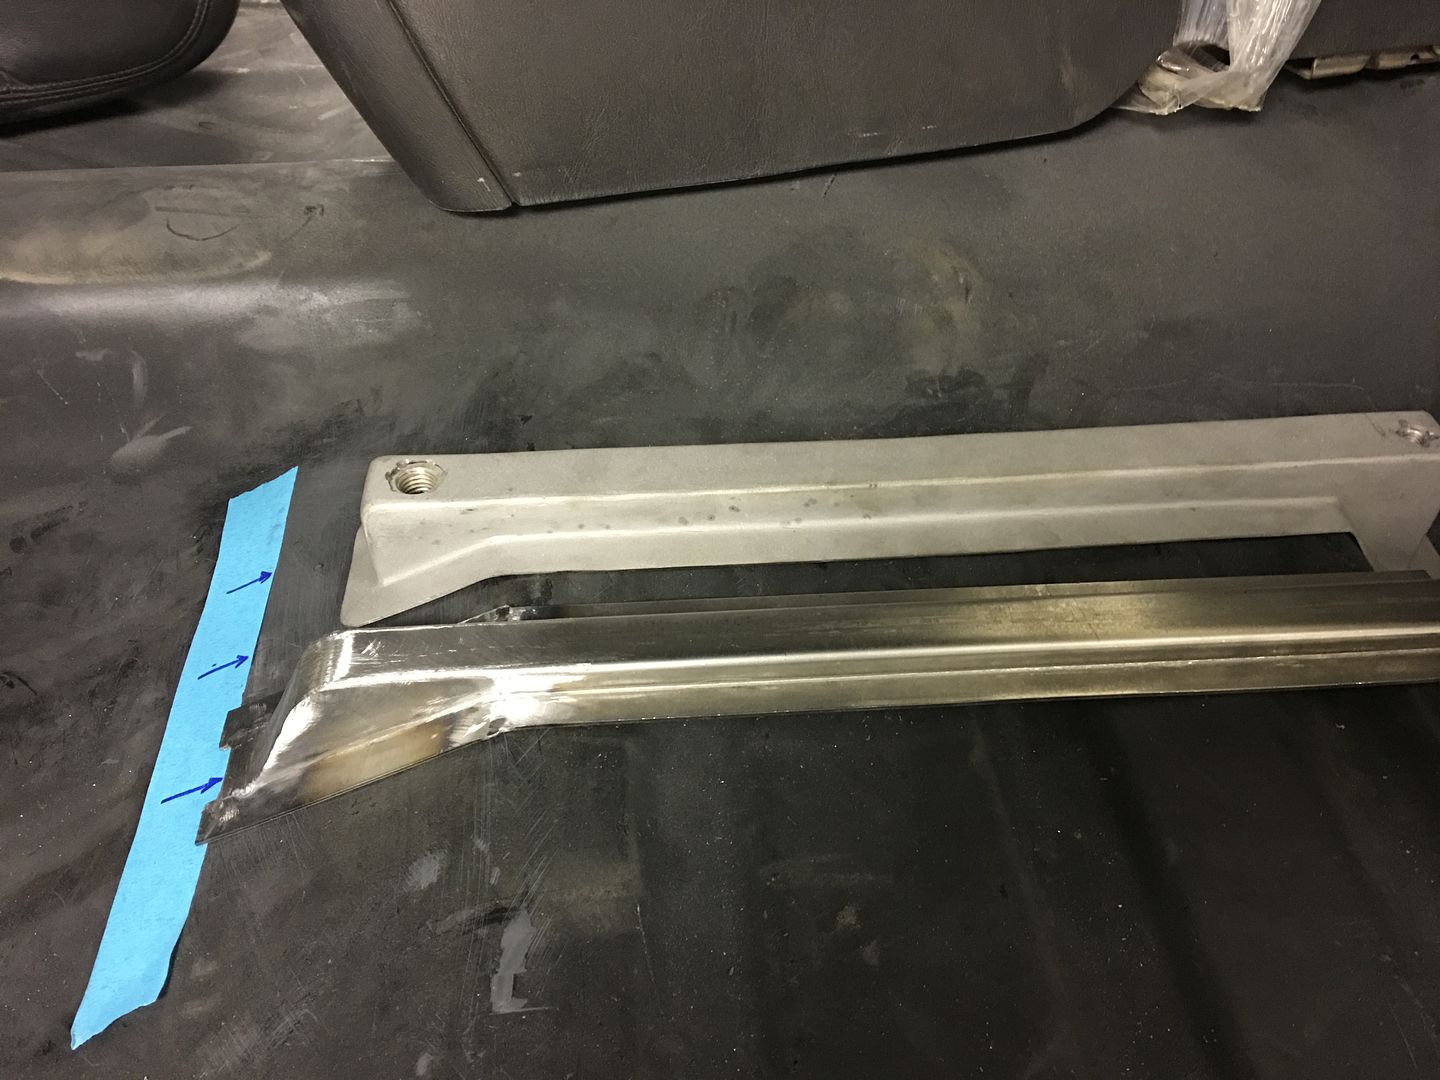
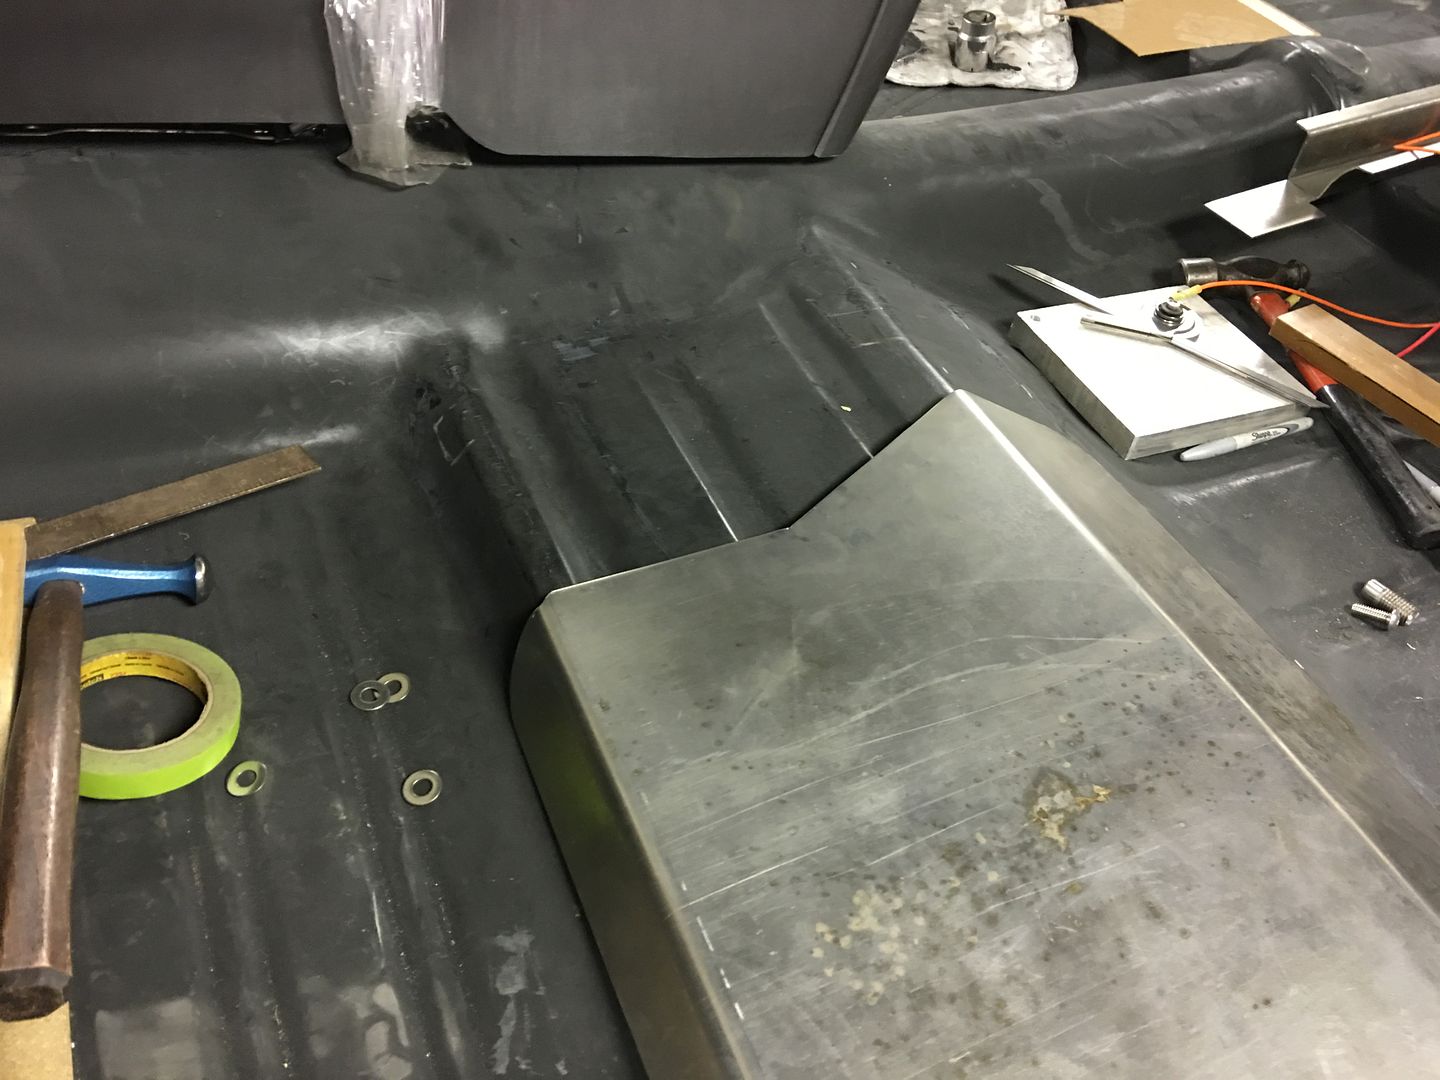
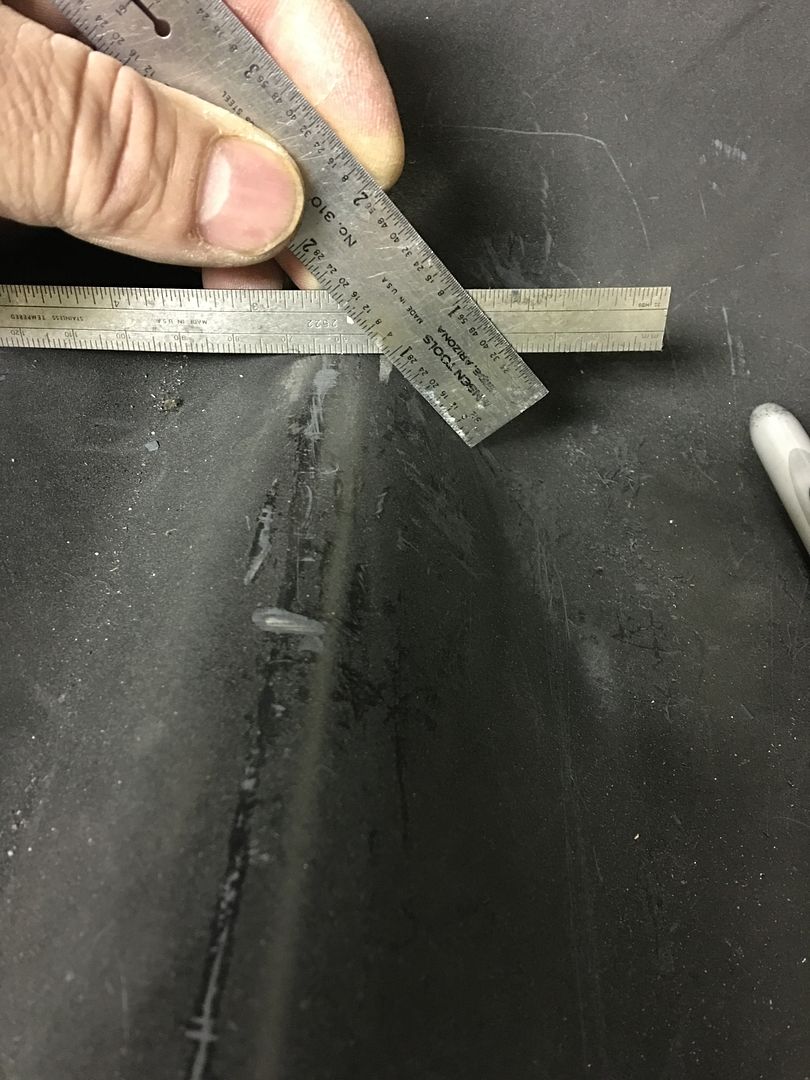
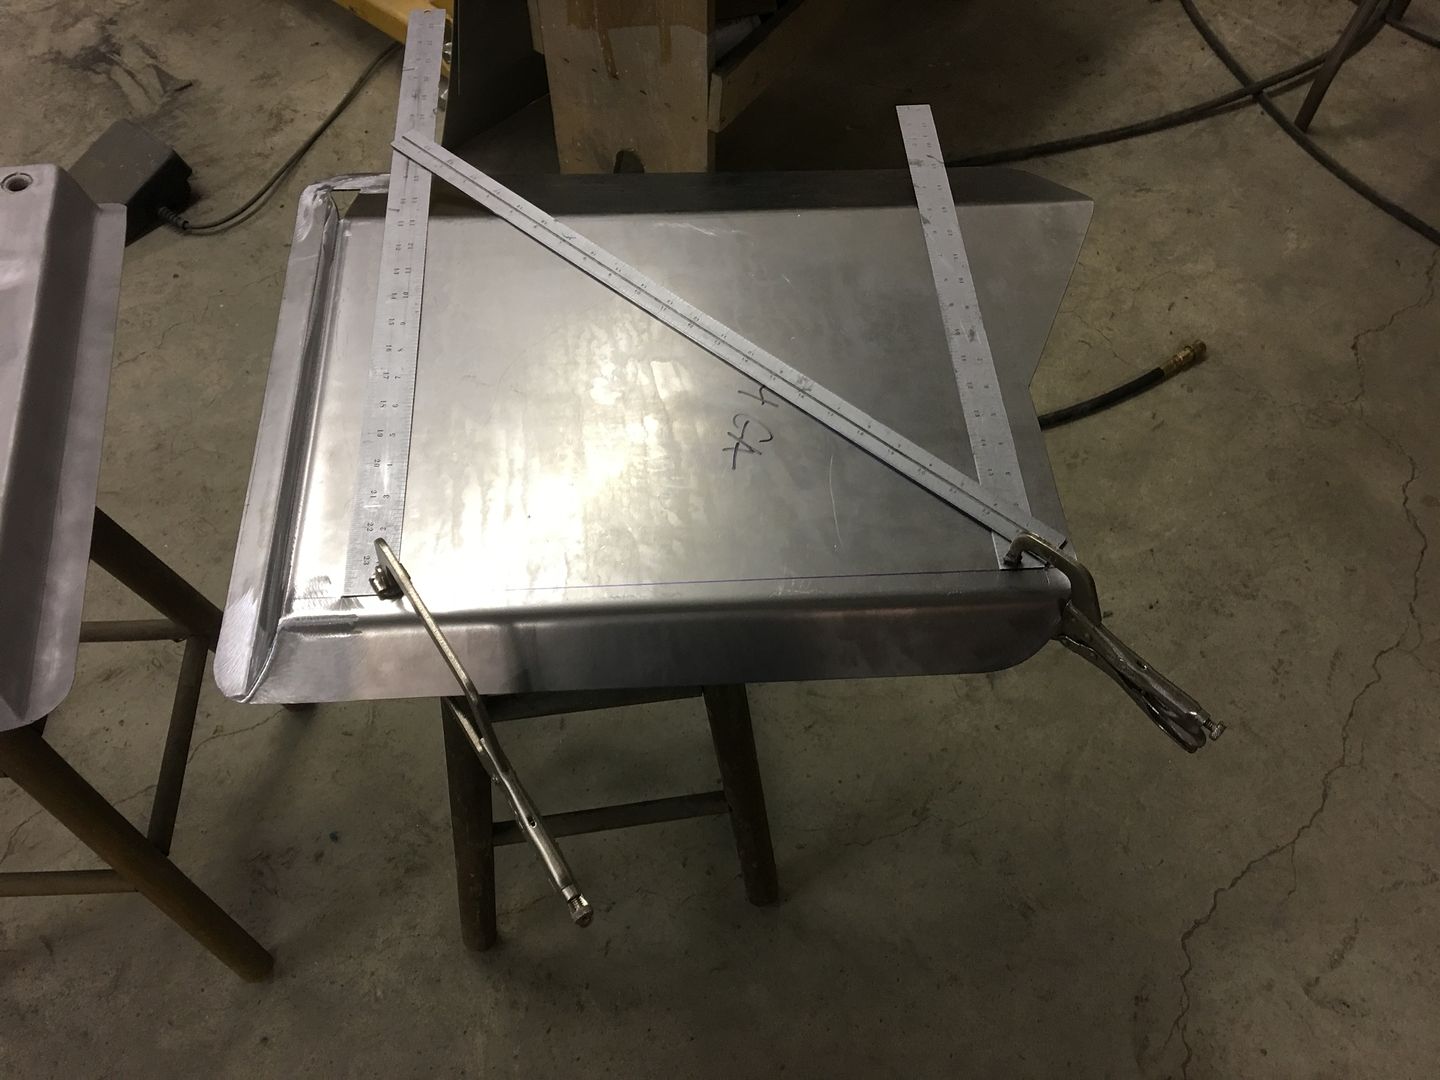
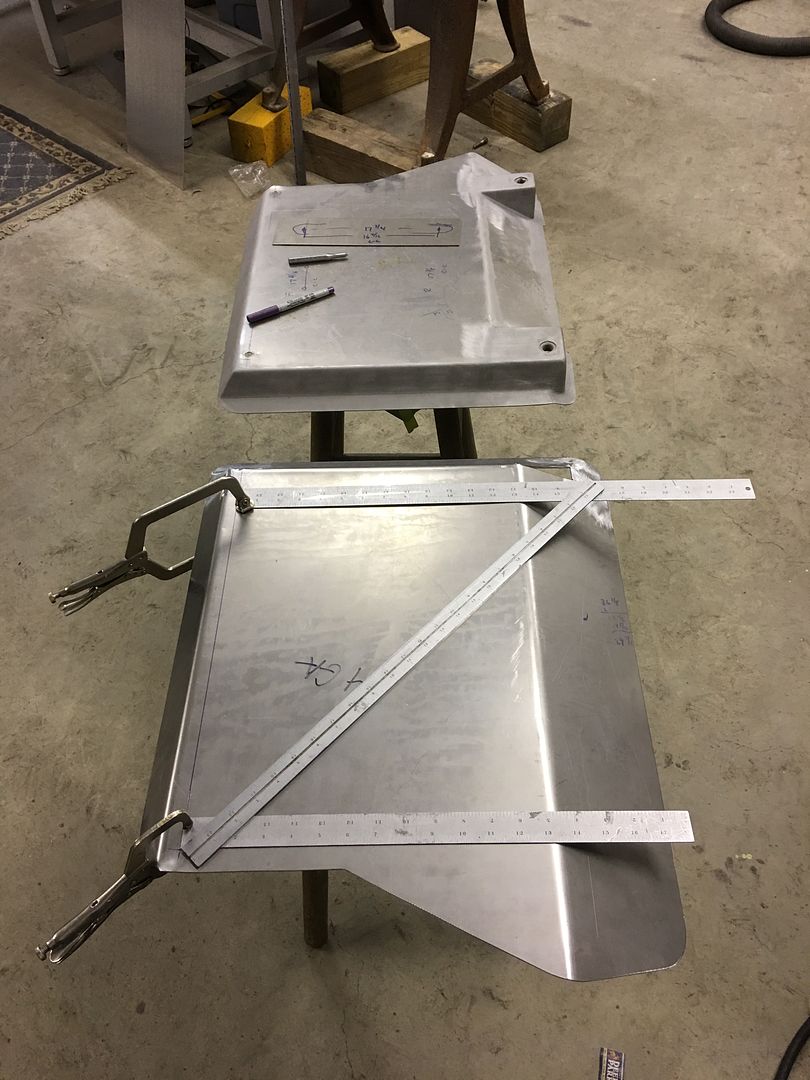
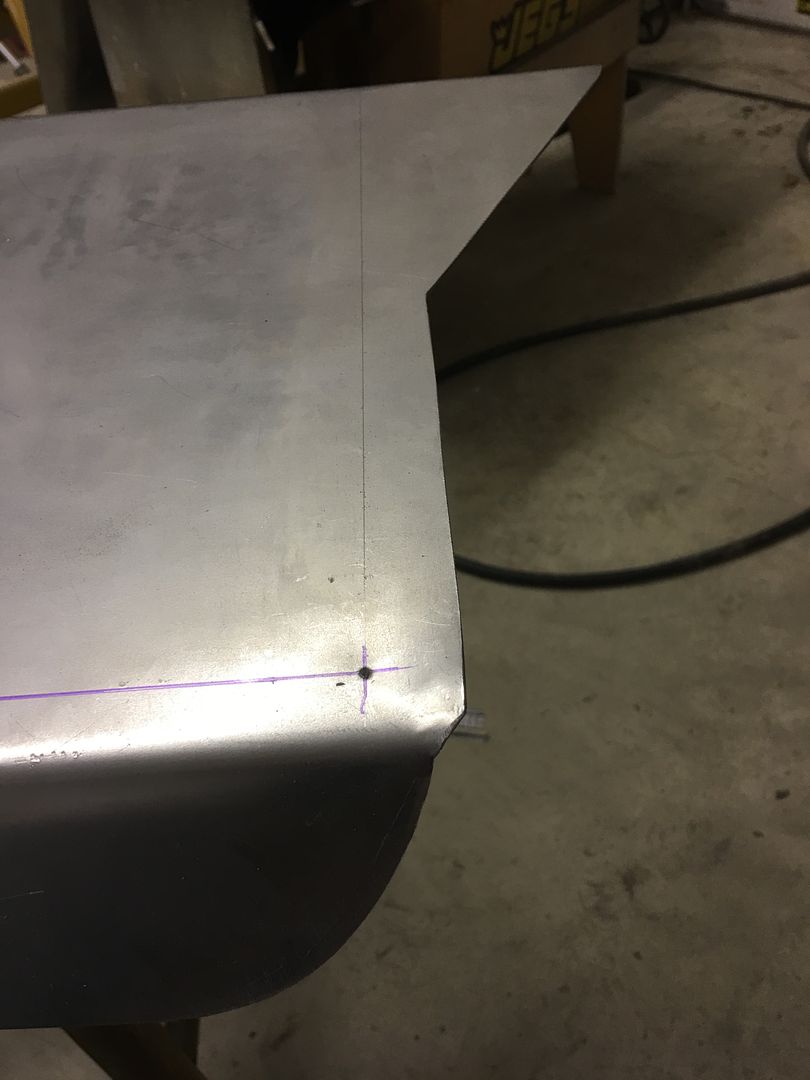
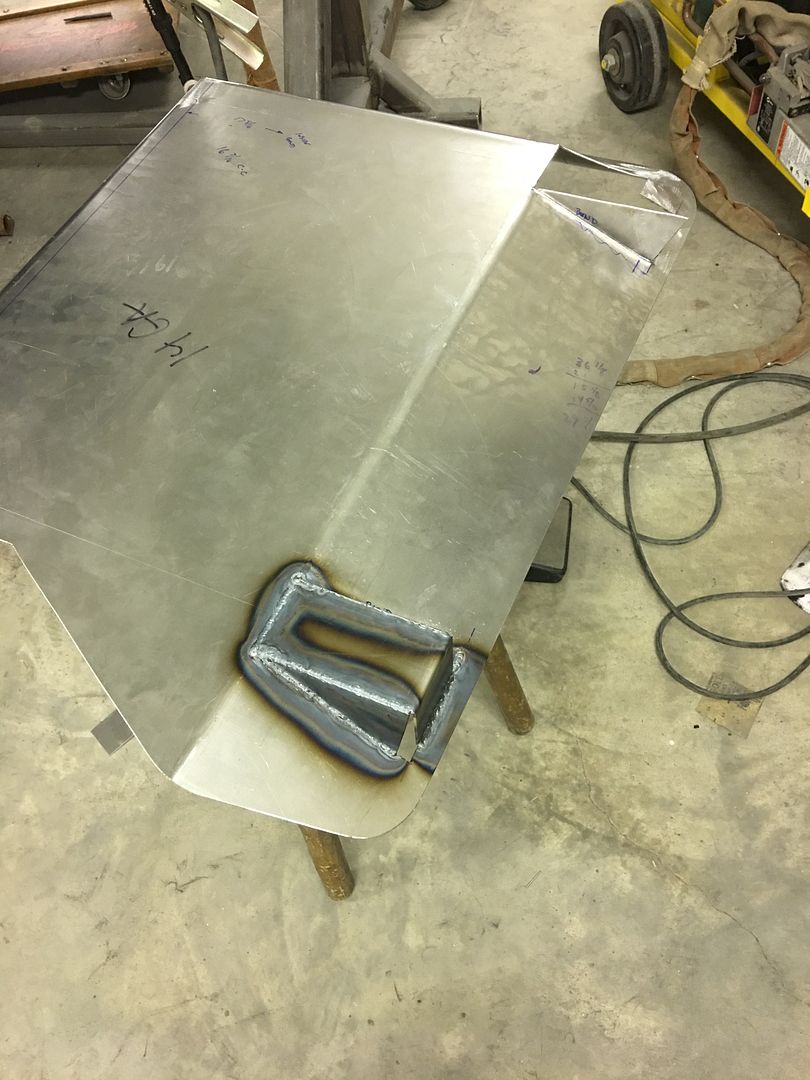
Don't think I showed this on the other side, but here's how we find the center of the bend for dimensioning the seat bracket..
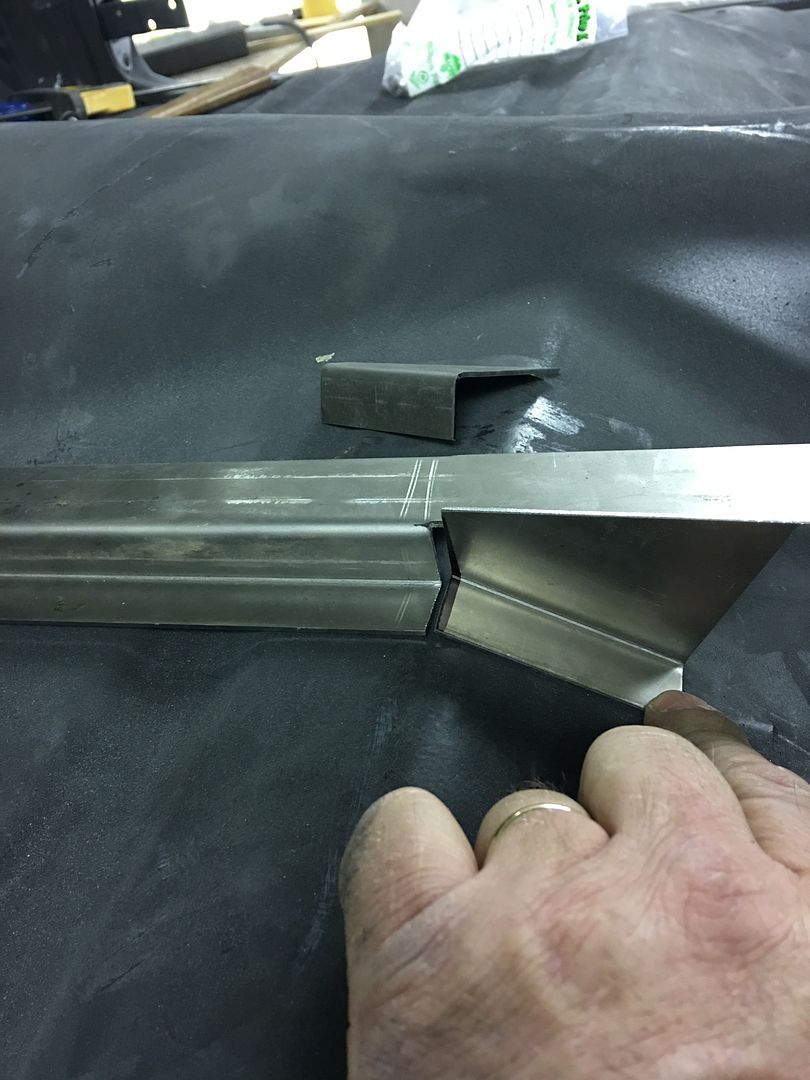
Bent up and a test fit...
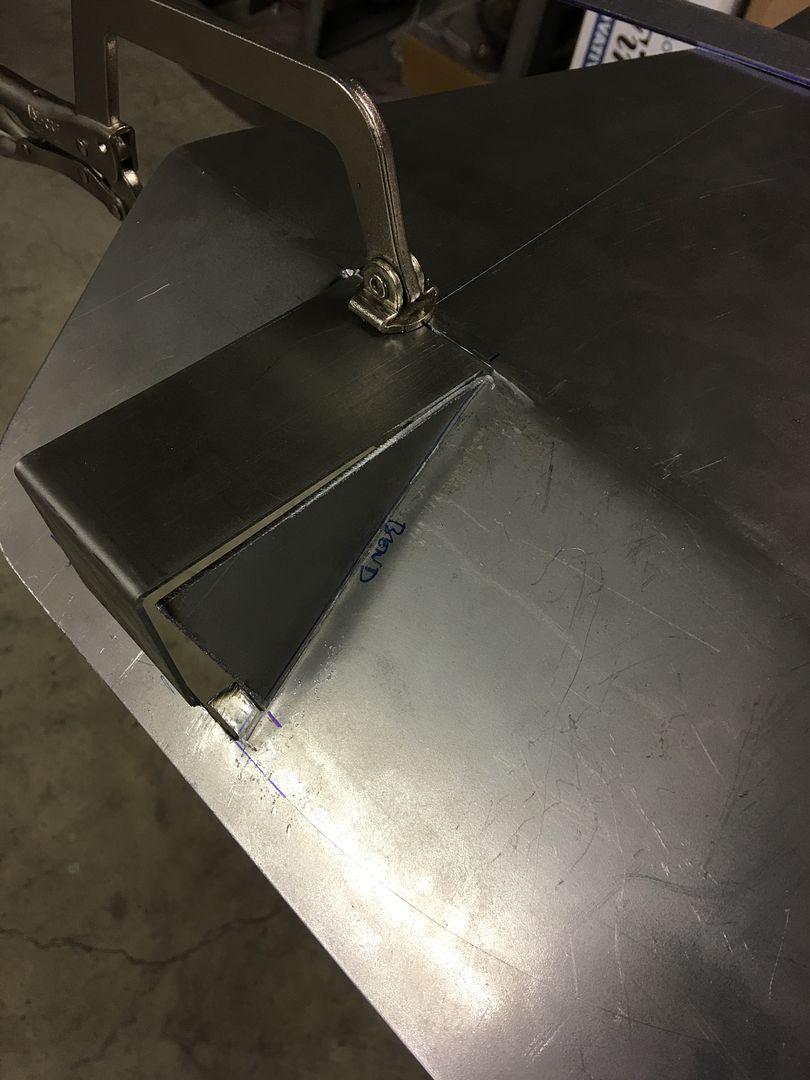
Relief cuts made for the next fold.....
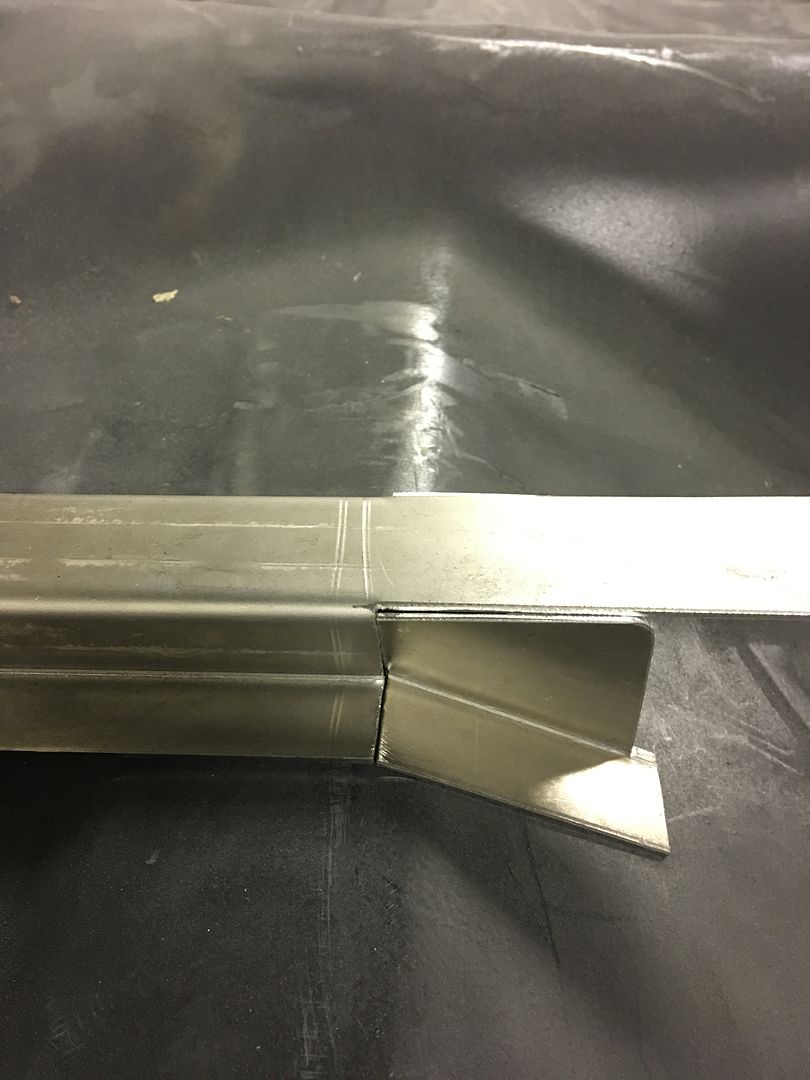
then rolled through the bead roller
and then the brake is used to fold the outer flange. Here, all welded in place...
The front hole pattern is laid out to match the drivers bracket, and then some perpendicular lines laid out for locating the rear risers...

Bent up and a test fit...
Relief cuts made for the next fold.....
then rolled through the bead roller
and then the brake is used to fold the outer flange. Here, all welded in place...
The front hole pattern is laid out to match the drivers bracket, and then some perpendicular lines laid out for locating the rear risers...
MP&C
Member
Getting down to the nitty gritty on the seat brackets, number two is all but done, need to weld in three hex nuts and touch up some media blasting. Hoping for good weather this weekend so we can spray some epoxy primer on them and get these installed...
And the last two pipe clamps came in at Napa (installed with lock nuts), so we can now throw some air to the planishing hammer and try out the new fixture..
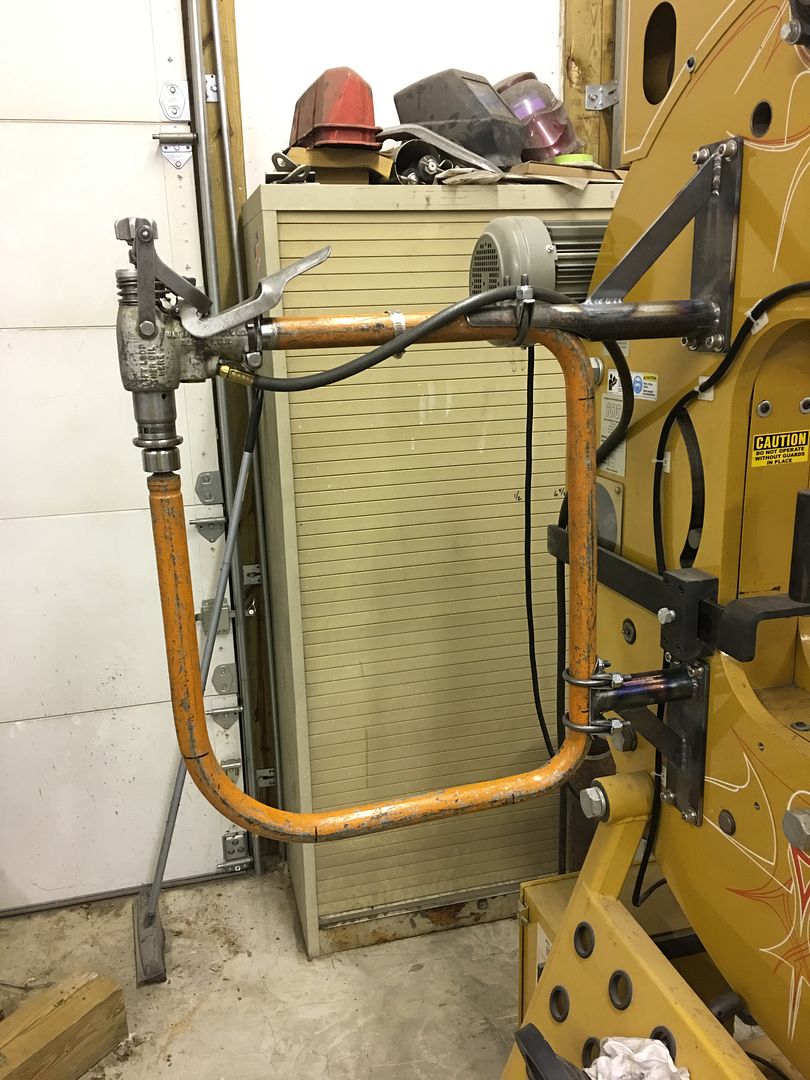
And the last two pipe clamps came in at Napa (installed with lock nuts), so we can now throw some air to the planishing hammer and try out the new fixture..
MP&C
Member
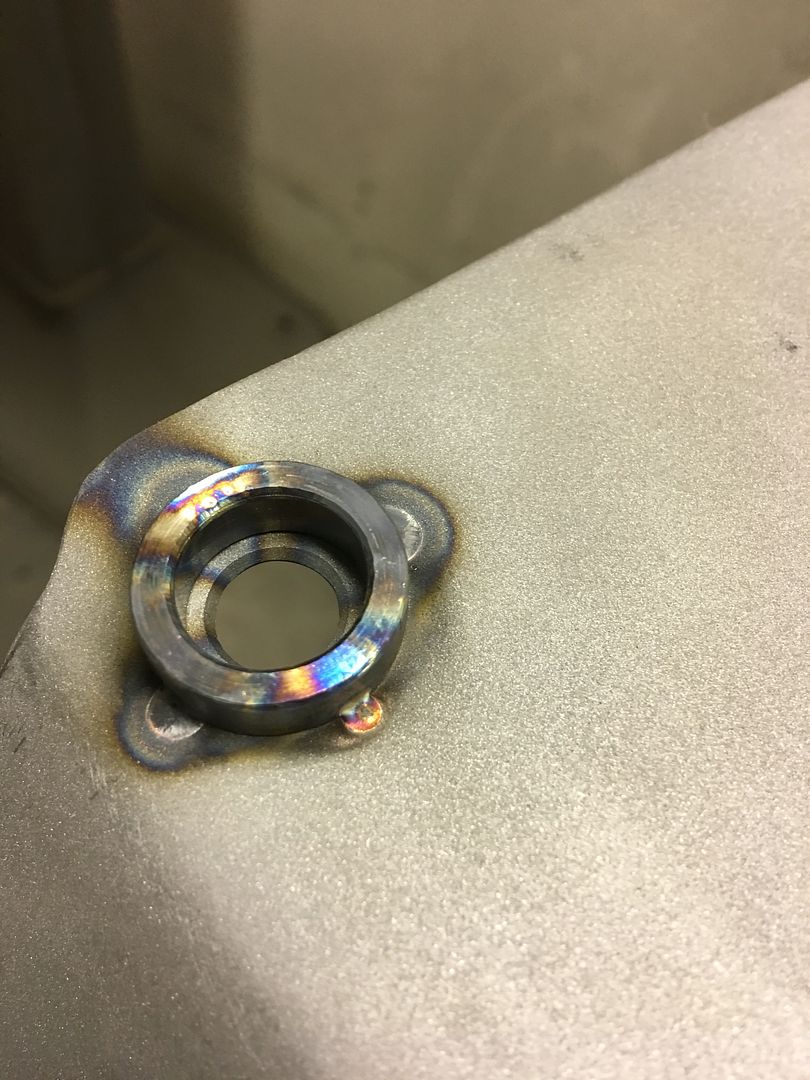
This weekend we got the three hex nuts welded underneath seat bracket number two, fourth hole is a bolt through......
1/4" tall spacers fabricated to make the seat tracks level, then tacked in place on the front holes..

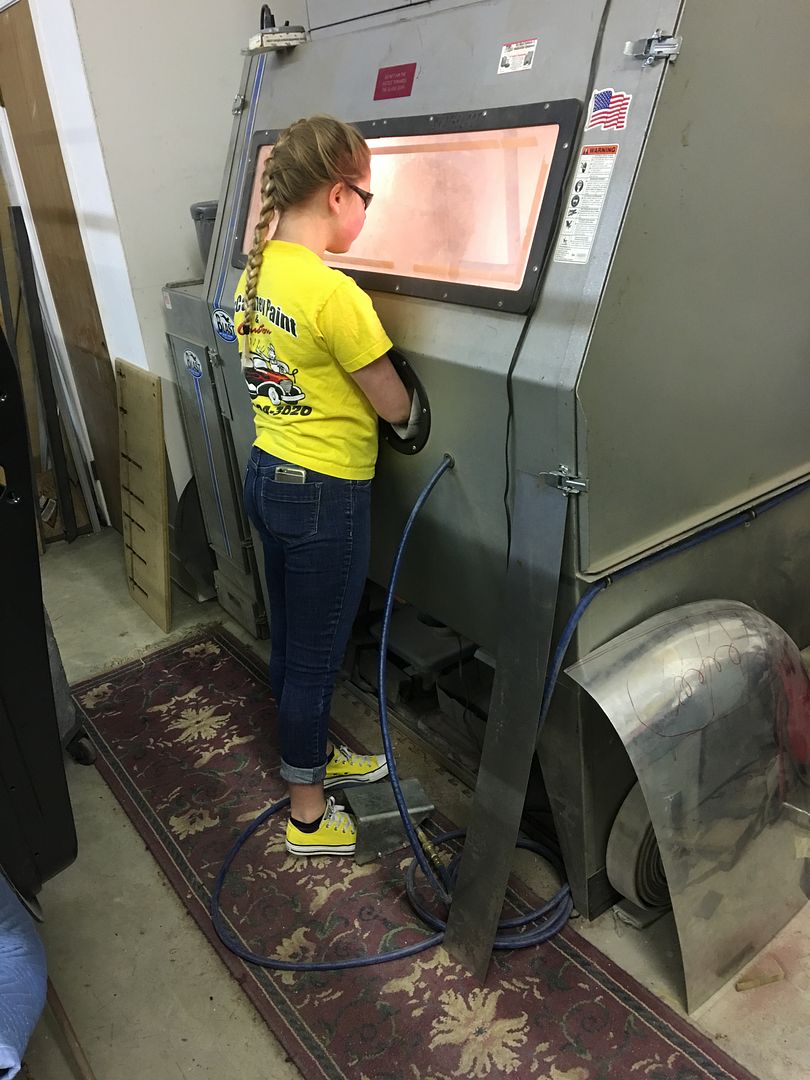
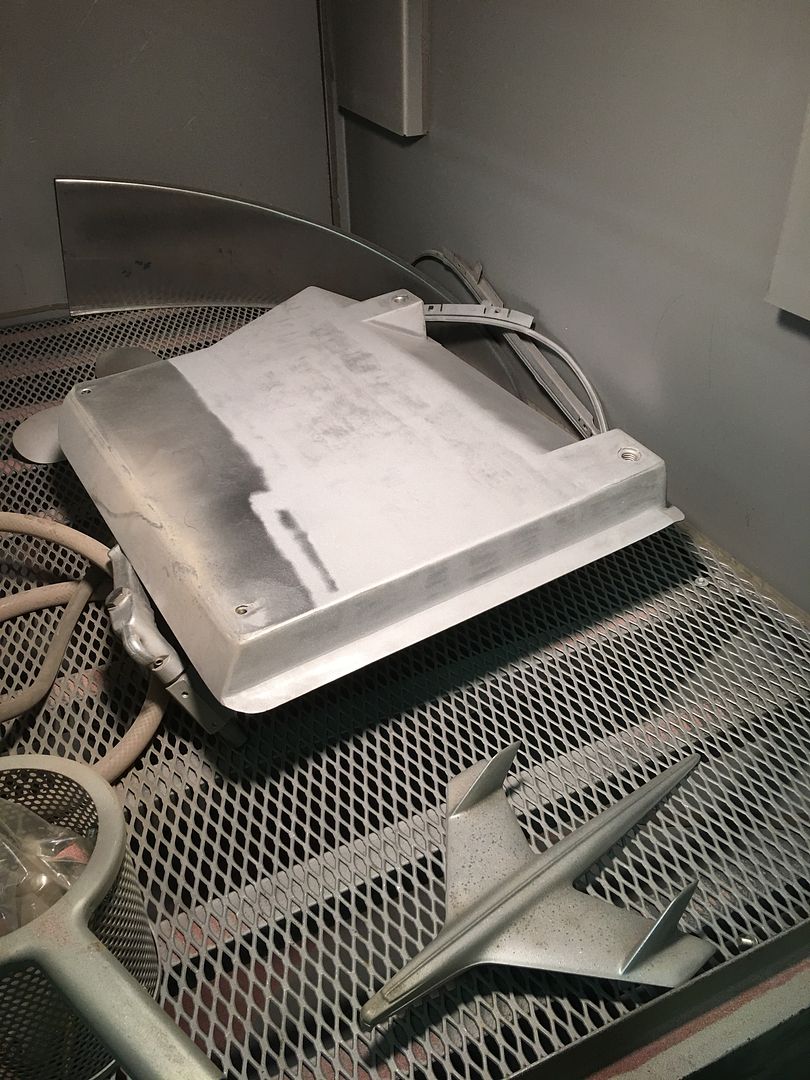
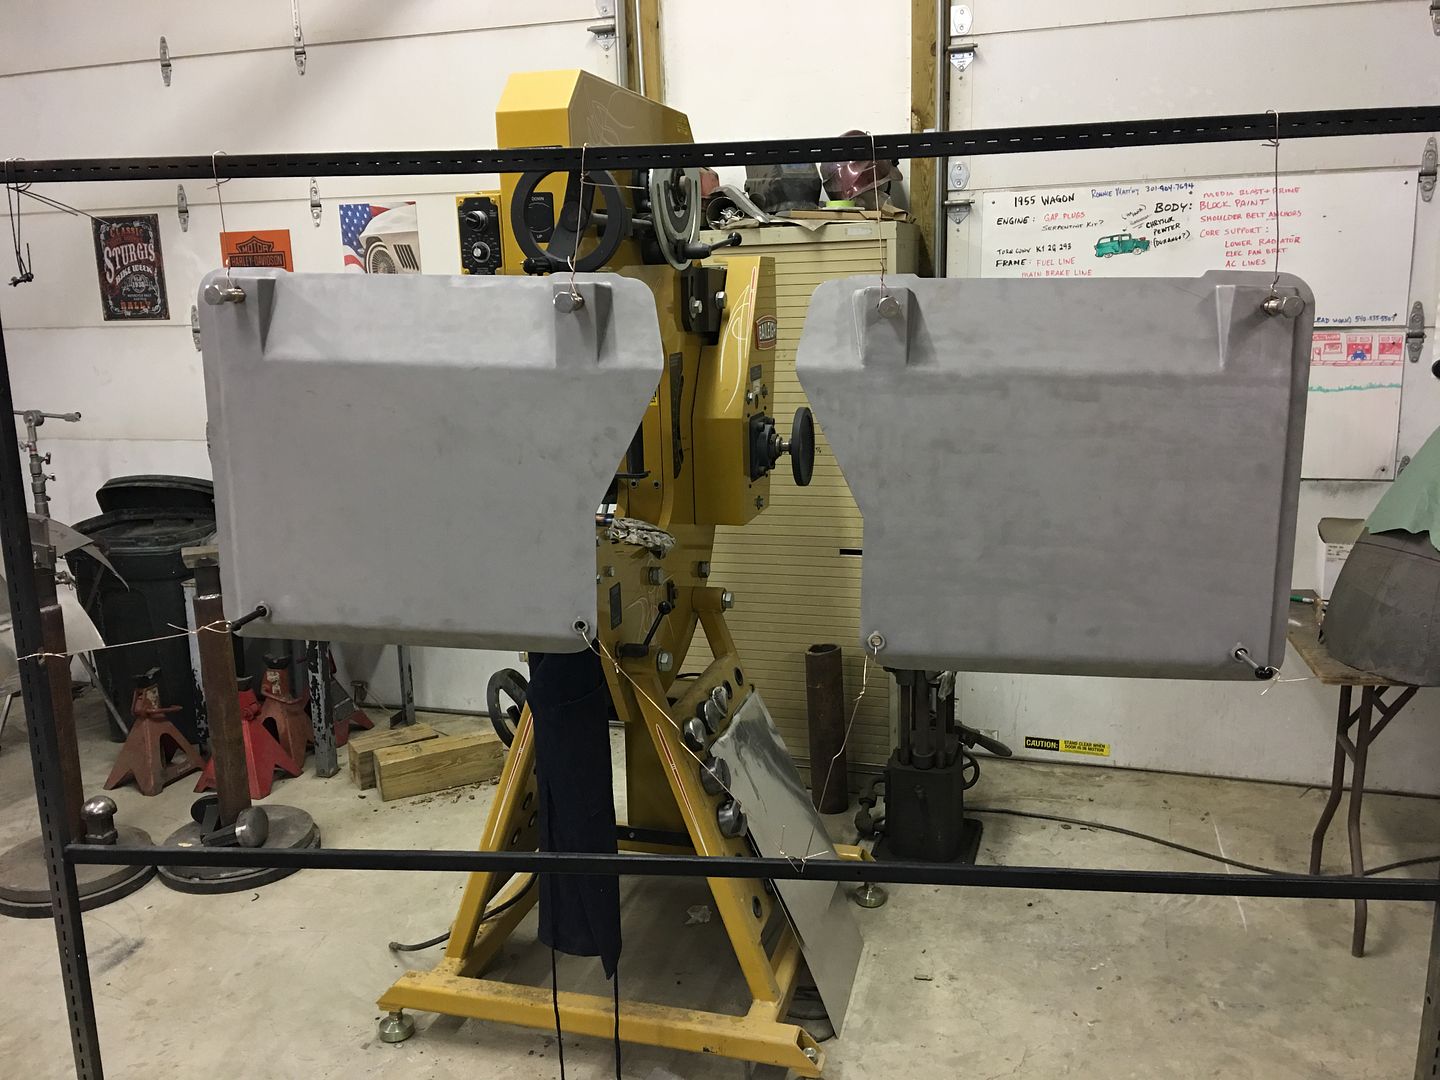
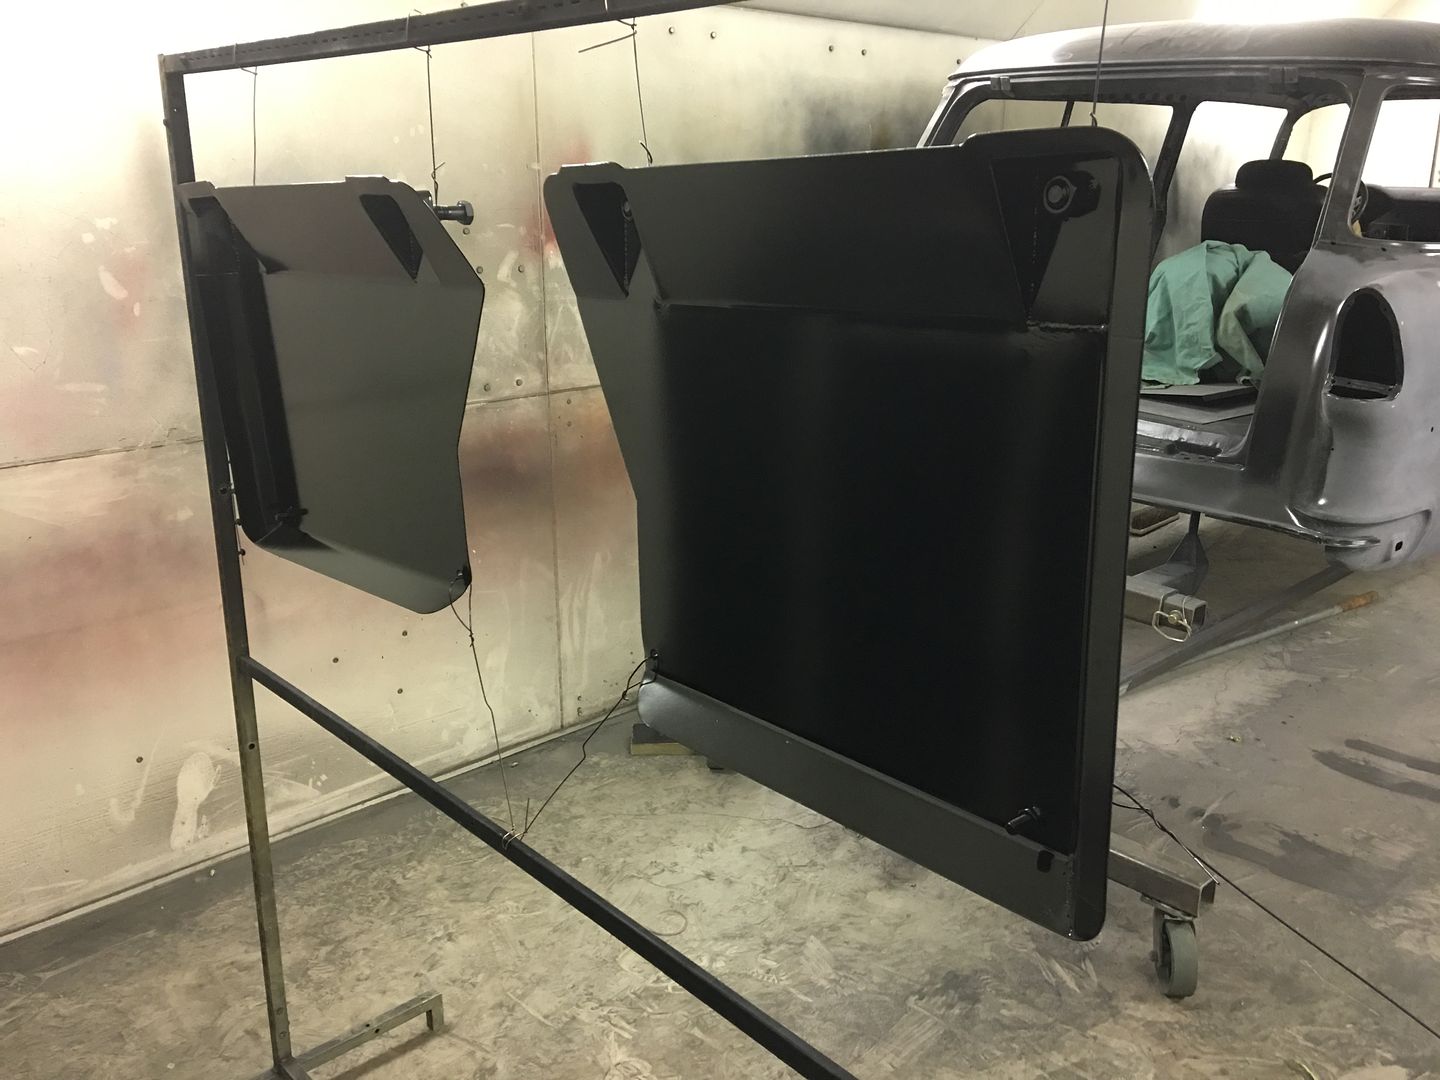
Prepped and hung up for epoxy primer...
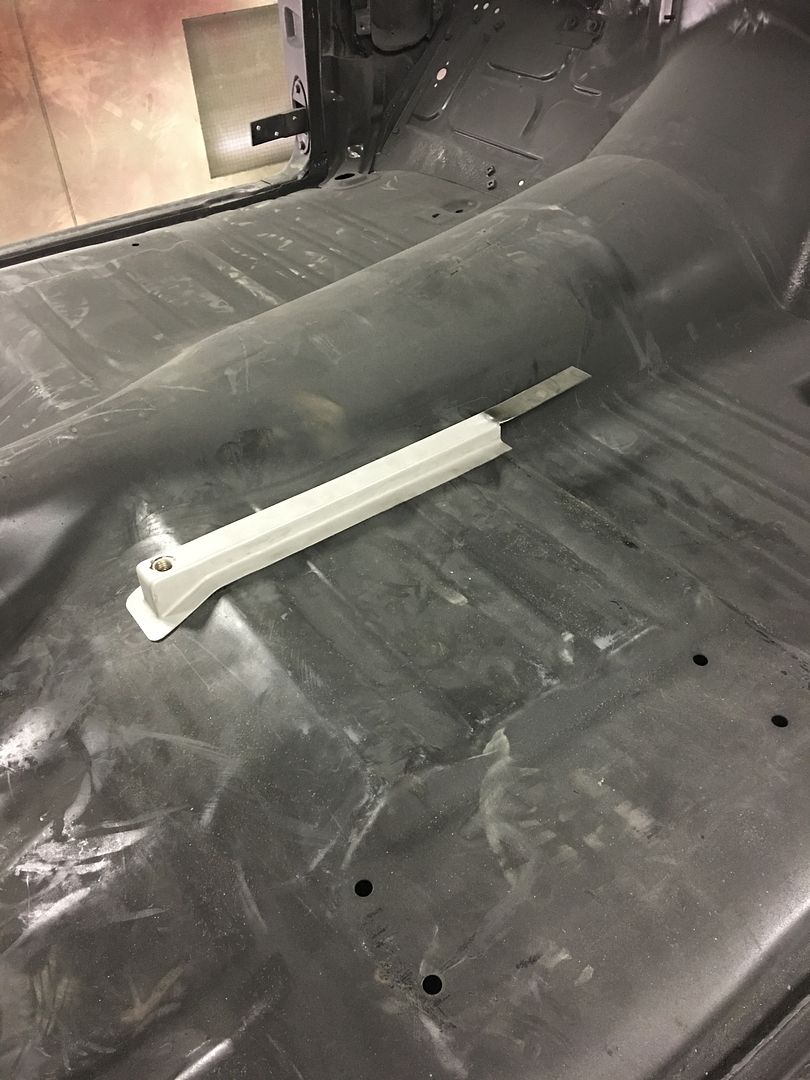
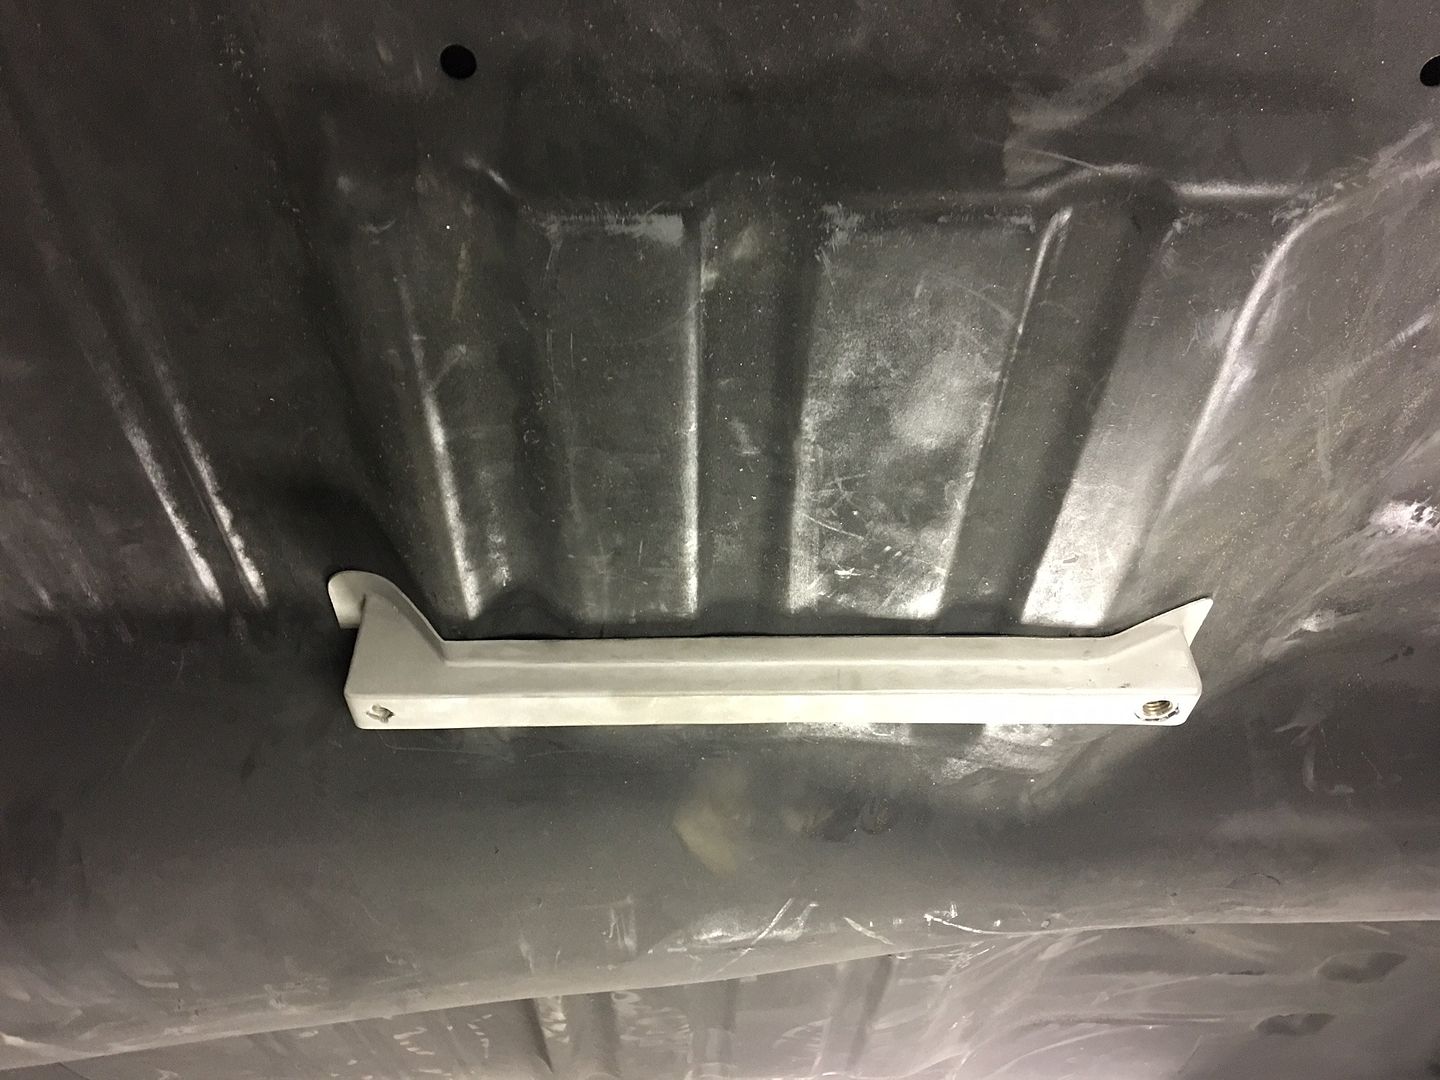
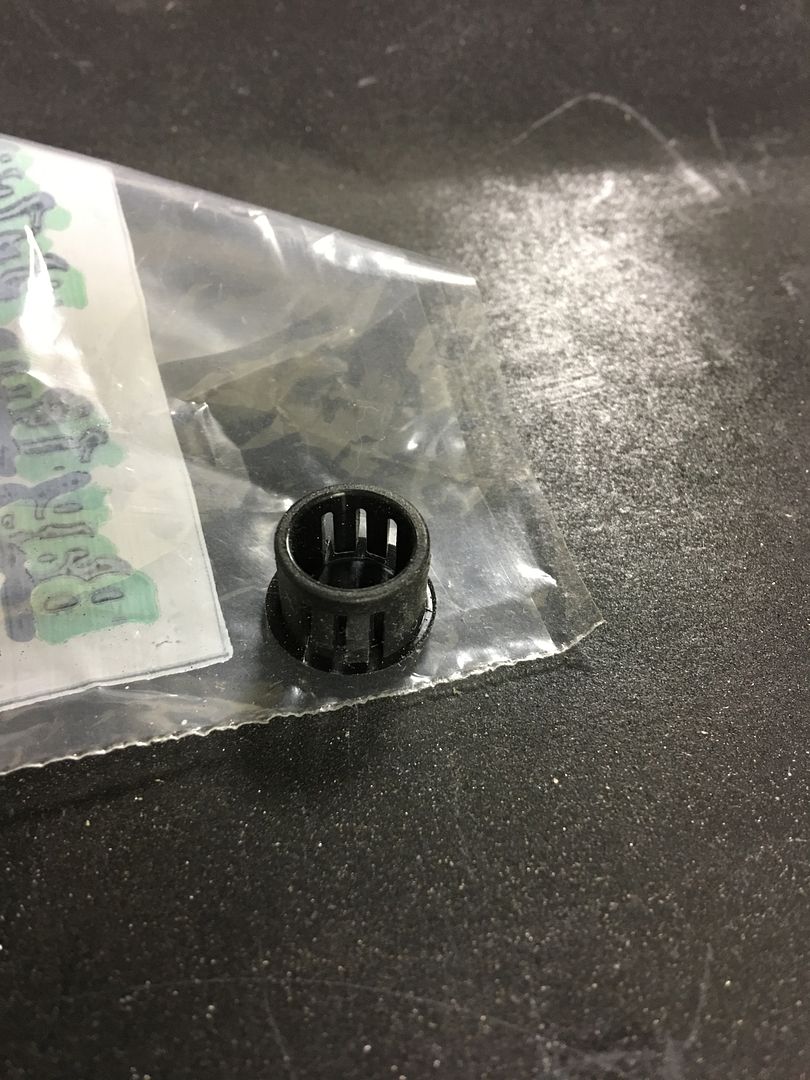
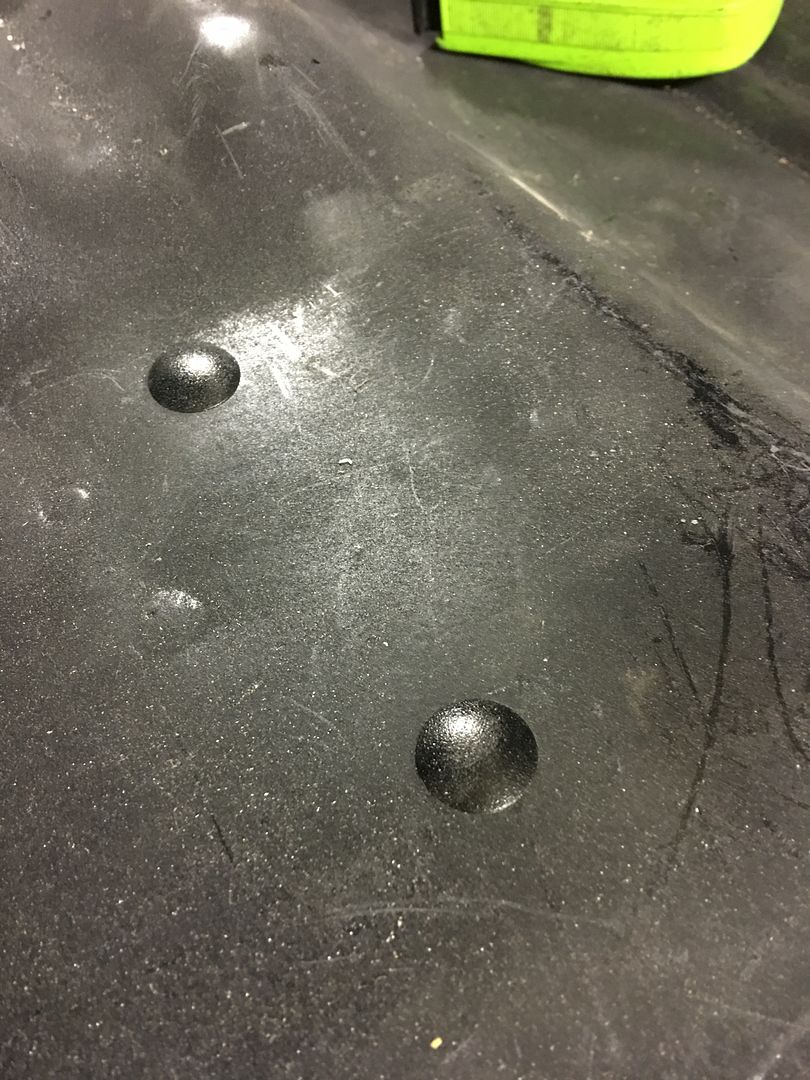
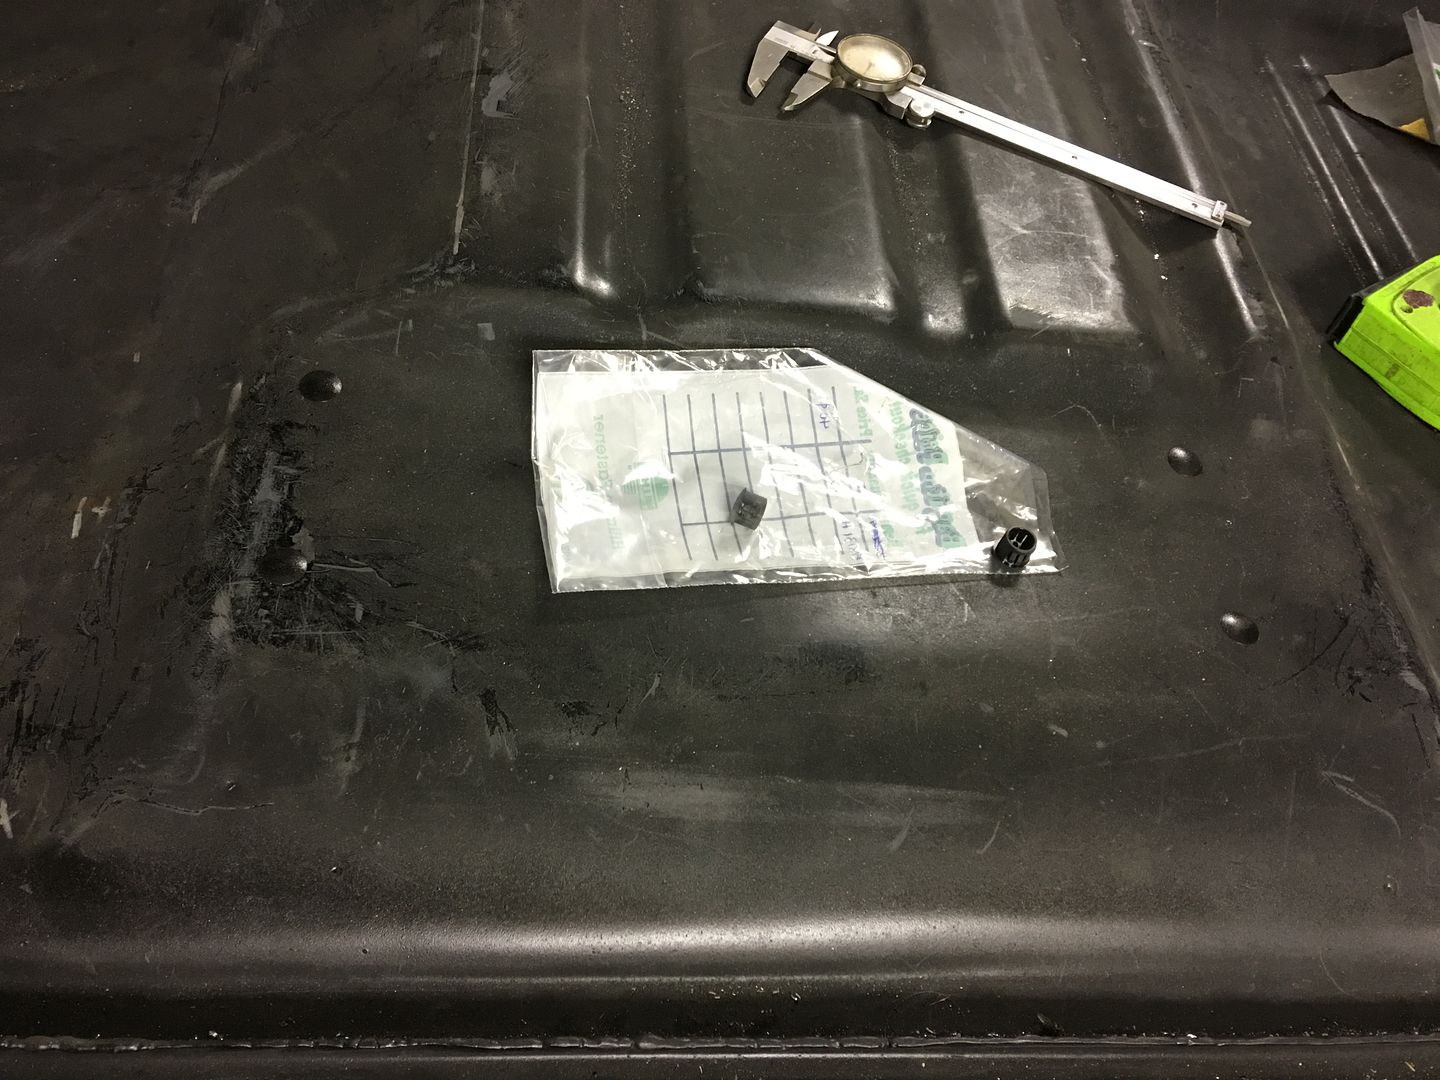
OEM seat bracket holes in the floor pans open to the inside of floor crossmembers. Rather than weld them closed and warp the floor pan, we opted for these fancy hole plugs.
SPI epoxy primer applied...
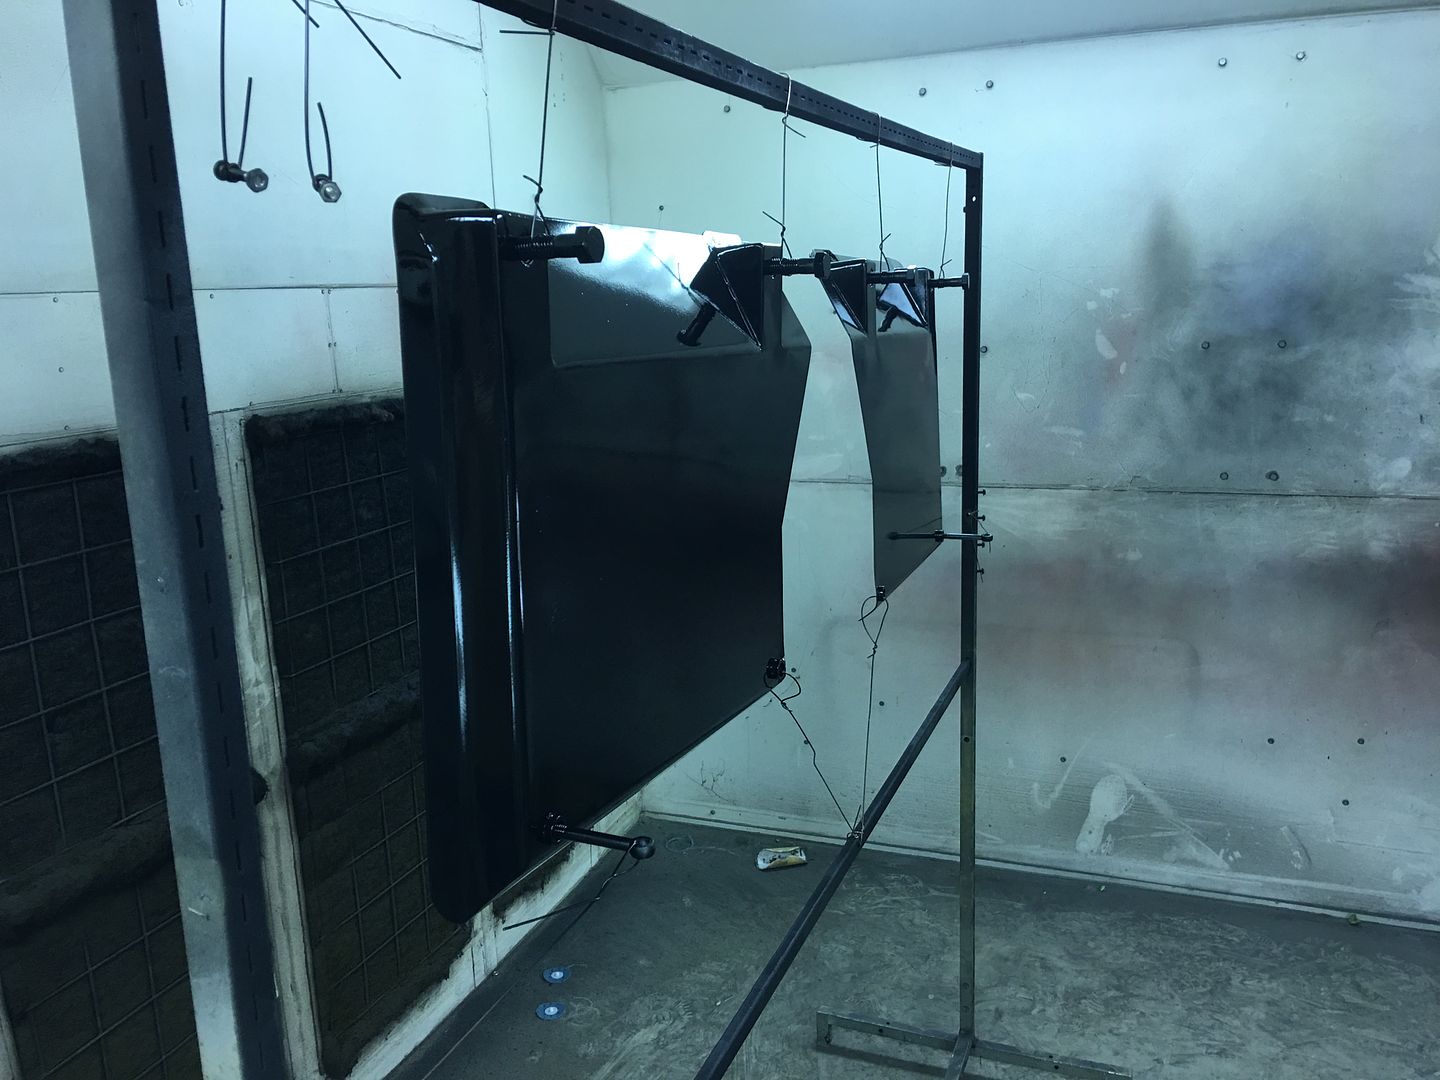
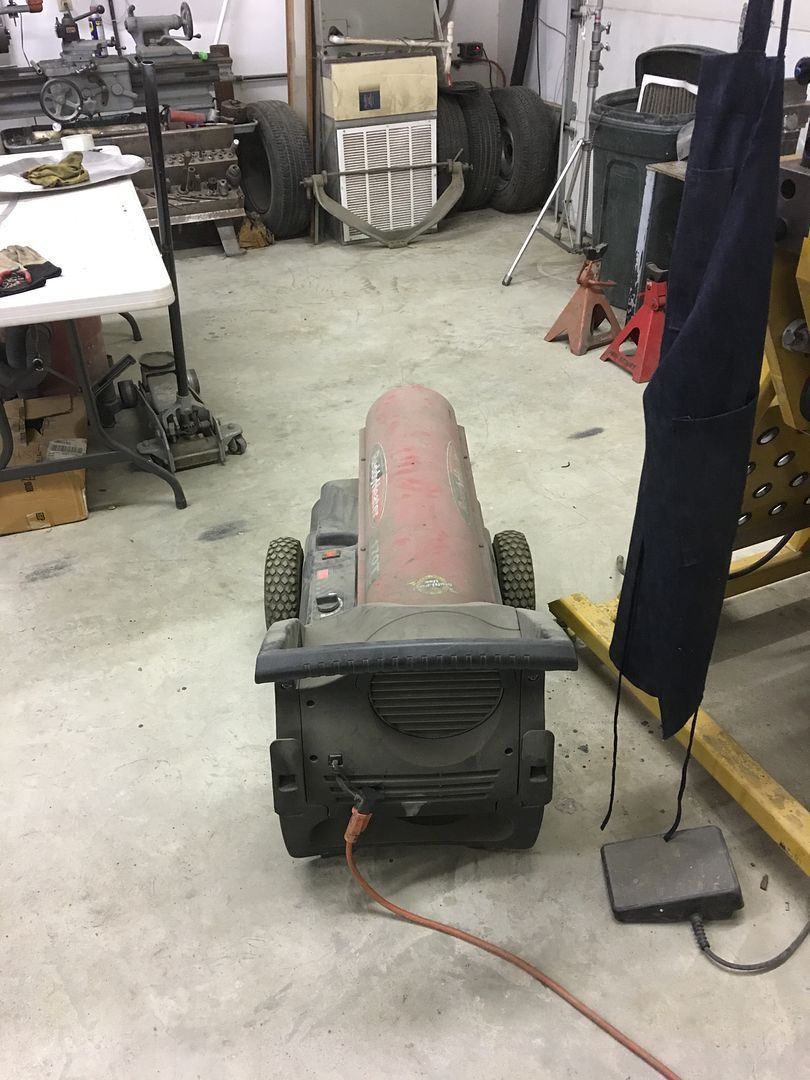
When it's 39* outside and the paint booth is sucking the heat out of the building, this is how you keep the temps up to a balmy 75* in the paint booth..
We'll let the seat brackets cure for a few days and then get started on plug welding them in place..
1/4" tall spacers fabricated to make the seat tracks level, then tacked in place on the front holes..
Prepped and hung up for epoxy primer...
OEM seat bracket holes in the floor pans open to the inside of floor crossmembers. Rather than weld them closed and warp the floor pan, we opted for these fancy hole plugs.
SPI epoxy primer applied...
When it's 39* outside and the paint booth is sucking the heat out of the building, this is how you keep the temps up to a balmy 75* in the paint booth..
We'll let the seat brackets cure for a few days and then get started on plug welding them in place..