Louvers

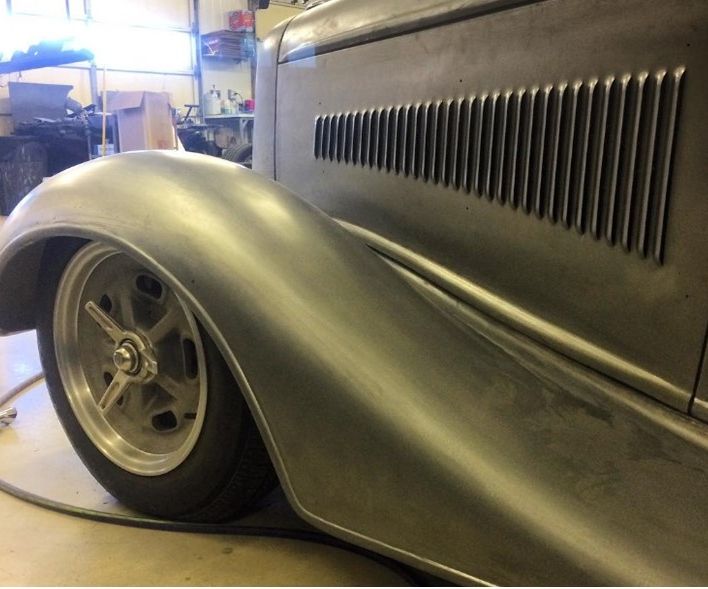
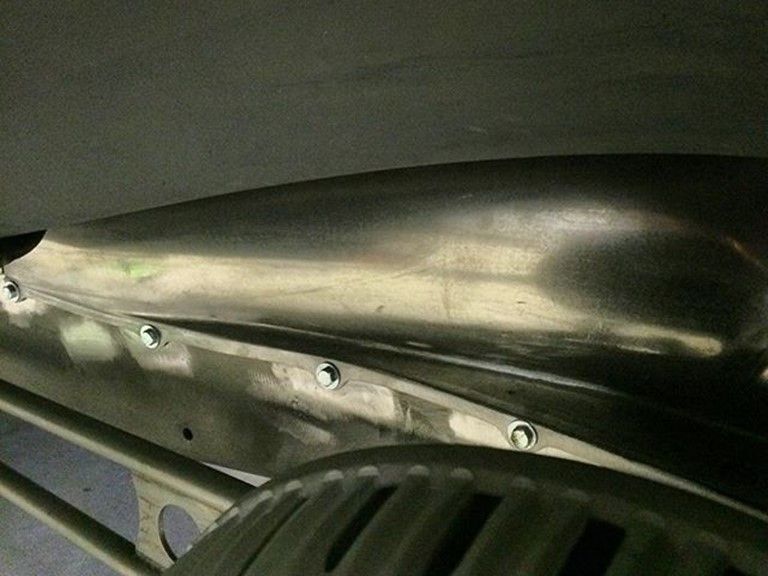
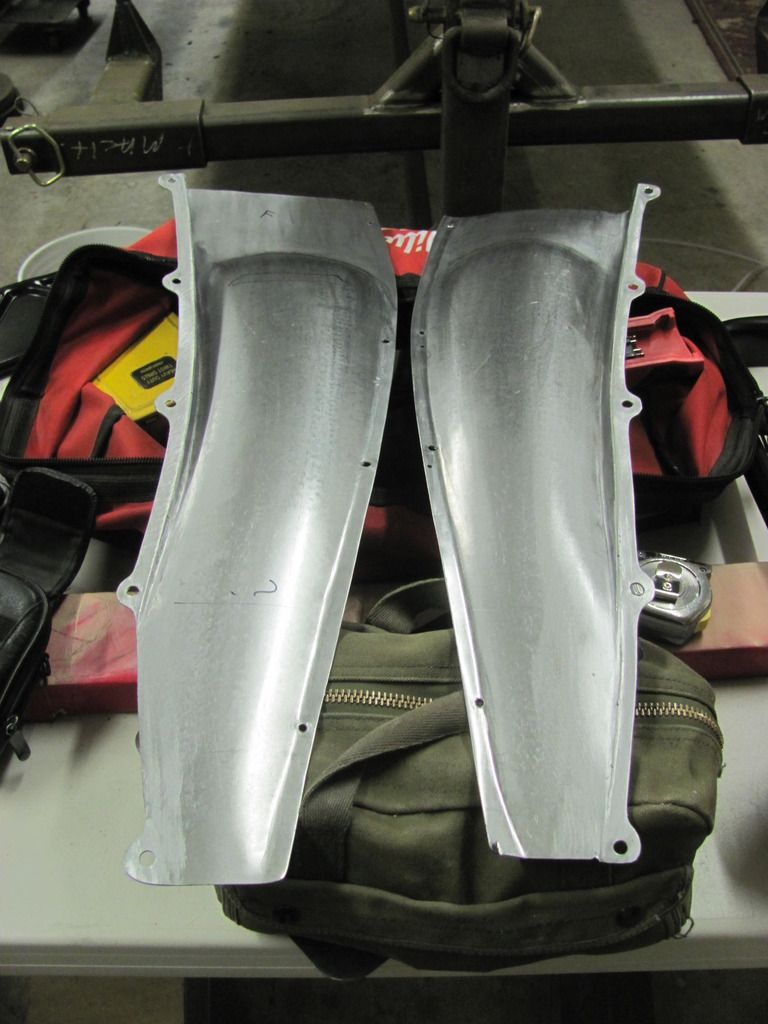
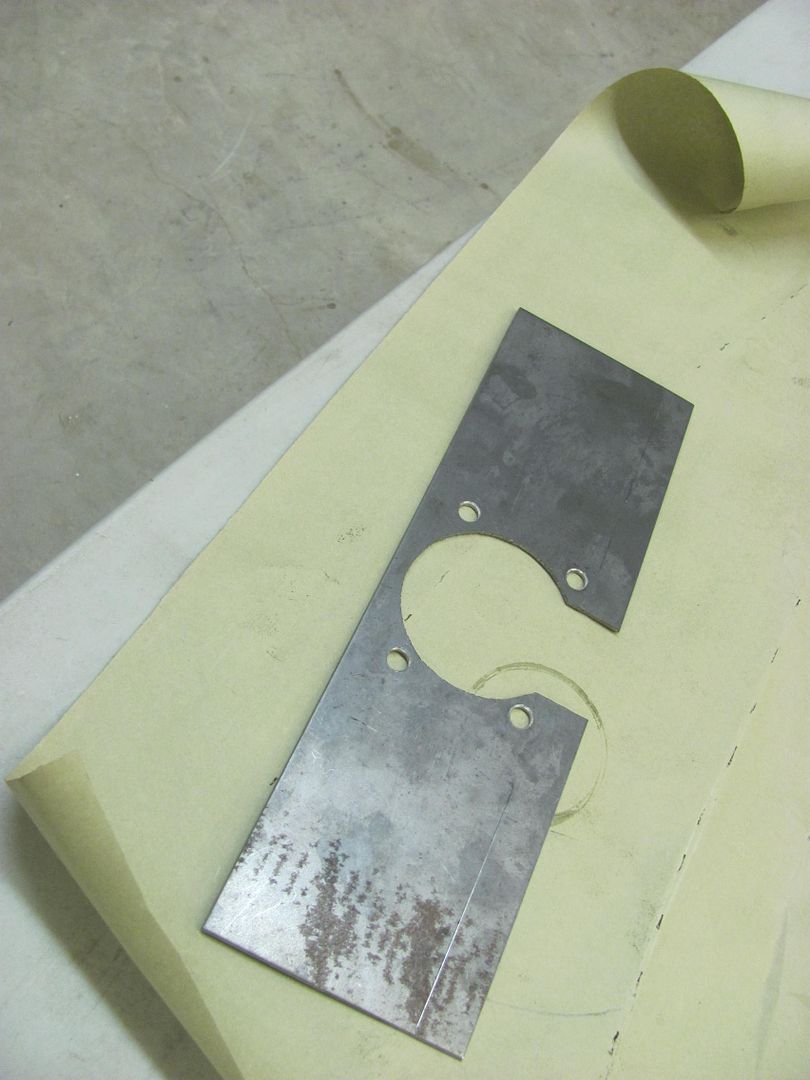
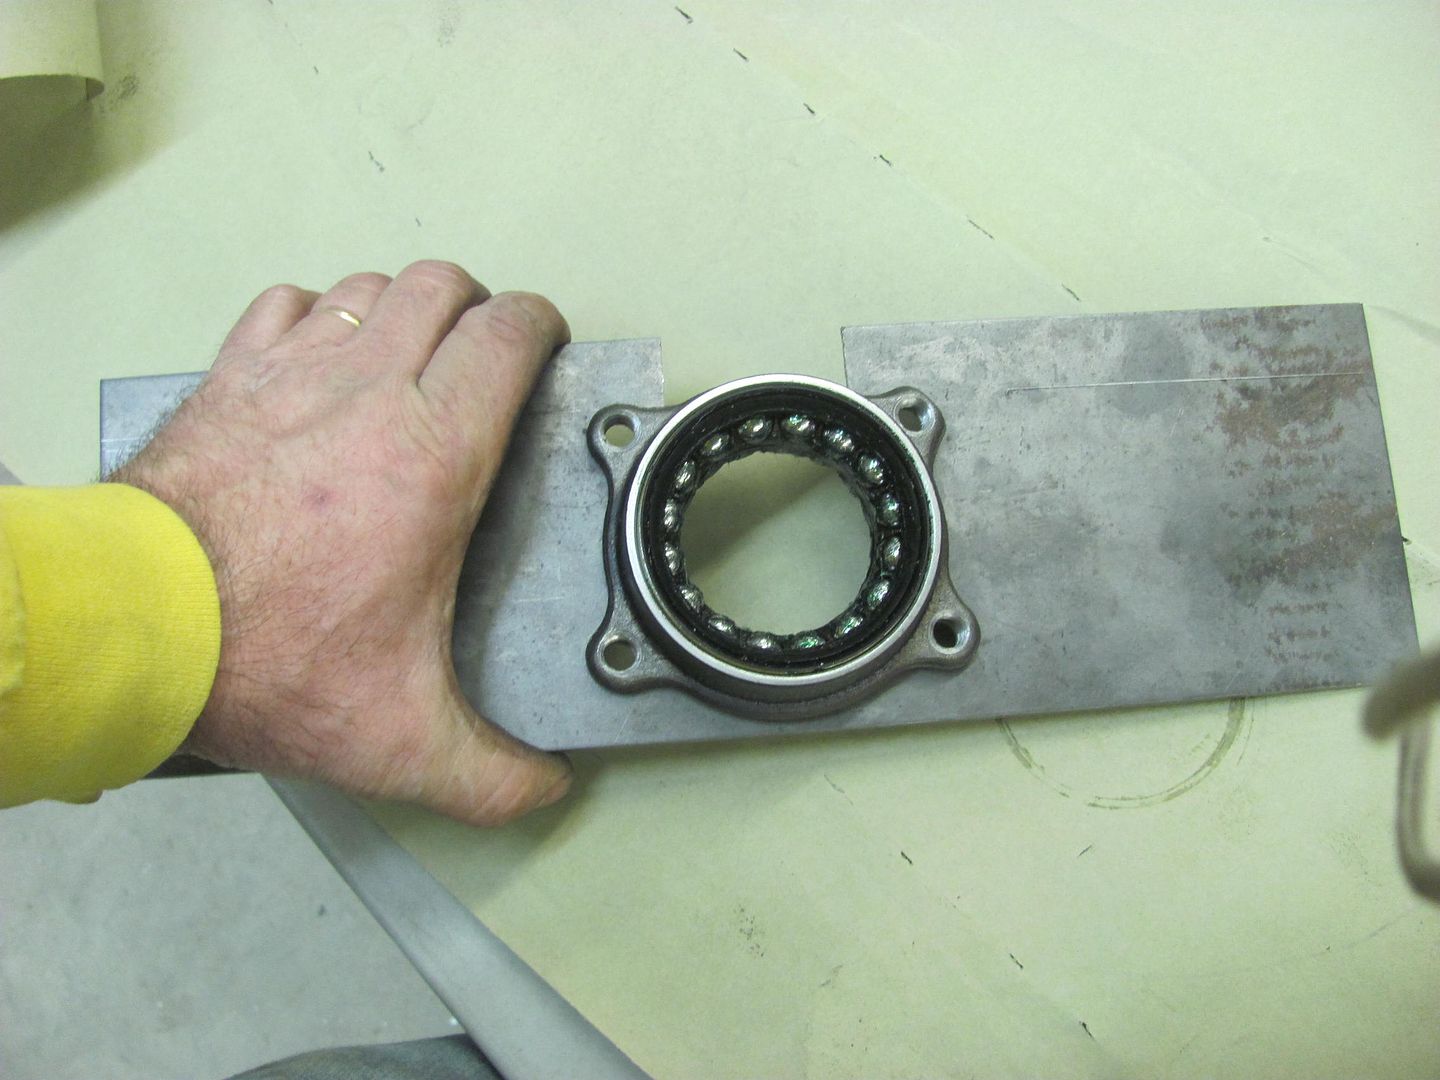
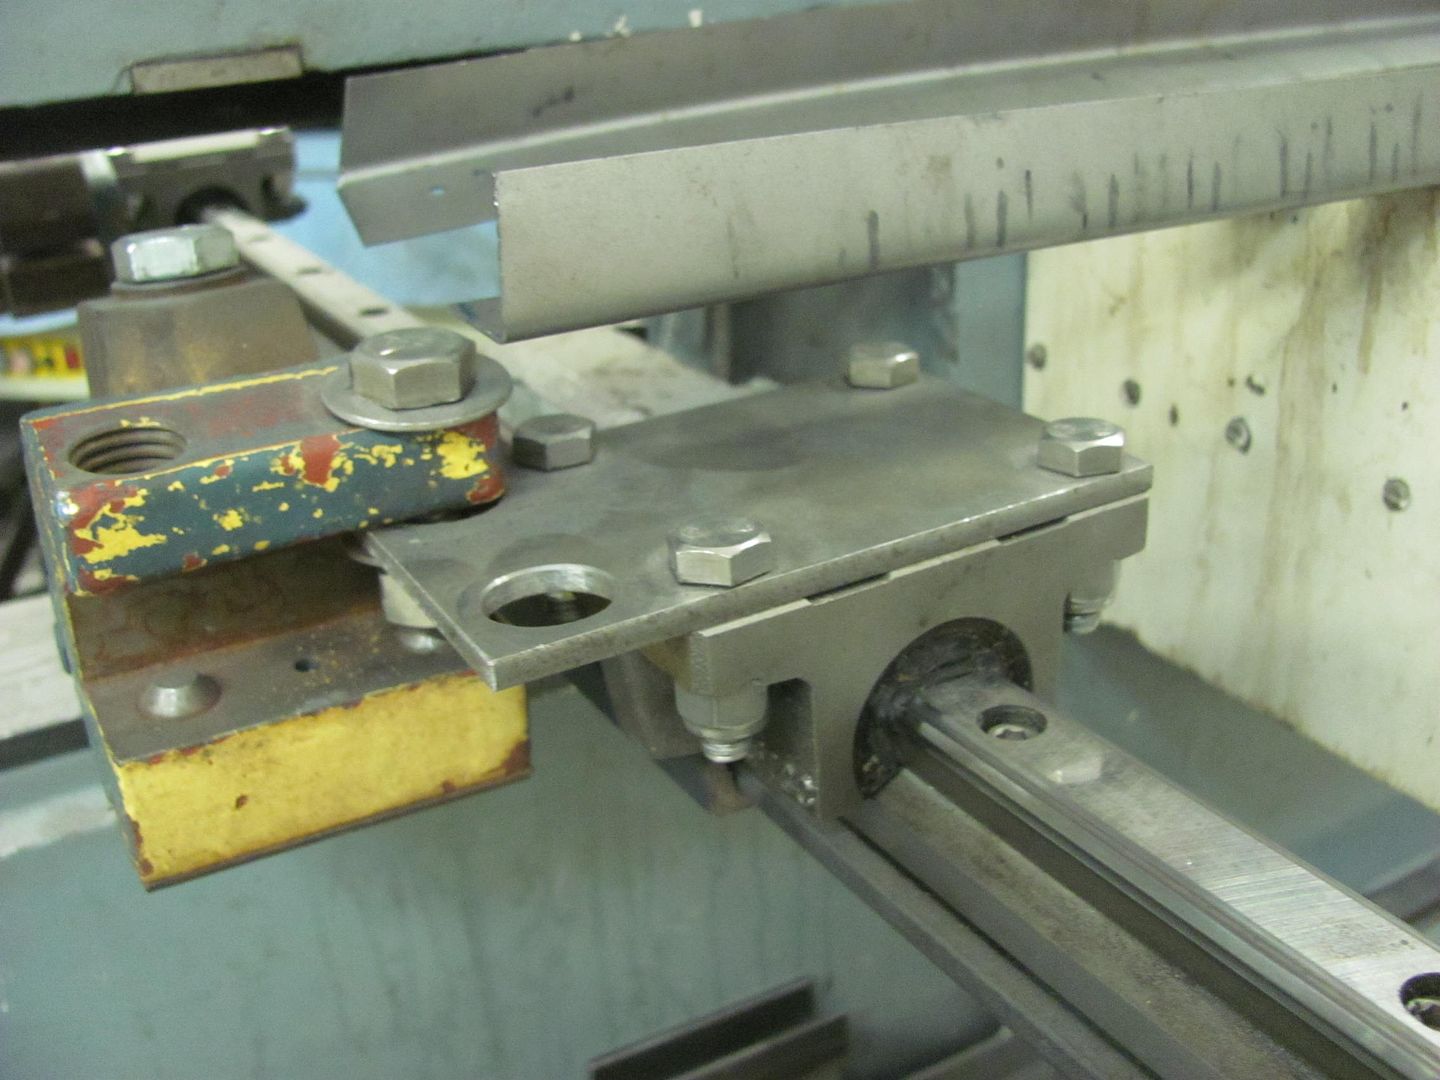
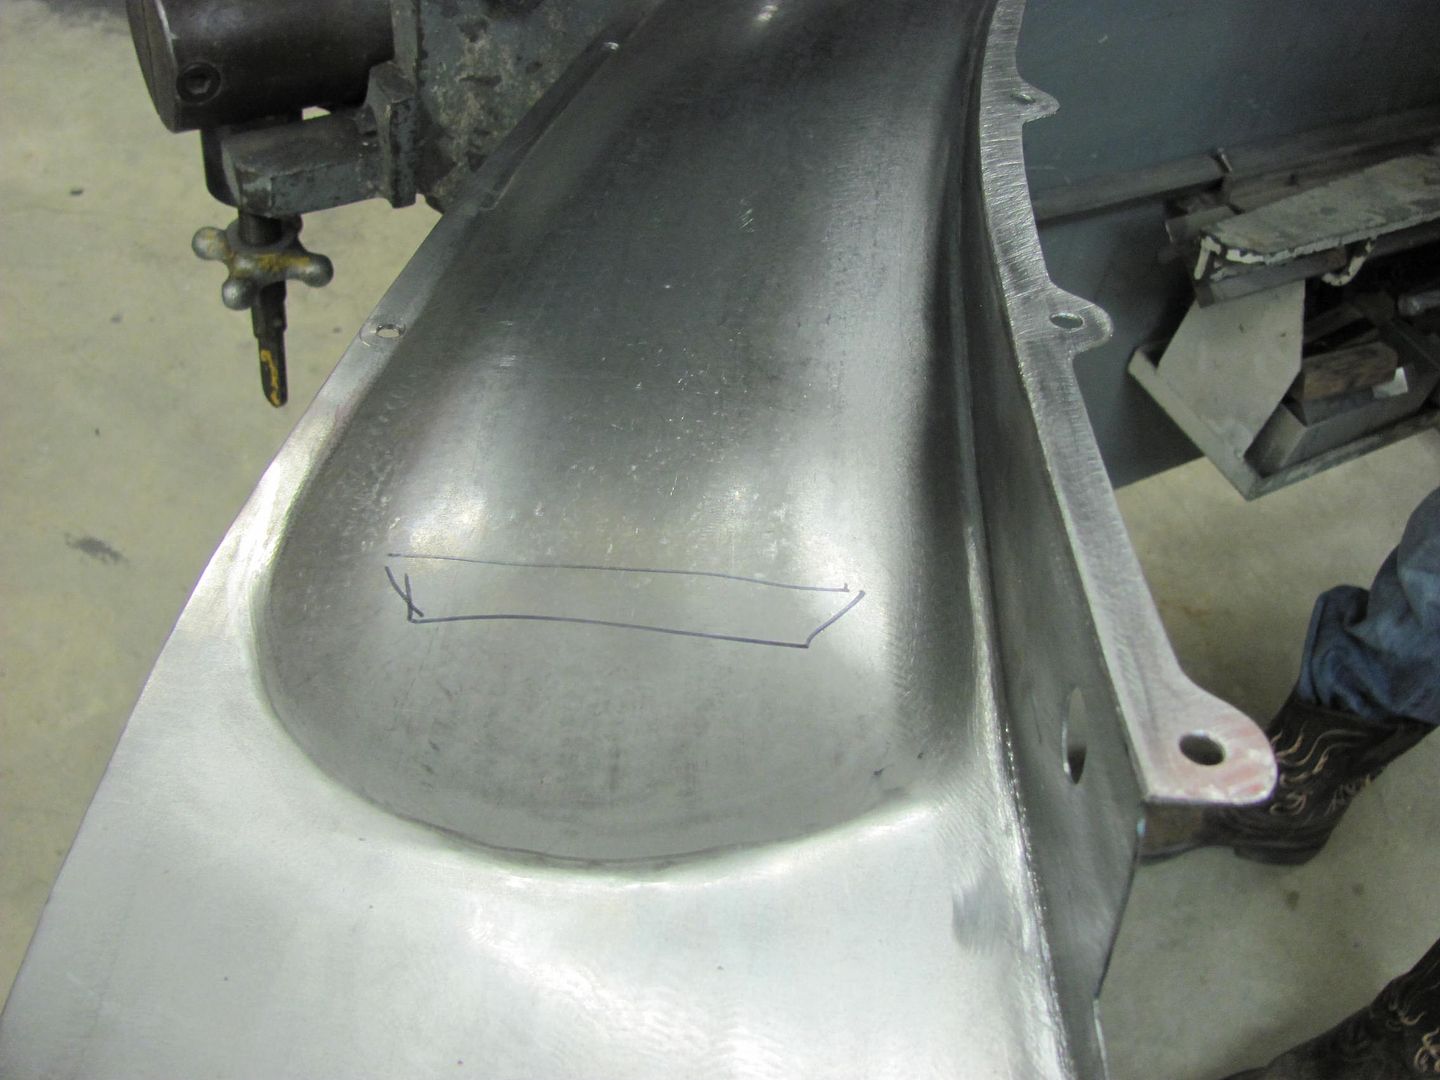
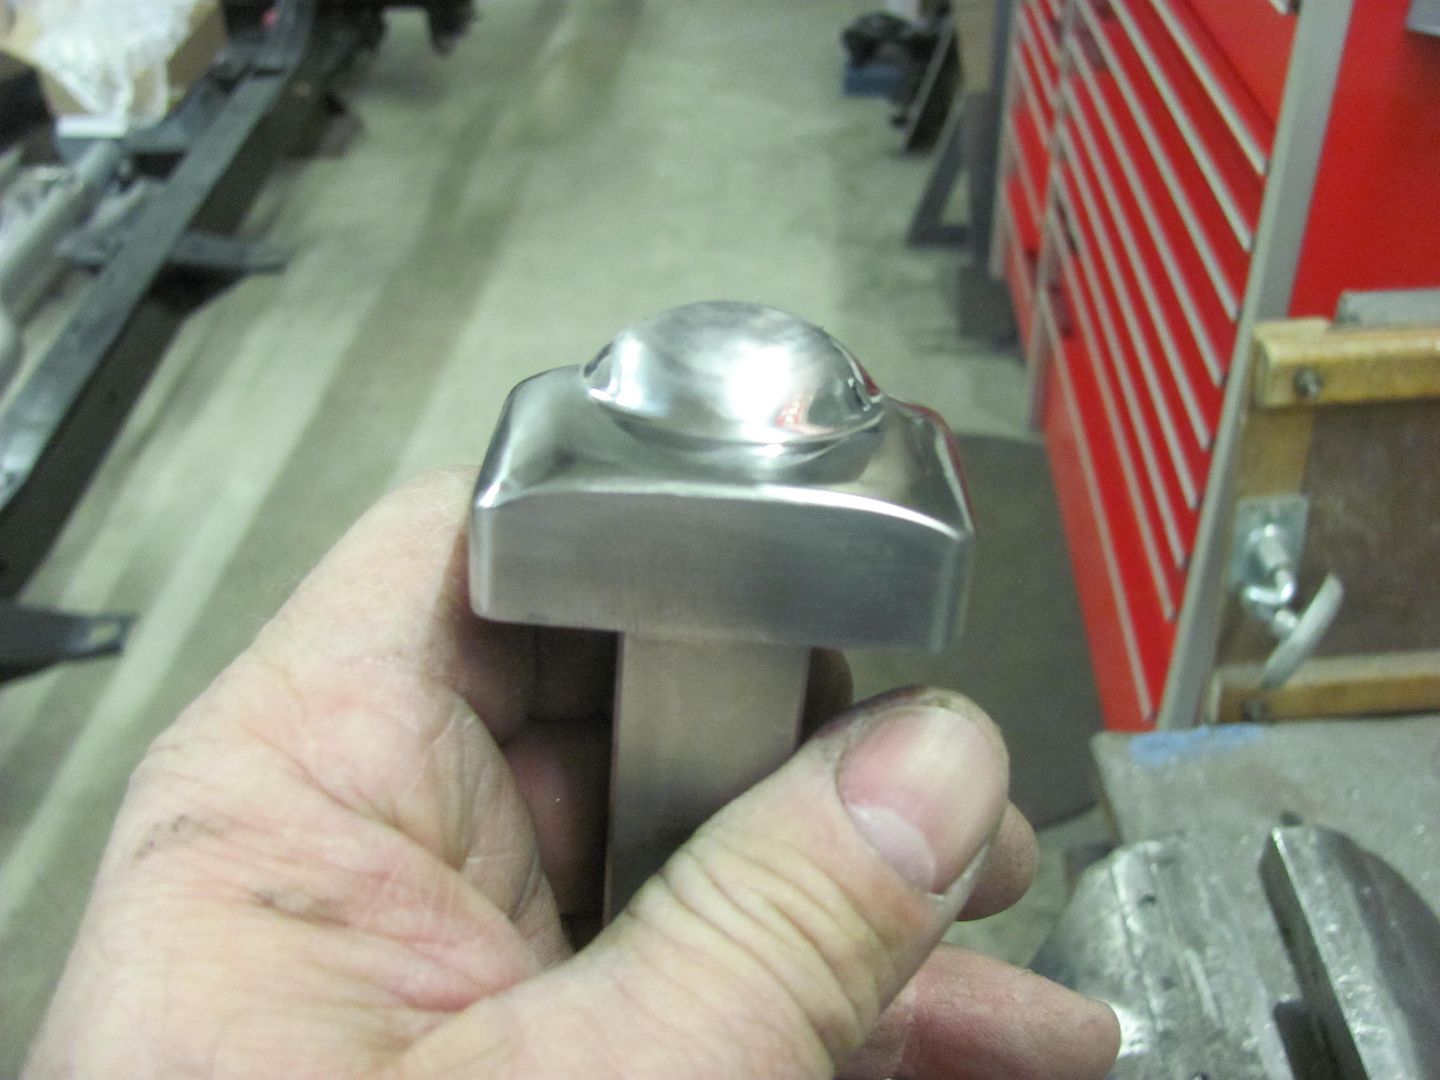
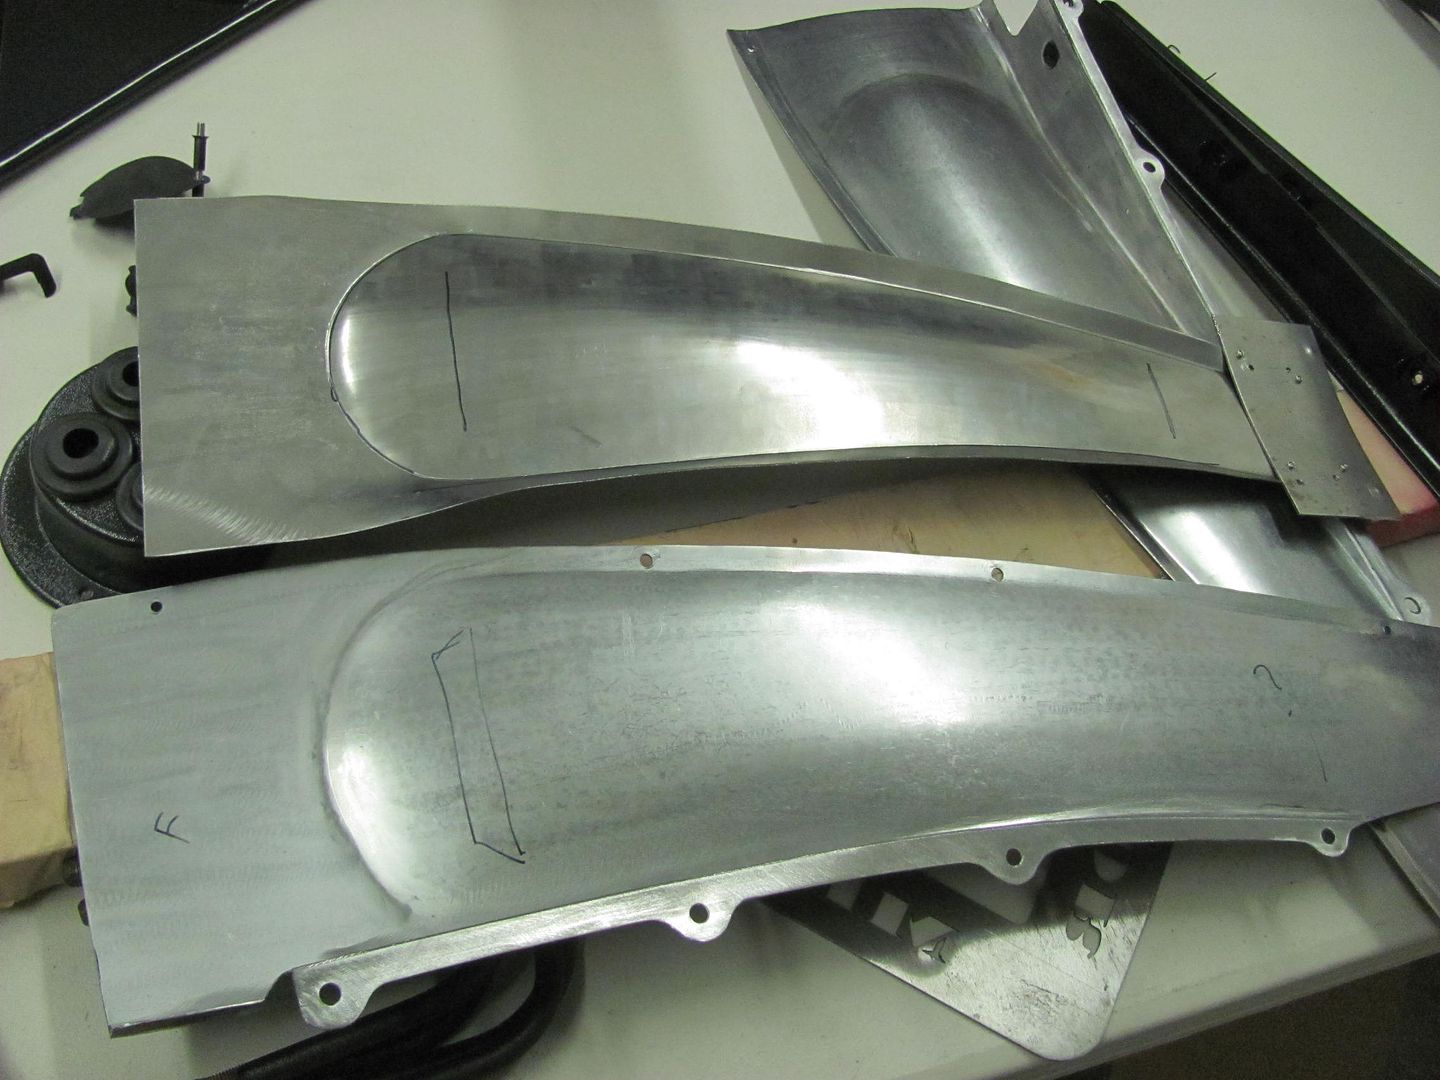
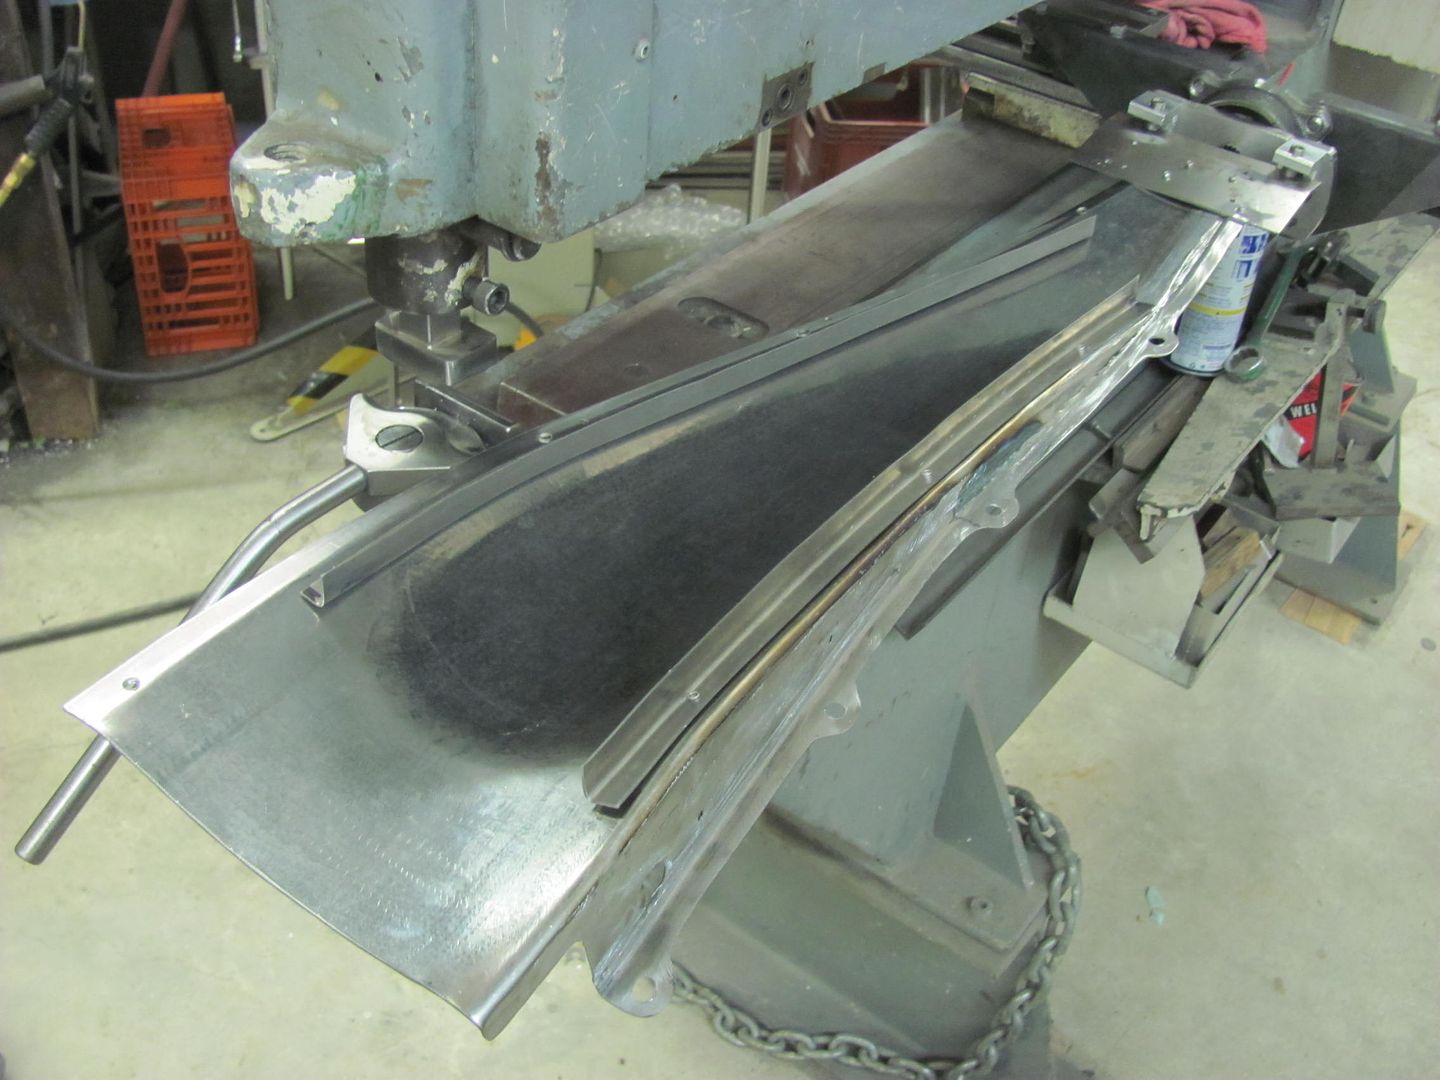
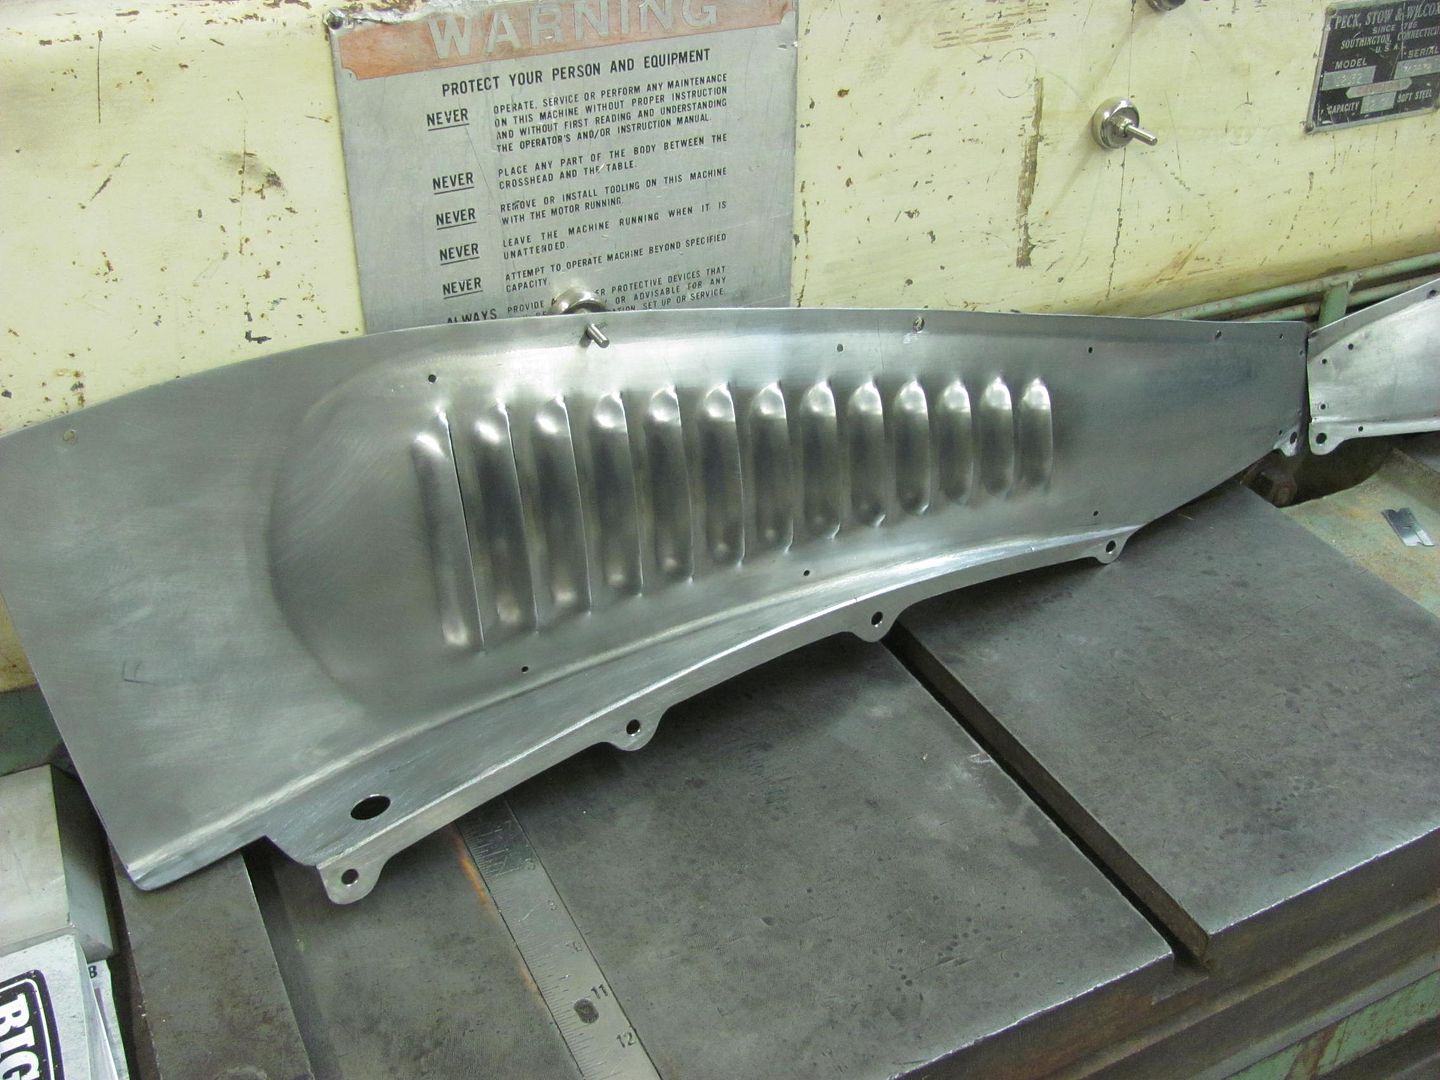
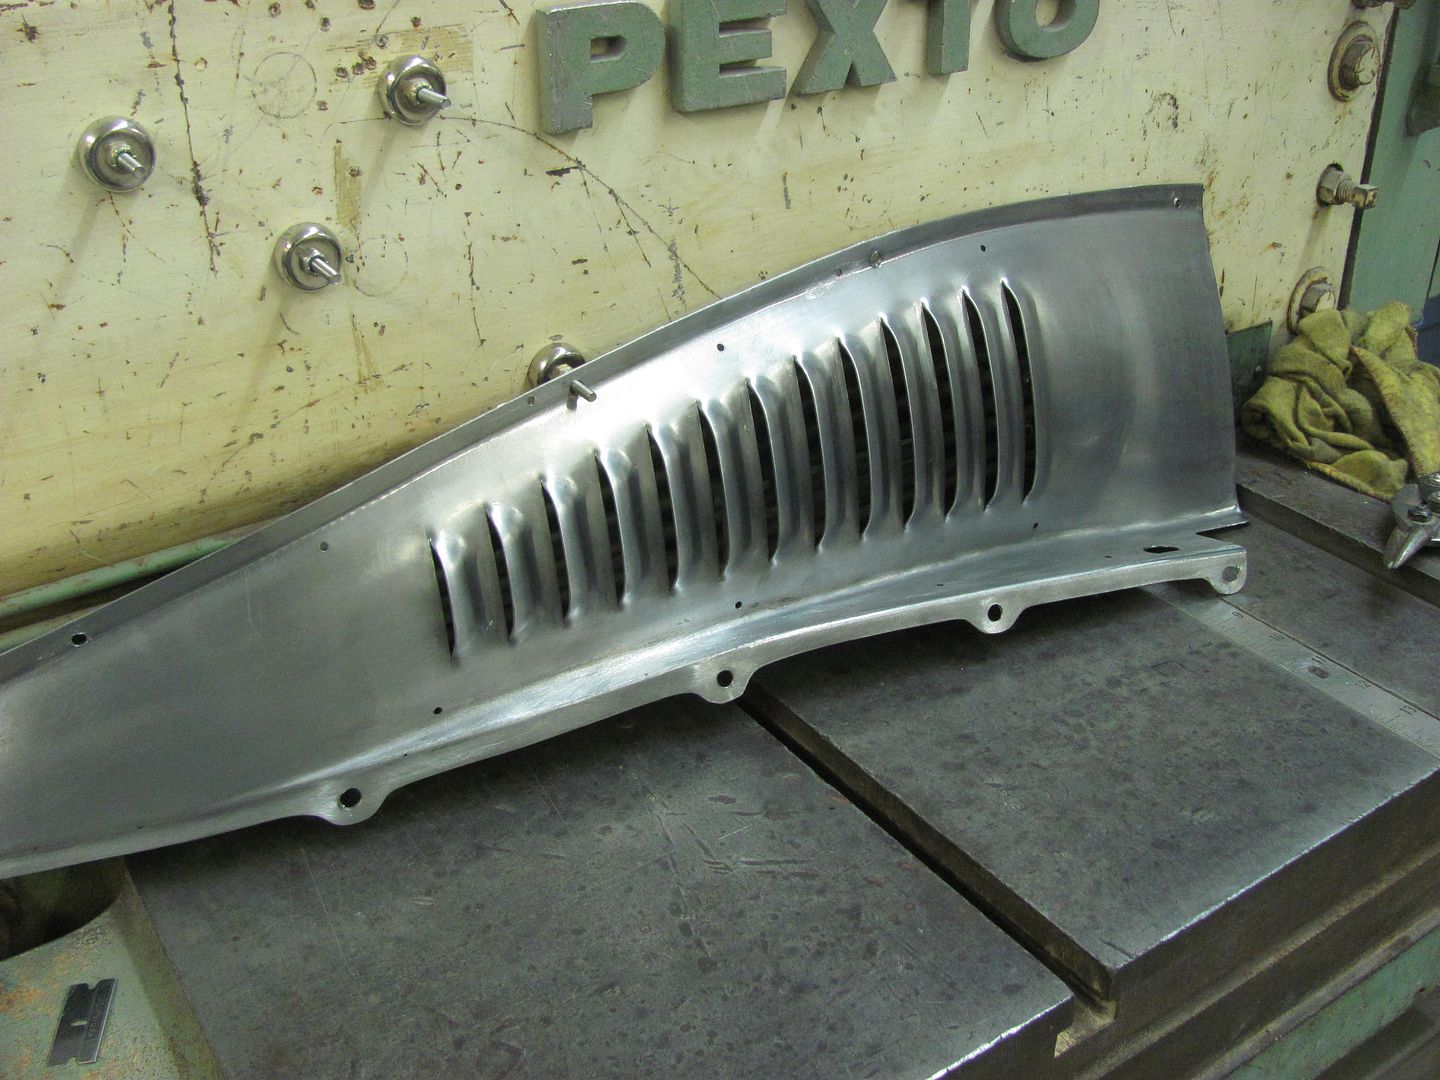
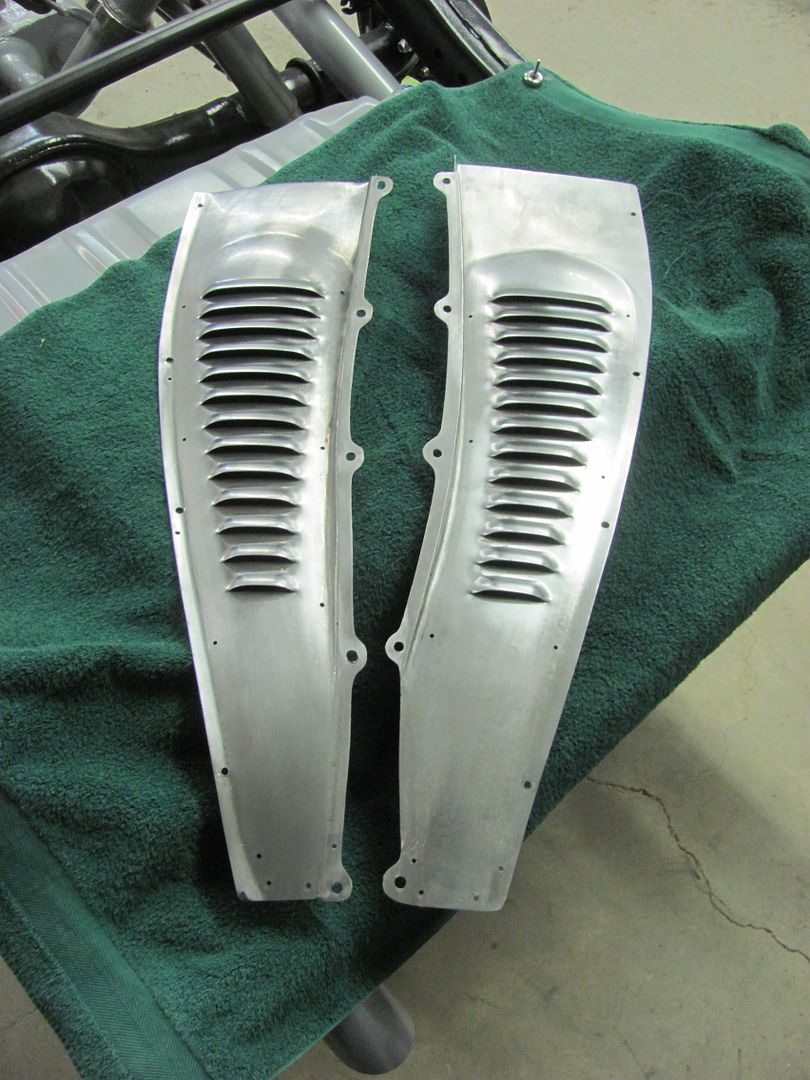
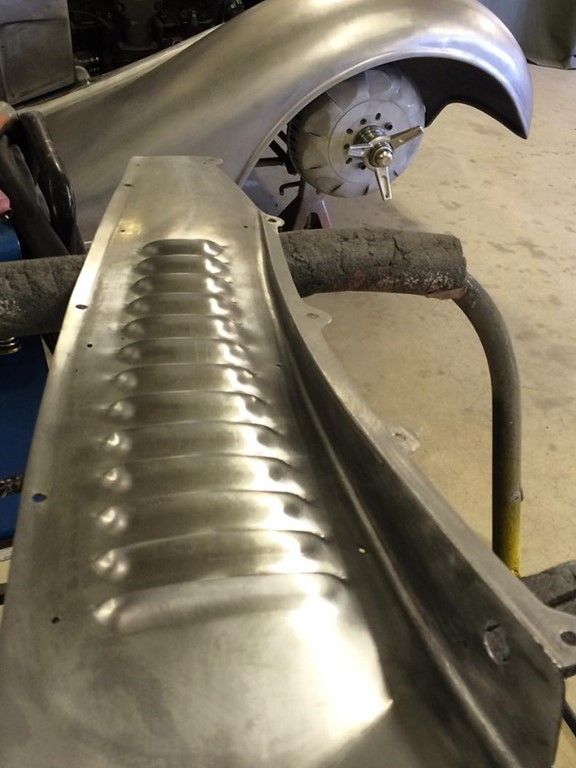
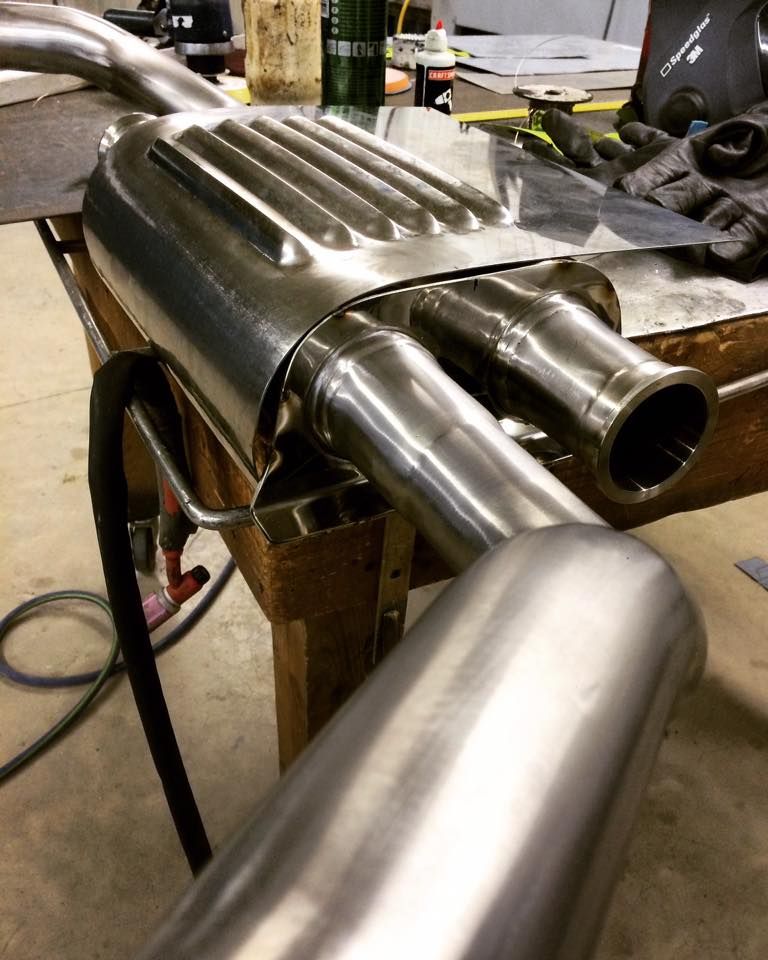
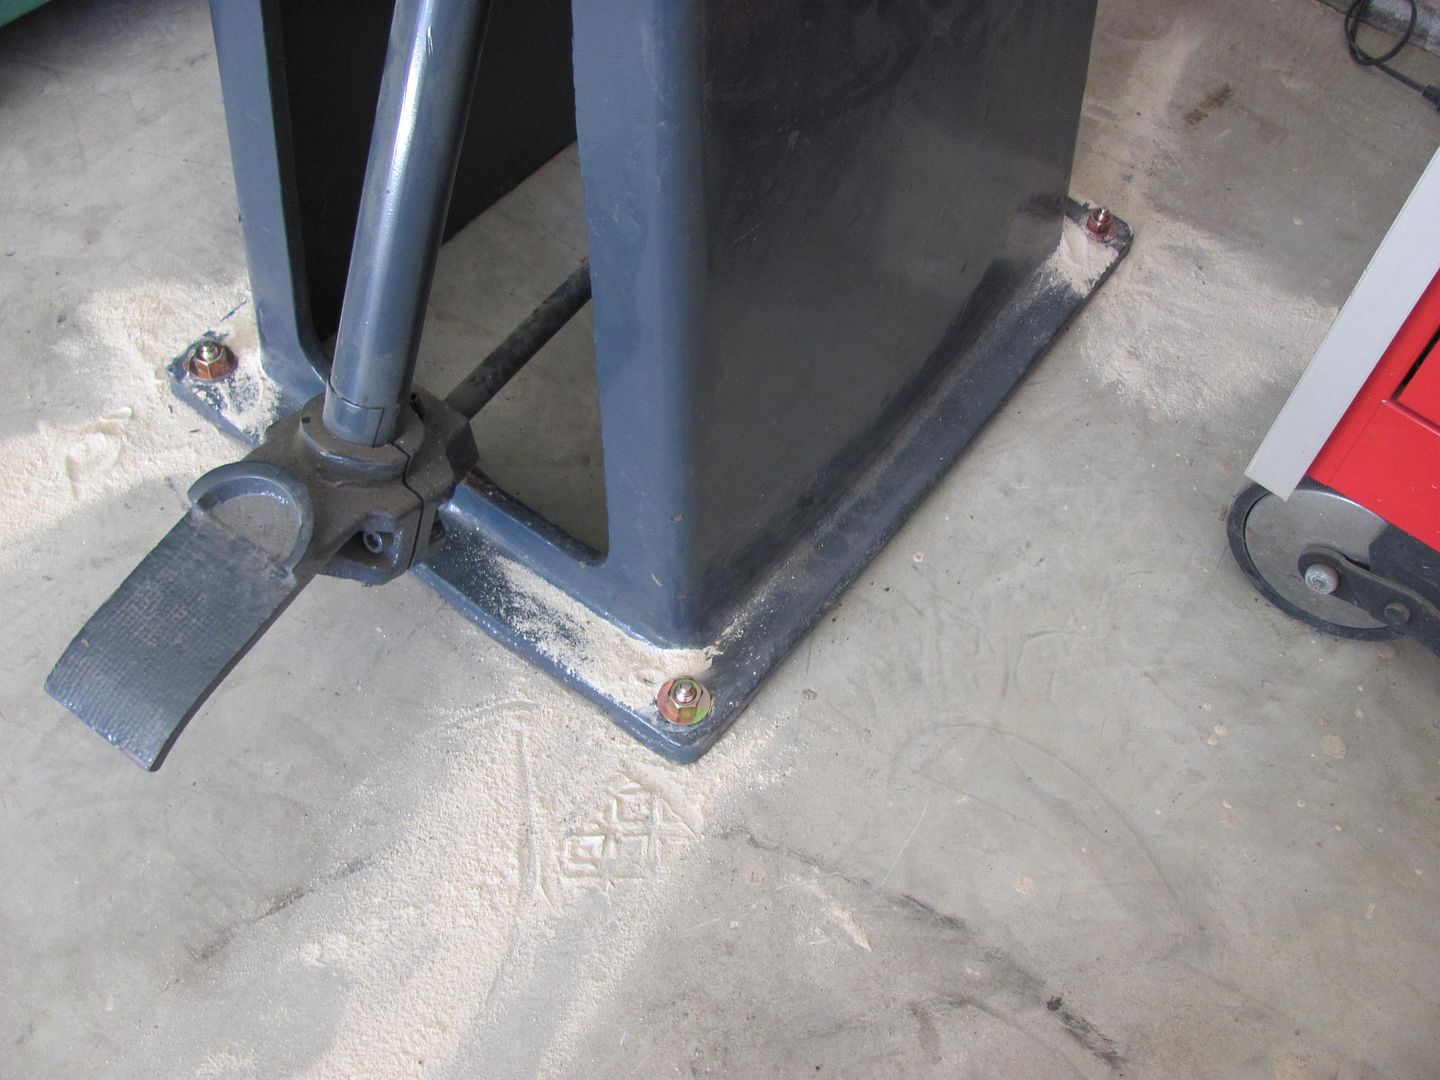
I think you 're going to need a shrinker/stretcher to get those shapes in your patches. Primarily the shrinker. Here's a sample of what I did with a kick shrinker in the shop....


Picture269.jpg


Picture270.jpg


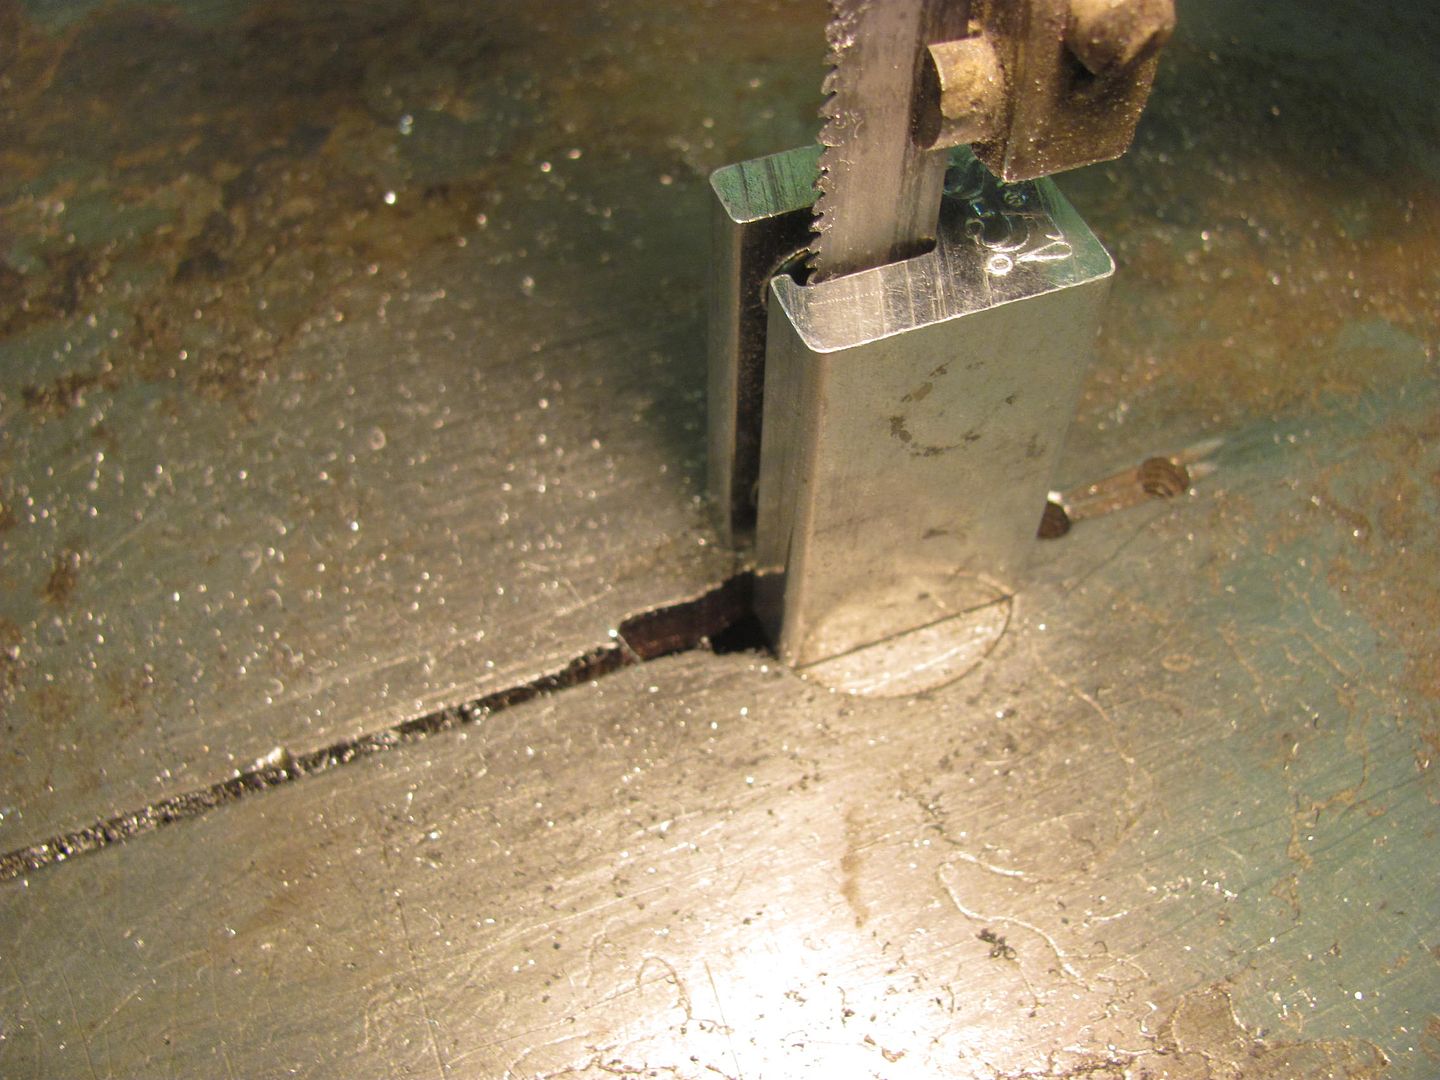
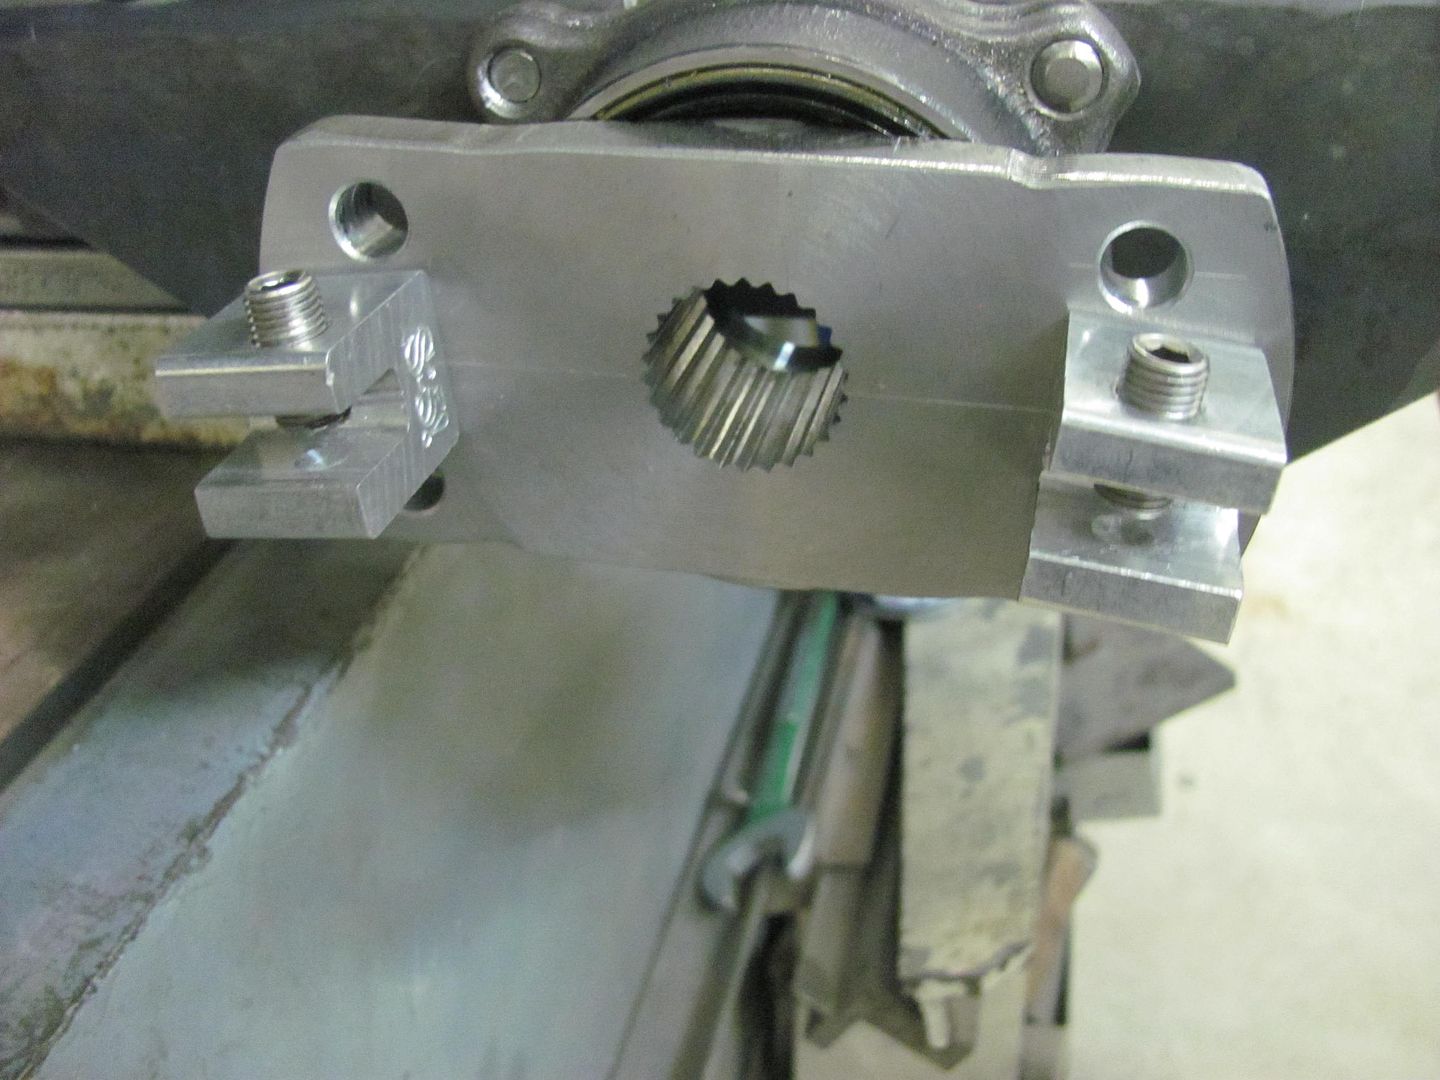
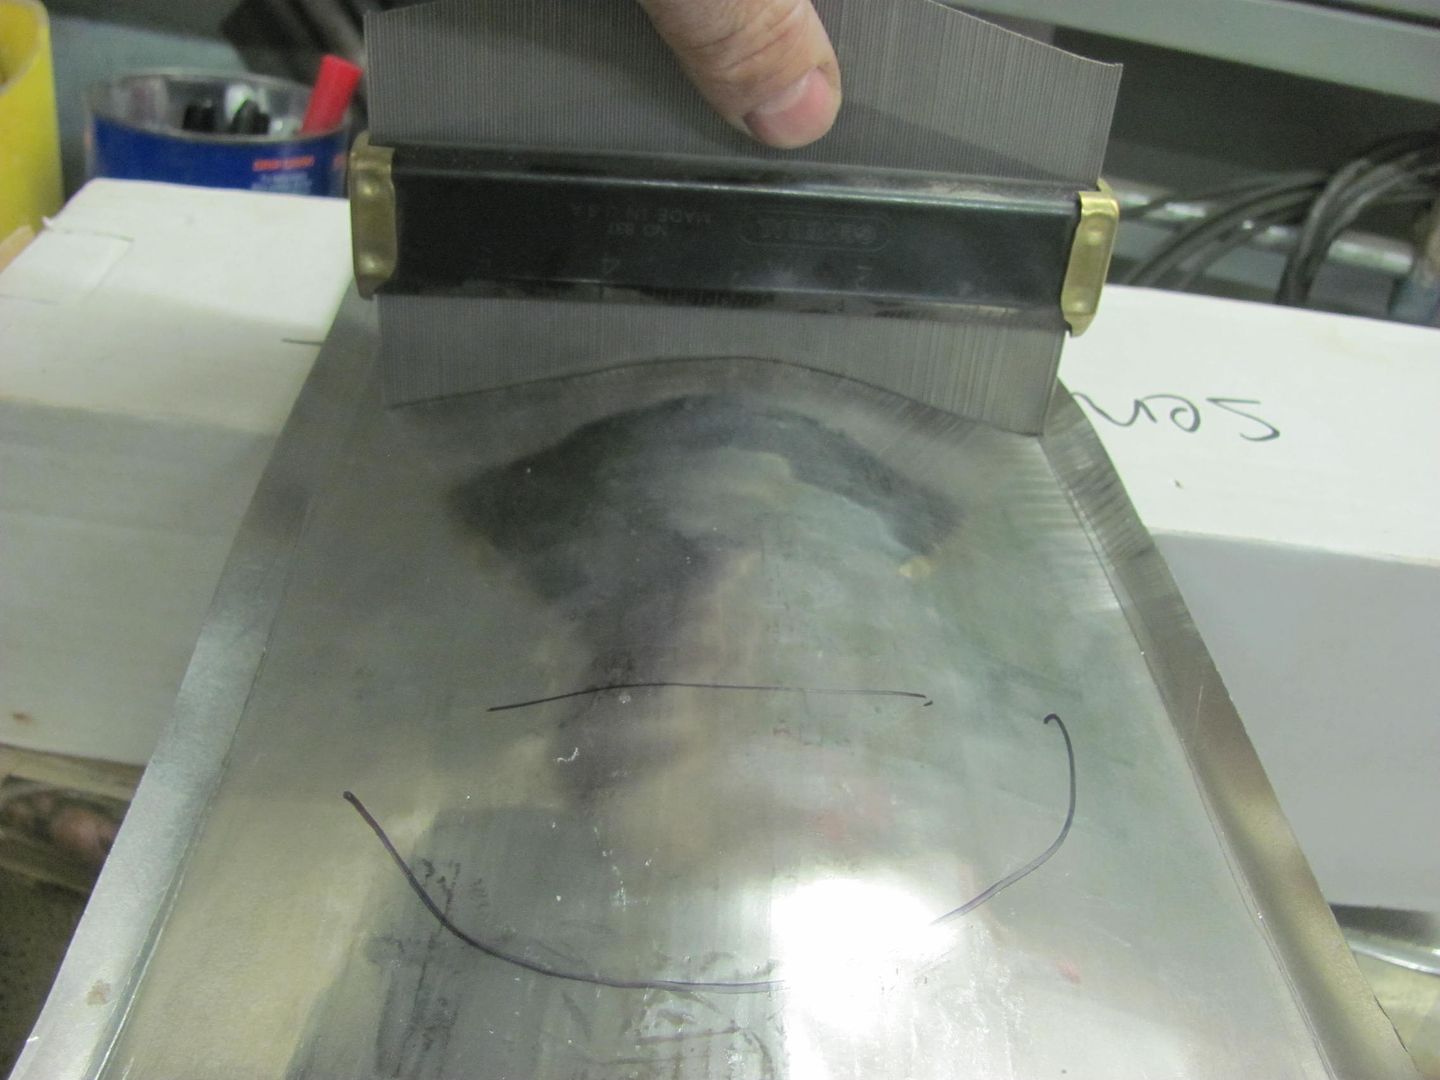
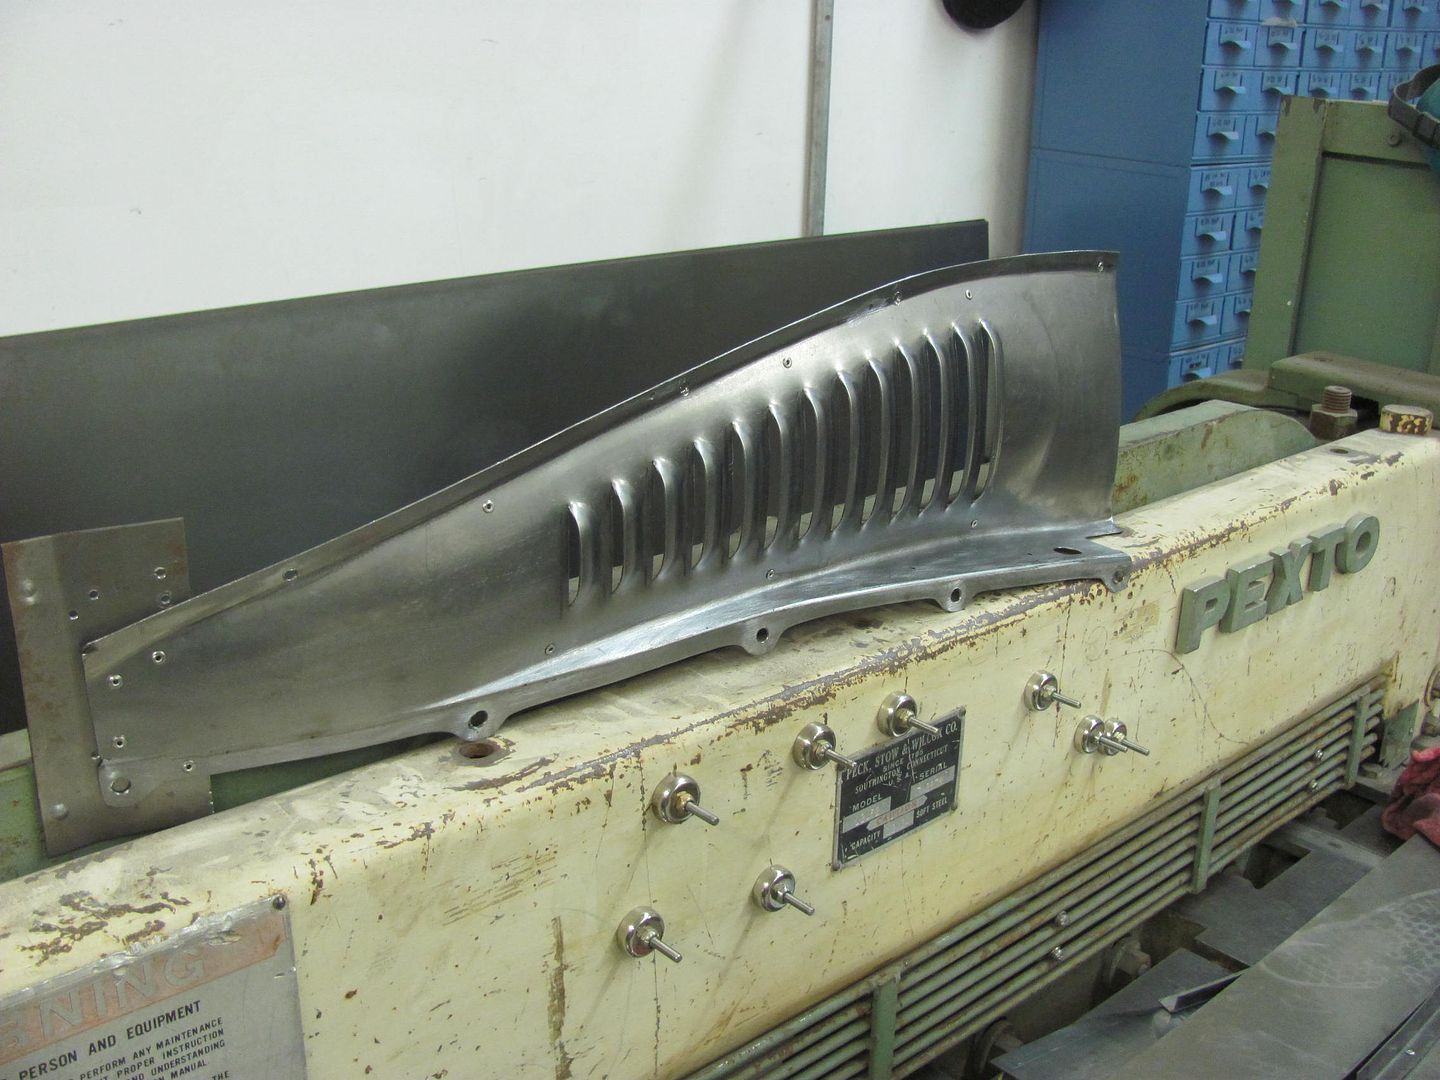
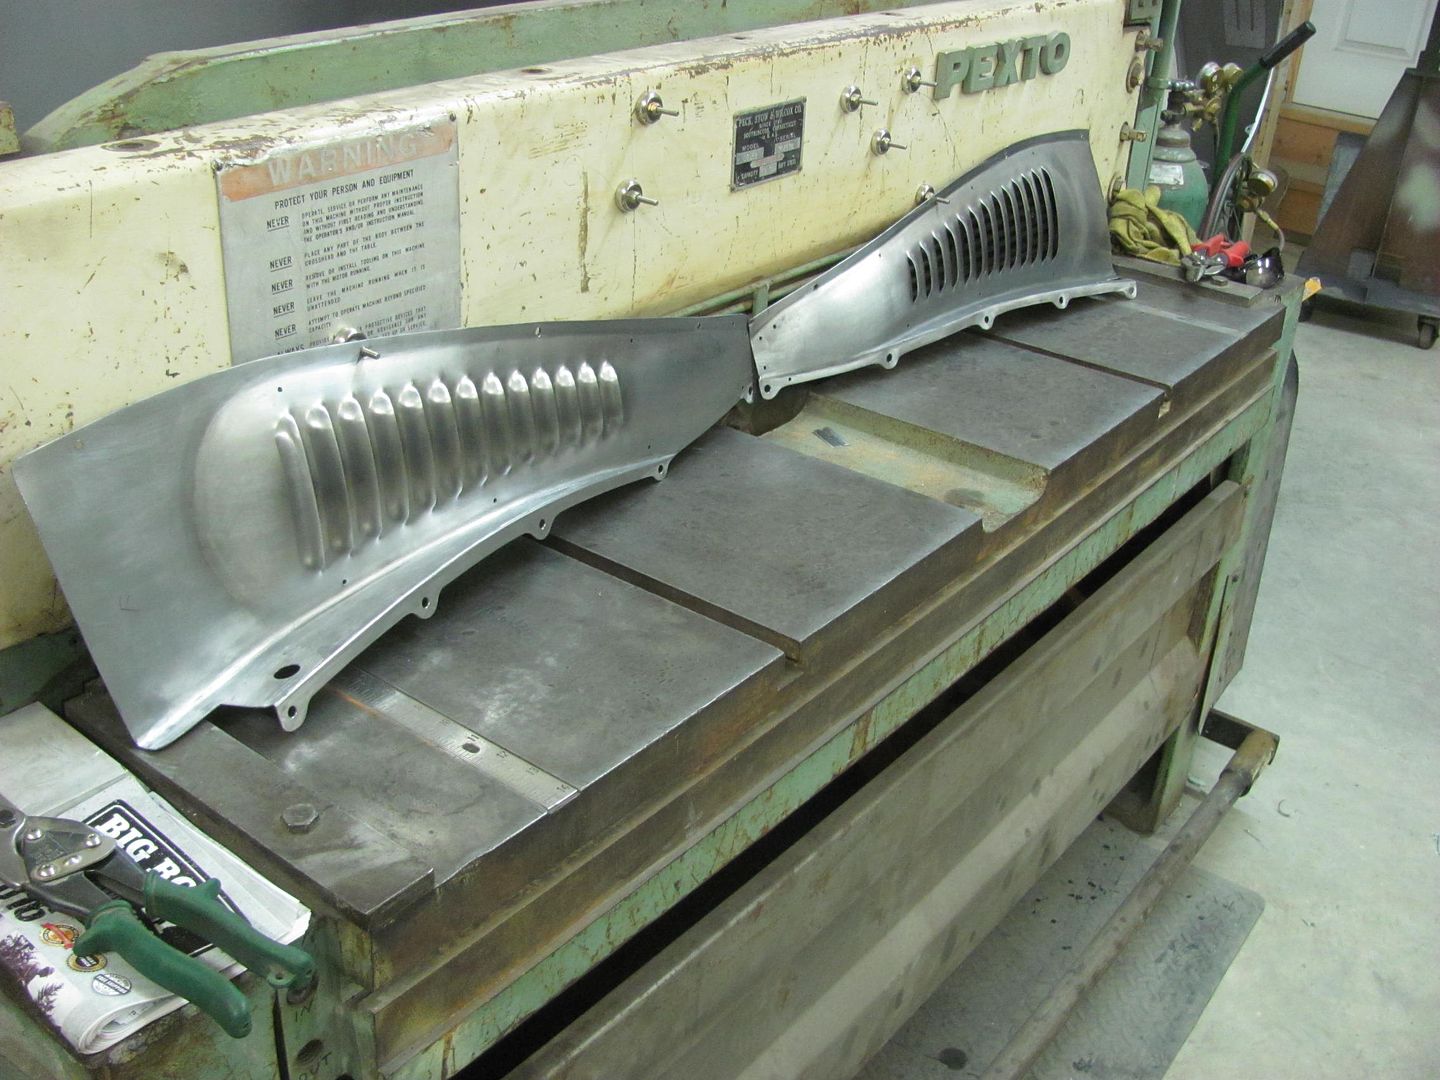
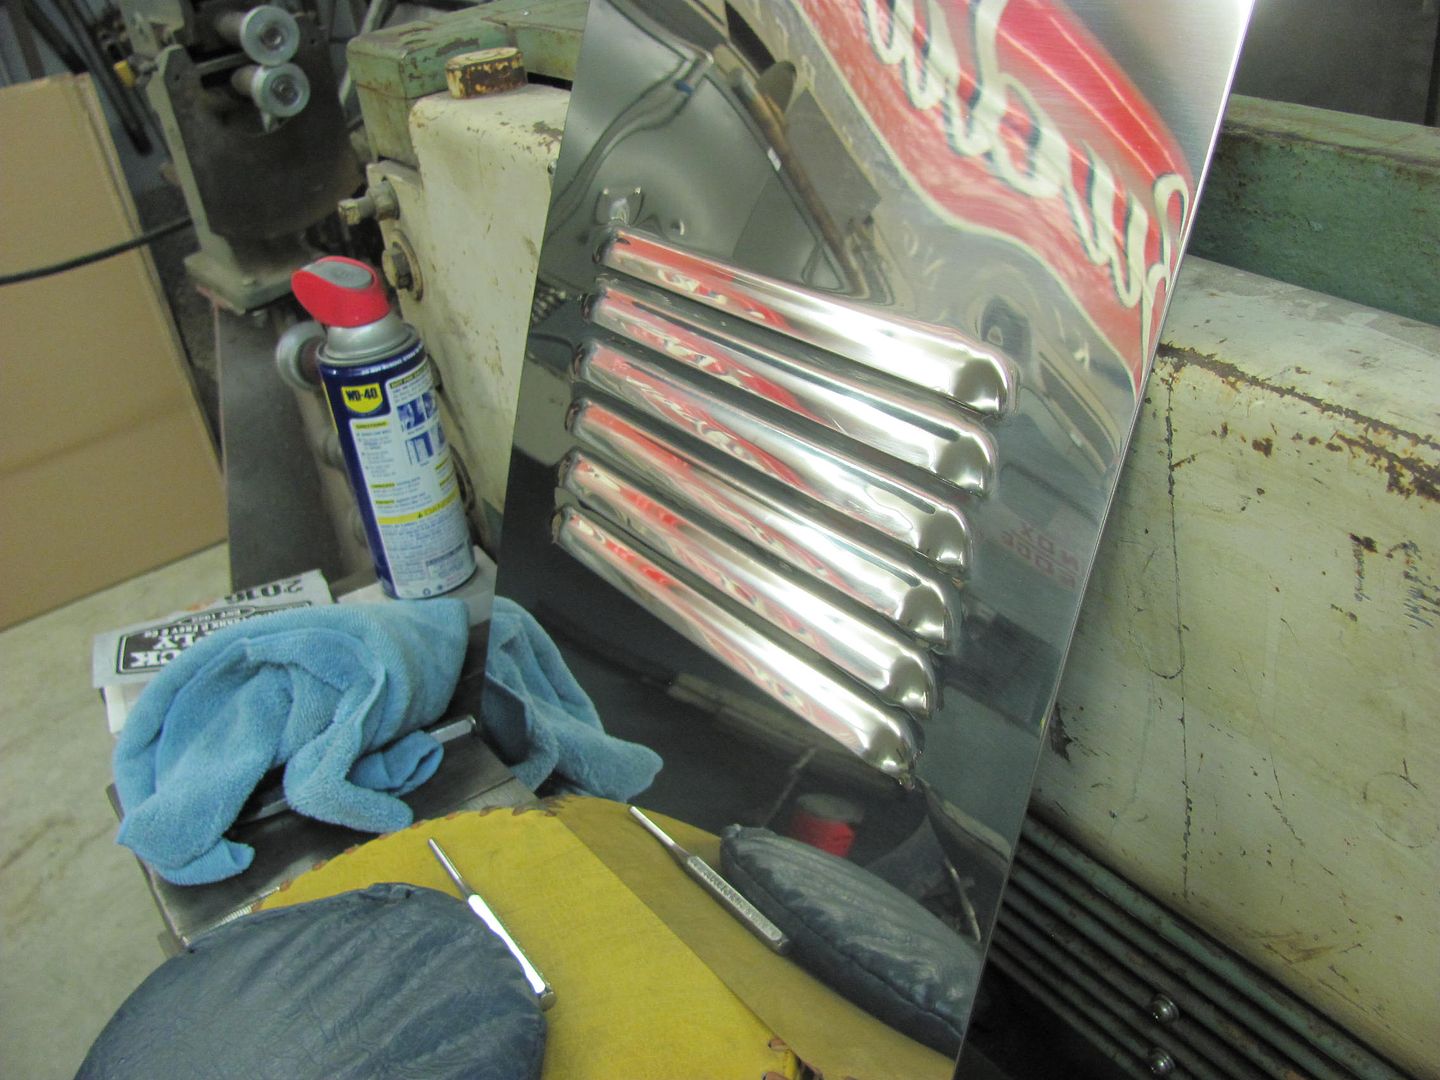
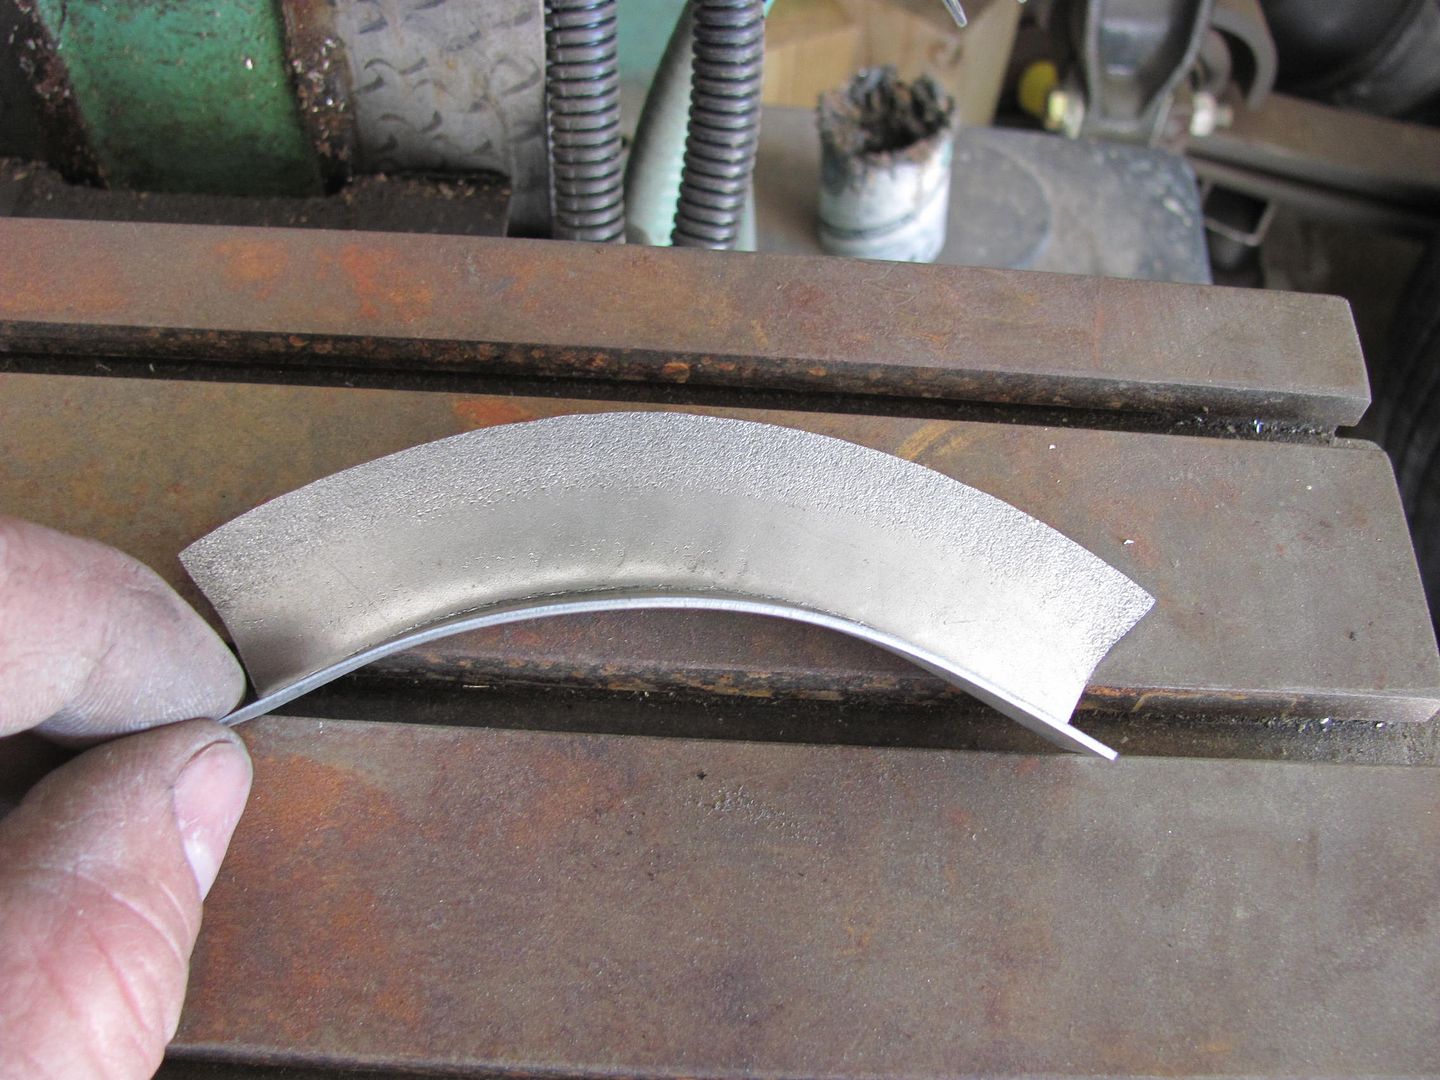
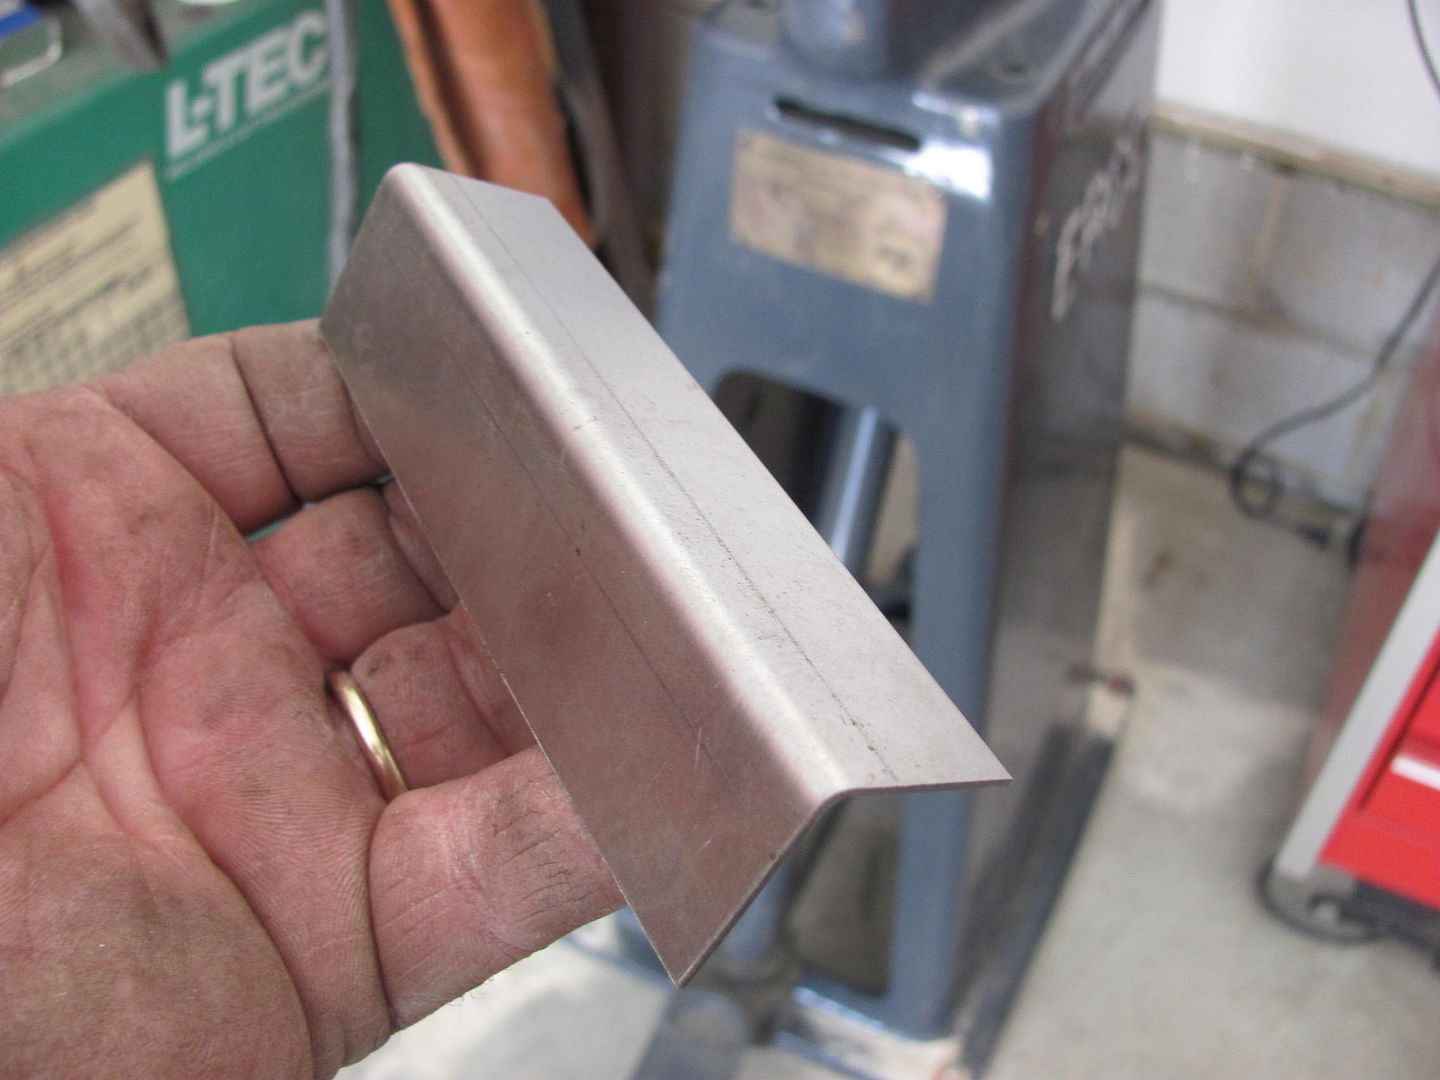
To show a couple test samples, we'll use about a 4" long piece with 1" flanges. The result shown is after about 4 passes, with a close up to show the "finish" result.


Picture271.jpg


Picture272.jpg


Picture273.jpg


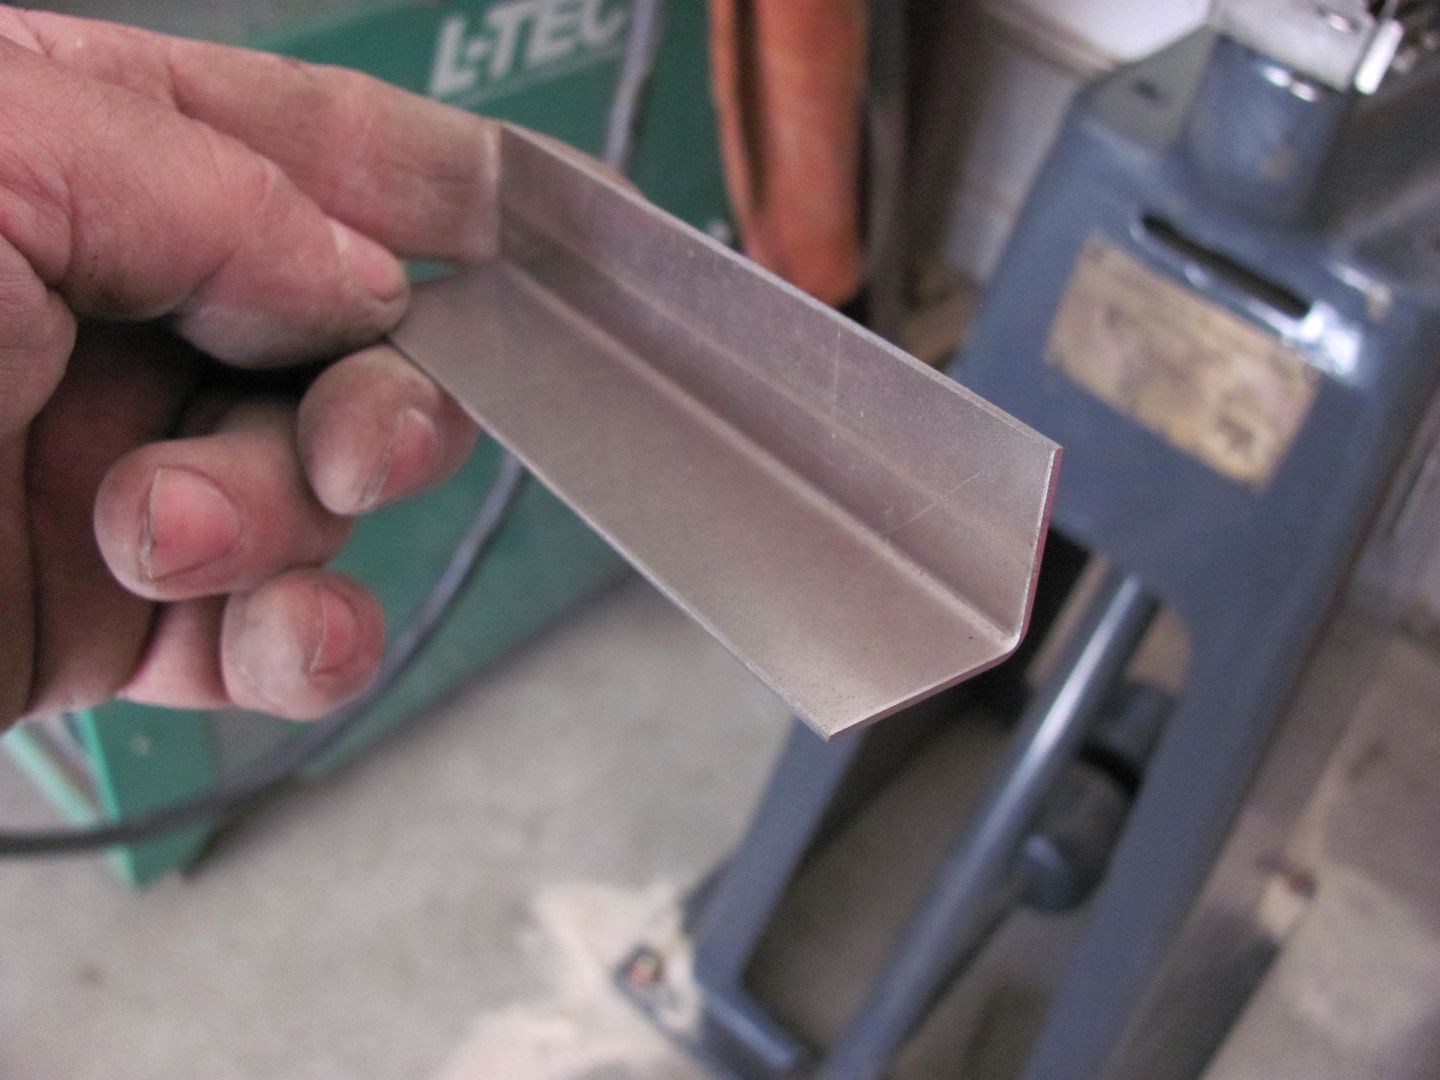
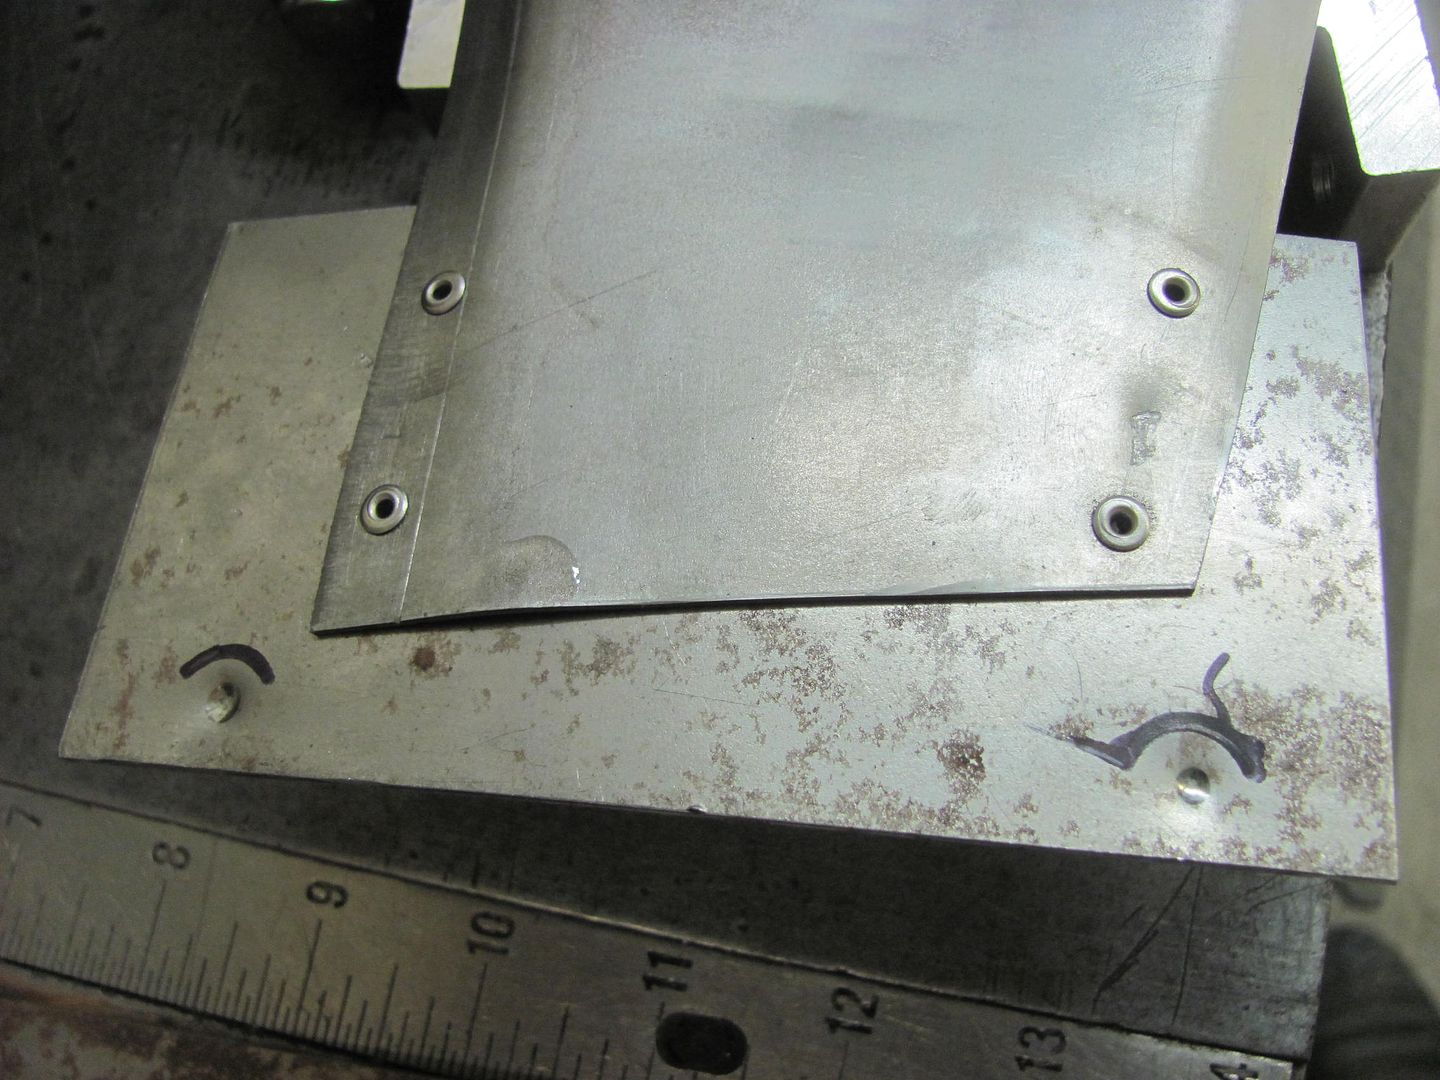
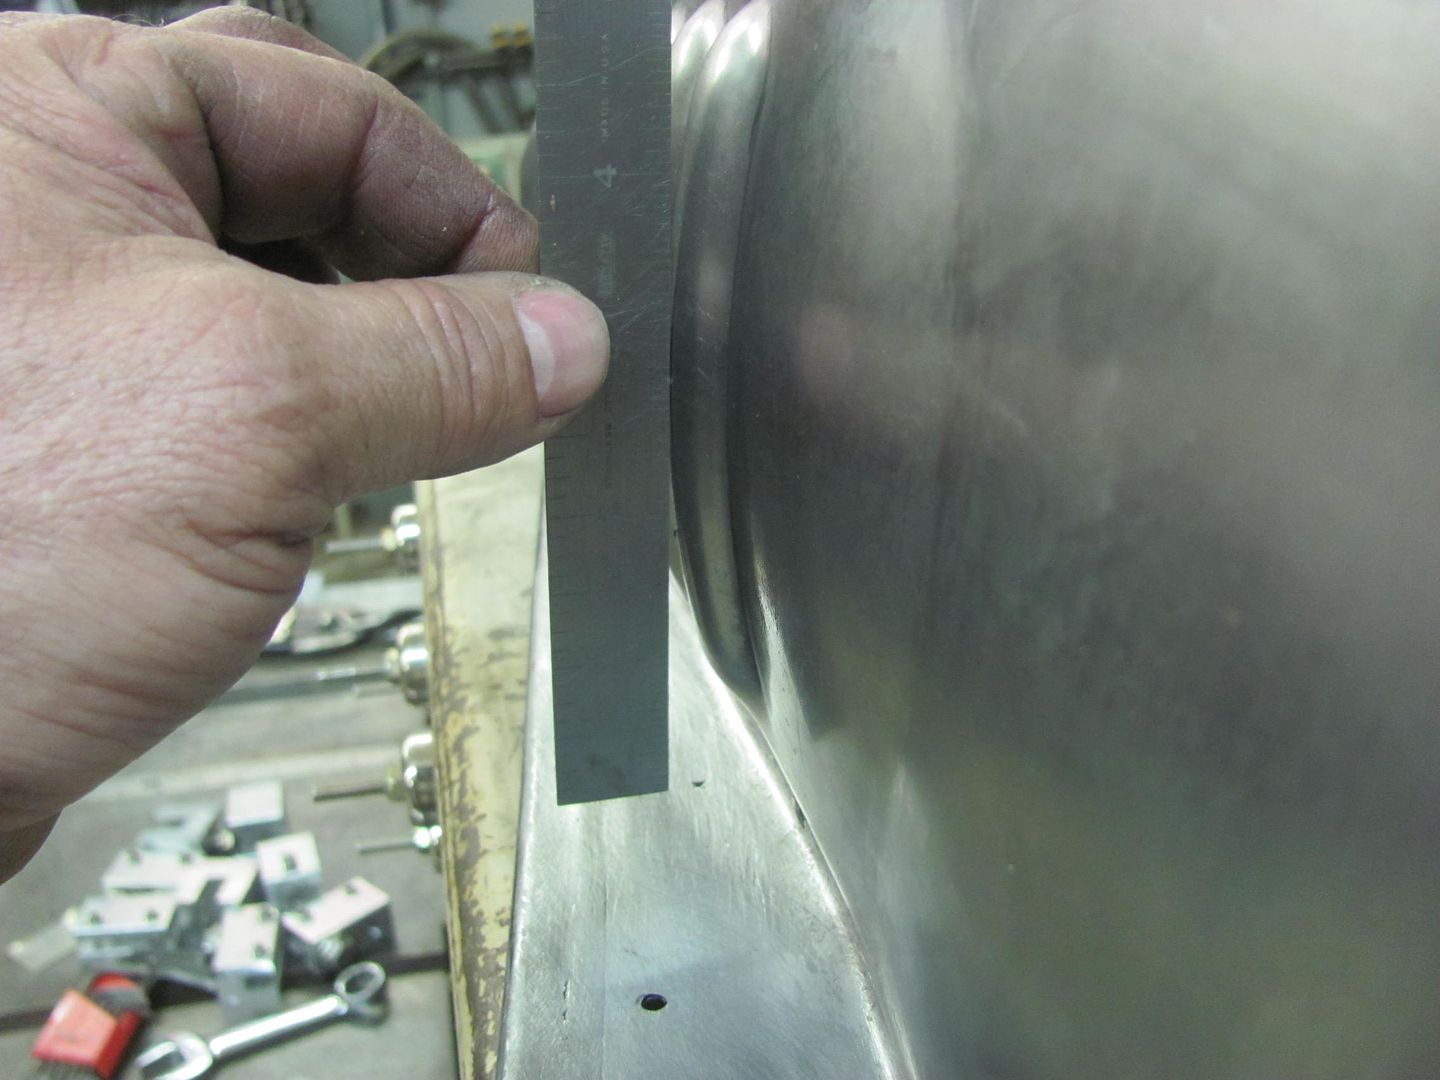
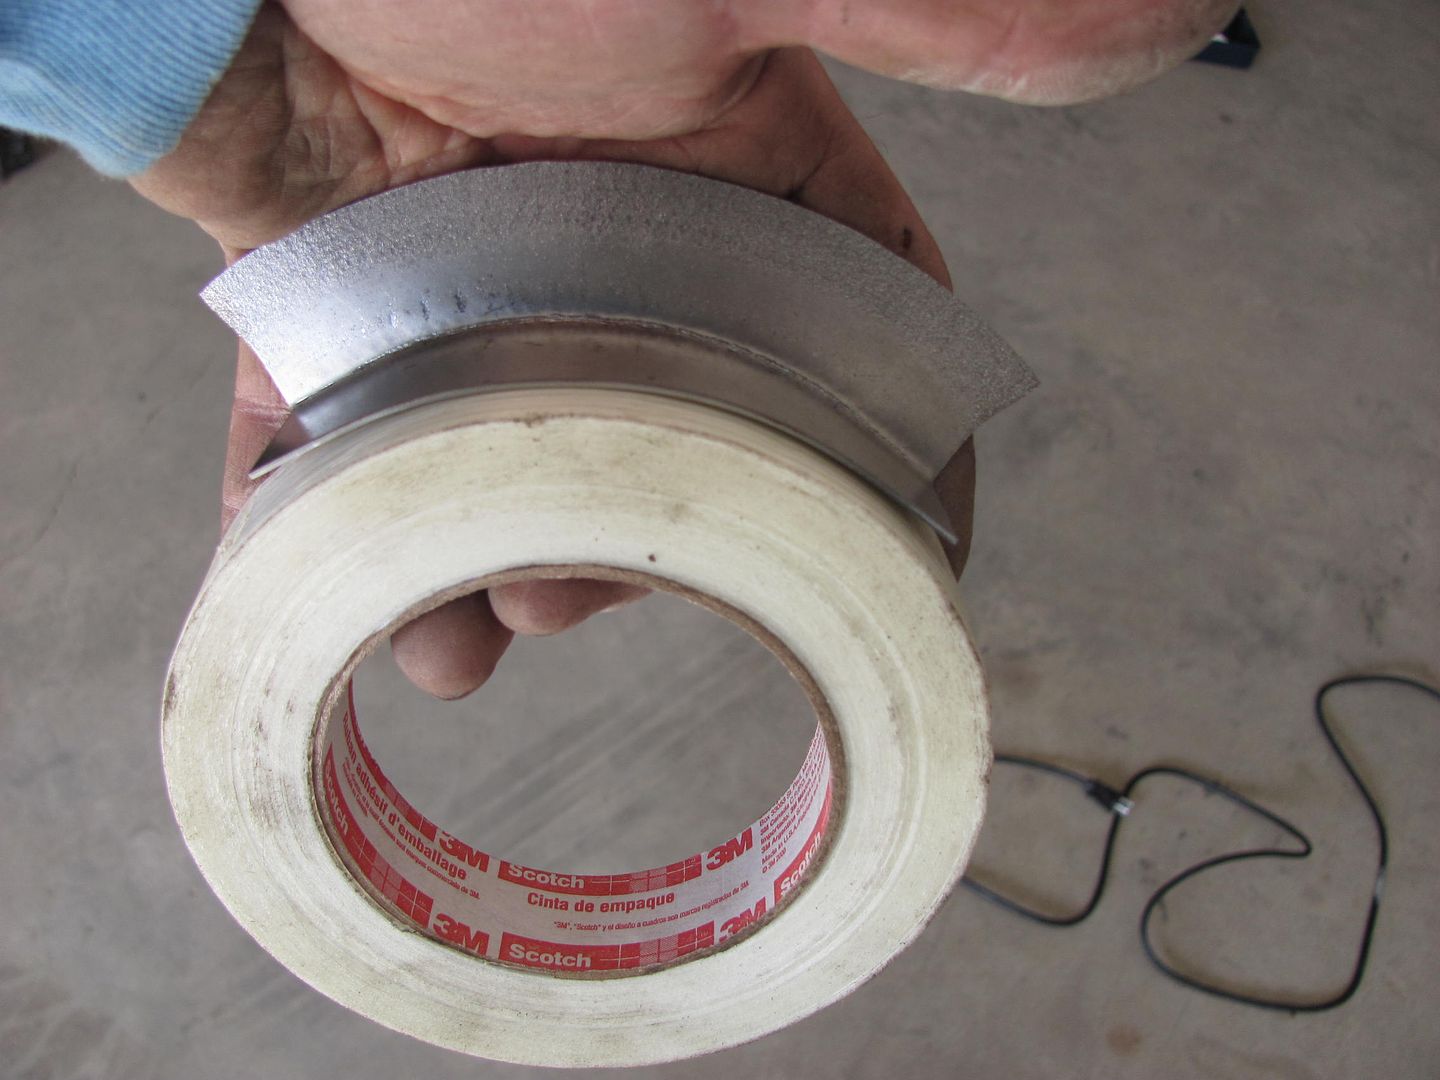
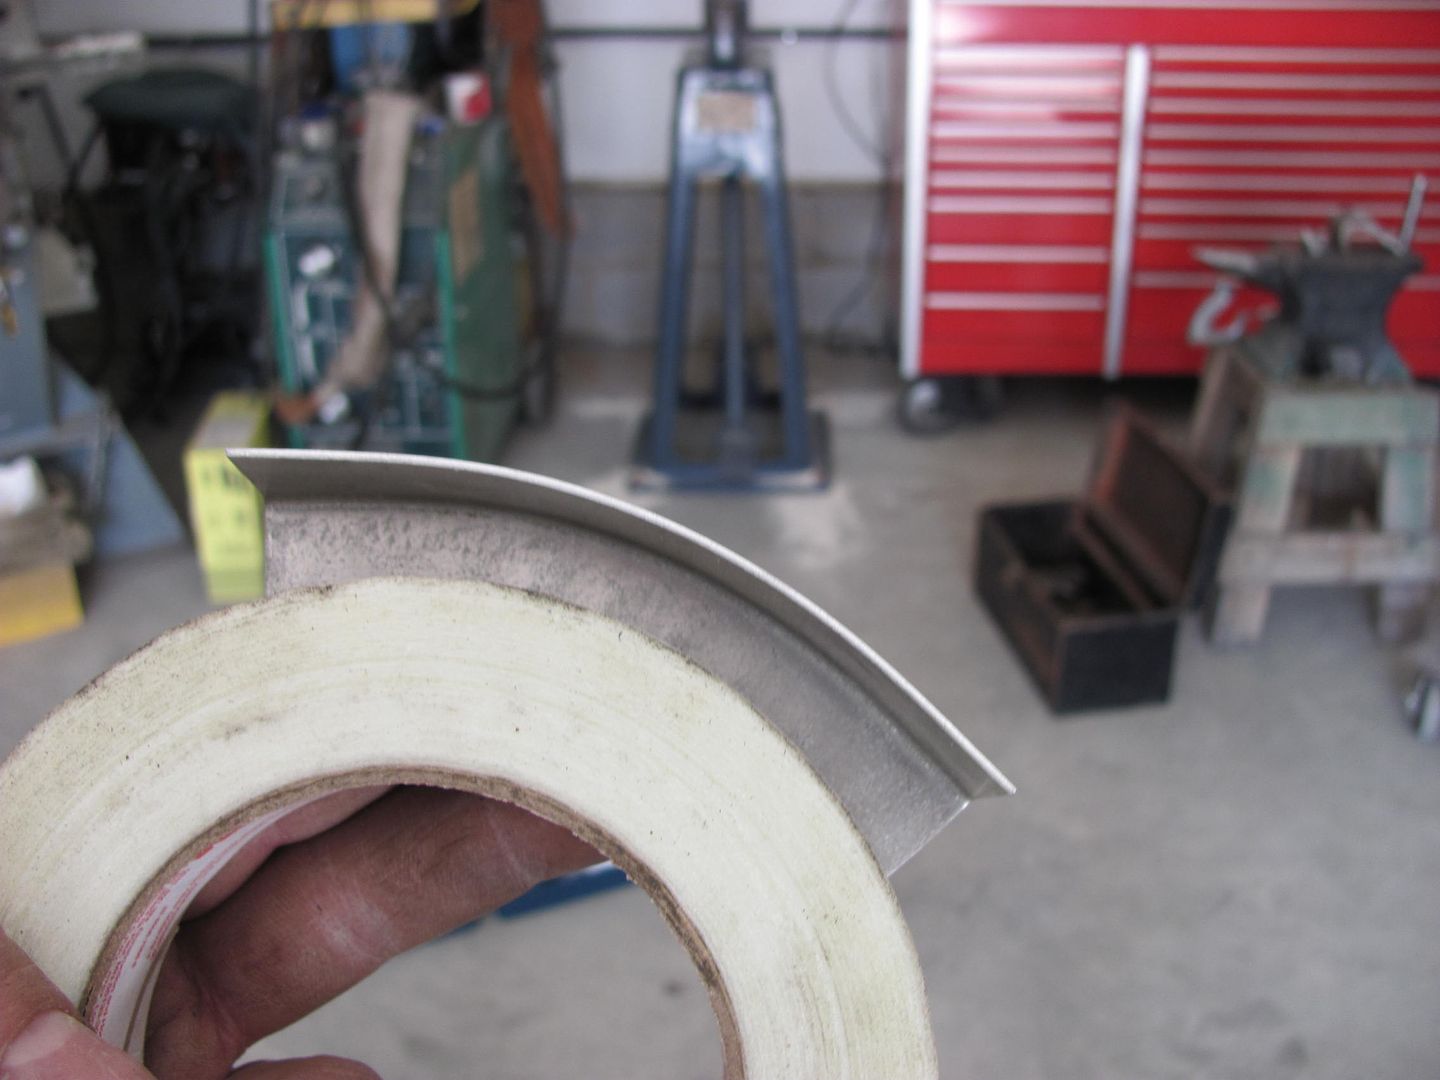
Shown against a roll of tape to compare the radius size we've accomplished..


Picture274.jpg


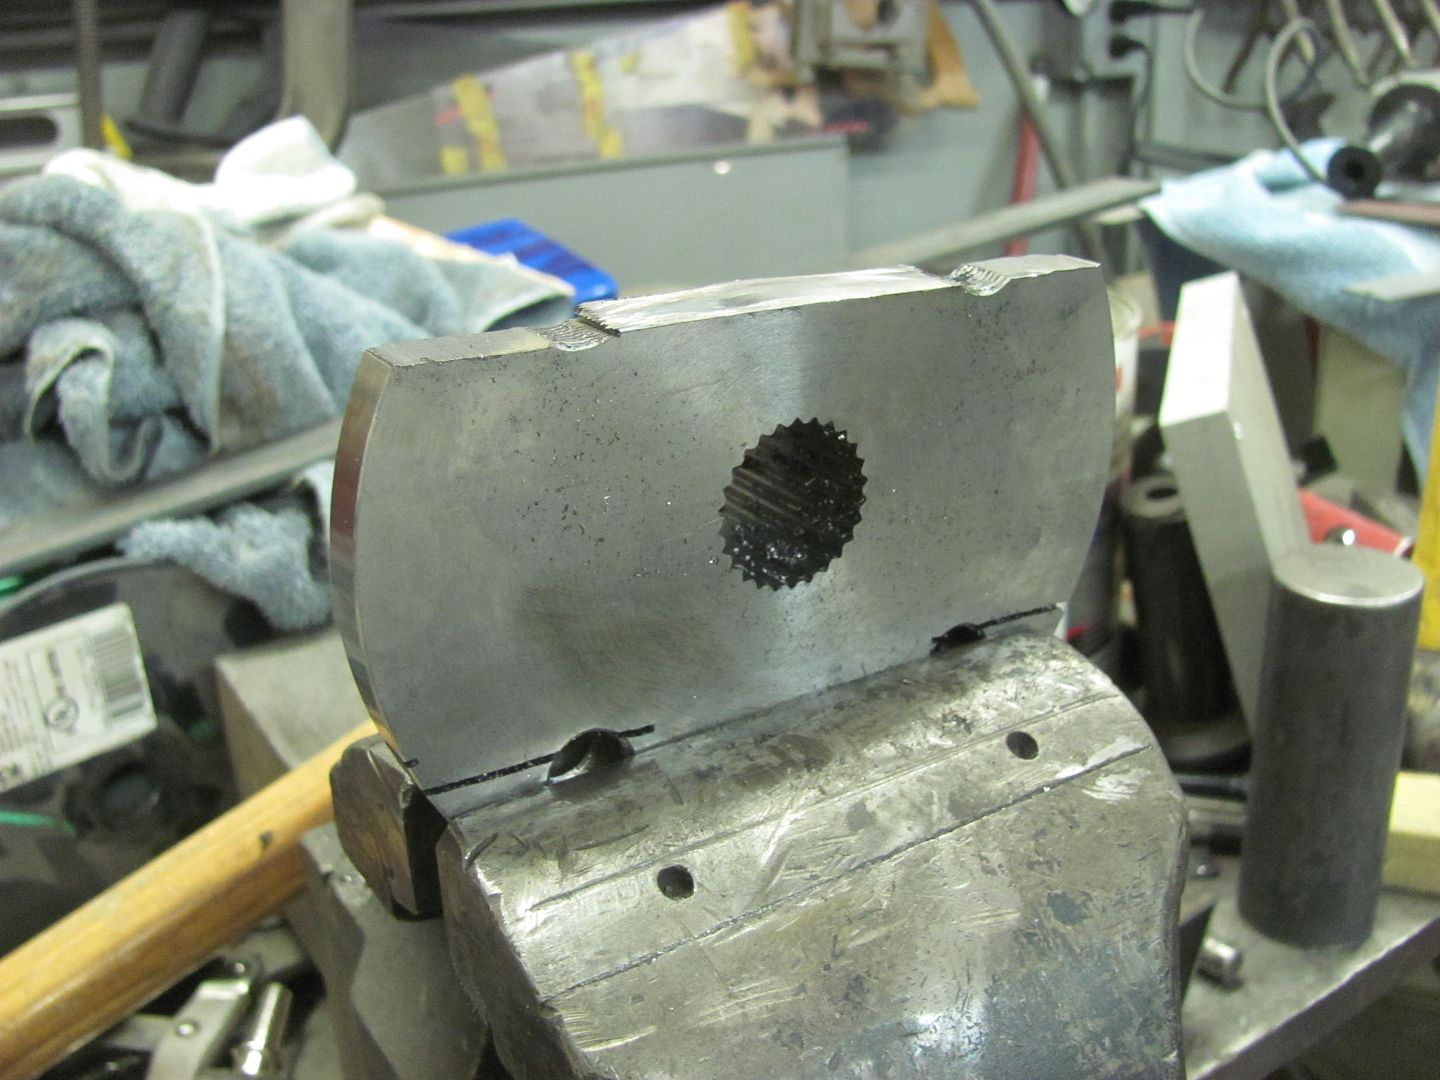
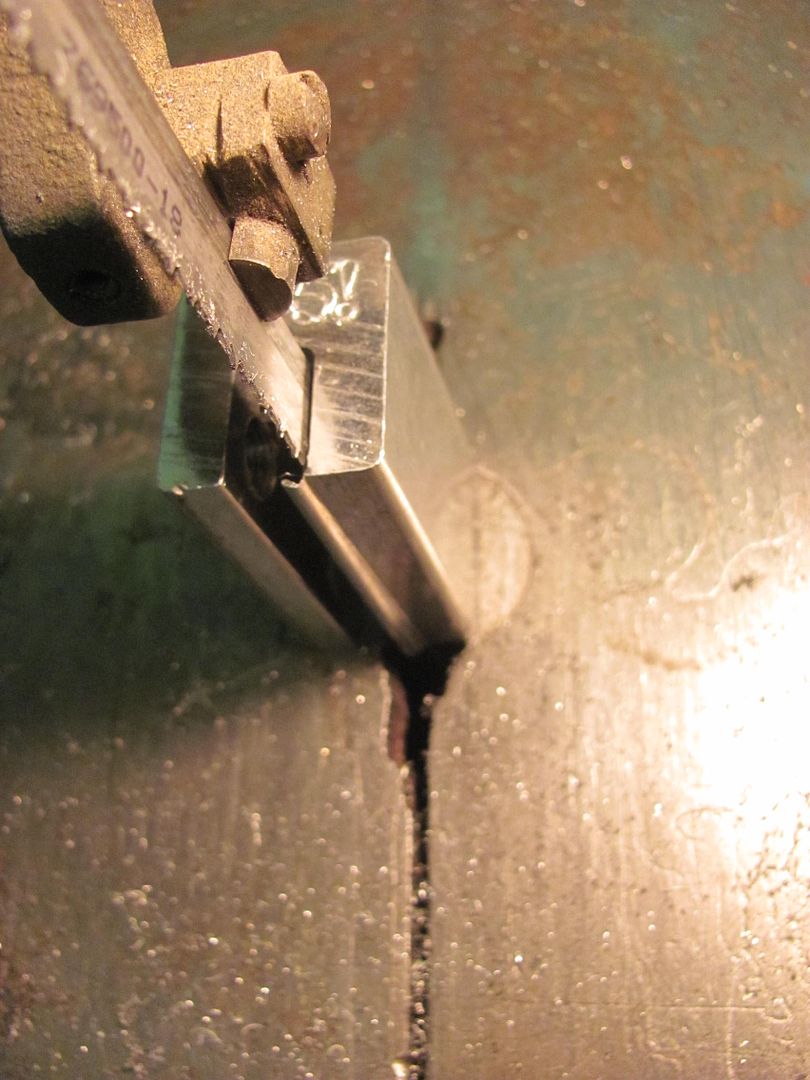
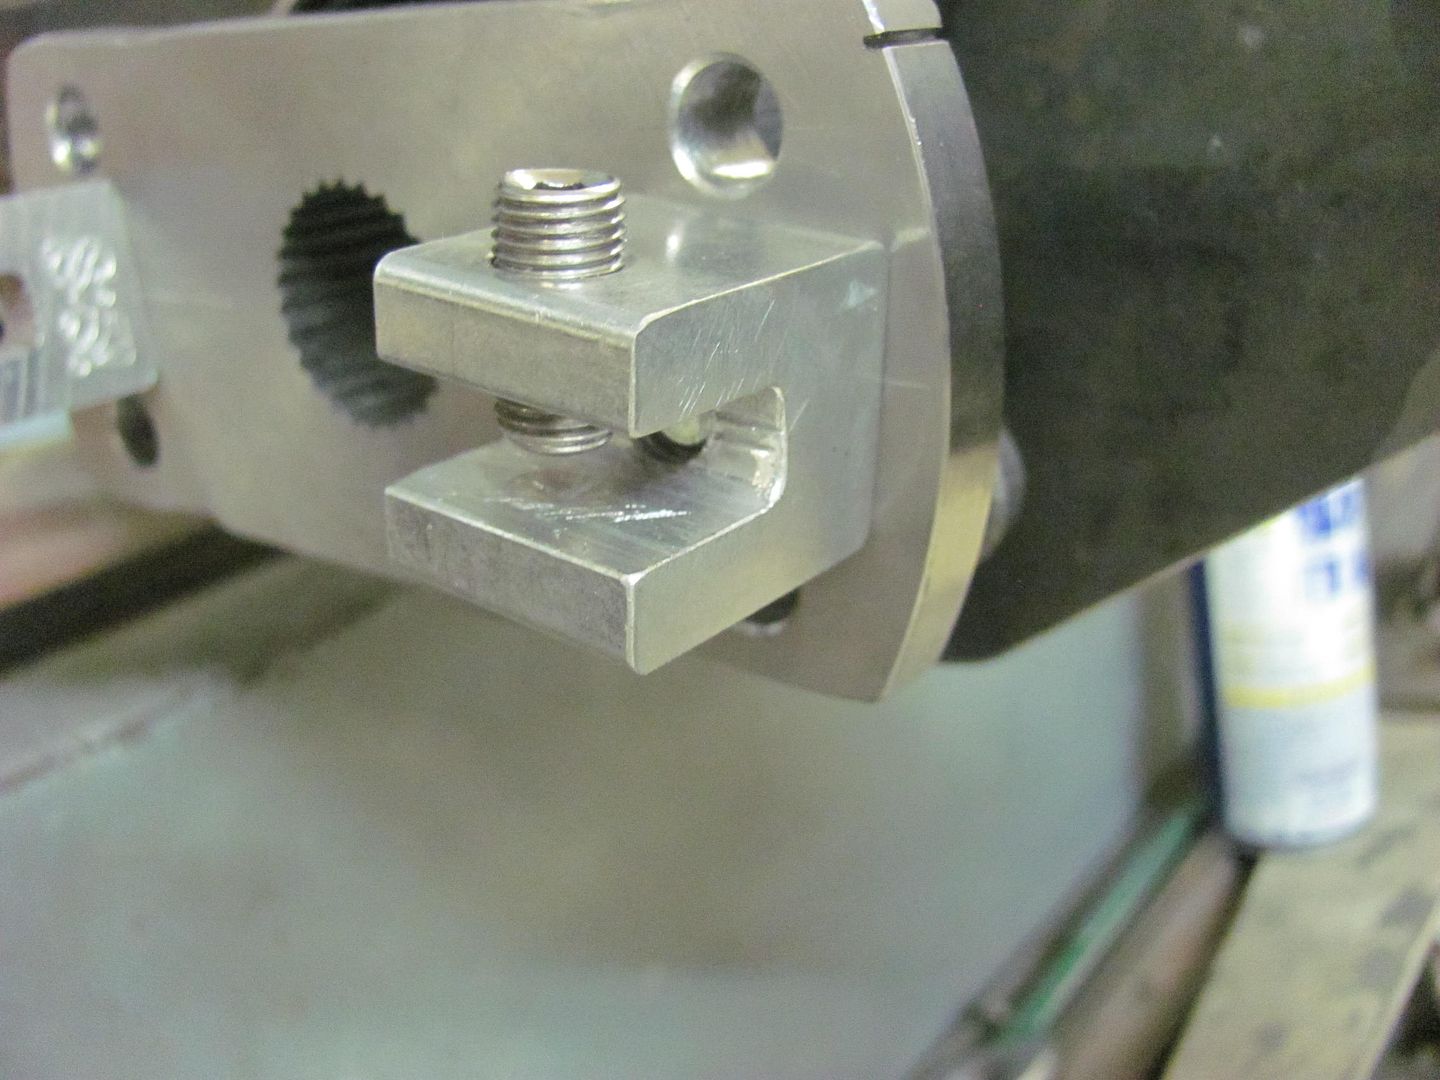
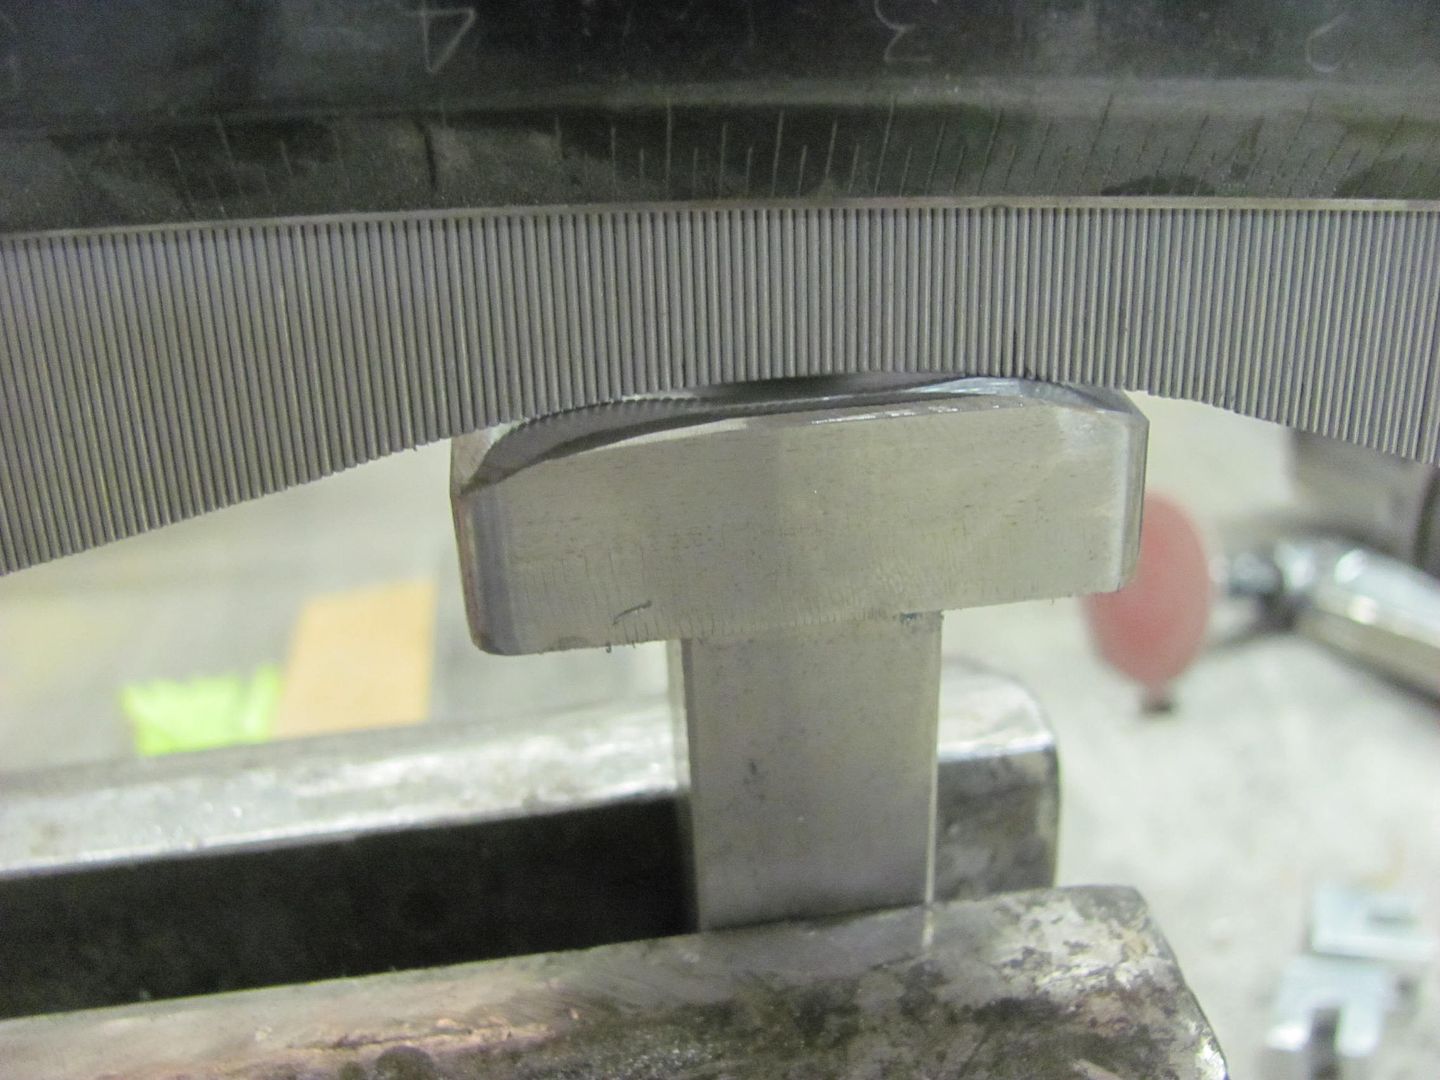
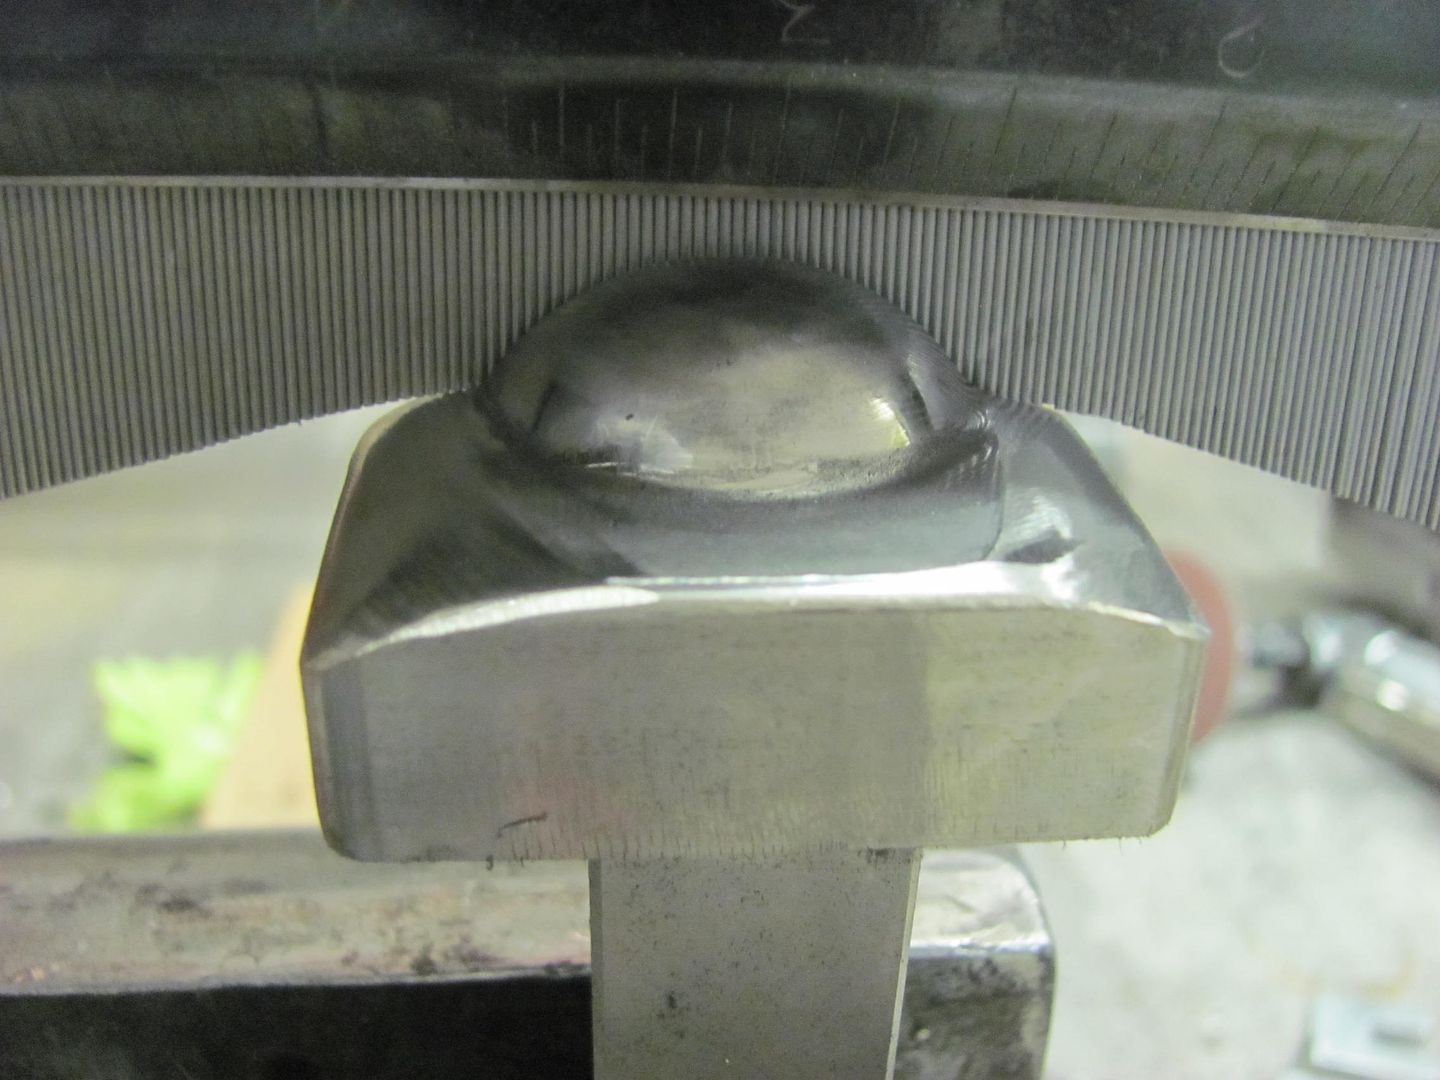
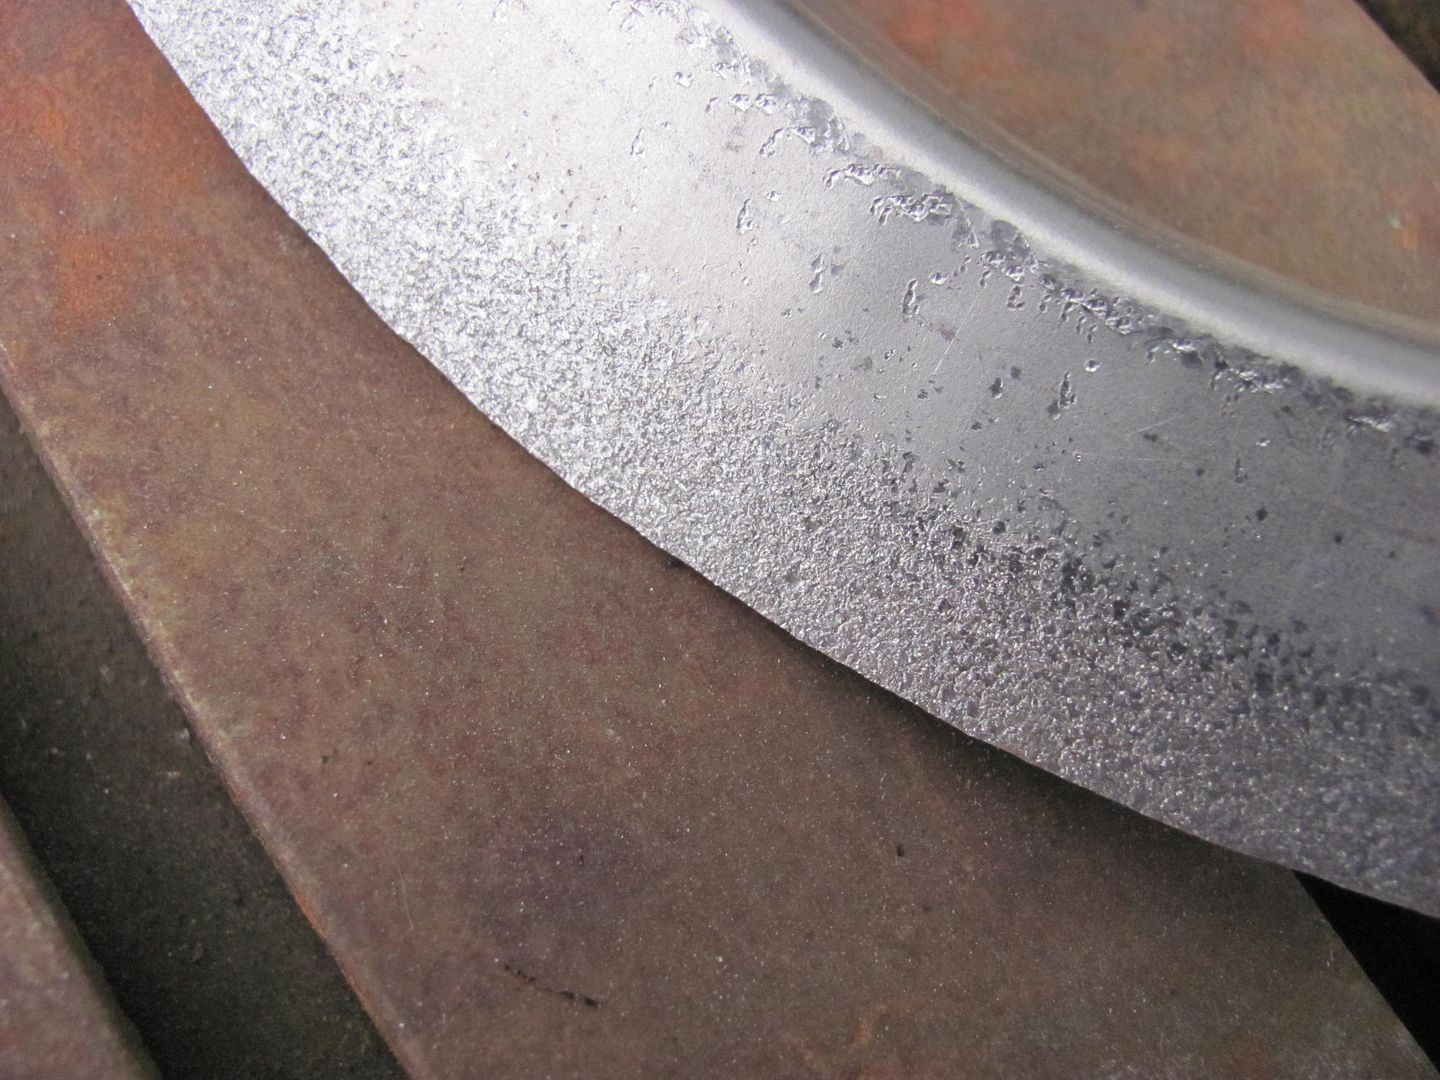
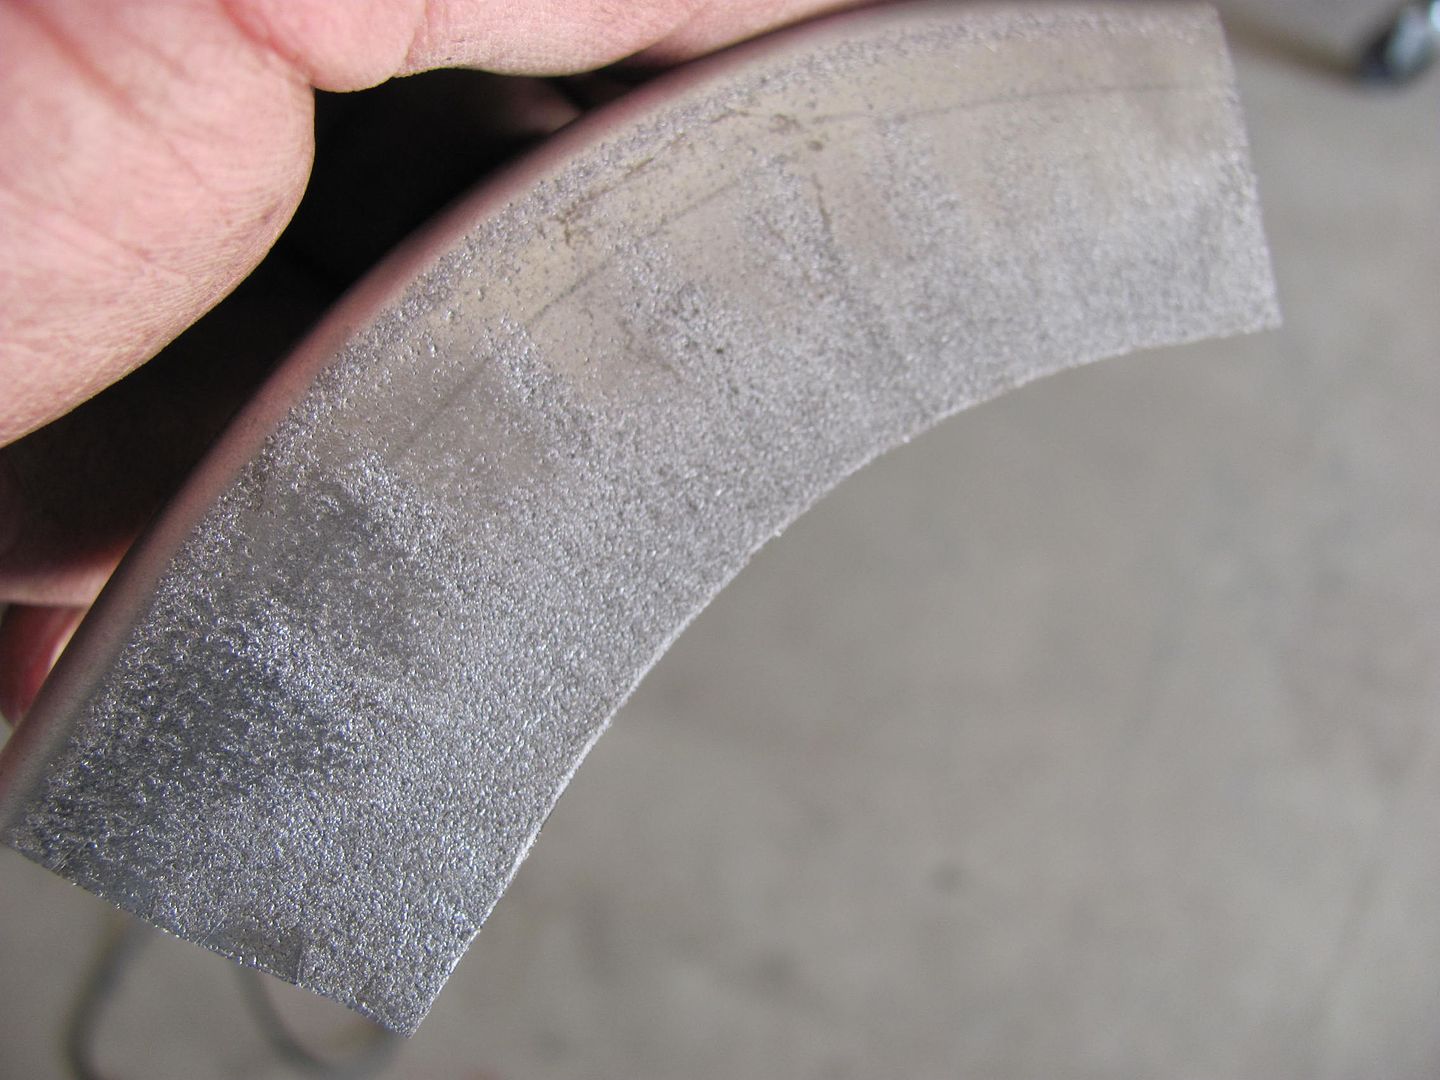
Here's a closer shot to show the stippling on the shrinker jaw....


Picture276.jpg


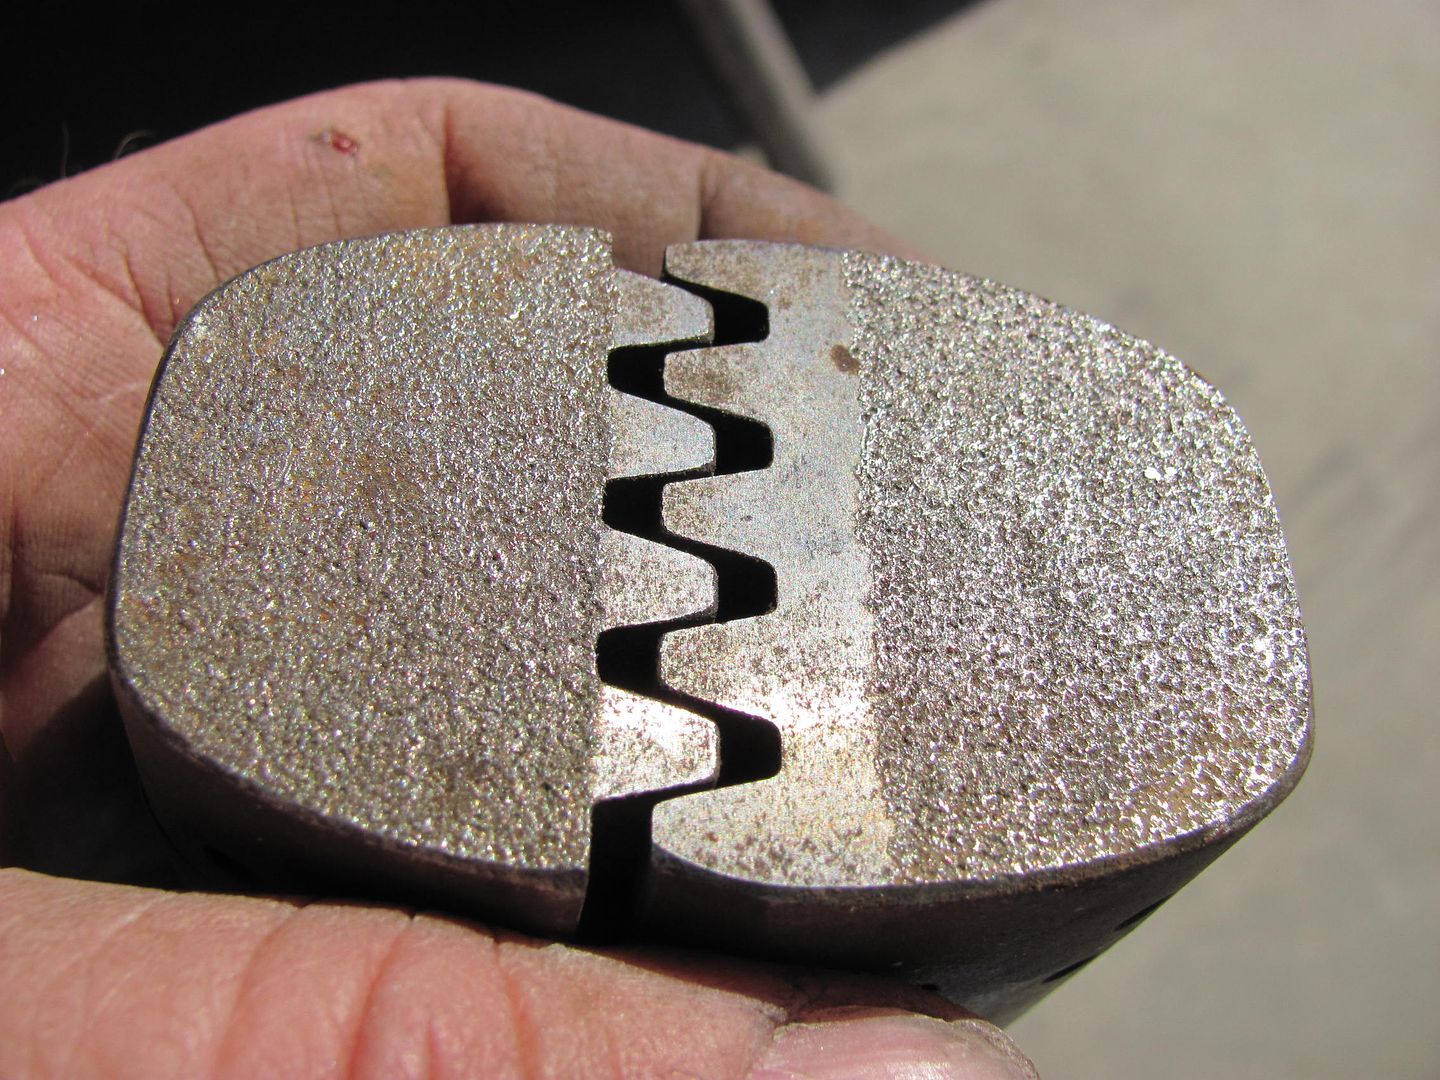
.....and the shrinking sample....


Picture278.jpg


Picture279.jpg


Picture280.jpg


This kick shrinker works much better than the hand operated shrinkers you see available, but one of the hand models should do the job for what you're working with, 18 / 19 gauge steel..
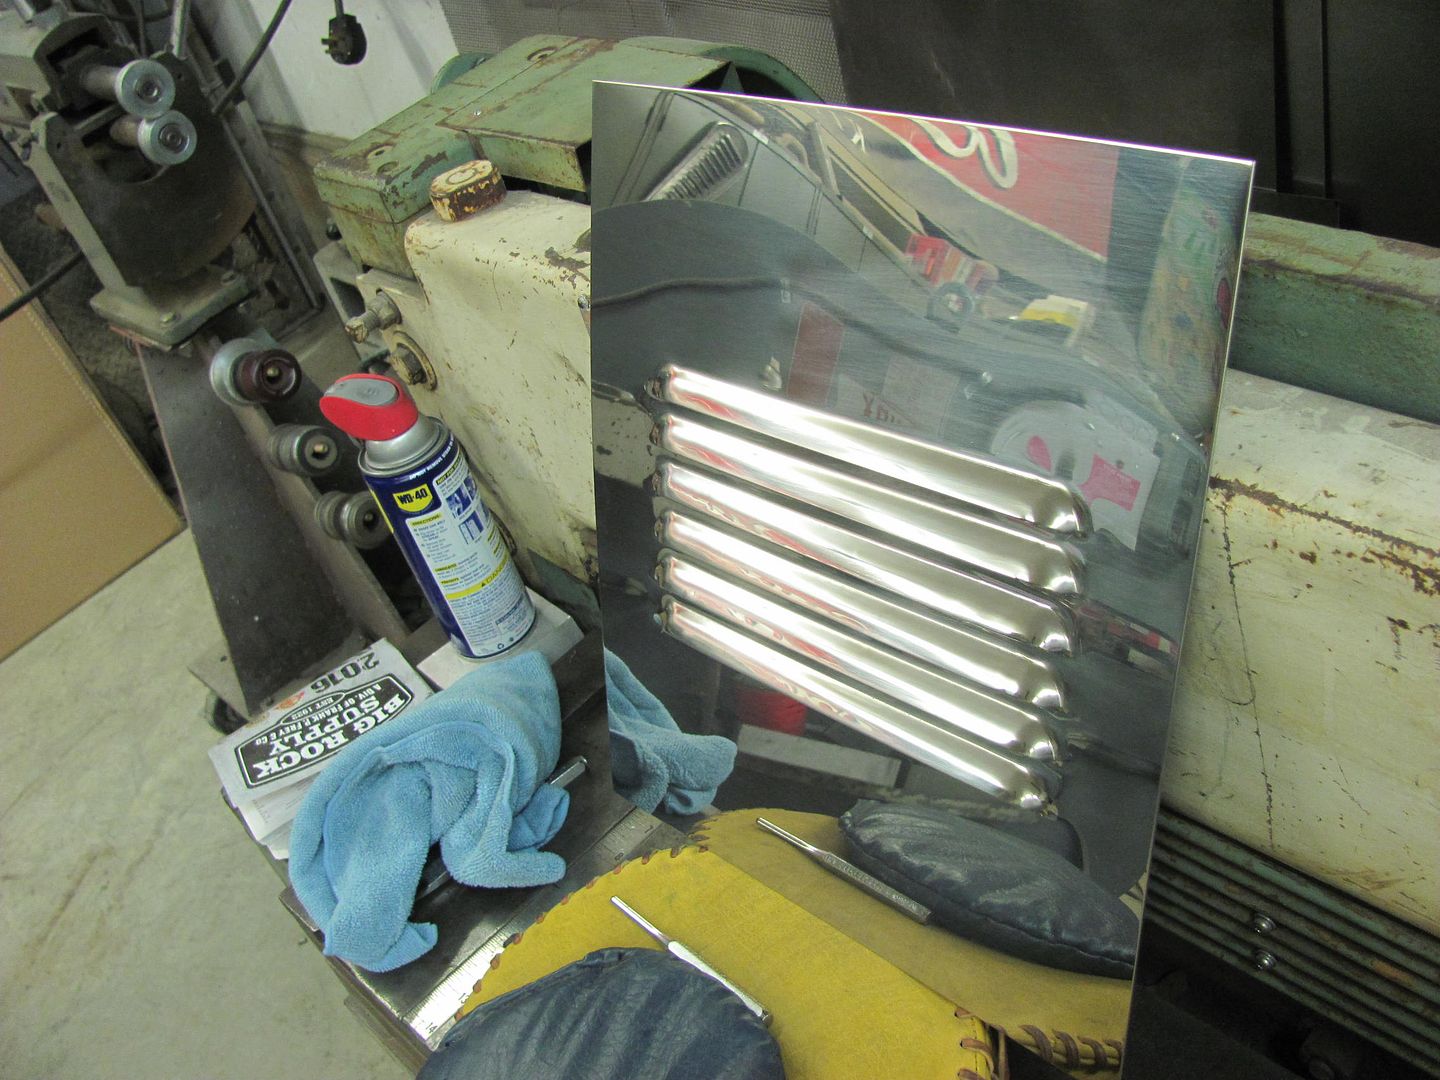
 
I desperately need a good shrinker. However the only one I really ever used and liked was Wray's, however it's the only one in existence.
 
Cody sent out a picture yesterday after fitting the hood.l. I just feel honored to be able to help out Cody on even a small piece of the 35 he's working on.


35%20Chevy.jpg
 
MP&C, beautiful work. Are the flanged angles temporary to control the line on the end of the louvers? If they are have you thought of using double stick tape instead of rivets or spots? 3M VHB 10mil is what I use sometimes to temporarily tack things despite the fact it's a permanent adhesive. I put small sections on just enough to hold it and I can pop them off after with a thin putty knife. I hate when I have to weld into any flat panels.
 
Mitch, we'll have to discuss when you return.


metalman;n79311 said:
MP&C, beautiful work. Are the flanged angles temporary to control the line on the end of the louvers? If they are have you thought of using double stick tape instead of rivets or spots? 3M VHB 10mil is what I use sometimes to temporarily tack things despite the fact it's a permanent adhesive. I put small sections on just enough to hold it and I can pop them off after with a thin putty knife. I hate when I have to weld into any flat panels.


Yes, the flanged angles were stops to set the louver sizing. I do have some of the 3/4 wide 3M body molding here, but didn't know how it would react to all the WD40 during the cutting process. They weren't my hood sides but I had an idea of how much work went into them, so I didn't want any screw ups. I did confer with Cody, and he wasn't too concerned with filling in 6 holes. But thanks for the idea, I may try that next time on my own stuff...
 
For those that followed the Louver job on the 35 Chevy hood sides, Cody Walls (the builder) and Dave Thomas (the owner) will at the Grand National Roadster Show Jan 29-31. The 35 will be the feature car in The Rodder's Journal booth in building 4, so if you're going be sure to stop by and check out Cody's craftsmanship and attention to detail.. absolutely beautiful car..

TRJ will also have a full feature article in the next issue.


35CodyWalls.jpeg
 
Well soon after the 35 Chevy returned from GNRS, Cody had it blown apart again to tackle more items on the to-do list.. One of them being inner fenders, which he had asked if we would punch some louvers in those as well. He hand fabricated these parts, seen here:


35ChevyInnerFender1.jpg


35ChevyInnerFender2.jpg


He had quite a bit of work in these and had suggested shipping them down, but we aren't that far apart so I suggested meeting in the middle to pass off the parts rather than trust them to shipping. So we guessed on Parole, MD as being close to a good midpoint, and picked the Double TT Diner to grab some breakfast and catch up on his trip to Pomona. Kyle and I arrived and had made about one lap through the parking lot when Cody pulled in, so this worked to be a good halfway point between Southern MD and Milford DE.


Here's what we picked up....


Picture%204174.jpg


This has a tighter radius than what we had done for the hood sides, so for the punch to better follow the contour, or sit perpendicular to the point of punch, we plan on a rotational fixture attached to the linear slide that the "trough" of the inner fender can be rolled from side to side.. and just in time, the Mini Cooper wheel bearing/hub assembly had come in yesterday (looks like this)

Picture%204186.jpg


....so the first order of business was to void the warranty. Made a trip over to David's shop to make sure the press was still operational, and pressed the hub out of the bearing. We need a flat surface for the new material clamps, so Kyle worked on the lathe to get rid of the excess metal here:

Picture%204188.jpg


He got this far tonight...


Picture%204181.jpg


These are the new clamps we'll be using, the single 8mm bolt will connect it to the flange Kyle it working on..


Picture%204187.jpg


Meanwhile, I cut out the plate to hold the bearing...


Picture%204183.jpg


Picture%204184.jpg


The top will be folded 90* and that flange bolted to the top of the glide blocks here...


Picture%204185.jpg


Once complete this should allow us to rotate the inner fenders as we punch the louvers. Oh, and finally, looking at the bare spot in the floor here....


Picture%204182.jpg


The English Wheel has left the building. It is headed to a Porsche restoration shop on Eastern shore, should be putting out some 356 parts soon..
 
Worked on some louvers tonight, wanted to get some practice pieces done to see how well our "theory" might fare.


Kyle cutting an inside lip off the clamp before cutting it in half..


Picture%204196.jpg


Picture%204197.jpg


Meanwhile I got the holes (and some spares for height adjustment) drilled in the wheel hub flange...


Picture%204198.jpg


Picture%204200.jpg


Clamps added...


Picture%204212.jpg


Picture%204213.jpg


We used a "squaring plate" to align the panel for louver angle..


Picture%204214.jpg


The punch needed some relieving to insure the corners didn't hit the inside radius of the panel...


Picture%204201.jpg


Picture%204202.jpg


Picture%204203.jpg


Cleaned up the grinder marks with a Scotchbrite pad..


Picture%204204.jpg


Picture%204205.jpg


Looking at the louvers...


Action shots:


https://youtu.be/EEyI10qb4BI


Picture%204208.jpg


Picture%204210.jpg


Picture%204215.jpg


We have some more relieving to do on the tooling to eliminate some marking, then we'll do one more practice piece before breaking into the good stuff..
 
Guess I'm a little late on a comment on louvers for the 80's IROC Camaro's , but it would be just an insert to replace the factory fakes. Someone was making some at one time, as I saw in a search before..Very similar look to the louver panels you first posted.
 
Well most small jobs I do like this you never see the part installed (like the Studebaker dash parts) so I was happy to see Cody post up some pictures this morning. Here's a shot of the passenger side installed.. It was nice to take on a challenge like this and see it actually work..


35ChevyInnerFender3.jpg


35ChevyInnerFender5.jpg


35ChevyInnerFender4.jpg


I think Kyle enjoyed the break from blocking epoxy primer.. Now back to the old grind..
 
Well Cody posted up some pics today of the muffler "wrap" so I thought I'd add them here as a follow up for those that saw the post of us punching the stainless.


Picture%204410.jpg


He's using stainless exhaust front to back, with two transverse mounted mufflers behind the rear axle. Since they are tucked up inside the frame rails, a bit of air flow will be provided by the louvers..


MufflerWrap1.jpg


Note the "rolled" edge on the exhaust tail pipes. Cody says he isn't a fan of unfinished edges, and this car is loaded with such detail from one end to the other.


MufflerWrap2.jpg


Installed, the louvers facing the front should give nice air flow.


MufflerWrap3.jpg


We've got another detail to work on with Cody, and it's been a nice change of pace to set the rusty metal aside and help out on his build with the louvers we've done. Thanks for the challenge!
 
Cody Walls took the Dave Thomas 35 Chevy to Pomona this weekend for the GNRS, the car took 2nd place in it's class and also received a paint award for the 57 Cadillac Biarritz colored finish. Well done Cody!

2017gnrs.jpg


2017gnrs1.jpg


2017gnrs2.jpg


2017gnrs3.jpg


2017gnrs4.jpg
 
Last edited:
Back
Top