Bead details

MP&C

Member
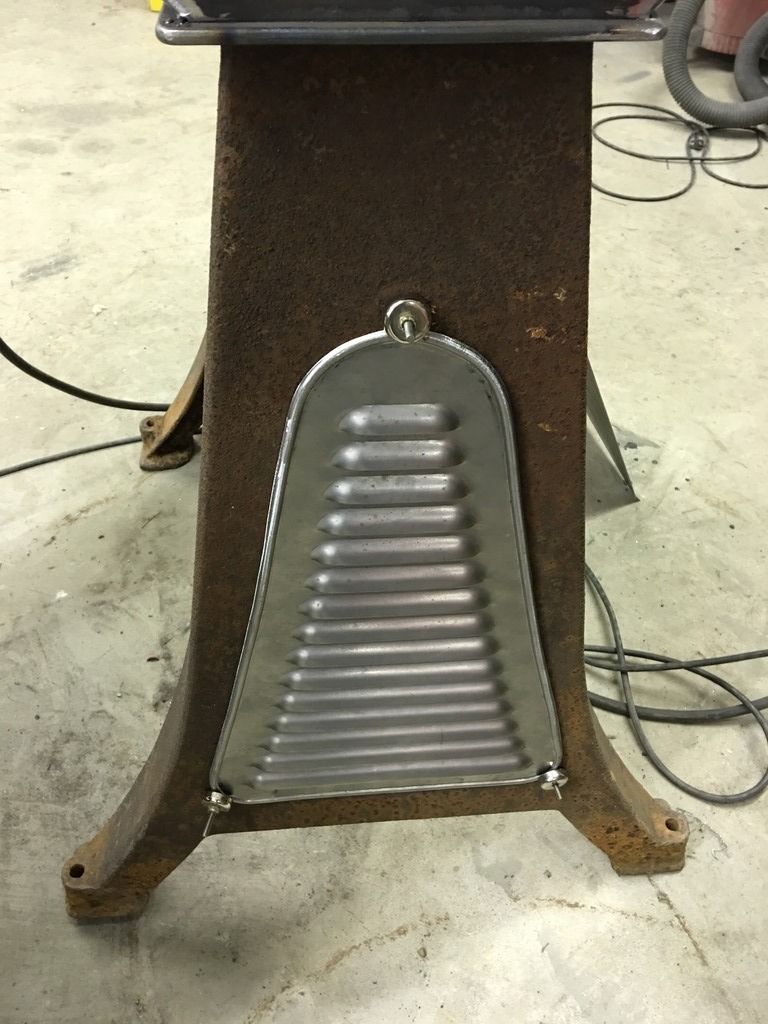
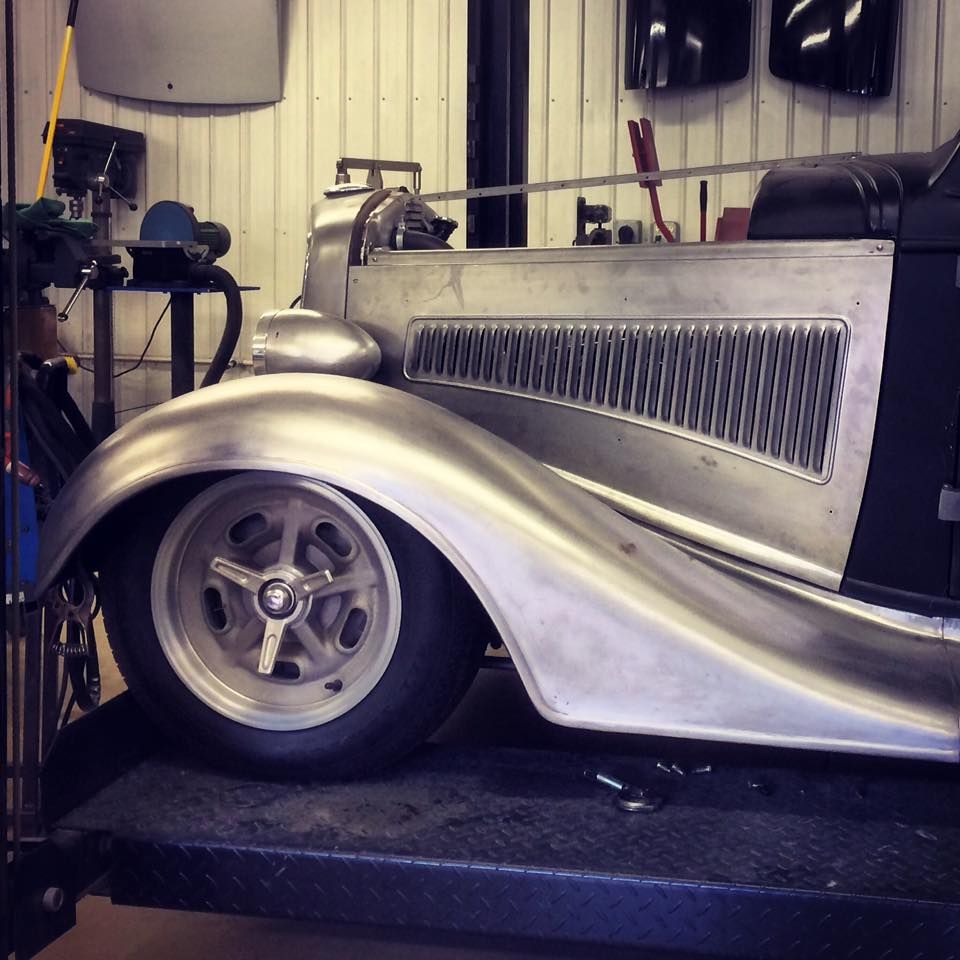
Got a "requirement" for some bead detail work and don't need the panels losing any of their shape. The bead roller does a nice job, but the forming process is more of a relocation of the metal from elsewhere, which would cause a panel to possibly lose some crown.

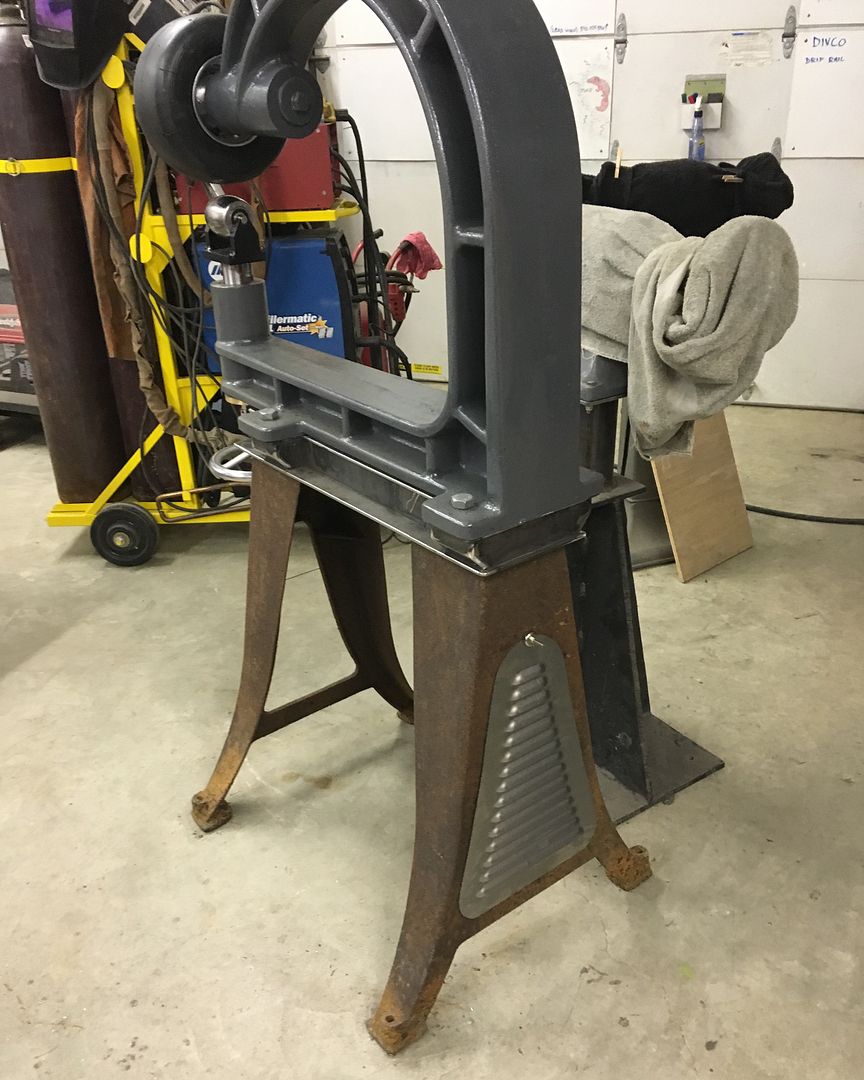
The Lennox (Pullmax) as a reciprocating machine does a better job of stretching the metal as the bead is formed, so there is less issue of losing panel crown.

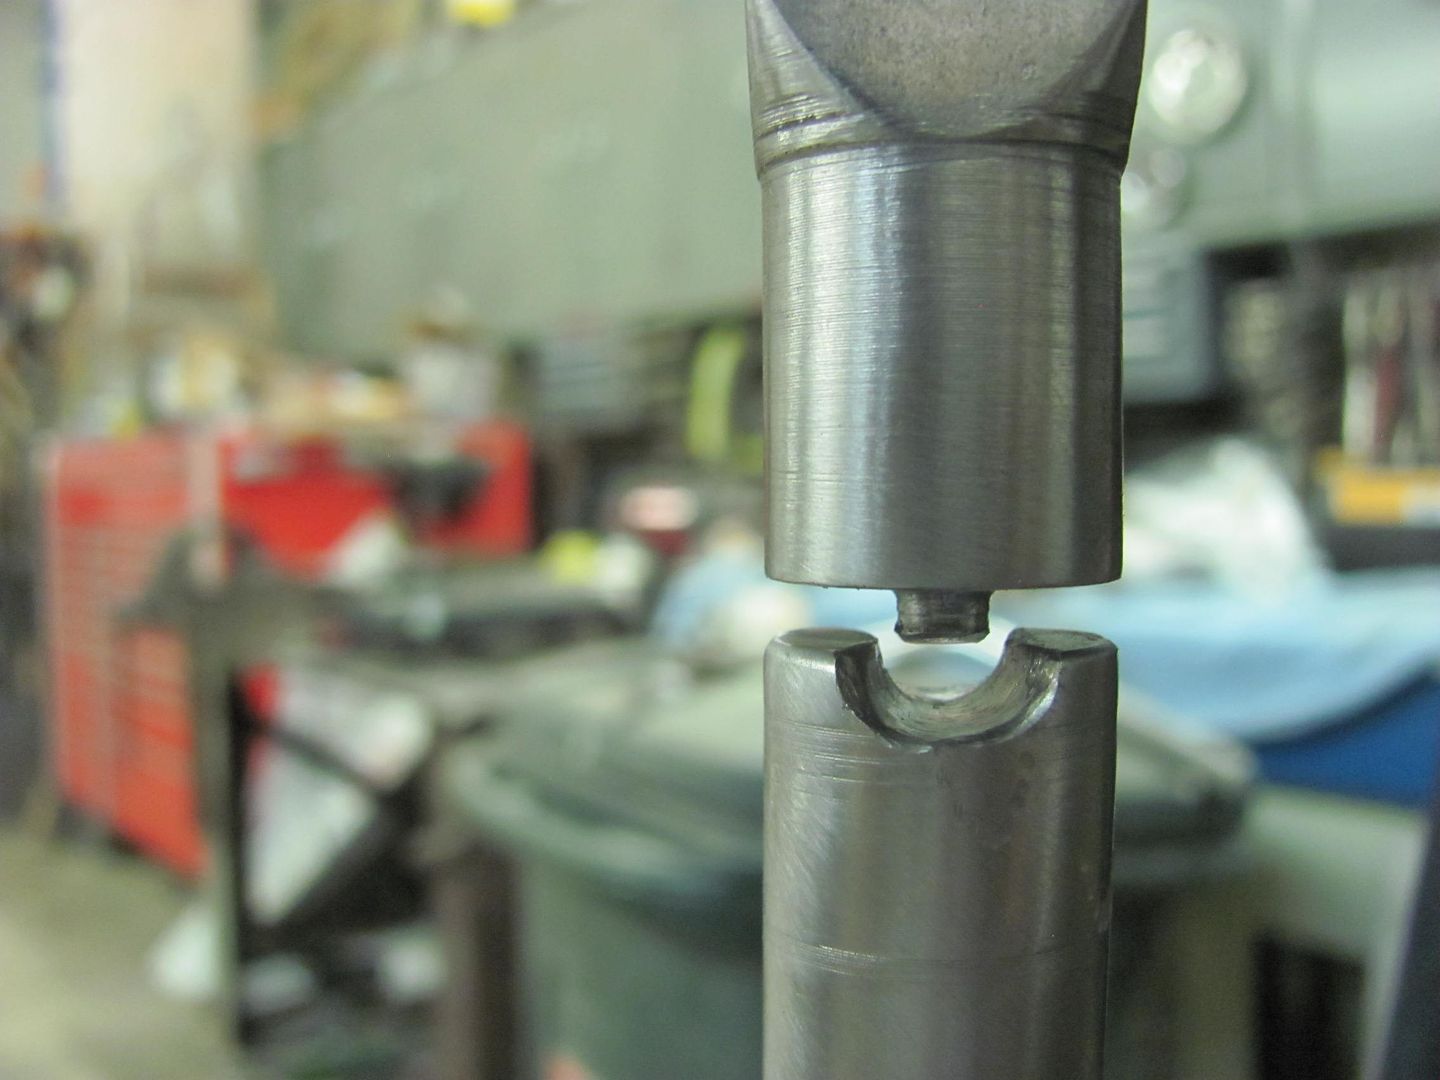
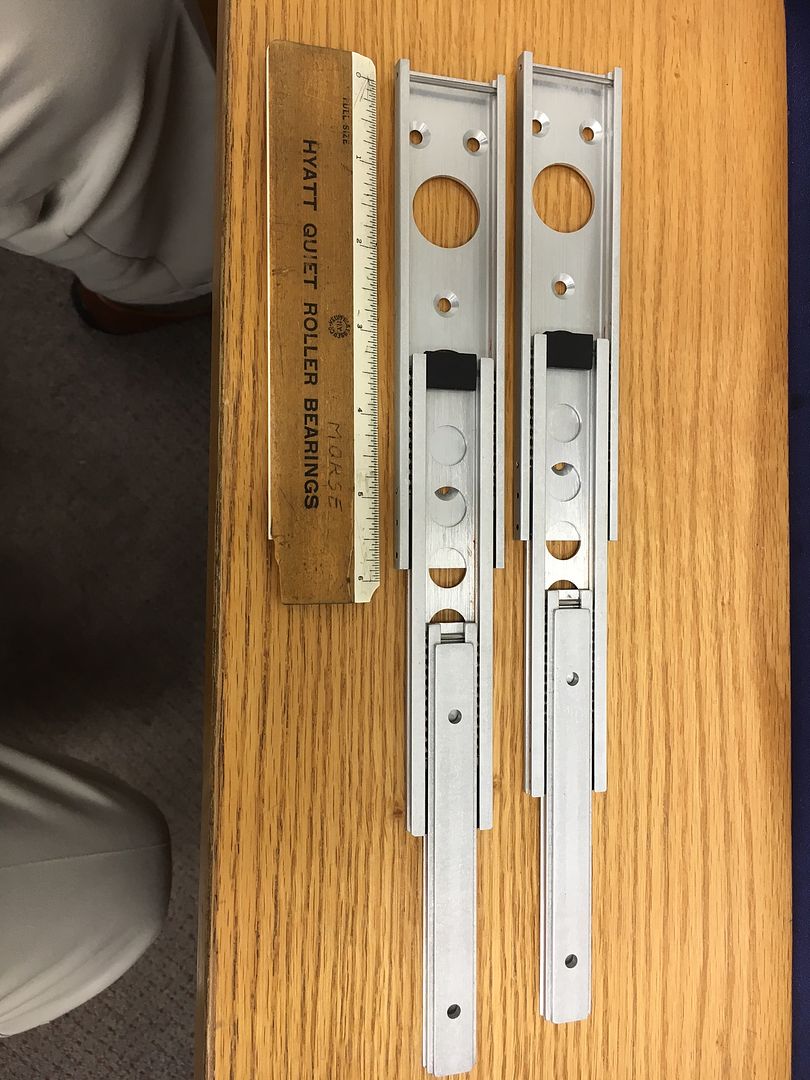
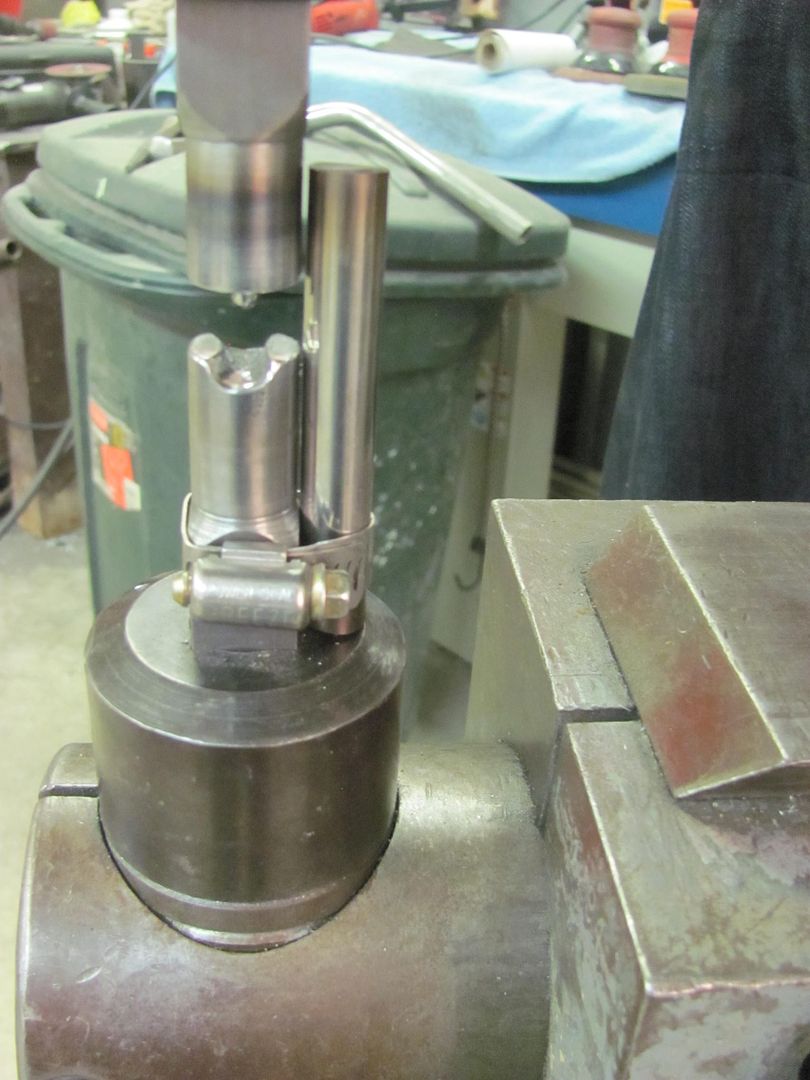
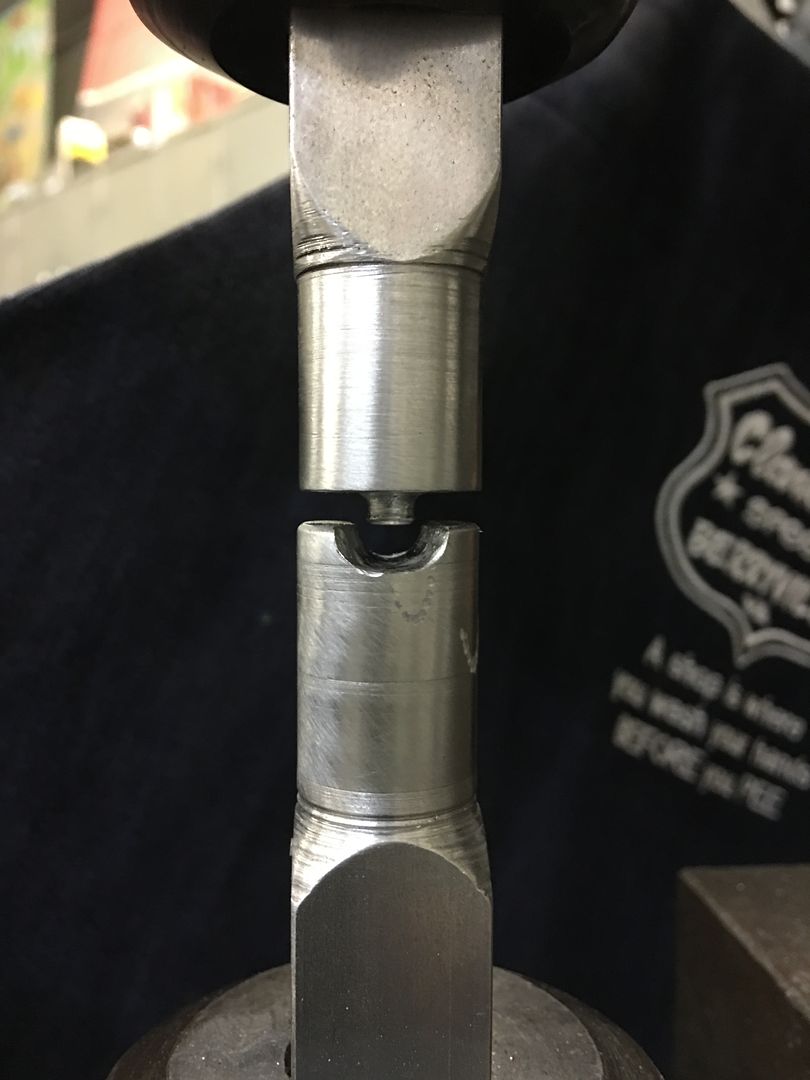
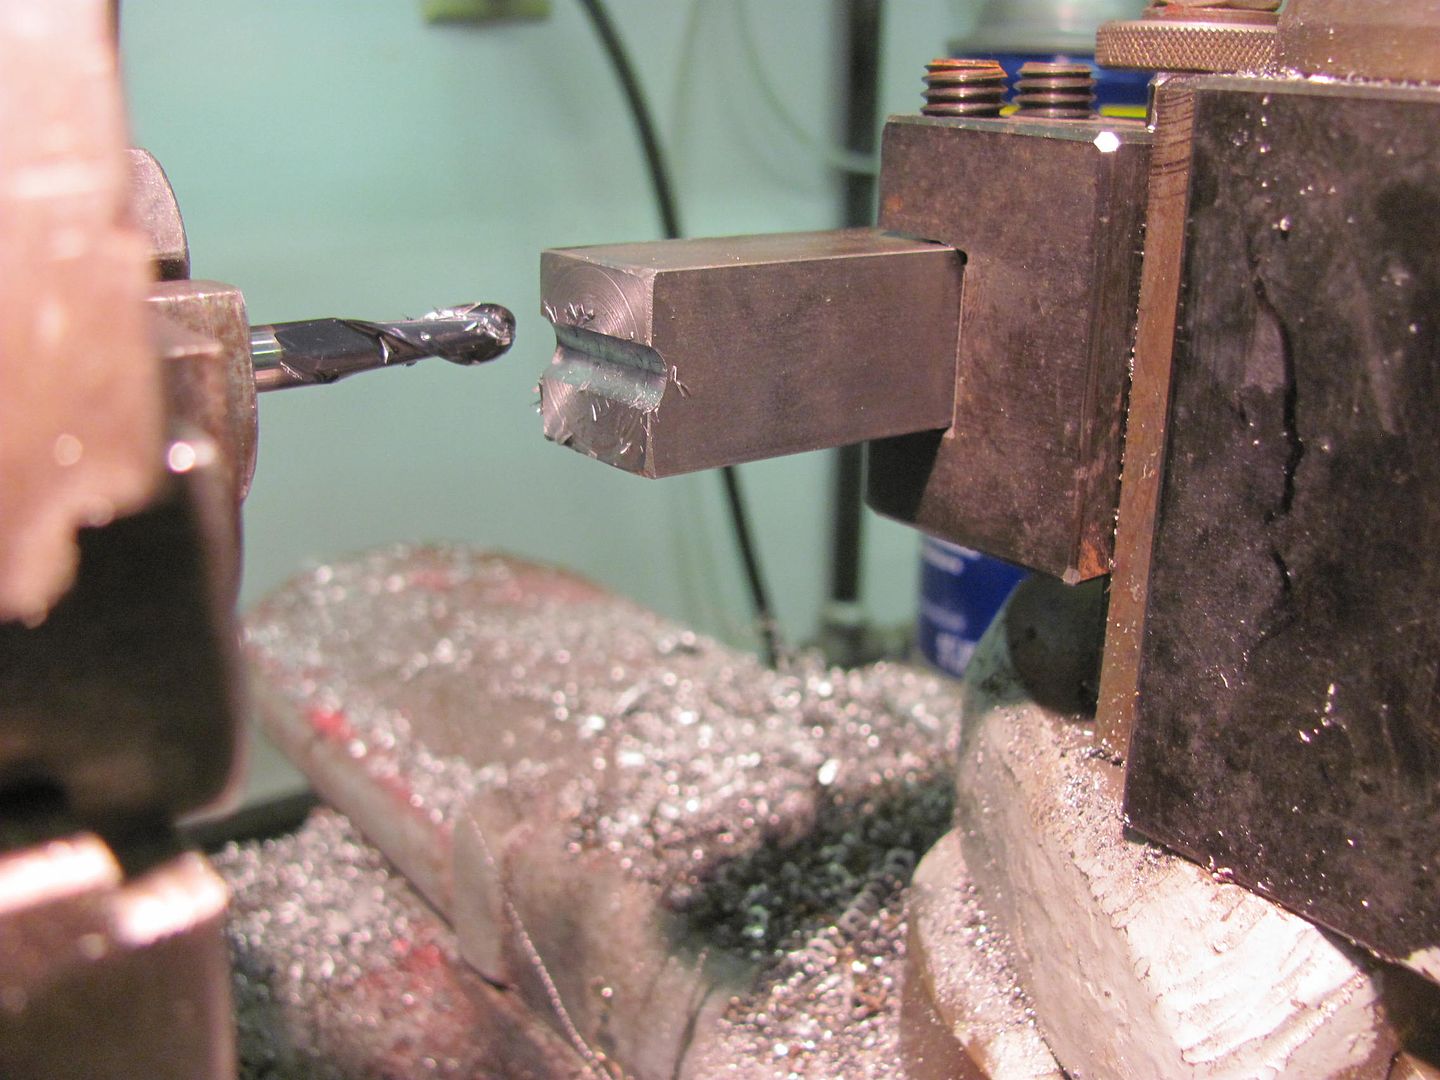
Here we're making the female die in the South Bend milling machine.


Picture%204662.jpg


Ball end milling bit clamped in the chuck, square stock clamped in the Aloris tool holder..


Picture%204664.jpg


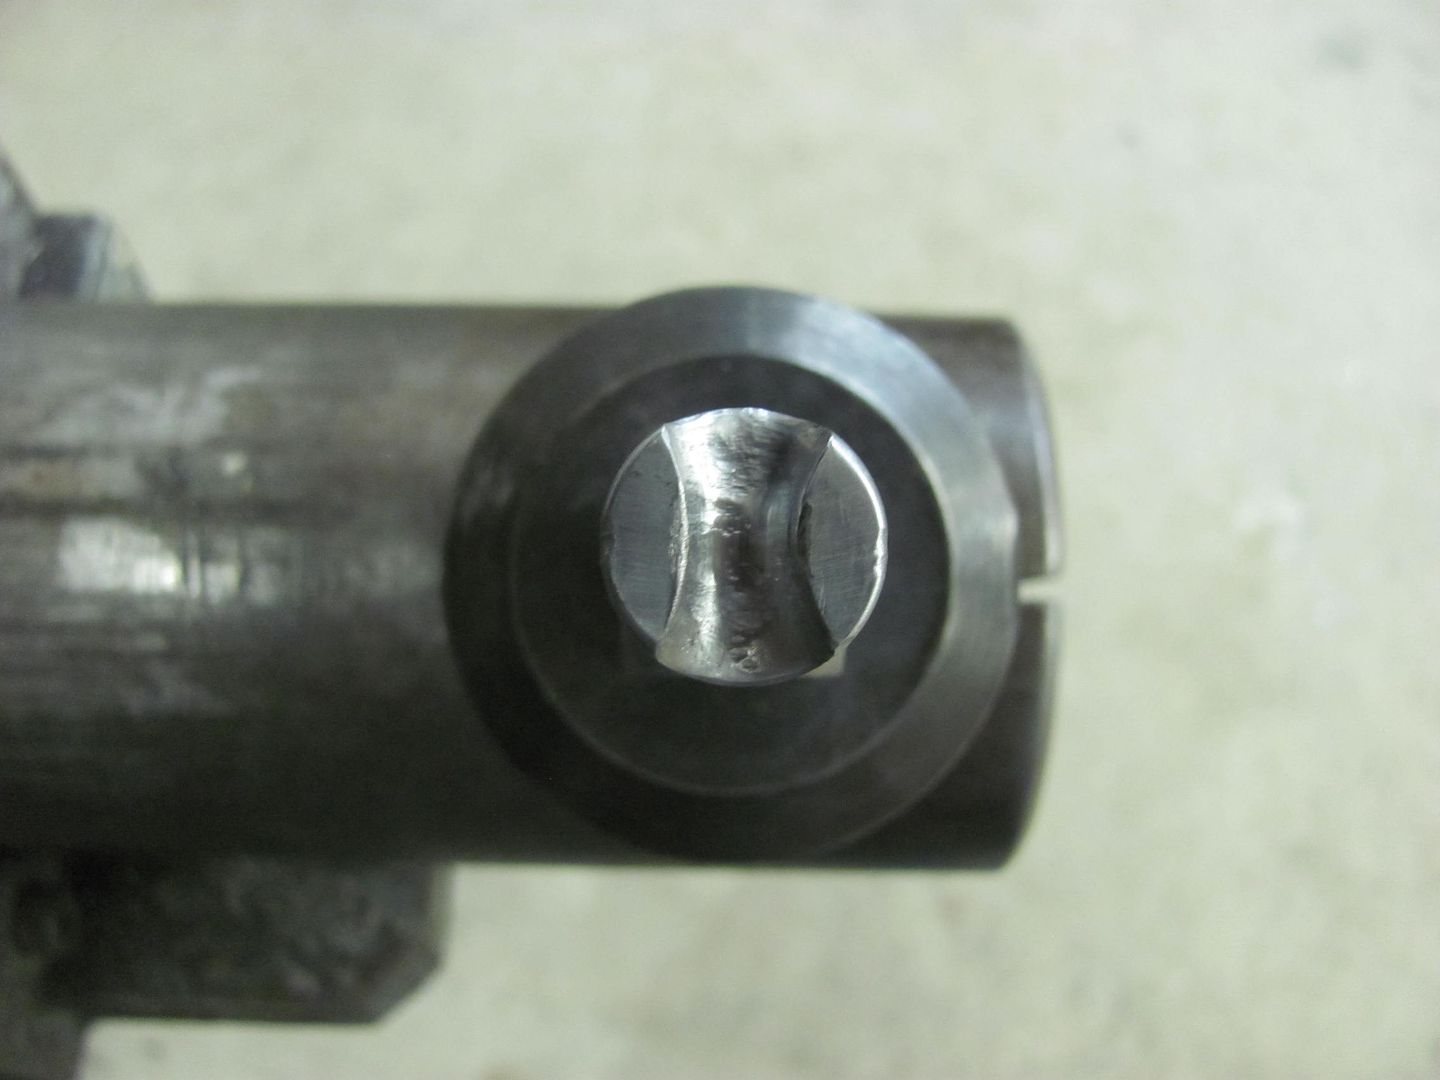
The ends of the tooling was also turned in the lathe to give a nice round feature that will work better for use with a guide.
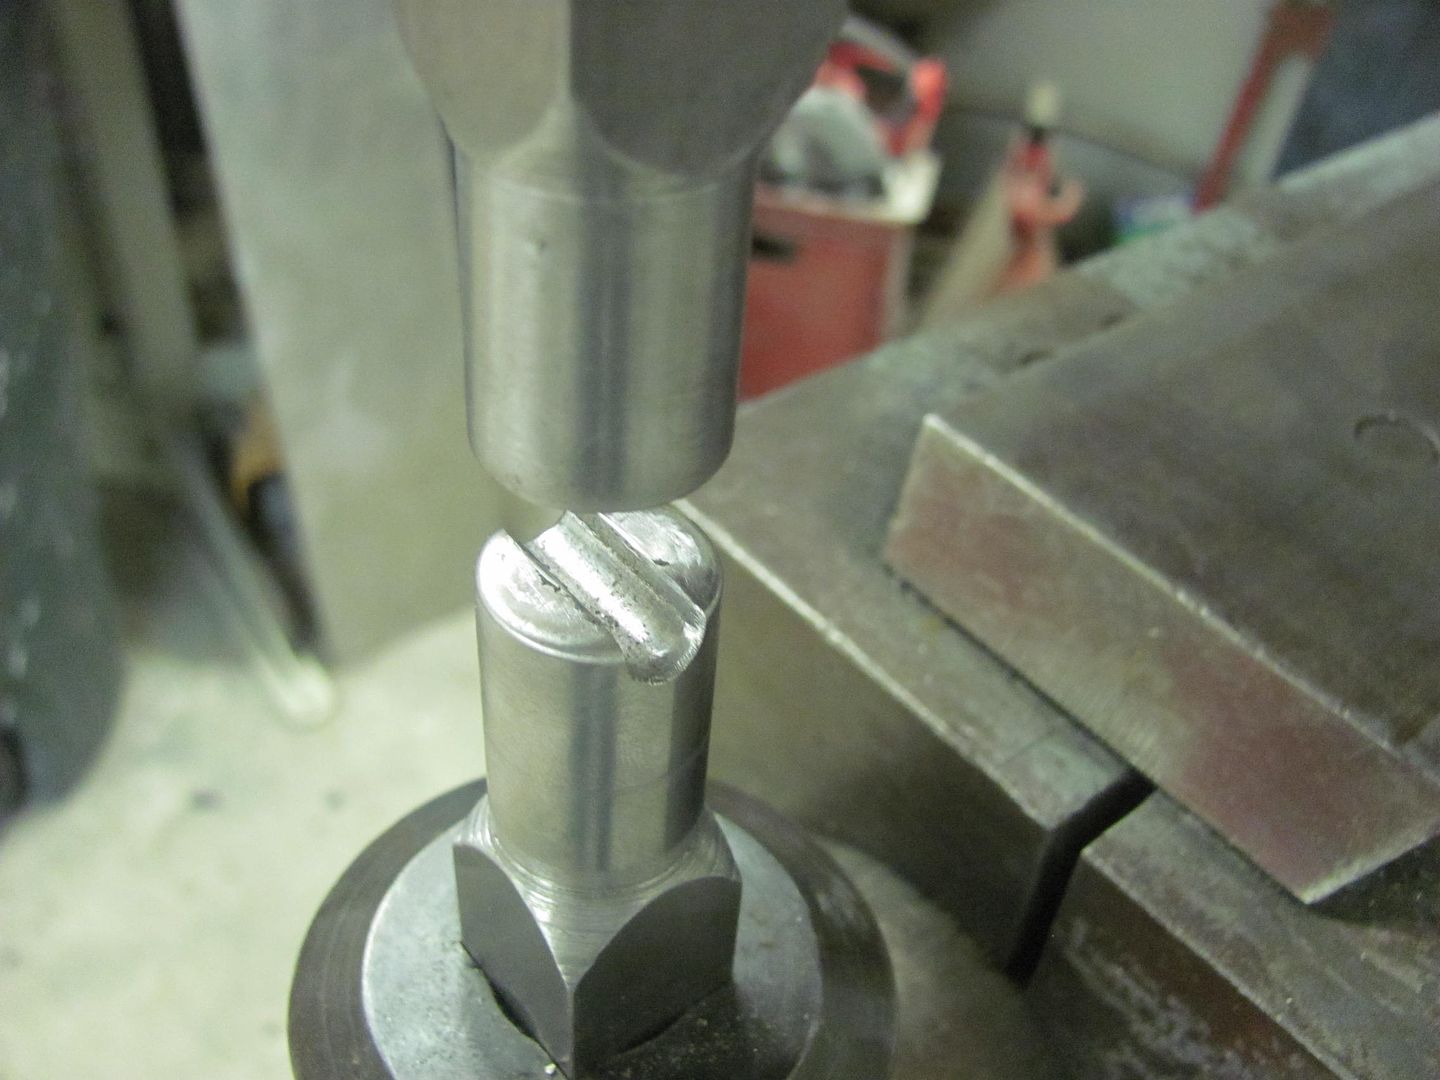
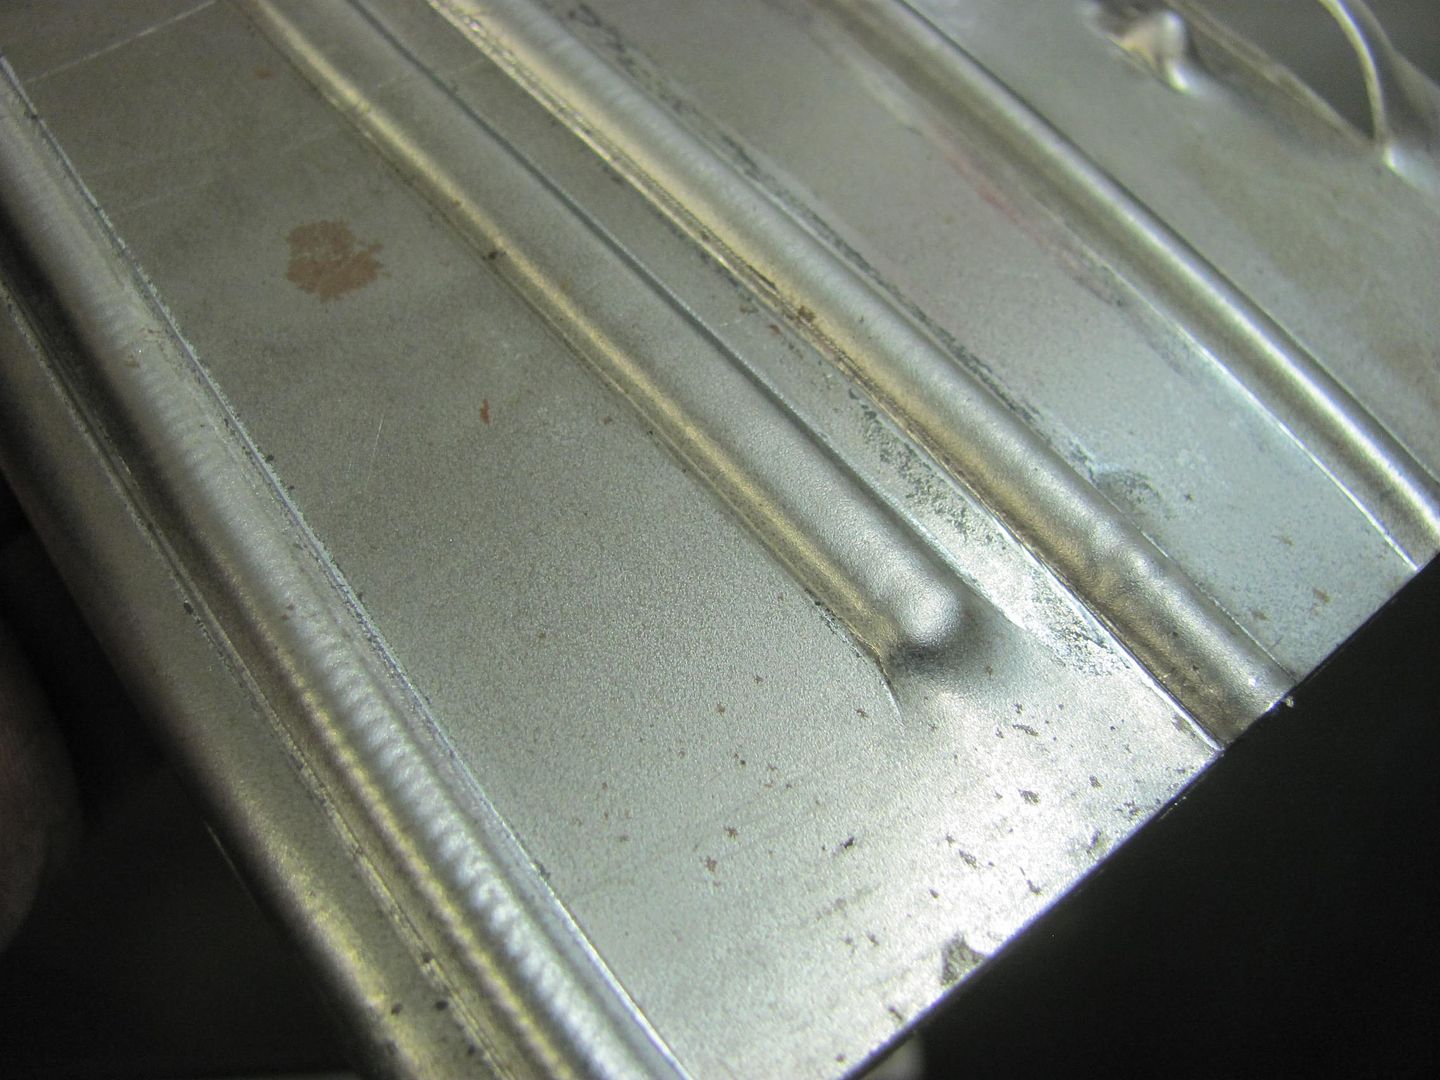
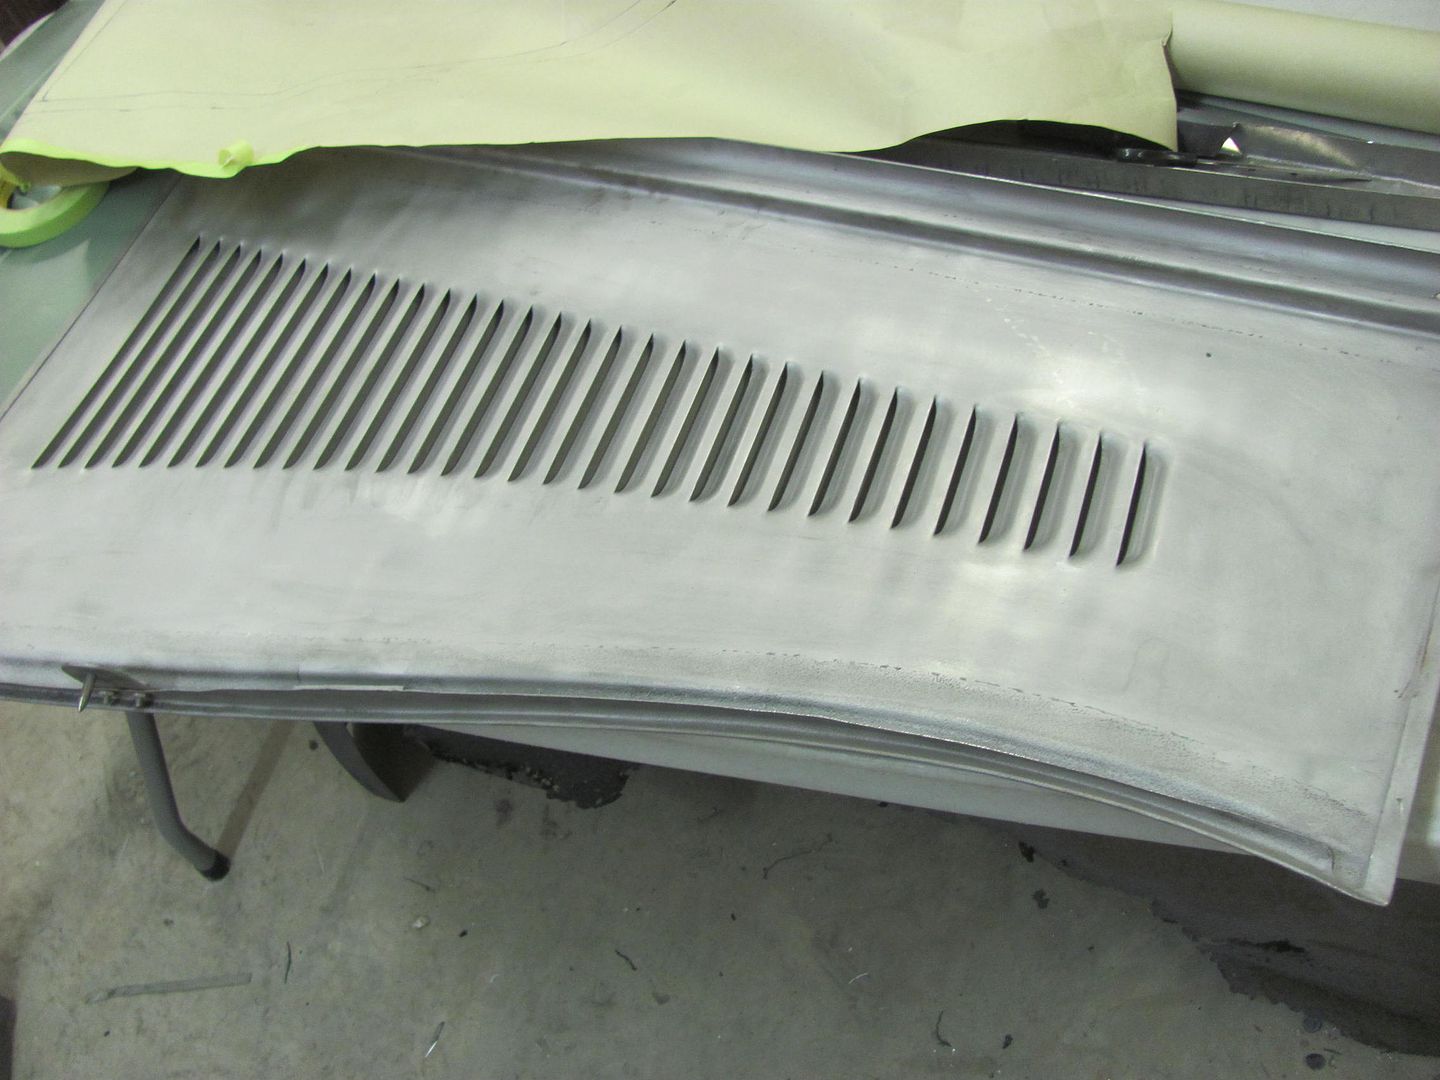
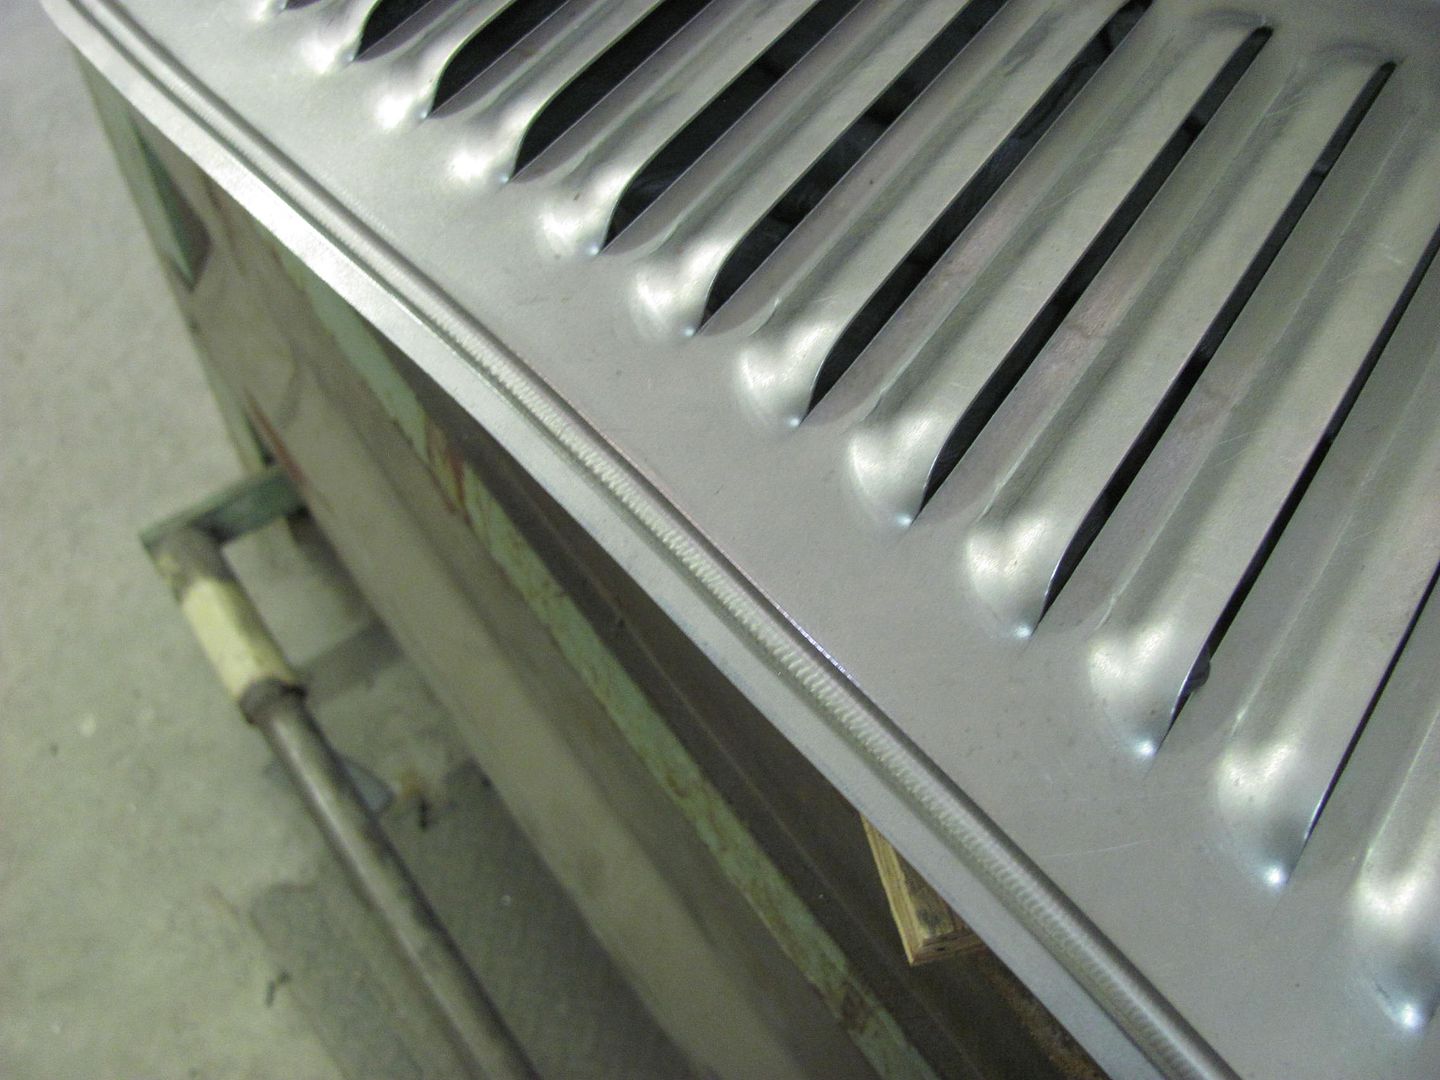
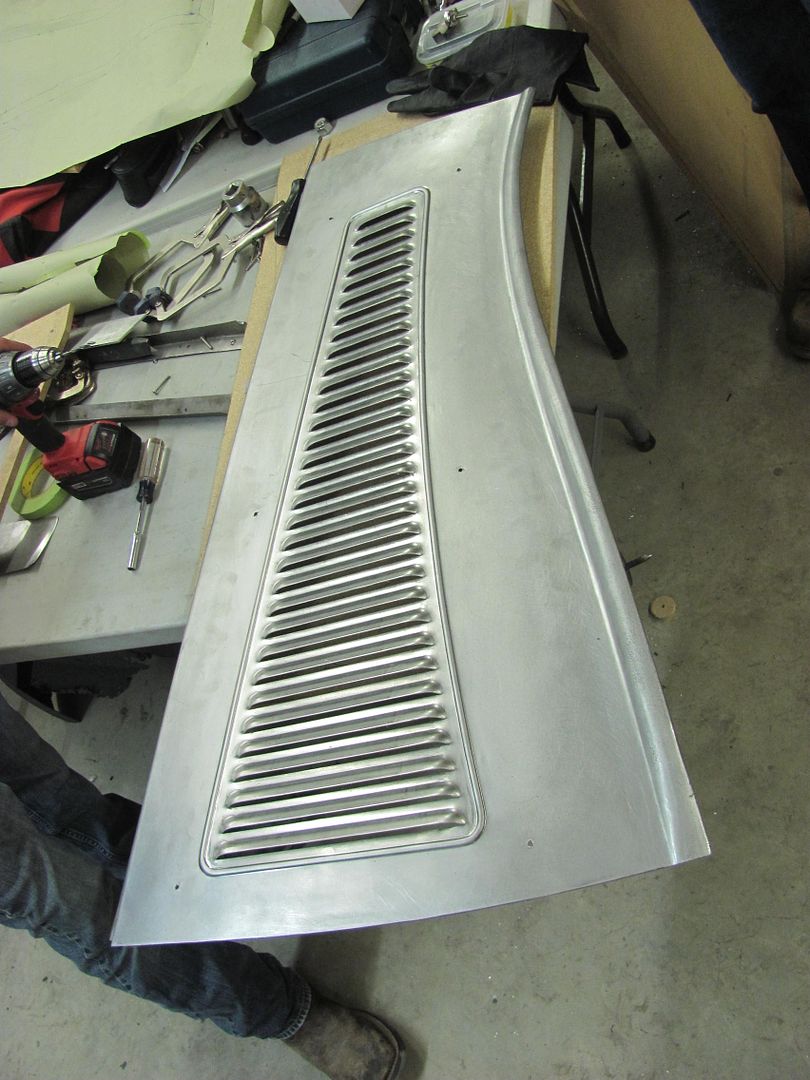
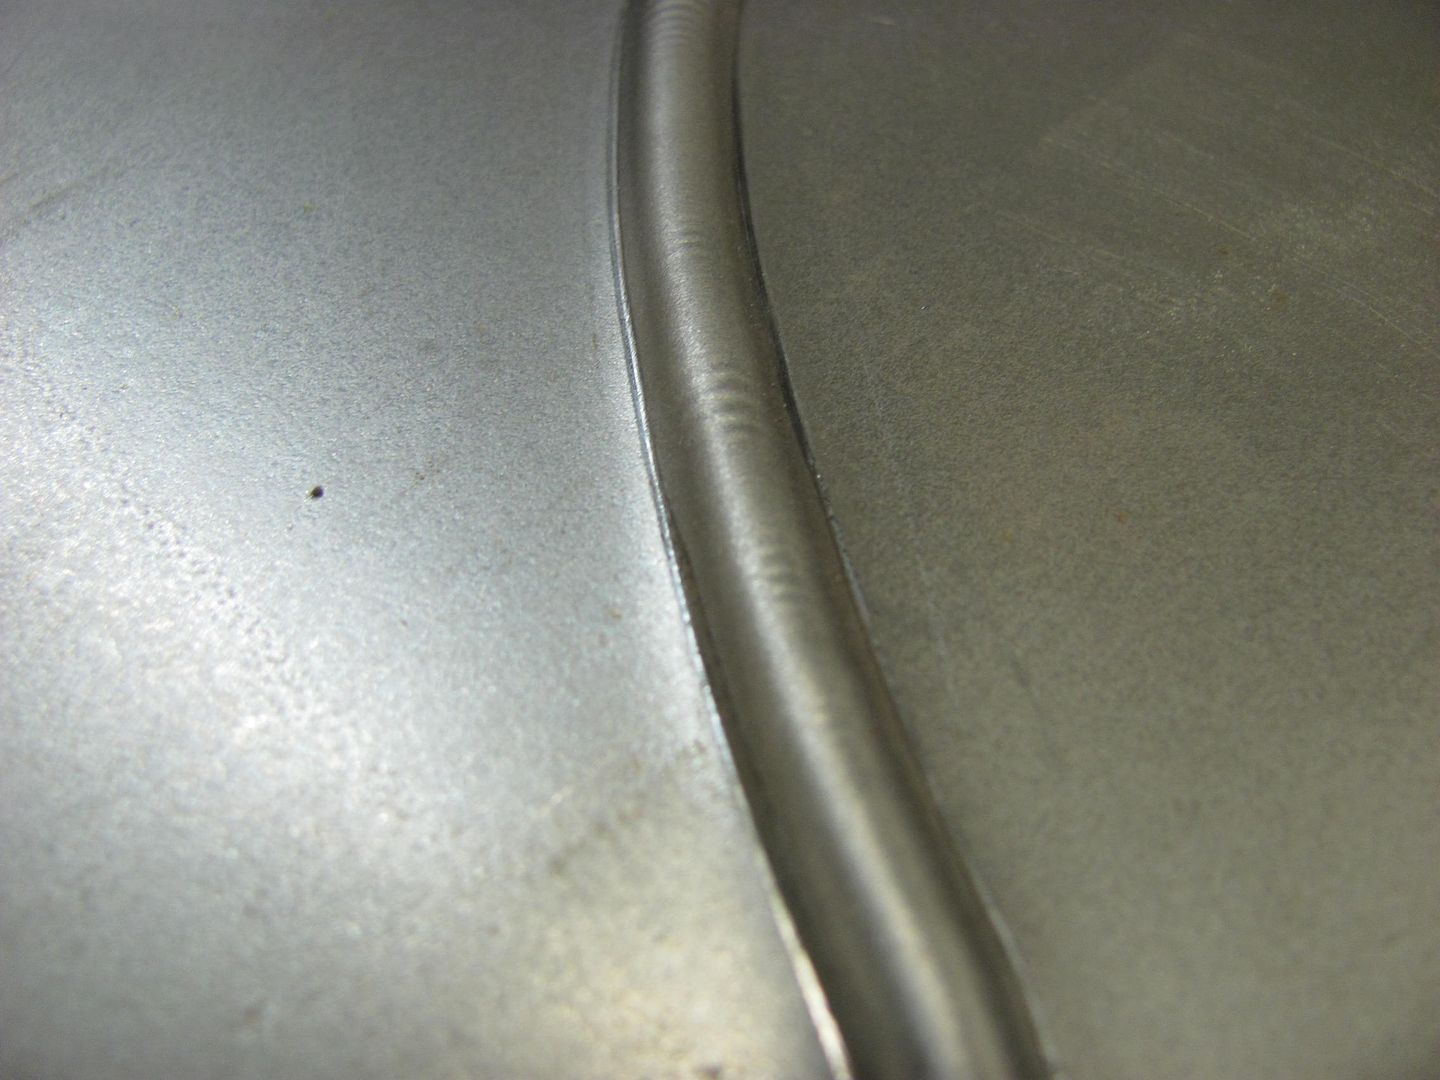

Picture%204665.jpg


Picture%204667.jpg


Picture%204666.jpg


Test run...


Picture%204668.jpg


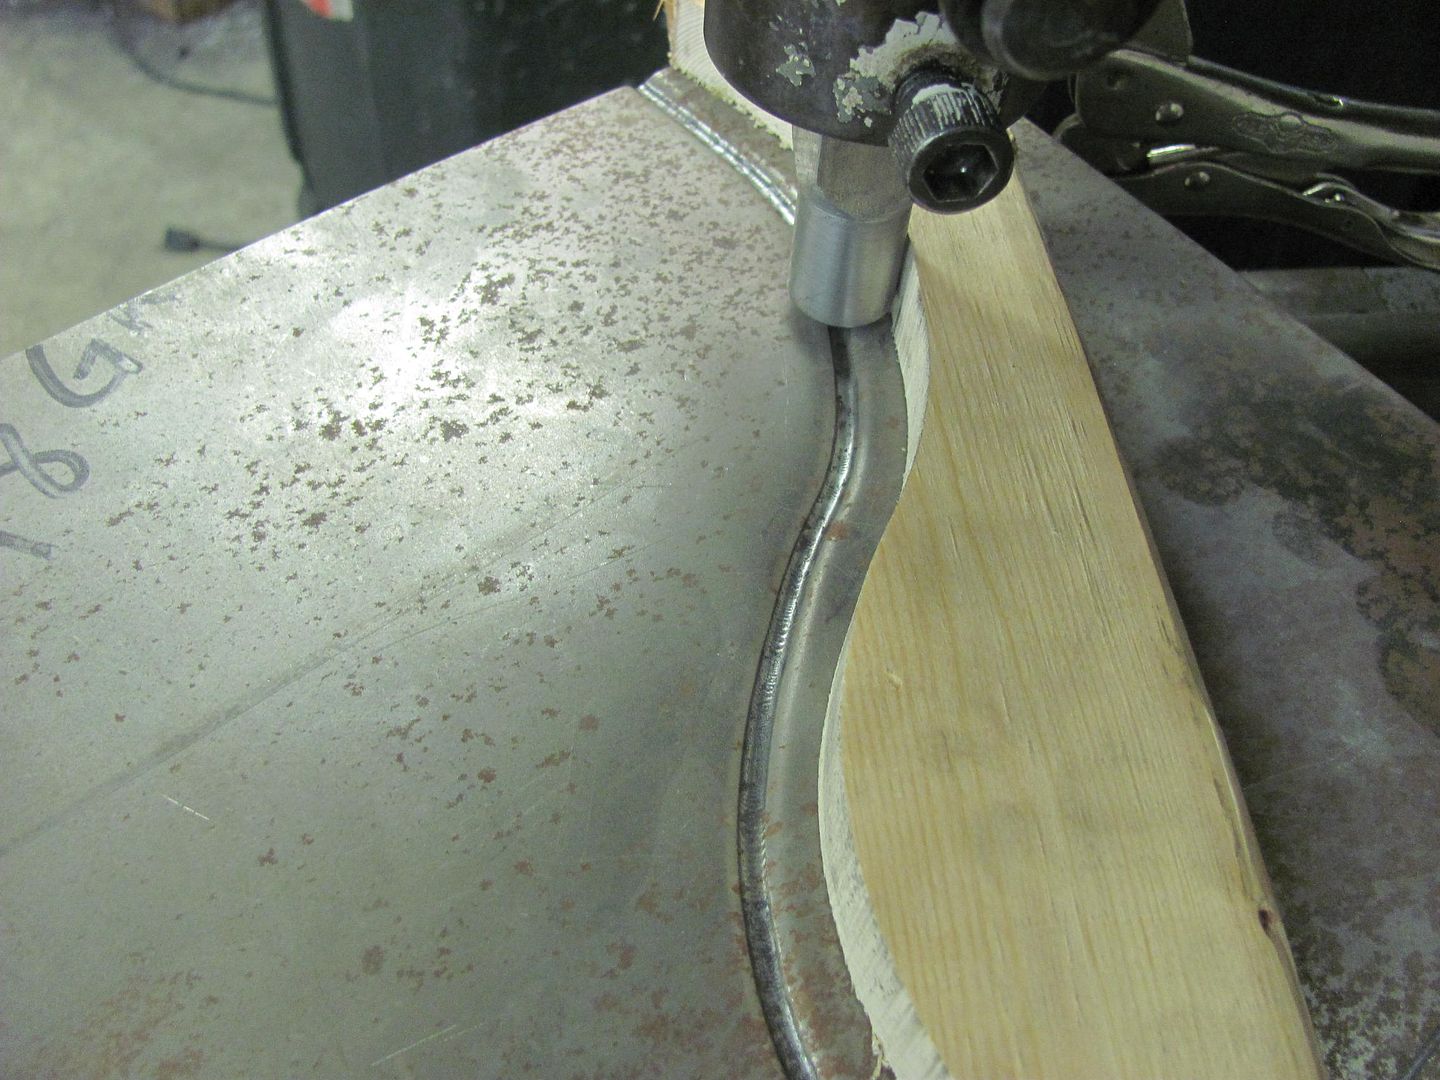
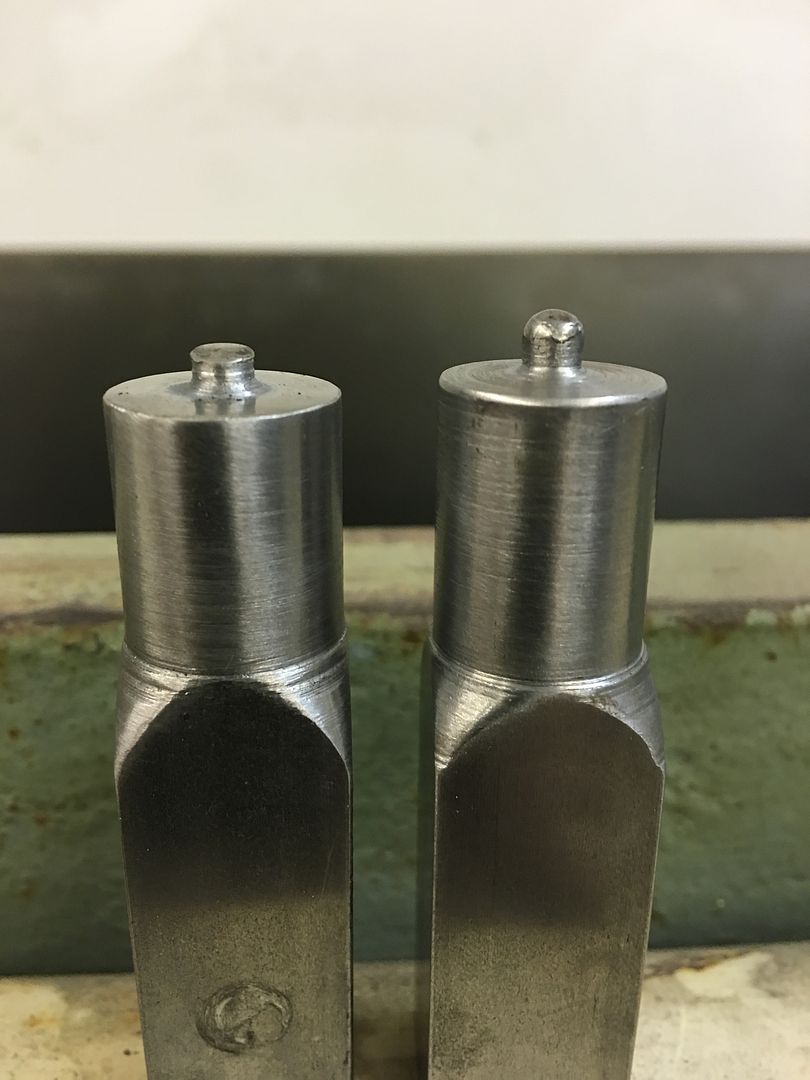
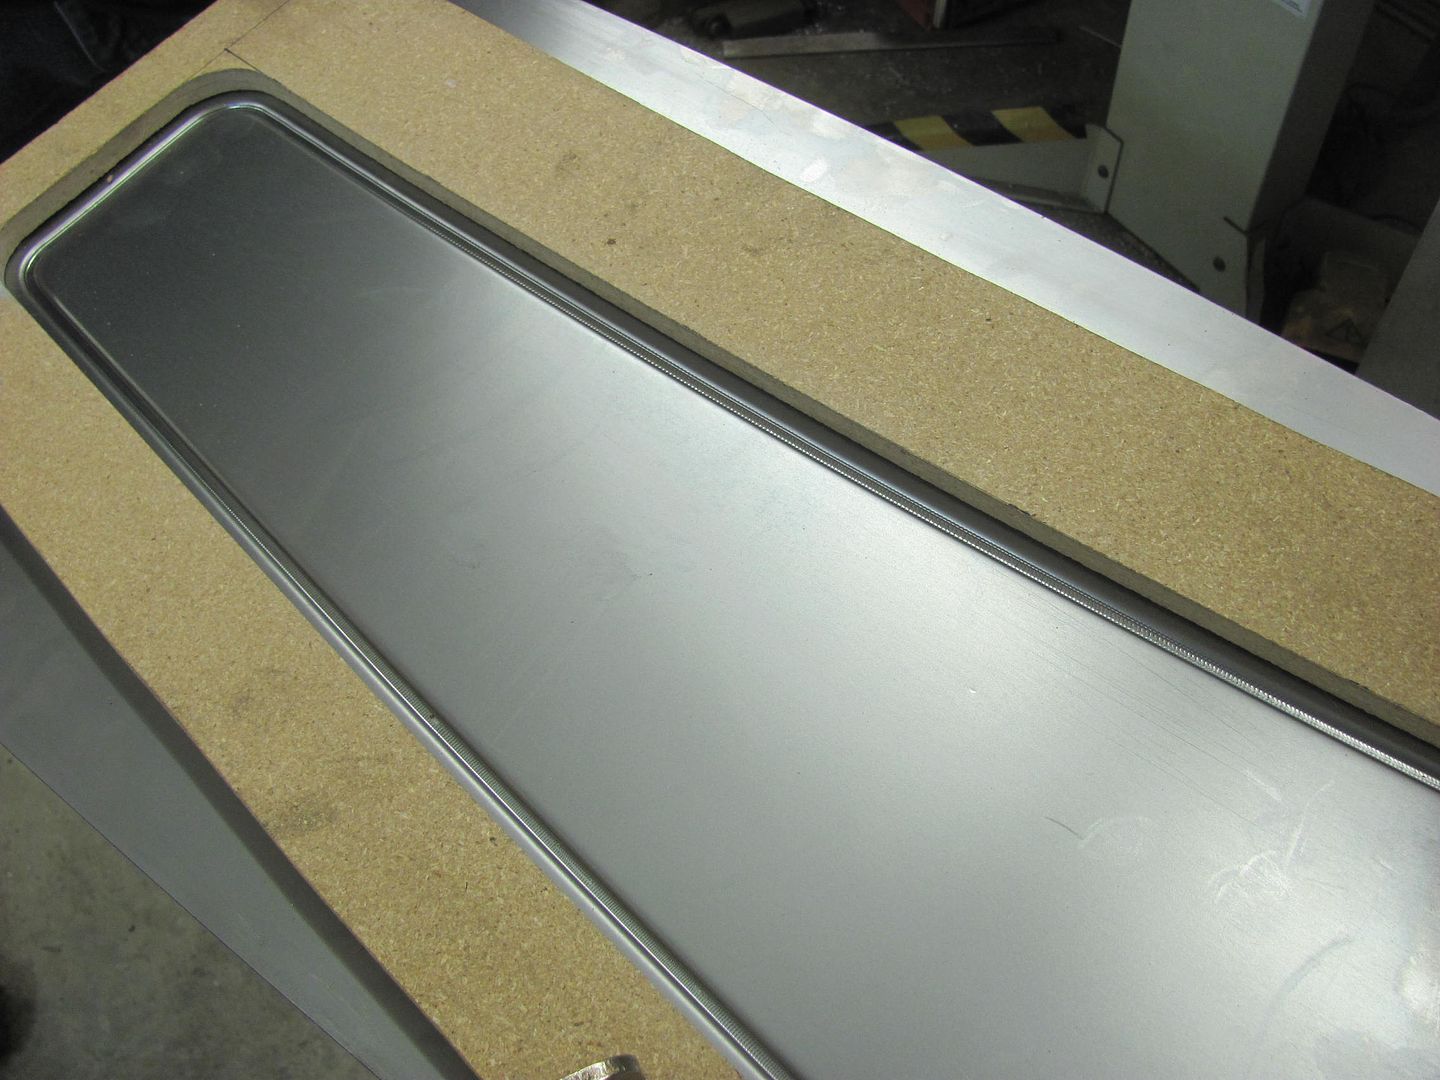
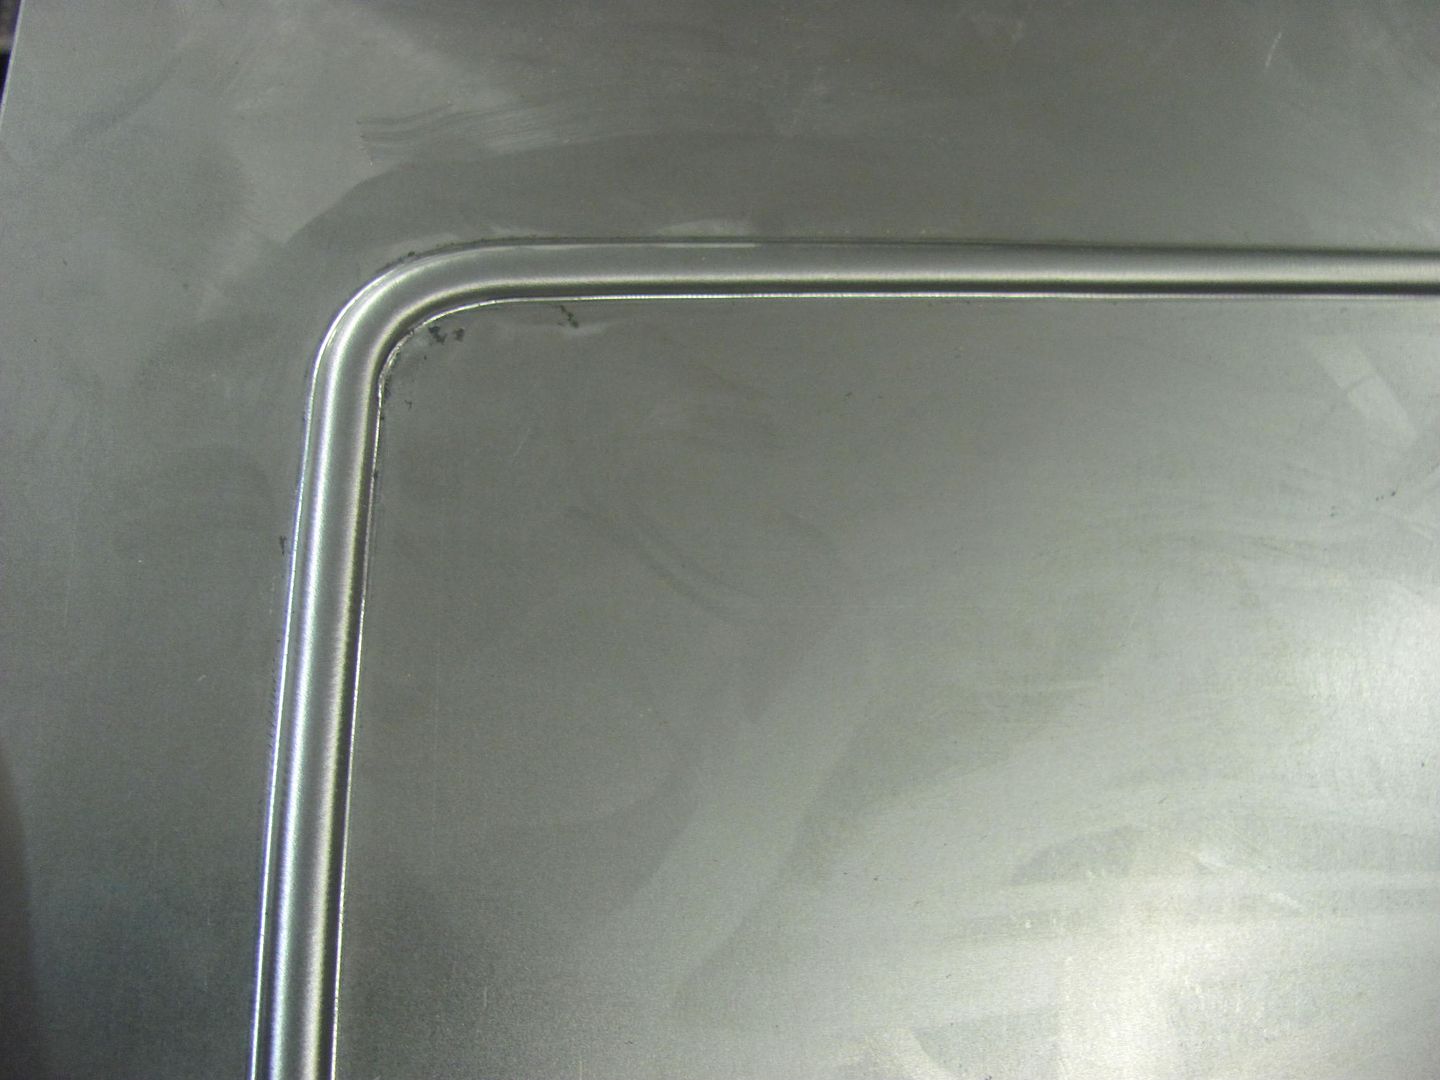
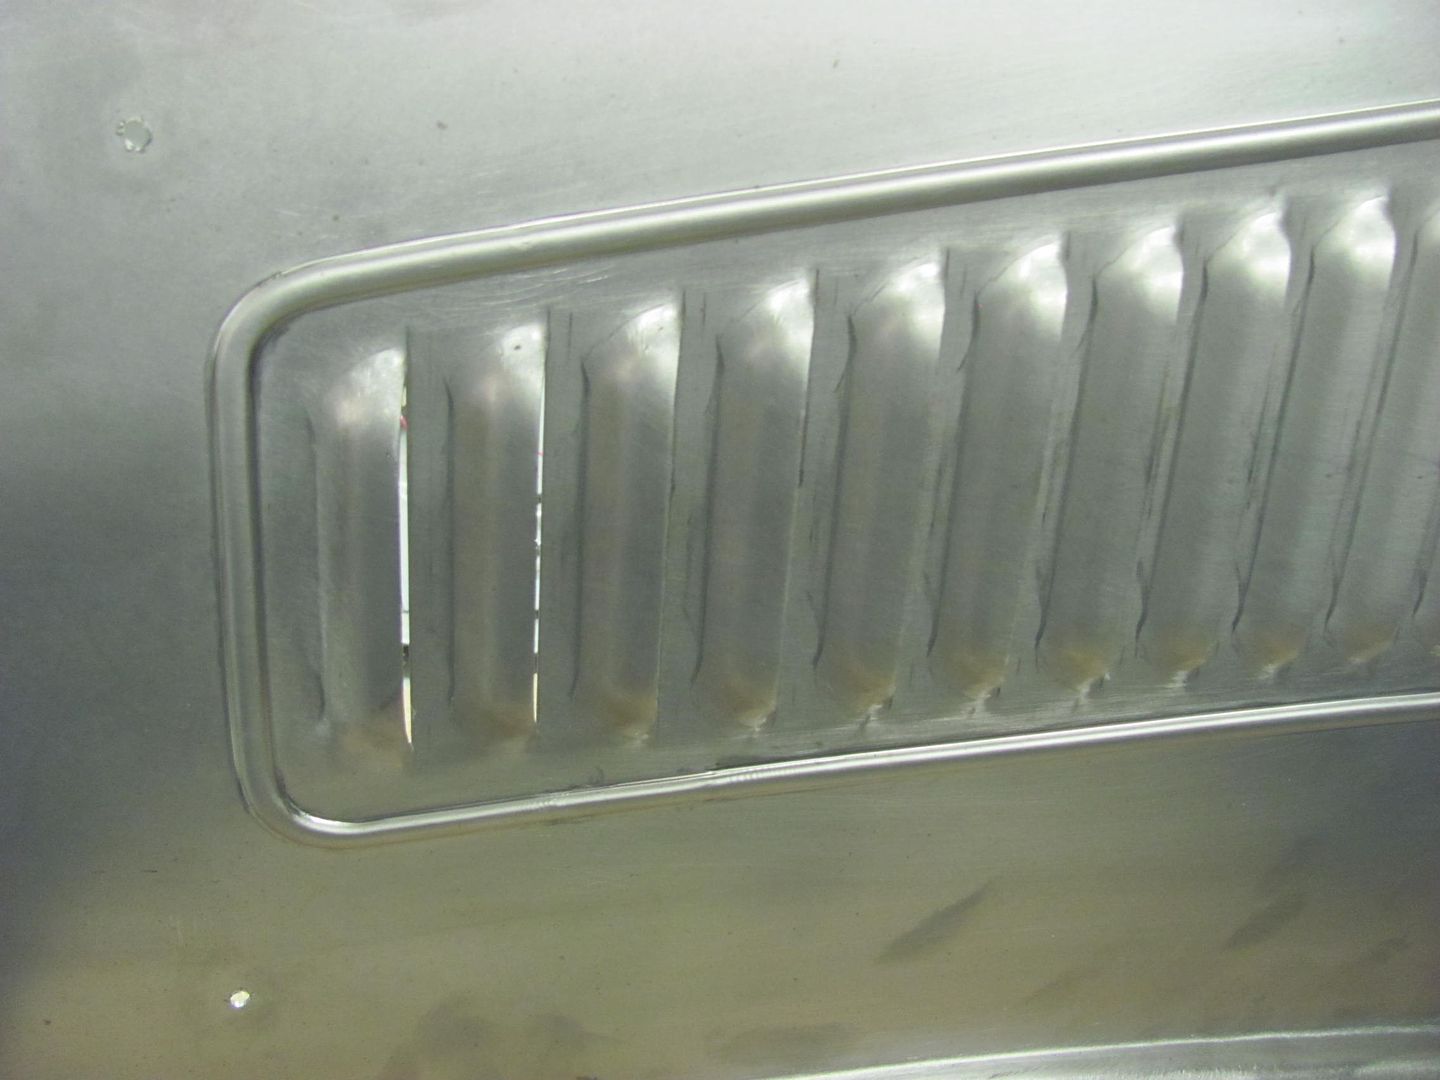
Nice crisp lines, the "chatter" should be cleaned up if I can get the feed speed more consistent. The small diameter of the upper die's "punch" provides the needed stretch, with the downside being the marking from too fast of a feed speed. Making the upper die in more of an oval shape will eliminate most of the marking, but it won't stretch as well.. To keep from losing panel crown, stretch is our preference here..


Picture%204669.jpg


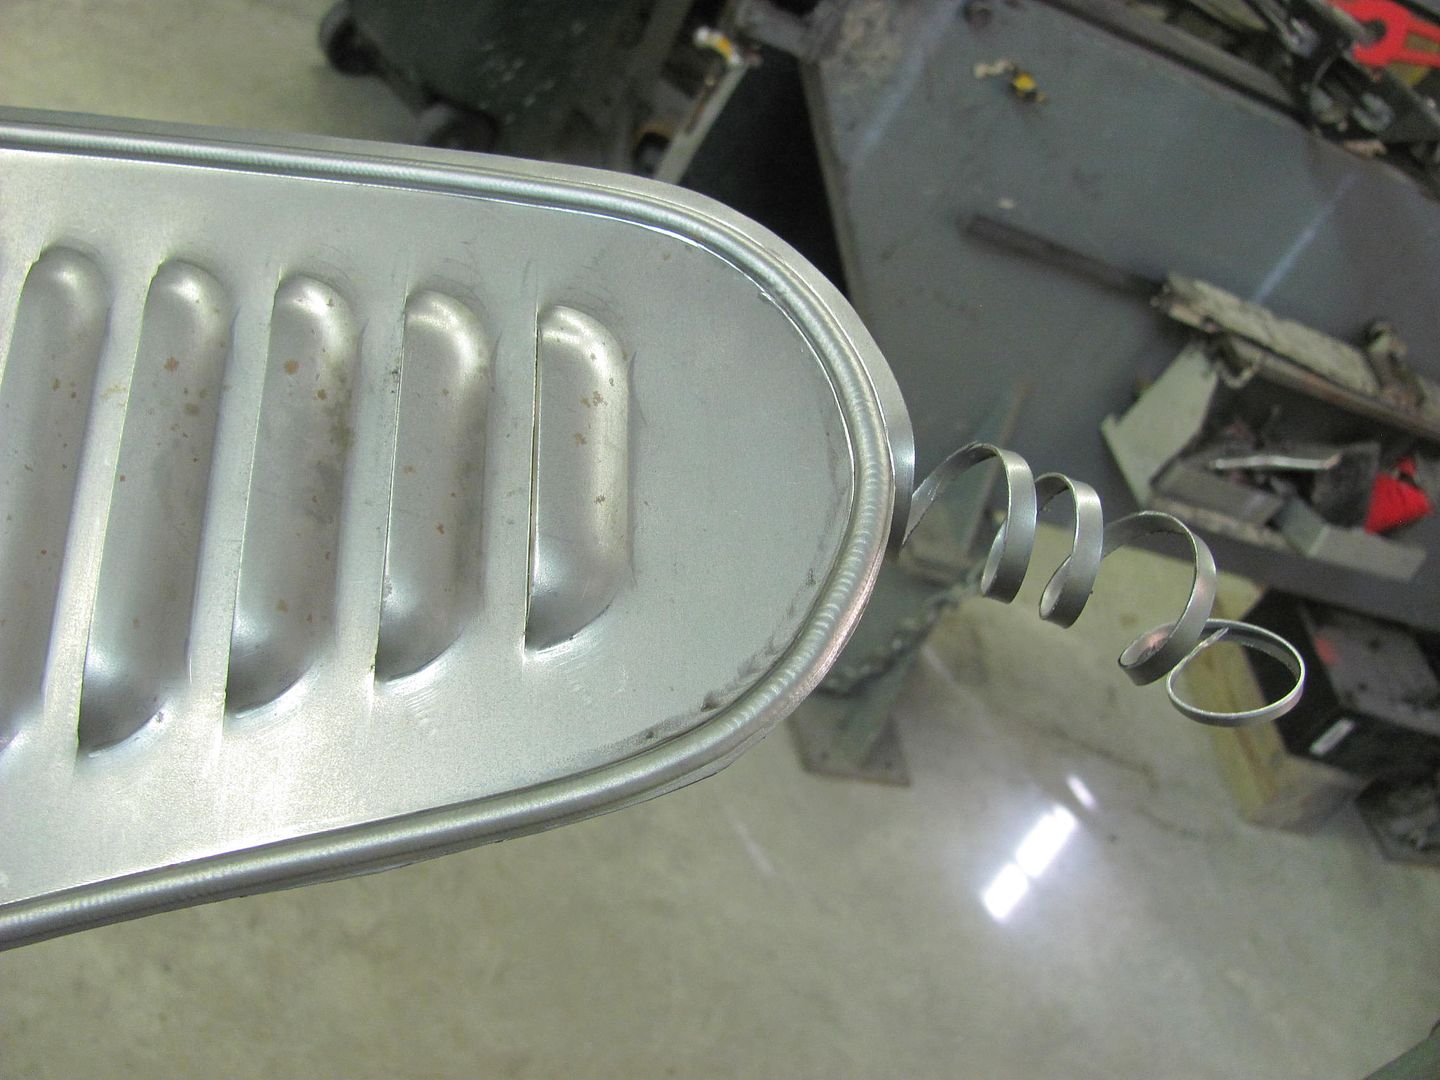
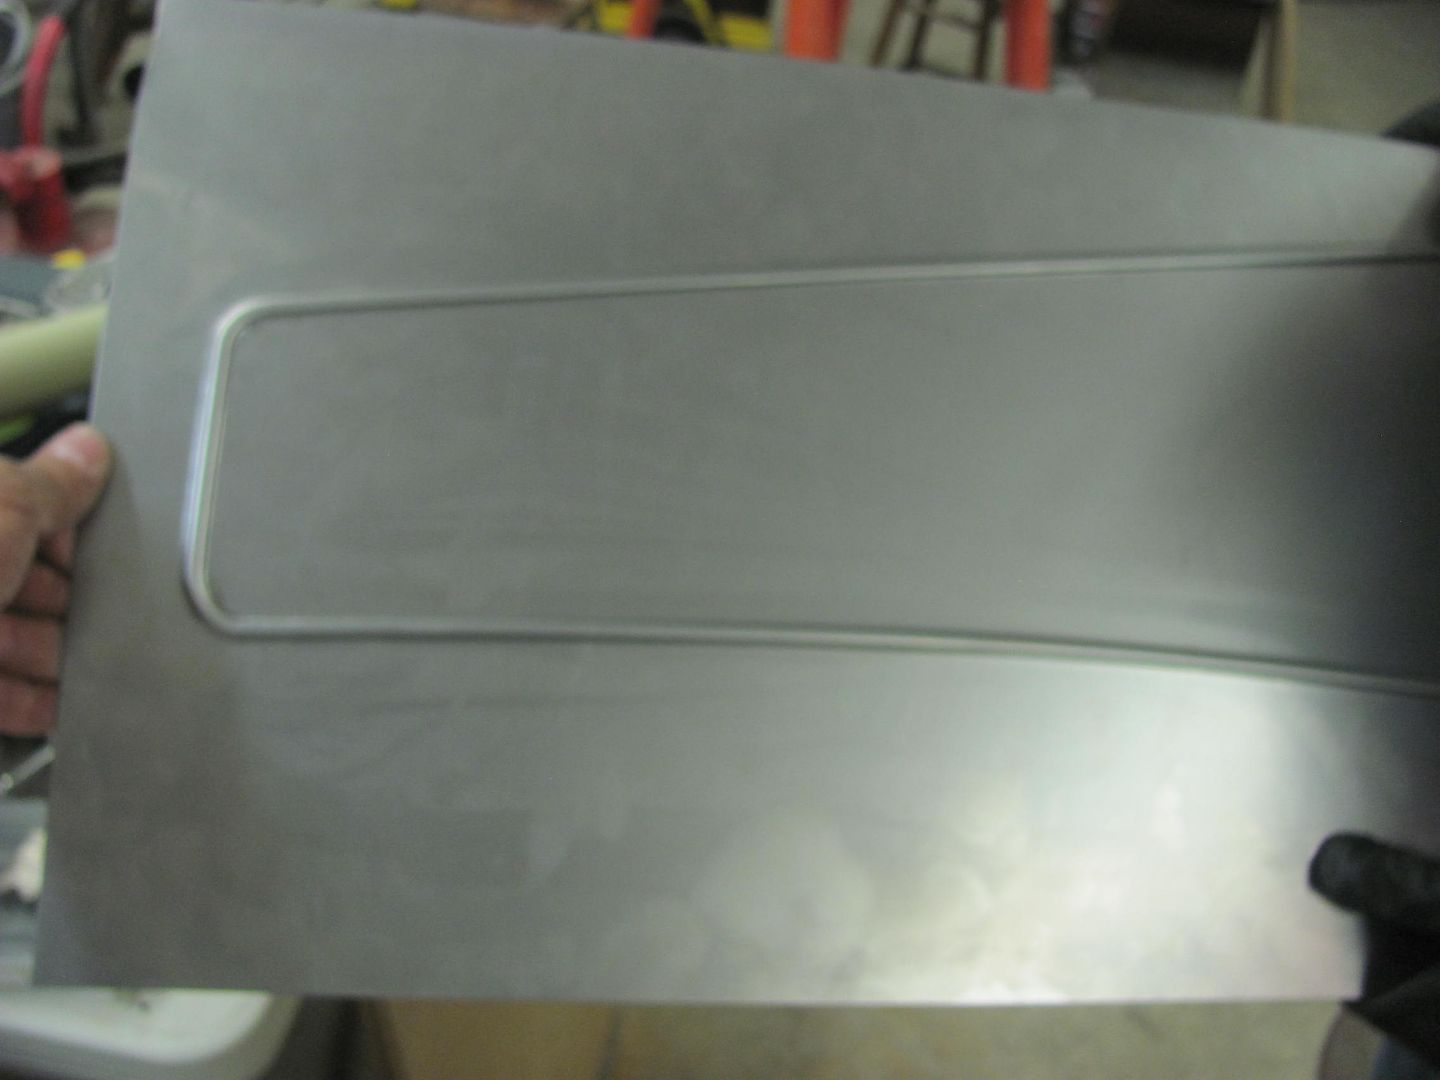
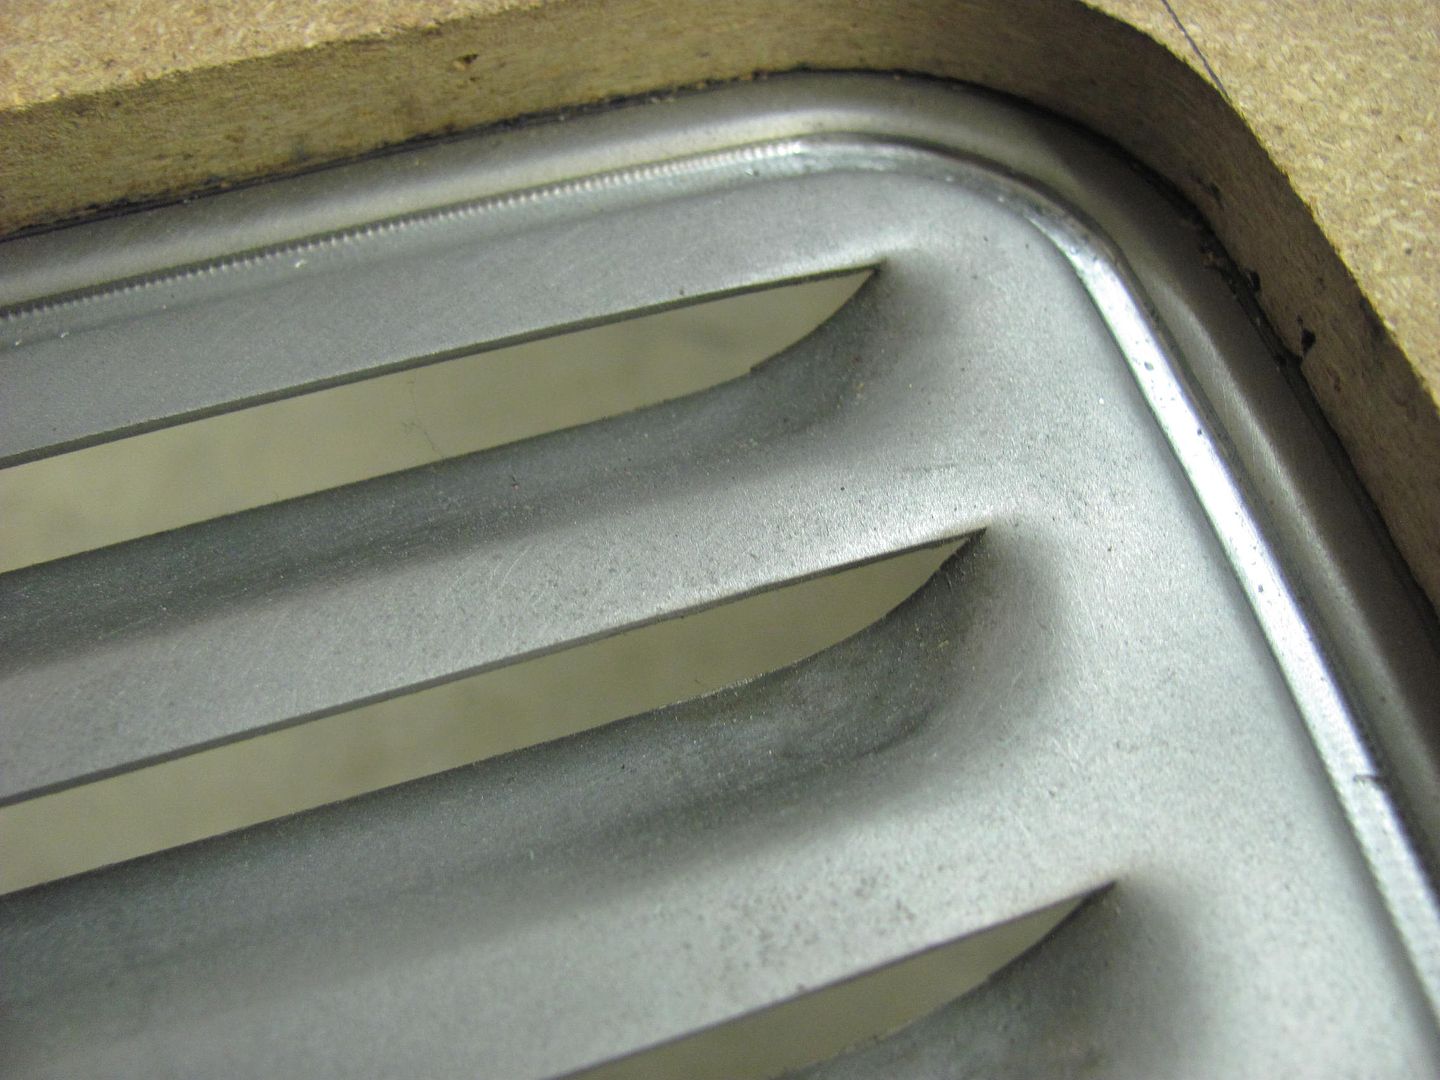
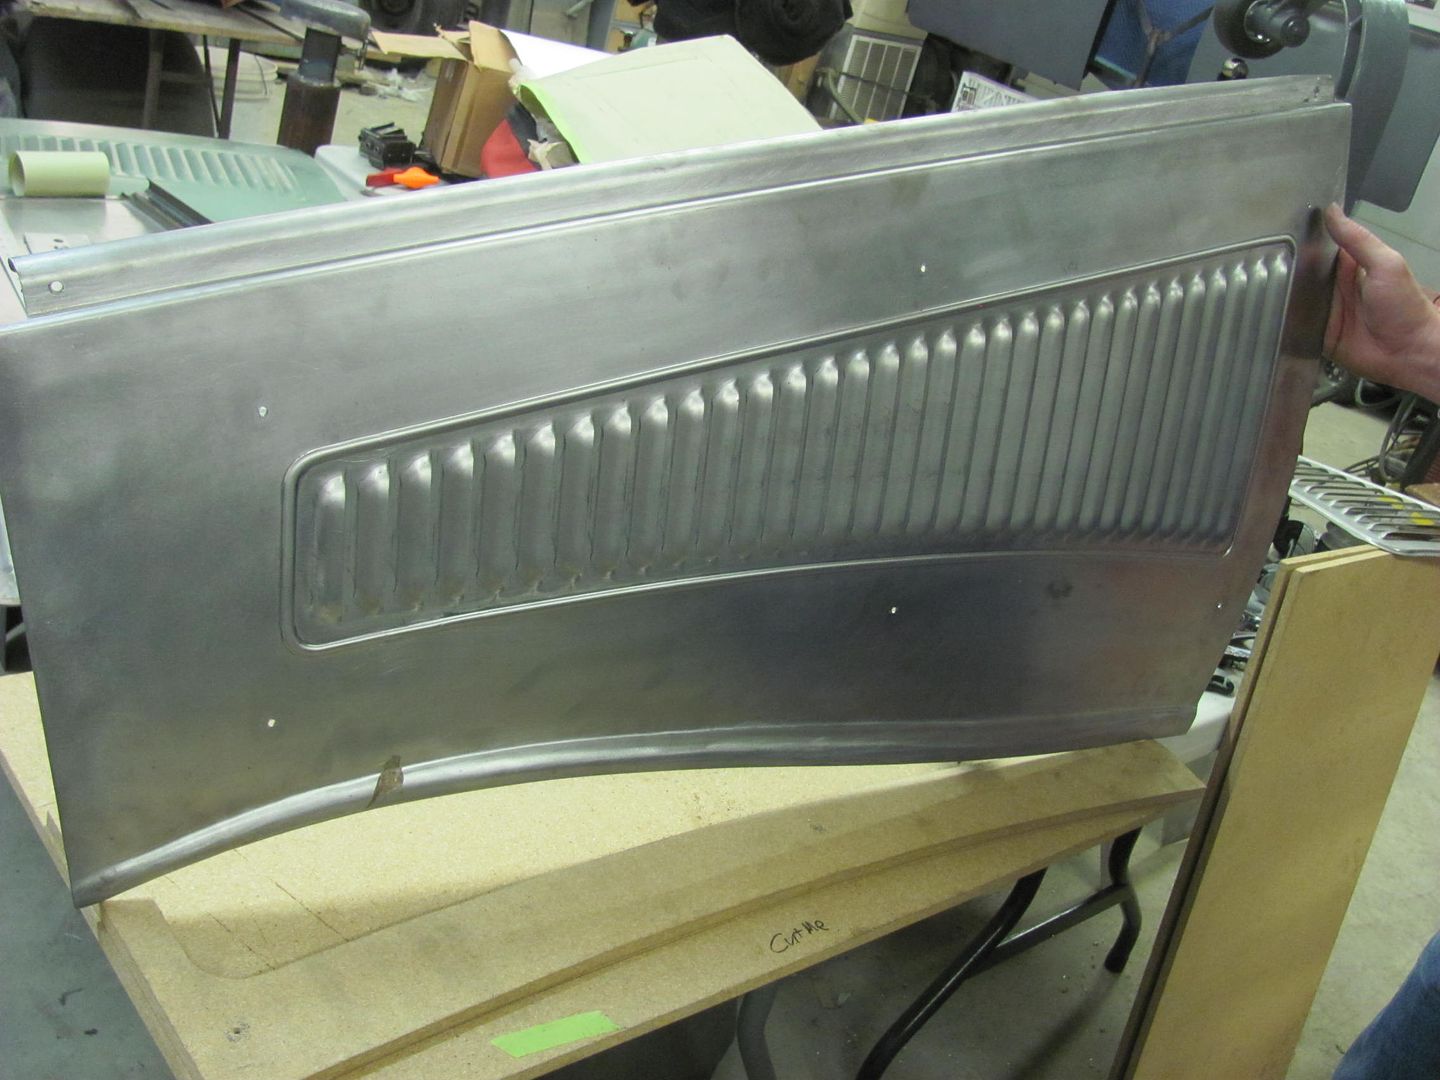
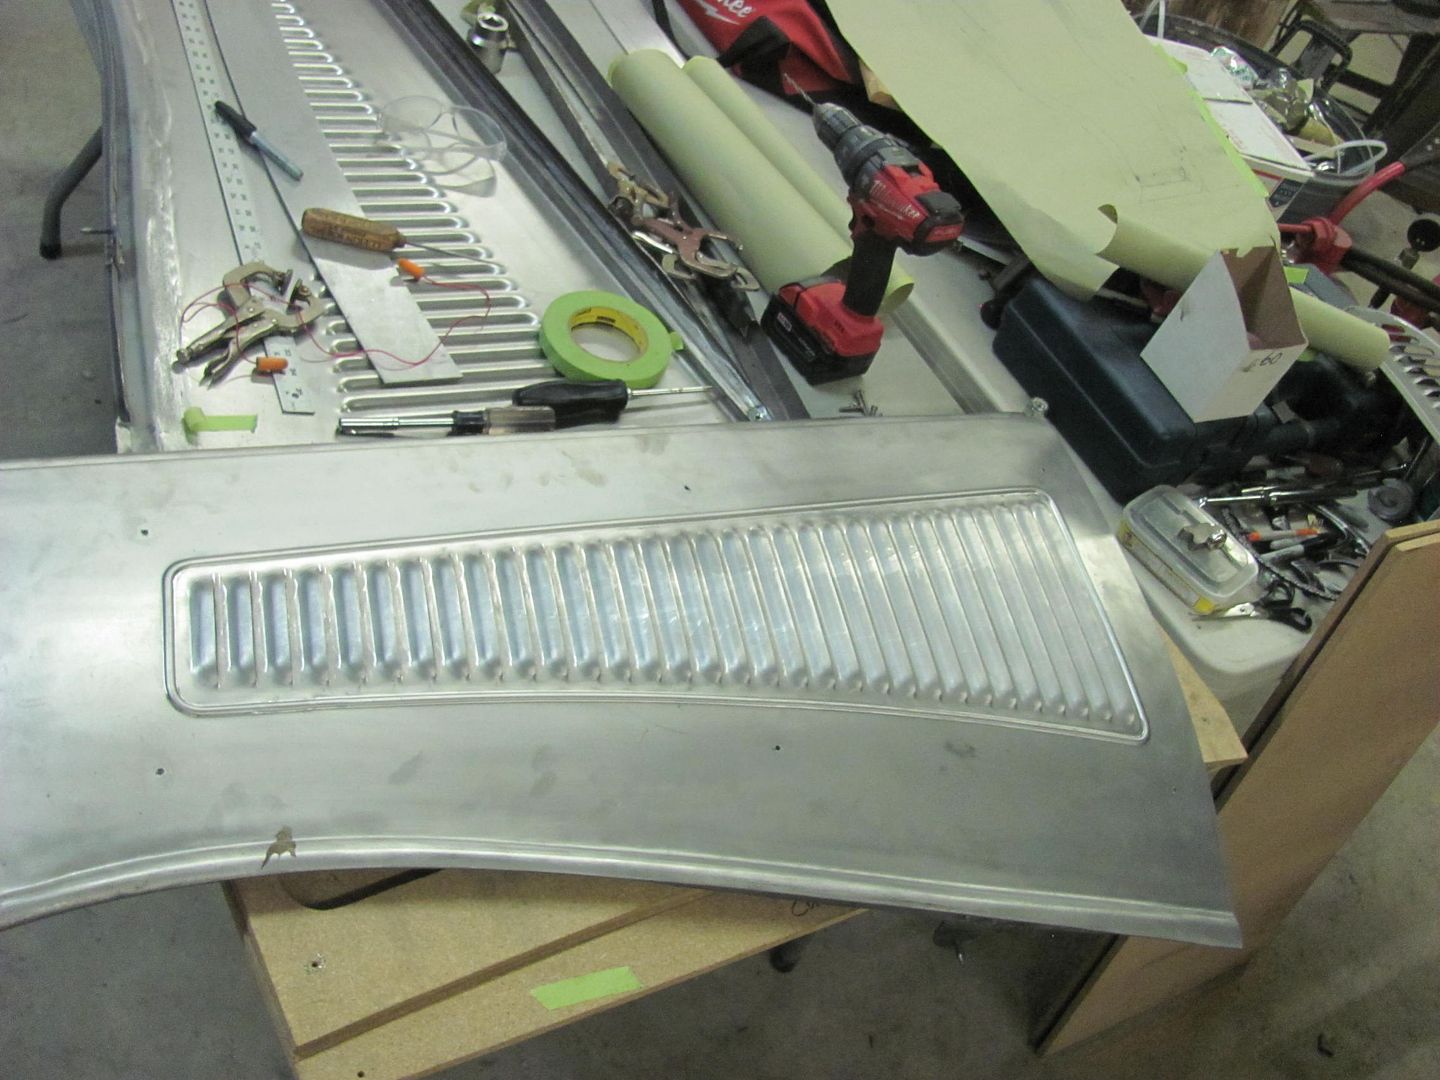
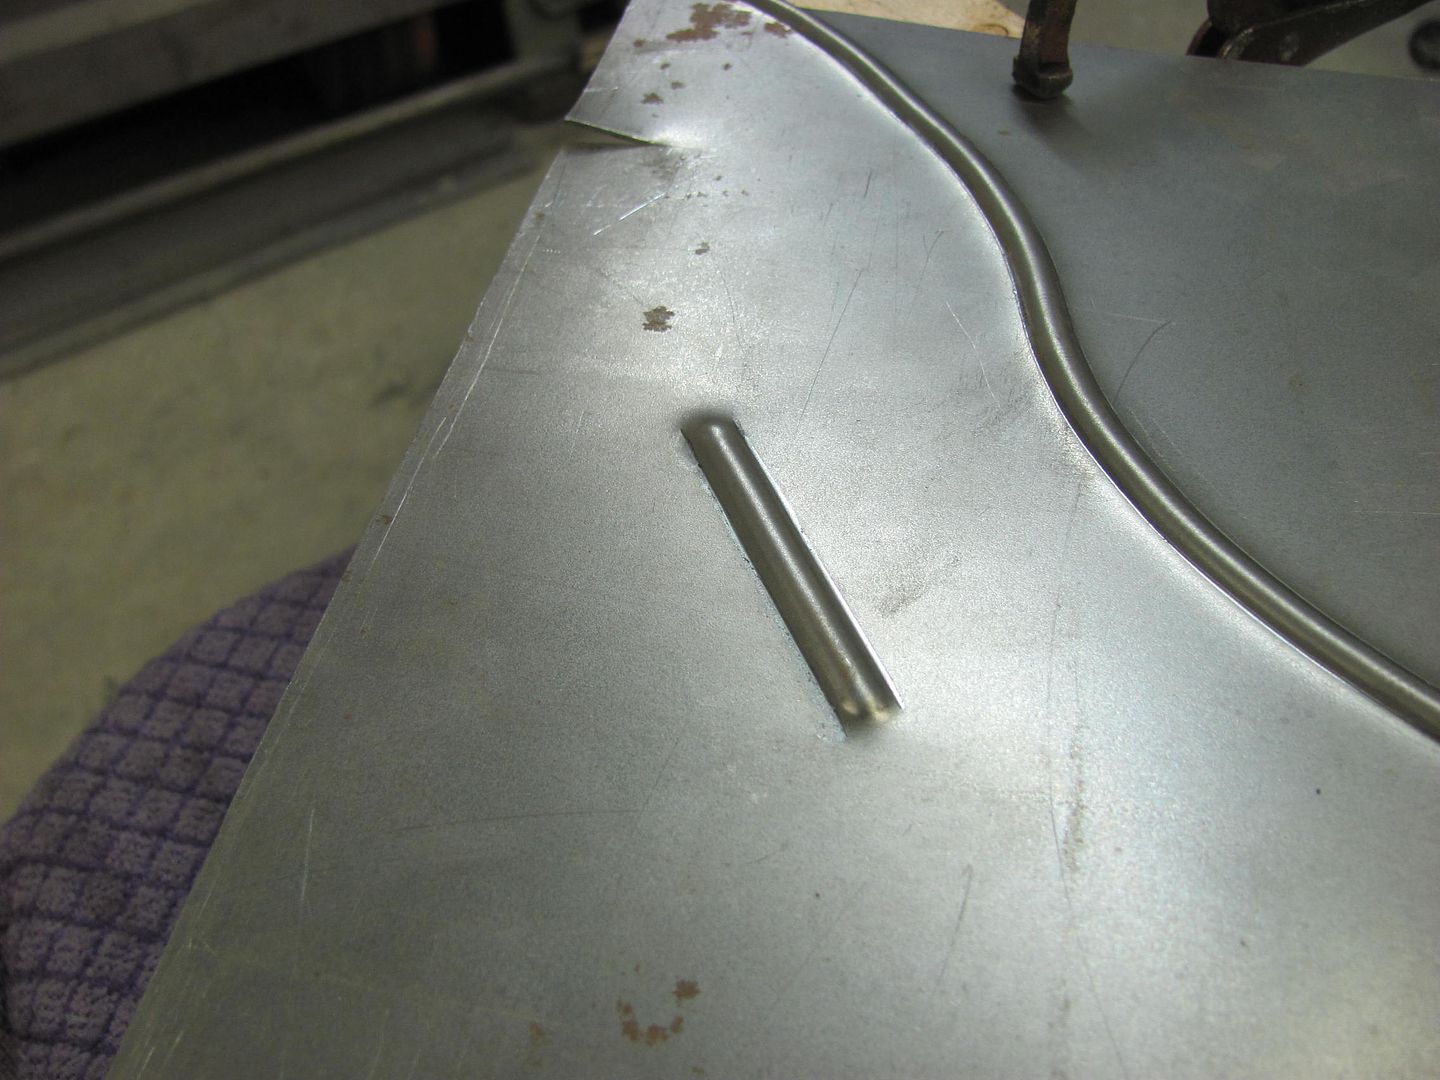
This shows how well the die provides stretch, when you can add a bead in the middle of a panel....


Picture%204672.jpg


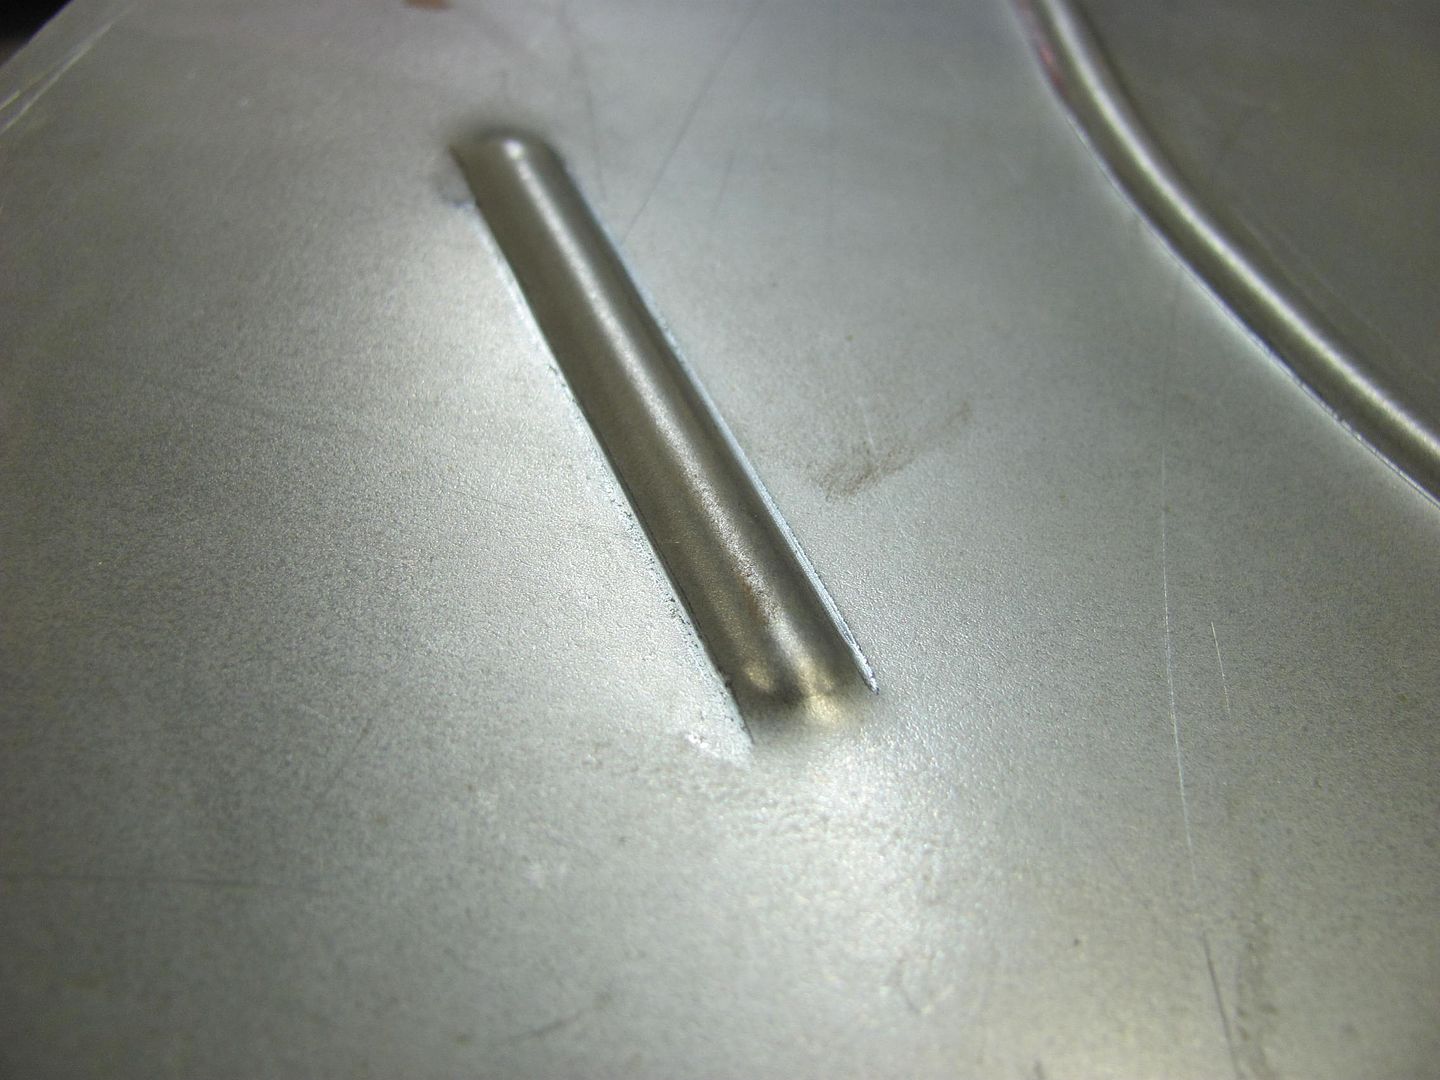
......and there's no distortion on the ends of the bead on an otherwise flat panel..


Picture%204674.jpg
 
I don't bead much with my home made pull max, mostly because i don't have a Lathe to make dies.
 
For a few years I used ball bearings welded to keystock the size that fit a pullmax and a die grinder and file for the female keystock. They worked great.
 
Whenever I grow up, I want a few more real shop tools like you have.:confused:

I'd imagine that the stiffness of your pressed beads is probably superior to a rolled one.
 
What type of steel are you turning the tooling from?

With a pullmax would you ever even need a bead roller? I'm about ready to upgrade to a really good Mitler bros 36" throat with high wheels but that is half of a used pullmax that would do other things.

Chad, did you go with a set of plans to build your own?

I've built a www.tinmantech.com powerhammer that is all but waiting for tooling and the air hammers. Unfortunately the shop received a new rood instead of air hammers. This machine is capable of most anything but he doesn't sell tooling for beading which makes me think it isn't capable. I'll have to call them and find out before I buy a new bead roller. My modified cheap one pisses me off everytime I use it.
 
Kent's air hammers are pretty stout, I think I'd try a set of dies to fit that before buying other machines. It may surprise you. The steel was 4140 Oil hardening, if memory serves correct. I think the main difference / limitation on the bead roller is that it doesn't do any stretching, it merely pulls metal from elsewhere. In the case of beading, this causes puckers if the bead stops in the middle somewhere. Pullmax type reciprocating machines are more adept in providing the stretch, as long as the tooling is purpose built to stretch. By this I mean, I have a "purchased" beading die for my Lennox that has the upper punch shaped more like a football. This shape provides more stretch than a bead roller, but still not quite enough to stretch all that is needed to eliminate puckers on stopped bead. The die I just made does considerably more stretching than the football style, where prestretching may no longer be needed. The downside is that the "Peg" die must be used with much slower feed speed to eliminate marking of the bead, the football shape all but eliminates that. Even still, my bead roller is one of the most frequently used items in the shop, many of the profiles/details for the 55's liftgate repairs were done on the bead roller..
 
On the beading dies from the other night I wasn't too pleased with the shape, IMO they were too rounded. Especially for where this will be used, it needs to better match the rest of the car. So another upper die was made using a more blunt end tip with a slight ramp.


Picture%204681.jpg


The lower die was relieved to better accommodate tighter corners...


Picture%204682.jpg


Comparing the two dies....


Picture%204688.jpg


Looking at the center two sample beads, the one toward the left shows a flatter bead using the new die..


Picture%204685.jpg


And on the Wheeling Machine front, I've been contemplating a storage drawer for under the base, but have struggled to find a good slide track to hold it.. Until yesterday, the guys at Dyna Rep Company came through for me, a 6" long full extension slide, in stock! Thanks Brad!


IMG_1271.jpg


These will be mounted between the mounting legs coming in from the side, drawer deep enough to hold all the extra lower anvils and hopefully the goKart slick...


English%20Wheel%20031.jpg
 
Cody travelled down today from Milton DE so we could add some bead detail surrounding the louvers on the hood sides.


Picture%204693.jpg


He used a paper pattern to copy the louver layout from the hood sides, and then added the offset for the bead location.


Picture%204694.jpg


Picture%204695.jpg


While he was doing that Kyle and I added the rounded bead detail to the louver panels for the Wheeling Machine, here using a fancy clamp-on guide...


Picture%204690.jpg


Beaded....


Picture%204691.jpg


Motion picture of same..


https://www.youtube.com/watch?v=IcPpwUF5yvI


Excess flange is trimmed to the bead edge...


Picture%204692.jpg


This should give a more finished edge when attached to the cast legs...


IMG_1400.jpg


Once Cody was done with the layout and transferred it to some 1/2" thick MDF, it was cut out on the fancy vice jigsaw...


Picture%204696.jpg


Picture%204653.jpg


The corners were dressed with a 1-1/2" diameter drum sander and all the other edges filed to remove any imperfections that may alter the course of the beading dies. Then a sample of 18 gauge was clamped and run through the dies to insure the corners wanted to play nicely... The dies in the Lennox were changed to the flat upper for a flatter bead profile.


Picture%204686.jpg


Picture%204697.jpg


Picture%204699.jpg


Picture%204700.jpg


Picture%204701.jpg


With that looking good, the MDF guide was located on the hood side, clamped temporarily with some vise grips, and drilled for 8-32 machine screws to secure it in place..


Picture%204703.jpg


Cody positions the IPhone for the video, using the patent pending Vise Grip phone clamp.


Picture%204704.jpg


Completed panels...


Picture%204706.jpg


Picture%204707.jpg


Picture%204708.jpg


Video of the process....


https://www.youtube.com/watch?v=zicnFG7KRLc


One pass was made most of the way through to give a good amount of stretch, and a second pass a slight bit more to add some definition..


Picture%204709.jpg


Picture%204710.jpg


Picture%204711.jpg
 
Thanks for sharing.
I wish I had more time for learning and doing this type of metal work. The mechanical repairs on pre 40's cars are taking up most of my time these days but I will have to make some new fenders for a 1911 Packard so I'm gonna run out of excuses.

Are you making most of your panels from 20 gauge or thicker?
 
Brad, I use 19 gauge AKDQ for most panels, unless thickness dictates otherwise.. I haven't seen anything as thin as 20, but then I don't work on new stuff. The truck fender repairs coming up use 16 gauge, so that will be a good test of the cast wheeling machine..
 
Cody got one of the hood sides hung on the car today to check out the new look. I definitely think the bead detail gives a better, more refined look.. Good call Cody.


35ChevyHoodBead.jpg
 
MP&C said:
Cody got one of the hood sides hung on the car today to check out the new look. I definitely think the bead detail gives a better, more refined look.. Good call Cody.


35ChevyHoodBead.jpg
Good call indeed.

Keith
 
MP&C;n84438 said:
Cody got one of the hood sides hung on the car today to check out the new look. I definitely think the bead detail gives a better, more refined look.. Good call Cody.


35ChevyHoodBead.jpg

Absolutely !
 
Back
Top