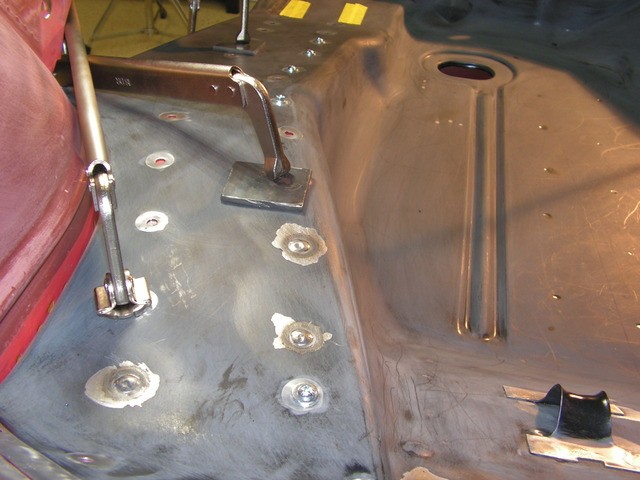
72 Camaro Z28/RS

Not much of an update, but I do have some pics. I'm still removing the edp and applying epoxy primer. I still need to weld these panels, so some of them will be sanded and more epoxy applied. Ive been using my iwata 80 and it sprays awesome.


My original trunk hinges are in very rough shape with broken tabs and such. I got a set from a donor car and they looked great, but after blasting, one of the was pretty rough. I tried to find another one, but decided to try to fix it with the welder. It actually turned out nice. I won't tell you how much time I already have in these hinges.


I have the wheel houses blasted and hope to paint them this week. I need to get the inside of the tail panel and 1/4's done. Its almost getting to cold to paint.

 
It's really common for those trunk hinges to crack where they are welded on or around the weld area, especially on spoiler equipped cars. How are your door hinges? I do a mod on a lot of these hinges to help make the bushings live-they didn't last long with the weight of them doors!
 
Bob Hollinshead;40636 said:
It's really common for those trunk hinges to crack where they are welded on or around the weld area, especially on spoiler equipped cars. How are your door hinges? I do a mod on a lot of these hinges to help make the bushings live-they didn't last long with the weight of them doors!

Bob, the door hinges have been rebuilt they seem to be good with no vertical movement. I have some extra hinges that need rebuilt. I'm curious to the mod. Thanks, Russ
 
I'll see if I can find some pics, I weld a steel tube in the hinge between both bushings and drill a hole for a needletip grease gun. I hand fit the bushings and pins for the best possible fit-you don't want any slack-the pin to bushing fit must be on the tight side or any movement with body flex will just start the wear on the bushings-movement=wear. The nice thing about the grease tube is-it keeps extra lubrication there even though most of the bronze bushings are supposed to be oil impregnated and it forces dirt, dust,water out keeping the pins from corroding.
 
The garage no longer smells like lacquer thinner and paint. Last week I started taking down some of the temporary paint booth. I moved some things around and now we have a metal shop instead. It smells like burning metal now. I will admit I have missed the sound of the welder.

I have been getting ready to cut the deck filler panel out. I'm a little worried about it because I have the car cut down so much. So I have taken some precautions to brace the car in a few places. I have documented several measurements.


I decided to cut out this piece that will be transferred to the new panel.


I hope now to start cutting this panel out soon, test fit the new one and treat the metal underneath.

 
Today I cut the deck filler off the car. This panel was a lot harder to remove than I thought it would be. I made a few cuts to remove the bulk of the panel and it looked like I was going to have it off quickly.


Trimming the rest of it out took forever. This car is really welded together good. Its a very hard panel to remove with the 1/4's still on the car


I did cut some of the 1/4's off and may have to go even further depending on how the fitment of the new panel goes.


I want to try to get the deck lid back on and aligned with the original 1/4s before I cut them off. I had the metal rip on me in a few places, and I like to never got the gutter area stripped clean. For some reason the spot welds on the underside of the gutters were very thin when removed the panel. I guess most of the material was on the top which is where I grinded them from. So I ended up with a few holes in the gutters that I will have to fix.


The next step is to fix the damage that I did during removal process and then test fit the new panel. After that I will strip the inner panel and brush in some epoxy.
 
Orange, it has clogged up a time or two but mainly when I reuse the sand. I do have a screen that I sift the old sand through. Once I kept having a problem and finally took the plug off the bottom and back flushed everything with air. I found a dead mouse inside of it that was causing me problems.
 
Just a suggestion for you, what size hole are you using for your plug welds? For an area like shown in this picture:


p8gm7r.jpg


......with the bottom being a throwaway, switch to using your plug weld sized drill bit over a spot weld remover. The plug weld drill should still be large enough to remove any spot welds if drilled through the center. This should give you less hole to fill in the saved panel, for less heat introduced into the panel.. You have quite the jigsaw puzzle going there, nice work!
 
Robert , I think I will use 1/4 inch. I will use that advice on the rest of the car. The spot weld cutter does create a big hole, never thought about it. Thanks, Russ
 
I think I finally settled on the hinge placement for the deck filler panel. I compared my original measurements to my 81 Camaro project and the hinges are very close. Most measurement were dead on, a few were within a 1/16. I want to mock up the deck lid to the original 1/4's before I cut the 1/4's off. It still needs some adjusting, but I could tell that it was within the spec of being able to be adjusted. I used a sheet metal screw on each side for the mock up:


Here is the underside prepped for welding:


I was happy with the results.


I decided to grind the welds on the top side and then spot blasted them. I then sanded the surrounding metal and cleaned everything. Mixed up some epoxy and air brushed it in.


I also did the same thing to the back side of the panel and now its ready to mock up one more time and then weld it in.
 
That copper backer sure helps to let ya burn it in hot eh? I've fixed a few of them panels on spoiler cars where they end up cracking at the hinge area from letting the decklid whip open. There's some adjustment in the springs and it doesn't have to be equal on each side so tune the spring settings so it's enough to let the lid open but not try to destroy itself.
 
It sure does Bob. Thanks for the tip on the springs. Those things can be a challenge. I had one get away from me during removal. I tried to make a tool to aid in the removal. I usually use a pair of vise grips as brutal as that sounds.
 
Hit a milestone with the project today. I got the deck filler panel welded on the car. This is the first replacement panel that has been welded on the car. After ripping panels off for so long, it feels great to finally put one back on the car. Here are some pics:


Got to do some grinding to do and then I will be moving on to the trunk pan. Thanks for checking out my progress.
 
Took my time doing all the grinding. I think this is just as important as taking you time when welding. I used my dremel with various stones to get inside the weatherstrip channel. Did some blocking and now I'm ready for some more epoxy, and more blocking. COME ON SPRING! The panel is a little low at each spot weld location. No more than a 1/16 of an inch. If its still low after more epoxy, I may put just a smear of marglass over the weld area.


I'm pretty happy with the way it turned out. Still gotta long way to go.
 
Dropped the leaf springs from the rear to make the repair needed to the sleeve that goes through the frame rail. Over all the repair came out looking good. The way I welded it, looks a little different than the way the factory did, I'm thinking about re-welding the other side so they will match. I'm thinking this was just a poor weld from the factory. There was really no rust, but the weld was very porous.


Repair needed:


Welding and grinding complete.


Thanks for checking out the project.
 
Time for an update: I replace the right side package tray extension due to rust.


Welded and more SPI epoxy


Made a patch to repair rust at the inner structure of the rear window:


Welded:


More SPI epoxy:


Final prep on the deck filler panel and more SPI epoxy:


Final fit on the trunk pan and starting to weld it in place:


Thanks for checking out the project and thanks to all on this site who have helped me with my questions. Russ
 
Back
Top