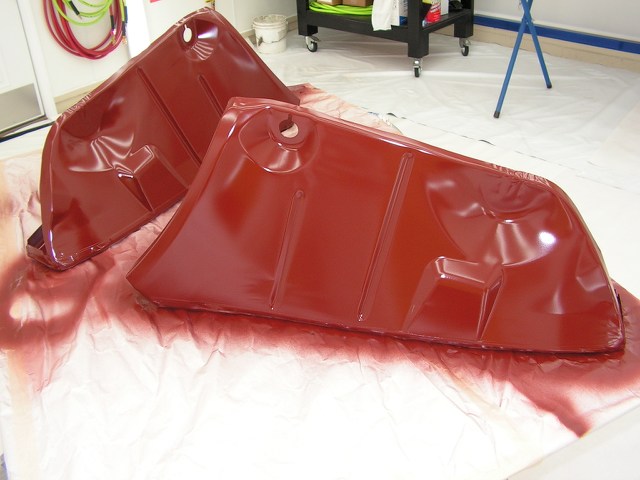
72 Camaro Z28/RS

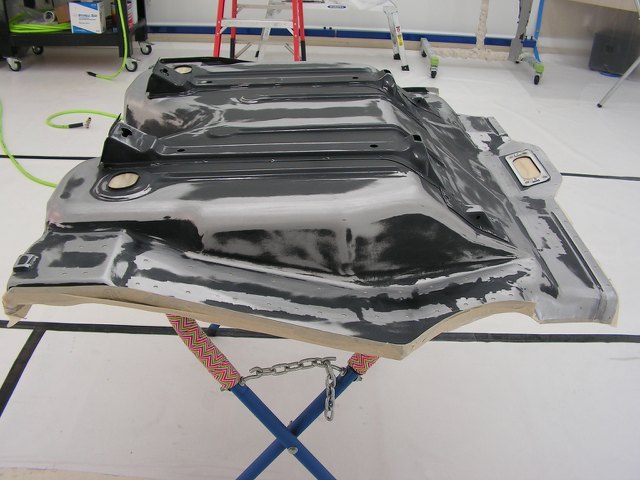
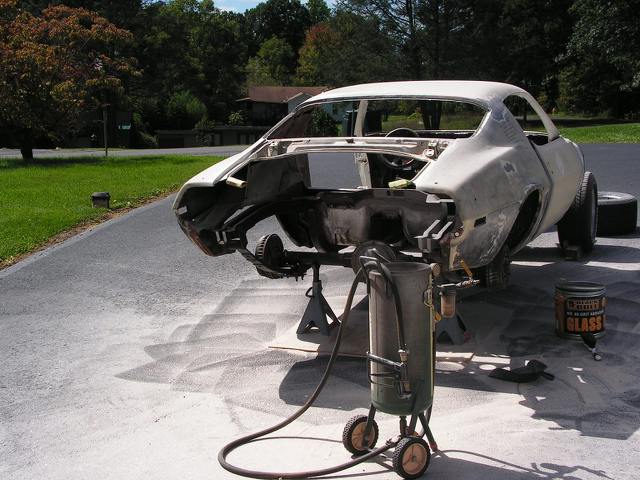
Chipping away at removing the trunk pan. I purchased a air hammer, and I have to say I really like it when it comes to separating panels.


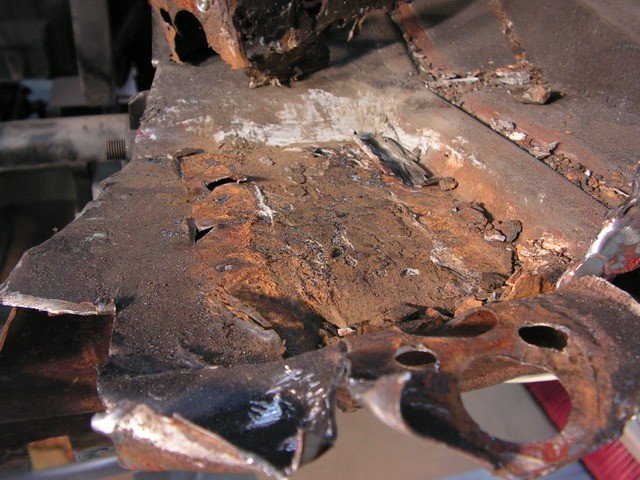
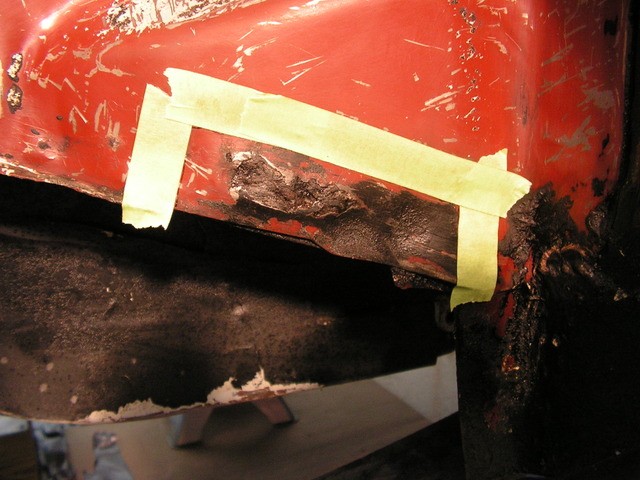
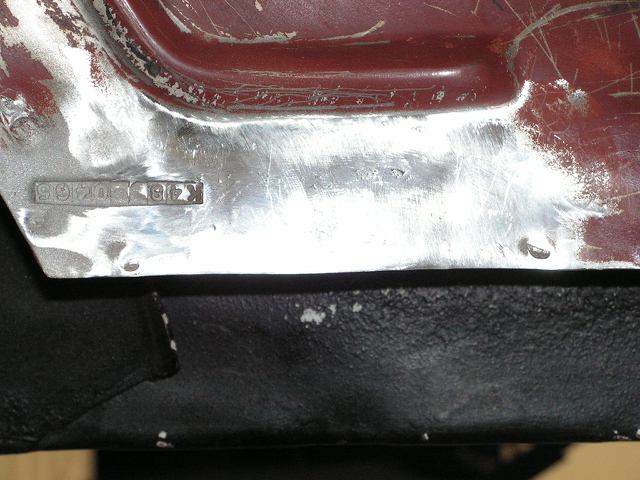
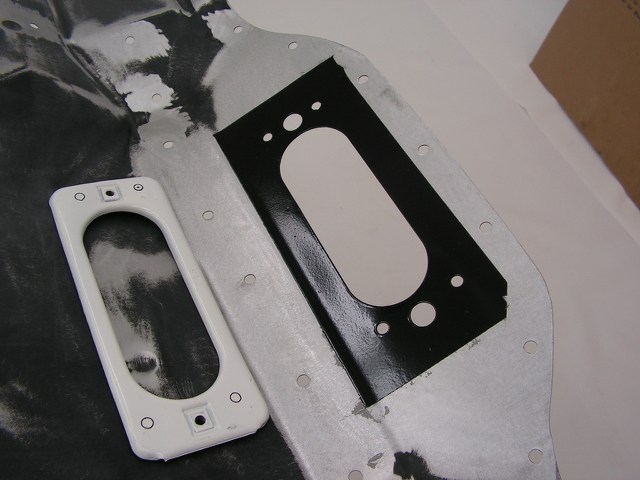
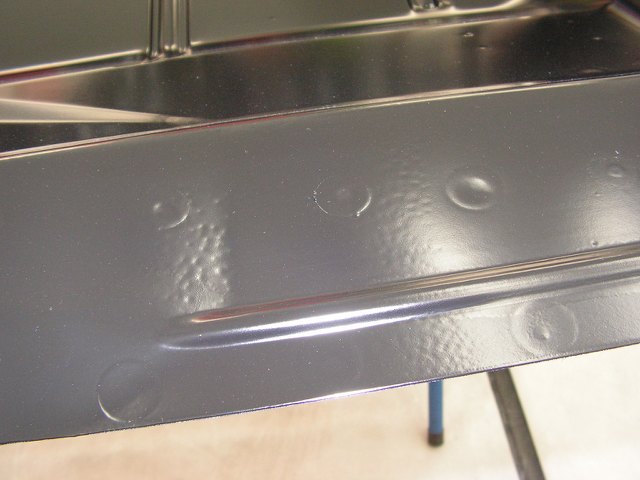
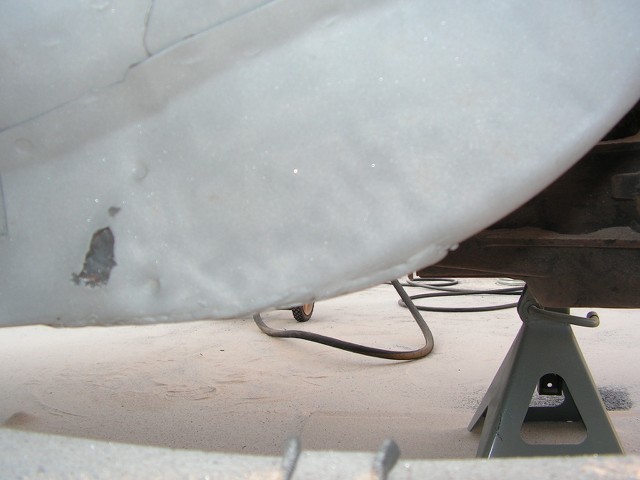
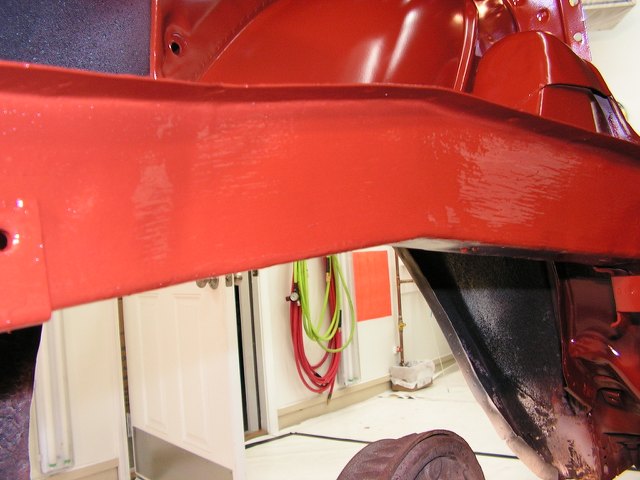
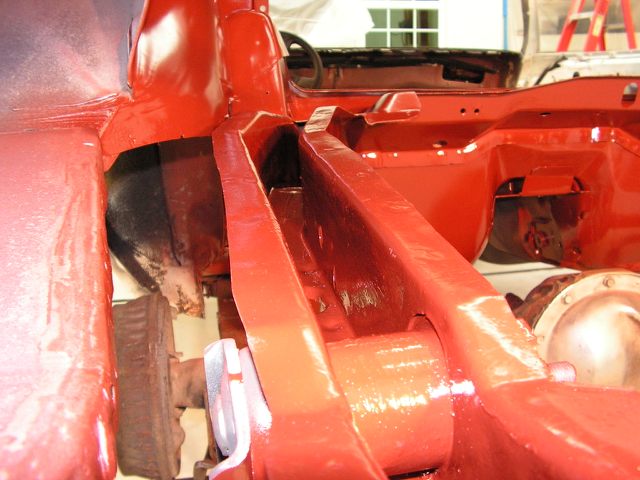
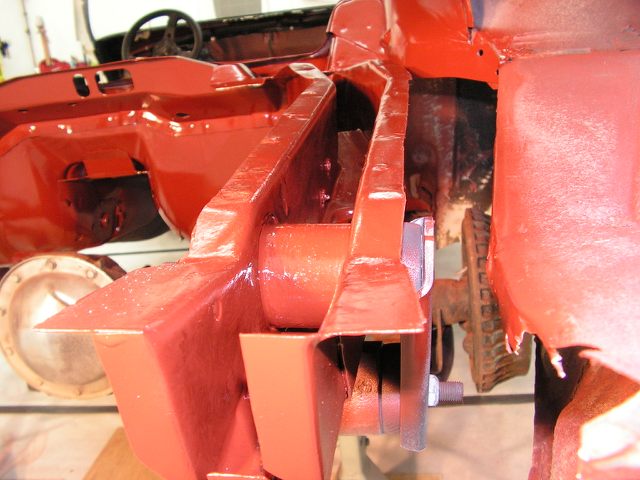
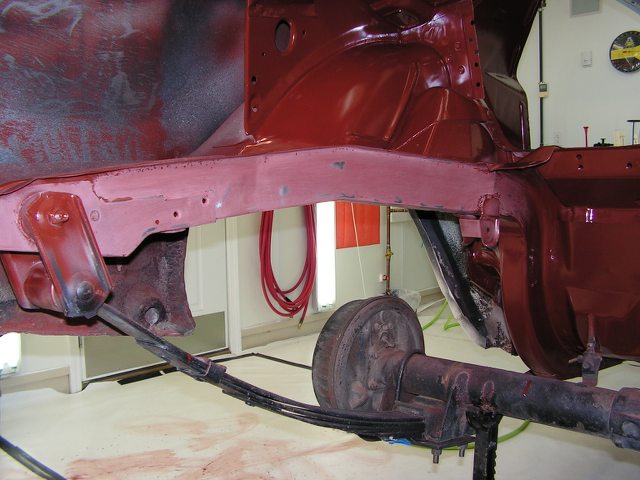
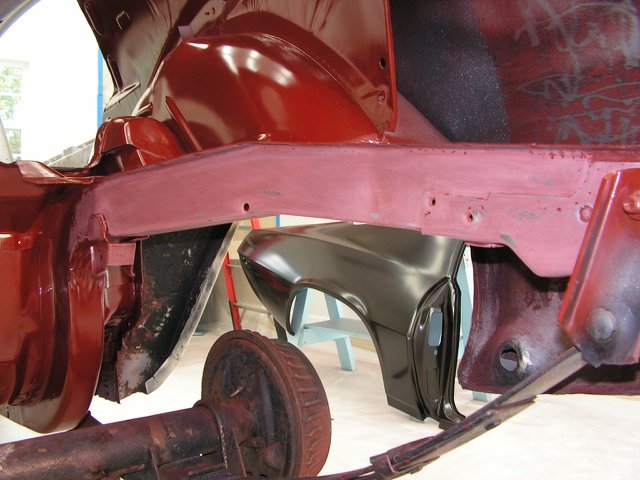
I got the undercoating off the right side inner fender.


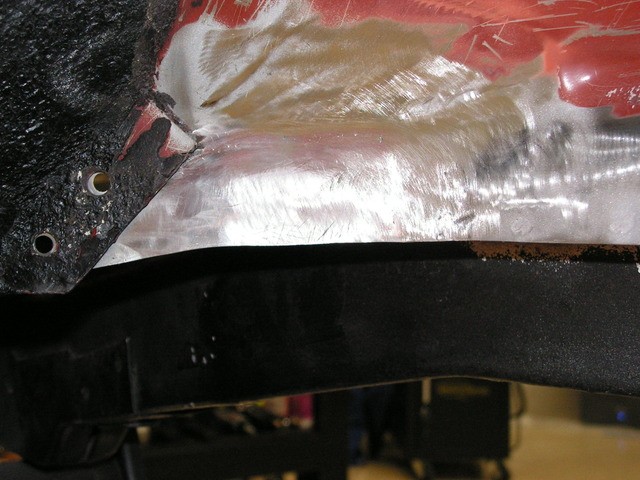
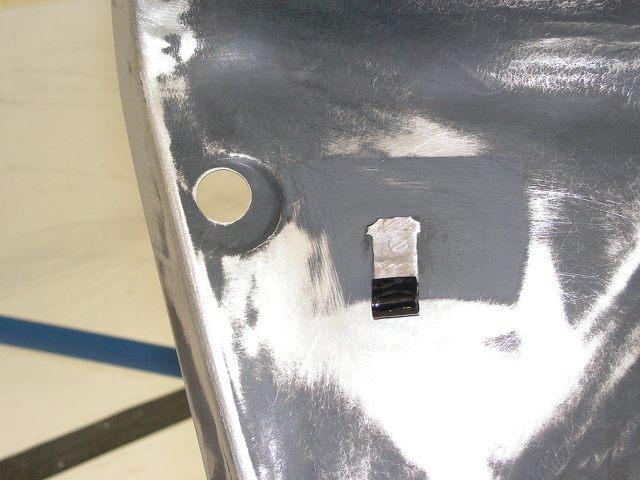
I will have to put in one small patch.


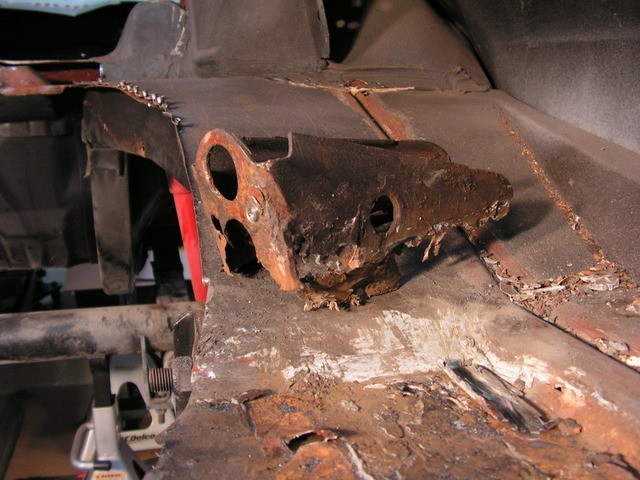
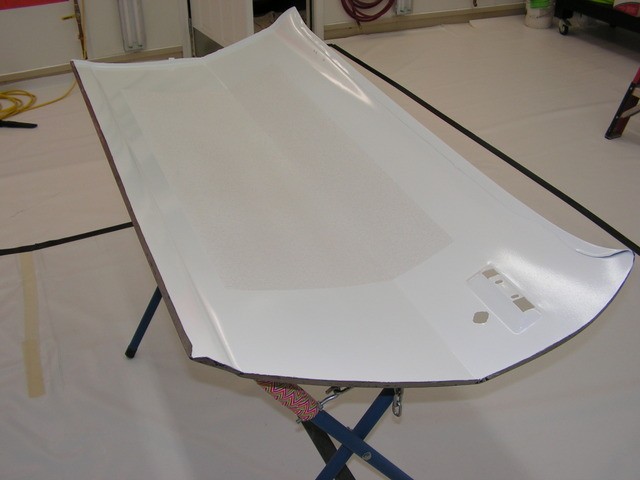
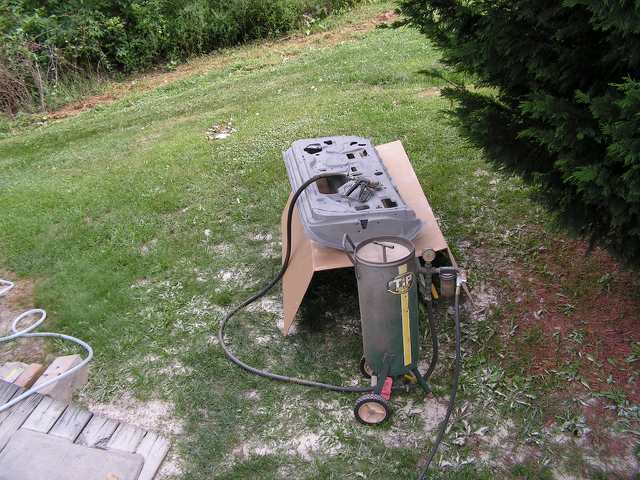
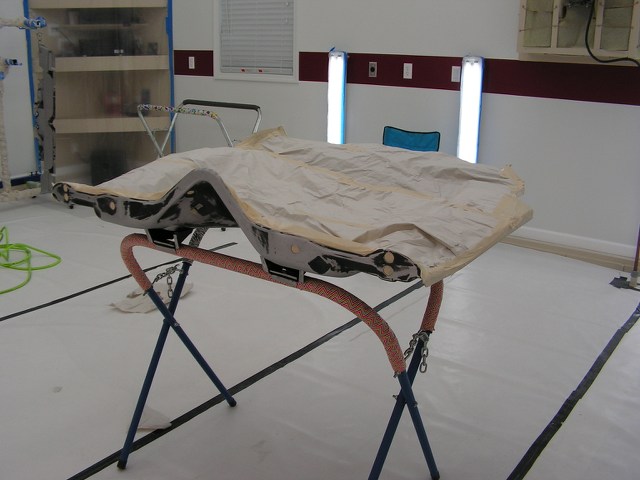
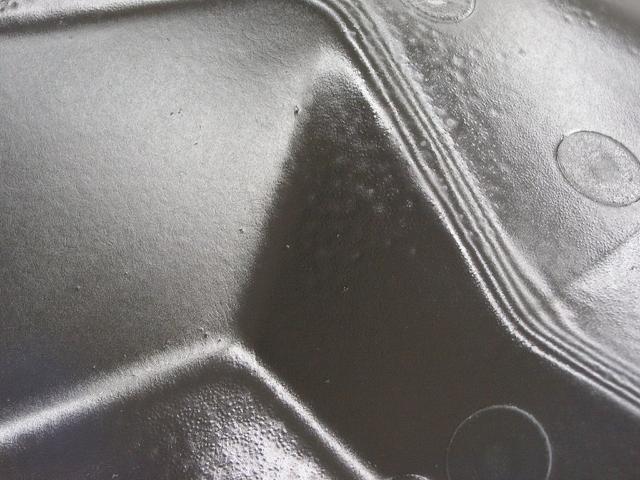
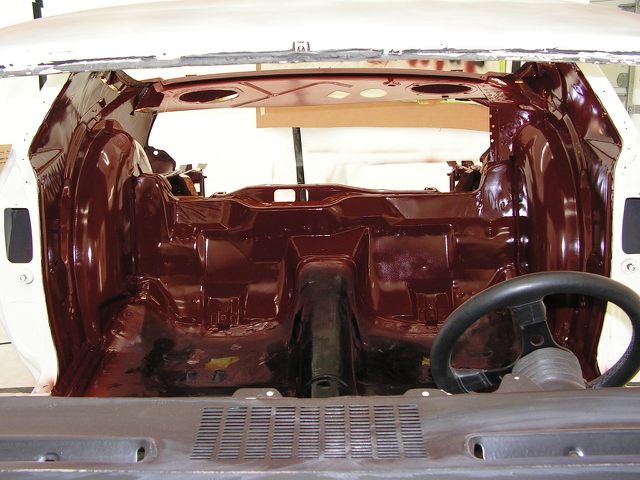
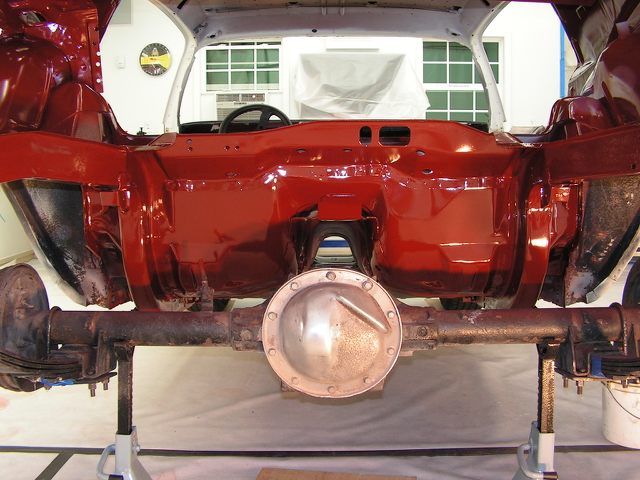
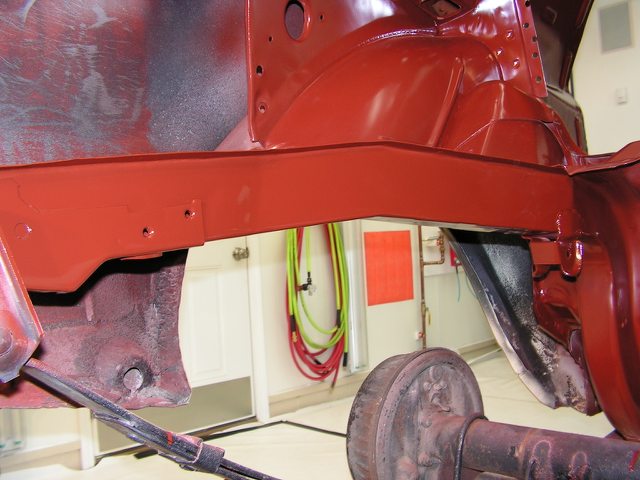
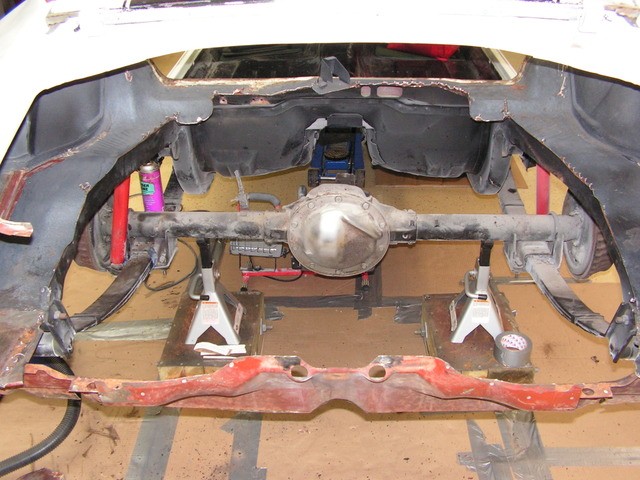
As far as the trunk goes, I'm still waiting on the replacement pan. I removed the center section. The air hammer made quick work of this.


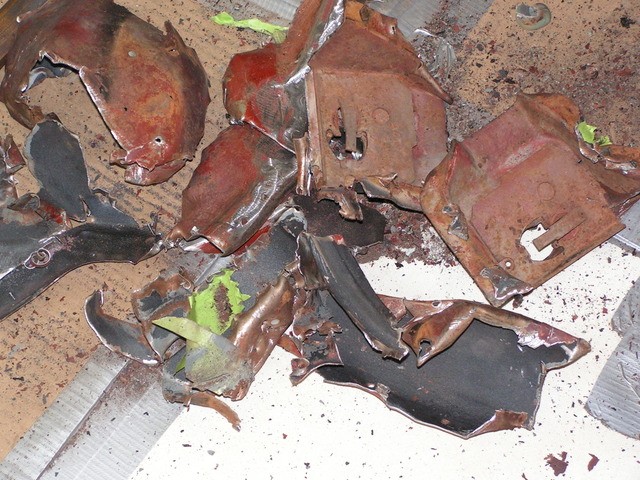
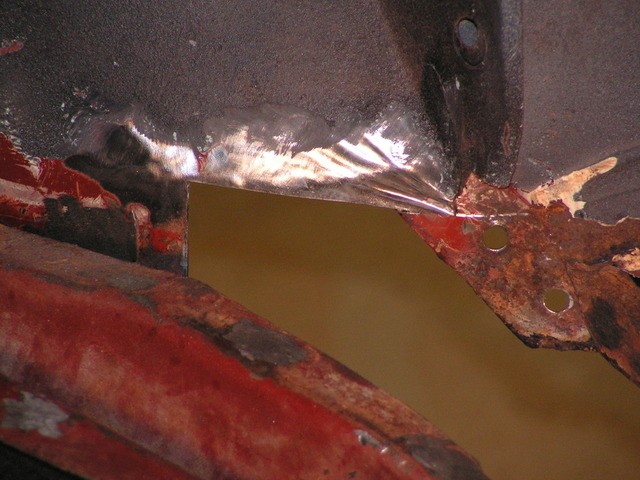
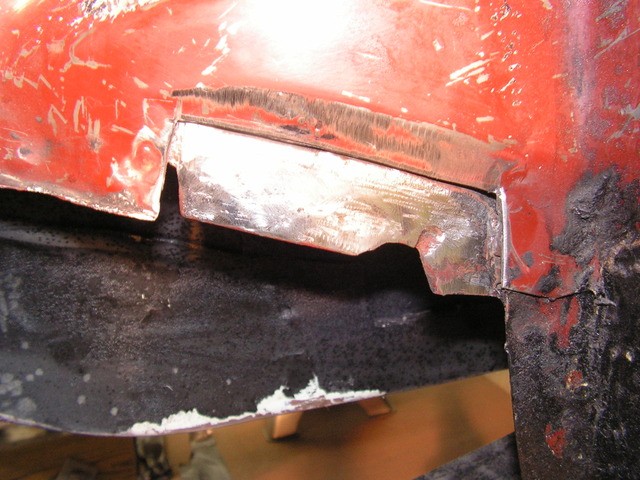
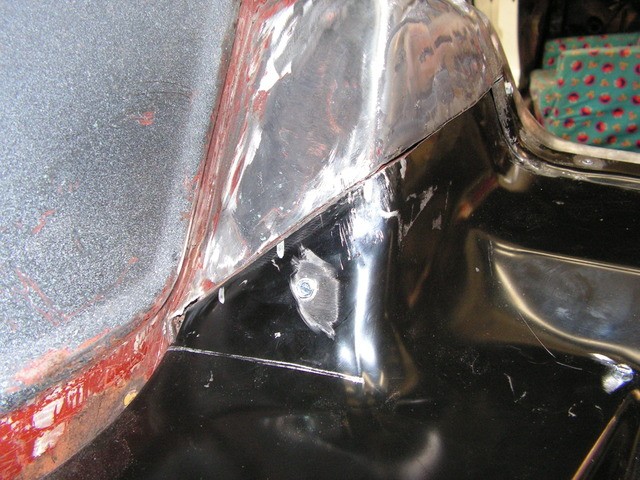
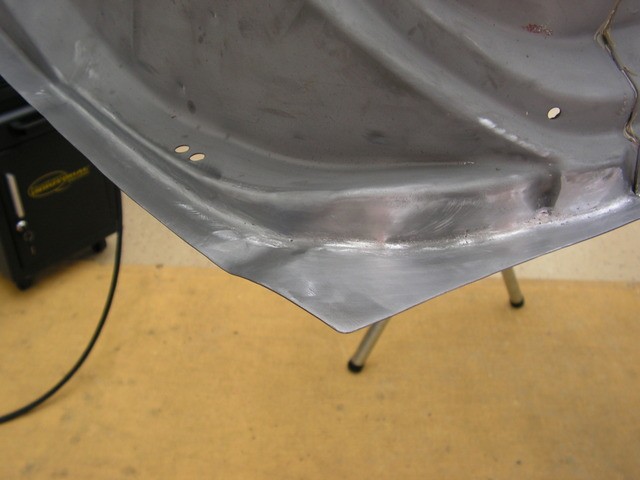
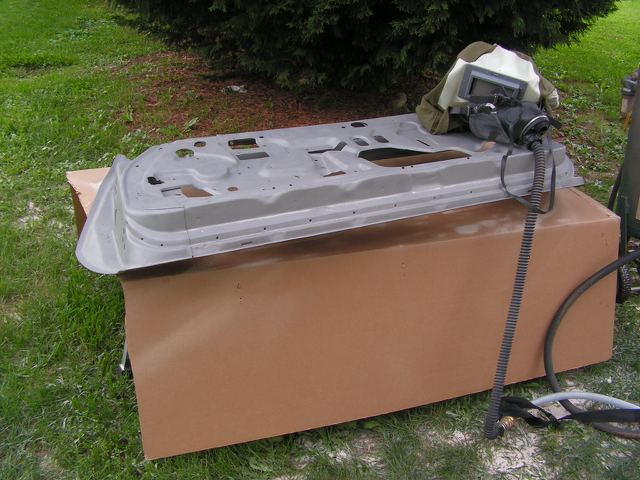
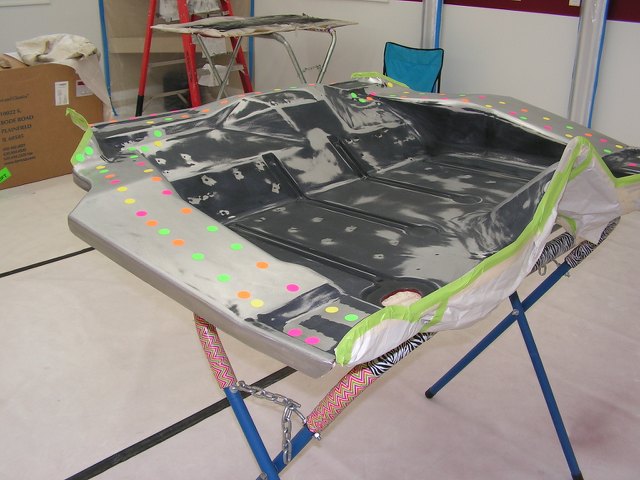
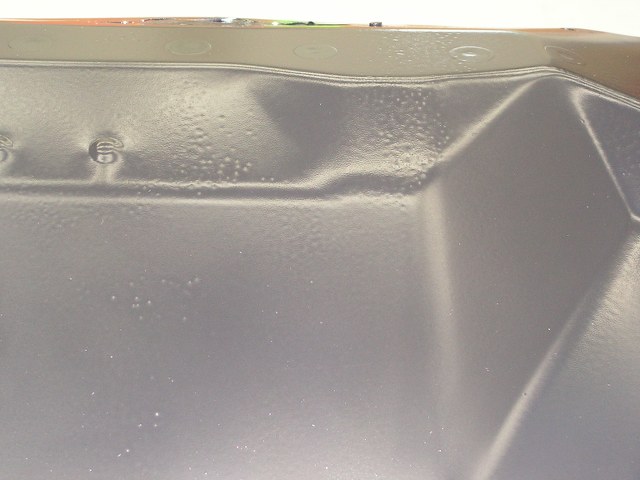
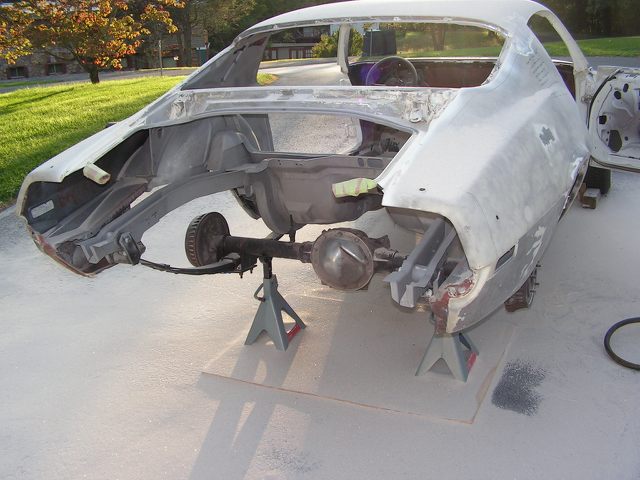
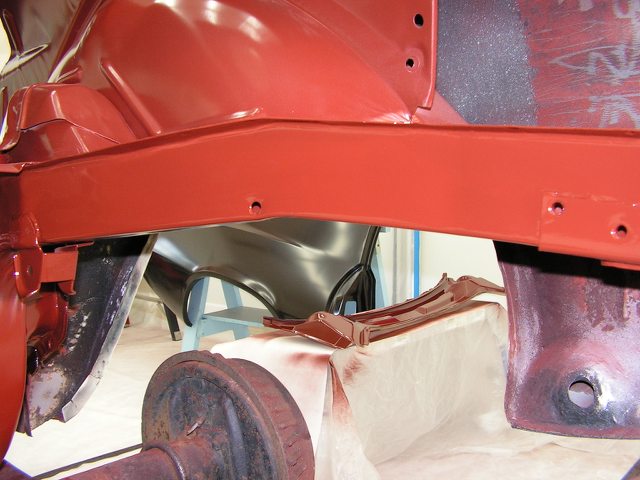
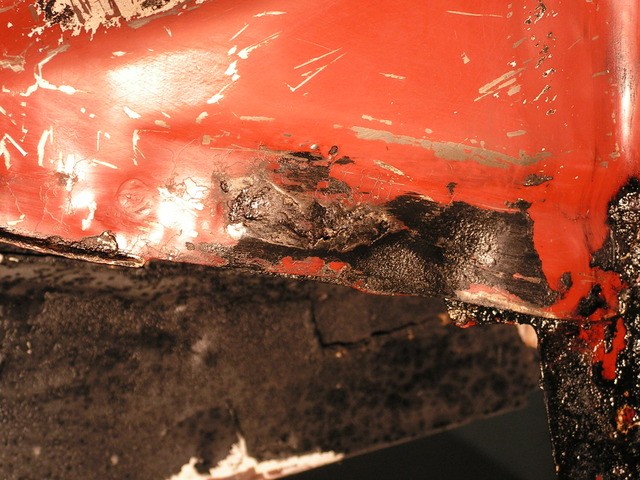
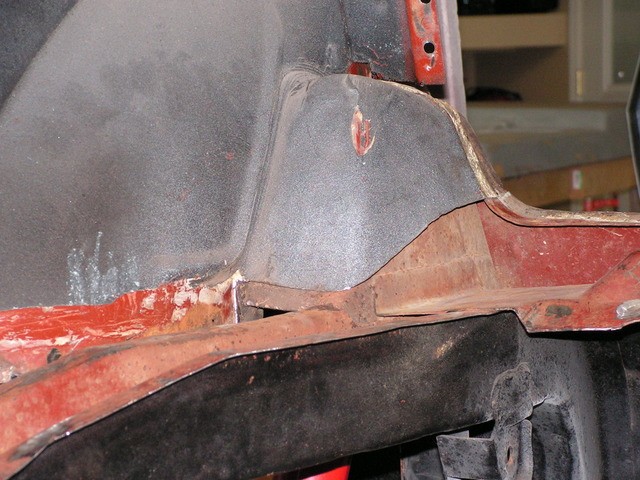
Today, I started removing the left side over the frame rails and up against the drop off and shock tower area. This was very slow. The spot welds were really tough, I ended up grinding them down before using the hammer. I didn't want to destroy anything. I did manage to tear the drop off up near the cross rail. Its getting replaced with the quarters, but I want it there to fit the new pan. This is a very tight area to work due to the frame rails.


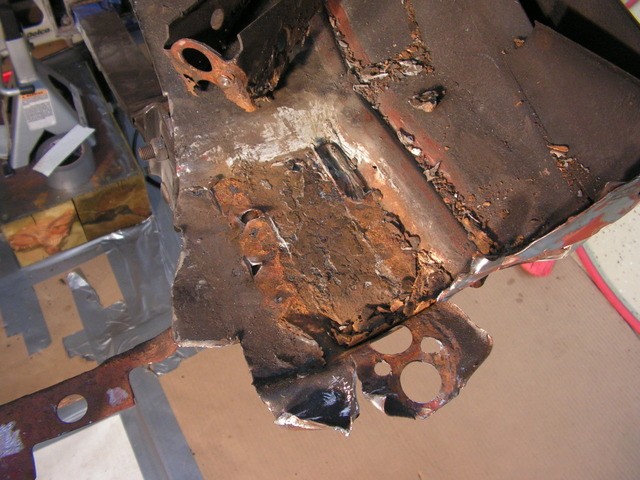
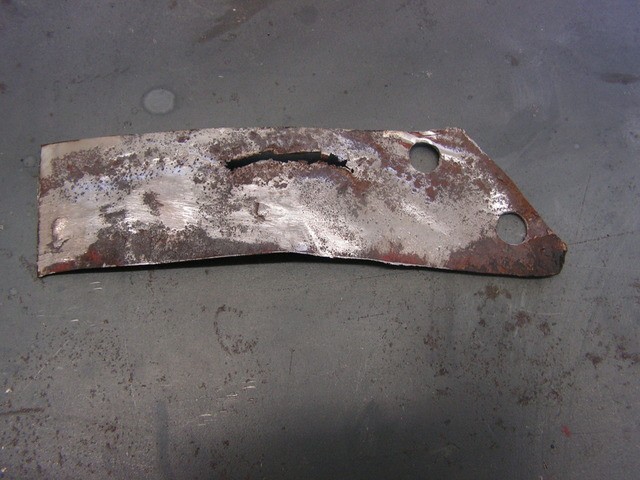
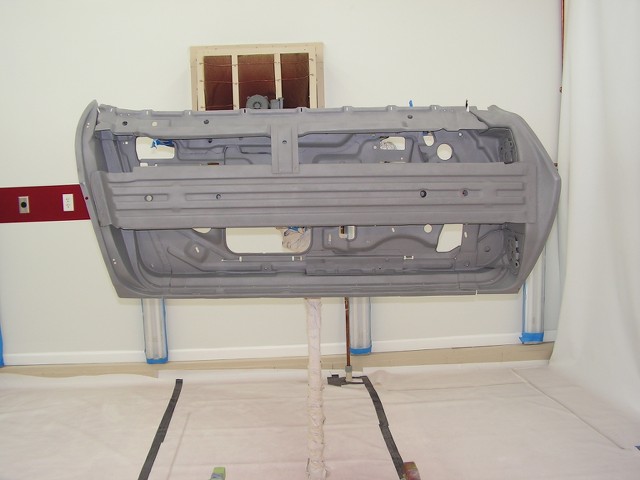
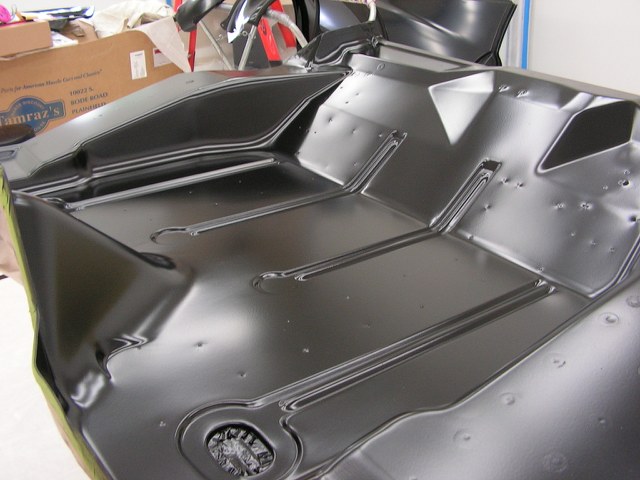
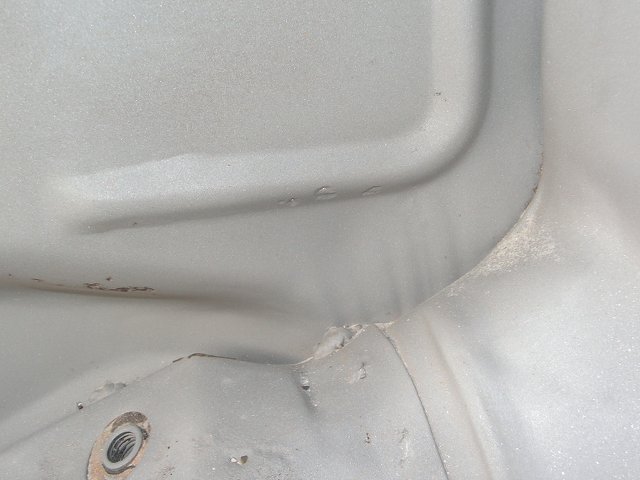
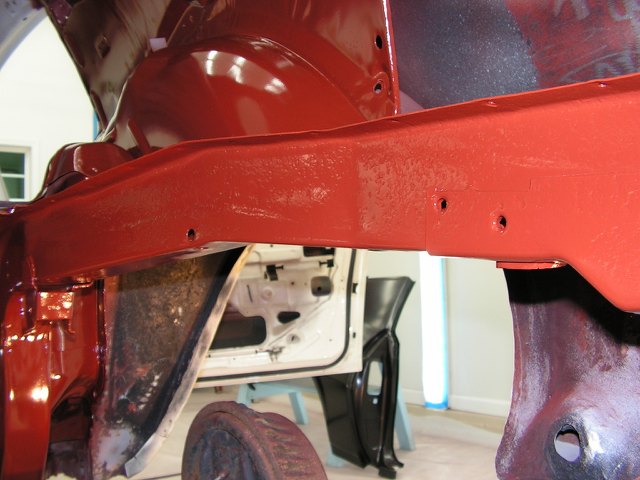
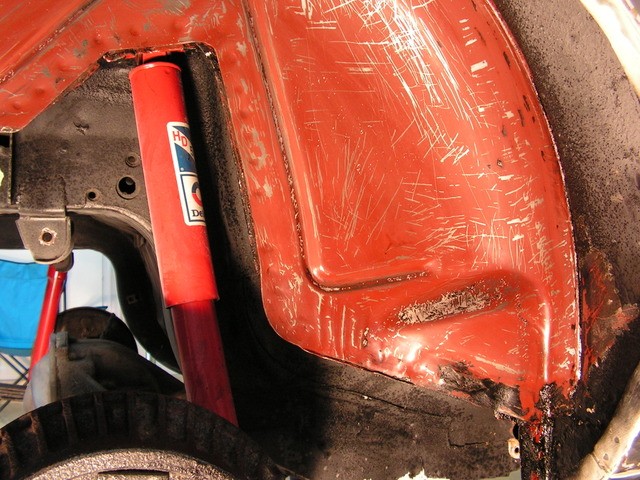
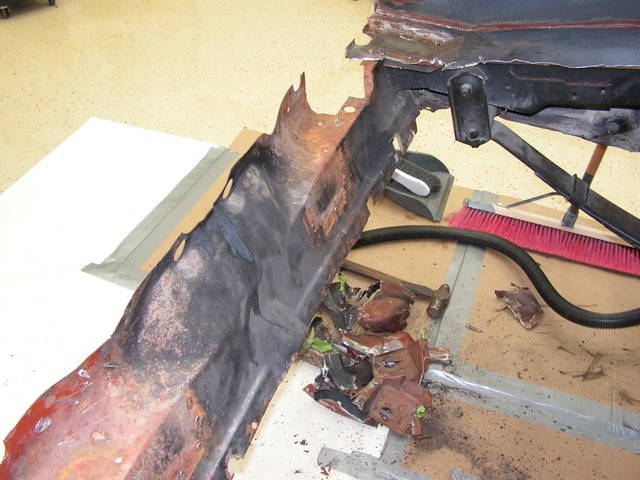
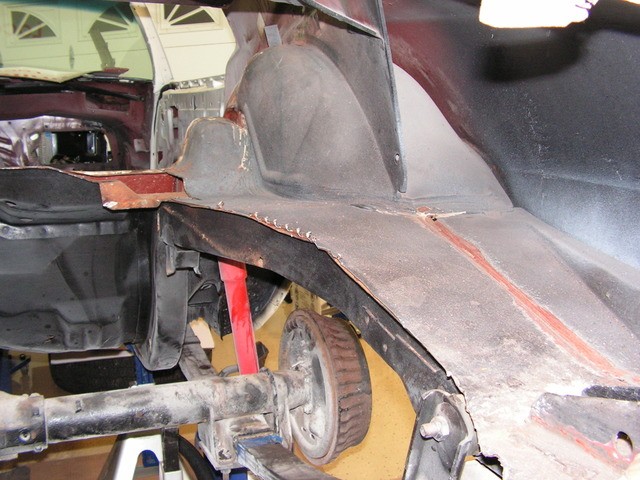
Here is my rough cut of the shock tower area. I'm planning on splicing somewhere to this part of the panel. Its a rough cut, but its close.


Still got to do the right side.

 
I finally got the rest of the trunk floor out. This thing just keeps showing me more and more rust. The right side is the worse. I had no idea that it was this bad. The right side bumper brace was totally filled with fiberglass.


Thankfully the frame rail looks okay.


I was a little rough on the drop offs as they come back to the tail pan. They are getting replaced. That's a tight area to work. I wanted most of them there so that I would have some sort of reference with the new pan.


Ive got some patch work to do. Mainly on the right side inner fender. One area was really thin. I just pushed my knife through it.


- - - Updated - - -

Here is another rust area. This one I thought would just be the outer metal, but I found more rust when I started cutting.


There are three pieces of metal in this area. The middle piece was also gone.


The last piece is actually solid.


Next step is to continue scrapping junk and then some blasting.
 
Just a question out of my noobness, but is it a good idea to be removing all that metal and supporting the car by the rear end? I would think you'd want to at least drop the back of the leaf springs and support the car by the frame rails forward and to the rear. Not criticizing just curious.
 
Raymond, I'm sure there are alot of different ways to do it. As for the trunk pan, I was told that I should be safe with the car supported under the rear axle. This way it loads both rails, just as if the car was sitting on its tires. This should also work for the quarters / wheel houses. If I was going any further into it, I would have probably had to build a jig that the car could be bolted to. Hopefully some others will chime in with there expierence as well.
 
I need to update this thread. I have been getting some great advice and help here and over at the nastyZ28 Camaro forum. I did get the pan fitting the car. Nothing is welded in yet.


I also got some patches welded in the wheel houses


I re-welded the corner of the drivers door from the outside.


And I finally got a chance to spray some SPI epoxy!


Got a lot of parts to prep for more epoxy.
 
Rust, you don't appear to be in a hurry, and it's also easy to see you're concerned about quality- the work looks good! That will be a keeper when it's finished. Anybody who's tackled work like this can appreciate the hours and and amount of thought that's invested. I'm looking forward to the end result!
 
Thanks for the compliments Bob. This week I coated the inner door skins in epoxy. After 24 hours I put a coat of Custom Coat bedliner on top to dampen the sound. We believe that the bedliner is the same as U Pol. I need to get the spray gun dialed in a little better. I had just a tad of orange peel in the epoxy. I believe I should have increased my air pressure or slowed down just a bit. I have an Eastwood Concours gun. I had the fluid tip fully open and had the fan almost fully open with about 22 psi with the trigger pulled. Next time I think I will up the pressure to about 25-28psi. This is a gun that I purchased for primer and to learn on. I have to say I'm impressed with it, however I have never used anything else. I do have an lph400 for when I get to base/clear.

My second time spraying and it went a little better than the first. I wasn't as messy at the mixing table. I definitely need to get some better solvent for cleaning the spray gun. I had a can of SEM aerosol gun cleaner and it worked great, but I ran out. I resorted to using some Duplicolor lacquer thinner that I had on hand and its weak. I will say that spraying white is difficult. Even with all the lights in the shop I had a hard time seeing the wet edge on the 2nd-3rd coat. I think I will only use the lights on the wall for spraying vertical surfaces.

Still have a few parts to prep for more epoxy.


I've been busy trying to get a handle on spraying paint with an hvlp gun. I have been stripping a lot of the EDP coating off and spraying SPI epoxy primer. Once these items are on the car and the car is on the rotisserie, I will scuff and apply additional coats. This gives me a chance to add some protection and help me develop the skills needed to develop my technique for spraying. I'm working out a few issues with my setup. I have had the most trouble cleaning the gun. I make the biggest mess when cleaning the cup and pouring paint into the strainer into the cup. I have ordered a Dekups starter set and we will see how that goes. I have also had problems laying the first coat on too wet. I have played with my gun settings and the last few times it has seemed like I was controlling the gun, instead of it controlling me. Here are a few pics of my work.


Got tired of bending down to test the gun setup:


Hopefully this week I can work on the trunk pan and the passenger door shell.
 
I was kinda dreading working with these heavy doors. When I did the drivers side in July I pulled a muscle in my shoulder.

Last year I sent these doors out to be sandblasted. I didn't realize that the drivers door was so bad. I ended up letting them sit over the winter in bare steel. The drivers side wasn't surface rusted too bad from sitting. I guess because I had been working on it repairing all the rust. The passenger side was a different story. the metal was more pitted and that made the surface rust worse. What a job. I ended up going through two bags of sand and it took me a few hours. Never again. Once something is blasted it will be put in epoxy the same day.

I cleaned and cleaned and cleaned again. Finally it was ready for paint. These things are very hard to paint. At times it seemed like I was airbrushing instead of painting trying to get behind all the braces. I painted up inside the brace first. I varied the fan and air pressure and shot paint wherever I could to get coverage through whatever hole I could. I put 3 good coats on it and ended up putting a 4th one on the outside to hide some dry spray. They say white is the easiest to paint, but the more white it gets the harder it is to see. You have to be able to pick up the edge, something I'm still learning to do. I hate to count the hours I have in this door to get it to this point.

Pics:


Since I had paint in the gun, I touch up the bracket that I welded to the skin:


Cleaned up my table:

 
I have been working on getting the trunk pan ready to go in the car. I probably really over did it here because there is so much welding that needs to be done. I wanted to remove as much EDP as I could, and I tell ya, AMD's coatings is pretty good. They paid overtime on this panel. I sanded and sanded on it. I finally after several hours of a few different sessions called it good. I wanted to get a couple coats of SPI epoxy on it before I installed it.

The first thing I did change on this panel is the vapor canister bracket. The original was better. The mounting holes were actually threaded so I swapped it out.


Next I spotted in some epoxy and welded the fuel sending wire retainer.


Here is as far as I got the bottom sanded. It was a lot different trying to strip this thing vs say a door skin.


Taped up the top.


I spray the bottom with SPI red oxide, it was 50ml of black, then poured to 11oz of red. It matches areas of my car that I know are undisturbed. I know everybody has their own opinion about these shades, but I'm happy with it. I am sure there was varying shades in the process in the 70's, but this looks to be what was on my car. I like the look and my car is not 100% original anyway. The bottom sprayed very nice. I wish I would have wrote down the gun setting I used.


The top was a different story. I actually tried to paint it 3 times. Each time it had some flaws. The 1st time was bad, the 2nd time was worse, and the 3rd was really nice with the exception of one place. Again, I was just trying to improve on my technique. I knew I would have to repaint it after the welding and body work.

Prepped:

One sorry taped job to protect the bottom:


I probably wont use the stickers again to protect the plug weld holes. They were kind of a pain to remove. A 50 grit roloc would have been way faster.


1st try painting the top


To be continued:

- - - Updated - - -

Second time had a lot of orange peel.

The third time actually looked good with the exception of one area that I hit with air as I was bringing the gun in to get the raised area covered.


I decided to go ahead and block sand it one more time and leave it that way until installed in the car. It was probably easier on my back that way. I'm thinking it will be hard to paint with a full size gun once in the car. What do you guys think?


Now I have used weld thru primer for the seam, but I'm not sure how to properly prep the bottom of the plug weld holes prior to welding. Thoughts?


Next I will be working on sandblasting the frame rails and getting that area in epoxy. Friday I removed all the front sheet metal from the car again. Its starting to get cold so I need to get this done soon. Thanks for checking out my work.
 
Thanks Robert. I'm planning on trying to make one of those drill bits for cleaning the frame rails. As far as the panel above should I clean any of the epoxy off or just leave it and make sure the inside of the hole is clean. Thanks.
 
Some people will use the circular "paint masks" as you did, around the holes on both sides to keep any paint from burning and contaminating the weld. McMaster sells what they call burnishing brushes that chuck up in a drill and can be ordered with various pilot sizes, so the brush cleans a circle around where the weld is.

http://www.mcmaster.com/#4912a25/=tqci04

4912a44p1-a05el.png


I've heard that even when using weld through epoxy it's best to clean the paint off the adjacent panel through the hole, as excess build of the paint tends to contaminate the weld in much the same fashion as welding rusty metal, the gases formed cause a "ballooning" of the weld puddle, for a porous blob. I just stick strictly with epoxy for the entire operation, and clean inside the hole with the flat bit. If the epoxy has been allowed to fully cure, it seems not to burn as much as the same that was painted 12 hours prior.
 
sprint_9;39804 said:
Great build, keep us updated.

Thanks Sprint_9 will do.

Spent Monday at the beach, well kinda, there was a lot of sand anyway. I wanted to sandblast the back half of the car before I install the trunk pan. I think I can get by with the rest of the car at the most with just spot blasting some areas. I wanted to make sure the frame rails where clean and in good shape. I figured I could blast it and get it prepped and painted in the same day, WRONG. I got set up and started around 10. I realized about 2pm that I was into a job. I knew it would take the next day to get it painted, so I was able to get a vacation day so that I could continue. At this point I decided to take my time, make sure it was clean and get it done. I used 2 100lbs bags of sand and swept it up, sifted it and re-used it. Overall it went good. When I restore my 81, I'm not going this route. I will strip it all the way down and send it out to have it done. Its a JOB!


Here is the last pic of the day of blasting. I was done and needed to get this mess cleaned up before dark.


I was expecting to find a lot of damage, considering the condition of the other panels. I was actually surprised.

Right rear inner fender has a few hole in the bottom and top.


Left frame rail at the rear needs some welding.


Left frame rail at the front needs replaced. The torque box may need some light repair once I get into it. I plan to replace the rear floor pan in that area, so I will know then. This will be repaired once the car is on the rotisserie.


Tuesday, I got started about 10am and went ahead and mixed my epoxy up. It took forever to get all the sand out of the car. I would blow it out, move the car, blow it out some more. I will be the rest of the restoration getting the sand out of it. I think I finally started cleaning the metal and prepping it for paint around 2pm. I finally started painting at 4 and then put the second coat on at 6. Overall I'm very happy with the results. I finally got my Iwata 80 dialed in. Now if I can just get my larger guns to spray like this one. Once on the rotisserie the car will be sanded and given a final coat. Now for some pics, this is SPI red epoxy mixed with their black epoxy.


The frame rails on the inner rails had a lot of pits. They are still very solid, just pitted. Got some advice to brush a few coats on the inner rails, sand and re-shoot. I have them brush painted, I just have to wait for them to cure some before I can block sand and re-shoot.


I also brushed a good thick coat on the inside of the rail. I taped the brush to a glow stick and got it as far as I could.


The deck filler panel where the trunk hinges are located needs replaced. I will be doing this next, then the trunk pan, then finally finish the doors.

Thanks for checking out my thread.
 
I want to give a shout out to Bob Hollinshead and say Thank You. I appreciate the help that you experienced guys in the trade share with us rookies. I saw a thread about filling pits in the frame and Bob recommended brushing in a few coats of epoxy after the epoxy thickens a little. It did the trick. My frame rails were actually really solid with the exception of a spotty repair down at the torque box area which will be addressed at a later time. I brushed a coat on the frame rails over the next few days and let it cure for several days. I finally got it block sanded, took a lot longer than I expected, I think about 2 hours per side. Today I sprayed two more coats and they look like new. I still will sand and spray a final coat after I install the trunk pan and once the car is on the rotisserie.


Block sanding:


Prepped:


Now:


Is this car going to have mirrors under it? Because I have never seen a rail like that blocked out on anything but a show car. Not knocking it really, but it is an awful lot of extra effort when most guys would put a few coats of epoxy on and call it good.
 
Back
Top