That is basically what I did with my signature car.
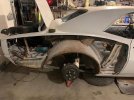
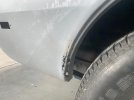
The key is getting everything lined up perfectly before making your cuts and then ensure the new quarter is secured in the proper place as you make your first series of spot welds.
I had never done a quarter replacement before, so it was a very long process. My welding experience was limited as well but the Gas MIG welder did get the job done.
View attachment 23398
I started by screwing the panel in key spots to hold it in place. Then I welded the first round of spot welds like every 3 inches, constantly checking the panel seam alignment and making sure I didn't overheat it. Then I placed a weld in the center of the 3" welds and repeated the entire process until I had no gaps left.
View attachment 23399
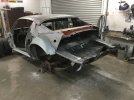
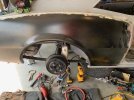
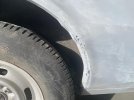
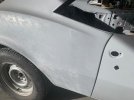
I ground the welds flat on the outside and on the inside where I could reach them.
View attachment 23400
View attachment 23401
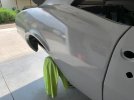
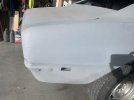
After two coats of epoxy primer.
View attachment 23402
View attachment 23404
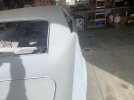
The pros make this look easy but you can do it, if you don't get into a hurry and take it one step at a time.
")