Well it's been a battle with the lower window corners.
First, I thought I needed the inner and outer corner patches so I installed the inner patches only to have to remove them.
It turns out that the inner corners are just the inner portion of the outer corner patches as can be seen here:
View attachment 21430
I decided to attack the left lower corner first (sorry, no rounded corners):
View attachment 21431
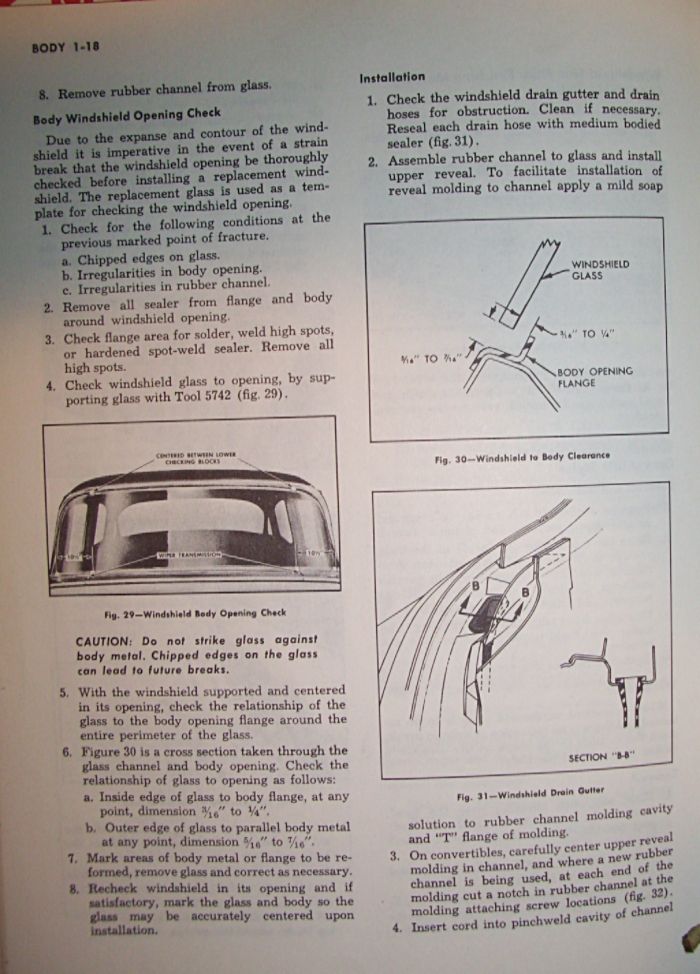
The patch has multiple angles and bevels to it and need to be shaped to provide a finished area to match the rear deck panel.
View attachment 21432
I have a gas MIG welder and this thinner metal always gives me fits. Using a .023" wire I can get some tacks near perfect while others have pits in them.
View attachment 21433
I work slowly and yet can never seem to get a perfect finished weld. No problems with the thicker gauge metals but this stuff?
Of course I forgot to take the picture before covering the weld in paint for the night. However you can see the tiny little holes in the welded area.
View attachment 21434
My plan is to strip the paint back off and try to fill those spots with weld. The problem will be blowing through the thin metal.
Any suggestions on how to improve my results would be appreciated.