1967 Dynacorn Fastback

rusty428cj;33236 said:
I have had questions wanting to know what issue this would be in and I'm happy to say it's in the March issue that just went to the printers.


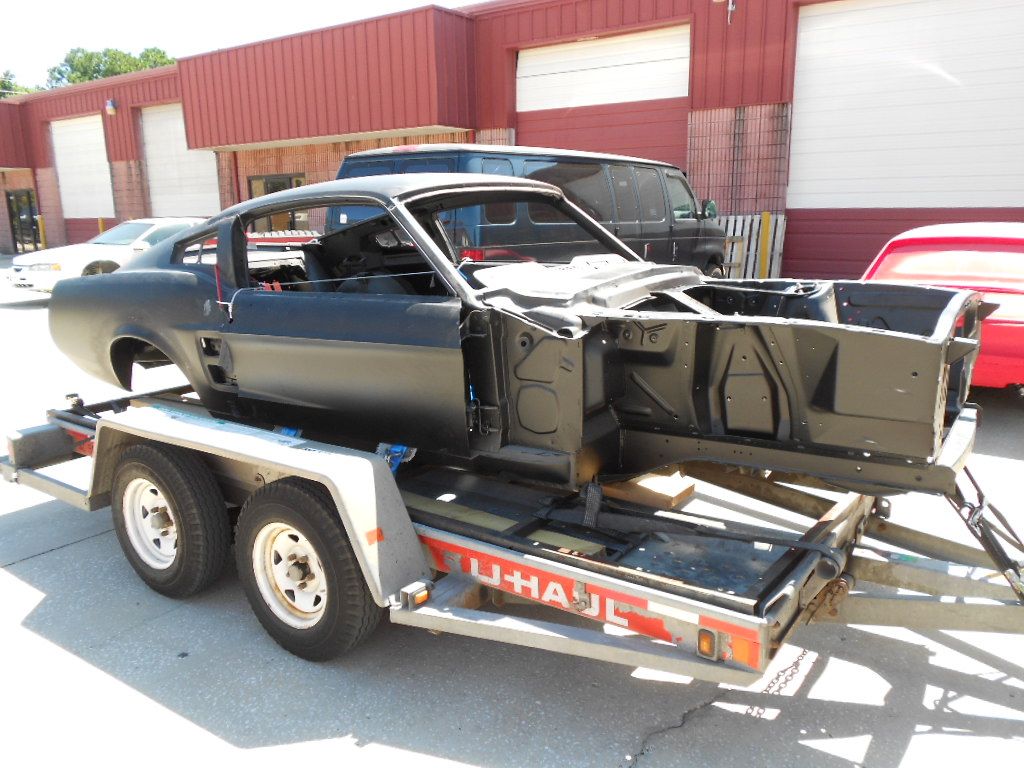
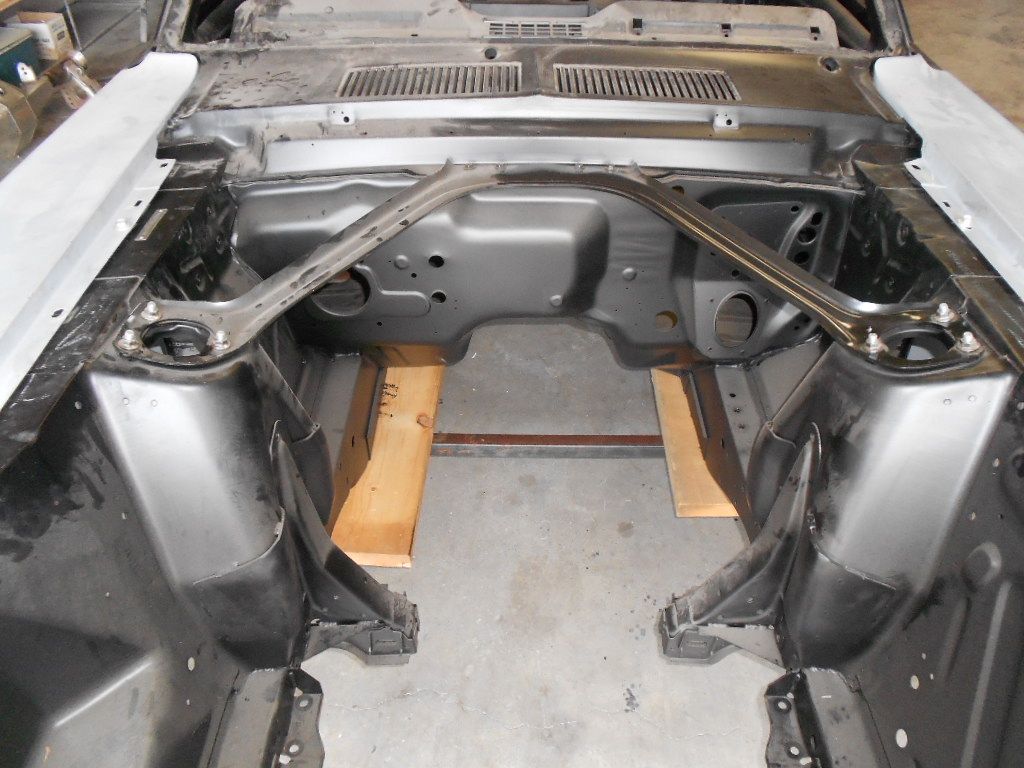
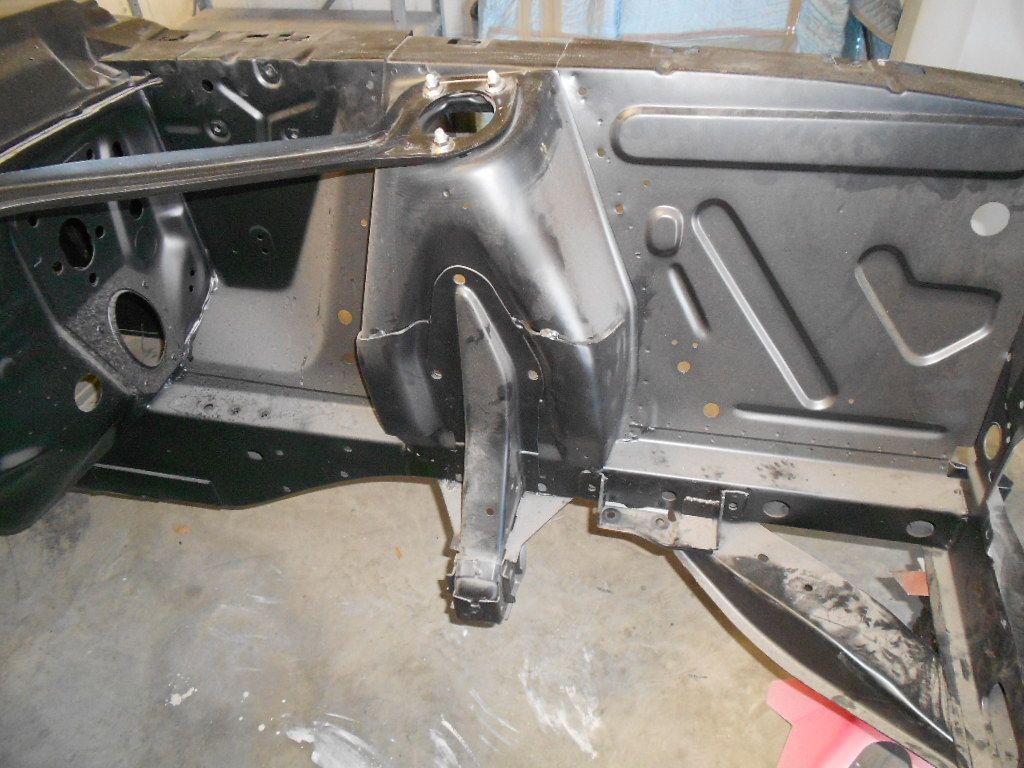
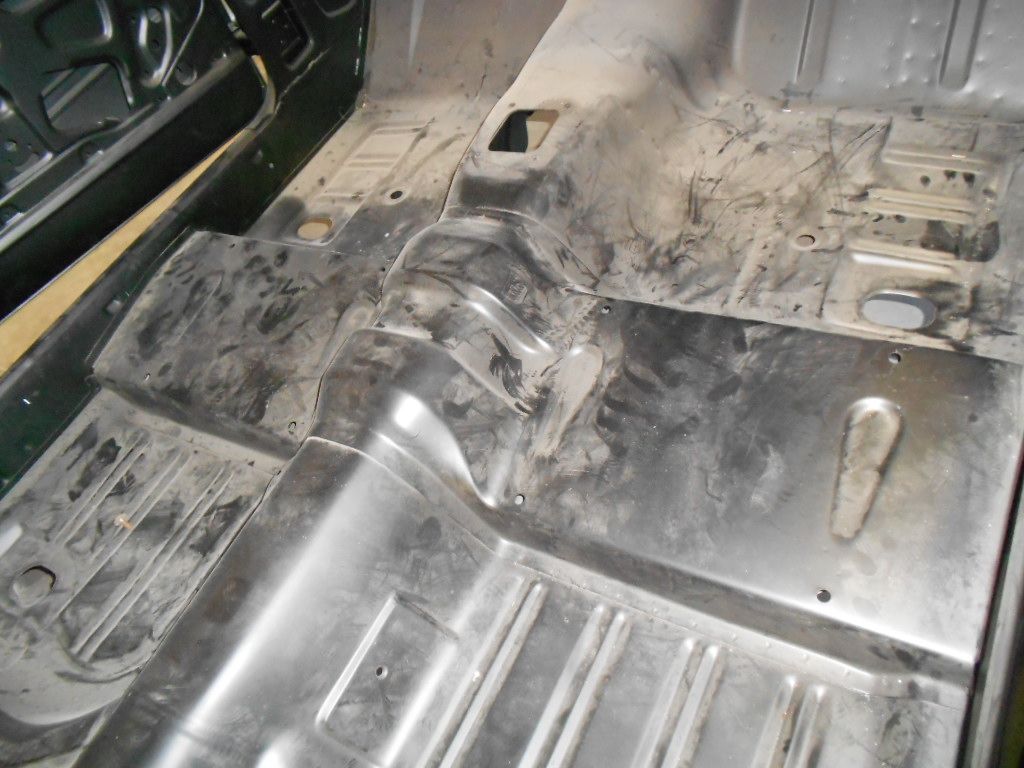
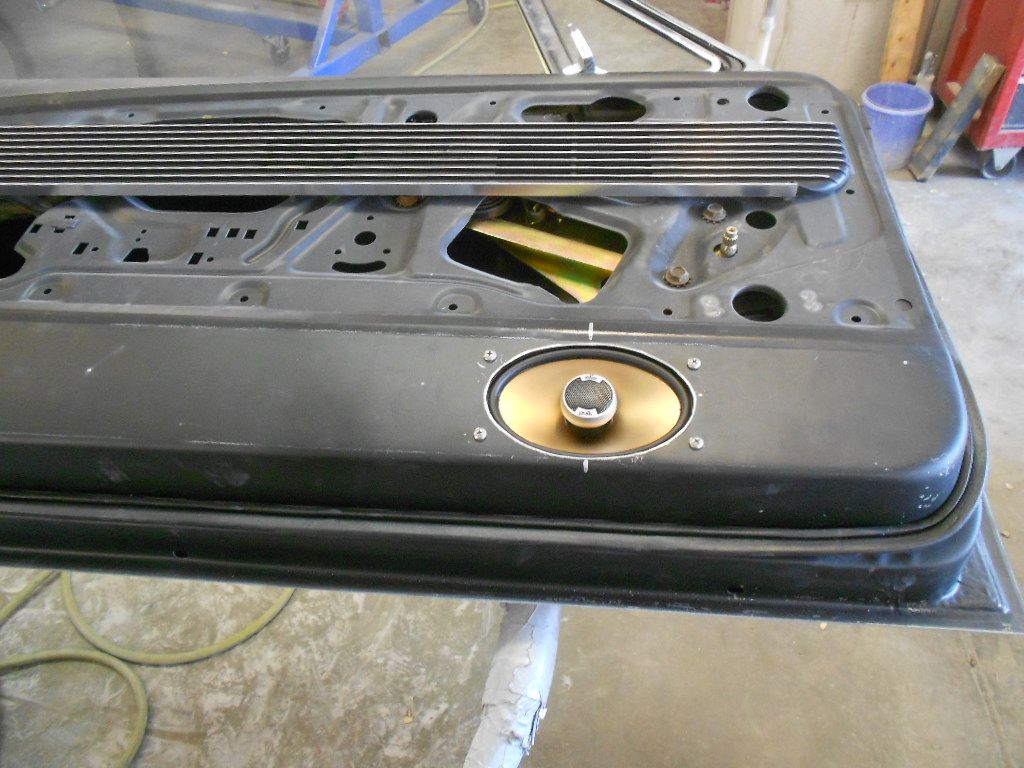
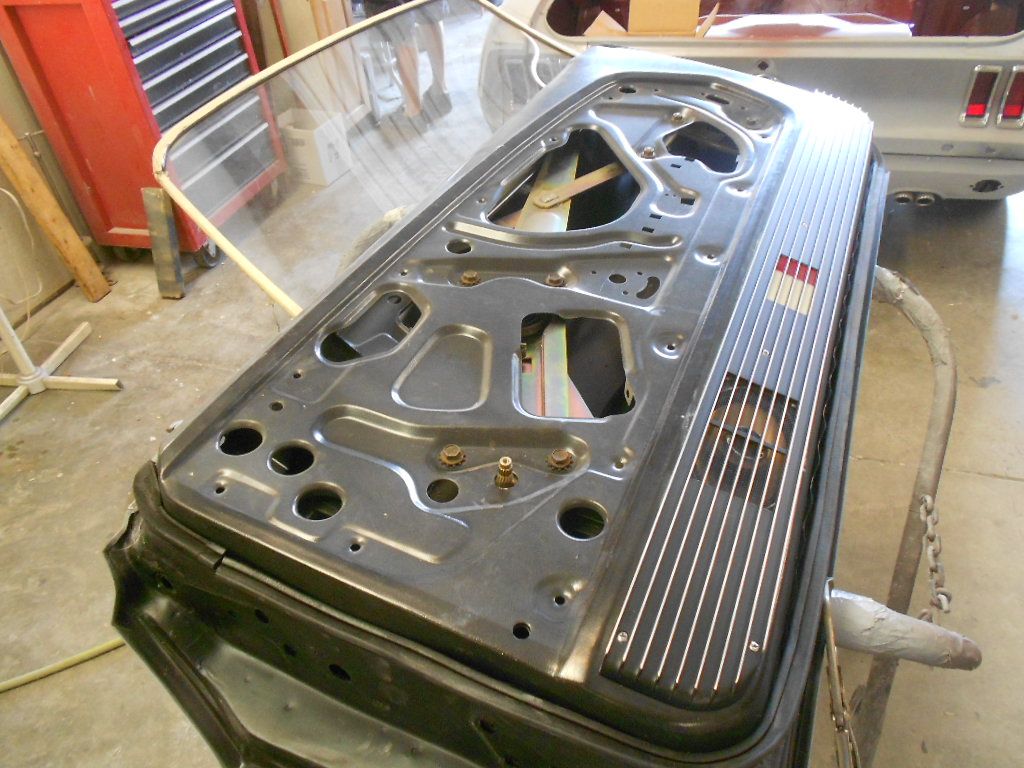
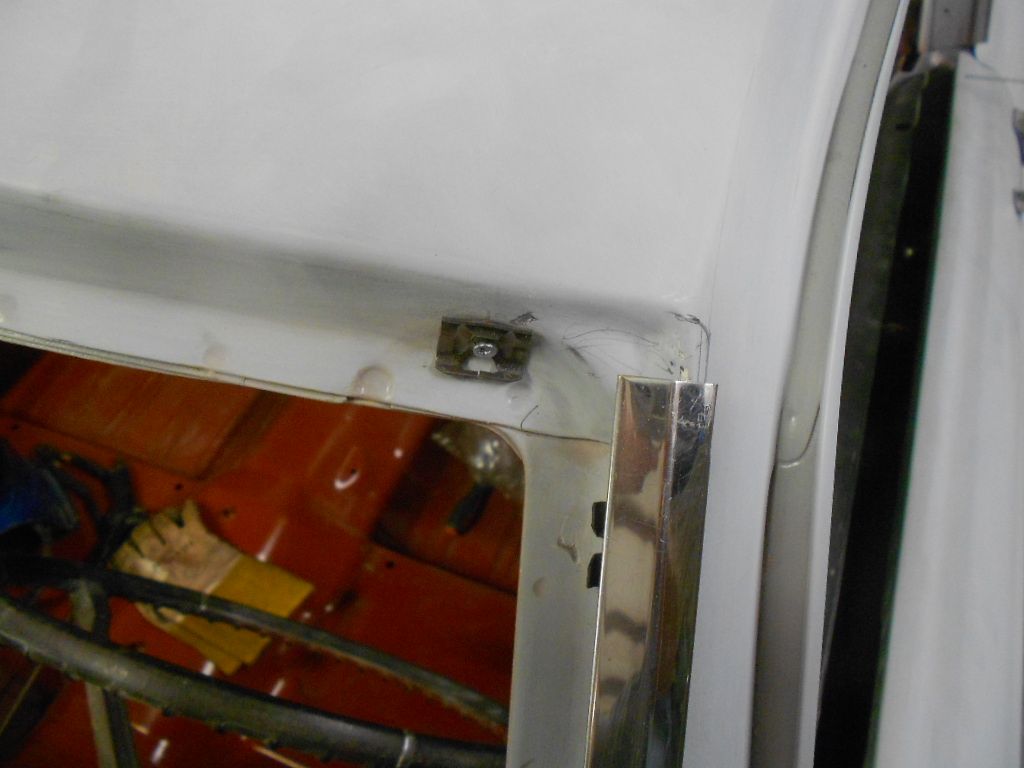
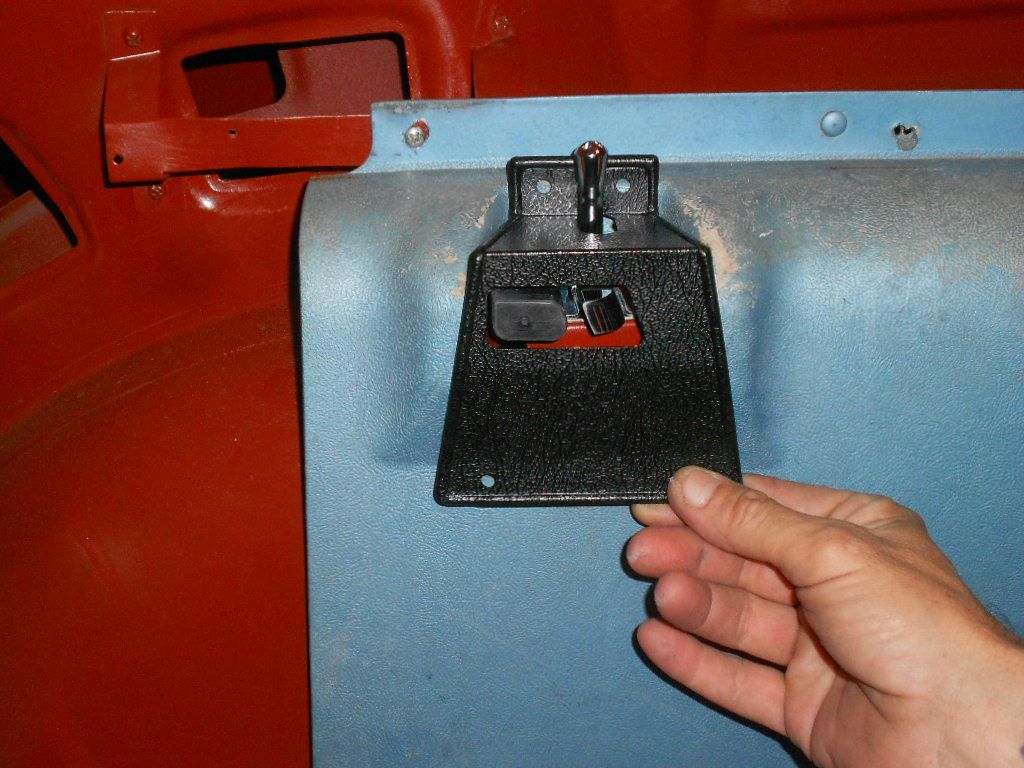
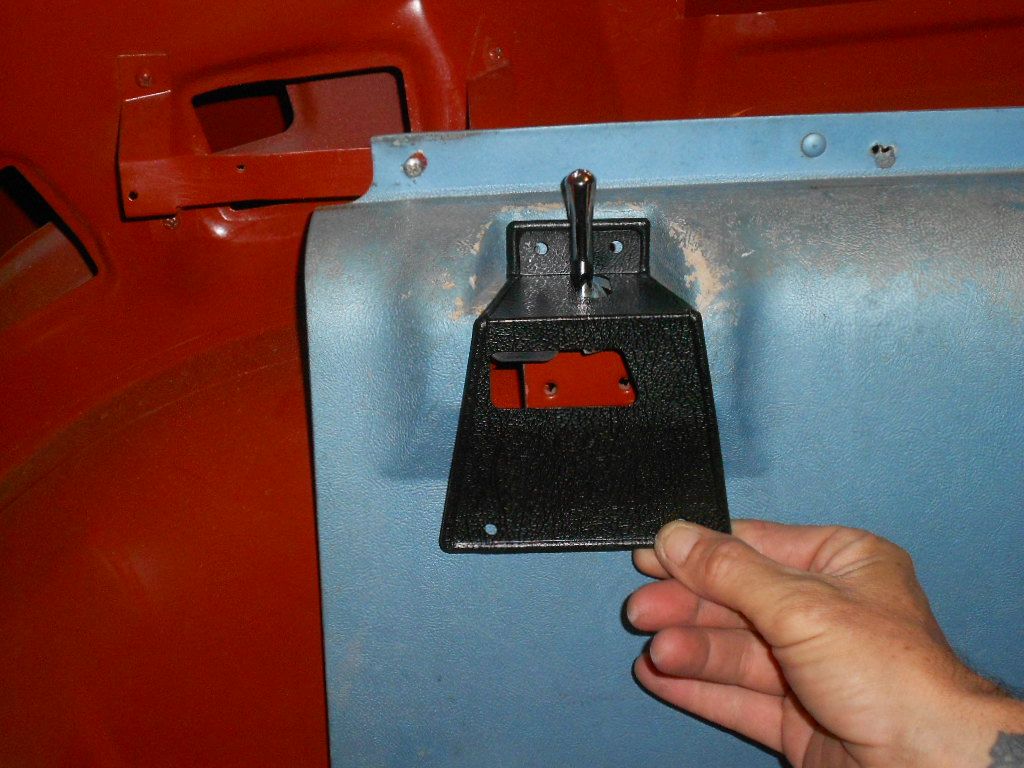
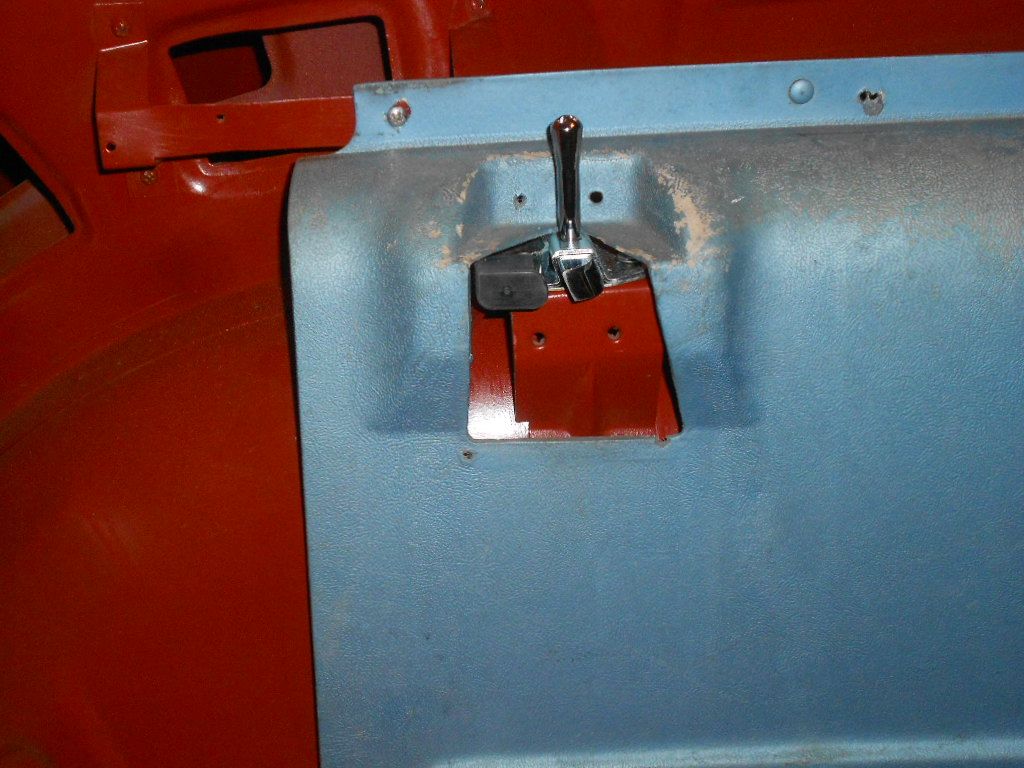
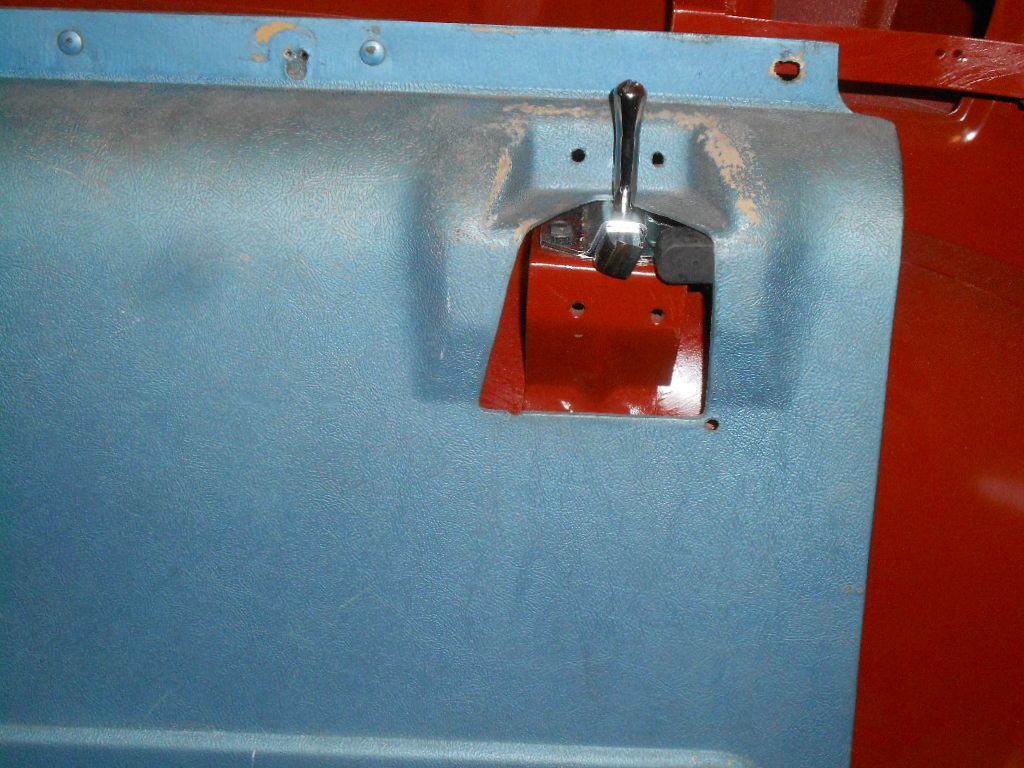
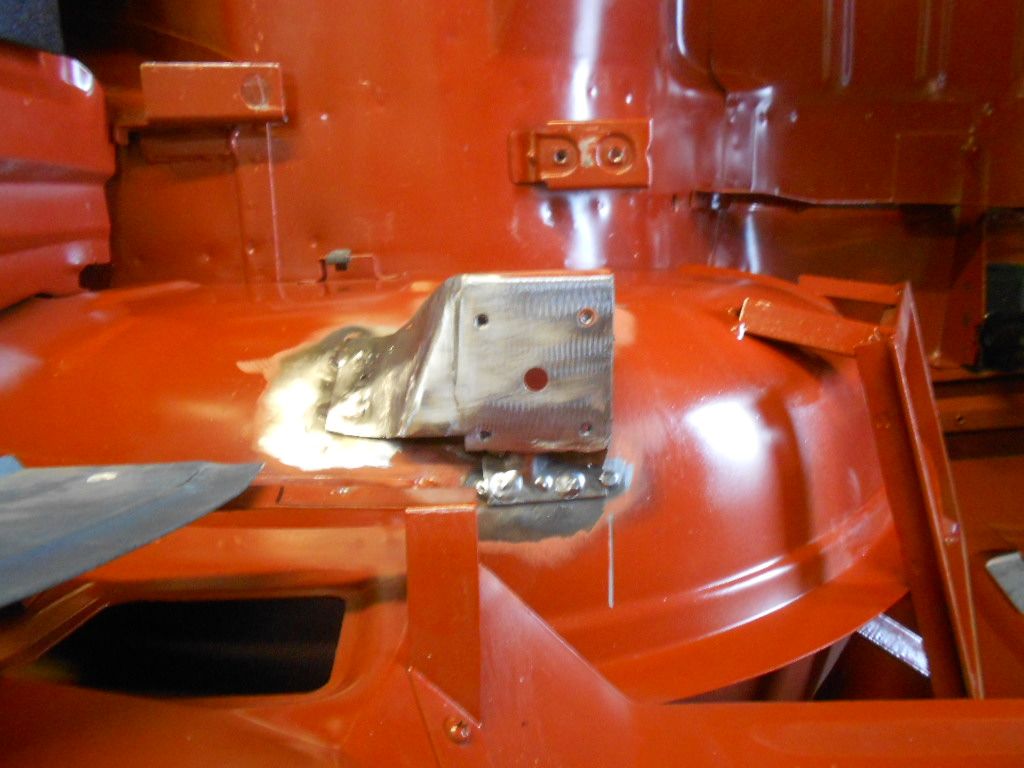
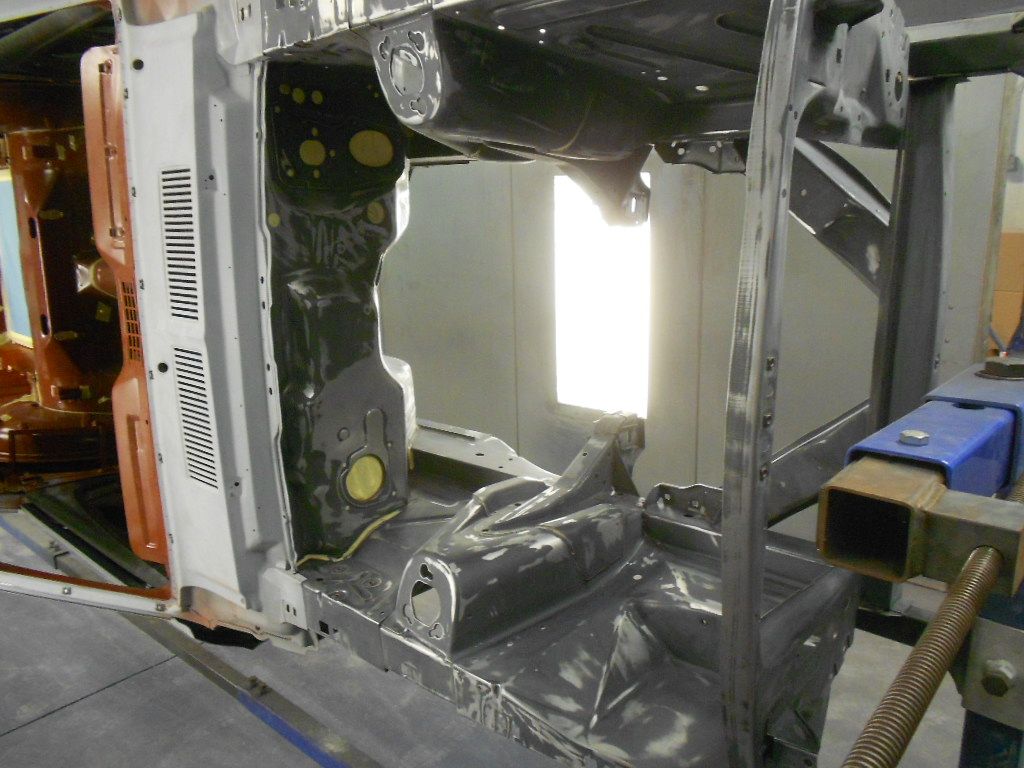
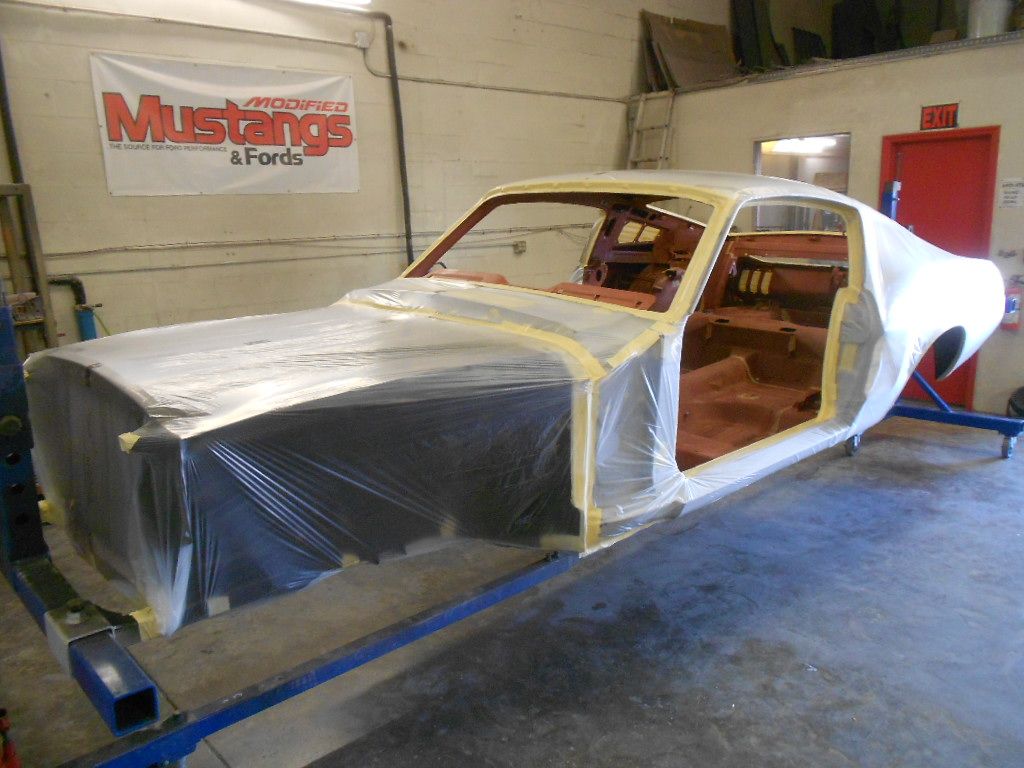
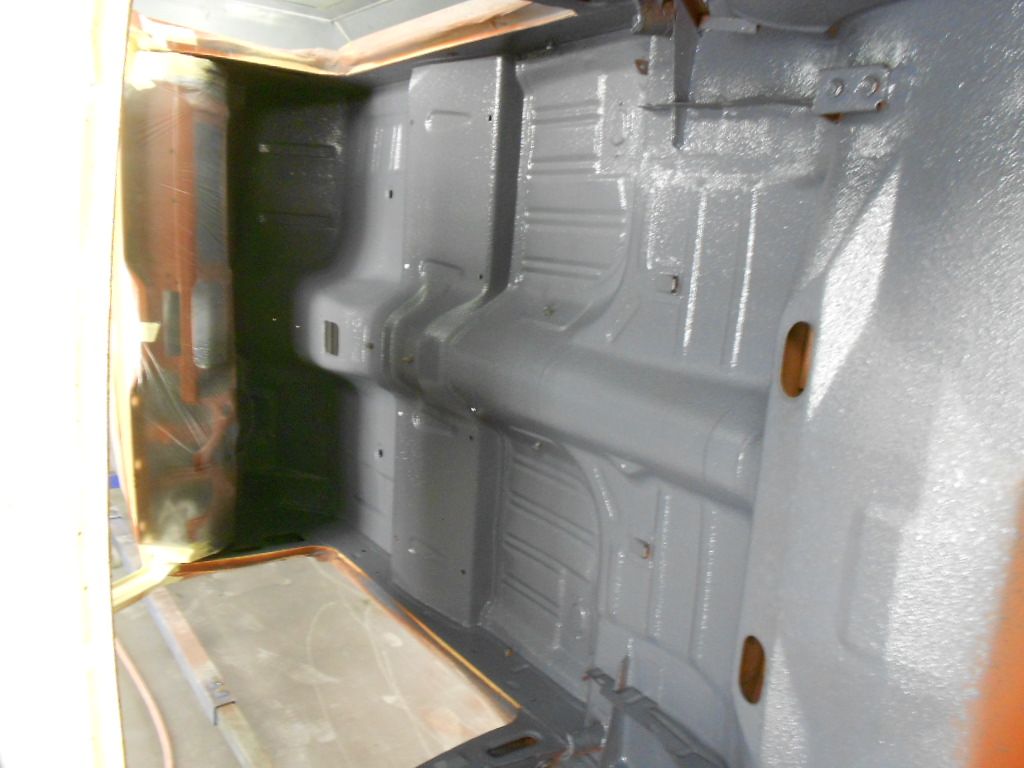
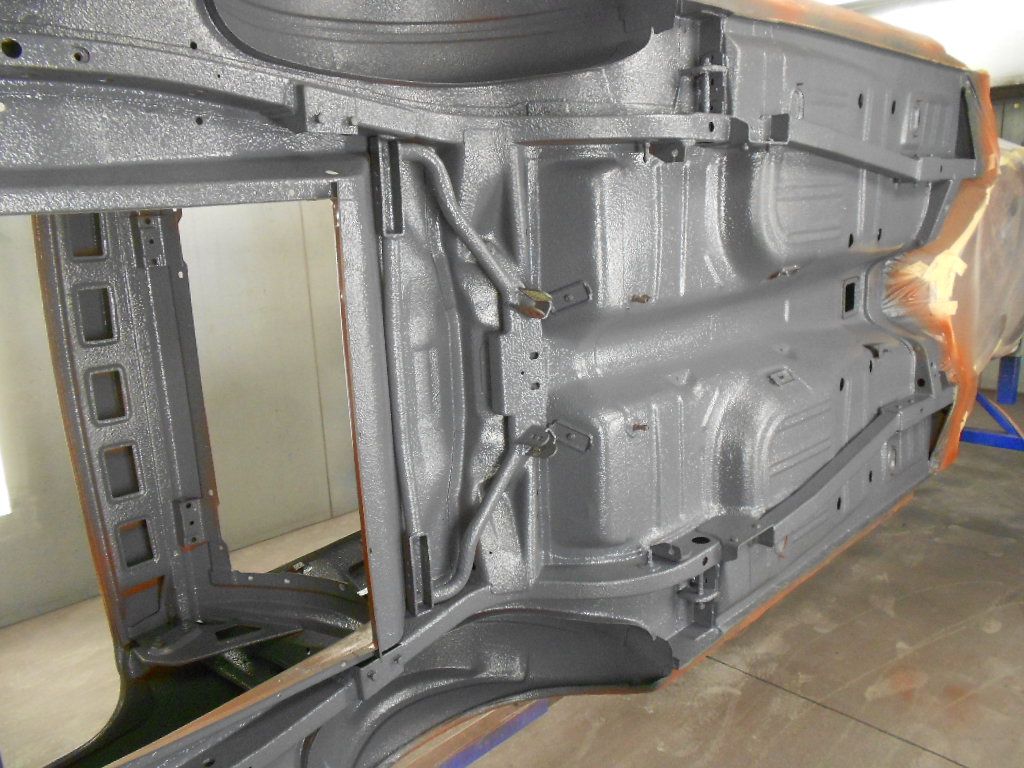
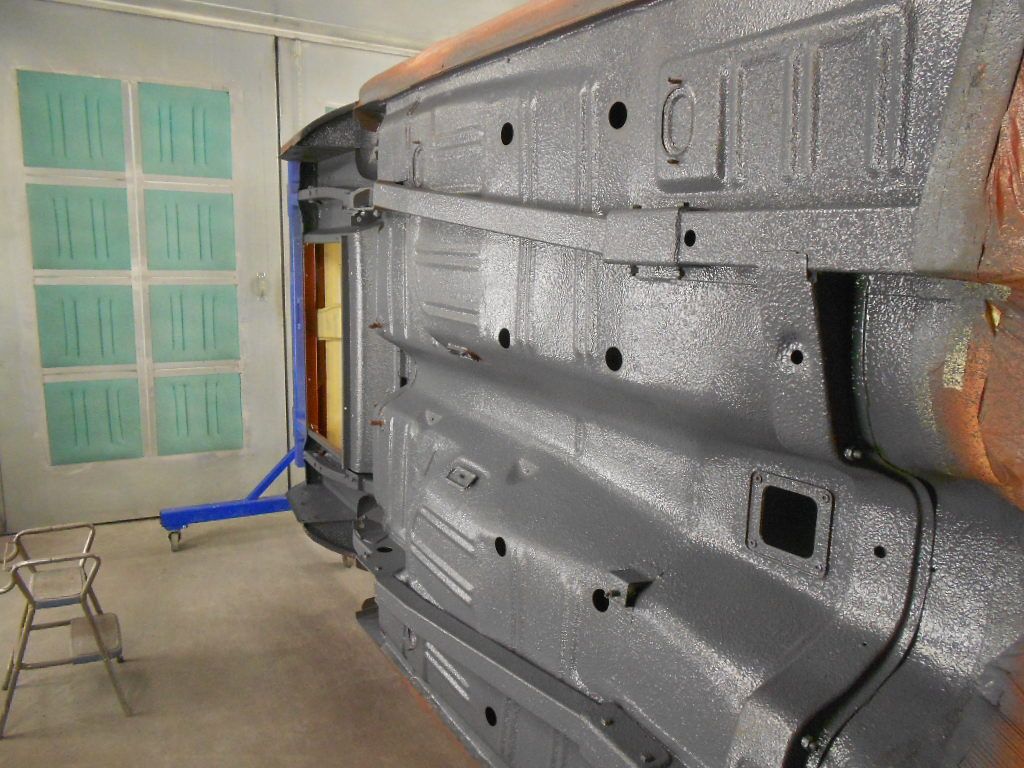
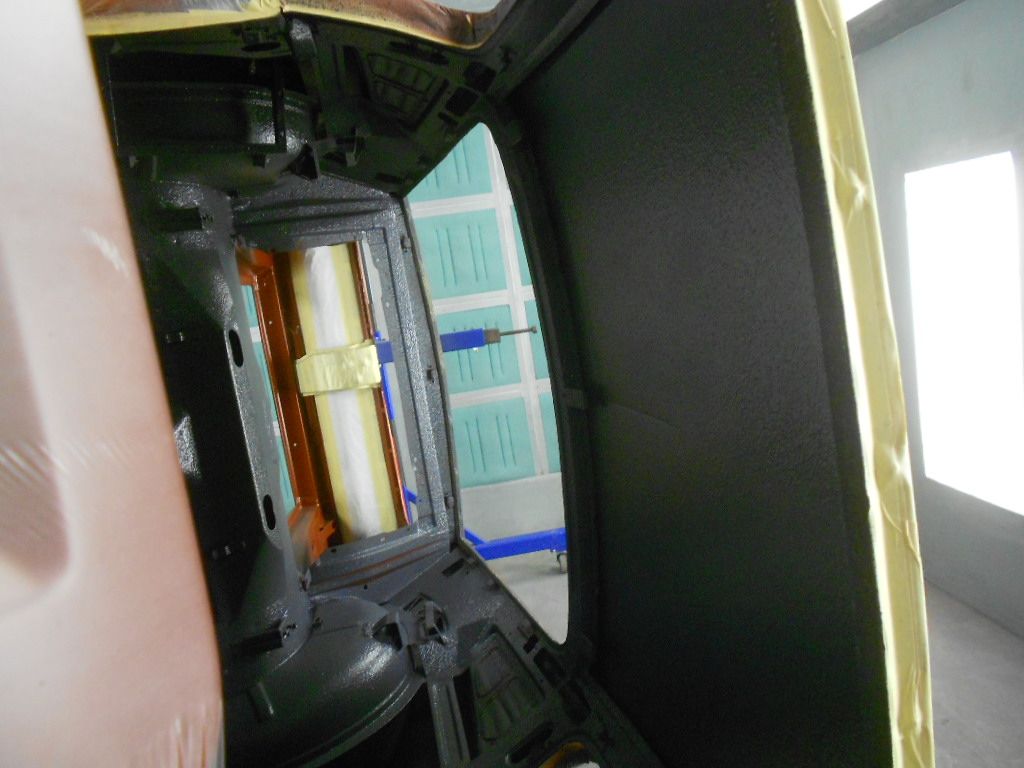
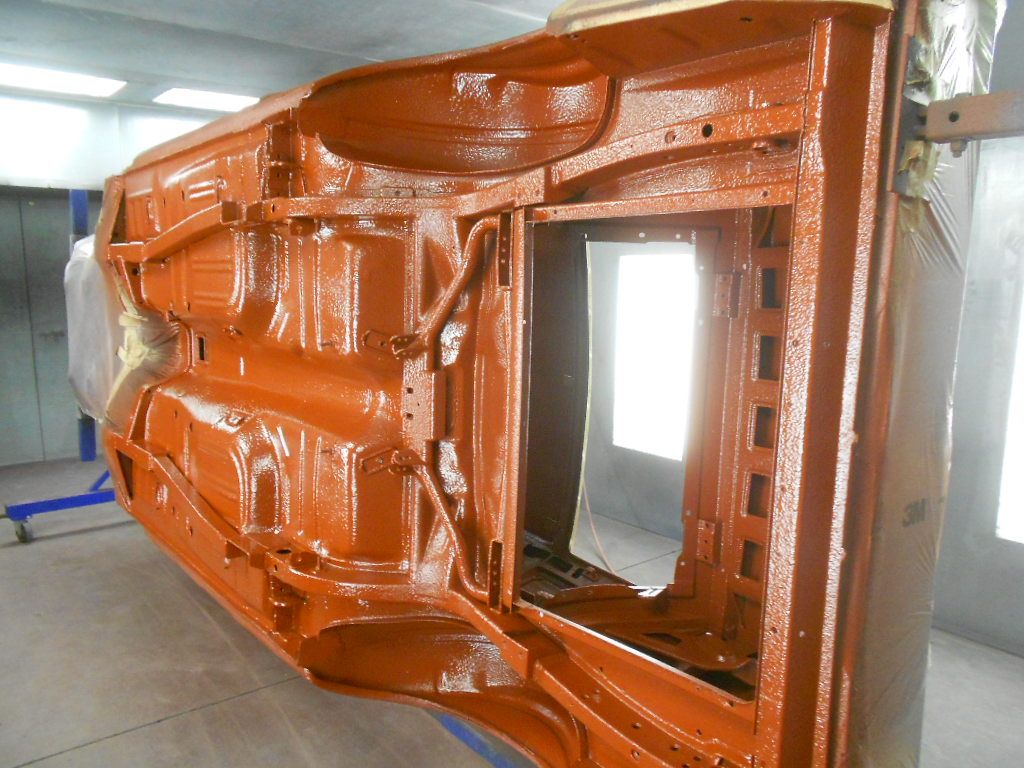
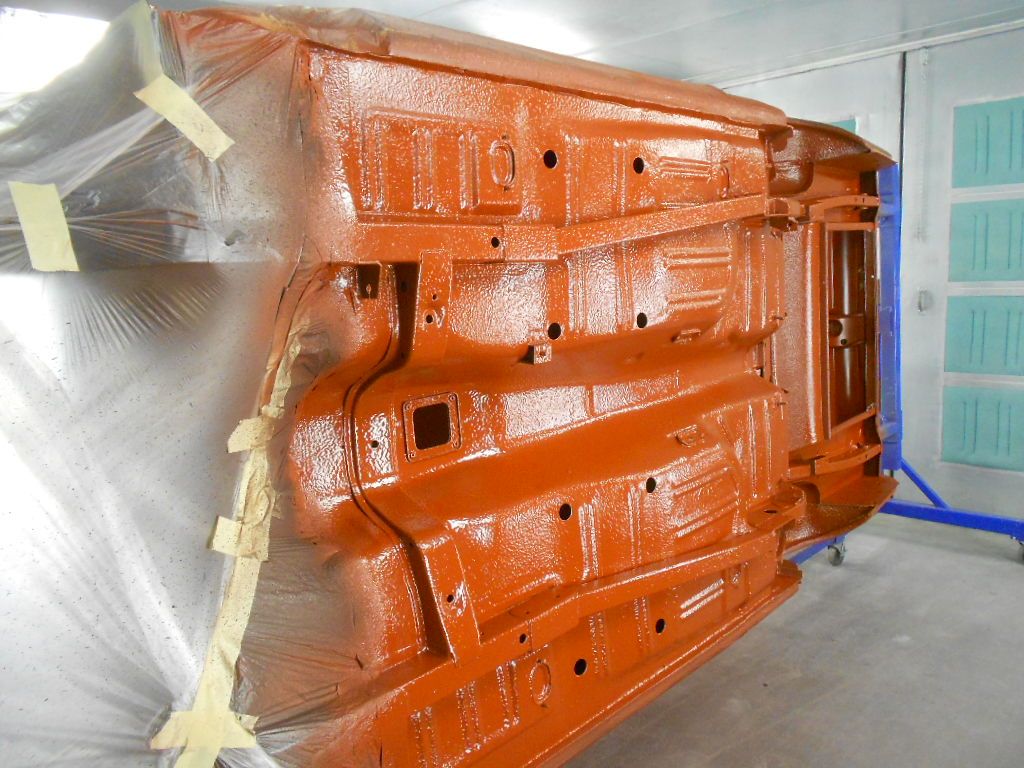
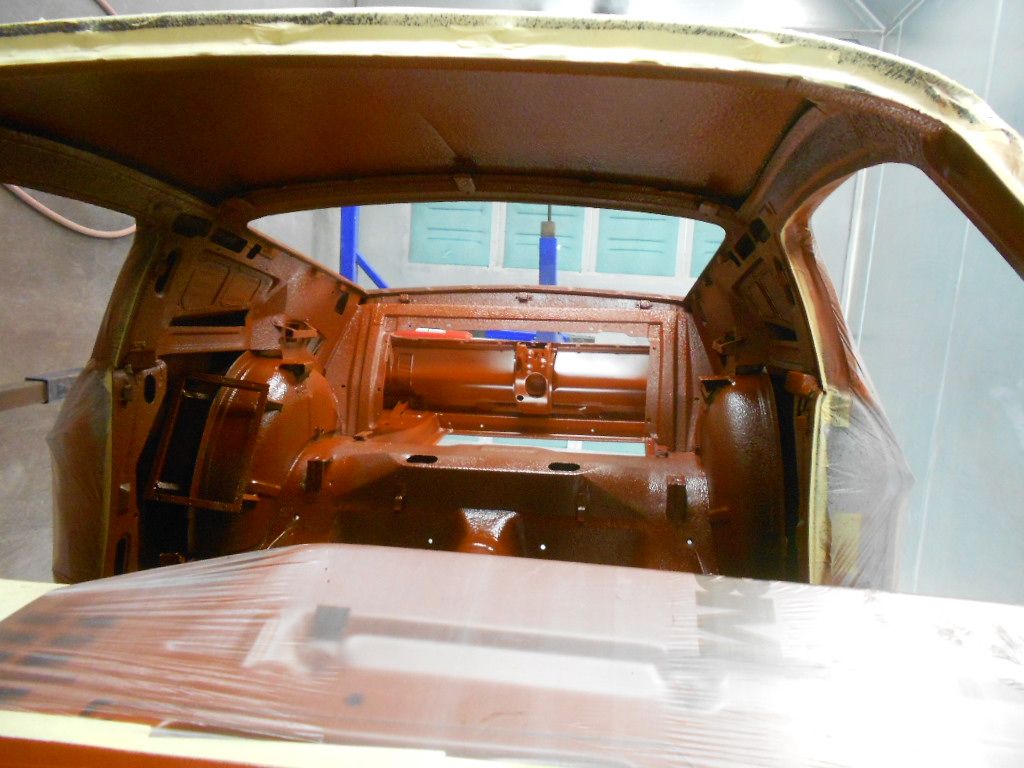
This is what Brian has been fabricating. It is an under the dash hood release. The hood required a lot of fabrication along with this latch that came off of another Ford. To find out all the details you will have to read the build story in an upcoming issue of Modified Mustangs & Fords magazine.

Thanks for the update rusty ! Look forward to the read. Things are looking great !
 
The owner wanted the car assembled so the stainless exhaust could be designed to fit around the Total Control Products rear suspension and subframe connectors in case anything had to be modified before paint.

On the way to the exhaust shop on a dreary rainy day here in Florida

 
Is there any other sure ways to tell a dyna corn verse a orginal besides the bolt on valance and one piece seat riser.Thank you
rusty428cj;22031 said:
In this build I will show the good and bad features of building a Dynacorn body.

My customer has wanted a Fastback Mustang for a long time but could not find a good body that did not require a lot of rust repair so he decided to buy a 1967 Dynacorn body. He started calling around and could not find a body back in January. He called Dynacorn and they told him they had no idea when they would get one in. He was getting discouraged and had to go back to work where he works 10 weeks and than is off 10 weeks. When he got back in town he started checking around and still nobody had one. He found a project that was never started that came with a lot of extra parts so he bought it.

02.jpg


Some of the good points are the shock tower braces, extra welding in the engine compartment and a lot more spot welds and the export brace

08.jpg


09.jpg


Another good feature is the one piece seat riser.

11.jpg


I have never seen an after market valance fit this good but it is bolted together instead of screws.

14.jpg

- - - Updated - - -

Besides the one piece seat riser and the bolt on rear valance what are some other for sure signs of a dyna corn body? Please thank you.
 
[QUOTE='68 Coronet R/T;n73985]Any updates on this project? Would love to see the finished product.[/QUOTE]

So would the owner. He will be back in town this weekend for 10 weeks so we will start working on it again. The problem is we have too many cars in our 7200 sq ft shop and need to take this apart and have nowhere to store the parts.

20140319_113146_zpsmsas0ztx.jpg


20140315_140717_zps1trszmtb.jpg


20140315_140706_zps2nagxoyj.jpg


20140315_140739_zpsveus1cgv.jpg
 
So all in all Rusty would you say that the Dynacorn Body is a worthwhile option to restoring an original? I am wanting to build a 69 Mach 1 someday and the Dynacorn body is close to $20k. I can find restorable Mach 1s for about the same money.
 
[QUOTE='68 Coronet R/T;n74025]So all in all Rusty would you say that the Dynacorn Body is a worthwhile option to restoring an original? I am wanting to build a 69 Mach 1 someday and the Dynacorn body is close to $20k. I can find restorable Mach 1s for about the same money.[/QUOTE]

They are supposed to be better now that there are assembled in the US. Advantage no rust but if you could find a decent restorable 1969 I would rather have that with a Ford vin.
 
Brian cut the holes for the speaker and light in the door and lined up the trim

DSCN0586_zpscq3mfwyw.jpg


DSCN0599_zpssk0wesff.jpg


We removed the engine and transmission

DSCN1118_zpsu1phuexg.jpg


DSCN1119_zps4mgo0cfw.jpg
 
A few new problems. Brian is test fitting the windshield molding and of course they don't fit.

DSCN1134_zpszzzlhqvo.jpg


The next problem is the brackets for the fold down rear seat are welded in the wrong location on the wheelhouse

DSCN1160_zpsagjmojkq.jpg


This is how it should be mounted

DSCN1161_zpscxao5vfq.jpg


It is mounted to high

DSCN1163_zpsgwma6luo.jpg


This is the opposite side

DSCN1165_zpsajtajlzc.jpg
 
Brian had to cut and modify the windshield pillar to get the molding to fit

DSCN1257_zps2from18w.jpg


He finished welding

DSCN1258_zpswqf0edst.jpg


Welds ground

DSCN1279_zpsplslcbvt.jpg


Brushed a little epoxy to keep if from getting any surface rust

DSCN1282_zpst0poeuvi.jpg
 
After a lot of test fitting the seat brackets are welded in place

DSCN1316_zpsfkevnkpv.jpg


The fold down rear seat must have been in and out of there at least 6 times but it now fits and goes down without hitting the interior trim panels

DSCN1319_zpsebz9b7qi.jpg


The suspension was removed so the body can go on the rotisserie to finish the undercarriage.

DSCN1340_zps7iybqt16.jpg


DSCN1341_zpsno6p3p3a.jpg


Brian applying seam sealer under the cowl.

DSCN1342_zpsnolx3qvm.jpg
 
It's things like those seat brackets that consume tremendous amounts of time. It seems I always have a number of "simple tasks" the eat up my time on jobs. That's why I went to the time and materials method of billing. No way would I have charged enough for welding those brackets in place when quoting a job.

Car is going to be beautiful when done. You guys are top notch.
 
[QUOTE='68 Coronet R/T;n75149]It's things like those seat brackets that consume tremendous amounts of time. It seems I always have a number of "simple tasks" the eat up my time on jobs. That's why I went to the time and materials method of billing. No way would I have charged enough for welding those brackets in place when quoting a job.

Car is going to be beautiful when done. You guys are top notch.[/QUOTE]

The owner was there and saw how much time it took to get everything to line up and he helped which was a big help to Brian. It is really good that he is involved because he is the one to say that is good enough.
 
Brian taped the body so we can epoxy prime the interior, inside the trunk and undercarriage.
We need to scuff the undercarriage first before the epoxy. After the epoxy the next step will be to spray the Lizard Skin.

DSCN1766_zpssbpd7fe4.jpg


DSCN1767_zpszndfdcan.jpg


DSCN1768_zpsgxjmoxnn.jpg


DSCN1776_zpsqsorotmz.jpg


DSCN1778_zpsdic9borl.jpg
 
The undercarriage and interior was epoxy primed Friday

DSCN1829_zpsjkgvkhy9.jpg


DSCN1847_zps87a8pmgp.jpg


Today we started spraying the Lizard Skin

This was the first cup

DSCN1849_zps7znrjlnw.jpg


First coat of the sound control

DSCN1856_zpsgkzoz9mi.jpg


DSCN1857_zpsceoemqas.jpg


DSCN1860_zpsljgcbrlb.jpg


DSCN1862_zpsgou6eqar.jpg


DSCN1863_zpsw35nwquw.jpg
 
Back
Top