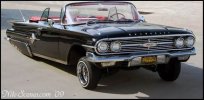
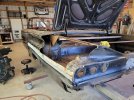
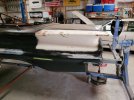
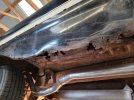
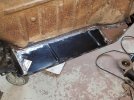
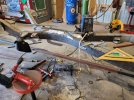
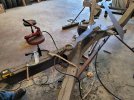
Way back in the early 60's one of my uncles had a white 60 convertable, red leather,348 three dueces, fender skirts, and a continental kit. I would just stand and stare at it, the most amazing car of my early years. on a hot summer Sunday afternoon sitting in the back yard with the top down, the back of the front seat caught on fire, possibly from the sun reflecting off the speaker? in the rear seat. All the adults formed a bucket brigade from the hand pumped cistern trying in vain to put it out. They failed and everyone gave up and just stood there and watched it burn to the ground. I must have been about 4 years old and can remember it like it was just last weekend. I can't wait to see how this one turns out. I saw my uncle a few weeks ago, he is 92, and talked to him for a while. The subject of the white car came up and he still gets quiet remembering it.